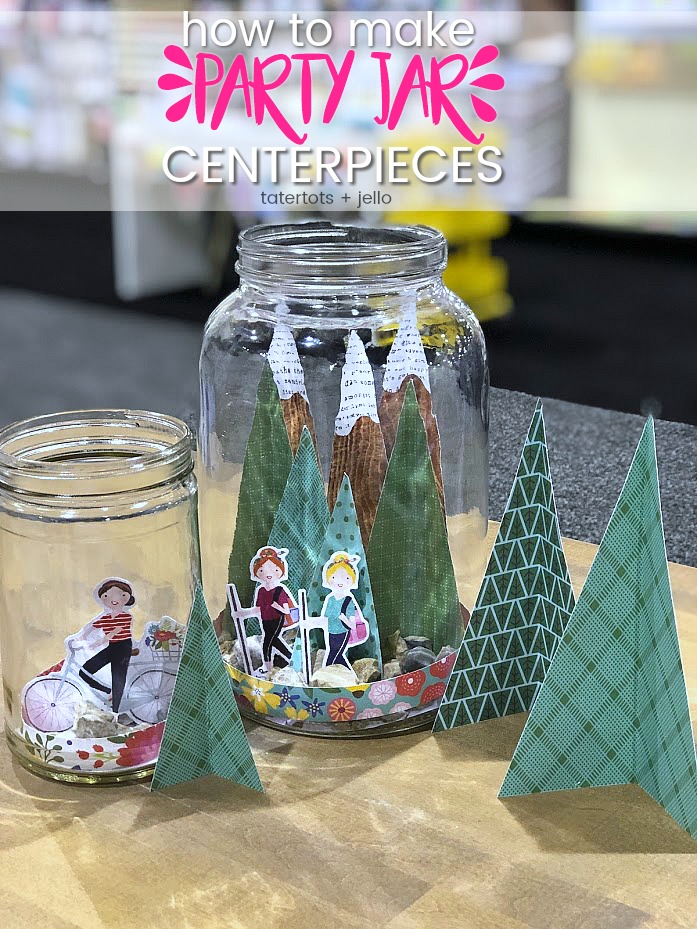
How to Make Party Jar Centerpieces! Use paper to create little scenes in jars. It’s the perfect party centerpiece or accent for your home!
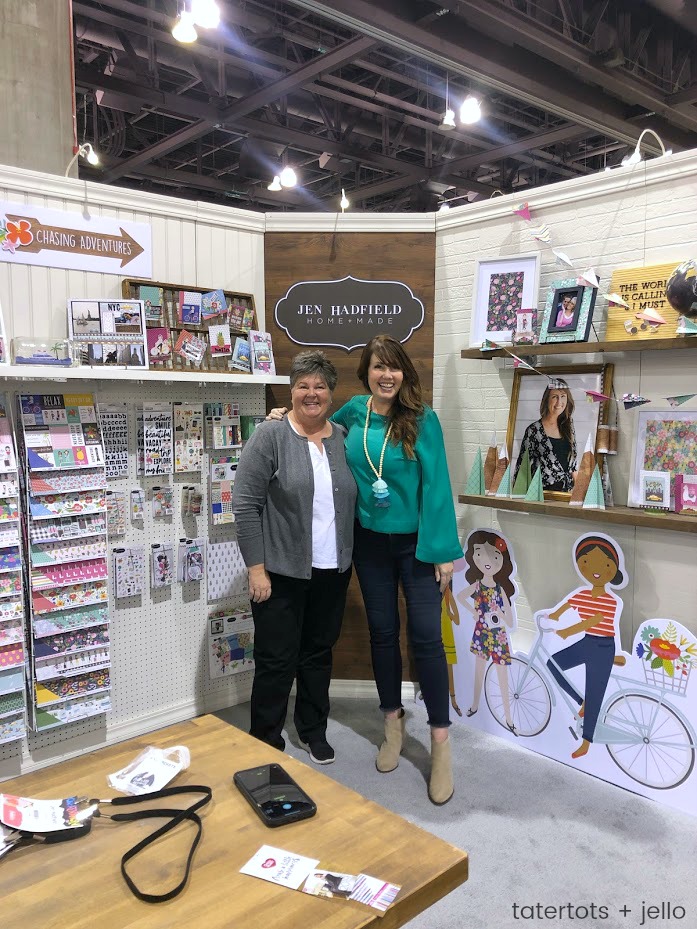
One of my favorite events of the year is Creativation, formerly known as CHA (the craft and hobby association show). I’ve been going for the past NINE years. It’s like ALL of the crafty and creative ideas in ONE place. This year it was in Phoenix’s convention center. I just got back last night and it was SO inspiring!! This is a little video of our booth!
All of the big craft companies come together to share their newest inventions and products. It’s so fun to walk around and see all of the booths at the show. I’ve been going as a designer with Pebbles for the past five years and it’s always SO fun to see our booth come together.
Use Paper to Create Fabulous Home Decor Projects to Display in Your Home
Brenda Birrell who owns Pebbles does an amazing job creating samples for our booth. She is SO creative. This year there were new and amazing ways that she used paper to create party and home projects. I’m going to share a few on the blog!
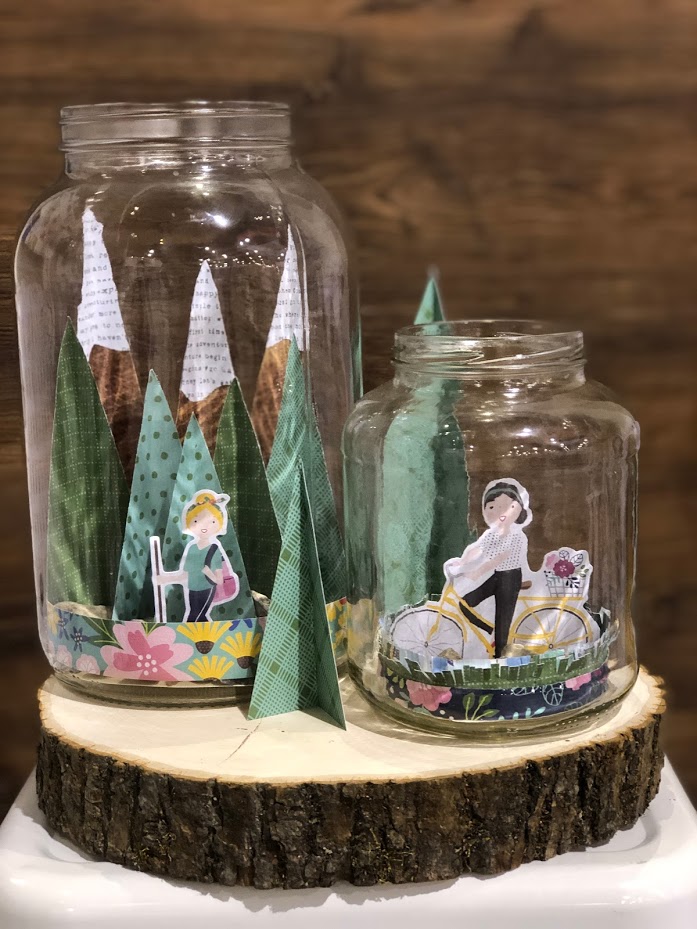
Party Paper Vignettes in Jars
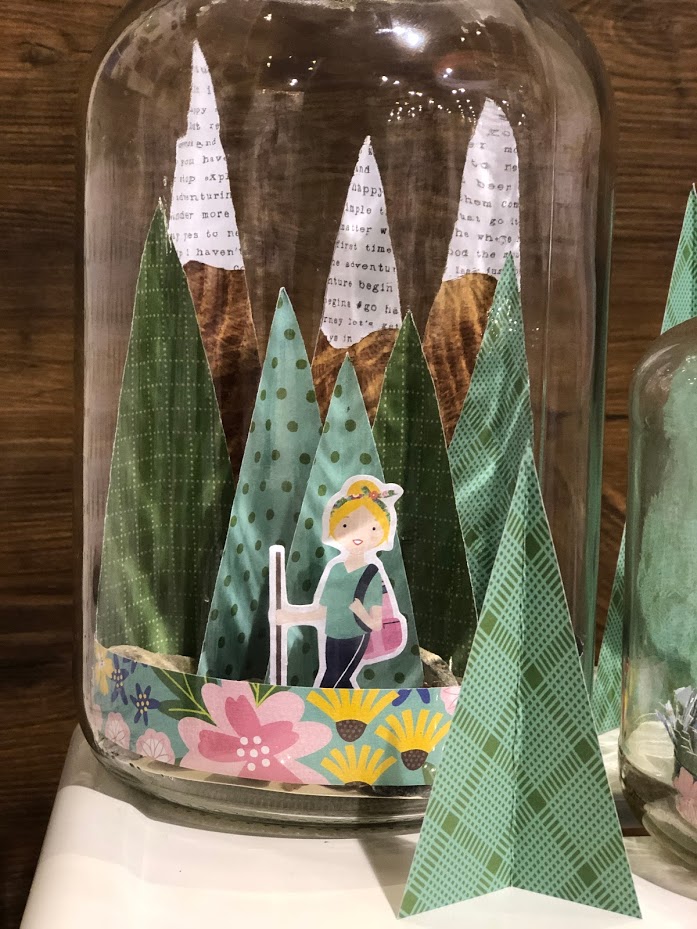
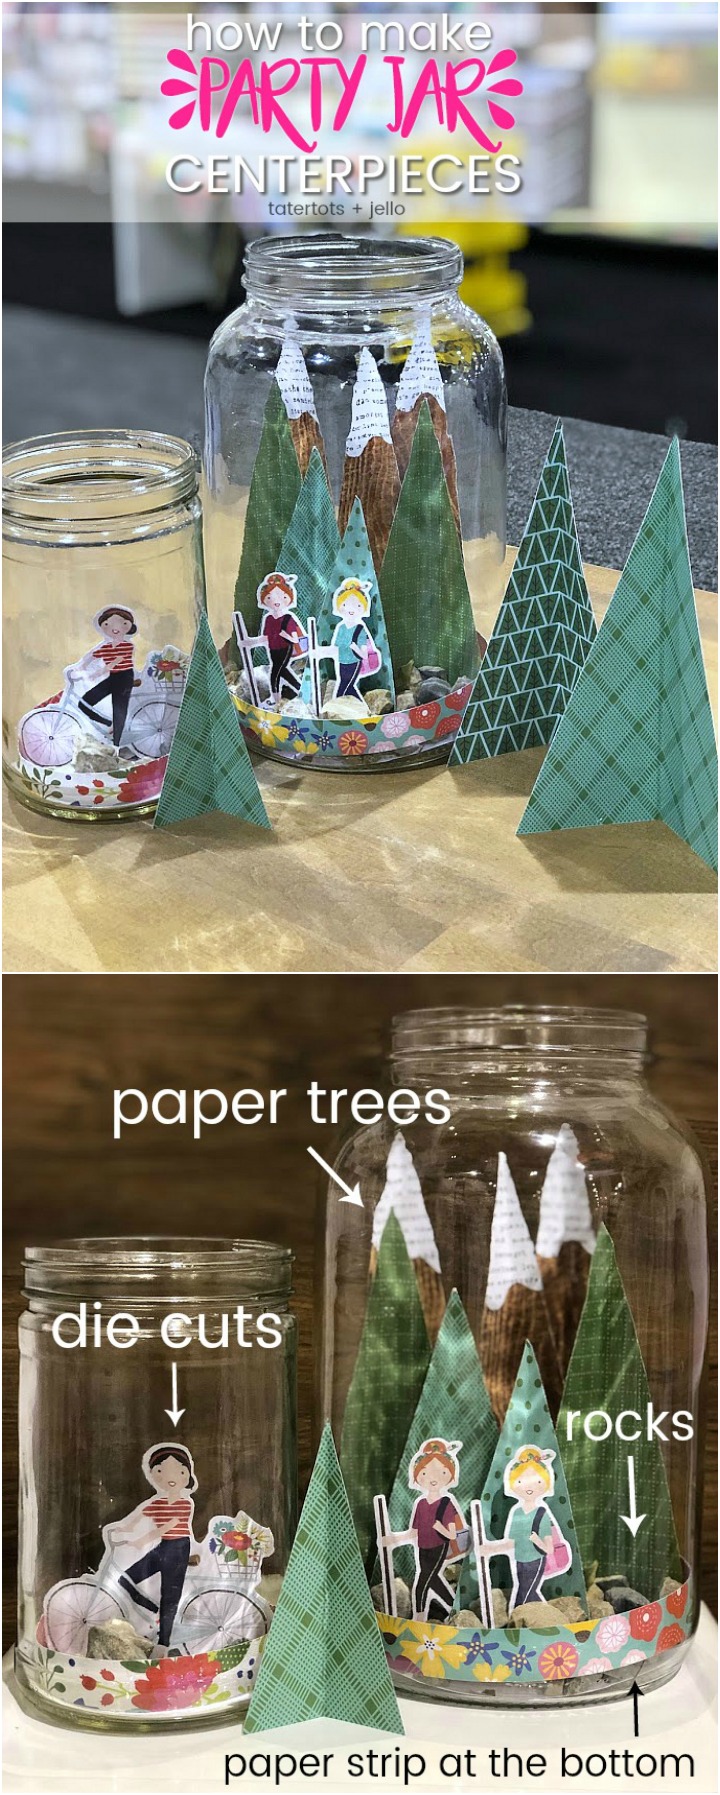
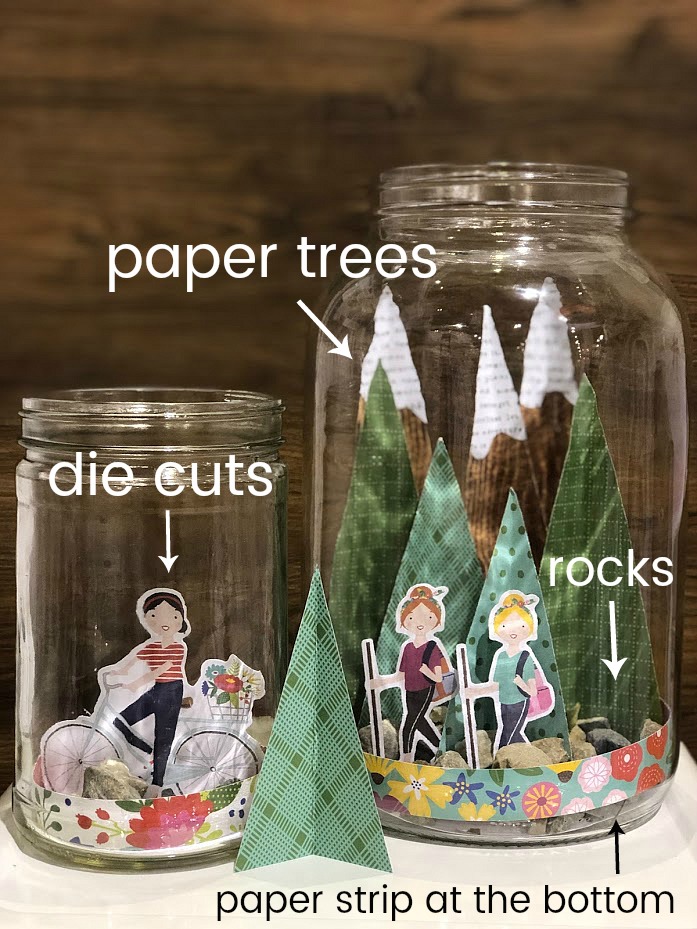
She took jars in all kinds of different sizes, added paper and a few adorable die cuts from our new Chasing Adventures line and transformed jars into adorable vignettes! These jars would be so cute to create as a party centerpiece, but you can also make them and display them in your home. I think they would be so cute to make for a kids bedroom too!
Create Party Jars for Any Occasion or Holiday
The cool thing about this jar idea is you can create ANY kind of vignette. All you need is a couple die cuts and paper. You can create one for Valentine’s Day. or Mother’s Day, Christmas, anything!!
How to Make Party Jar Centerpieces
All you need to create this project is — a jar, paper, a couple die cuts and hot glue.
This post contains affiliate links.
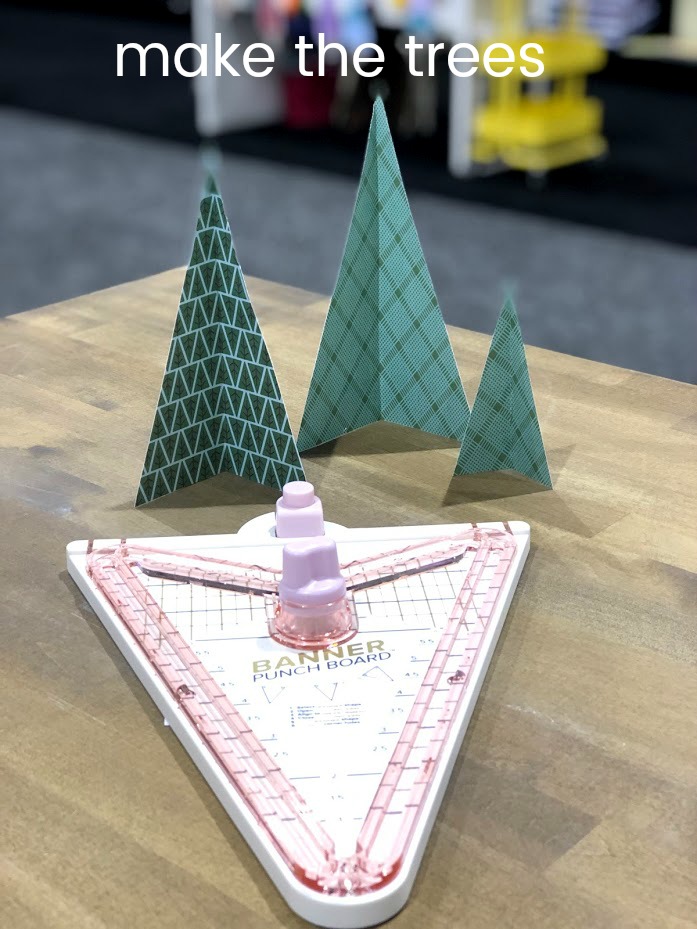
Use the Banner Punch Board to Create Party Trees
If you want to create the trees that are in these jars, you can cut them out with scissors OR you can use the banner punch board. We used the banner punch board to create these trees and it’s SO easy!! They are triangles and you create them in different sizes, then just fold them in half vertically so they stand up!
Instructions:
Create a Base
Trace the bottom of your jar and cut out a piece of paper that is the same size.
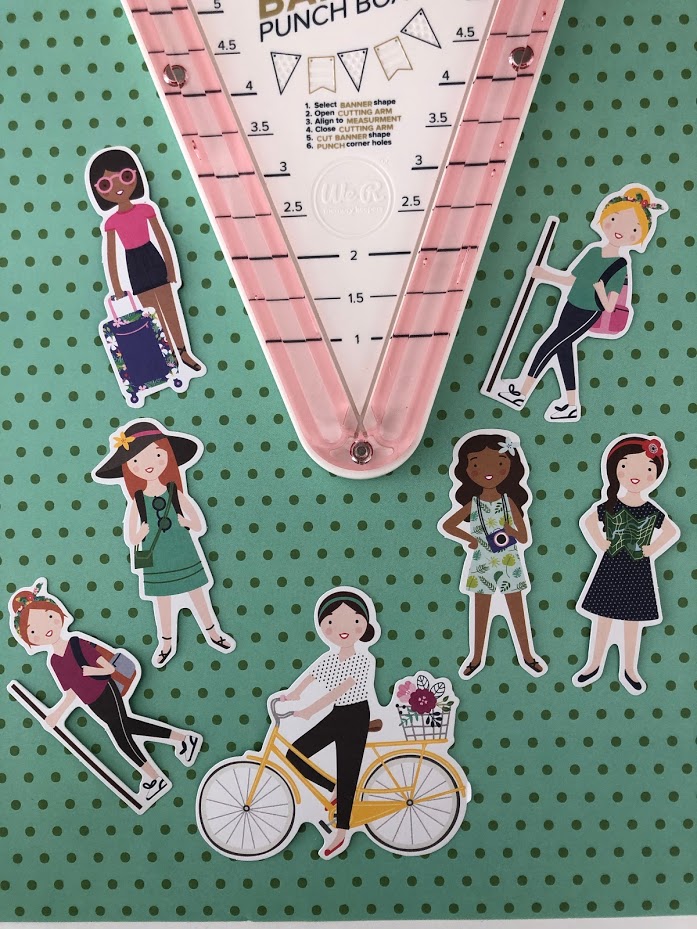
Pick Out Your Die Cuts
We used the cute girl die cuts that are in our Chasing Adventures line. But you can add whatever type of die cut you want — little houses would be so cute, or flamingos for a tropical jar. Whatever die cut goes with your theme.
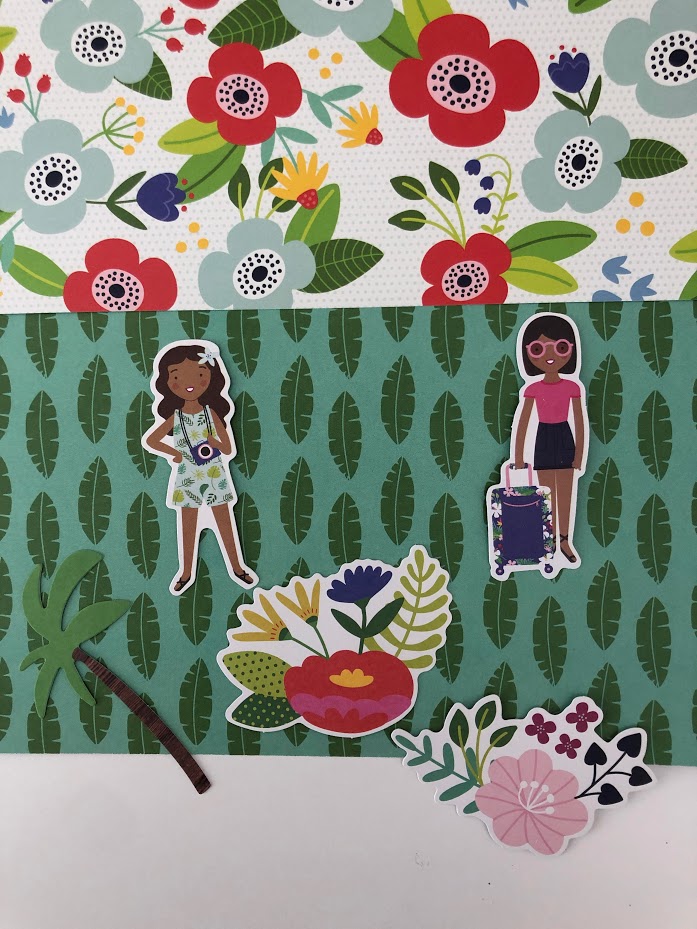
Add Tabs to Your Die Cuts
Cut out tabs to add to the back of your die cuts so they will stand up. It’s just a little rectangle of paper that you fold in half, so there is a place to attach it to the back of your die cut and a place to attach it to the paper base that will go in the bottom of your jar.
Place Your Die Cuts on the Paper Base
Decide on the placement of your die cuts on the round paper base that will go in the bottom of the jar.
Glue the Die Cuts
Use hot glue or glue dots to attach the tab to the back of your die cuts and the other end of the tab to the paper base.
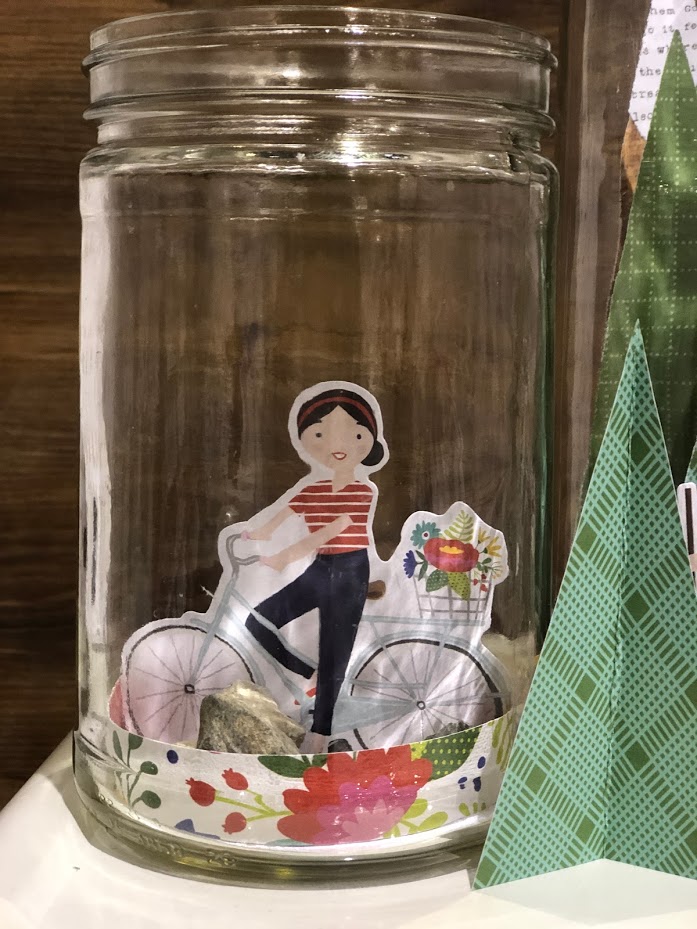
Add Other Elements
You can create paper trees like the ones we used. Other elements that you could add could be paper buildings, palm trees, mountains, whatever background you want in the back of your jar. Make tabs for those elements and attach them the same way you did with the die cuts, attaching them to the paper base.
Insert the Paper Base
Put the paper base with your die cuts and paper elements into the bottom of the jar.
Add a Paper Ring
This is optional. You can add a ring of paper at the bottom if you want. To do this just measure the circumference of your jar and cut a 2 inch strip of paper that is that measurement. Then hot glue the ends together to create a circle of paper. Then insert it into the bottom.
Add Pebbles to the Bottom
We put little stones in the bottom of our jar. They added a little natural element to the jar. You could also add glass beads or rice too if you want.
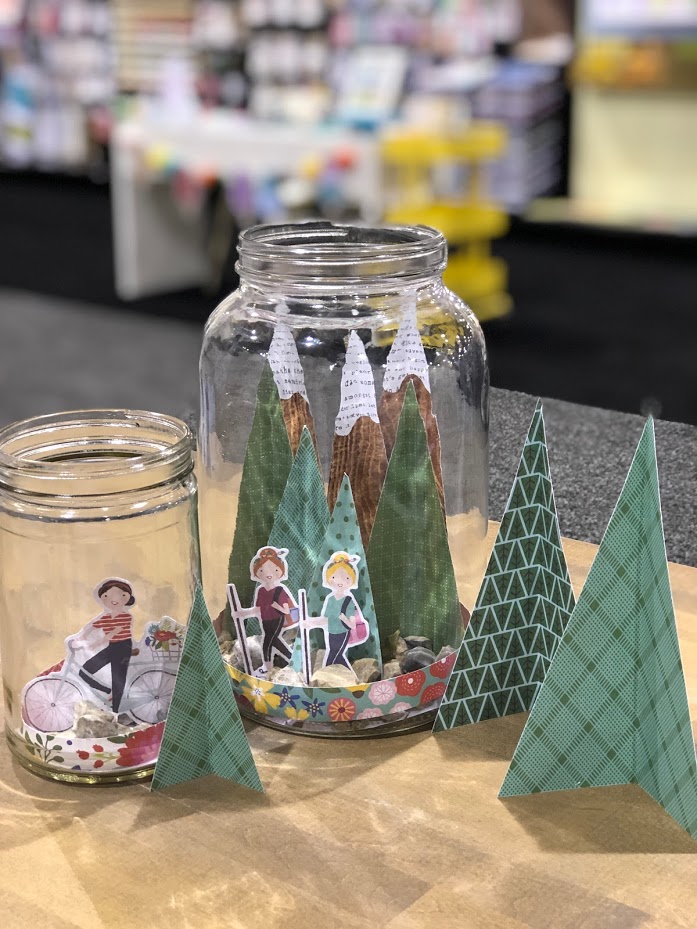
Enjoy Your Party Jar Centerpieces!!
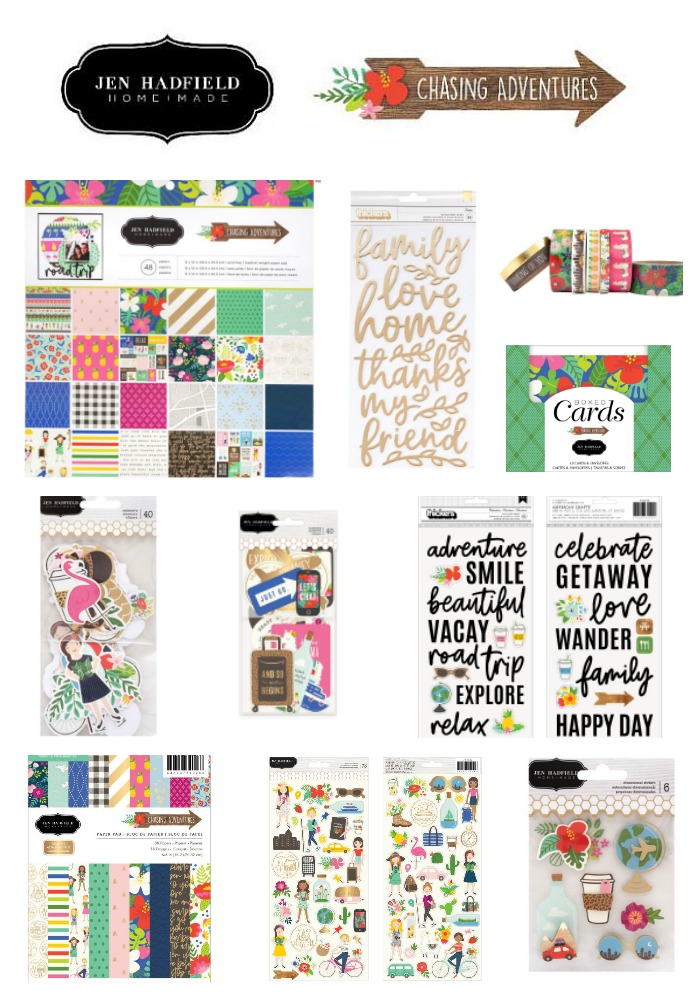
Chasing Adventures Line
I hope you enjoyed this tutorial!! My Chasing Adventures line with Pebbles and American Crafts will start shipping this week. I am SO excited!! You can order it online through Pebbles In My Pocket online! And I have some news about my paper line that I can’t wait to share with you soon!!
I am also writing up my 10 favorite new products from the Creativation Show and I will share that with you this week. I always come back from the show so inspired to create!!
Have a Creative Day!
xoxo



OMG this is so cute!!!! what an awesome idea! I can’t wait to try it.
Thanks Ellen! I hope you are having a great 2019 so far!!
xoxo