How to Hide a Wall Switch Plate with a Painting. Learn how to hide a wall switch plate with a painting by creating a simple hinged frame that keeps every switch accessible.
How to Hide a Wall Switch Plate with a Painting
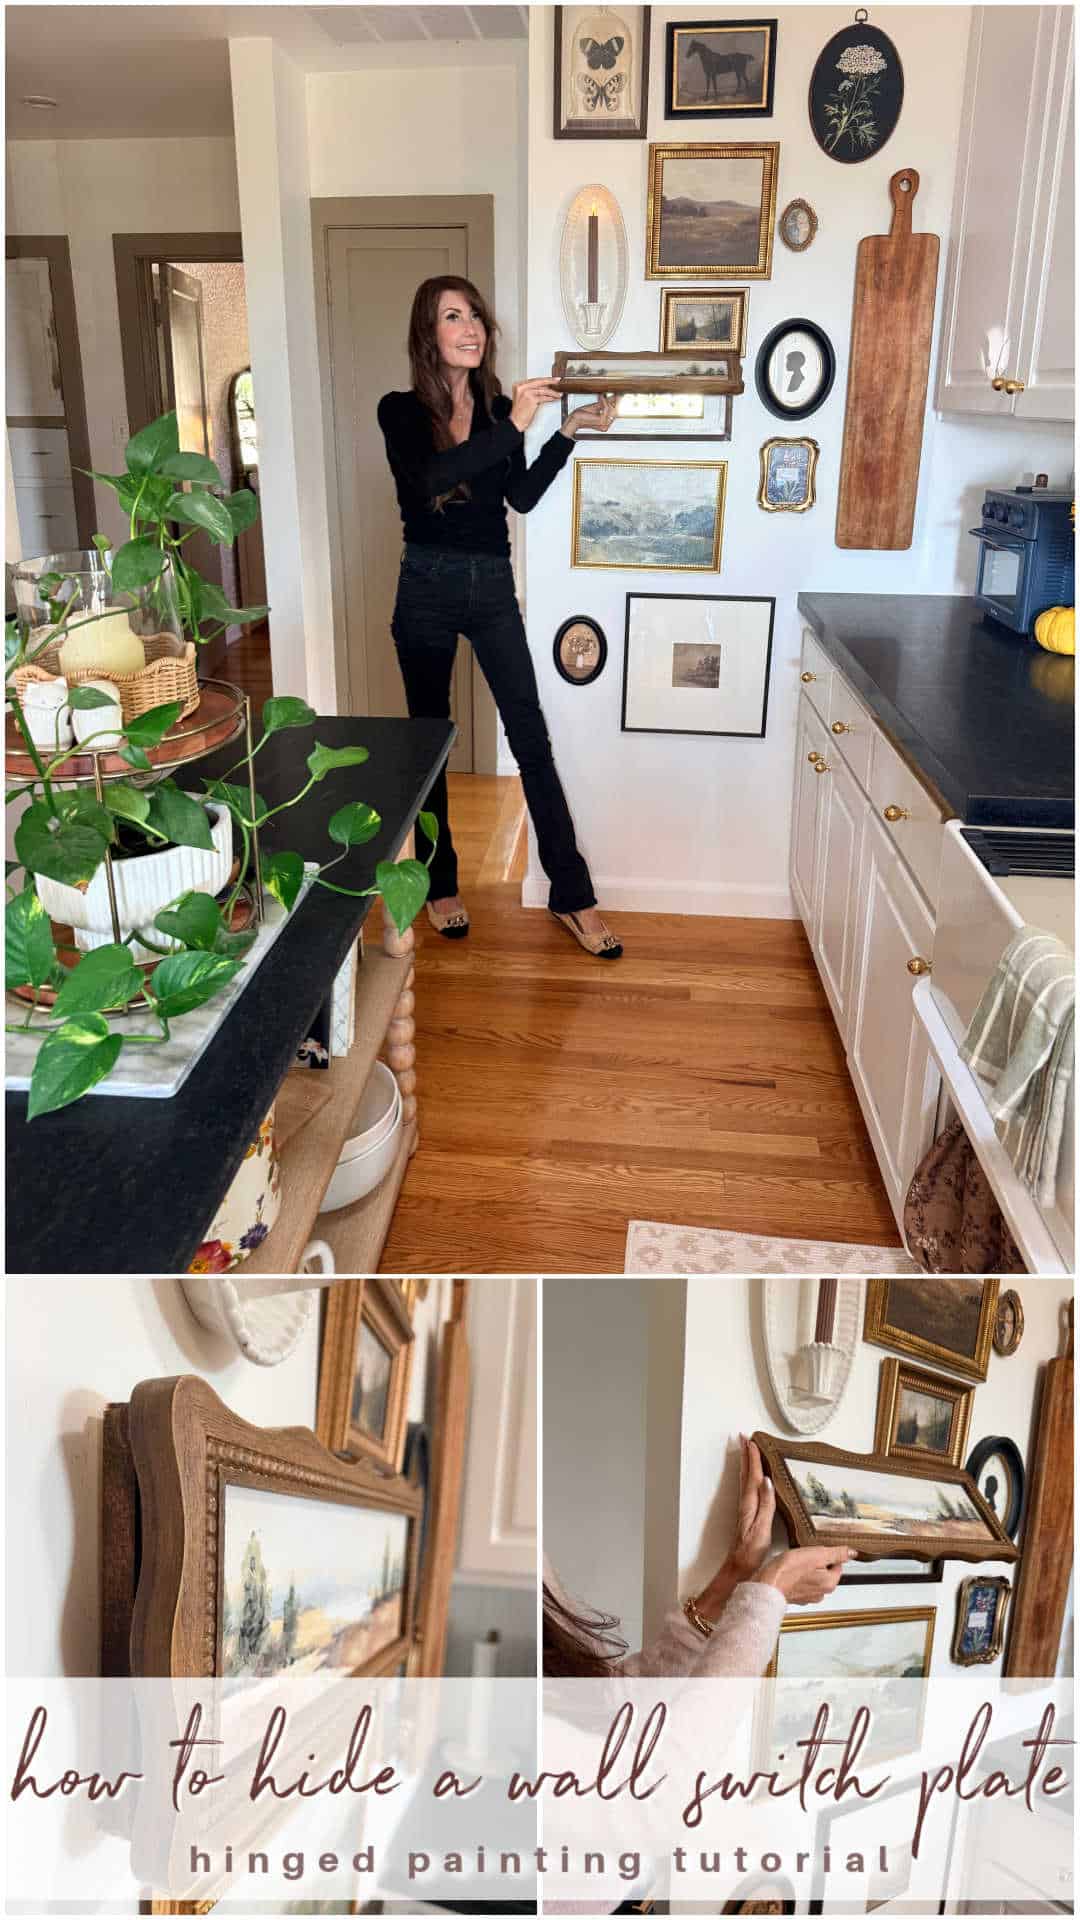
How to Hide a Wall Switch Plate
Our small 1932 Tudor kitchen had one decorating challenge that I could not ignore: a huge five-gang light switch right in the center of the wall.
Five switches take up a surprising amount of space, and the wall plate immediately drew your eye when you walked into the room. I wanted to create a beautiful gallery wall there, but I did not want the oversized switch plate to become the center of it. I decided the easiest way to hide the wall switch plate was with a painting that could open whenever we needed to use the lights.
Why We Did Not Move the Five-Gang Wall Switch
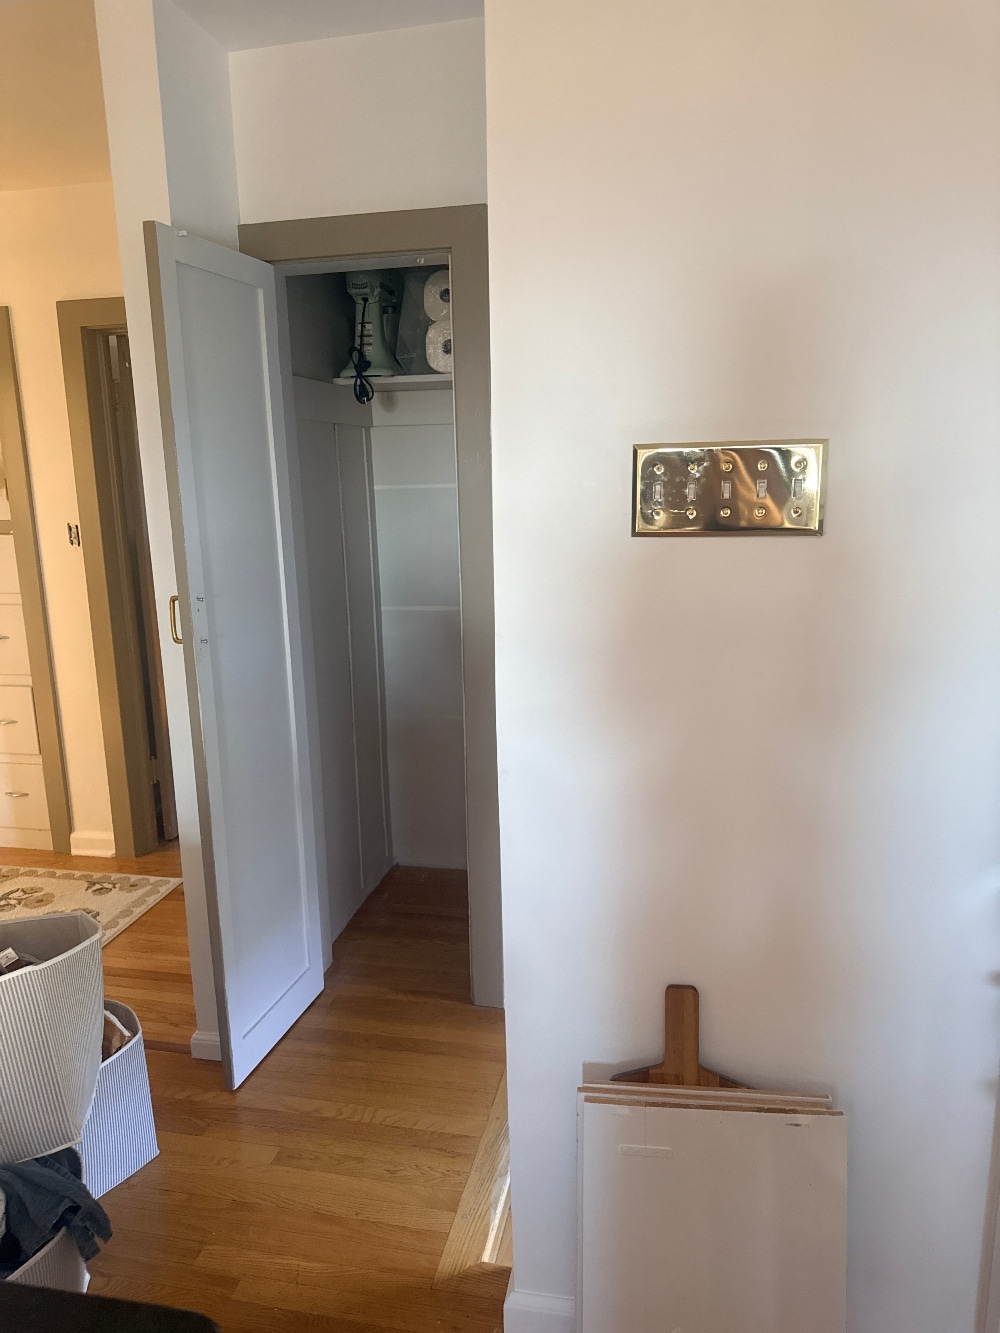
Our Tudor has original lath-and-plaster walls. Moving the switches could have meant opening the plaster, rerouting five electrical connections, repairing the wall, and repainting everything.
That would have been difficult, messy, and expensive. Instead, I decided to leave the switches exactly where they were and hide them behind a painting that could open whenever we needed to use them.
Turn a Painting into a Hinged Wall Switch Plate Cover
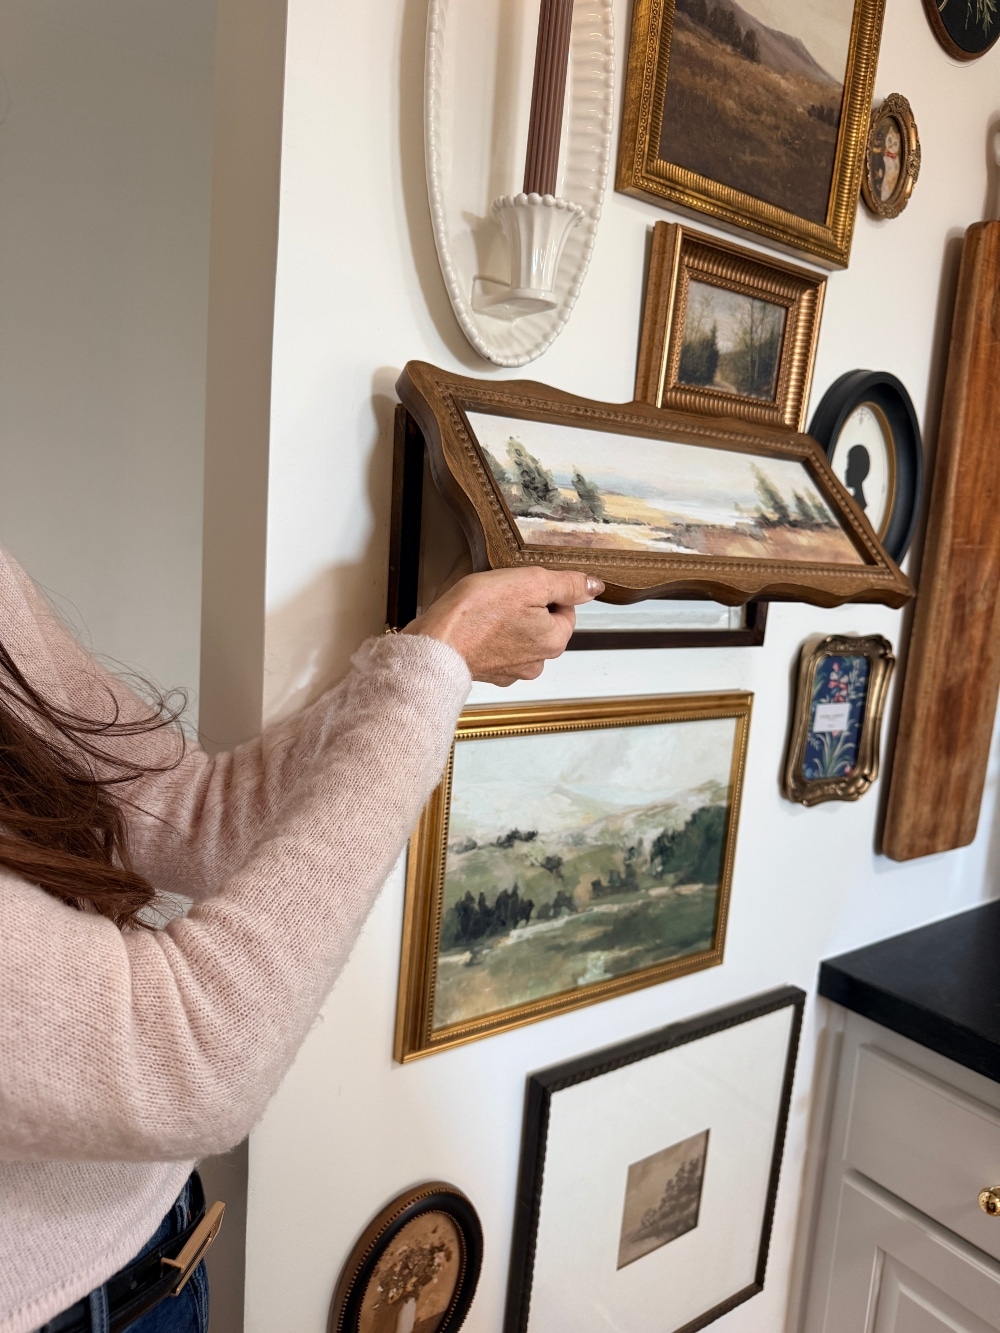
I already owned a framed painting that was the perfect size to cover the five-gang wall plate. I built a shallow wood support frame behind it and connected the painting to the new frame with two small hinges.
The support frame stays on the wall while the painting lifts open like a tiny door. All five switches remain easy to reach, and when the painting is closed, it blends beautifully into the surrounding gallery wall.
See the Finished Gallery Wall and Paper Template Tutorial
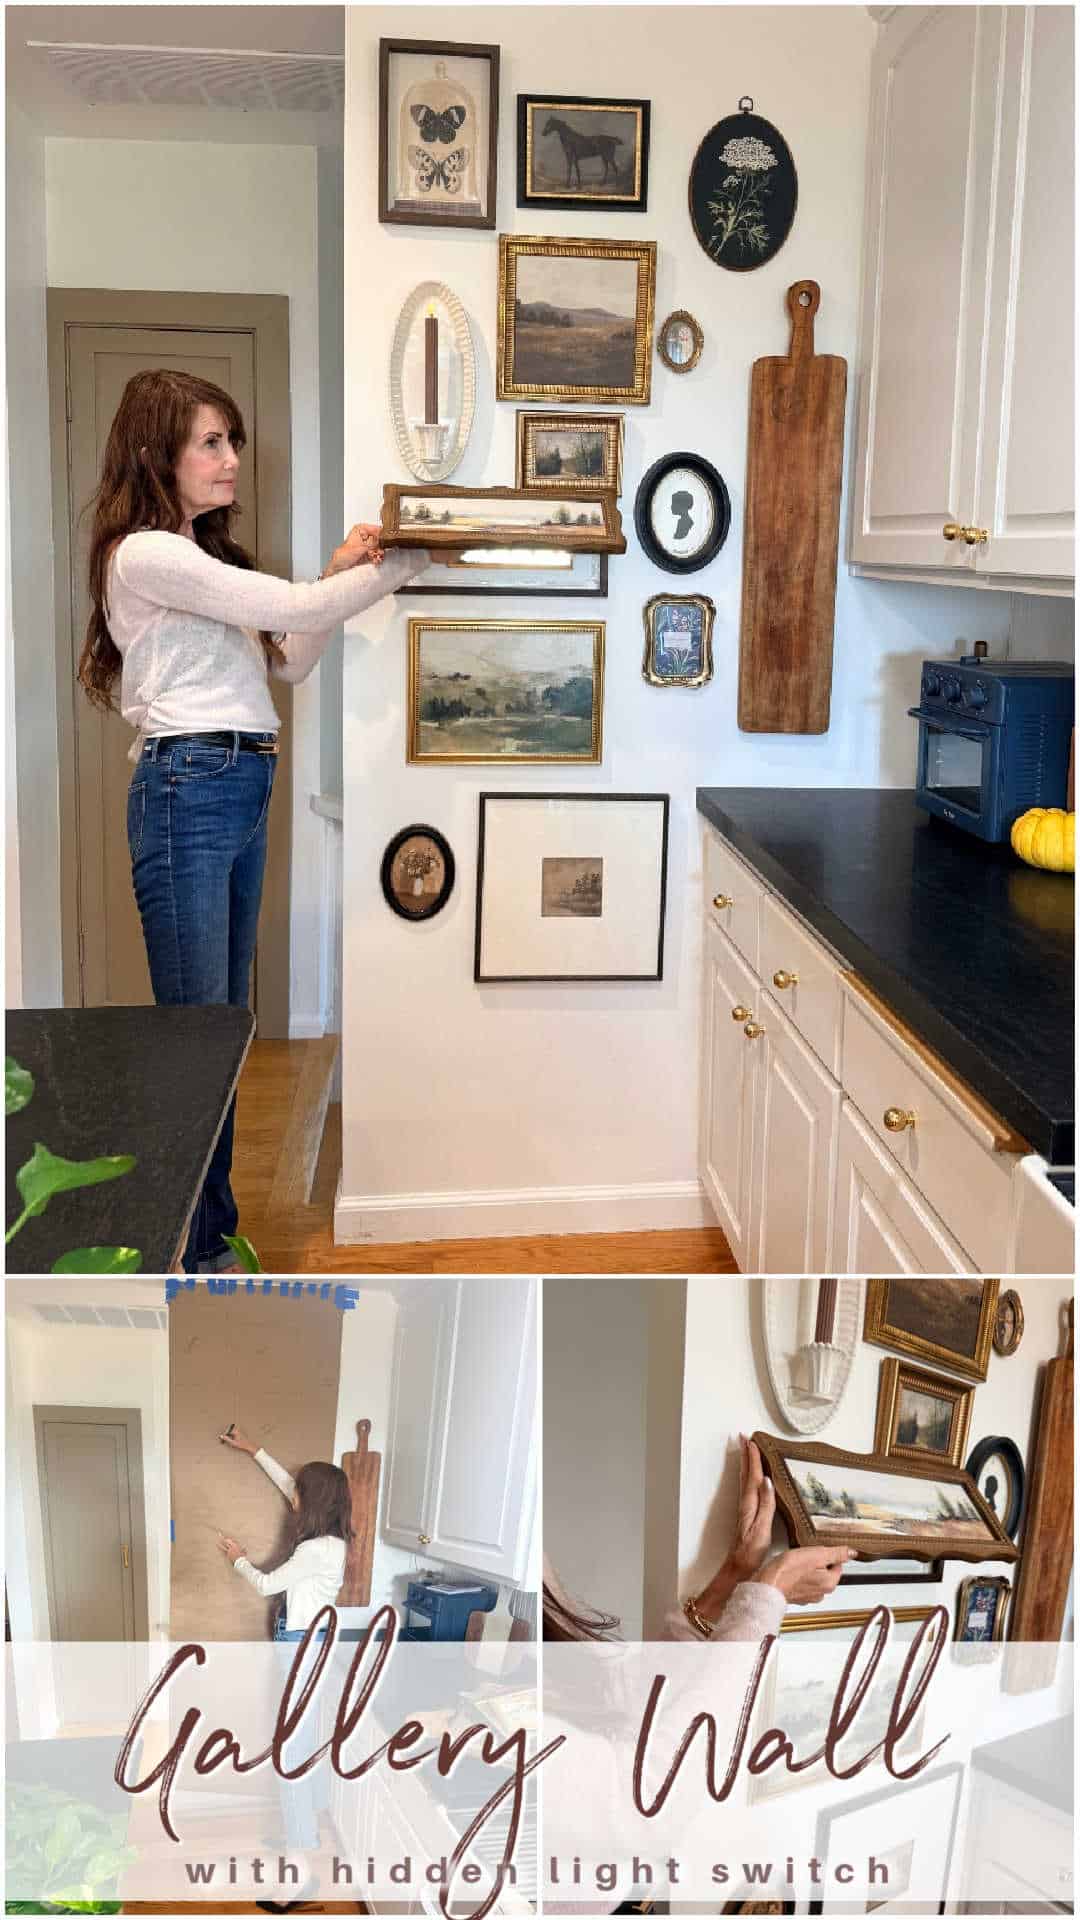
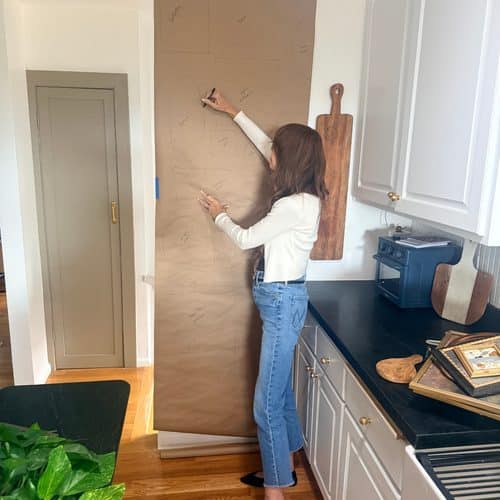
I designed the entire gallery wall around this hinged painting and used a full-size butcher paper template to perfect the spacing before adding any nails.
You can see the completed wall and follow my tutorial for how to create a gallery wall using a butcher paper template!
Important Safety Notes Before Covering a Wall Plate
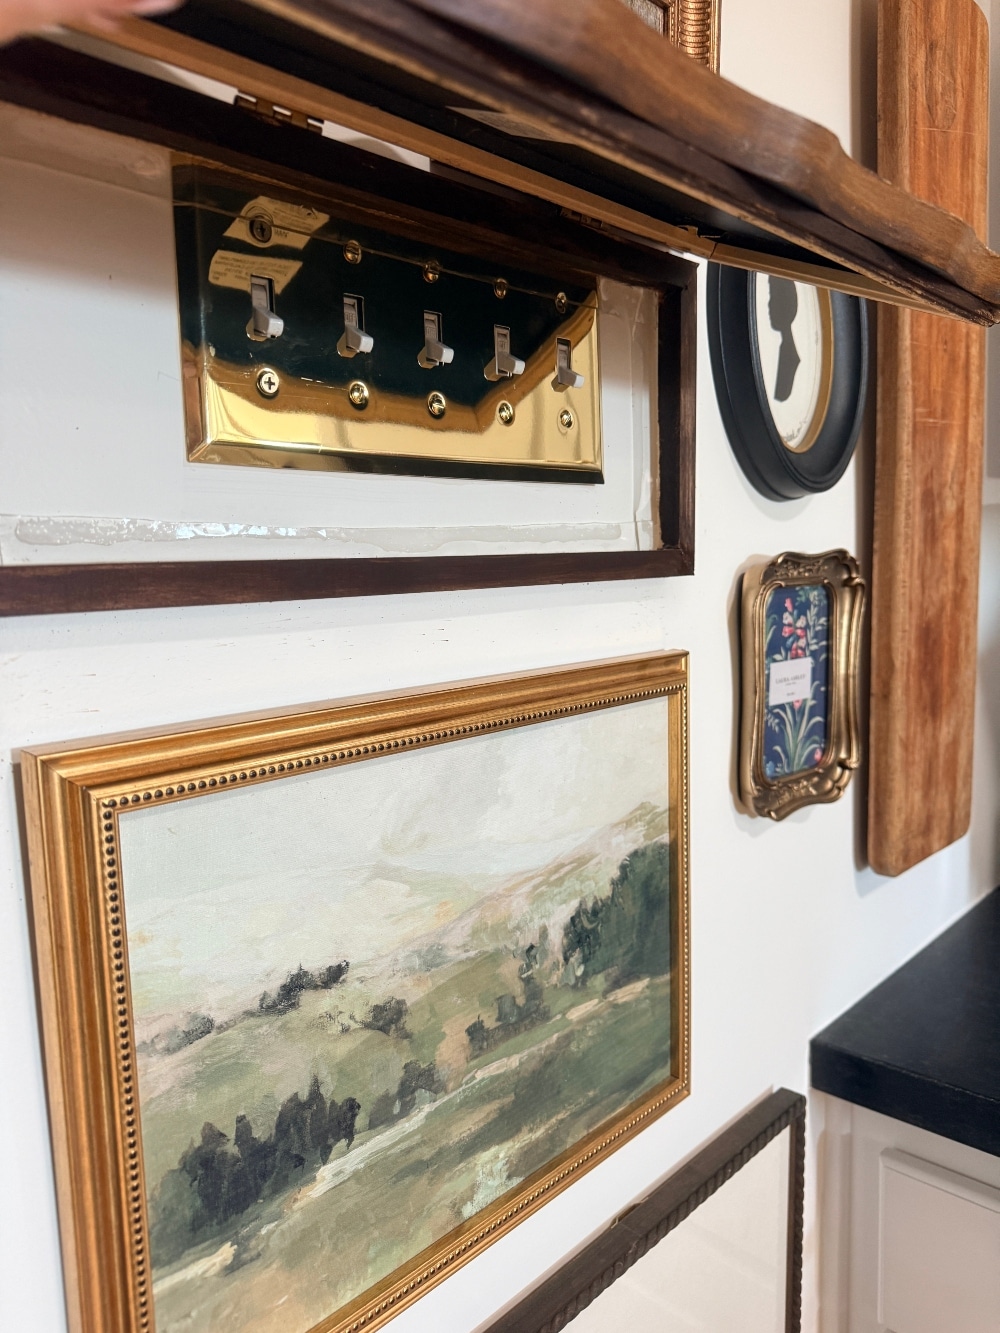
This project is a decorative cover, not an electrical modification. The wall plate, switches, and electrical box should remain properly installed and fully accessible.
Do not attach wood, hinges, adhesive, or hardware to the wall plate itself. Never cover exposed wiring or an uncovered electrical box. Make sure the painting has enough depth and clearance that it does not press against the switches when closed.
If you are unsure about the condition of the wiring, wall plate, or electrical box, ask a licensed electrician before beginning the project.
Supplies to Hide a Wall Switch Plate with a Painting
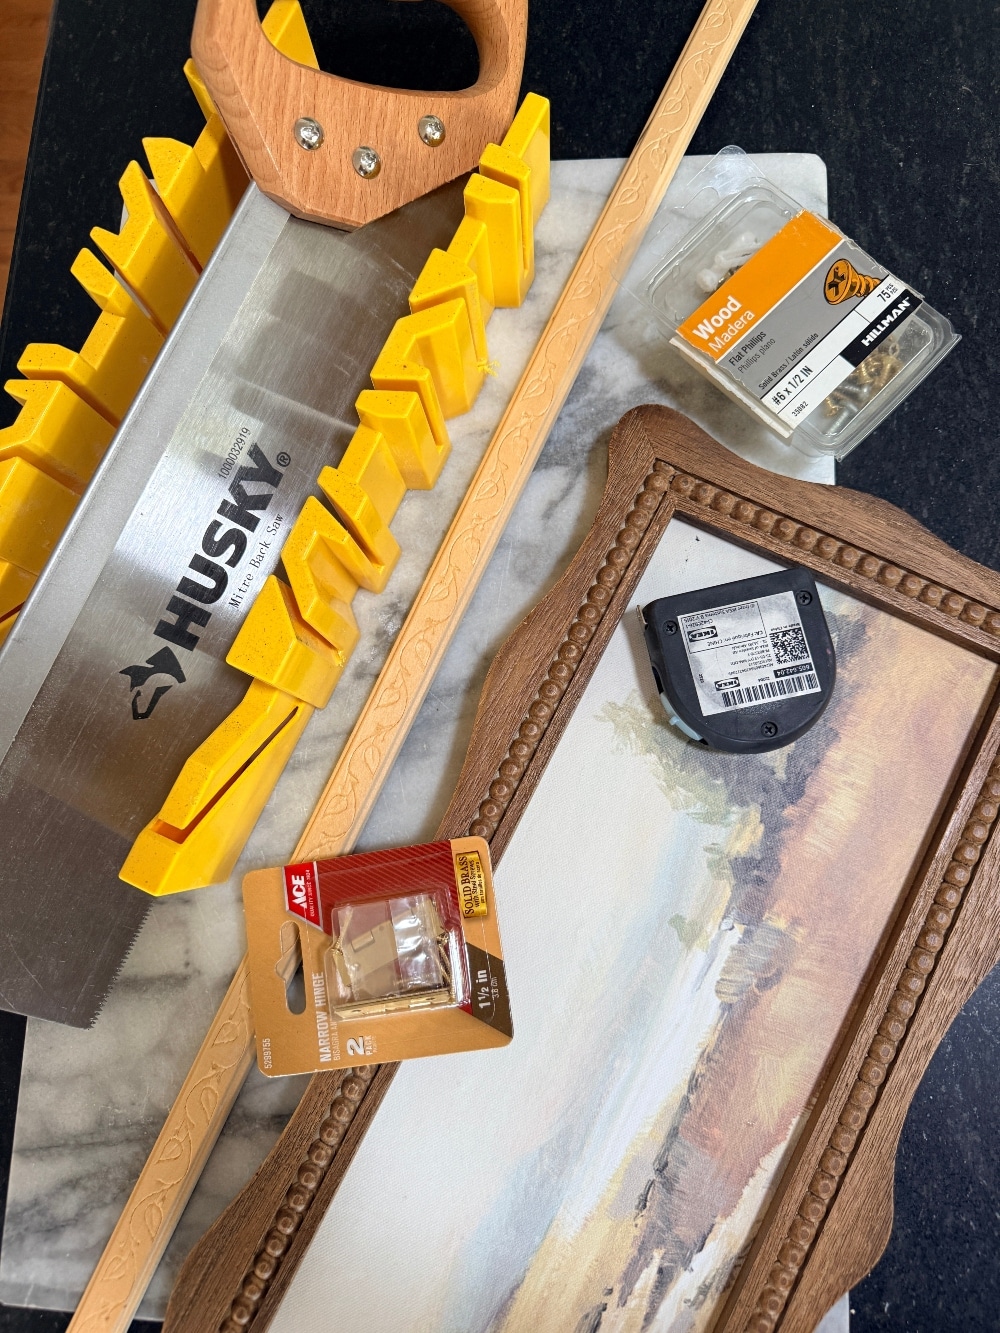
- A framed painting large enough to cover the complete wall plate
- Wood molding that coordinates with the size and depth of the painting frame
- Measuring tape
- Pencil
- Miter saw or miter box kit
- Wood glue
- Nail gun and appropriately sized brad nails
- Two small hinges and screws
- Wood stain that coordinates with the painting frame
- Paintbrush or staining cloth
- Strong double-sided mounting tape rated for the combined weight and your wall surface
- Level
- Safety glasses
Step 1: Measure the Wall Plate and Painting
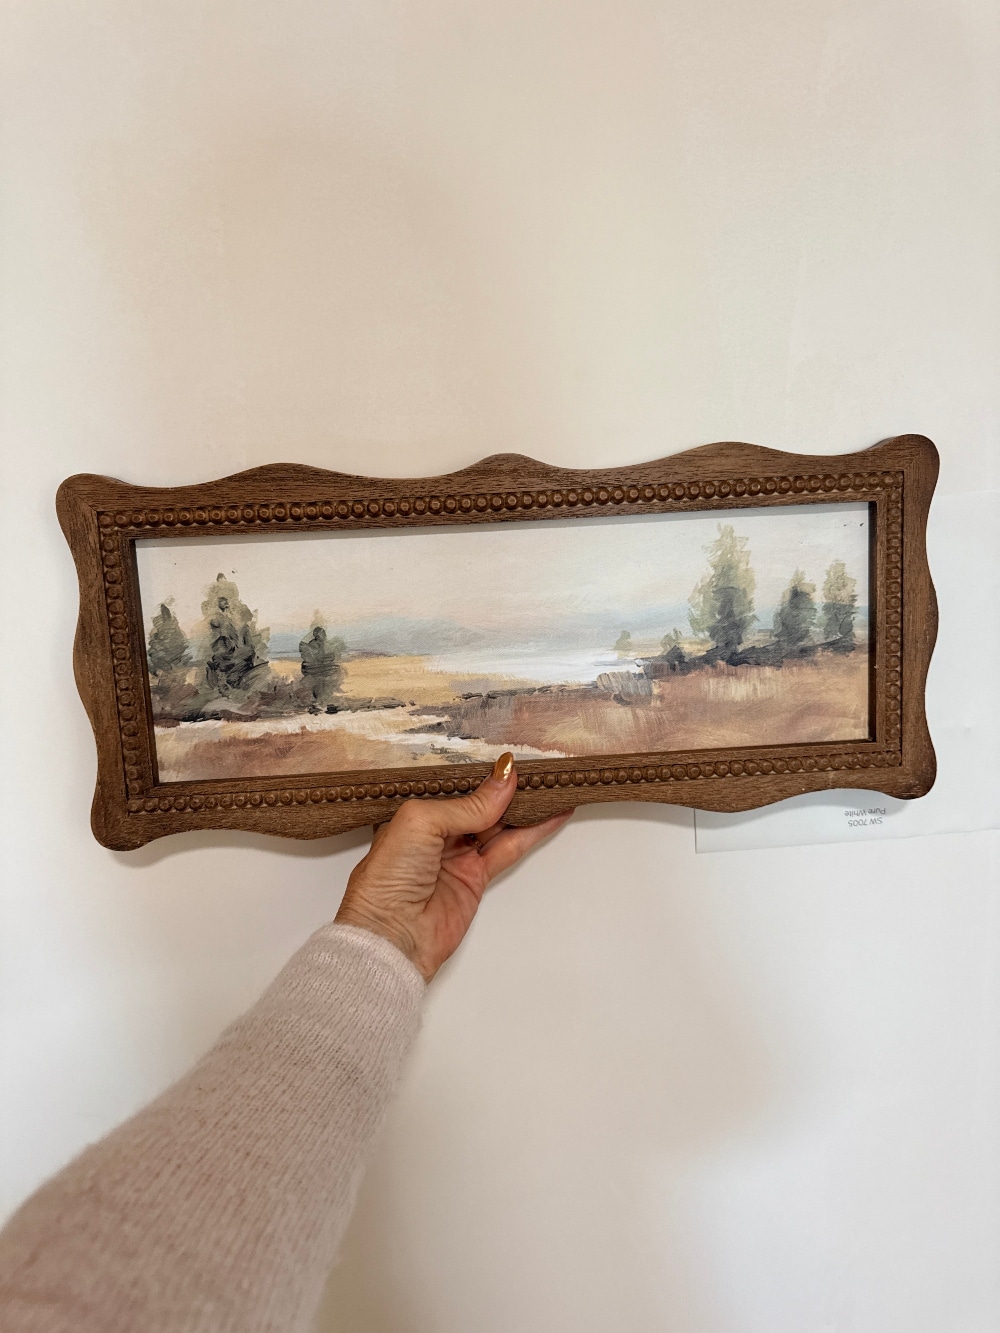
Measure the complete width and height of the wall plate. Then make sure your framed artwork covers it with extra room on every side.
Hold the painting over the switches and check that it can open without hitting a cabinet, corner, light fixture, or neighboring artwork. You also need enough clearance behind the painting so it does not press the switches when it is closed.
Step 2: Plan the Wood Support Frame
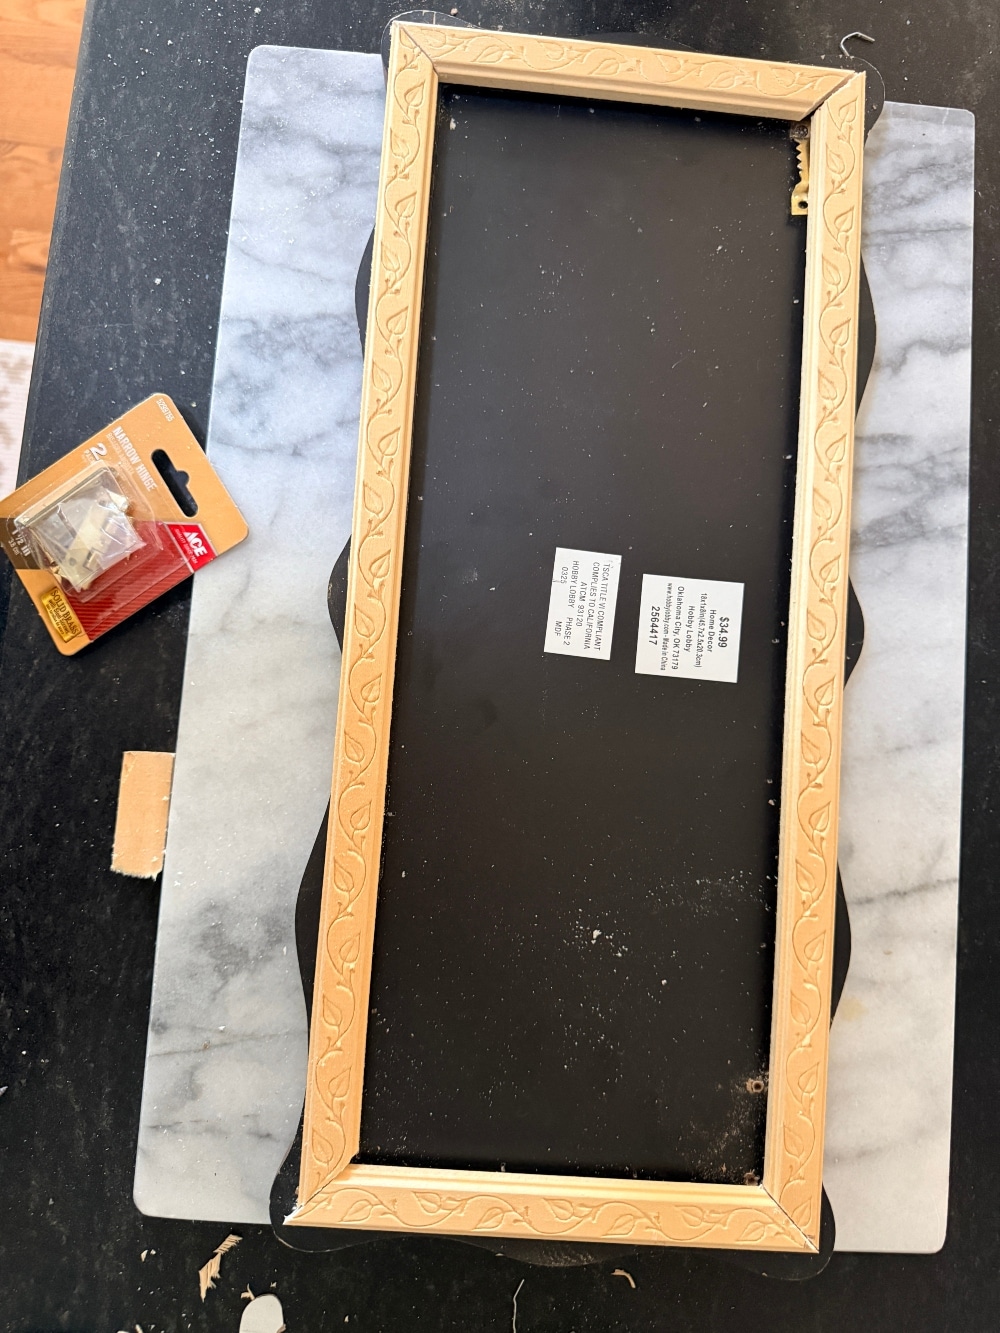
The new support frame will attach to the wall and sit directly behind the painting. I chose molding that was similar in size to the existing painting frame so the new wood would disappear behind it when viewed from the front.
The support frame needs to be deep enough to clear the wall plate and switches while still allowing the painting to sit close to the wall.
Step 3: Cut the Molding with Mitered Corners
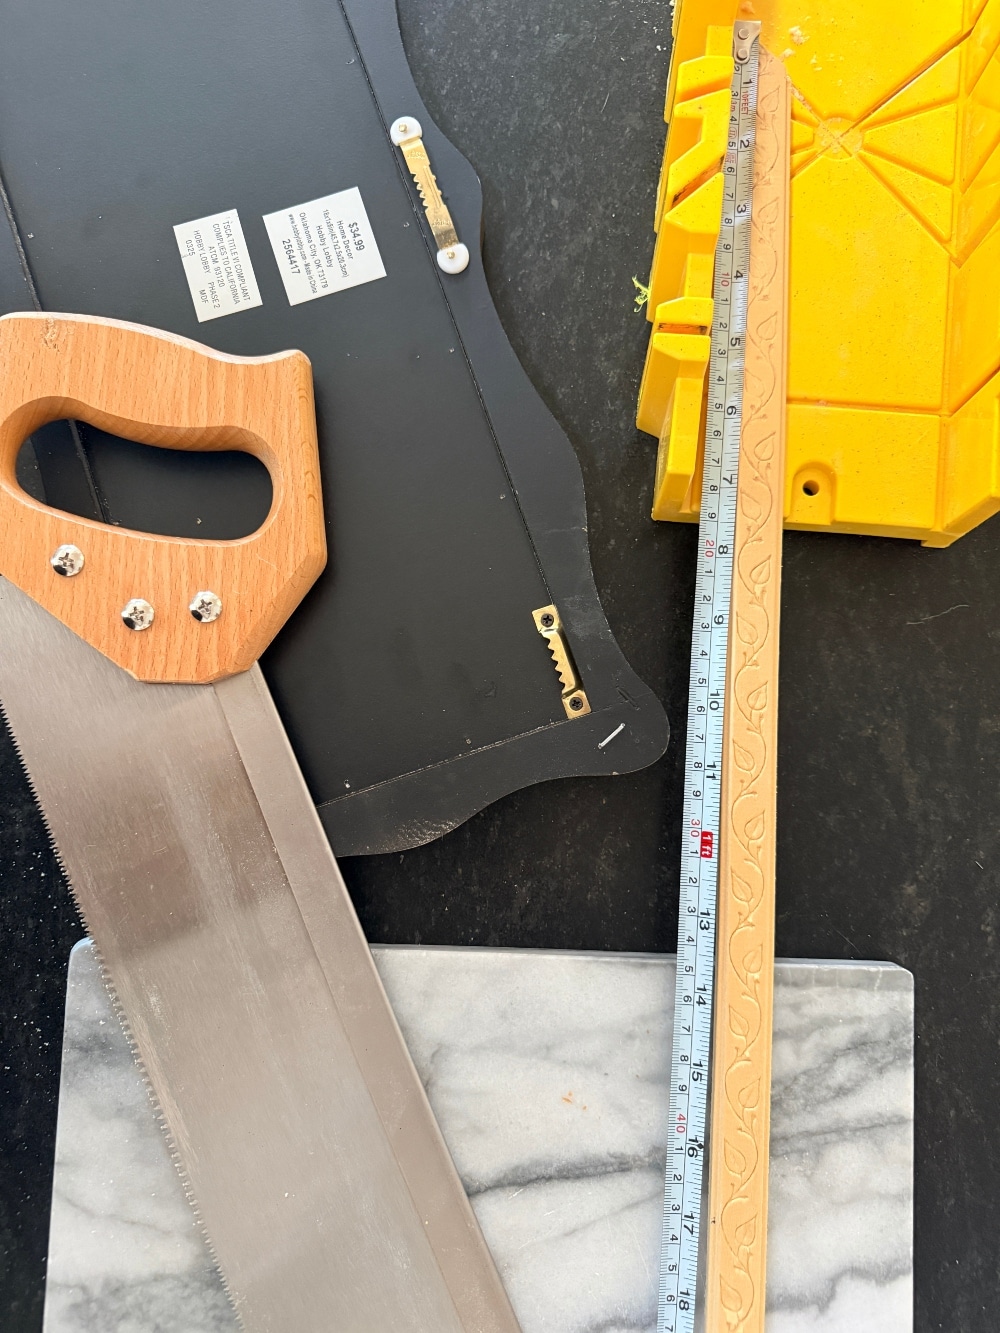
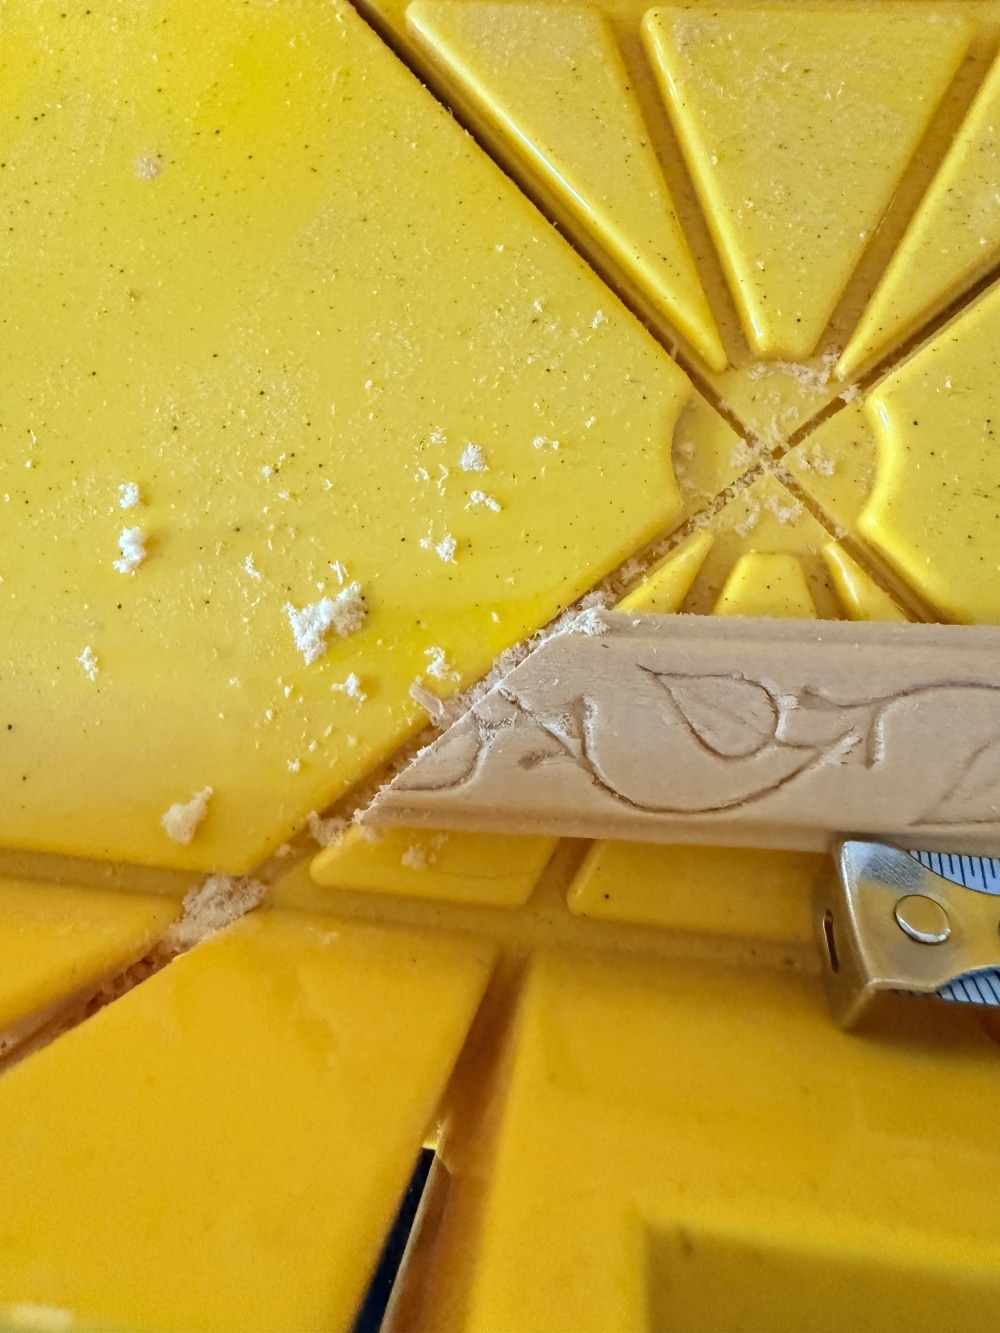
I measured four pieces of molding to create a rectangular frame the same size as the back of the painting. Then I used a miter saw kit to cut each end at a 45-degree angle.
Dry-fit all four pieces before gluing them together. This is the best time to make small adjustments and confirm that the corners meet neatly.
Step 4: Glue the Wood Frame Together
I applied wood glue to each mitered edge and pressed the four corners together. Check that the frame is square and wipe away any excess glue before it dries.
Let the wood glue dry according to the manufacturer’s directions before moving on to the next step.
Step 5: Reinforce the Frame with a Nail Gun
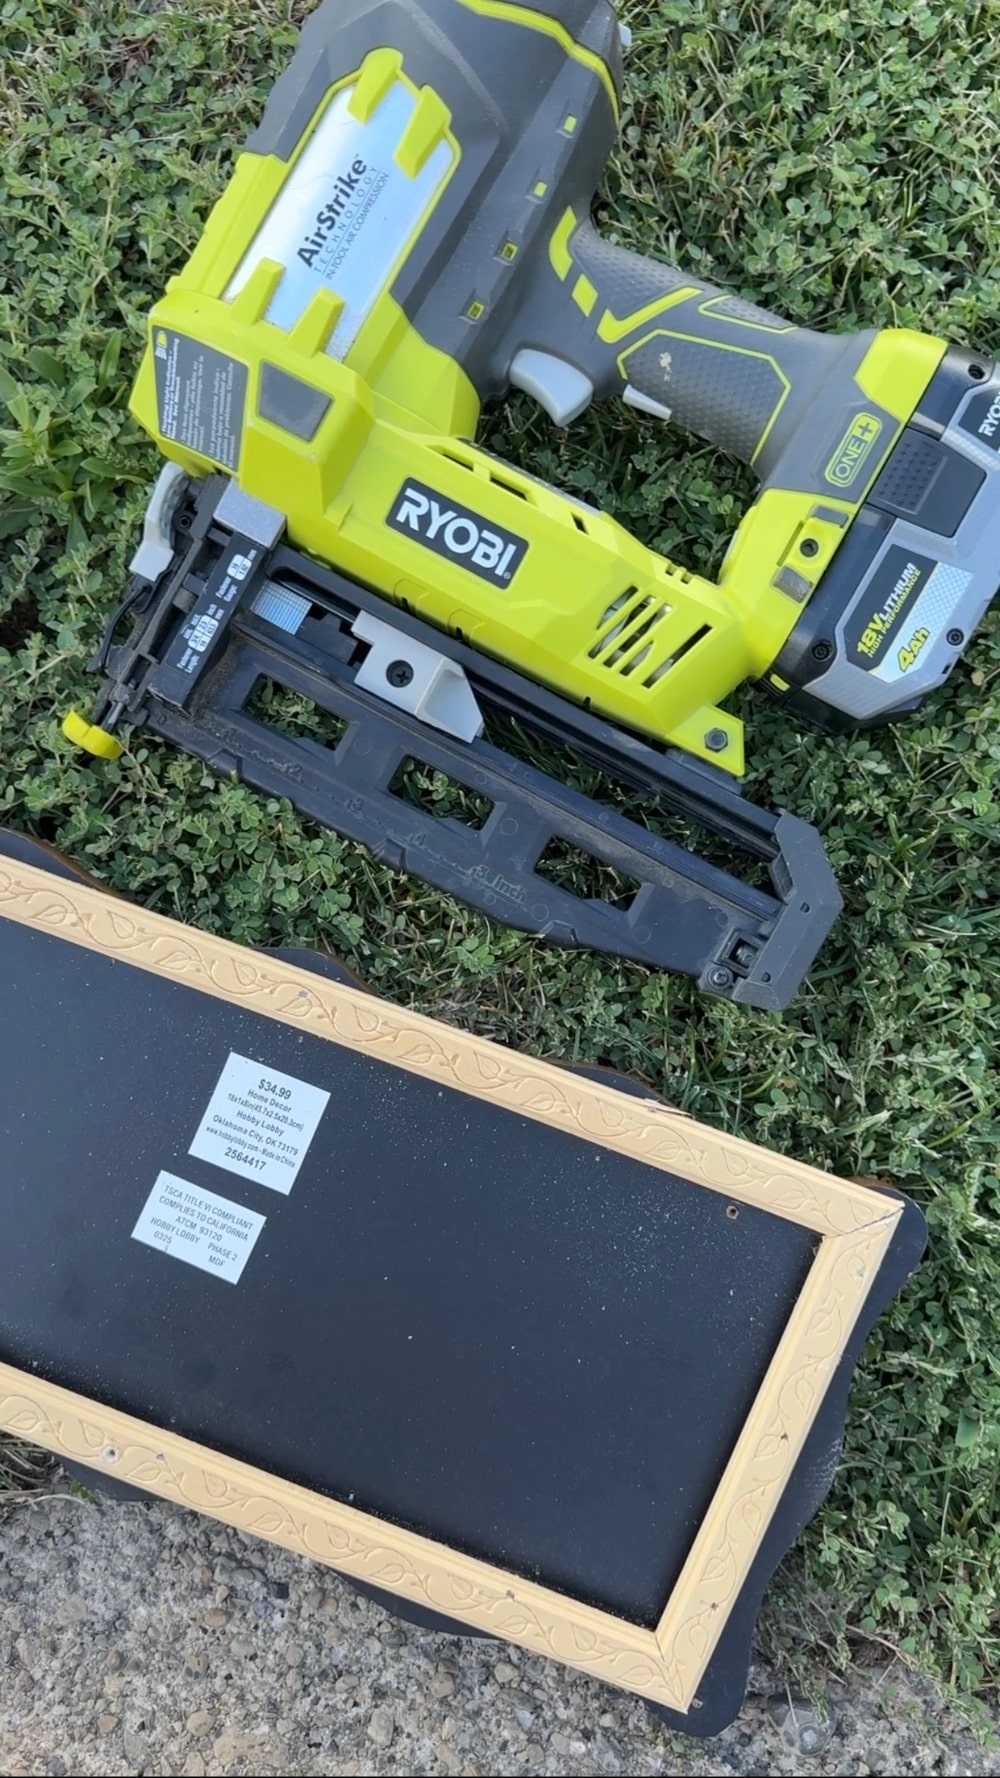
Once the glue was dry, I used my nail gun to reinforce the corners. I added small brad nails through the outside edges to hold each mitered joint together.
Choose nails that are long enough to secure the joint but short enough that they will not come through the face of the molding. Always wear eye protection and keep your hands clear of the nail path.
Step 6: Stain the Support Frame to Match the Painting
I stained the new wood frame to coordinate with the existing frame around the painting. I also stained it on the wall – which I do NOT recommend. Stain it before you hang it up LOL! The stain colors do not need to be absolutely identical, but a similar finish helps the two frames look like one piece from the side.
Allow the stain to dry completely before attaching the hinges or hanging the frame.
Step 7: Attach the Painting with Two Small Hinges
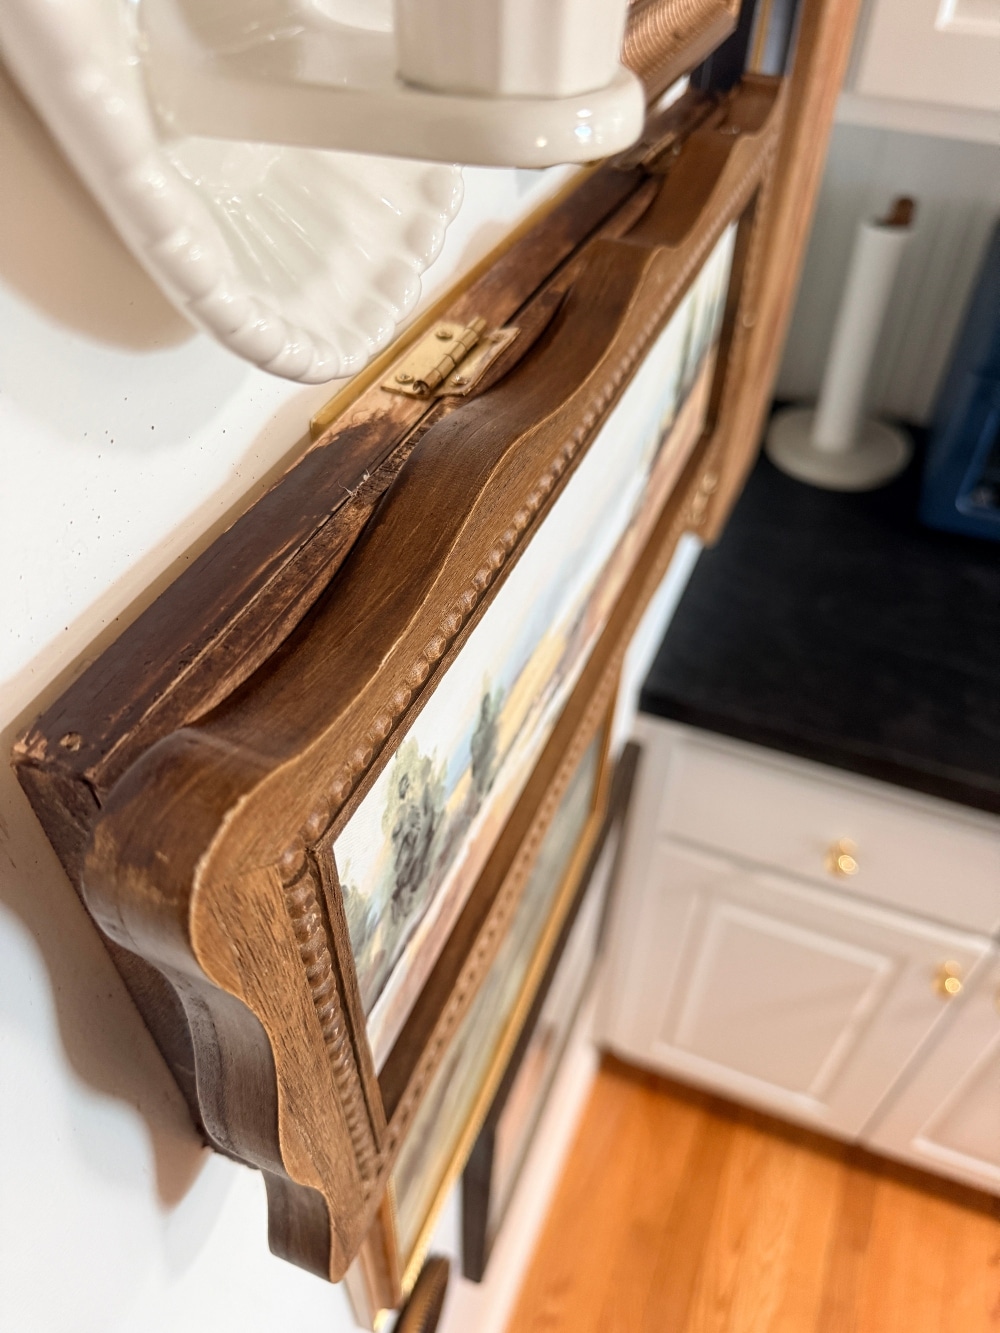
I positioned two small hinges along one side of the support frame and attached the other side of each hinge to the painting frame.
Before adding all the screws, test the movement and make sure the painting is straight. The hinges should allow the artwork to lift easily without binding or scraping against the support frame.
Step 8: Test the Hinged Painting Before Hanging It
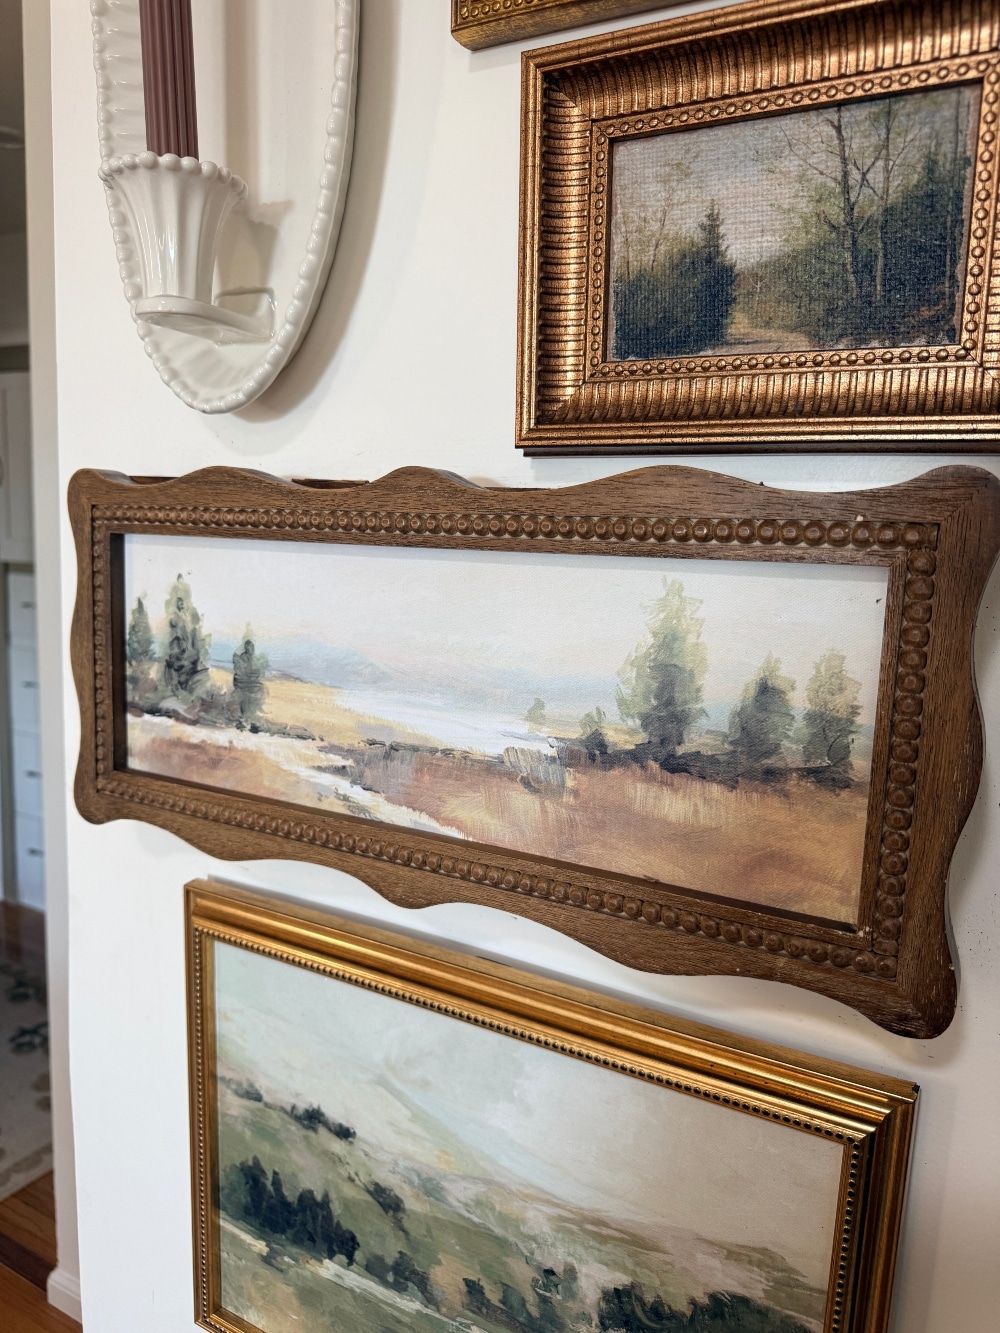
Open and close the painting several times. Make sure the hinges feel secure and the frame does not twist.
Hold the complete piece over the wall plate and confirm that all of the switches are easy to reach. Check again that the back of the painting does not touch or activate any switch when the artwork is closed.
Step 9: Attach the Support Frame to the Wall
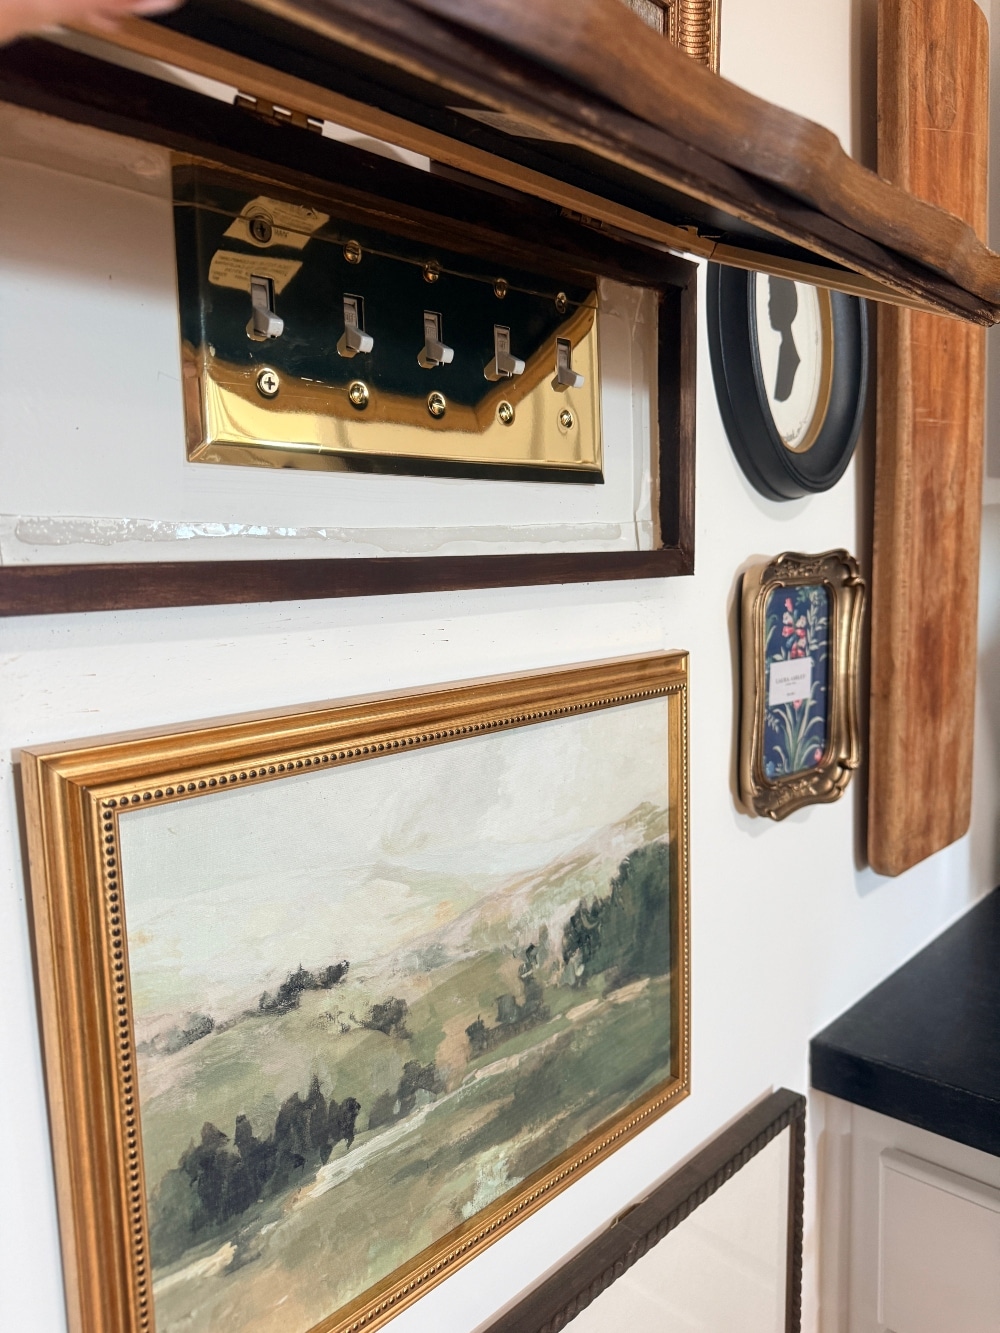
I used very strong double-sided mounting tape to attach my lightweight support frame to the wall. The tape has worked so well for this project and allowed me to avoid additional holes in our original plaster.
Follow the tape manufacturer’s directions carefully and make sure it is rated for the total weight of the wood frame, painting, and hardware as well as your wall finish. Clean and prepare the surface exactly as directed before installing the tape.
For a heavier painting, use mechanical picture-hanging hardware suited to the frame, your wall type, and the combined weight. Do not rely on adhesive if the manufacturer does not specifically approve it for your materials or load.
Step 10: Center the Painting Over the Wall Plate
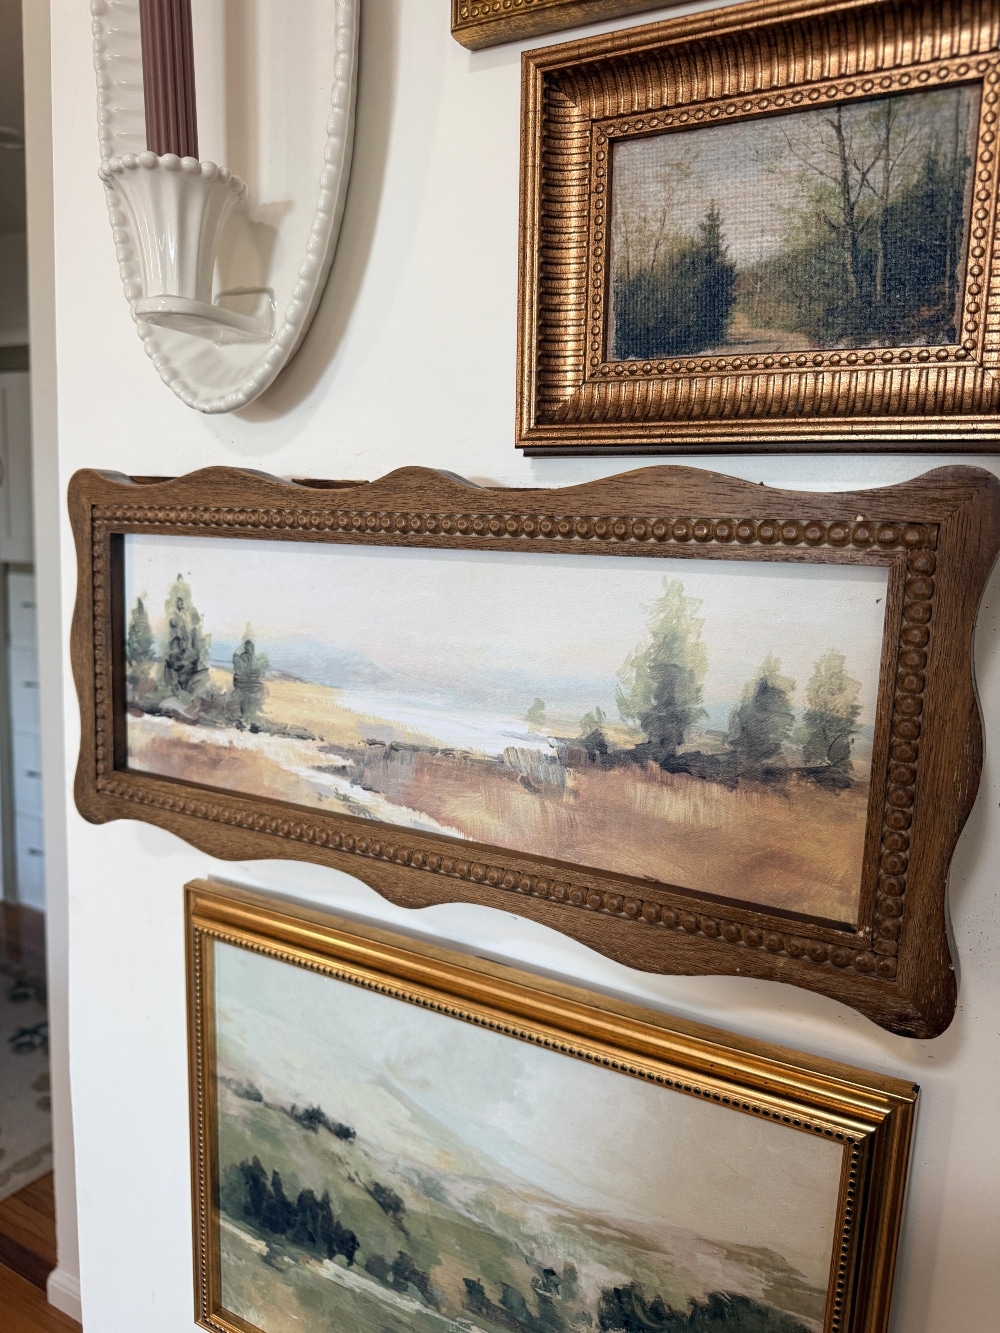
Use a level to position the support frame so the closed painting completely disguises the wall plate. Press or secure the frame according to the directions for your selected mounting method.
Once the frame is secure, open the painting and test every switch again. The finished cover should remain stable while opening and closing and should never interfere with the operation of the switches.
Easy Access to All Five Light Switches
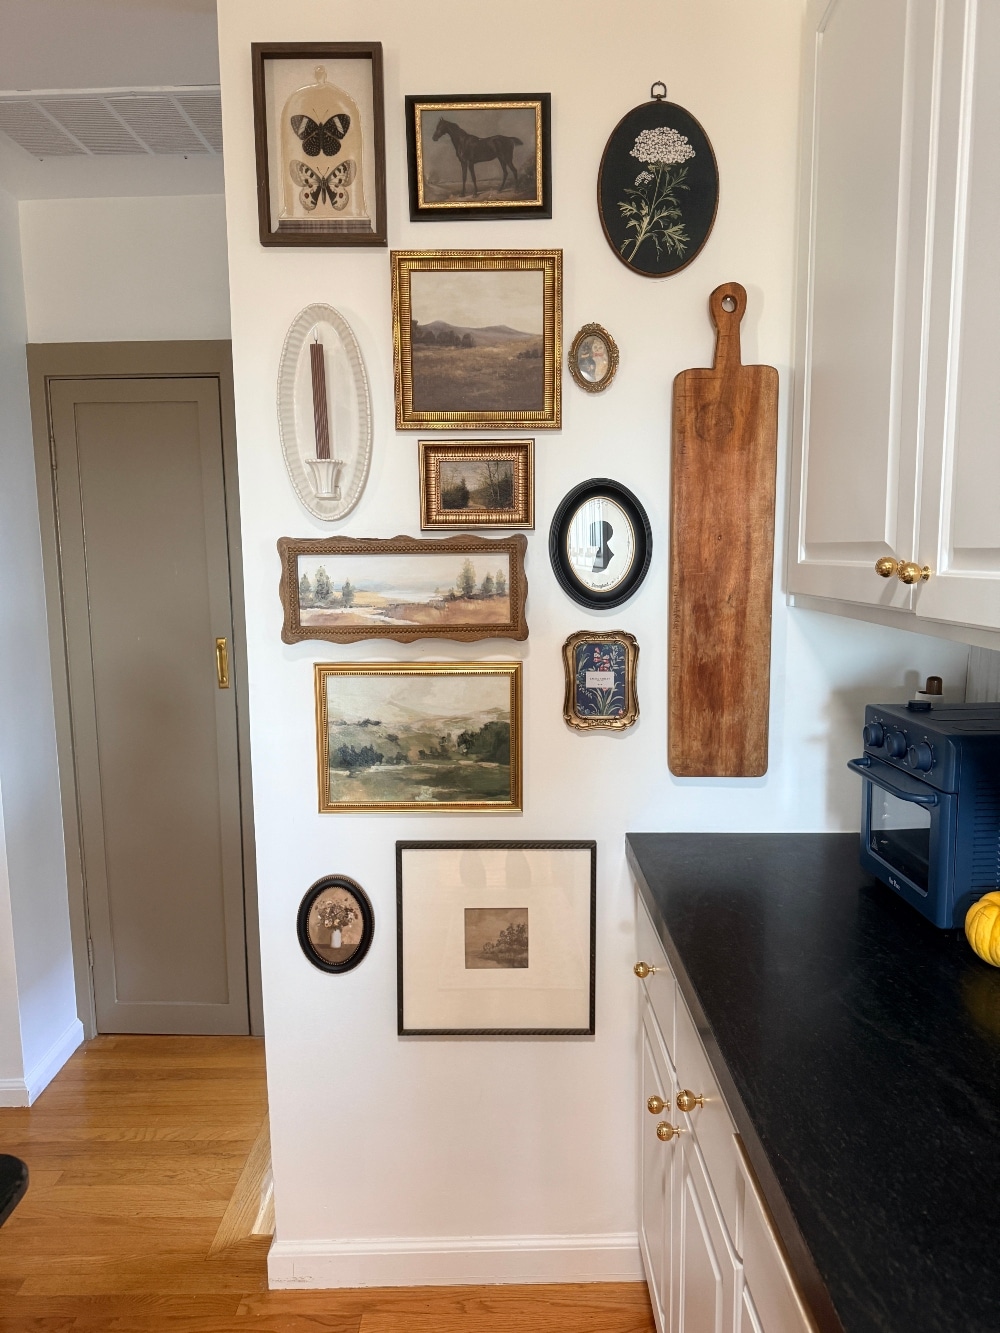
Now it takes only a second to lift the painting, turn the kitchen lights on or off, and close it again. The giant switch plate is still completely accessible, but it has disappeared into the design of the room.
This solution gave me the look I wanted without relocating electrical wiring or opening our original plaster walls.
Incorporating the Hinged Painting into a Gallery Wall
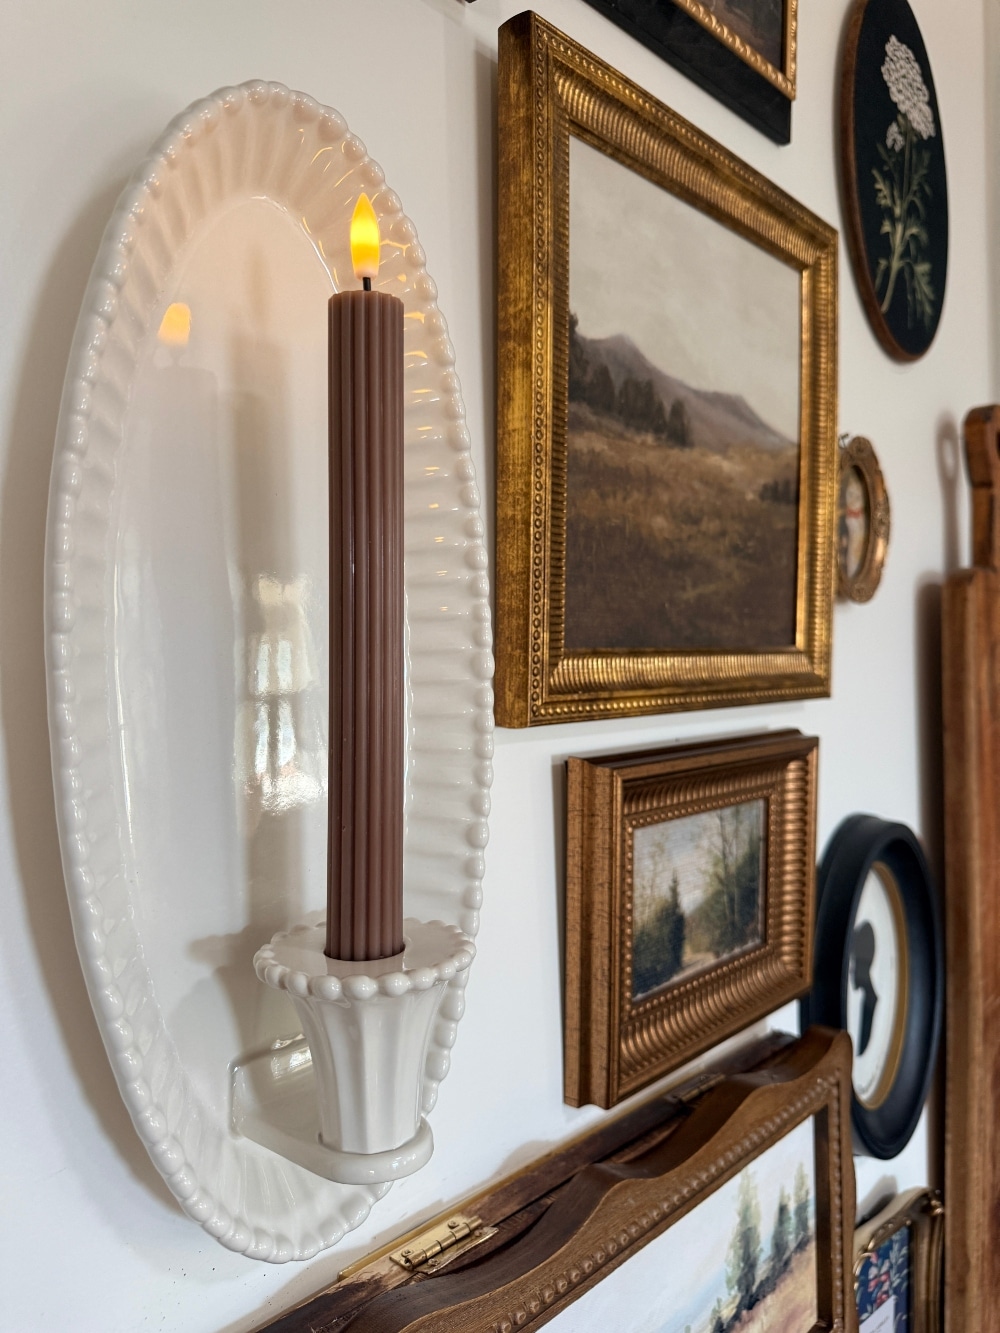
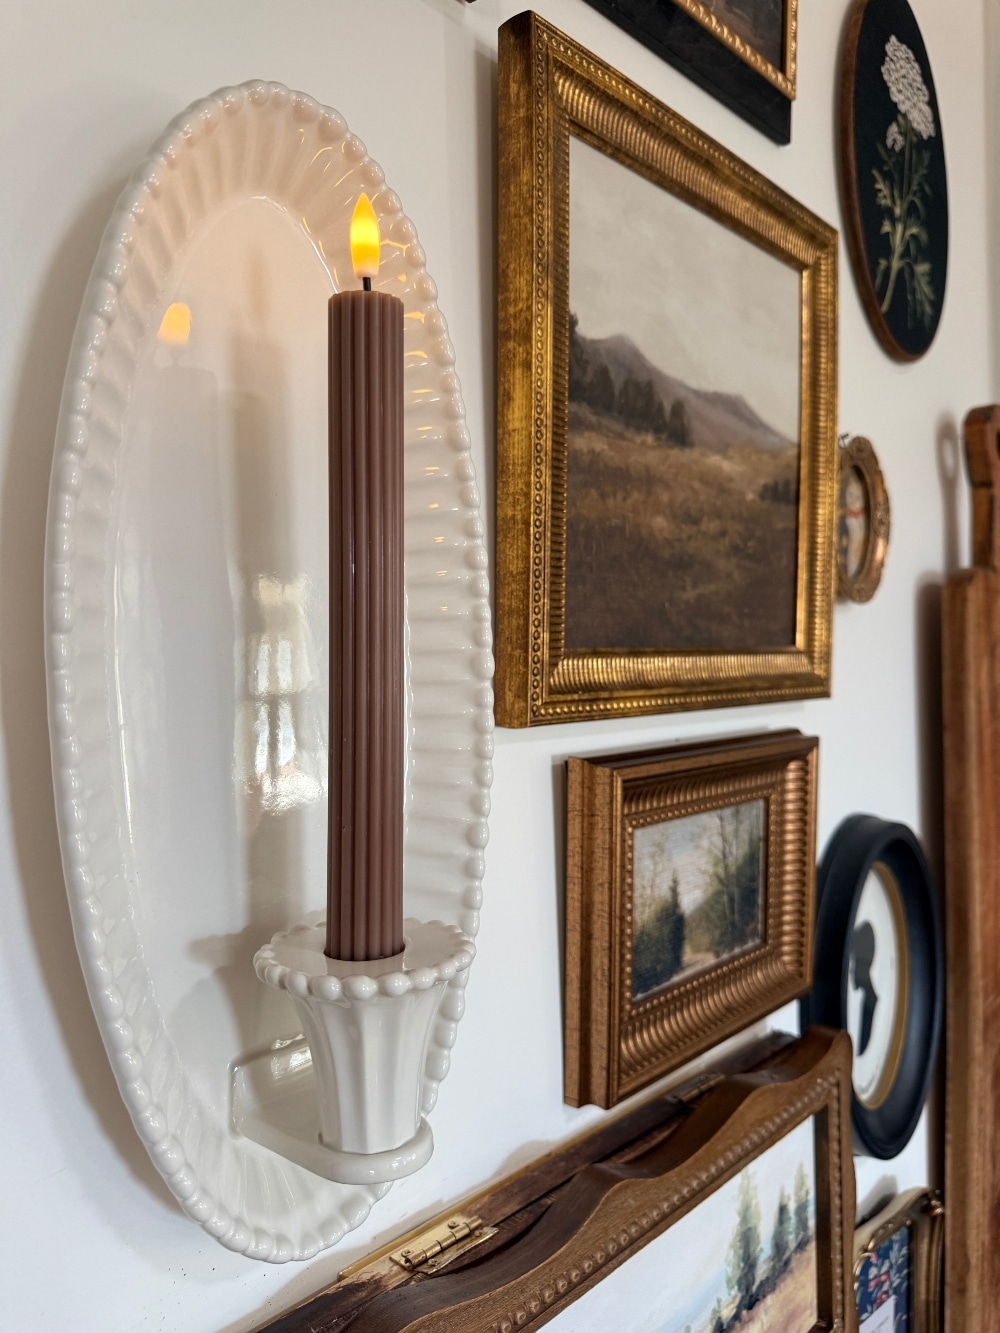
Instead of making the painting look like a stand-alone cover, I surrounded it with collected art and a ceramic candle sconce. Once it became part of a larger arrangement, the hidden function felt even more seamless.
I used a butcher paper template to plan the placement and mark every nail location before hanging the art. See the complete gallery wall and learn [how to make a butcher paper gallery wall template — ADD LINK WHEN PUBLISHED].
A Hinged Painting Can Hide Other Wall Controls
The same basic idea could be adapted to disguise a thermostat, alarm panel, doorbell chime, media panel, or another wall control, as long as the device remains accessible and has the ventilation and clearance required by its manufacturer.
I am planning a smaller gallery wall on the opposite side of the kitchen to disguise our thermostat next.
An Easy Way to Hide a Wall Switch Plate with Art
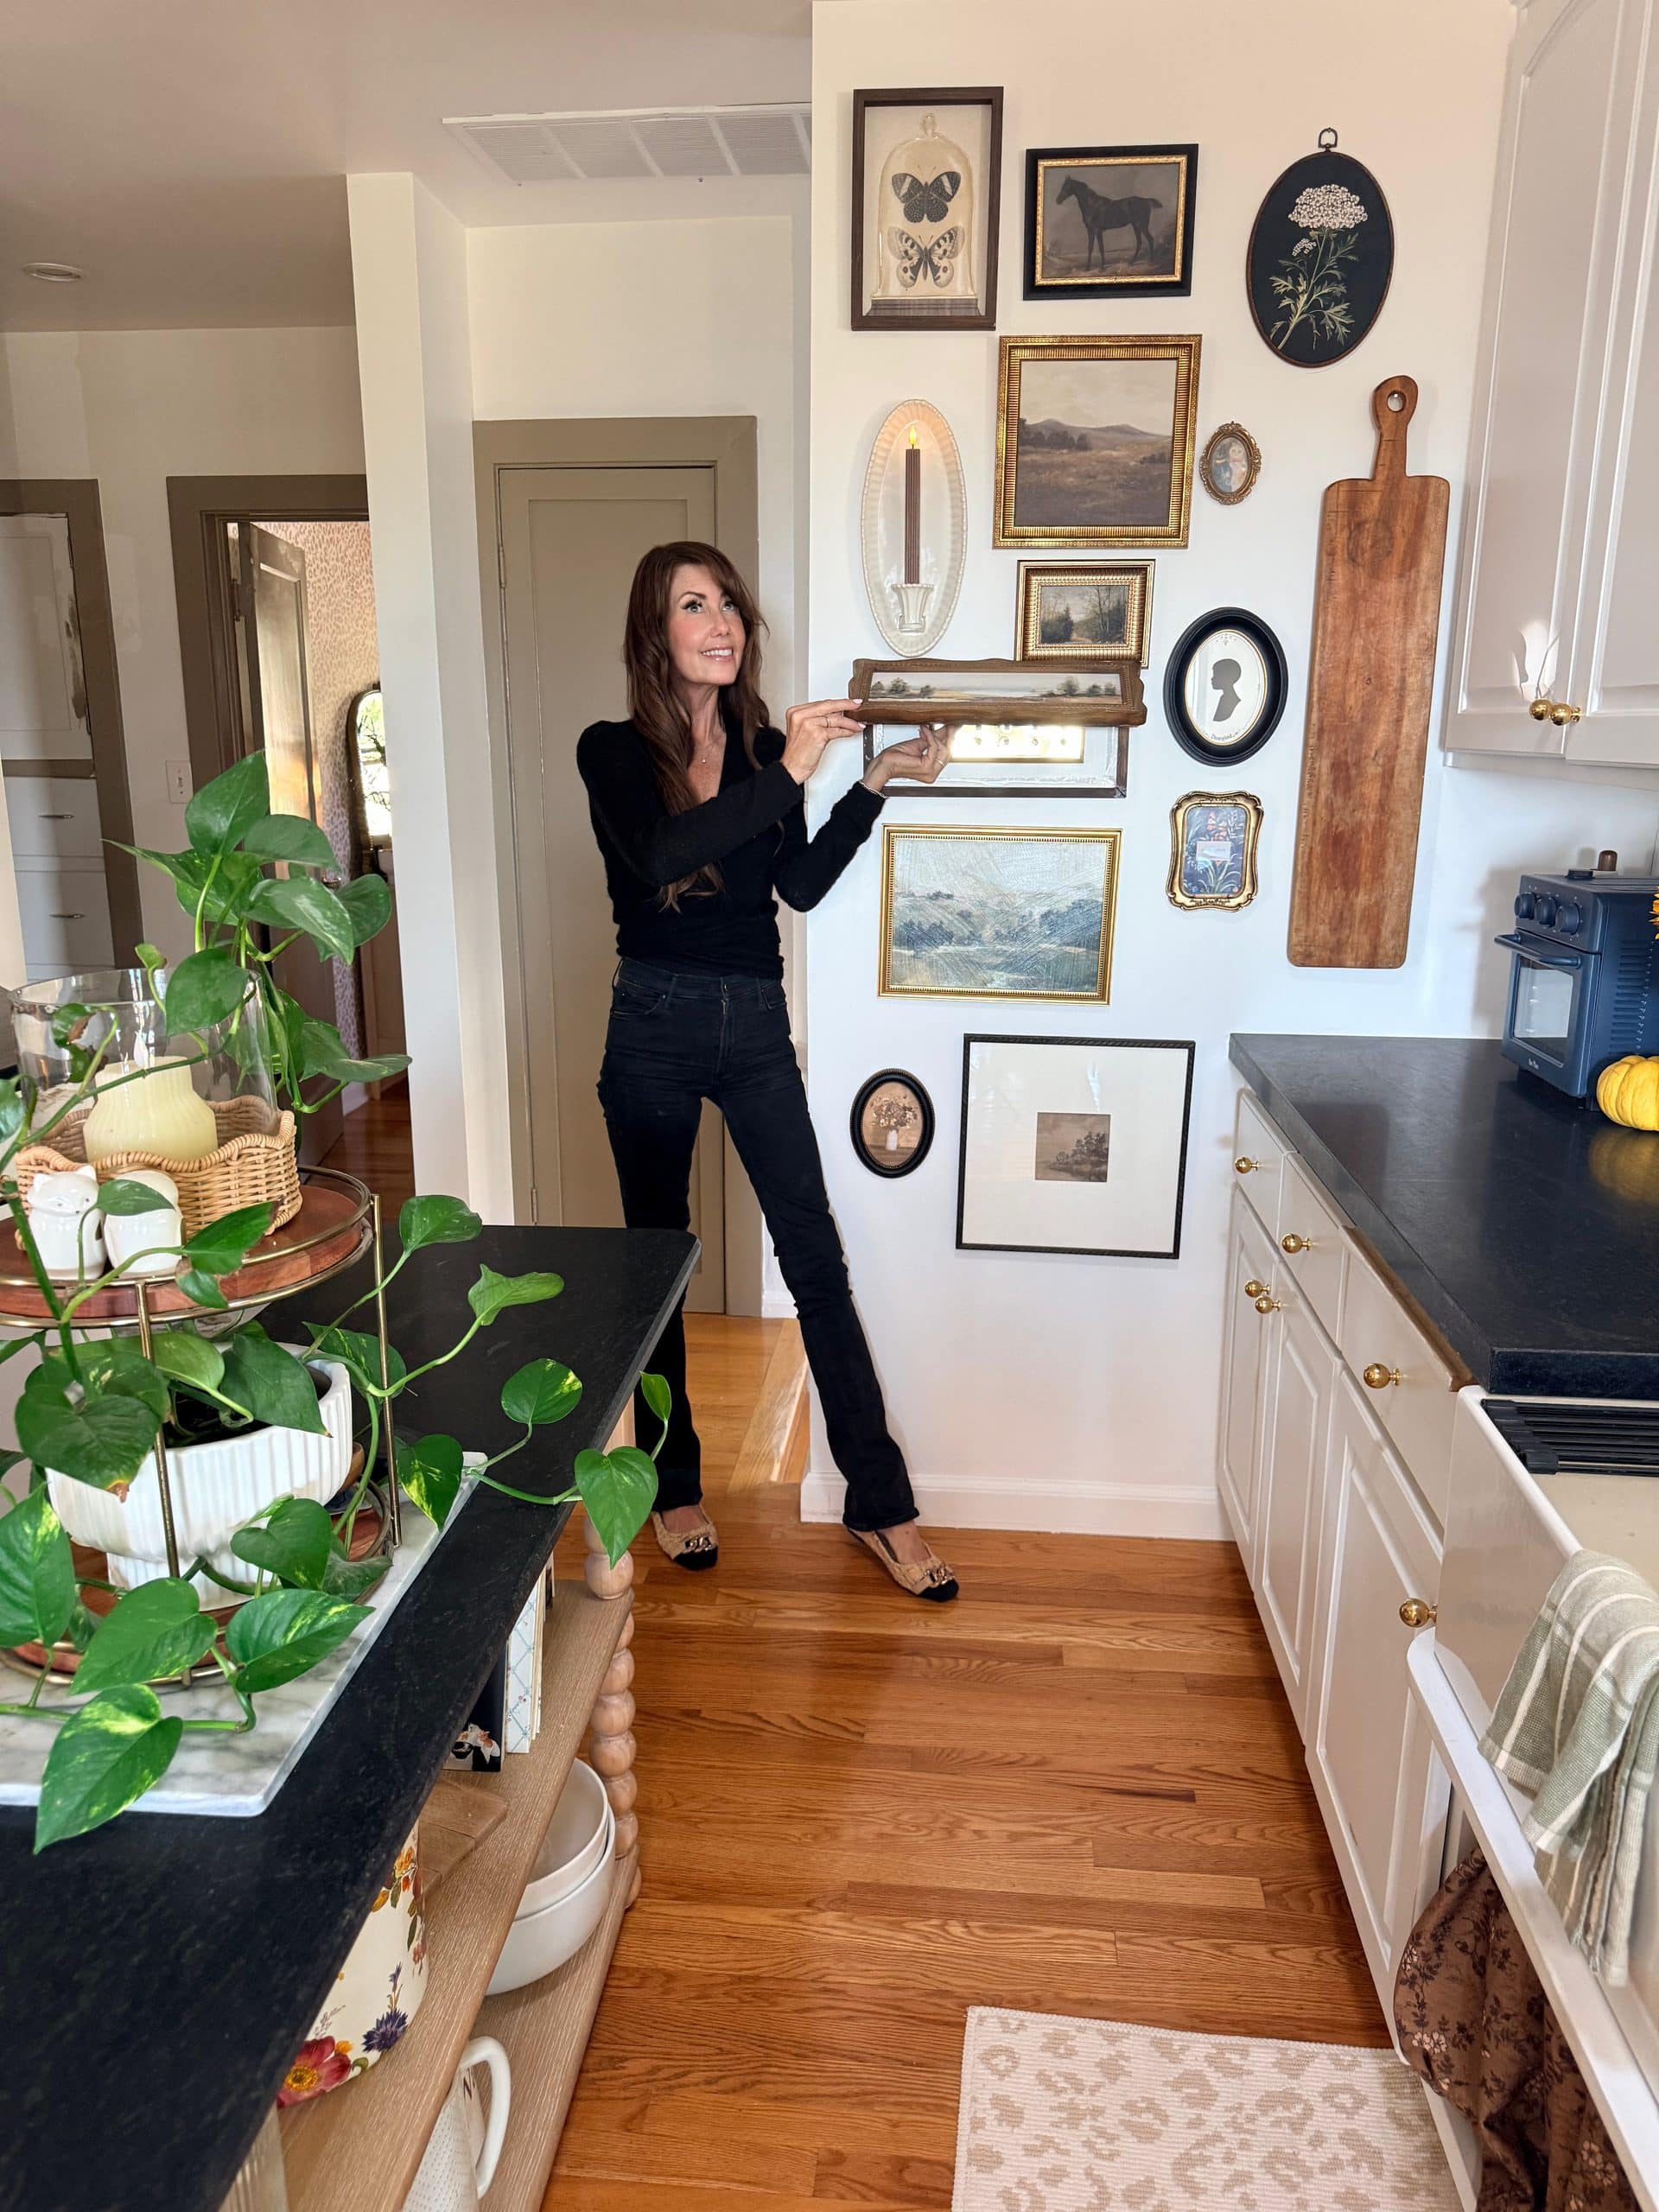
I love a project that solves a practical problem and makes a room more beautiful at the same time. This hinged painting looks like a natural part of our gallery wall, protects the character of our 1932 Tudor, and lets us use every switch exactly as we did before.
What Would You Hide Behind a Hinged Painting?
Do you have an awkward light switch, thermostat, or wall control in your home? Let me know what you would disguise with a hinged painting!
xoxo



Liked it? Leave a comment! Thanks! xoxo