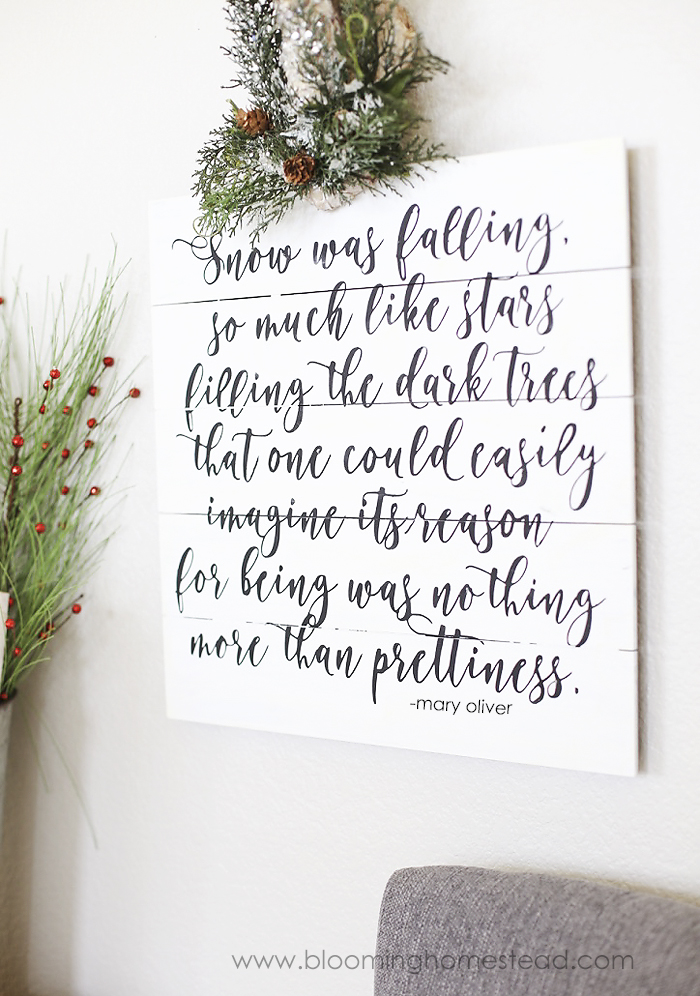
Hi friends, it’s Marie from Blooming Homestead. Can you believe that Christmas is only a few days away? If you’re looking for a fun, last minute handmade gift idea I’ve got you covered! As I’ve been out holiday shopping I noticed a popular trend in typographic inspirational signs and today I’ll show you how to create your own for a fraction of the cost. This DIY Winter Sign not only makes a lovely gift, but can be displayed all winter long.

Here are the supplies you’ll need:
- Wood Sign -(tip*If you don’t have access to a saw, you can go the hardware store and have them cut it for you, or shop the clearance after holiday sections for boards to repurpose. I found this board in the halloween clearance and just repainted it white.)
- black paint
- white paint
- sponge dauber
- vinyl
- transfer paper
- craft cutting machine (I used my Silhouette CAMEO and the font Still Shine Regular)
To get started you’ll want to decide what your sign will say. I found this quote by Mary Oliver and thought it was beautiful and so poetic and perfect for the Winter season. After choosing the quote and prepping my board with white paint, I created my stencil using my Silhouette Cameo. If you don’t have access to a craft cutter, you can order stencils online through various etsy shops or freehand. This sign is 18×18 so I cut the design in sections that I pieced together before applying my sign. First you’ll weed the vinyl to prepare for the transfer. Remove all the excess.
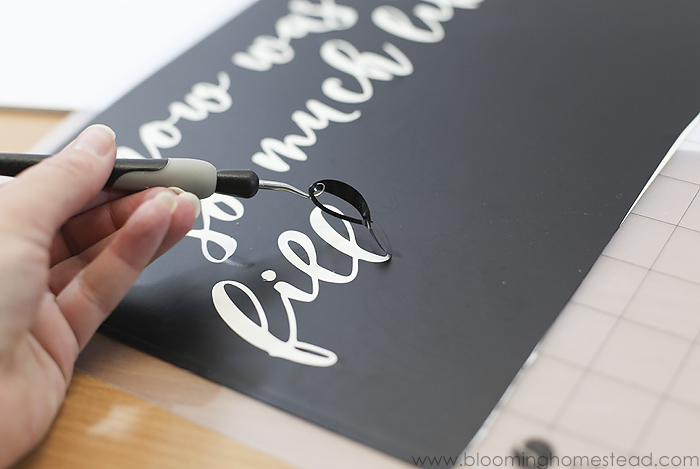
Now you’ll piece together the vinyl and apply transfer tape.
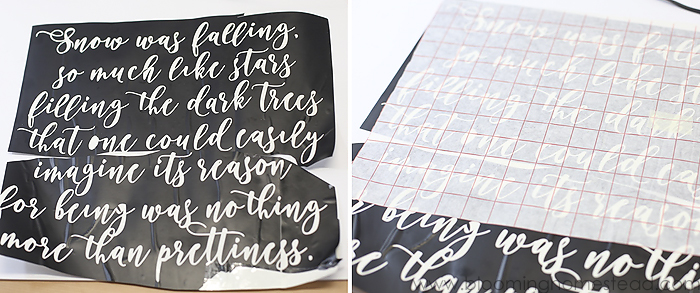
When you have applied the transfer tape, you’ll remove the initial vinyl backing. Place your stencil carefully onto your prepared board and press down securely. Gently remove transfer backing starting on an angle. Go slow so you don’t tear your stencil.
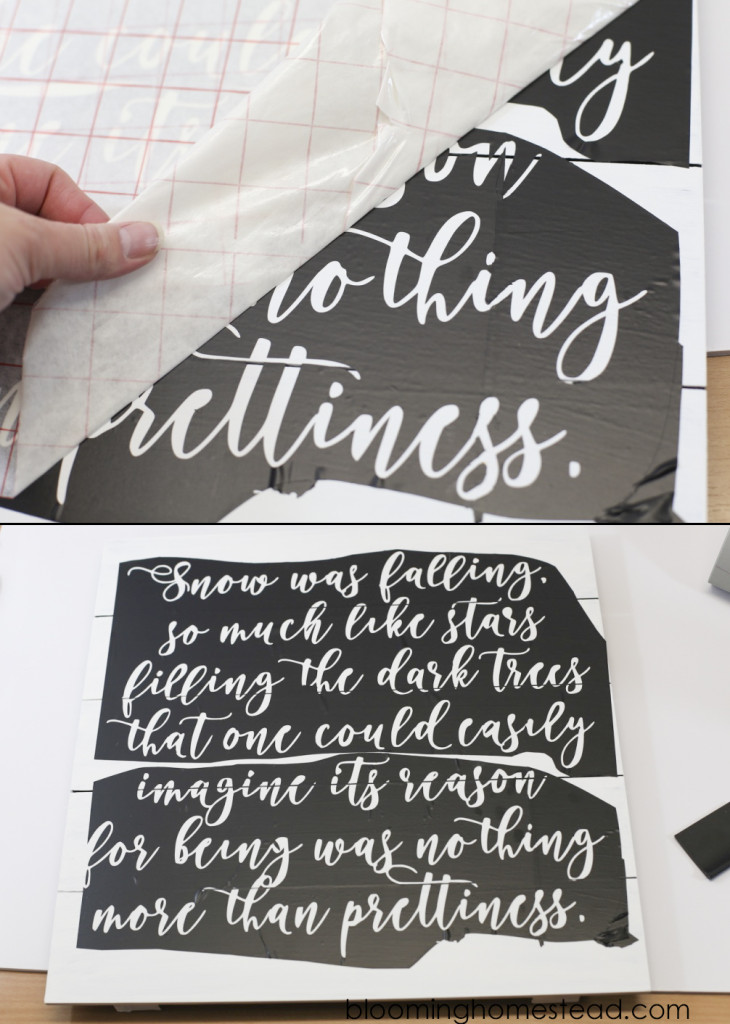
Now you are ready to paint! To avoid excess bleeding you’ll want to use a very light layer of paint. I use a paint dauber and tap it in the paint then on another surface (like a paper plate) several times to lighten the amount of paint on the dauber. Then gently dab onto the stencil. After the paint is dried, you can go back over to make the layers darker using the same technique.
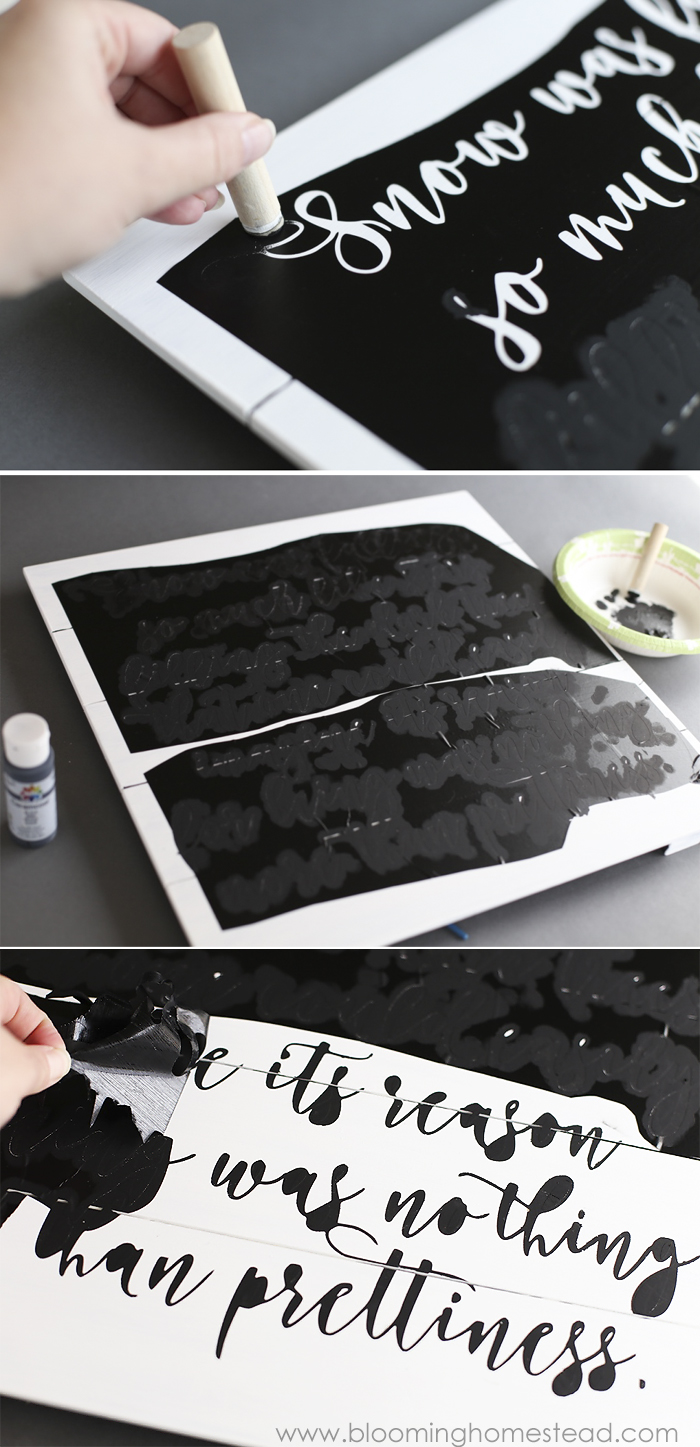
When the paint is dry, gently remove the vinyl stencil to reveal your design.
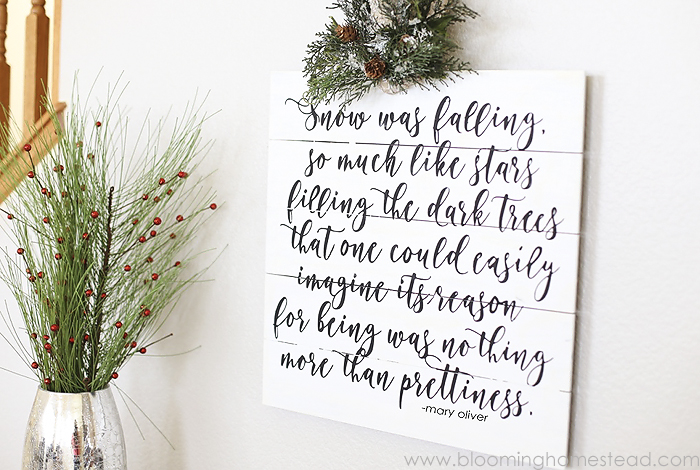
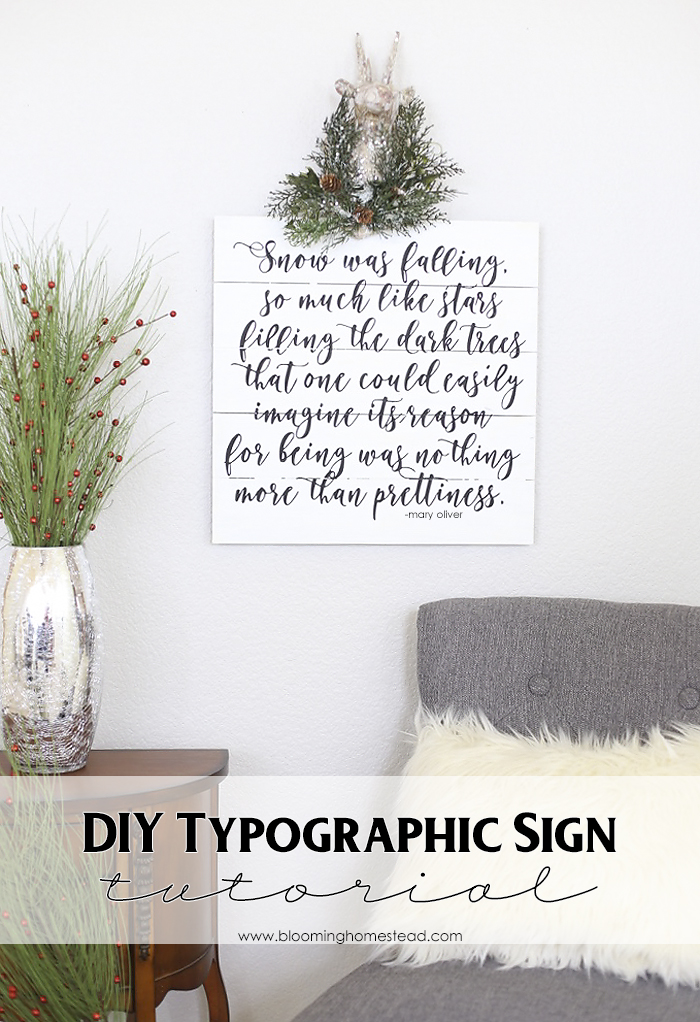
Now you’ll have a simply lovely piece of custom artwork!
Thanks so much for having me Jen! I’d love to have you stop by Blooming Homestead for more tutorials, projects, printables, and more.
*****
Thanks Marie! What a beautiful sign! I just love it! And it’s perfect to leave up all winter long! Marie has great ideas on her blog. Here are a few I know you’ll love:
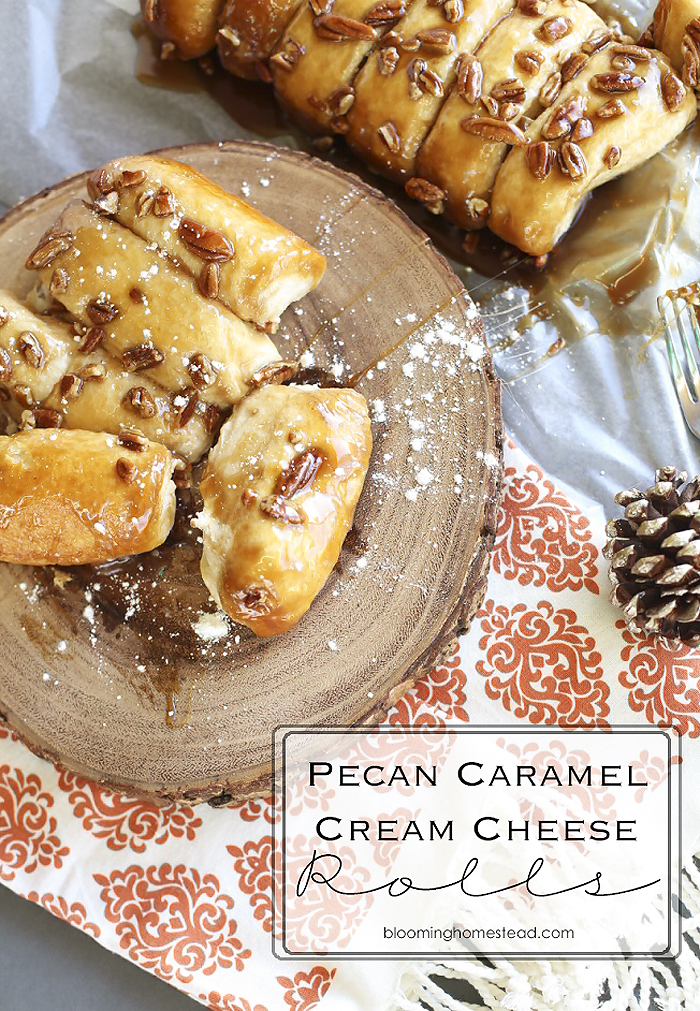
She has these Pecan Caramel Cream Cheese Rolls that look mouth watering!
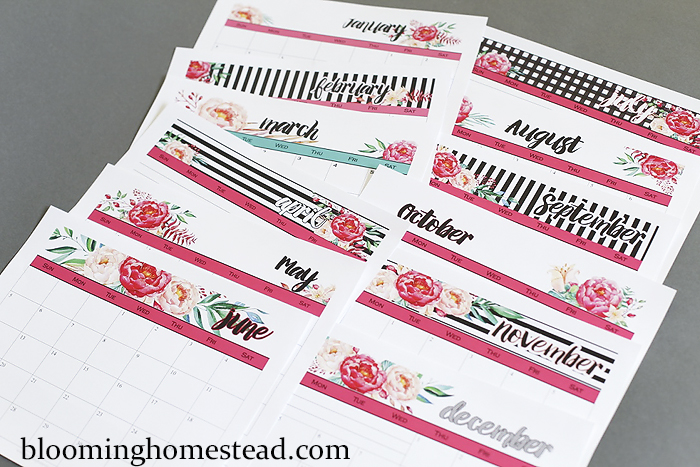
And make sure to grab her 2016 Free Printable Calendar to get organized next year!
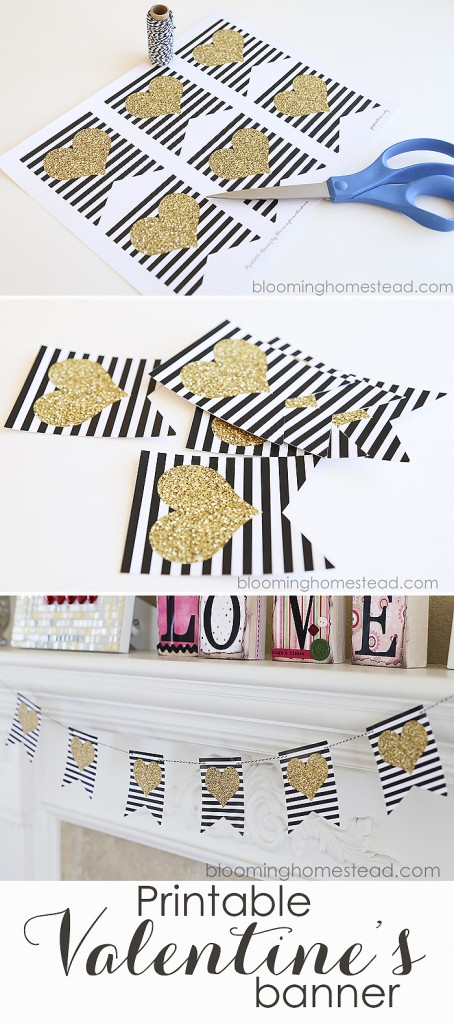
And, it’s never too early to save a cute project like this Printable Valentine’s Banner!





What type of paint did you use? I have had trouble with acrylic peeling up with the stencil so usually use spray paint, but would love to find something that doesn’t require taping off the area. Thanks!
Love the sign!! Beautiful!! Thanks for tutorial…it’s beautiful!!
What font is this? It is beautiful! Thanks!
Thanks for the tutorial Marie! I love making wood signs but have never tried a paint dauber. I will have to go get one!
-Shari @ SincerelyJean.com
May I ask what is the name of the font you used on the sign? Thanks.
That sign is amazing! You did a great job!
Paige
http://thehappyflammily.com
Love the quote, and the sign turned out just beautiful!