Hi Tatertots and Jello-ers! My name is Vivienne and I share tutorials, recipes and assorted funny stories over at The V Spot. I was so excited when Jen invited me to share a holiday craft with you! It took me a while to decide what I wanted to make.
You know what happened…? It did NOT go according to plan. Today I’m going to show you a very realistic side of crafting, and how sometimes you discover new things while creating your biggest flops. I call it Problem Solving Creativity.
This is my finished product:
Let me explain what happened:
I change up my Christmas colors every year. Last year was red and gold, and I made this artwork to use as decor.
I loved the saying, but it wouldn’t match this year’s colors of blue, green and white, so I decided I would make a decorative plate that said the same thing.
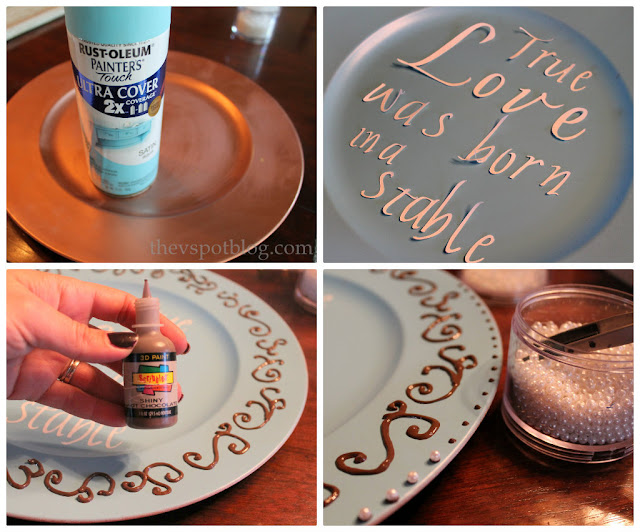
I took an old plastic charger, primed it, then spray painted it a pretty aqua color.
When the paint was dry, I used contact paper to cut letters with my Cricut. (If you don’t have a cutting machine you can use purchased adhesive letters.) I eyeballed the placement of the letters and then adhered them to the plate.
Now for the fun part. (At least I think so….) Take some 3D puff paint and make random squiggles and swirly shapes along the rim of the plate. It doesn’t matter what kind or what color. You’ll be painting over it, so it doesn’t matter.
Make little dots along the edge of the plate and carefully place a round bead into the dot. Let dry.
Here’s where it all started to go terribly, terribly wrong. I took the plate outside to spray the whole thing with a nice glossy white paint. Um, no.
The layer of white made the blue layer underneath it shrivel and crackle. What the what!? This shouldn’t be happening. I primed it, everything had dried properly, so what gives?
The silver lining…? It kind of looked like ice crystals or frost. Maybe this was salvageable!
Um, no.
The paint didn’t “crackle” evenly and the crackling allowed the paint to seep under the letters. Grr. Even trying to touch up the paint, it looked terrible.
 |
| U! G! L! Y! You ain’t got no alibi! You Ugly! Hey! Hey! You Ugly! |
If this had gone according to plan, there would have been no crackling and the letters would have peeled of to reveal nice, crisp text. Then I would have sprayed on several coats of clear gloss. It would have looked like ceramic. I promise… I have used this technique many, many times with great success.
But not this time. Now what? Well, it actually is kind of a cool texture. Maybe I should actually paint over it with a silver color…? Maybe it will look sort of mercury glass-ish…?
I re-sprayed the whole thing with the glossy white, then immediately sprayed over the top with a silver metallic paint, and just waited to see what happened…
As it dried, I thought it looked a little bit like storm clouds. Ding! Ding! Ding! I decided to add snowflakes and see how it would look.
I liked it! The snowflake shapes were cut from contact paper on the Cricut. (Again, you could use pre-made ones as well.) I wanted the plate to have more texture than contrast, so I went over the whole shebang with pearlized acrylic paint. It toned down the contrast and added some shimmer.
A better photographer would be able to capture the texture and swirly patterns. I went from totally hating this plate to being very happy with how it turned out.
I never would have layered so many paints on top of each other if I wasn’t trying to salvage the original project. Sometimes you should throw in the towel, but sometimes you should just push through and see where it takes you. You might discover something fun. (And what’s the worst that could happen? You throw away something that you were going to toss out anyway…)
Happy holidays and happy crafting! (Even if it doesn’t turn out like you saw it in your head…)
Thanks Viv!!
Seriously, I feel like sometimes every single project is a narrowly averted craft fail. I love that you showed that sometimes projects don’t turn out the way we have them in our heads. And if we just persevere and use our imaginations, we can come up with another solution. Your plate turned out great!!
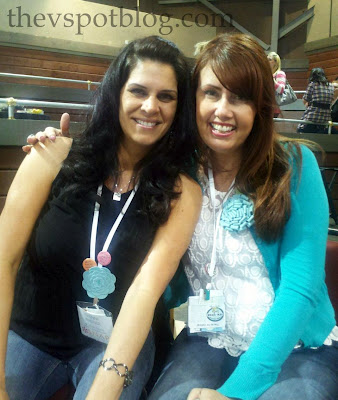
Viv is one of my first blogging friends. From the beginning I was so impressed by Viv’s warmth and sense of humor. And then I discovered her ability to transform anything into something fabulous on a budget! And, she is an amazing entertainer. Her parties and tablescape ideas are so so beautiful.
Here are some of my favorite projects from The V Spot:
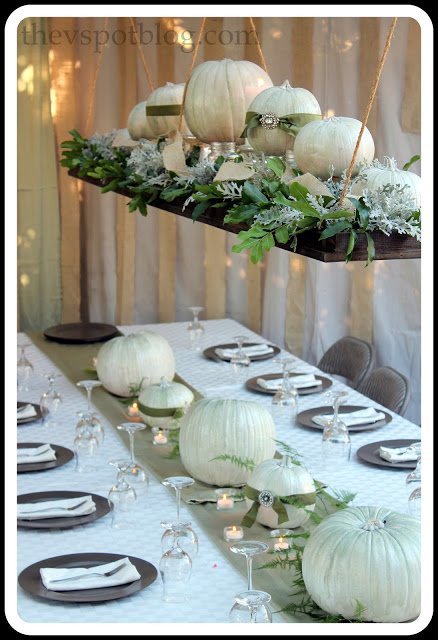
Here’s an example of Viv’s entertaining skills. Not only does she make a beautiful table and centerpiece, but she also makes a hanging Thanksgiving Centerpiece. Amazing.
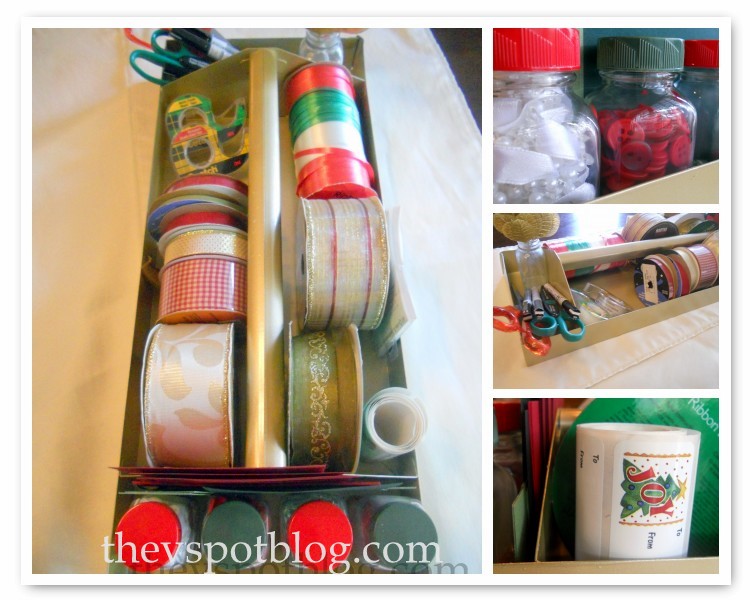
And what a great idea for this time of the year — A Gift Wrapping Caddy. Viv shows you how to make one.
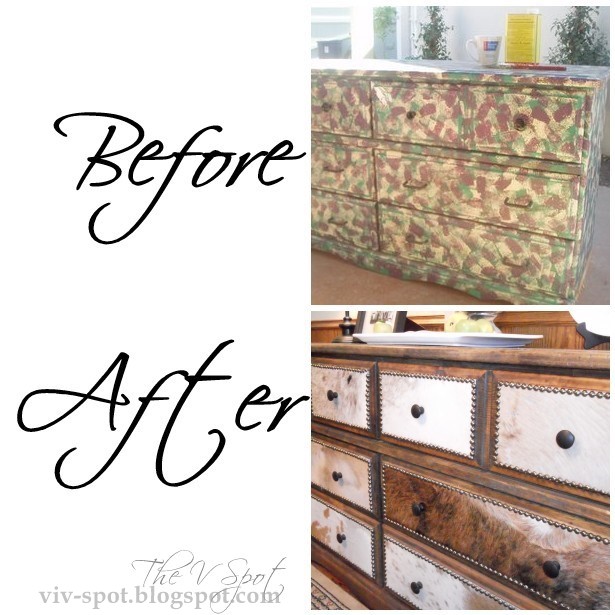
And here’s one of my very favorite tutorials from Viv — this amazing dresser makeover
Plus, if you like camping (or even if you don’t, like me) — Viv’s camping tips and ideas are amazing.
Be sure to head over to The V Spot and say hi to one of my favorite people –
you will love Viv!!
HAPPY Holidays!!
xoxo
PS — It’s Friday!!
Almost time for the Weekend Wrap Up Party.
(my favorite time of the week)
I love to feature YOU.
I hope you can stop by for the fun.
The party starts at 6 PM MST 🙂








LOVE IT!! Viv is awesome.
I seriously appreciate a crafter who will show off her mistakes and how it turns around. Makes trying new things so much more accessible!
I’ve never gotten to meet Viv in real life, but that’s on my list to change ASAP. Isn’t she wonderful? And so are you, Jen, so I’m not sure how you could beat this post. 🙂
Viv, I love your “True Love was born in a stable” piece from last year; wish you could just change the colors on it! But I think the plate turned out just great–fun and festive! I guess that’s the only kind of snow you get in SoCal, huh?
Thanks for having me over, Jen! You’re one of my faorite peeps! Xoxoxo
I love that you showed your ‘oops’ – my next post is going to have to show some ‘oops’, too. And I love that you used that cheer! I have to borrow it, ok?? Great post, loved it. Great personality. Joining now.