Tatertots and Jello

COLORFUL HAPPY HOME -- Daily DIY, Decor, Craft and Recipe Tutorial

  • My Home
    • 1905 Cottage
    • Daybreak House
  • DIY
    • DIY Projects and Ideas
    • Organizing
    • Tutorials
    • Printables
  • Decor
    • Spring Projects
    • Summer Projects
    • Fall Projects
  • Crafts
    • Kids Crafts
    • Painting Projects
    • Paper Projects
    • Sewing
    • Wreaths
  • Holidays
    • Valentines Day
    • Easter
    • Halloween
    • Thanksgiving
    • Christmas
    • HAPPY Holidays Series!
  • Recipes

Explore

  • my home
  • diy
  • decor
  • crafts
  • holiday
  • printables
  • recipes

Connect

Home » sewing projects » Guest Project — Transform your High Chair from Blah to Beautiful!

sewing projects, tutorial · November 3, 2010

Guest Project — Transform your High Chair from Blah to Beautiful!

Tatertots & Jello is a participant in the Amazon Services LLC Associates Program, an affiliate advertising program designed to provide a means for sites to earn advertising fees by advertising and linking to amazon.com.
I’m Sarah from Bumblebee and Sophie and we are very excited to feature our High Chair Pad Tutorial on Tatertots and Jello! We’ll show you how to change a drab high chair to fab!

  Not long ago I saw some beautiful Amy Butler laminated fabric that was calling my name. I bought the fabric without much of a plan, but soon was inspired to create a more “girly” chair pad for my daughter Sophia’s high chair. 
This is the original chair pad, which I used to trace a template onto paper:
 Here is my paper template:
I placed the paper template on the laminated fabric and cut two (2) pieces. 
I wanted to mimic the two toned look of the original chair pad that came with the high chair, so I cut a second piece from another Amy Butler print in the home decor weight.
I then used template “B” to as a guide to cut off the top of one of the laminated pieces.
 
So the two pieces looked like this:
I placed the right sides together and sewed the two pieces together:
The finished seam looked like this:
One of the tough things about sewing with laminated fabric is that you can’t iron it directly, so I used a piece of scrap fabric as a buffer. I’ve read about other methods, but this seemed to work for me and neither harmed my iron nor the laminated fabric.
I set these pieces aside and began to work on the ties.
The pad attaches to the chair at four corners on the seat and on the back. So I cut a total of eight, 8 inch long, 1 1/2 inch wide strips for the seat-ties and two 12 inch long and 1 1/2 inch wide ties for the back. 
I decided to use the pink and cream paisley for the ties that I would use to attach the pad to the chair. The original uses velcro, but I liked the look of ties. So I went with that. 
 
I ironed the ties like this and then folded them in half.
So that they looked like this:
I was able to make a cleaner seam by notching the end like this. It was easier to fold that way.

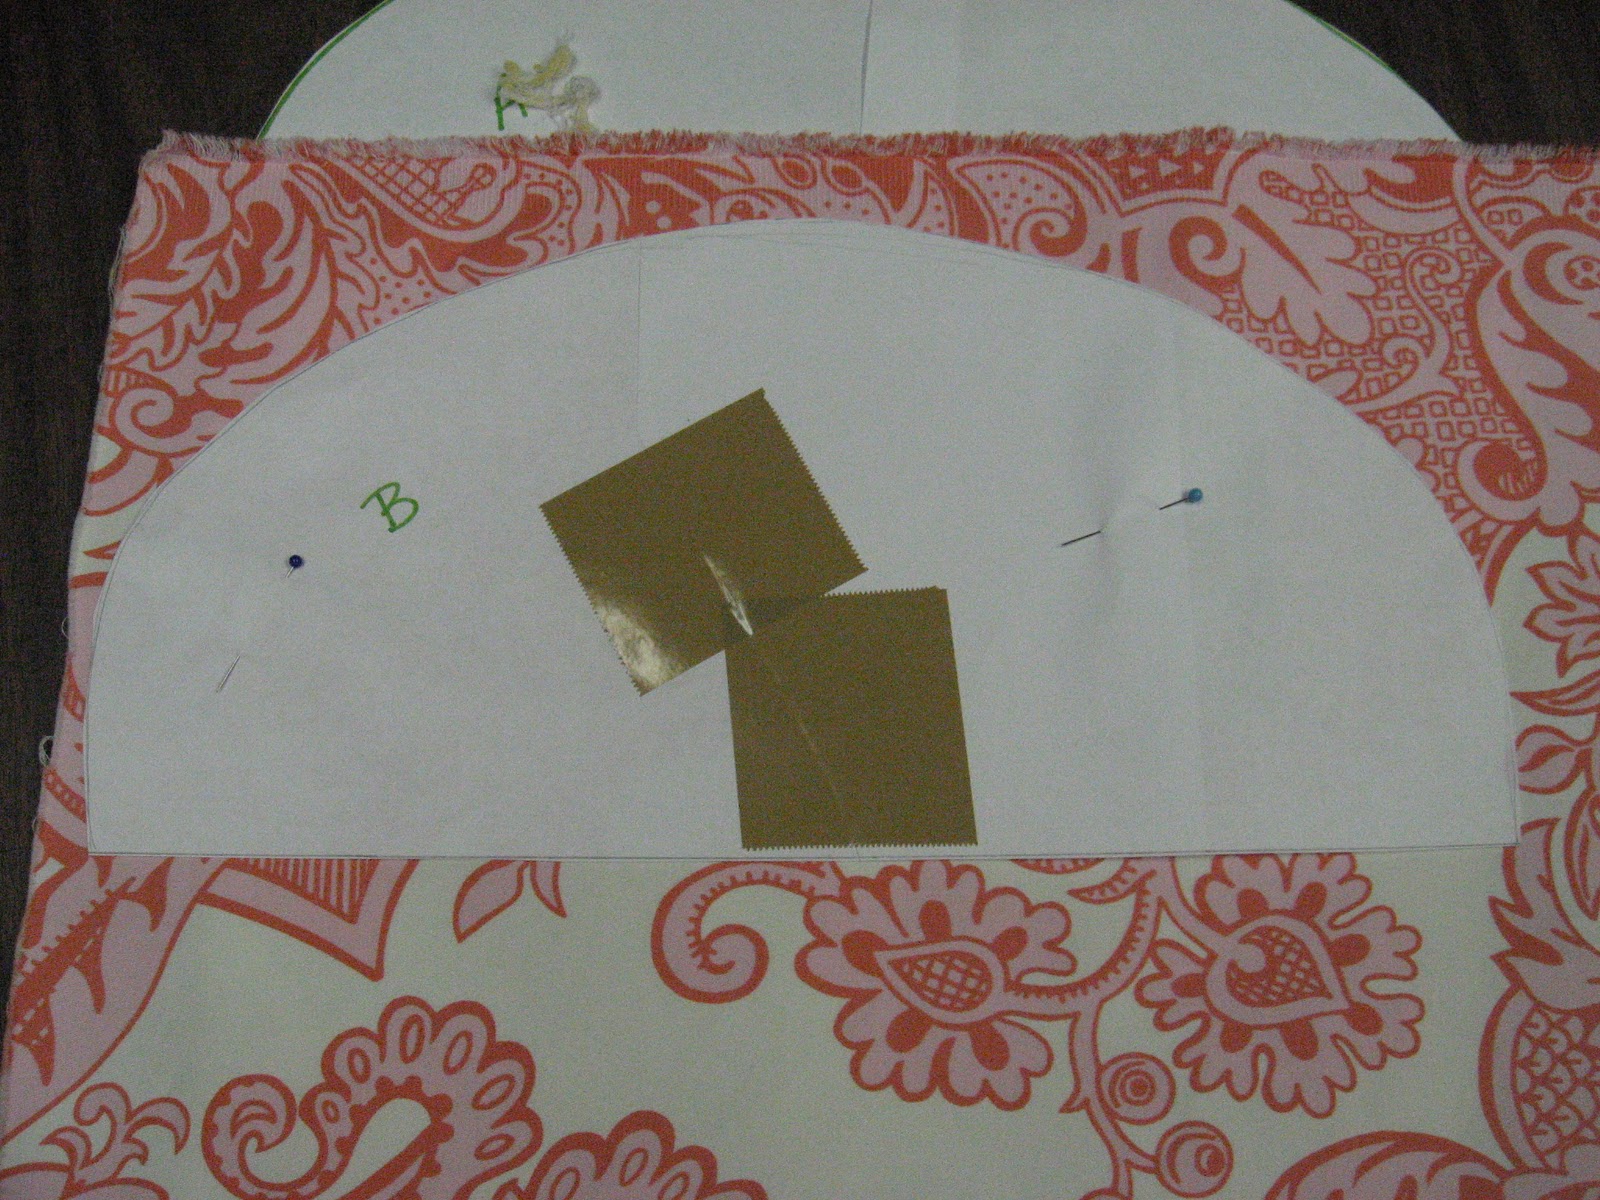
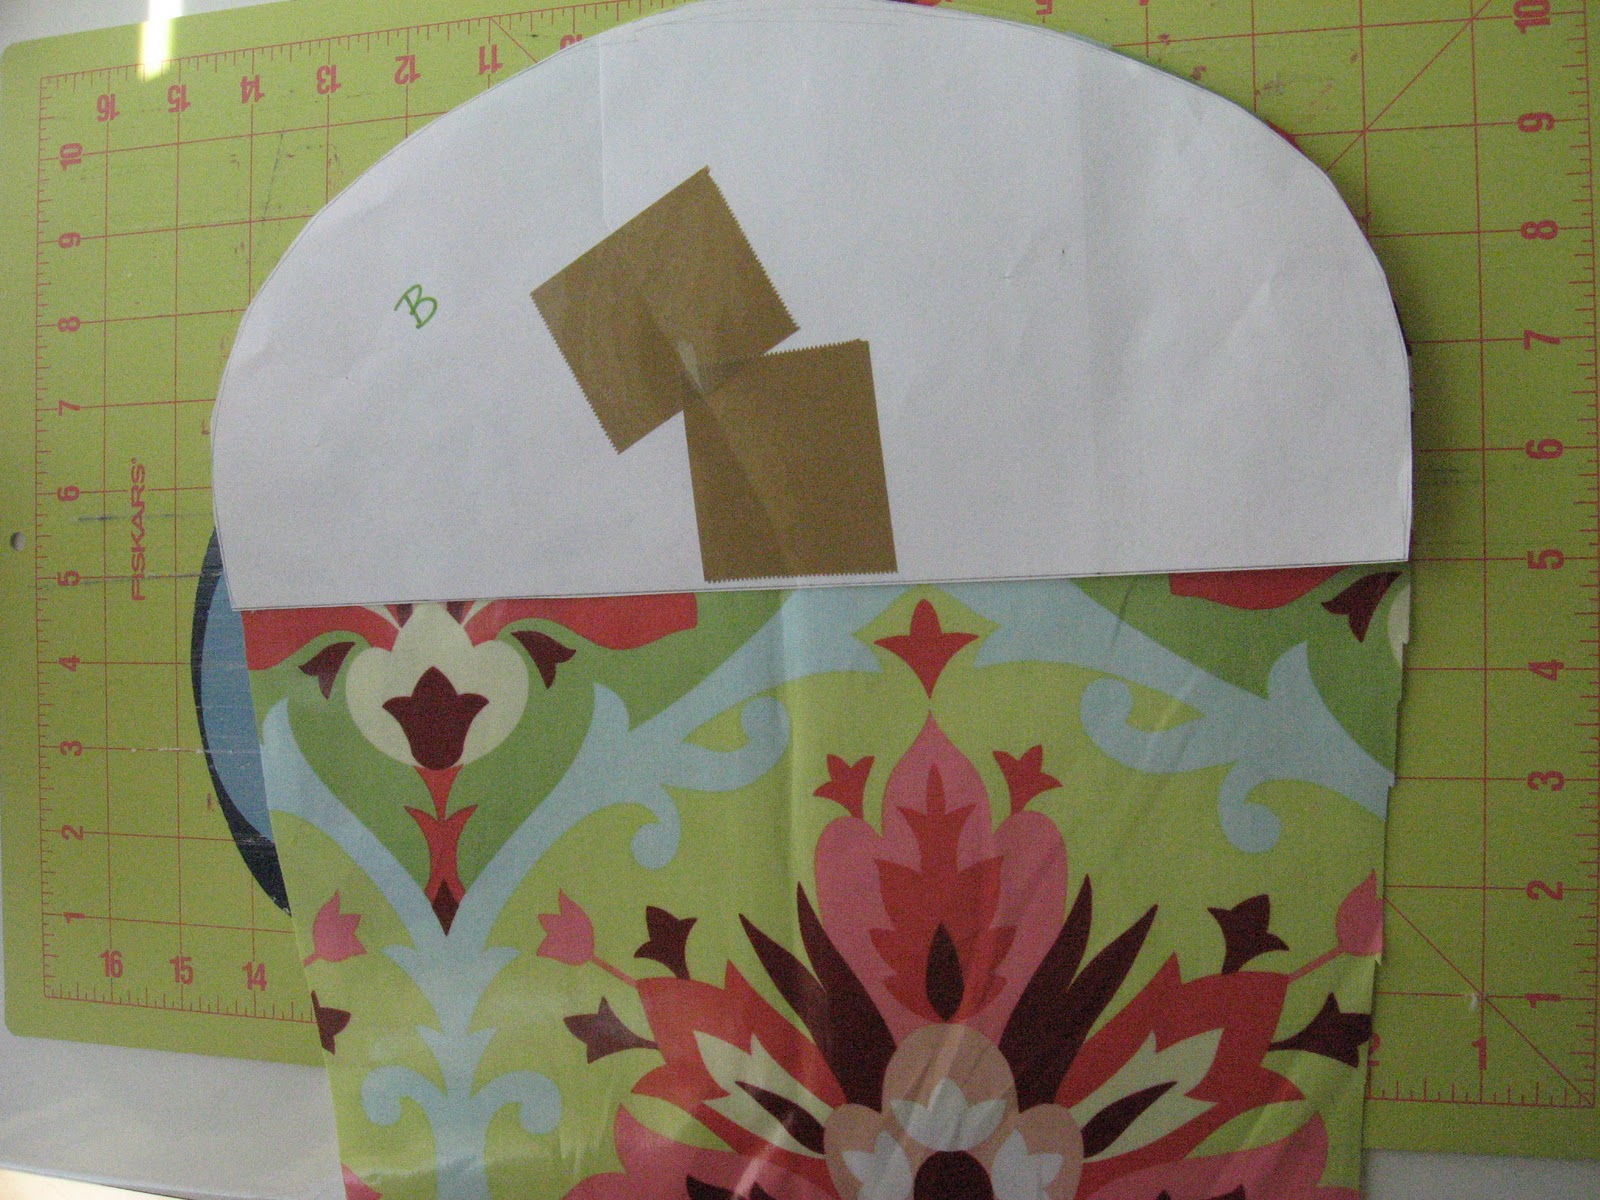
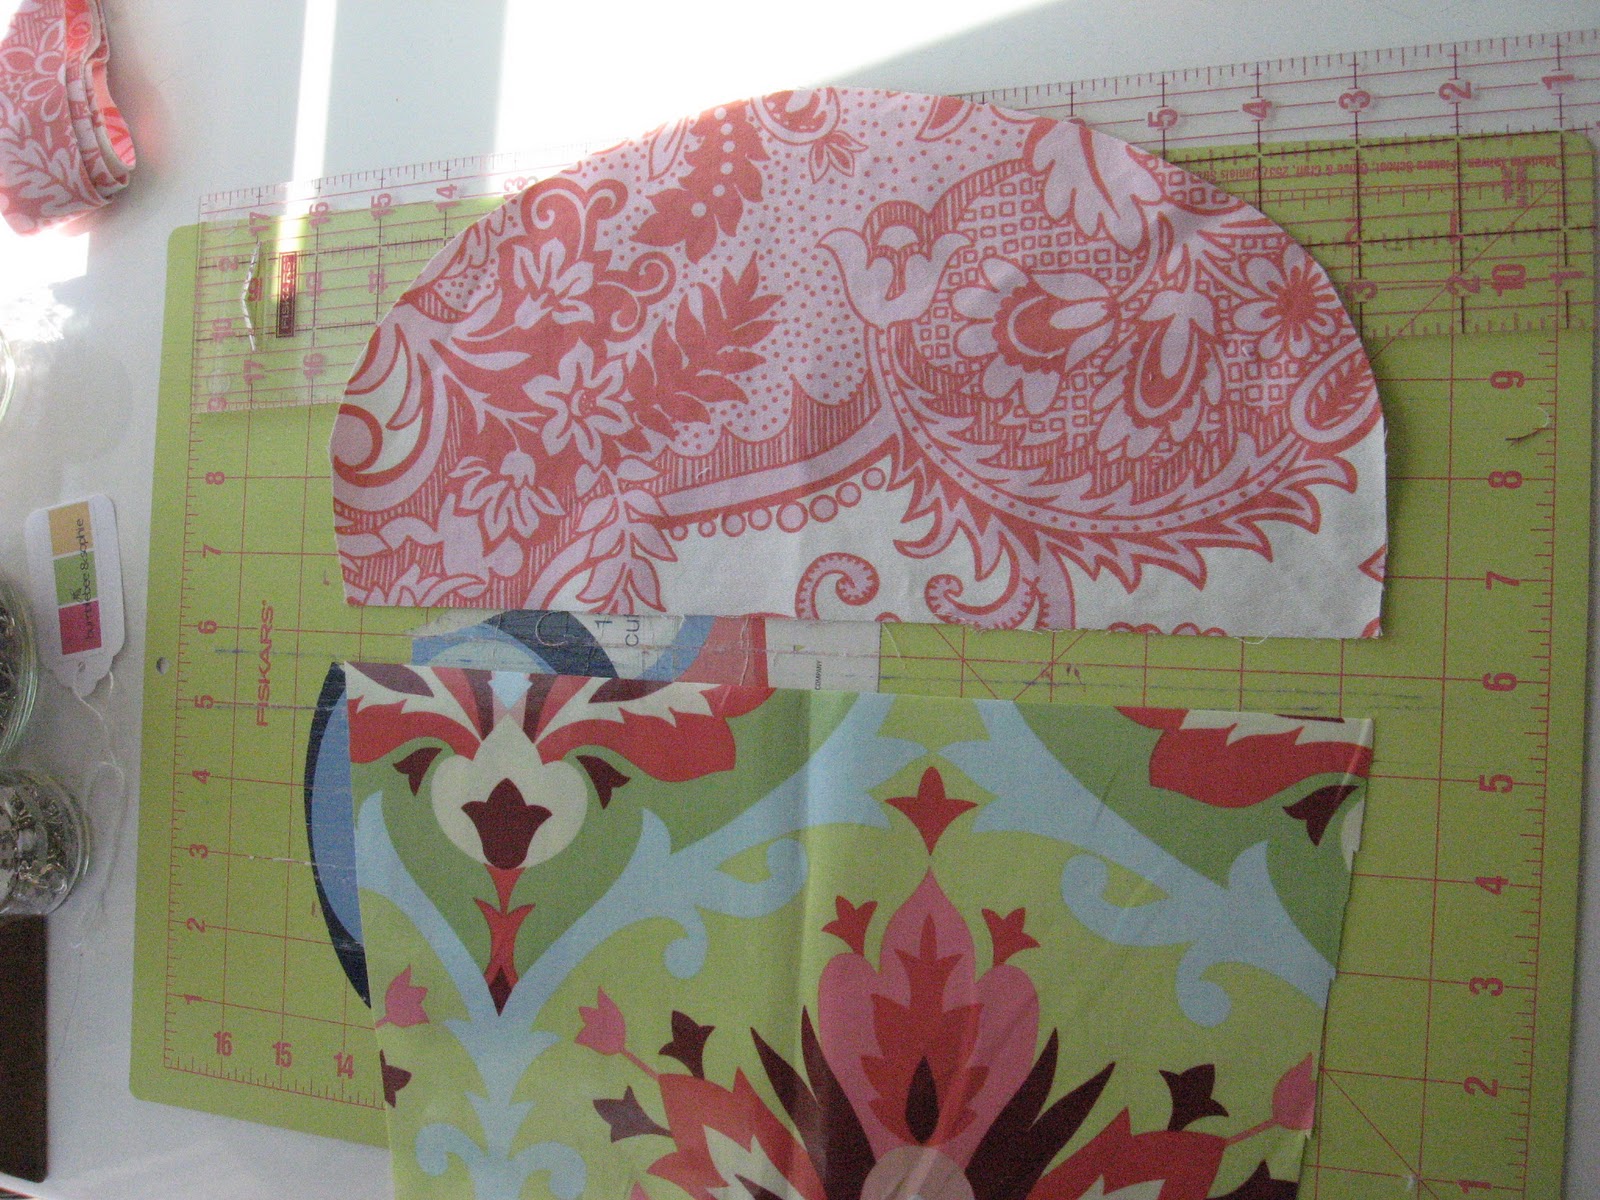
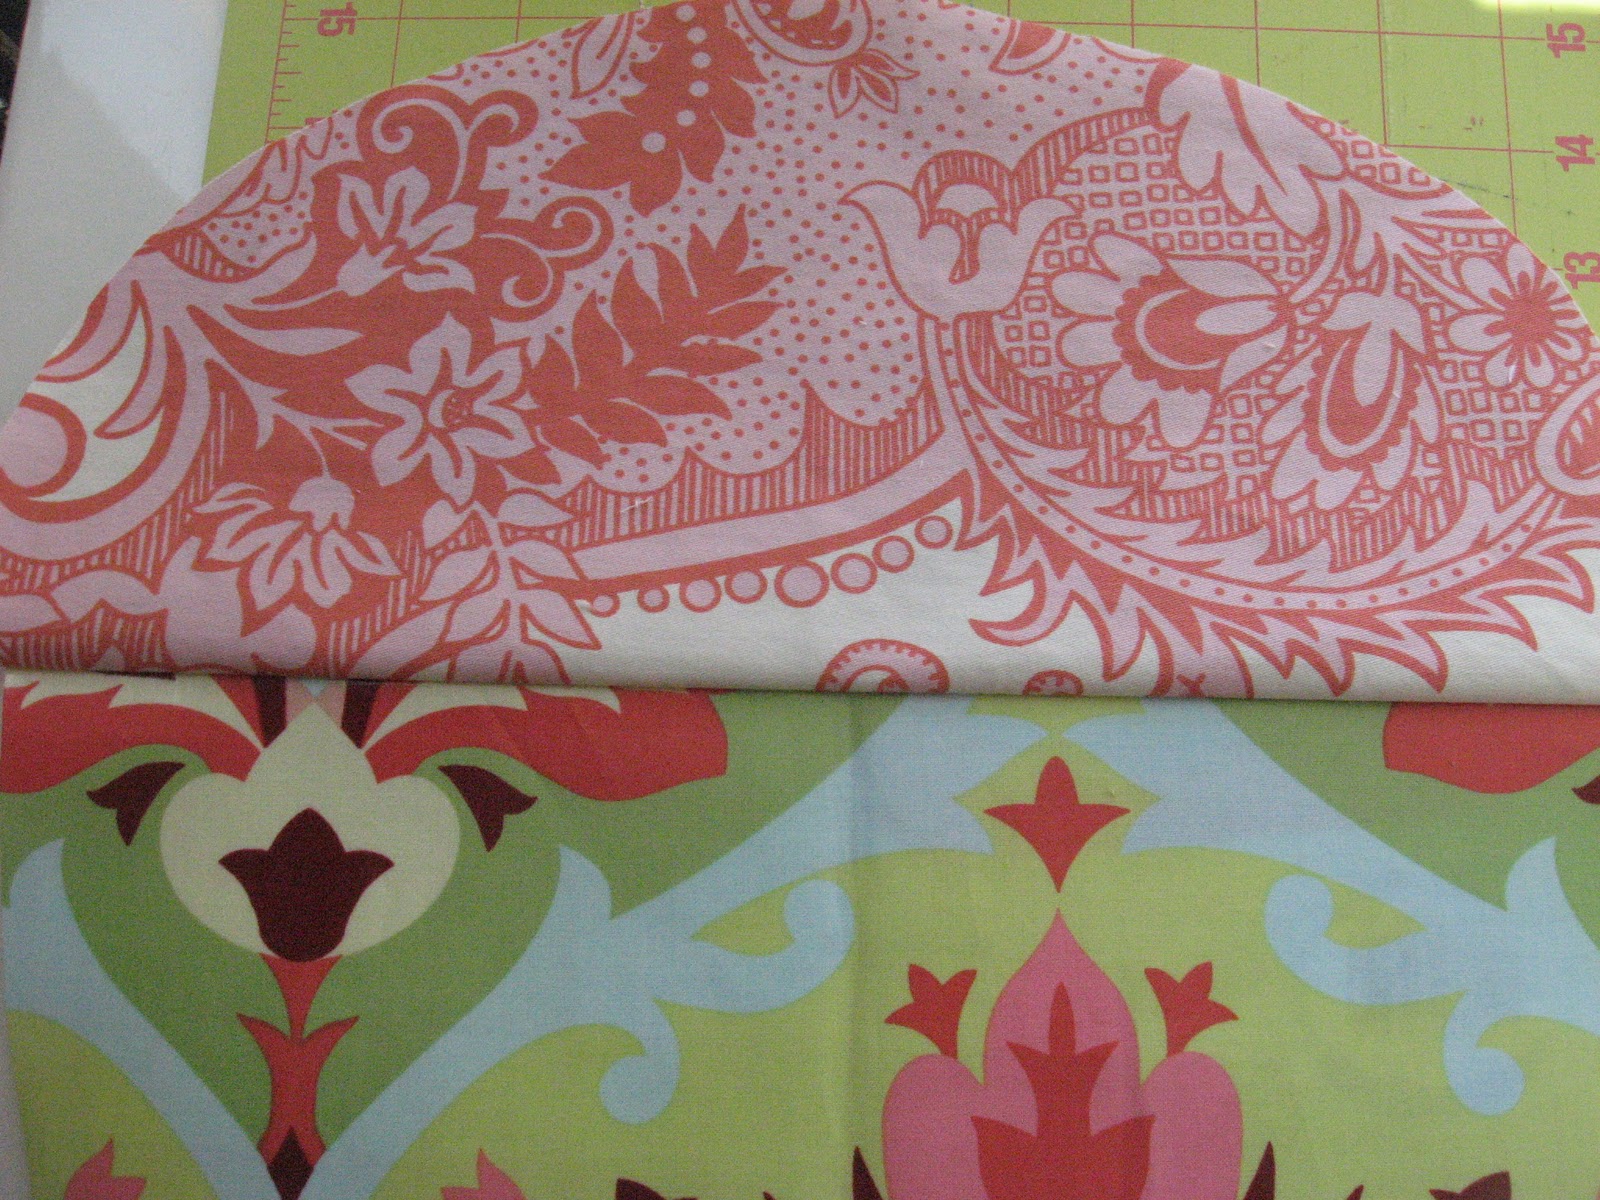
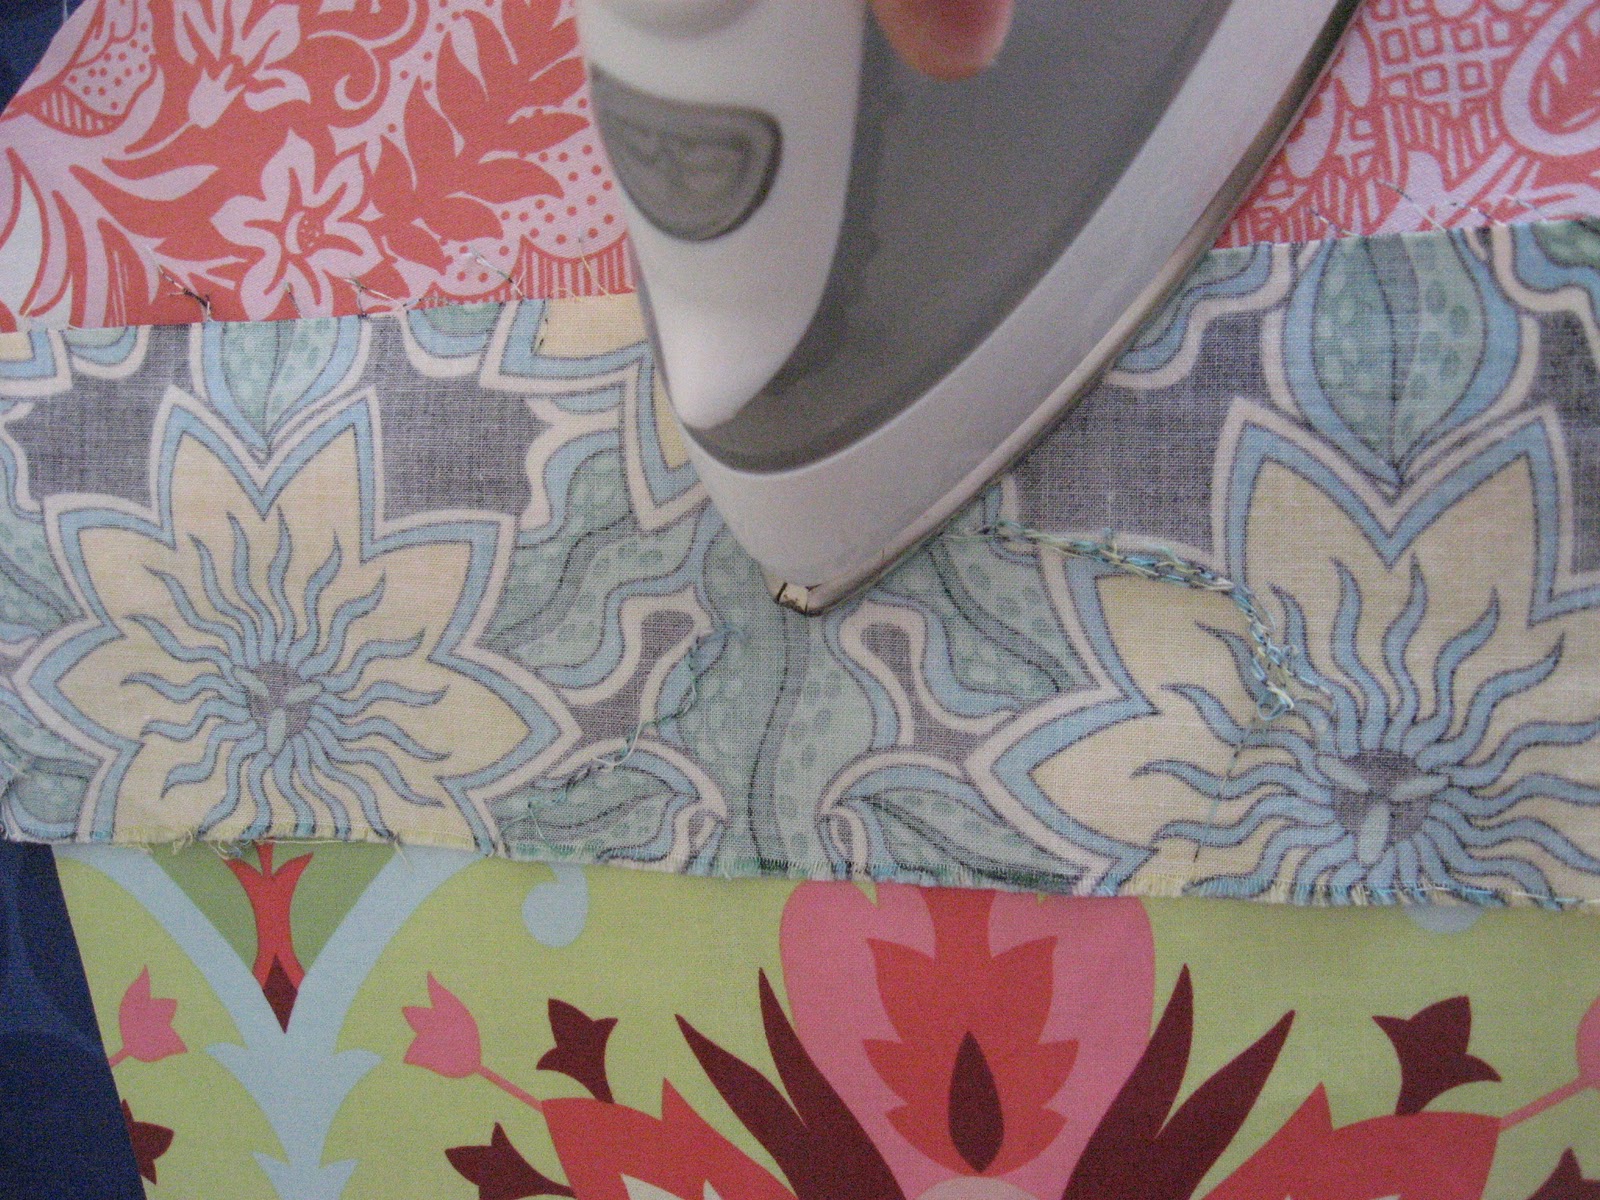
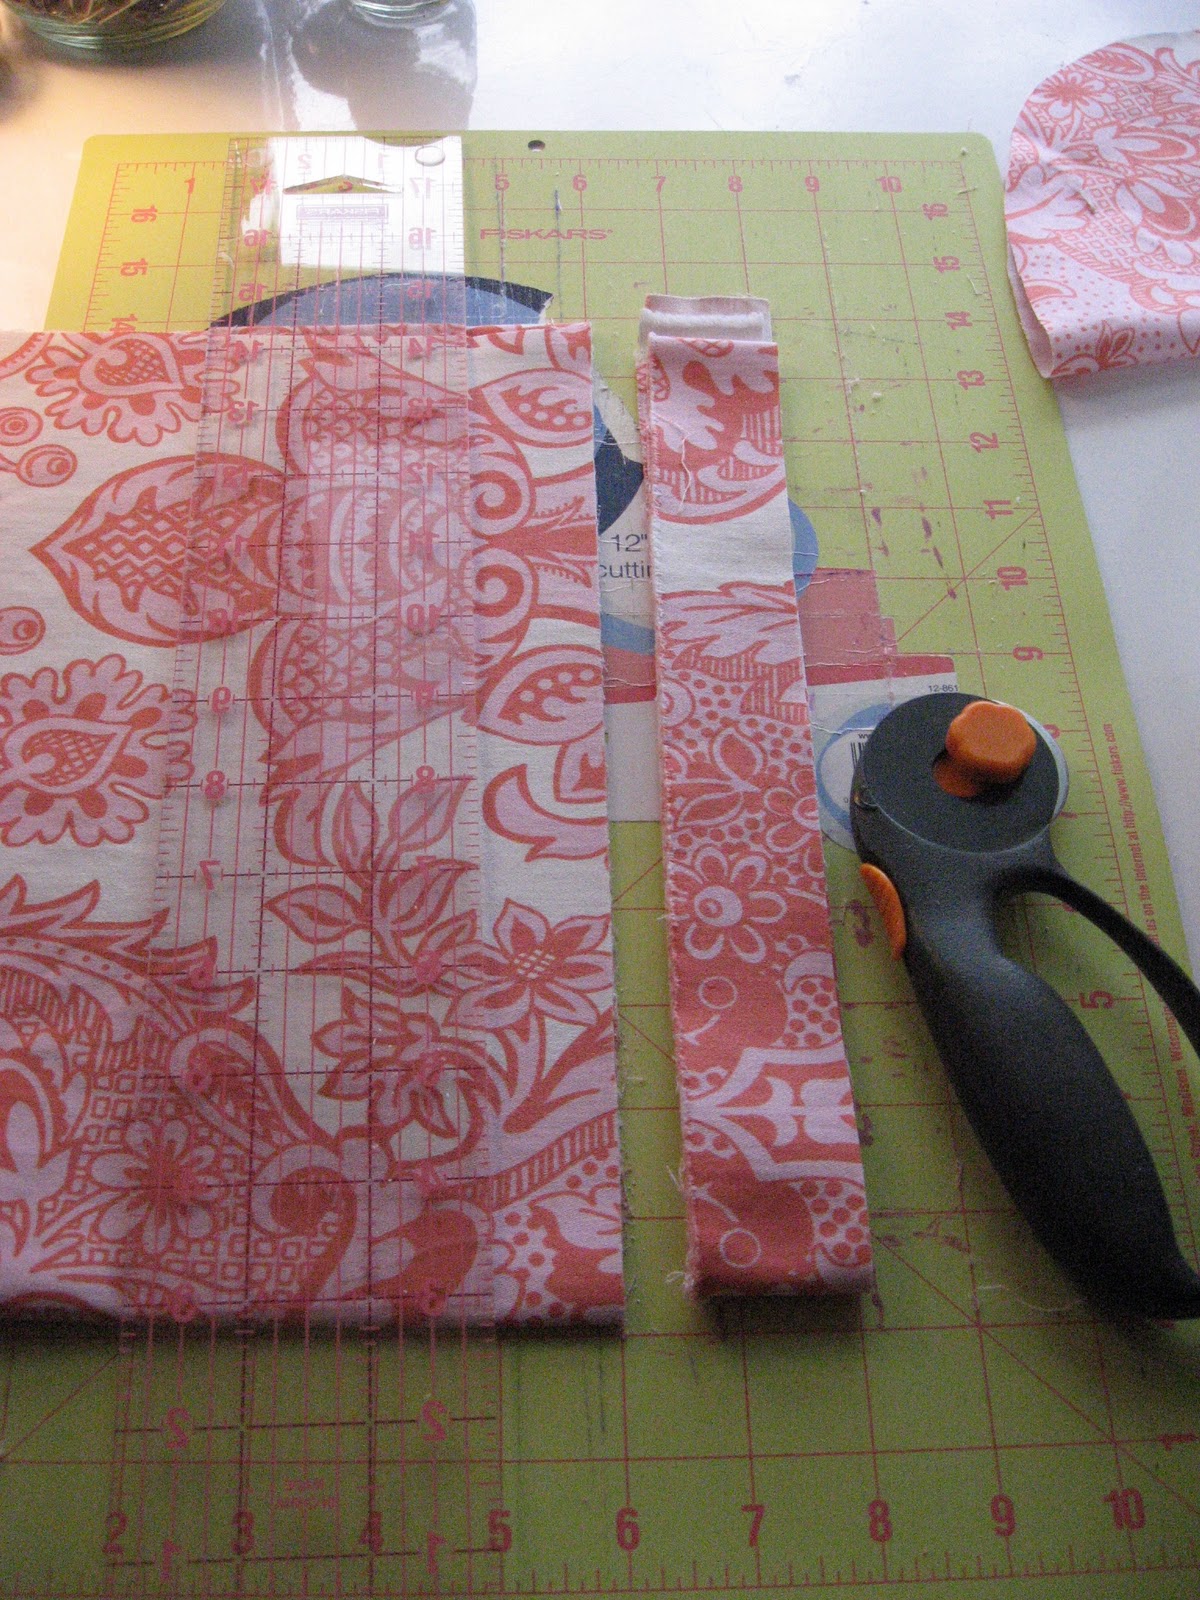
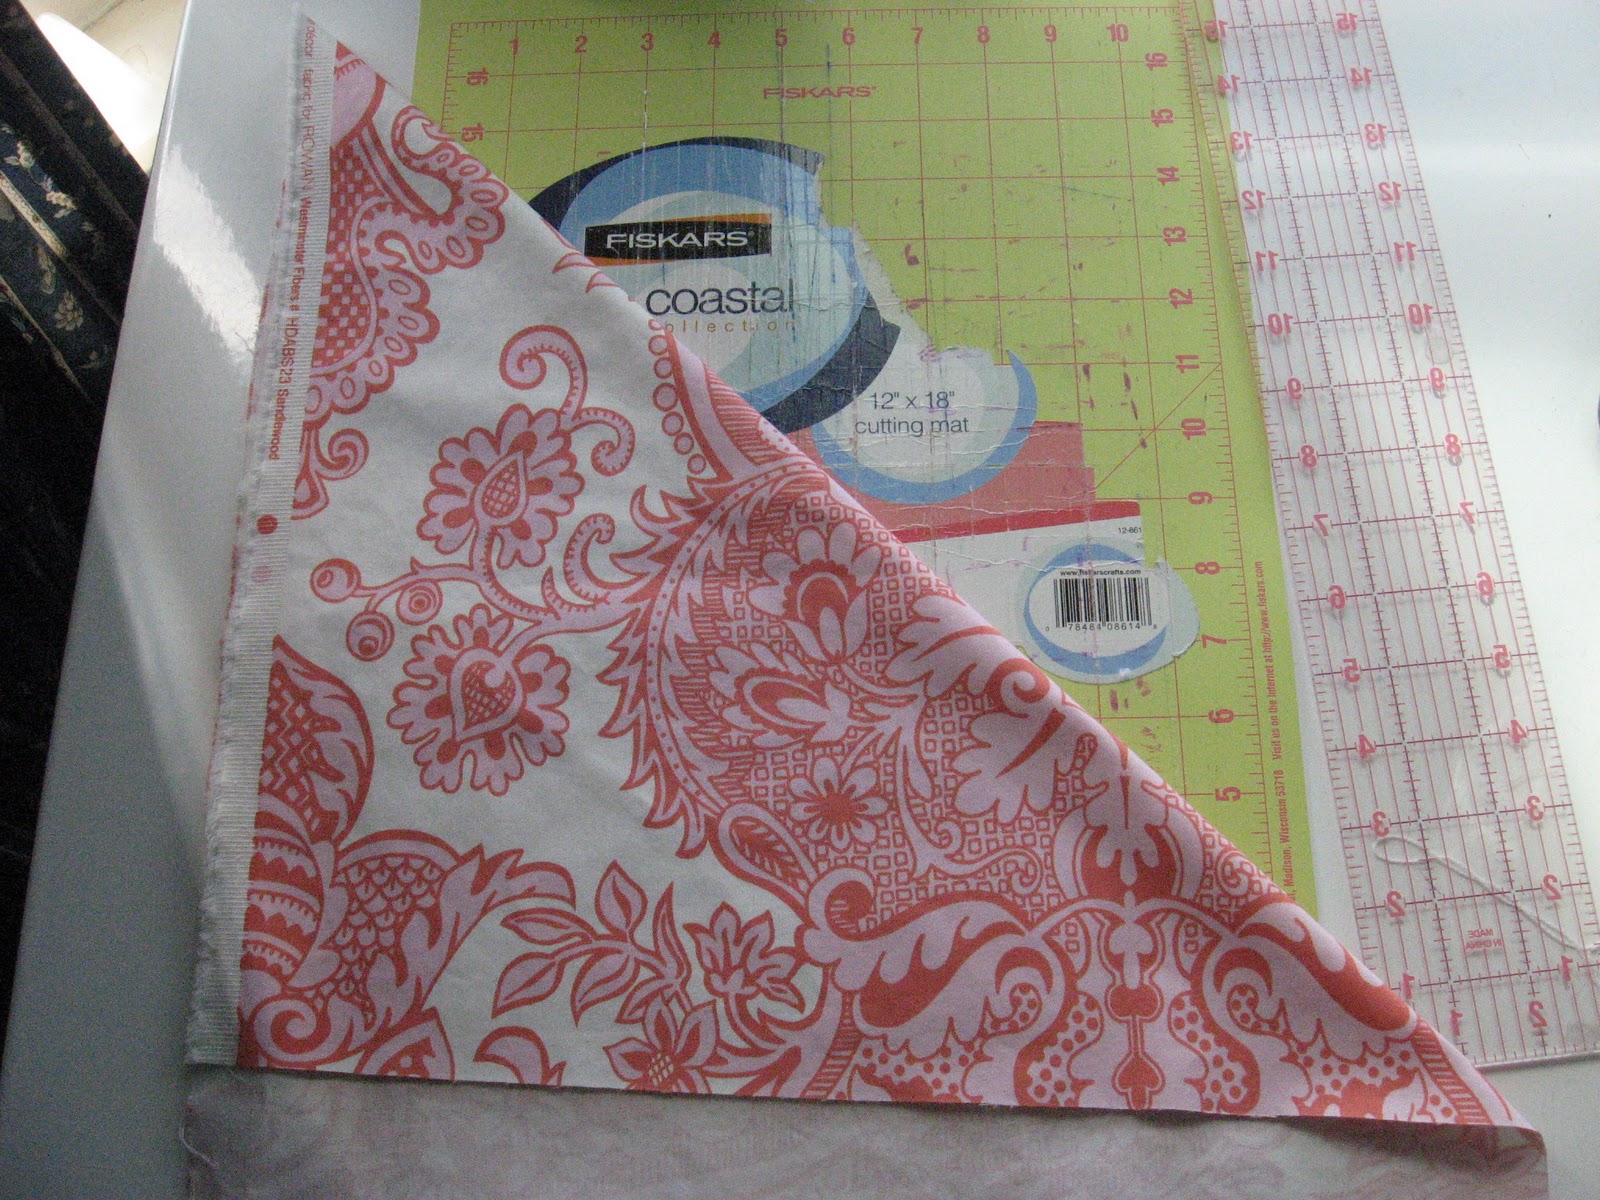
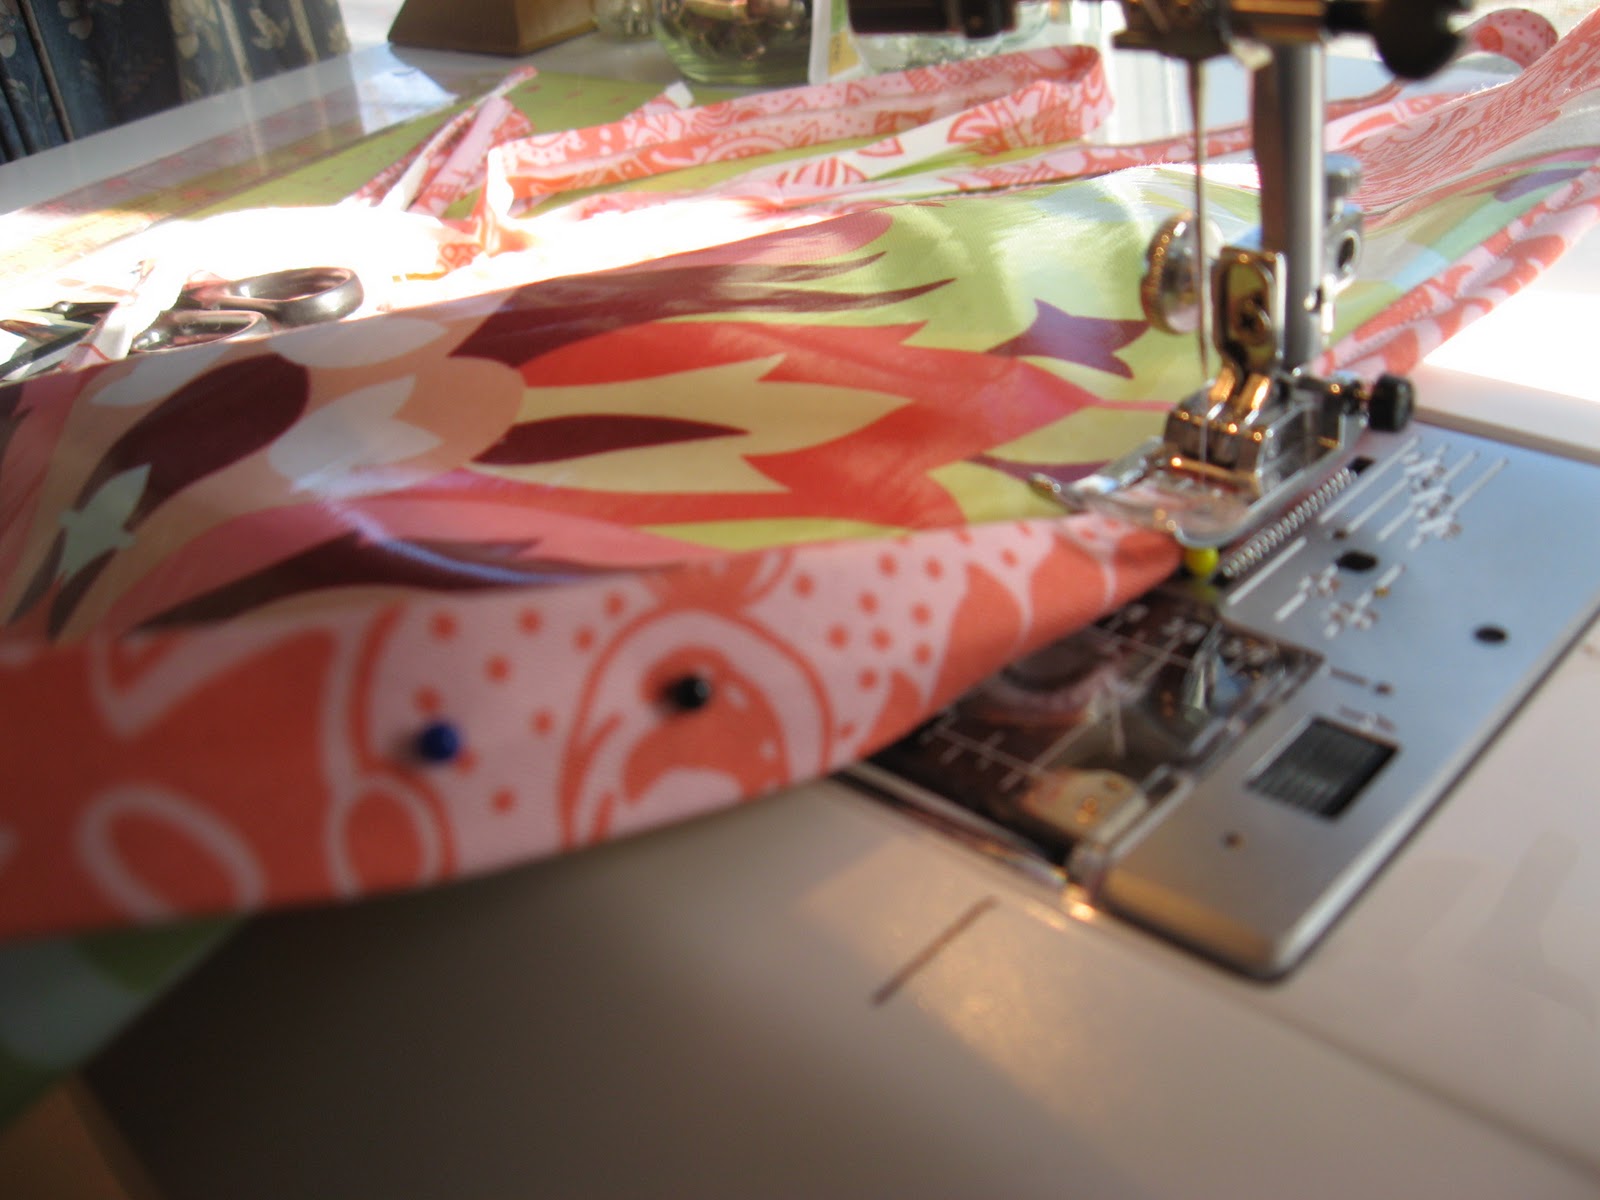
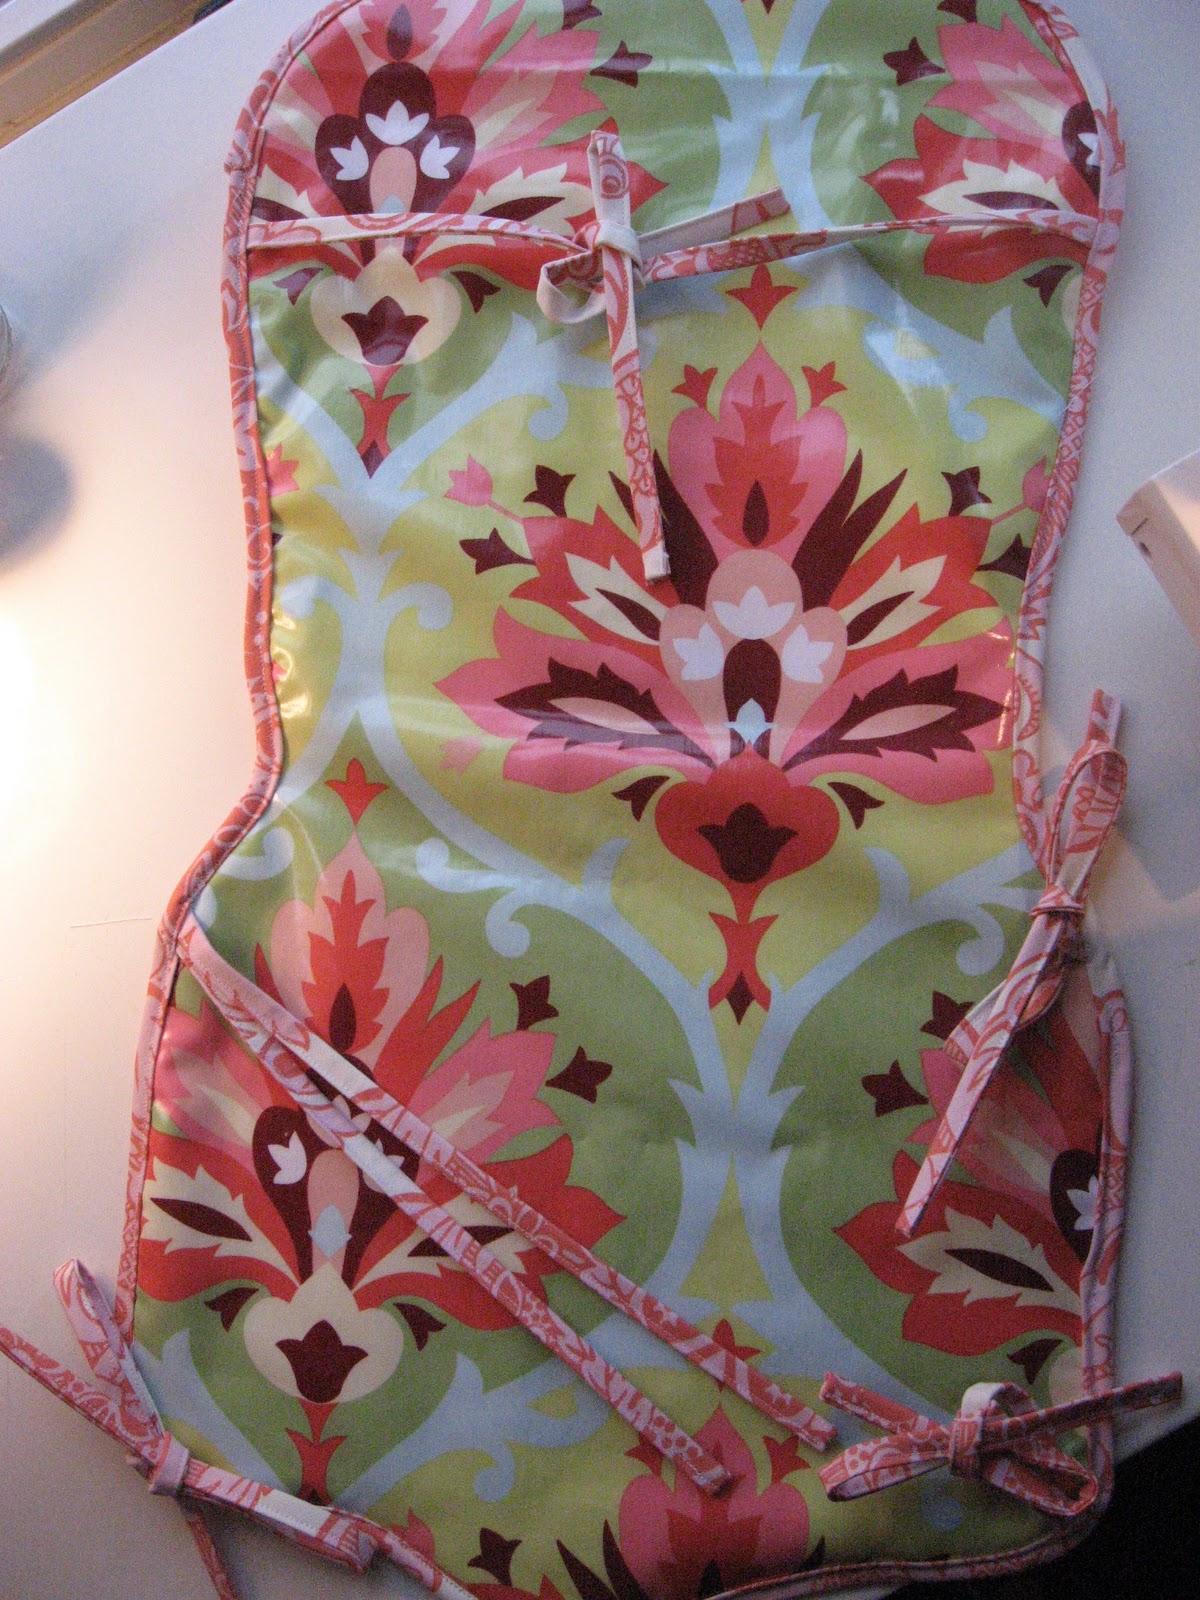
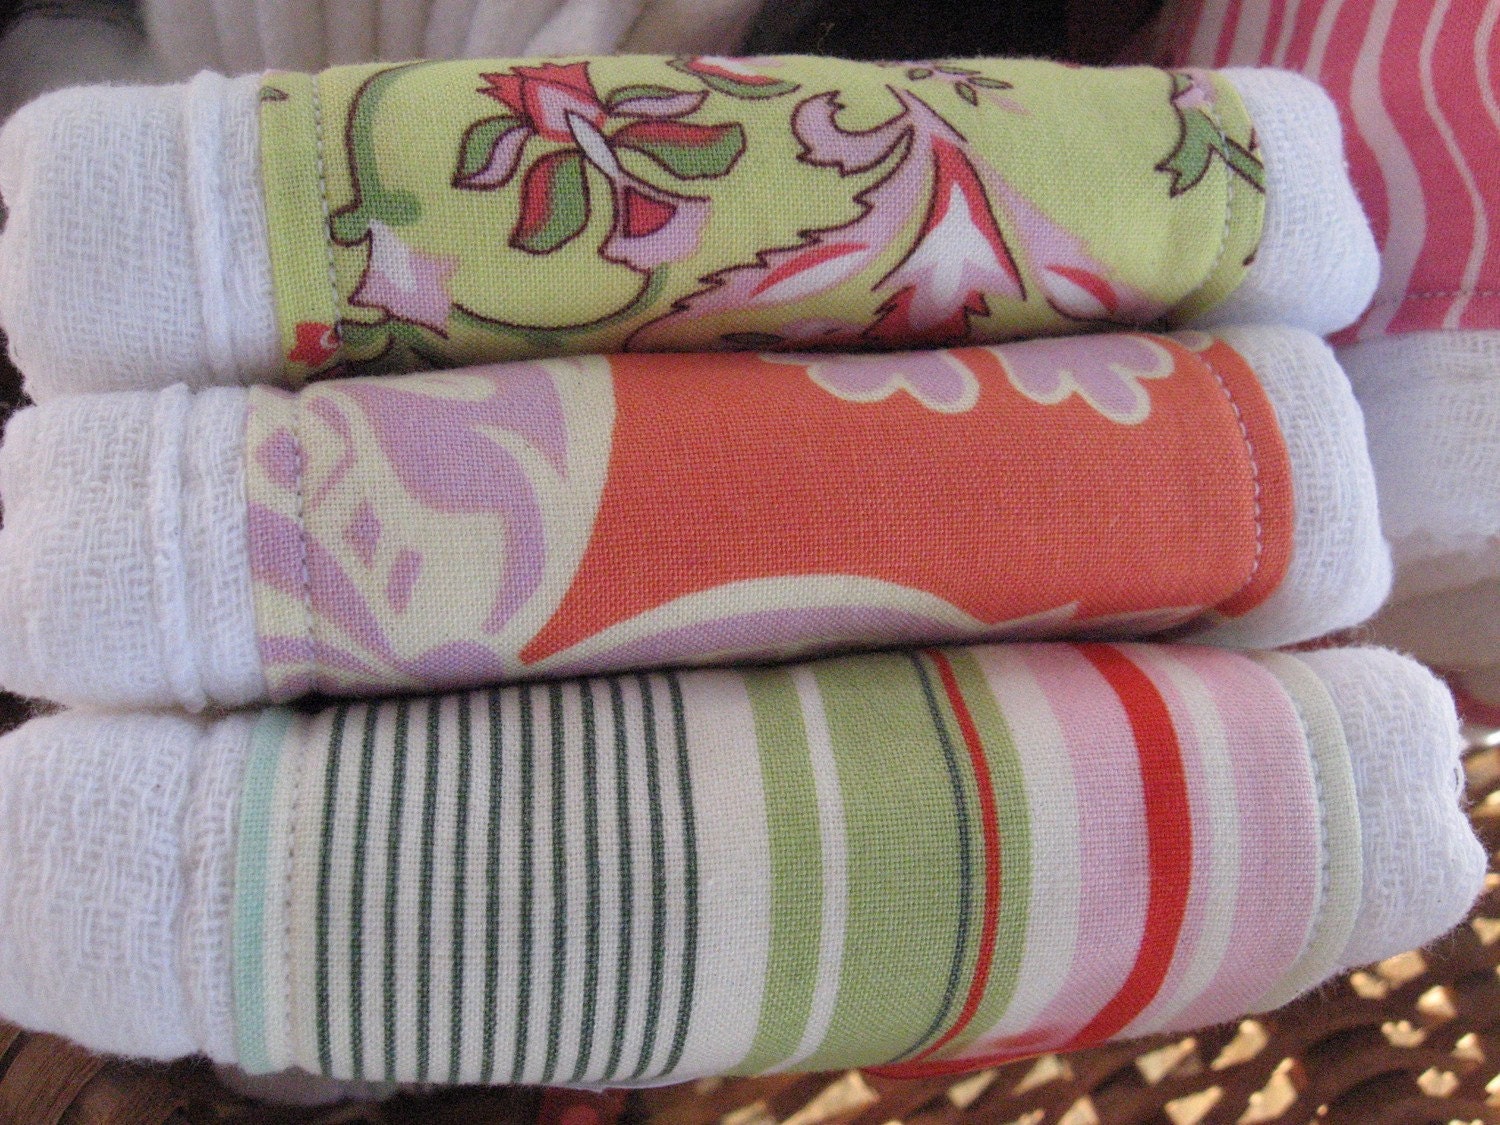
The original pad features a binding around the outer edge. I wanted to repeat that look to give the pad I was making a more finished look. I cut 1 1/2 strips on the bias (for a little more give and ease of working around the rounded edges). Looking back, I wish I had made the cut this a little wider at 2 inches. It would have made sewing it to the pad much easier. I cut large length and sewed them end-on-end together until I had about 90 inches, which was more than enough, I only used about 75 inches total. 

After finishing the ties and binding. I went back to the pad. I used two layers of regular quilting batting as the padding. The original pad is not very thick and I could have made this one thicker, but I didn’t want it to be so thick that my machine had a hard time with it. 
 My original plan was to sew all these layers together, but, what I learned by trial and error is that laminated fabric is very hard to sew, as it is so slippery. I found a few helpful tutorials online here. So instead, I decided to sew everything together with the binding. I found the most helpful way of pining the binding to be alternating the pins front to back as shown below:
 This kept the binding in place as I sewed. There are other ways to do a binding: I could have sewn one side then finished the other by hand.
As I sewed the binding down I placed the ties into the binding at the back, like this: 
 Two ties at each of the four corners of the seat and two ties on either side of the back. 

This is the finished view of the binding for the front:
 And this is what the back looks like:
The next step was to create two large slots for the high chairs straps to come through. I marked a two inch long line on the back of the pad, where the two straps would come through. Then used a zig-zag stitch to create a very large button-like hole. 
This is what it looked like when finished:
And here is the final product on the chair: 
 Pretty cute, huh? I think so!
A closer view of the straps coming through the button hole slots.
 View of where it ties to the slats on the chair.

The binding was the most challenging part of this project. I think if I had cut a 2 inch wide bias tape instead of 1 1/2 there would have been fewer frustrated groans. Overall though, I’m happy with the results!

–Sarah

Wow – your high chair turned out so great!!
Beautiful project! 
The ladies at Bumblebee & Sophie — Sarah, Cindy are Sophia are so talented!!  Check out these gorgeous projects from their blog:
http://2.bp.blogspot.com/_yb-ZTfbEe70/TFbH_dEwuLI/AAAAAAAAAEA/sNnNZjw9N2g/s1600/IMG_1288.JPG
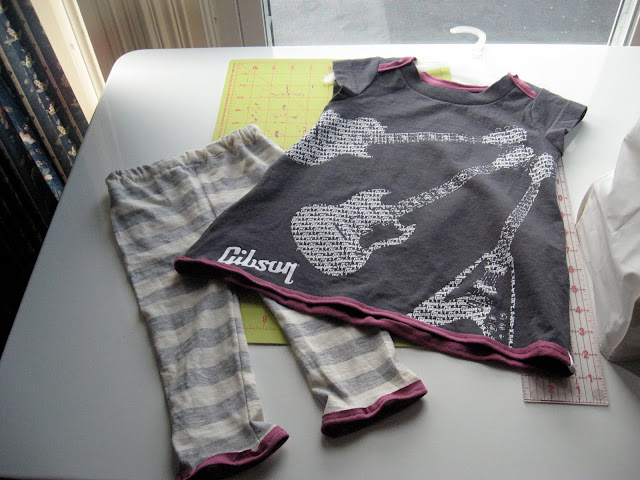
{Recycled Baby Rocker Outfit}
http://3.bp.blogspot.com/_yb-ZTfbEe70/TMw5cZ2SlvI/AAAAAAAAAkQ/gSKKWbulUTU/s1600/IMG_2067.JPG
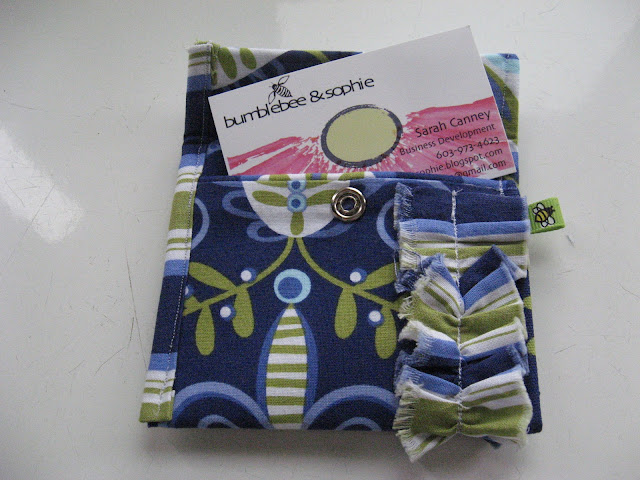
{Scraps of Fabric to Cute Wallet}
http://3.bp.blogspot.com/_yb-ZTfbEe70/TKvLNdRDB7I/AAAAAAAAAfg/Hgt3Rj2x2cs/s1600/IMG_4348.JPG
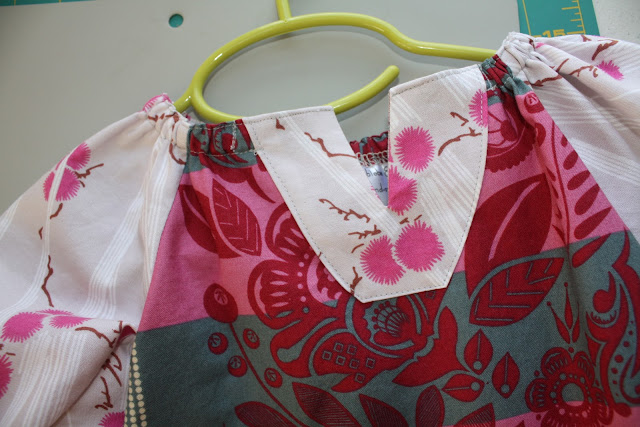
{Create a Tunic Neckline}
http://2.bp.blogspot.com/_yb-ZTfbEe70/TJlaBdaBKiI/AAAAAAAAAbE/heTdX7Ni56k/s1600/IMG_1720.JPG
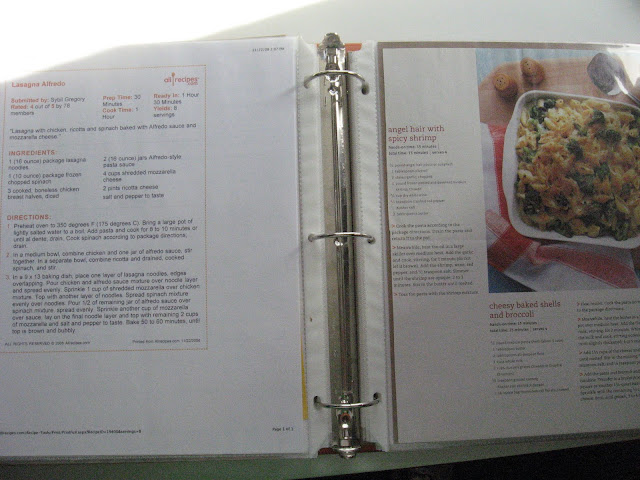
{Create a Recipe Binder}

And, they have a beautiful etsy shop where you can buy their amazing creations:
http://ny-image3.etsy.com/il_fullxfull.181402487.jpg
http://ny-image1.etsy.com/il_fullxfull.169895197.jpg
http://ny-image3.etsy.com/il_fullxfull.178234563.jpg
Be sure to check out Bumblebee and Sophie!!

Have a Wonderful Wednesday!!
XOXO

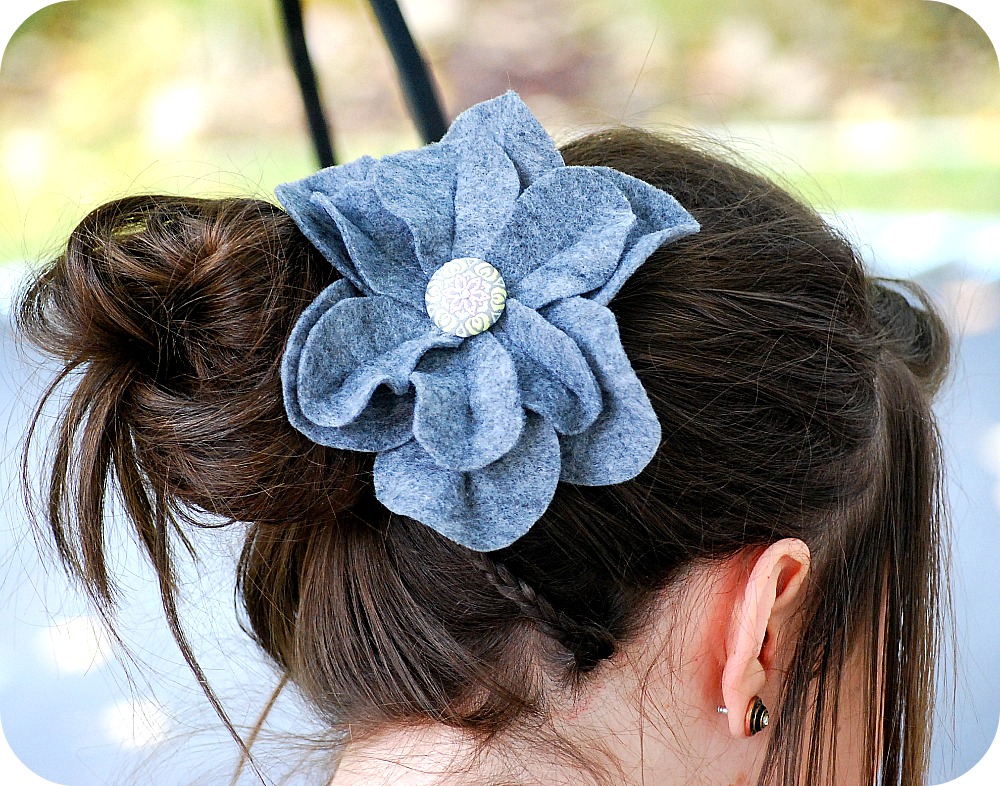
PS -I’m sharing the tutorial on how to make these Felt Flowers over at Me Making Do!


This post brought to you by

Posted By: Jen · In: sewing projects, tutorial

Thanksgiving Project — Turn an old window into Thankful Art!
Guest Project — Throw a Fabulous Bumble Bee Party!

You’ll Also Love

Here is a list of 10 Must-Have Supplies for Learning to Sew.10 Must-Have Supplies When You’re Learning to Sew
HAPPY Holidays Guest Series - Recipes, Party, Home Decor Ideas!HAPPY Holidays Guest Series – Recipes, Party, Home Decor Ideas!
Trick or Treat Halloween Banner

Comments

  1. Kelsey says

    June 2, 2013 at 1:35 PM

    I bought a used high chair and it did not have the cover. How would I go about getting a pattern for this?

  2. Sarah @HarriganHowdy says

    November 6, 2010 at 6:26 PM

    Thank you!!! I wanted to do this with my little one a year ago when we had our 1st girl after 2 boys, but didn't know how to go about it. Now I do! {In the event of having another one. lol.}

    Blessings,
    Sarah

  3. bridget {bake at 350} says

    November 4, 2010 at 7:32 PM

    *almost* makes me want to have another baby. *almost*

  4. dunivan says

    November 4, 2010 at 5:21 AM

    I so wish I had this when my little ones were in a highchair, I had the ugliest blue check chair and a cloth chair cover (seriously, who designed that?)

  5. MamaMimi says

    November 3, 2010 at 9:44 PM

    AWESOME tutorial, thanks! I especially love it because I have THE EXACT SAME high chair! =)

  6. TidyMom says

    November 3, 2010 at 8:56 PM

    FABULOUS idea!! I wish we had the internet and all of these awesome ideas when I had high chairs in the house!!

    Great tut!!

  7. Lillianna Grace says

    November 3, 2010 at 7:37 PM

    Fabulous tutorial! All I need now is a baby and a highchair!

  8. Bridget says

    November 3, 2010 at 7:11 PM

    Love the High Chair Cover…Thanks so much for sharing! Also, excited about my ad!! Thanks

  9. Debby says

    November 3, 2010 at 6:57 PM

    Even though I have a totally different high chair I am very happy with the idea. Geeeh, how come I have never thought of that??????

    Thanks and have a good week!

  10. jennykate77 says

    November 3, 2010 at 6:30 PM

    Well, is that just not the cutest thing ever!!! Bumble & Sophie have some adorable things!

    Hope you're having a great week so far, Jen!!♥

  11. MiMi says

    November 3, 2010 at 4:39 PM

    What a great way to change it up without spending tons of money!

  12. Sandy a la Mode says

    November 3, 2010 at 4:17 PM

    wow!! what a great little tutorial for those with little ones~!!!

    p.s. i have a giveaway on my blog today~! would love for you to enter!
    http://www.sandyalamode.com/

  13. TCEWaters says

    November 3, 2010 at 4:07 PM

    Wow! Those are some really cute ideas! I LOVE it! Bumble & Sophie you guys are amazing. Tatertots people you already know you are since I follow you daily! 🙂

  14. Blessed Mommy of 2 says

    November 3, 2010 at 3:58 PM

    Great tutorial! And gorgeous fabric used. Heading over to see the flower pin now. =)

Hi! I'm Jen Hadfield. I'm a mom of 5 restoring an 1891 home in the heart of Salt Lake City. I love being creative and sharing simple ideas to make your life easier and more beautiful!

Receive the Latest Crafts, DIY, Recipes and More in your INBOX!

Follow us on Pinterest! It's awesome!

Top Posts & Pages

Spruce up Your Outdoor Space with a DIY Recirculating Fountain! (tutorial)
A New Deck in Under 30 Minutes!
DIY Secret: How to Print on Post-It Notes (and Free Printable Template)
12 Must-Have Items to Pack on an Alaskan Cruise!
Copycat Panera Spinach and Artichoke Egg Soufflés - SO good!
How to Change a Recessed Can Light into a Pendant Light with No Remodeling!


Popular Posts

  • Spruce up Your Outdoor Space with a DIY Recirculating Fountain! (tutorial)
    Spruce up Your Outdoor Space with a DIY Recirculating Fountain! (tutorial)
  • A New Deck in Under 30 Minutes!
    A New Deck in Under 30 Minutes!
  • DIY Secret: How to Print on Post-It Notes (and Free Printable Template)
    DIY Secret: How to Print on Post-It Notes (and Free Printable Template)
  • 12 Must-Have Items to Pack on an Alaskan Cruise!
    12 Must-Have Items to Pack on an Alaskan Cruise!
  • Copycat Panera Spinach and Artichoke Egg Soufflés - SO good!
    Copycat Panera Spinach and Artichoke Egg Soufflés - SO good!
  • How to Change a Recessed Can Light into a Pendant Light with No Remodeling!
    How to Change a Recessed Can Light into a Pendant Light with No Remodeling!
  • Mother's Day Cup Holder Gift Basket
    Mother's Day Cup Holder Gift Basket

As seen in


Amazon Affiliate

Tatertots & Jello is a participant in the Amazon Services LLC Associates Program, an affiliate advertising program designed to provide a means for sites to earn advertising fees by advertising and linking to amazon.com.
  • About Me
  • Advertising
  • Get Featured

Copyright © 2025 Tatertots and Jello · Privacy
This site is a place for positive discussion and ideas. Negative talk, comments that disparage others, and similar are not welcome and may be removed.