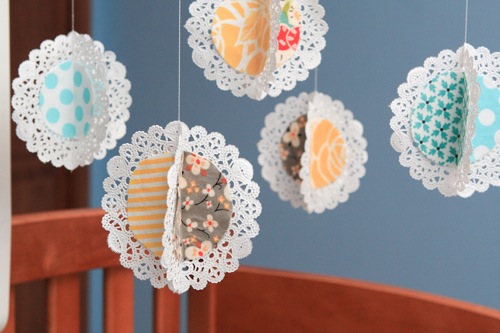
I am so excited to be sharing this tutorial on Tatertots and Jello today!!
My name is Erinand you can find me every Mondayover at Lemon Tree Creations sharing my latest project, and sharing everything else on the other days atChris, Erin and Jayce. Nice to meet you!

This June I’ll be having my first little girl. I’ve just learned to sew a few months ago so I have only recently entered the vast world of incredible fabric!! Among the many projects that I have taken on for my daughter and her nursery is a fun puff quilt, and I just loved squeezing as many tiny pieces of beautiful fabric together as possible on it. There was no need to restrain myself among the fabric gorgeousness, and I barely did! But after spending entirely too much time researching, shopping for and ordering fabric, I realized that I wanted a more permanent way to display the collection in her nursery than just the quilt.
So I came up with these Hanging Fabric Doilies. Aren’t they sweet?!
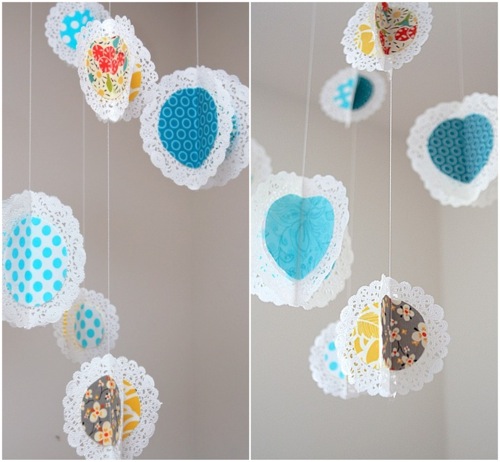
Want to see the details? Read on!
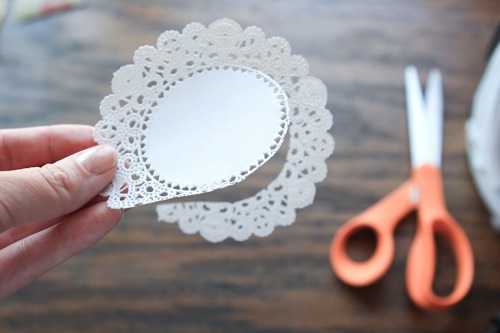
I started off with 6 inch and 4 inch paper doilies. I cut off the lace edges and used the center circles as templates to cut out my fabric circles.
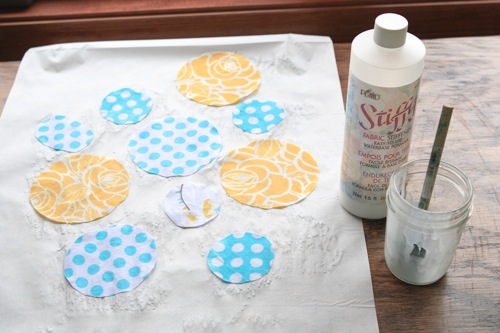
I mixed equal parts of fabric stiffener and water, brushed it onto the circles and let them air dry.
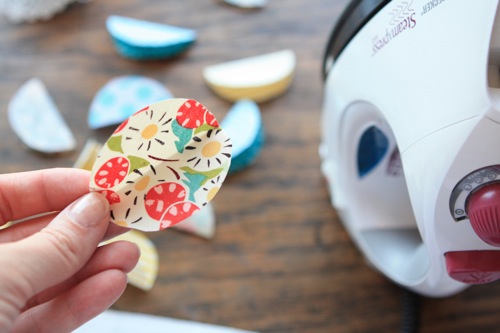
They dry a bit wrinkly, so I ironed them flat on a low heat setting, then folded them in half and ironed down the crease.

I took 2 doilies, folded those in half as well, and paper clipped them together so that they wouldn’t shift while I was sewing them.
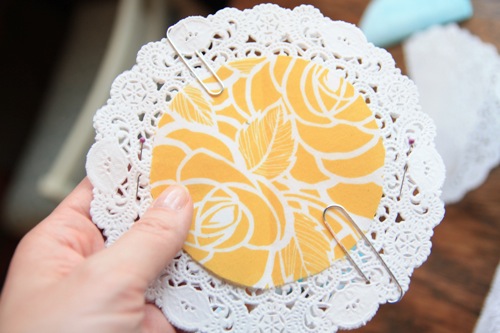
I slipped one of the creased and stiffened fabric circles under the paperclips on each side of the doilies.

I then sewed a straight stitch down the center of the doilies and fabric circles, using my creases as a guide, and left a 3 foot long string at one end.
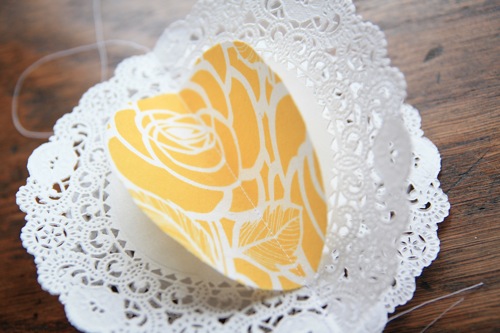
Now I was really getting excited! I wanted my fabric circles to lay flat against the doilies, so I used a thin squiggle of hot glue to secure them in place.
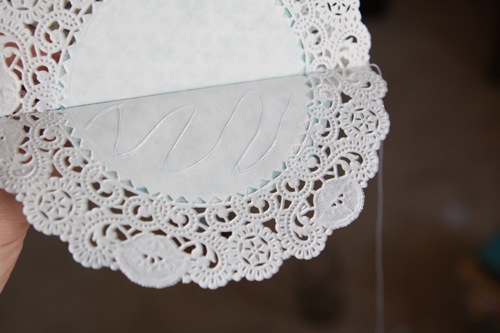
I opened up the folded sides of the doilies and glued 2 coordinating fabric circles onto those as well.
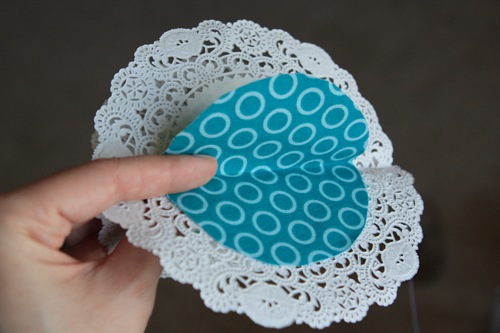
You could leave the alternating sides blank, but since this is for a nursery I wanted alternating colors to best keep the baby’s interest.
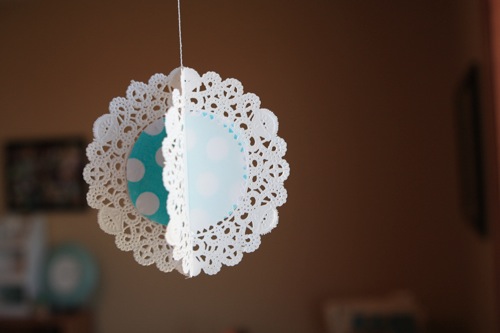
I made several fabric doilies in different sizes and pattern combinations, and hung them from the ceiling above the rocking chair.
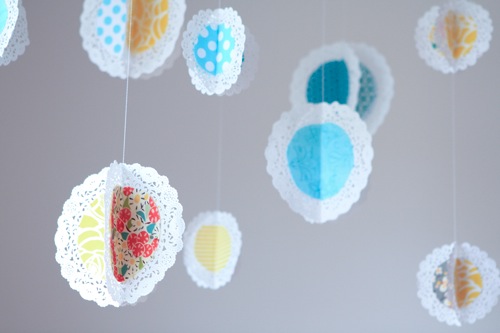
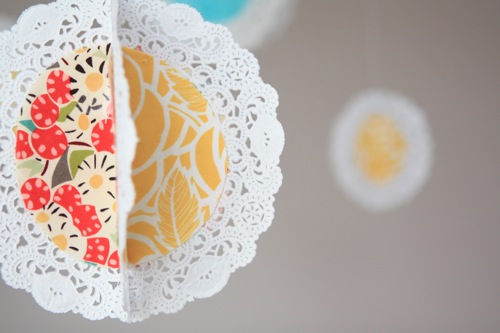
I also made five of the 4 inch fabric doilies and strung them onto the frame from my son’s old mobile.
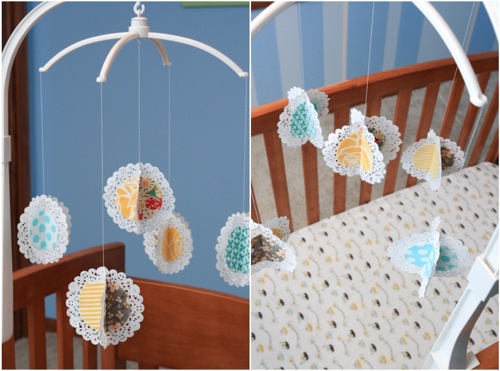
It was the perfect way to spread the fabric around the room, add some pops of color, and still leave a light touch.

I just love the sweet detail on the doilies and the bursts of color are just too fun!

Curious about the fabrics?
-Ta Dot in Ocean can be found here.
-The Bloom and Grow Paisley, Bloom and Grow Geometric and Love Bird are by Riley Blake, which I purchased from this shop.
-The Yellow Matisse Flowers, Matisse Still Life, and Kitchen Blossoms were from this shop.
I’ll be sharing the rest of nursery on Lemon Tree Creations in the coming months, so feel free to follow along so that you don’t miss a thing. 🙂
Jen, thanks so much for letting me share my tutorial with you and your readers!! I am such a huge fan of your blog and ideas, so it’s been an honor! 🙂
Oh my goodness, Erin – that is adorable!
I want one of those doily mobiles in my craft room – so cute!!
Do you know Lemon Tree Creations?
It is a fabulous site!! Here are just a few of their wonderful tutorials:
{And, one of my all-time favorites — Bookpage Egg Wreath}
You will love the Amazing Projects at Lemon Tree Creation!
Check them out 🙂
xoxo

PS — I am about to leave for Creative Estates — eeek! I’m off to get a pedicure since it’s HOT in AZ and I need to wear sandals. LOL! If you are going, I would love to meet you!!!!






So pretty mobile! I did those doily-things with paper doilies and papercuts. They are hanging now at(on?) the window.
I love the mobile, it is adorable
The mobile is adorable .
what a sweet and lovely decoration! Enjoy your time with your new baby!
I LOVE these! I WAS going to use pom poms as decorations at my wedding, but I'm going to do these, now. I went and bought all of my fabric today!!!
Erin! This is simply adorable! I'm so anxious to see the rest of the nursery!
QUE LINDA A DICA DEIXA TUDO MAIS ACONCHEGANTE, ADORO SUAS POSTAGENS!
BOA NOITE!
This is just lovely. What a beautiful project and such lovely photos. So many applications for party decorations and decor.
this is such a cute mobile. thank you for sharing!
~Amber
🙂
That is beautiful!
so fun easy and unique!
The mobile is precious!!! I love the book eggs too, great stuff ladies!!
Oh, I am so in love!! I'm getting ready to have a baby girl, and I am TOTALLY doing this!! Thanks so much!!
Love it. It's so cute and the colors just oooze 'Spring'!
This is so cute Erin, I CANNOT wait to see the finished nursery product!
Erin, this is absolutely adorable! What a fabulous idea! The fabrics you used are gorgeous and it looks perfect all put together and hanging so pretty! LOVE it!
That mobile is just precious. Thanks for sharing the tutorial…and the rest of the stuff is yummy too.
this is soooo cute and whimsical. i love it!
Love Lemon Tree!!
Funny, I just posted a link to a doily bunting yesterday. The next big thing??
Love this! So sweet and so many ways to customize. Thanks for sharing!!
These are just darling!! So simple and cute. I love so many of LTC's projects. Glad to see them here!
I love this idea!!!!! Ag
I liked it! it´s easy but beautiful!
I LOVE THIS! This is just beautiful and I will definitely be making one of these for my girls room ~ with some adjustments as it will hang from the ceiling.
Just beautiful ~ thank you for sharing
How Oh SO LOVELY!!
This is definitely my type of craft!!
LOVE!