Hello Tatertots & Jello readers! I’m Vivienne from The V-Spot, and I’m super excited to be over here today. Jen is one of my Very Favorite people out in BlogLand and I’m so grateful she let me come over to share a tutorial with you.

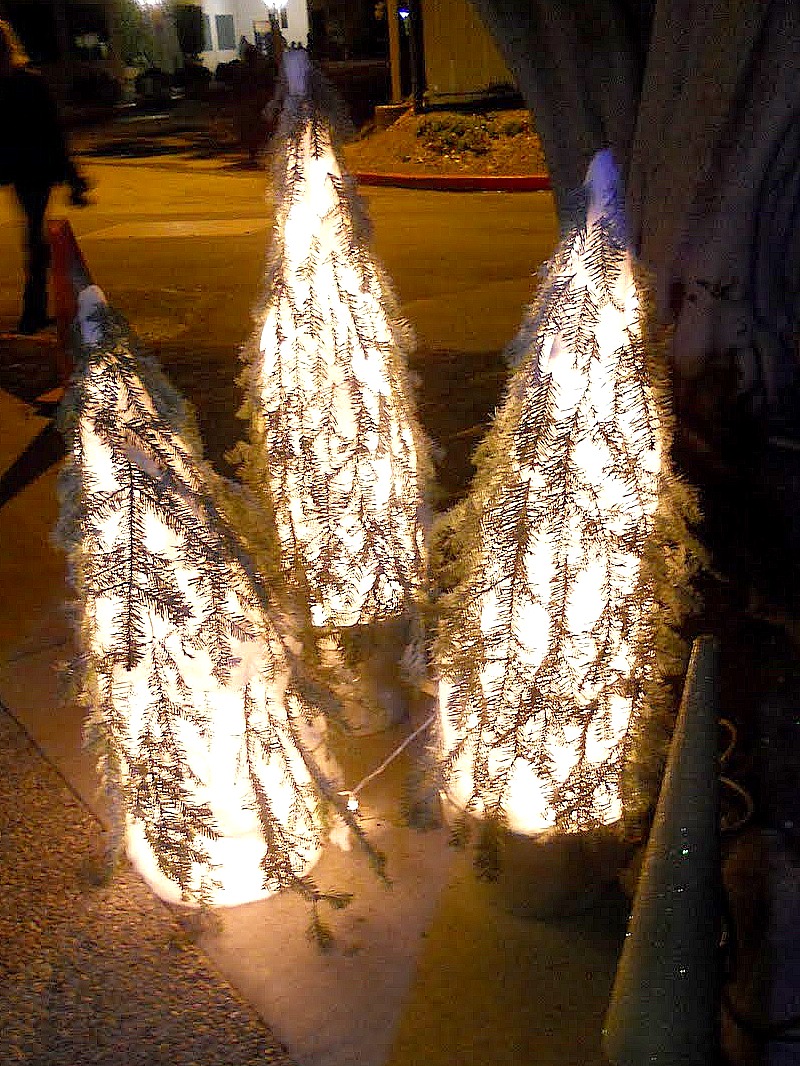
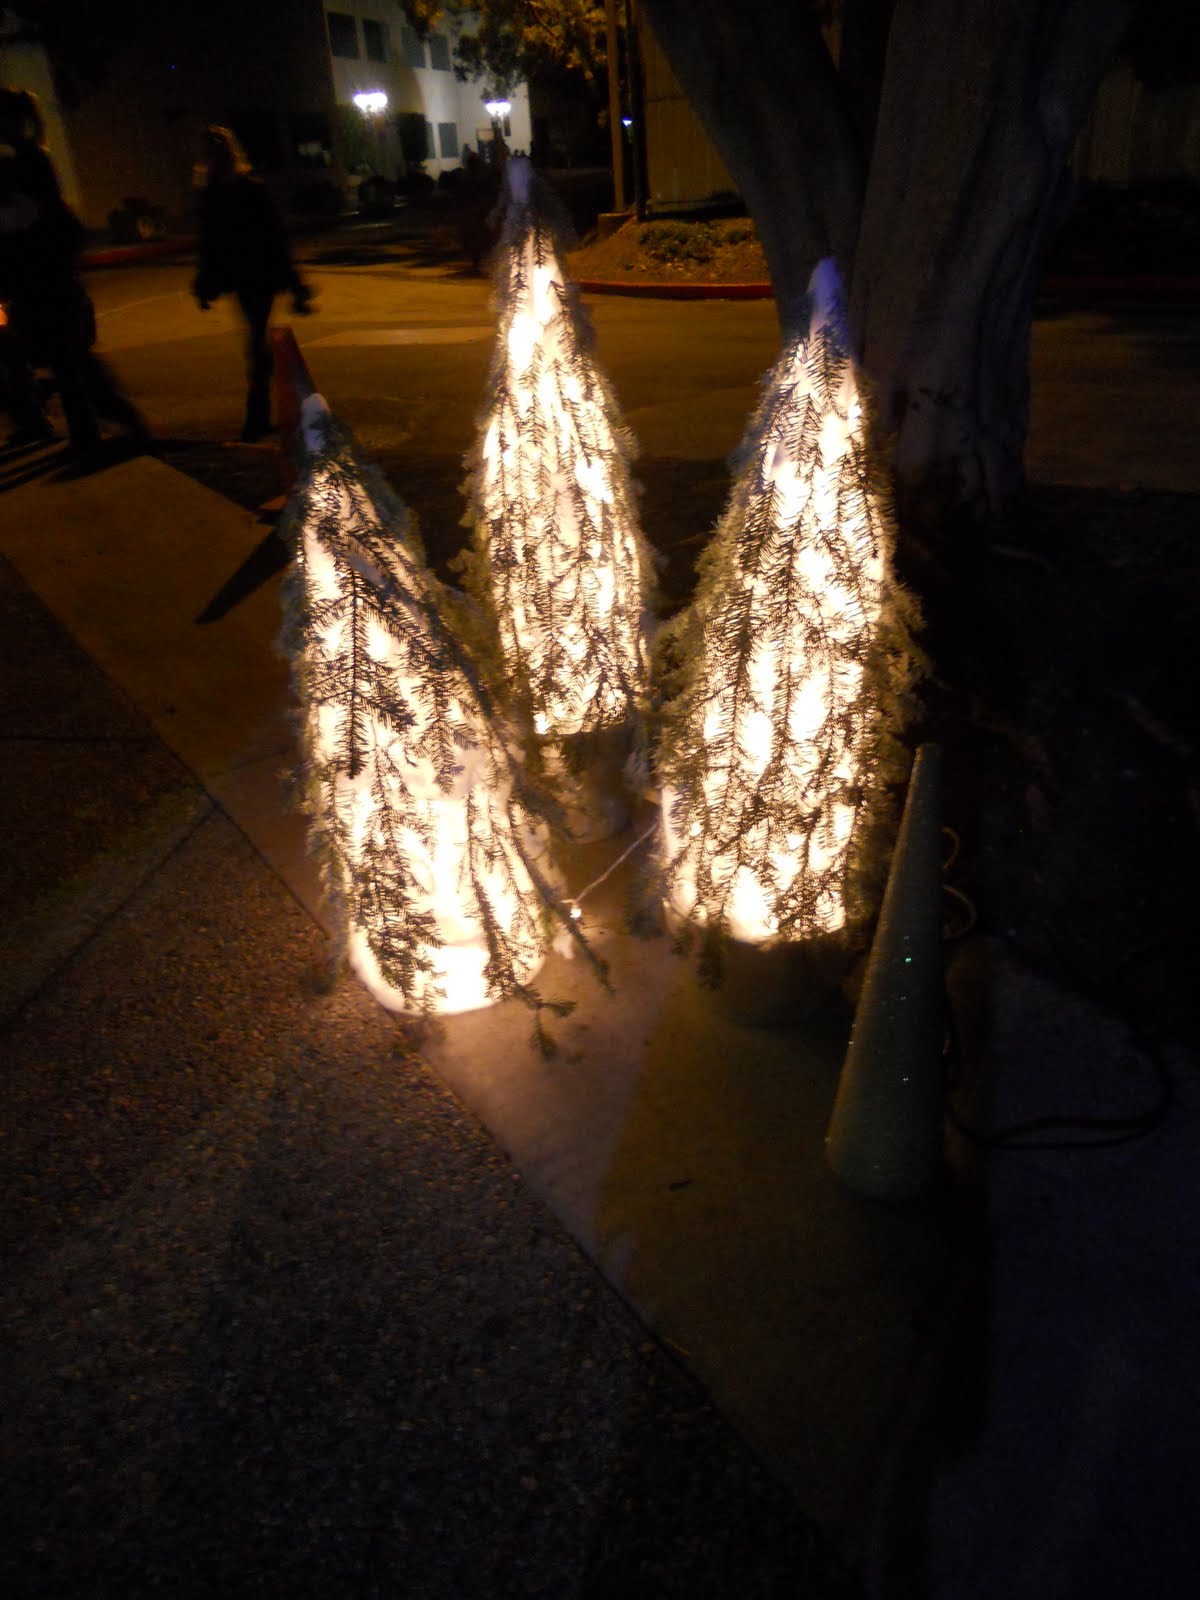
We had several old tomato cages laying around in our side yard. (Me? Creative? Absolutely. Green thumb? Not so much.)
I had extra strings of icicle lights laying around too.
I thought I’d make a few lighted Christmas trees.
You will need:
- a tomato cage
- a string of lights (I used icicle)
- quilt batting or “Buffalo Snow”
- glue gun
- duct tape
- fresh fir tree clippings and small garden shears
- spray snow flocking
- glitter, ribbon, etc (optional)
Here’s how I did it.
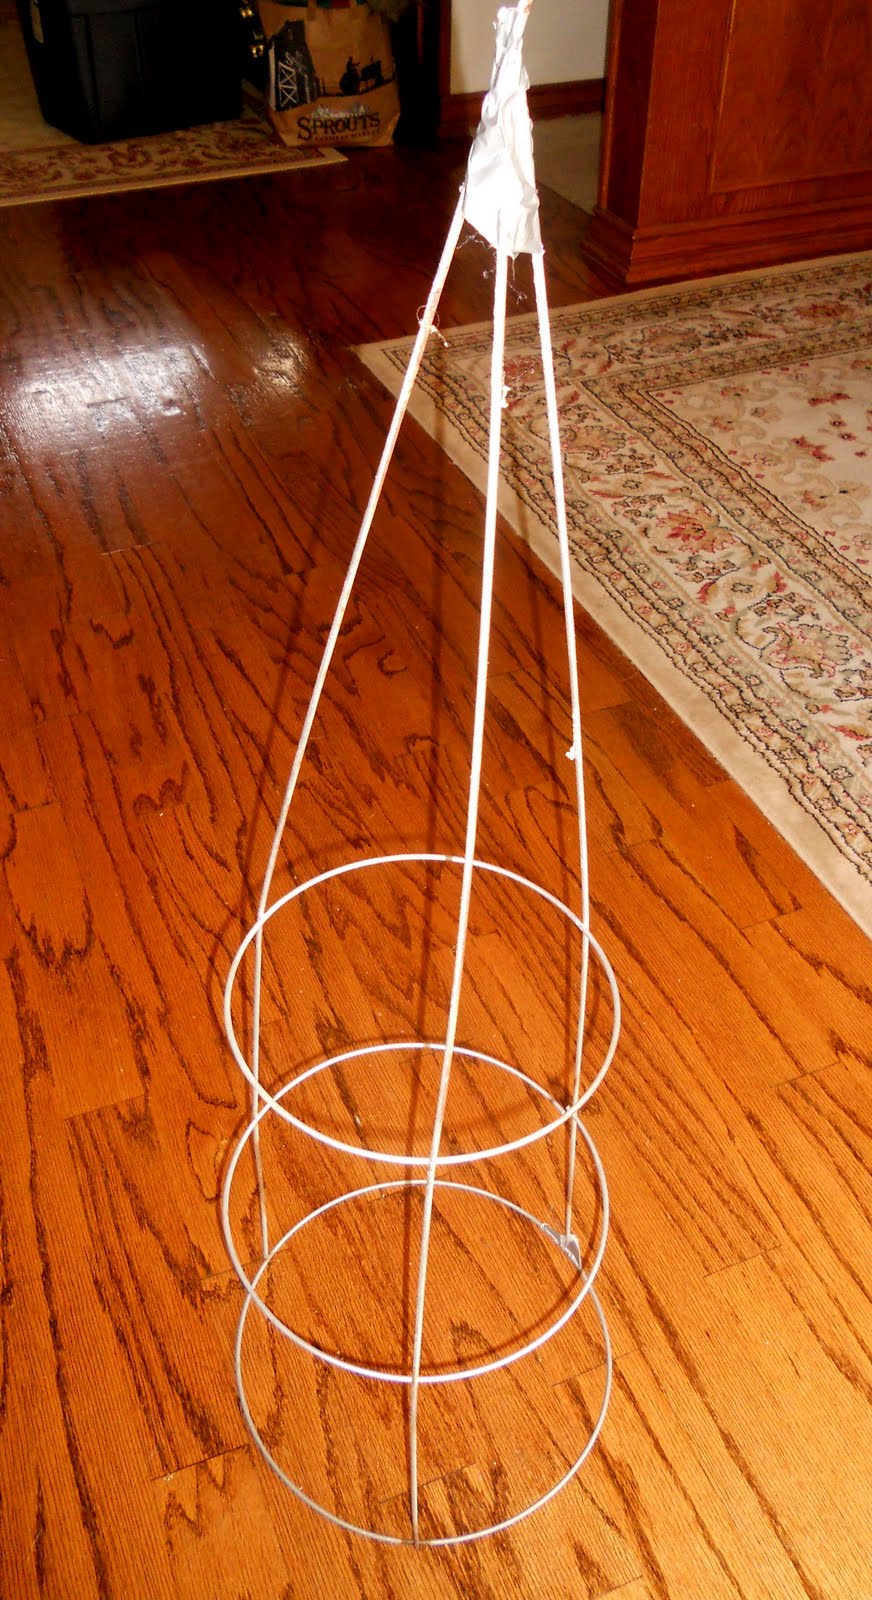
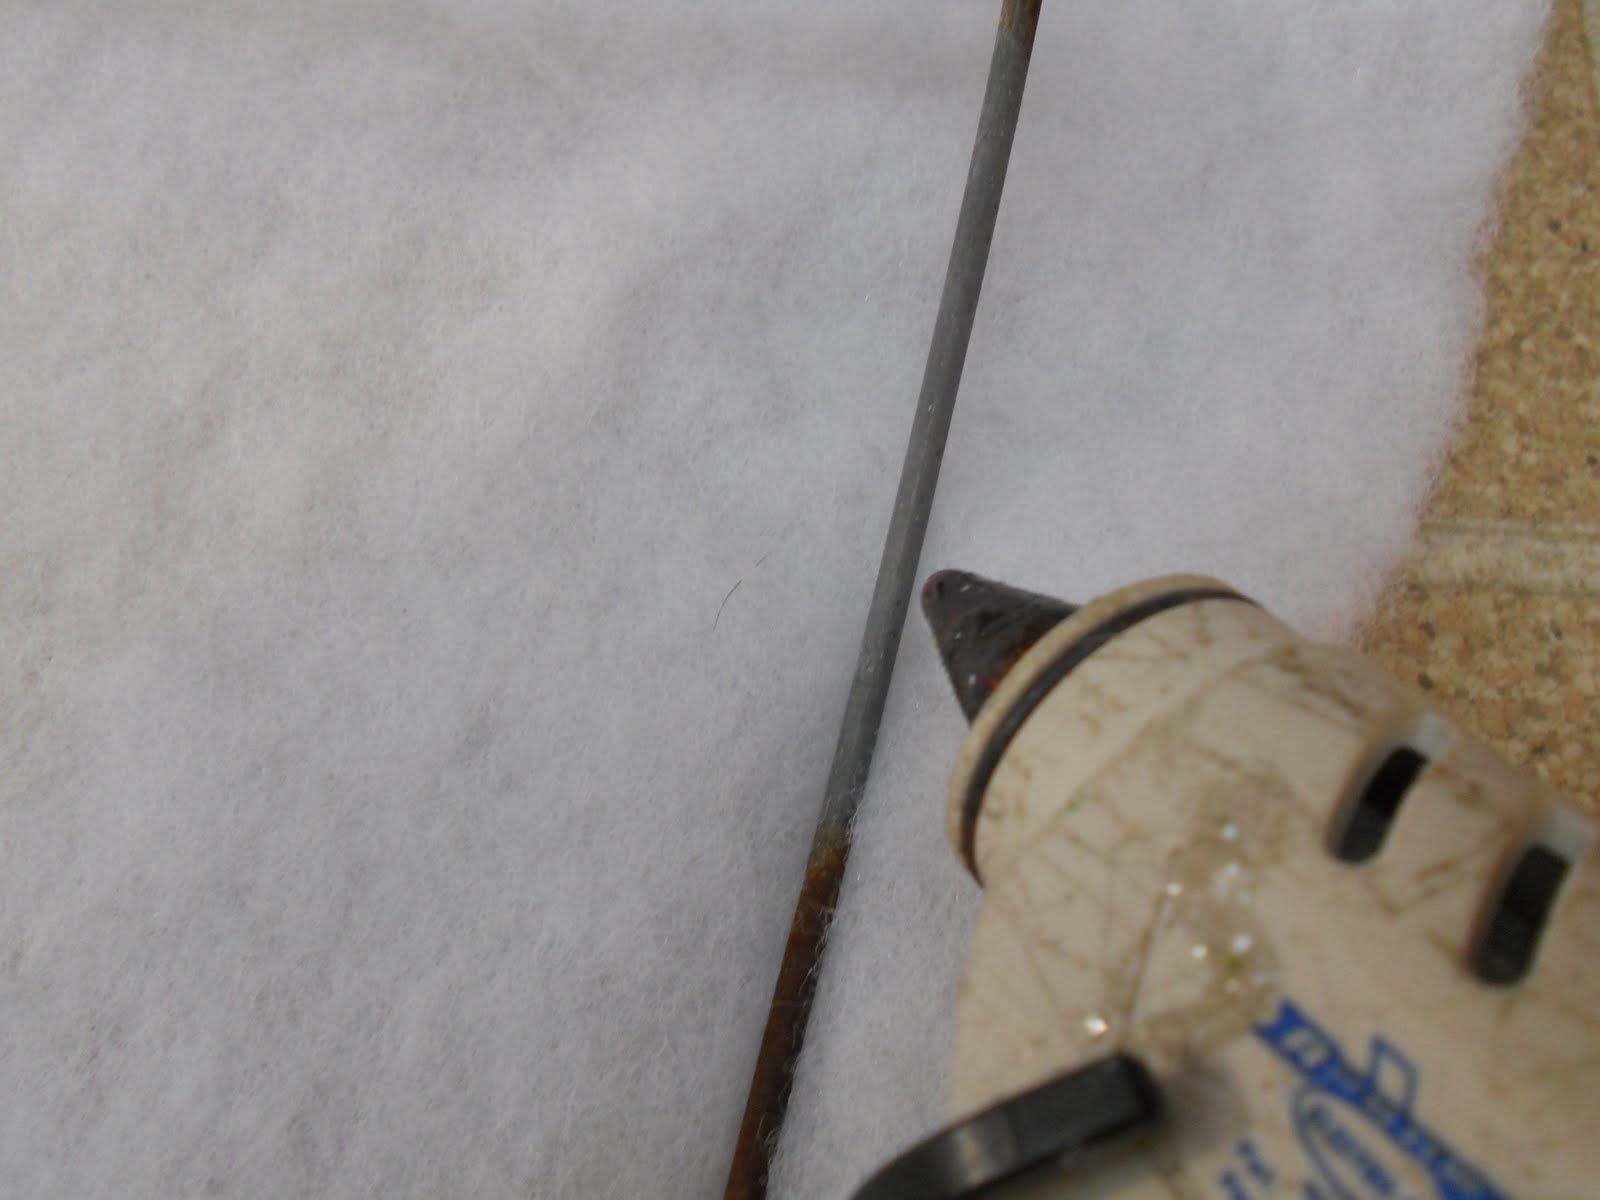
Turn the tomato cage upside down and bring the spikes to a point. Wrap and secure with duct tape.
Starting at the point at the top, begin taping the lights to the sides of the cage. Make sure that you have the “female” end of the string of lights when you start. The “male” end that gets plugged into the socket will need to hang out of the bottom of the tree.

Make sure the “icicles” are hanging towards the middle of the cage.
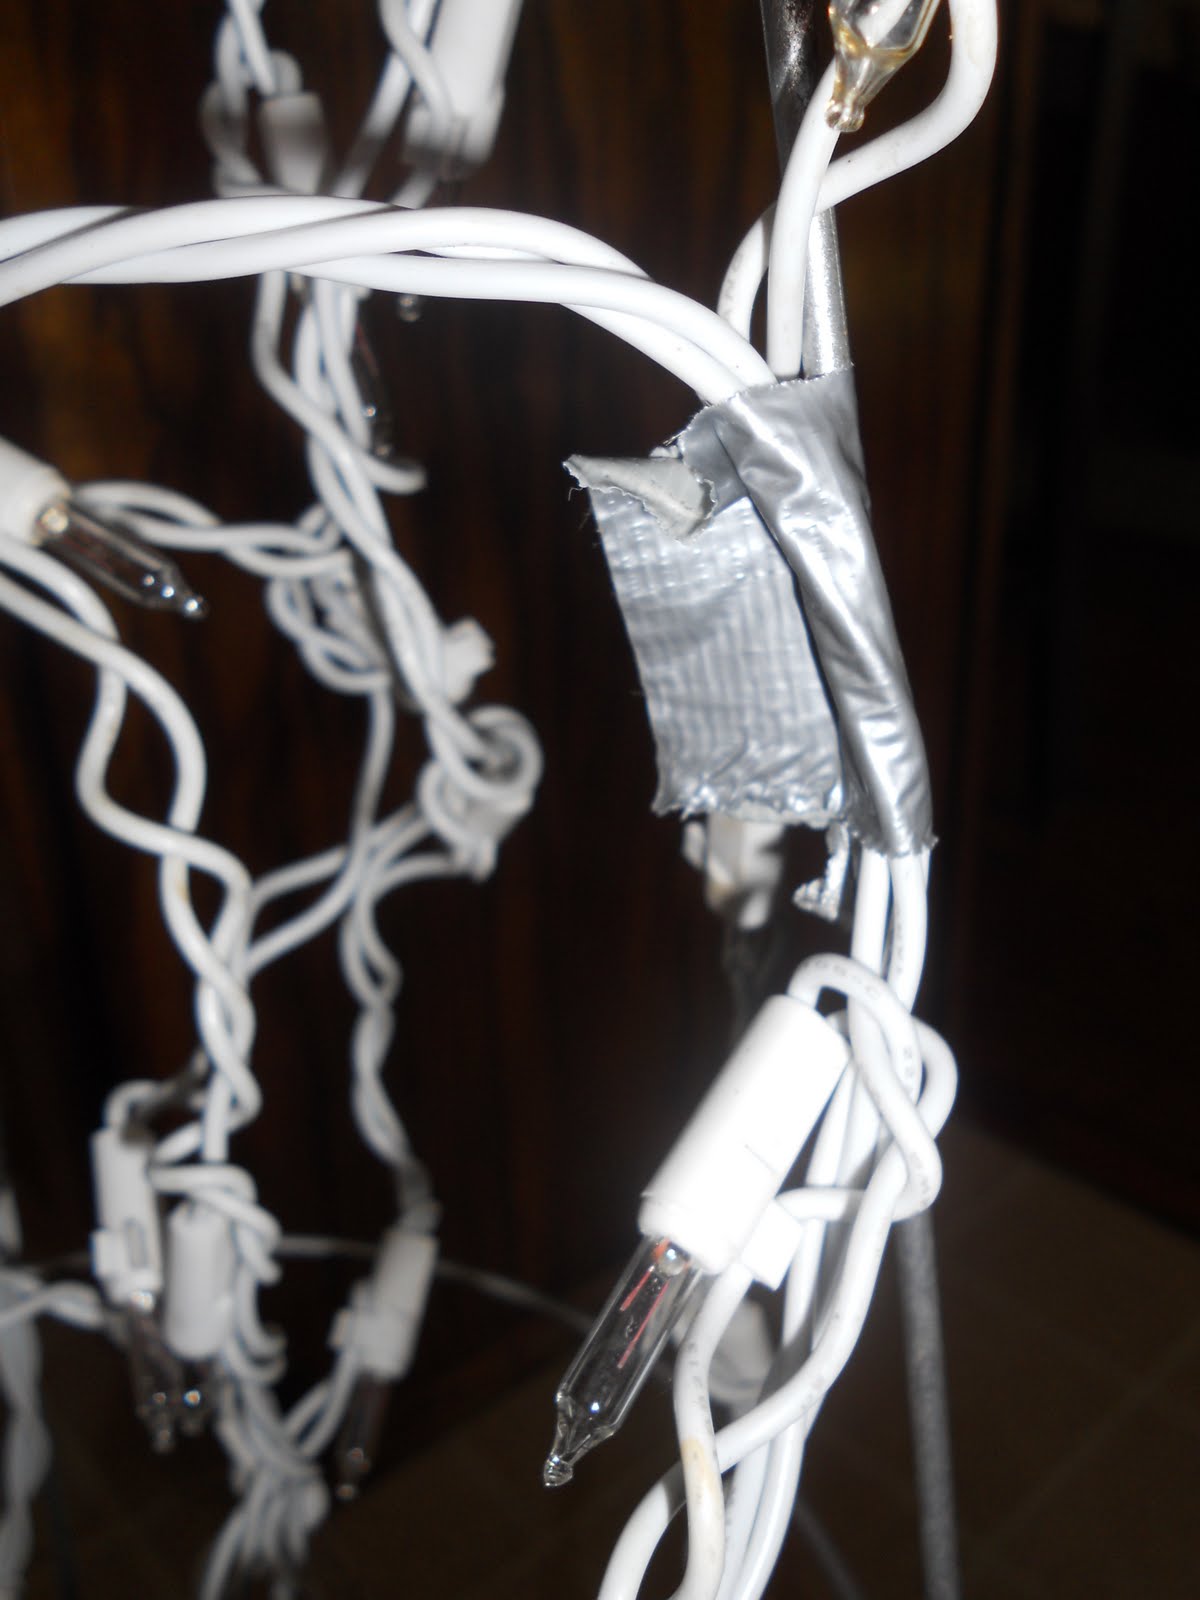
When the lights are secured, fire up your glue gun.
This is the part where the photo-journalist in me took a coffee break. I don’t have lots of photos for this part of the process. (Why? Because I have great intentions to show you how I do it and then forget to… oh! shiny!) Where was I? Oh yes! The glue gun! But no worries, you can do it.
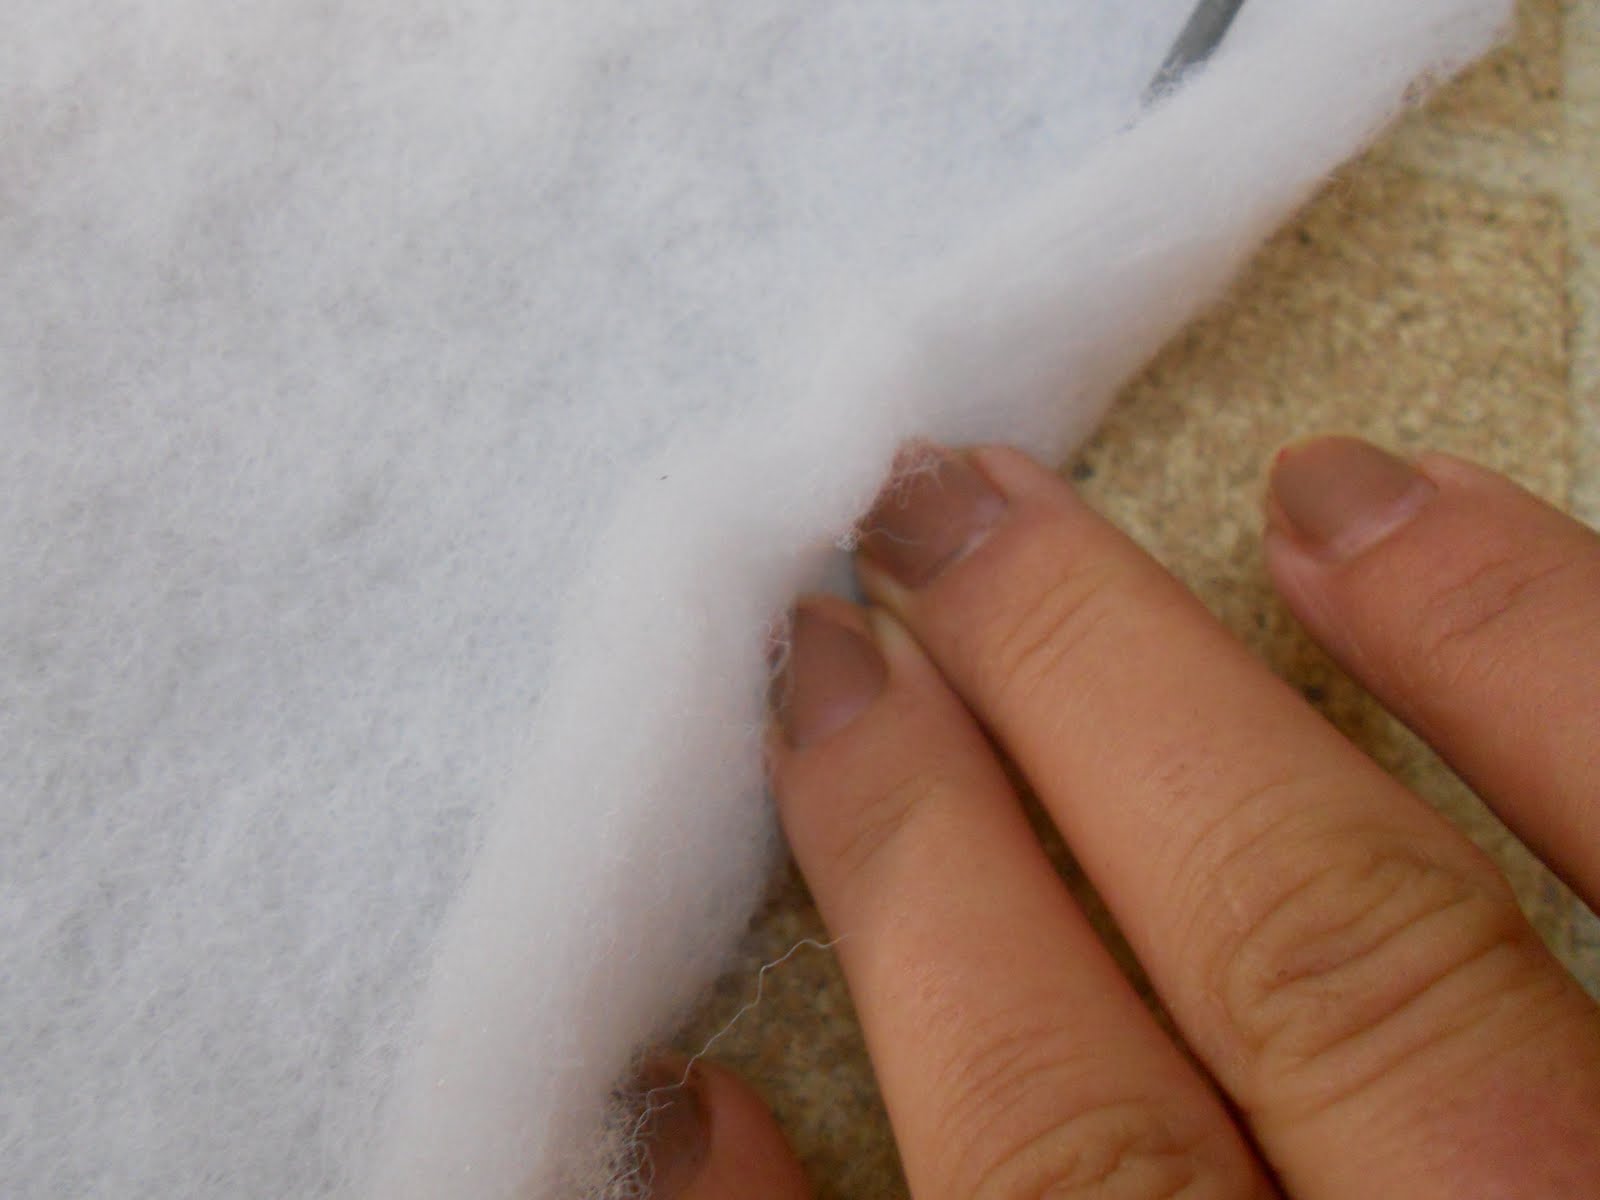
Lay your cage on top of batting or pre-made/buffalo snow material. Run a little line of hot glue on the bottom ring (formerly the top) of the cone. Press the edge of the material into the glue, kind of rolling the cage as you go. Basically, you’re securing the material to the bottom ring.
(Just so you know, a ratty looking well-worn glue gun is the sign of a Serious Crafter. Use it with pride.)
(Just so you know, ratty looking well-worn nail polish is a no-no. Get thee to a manicurist!)
Back to the tree. Much like my nail polish, it will be lumpy in places and thin in others when you’re done. That. Is. OK.
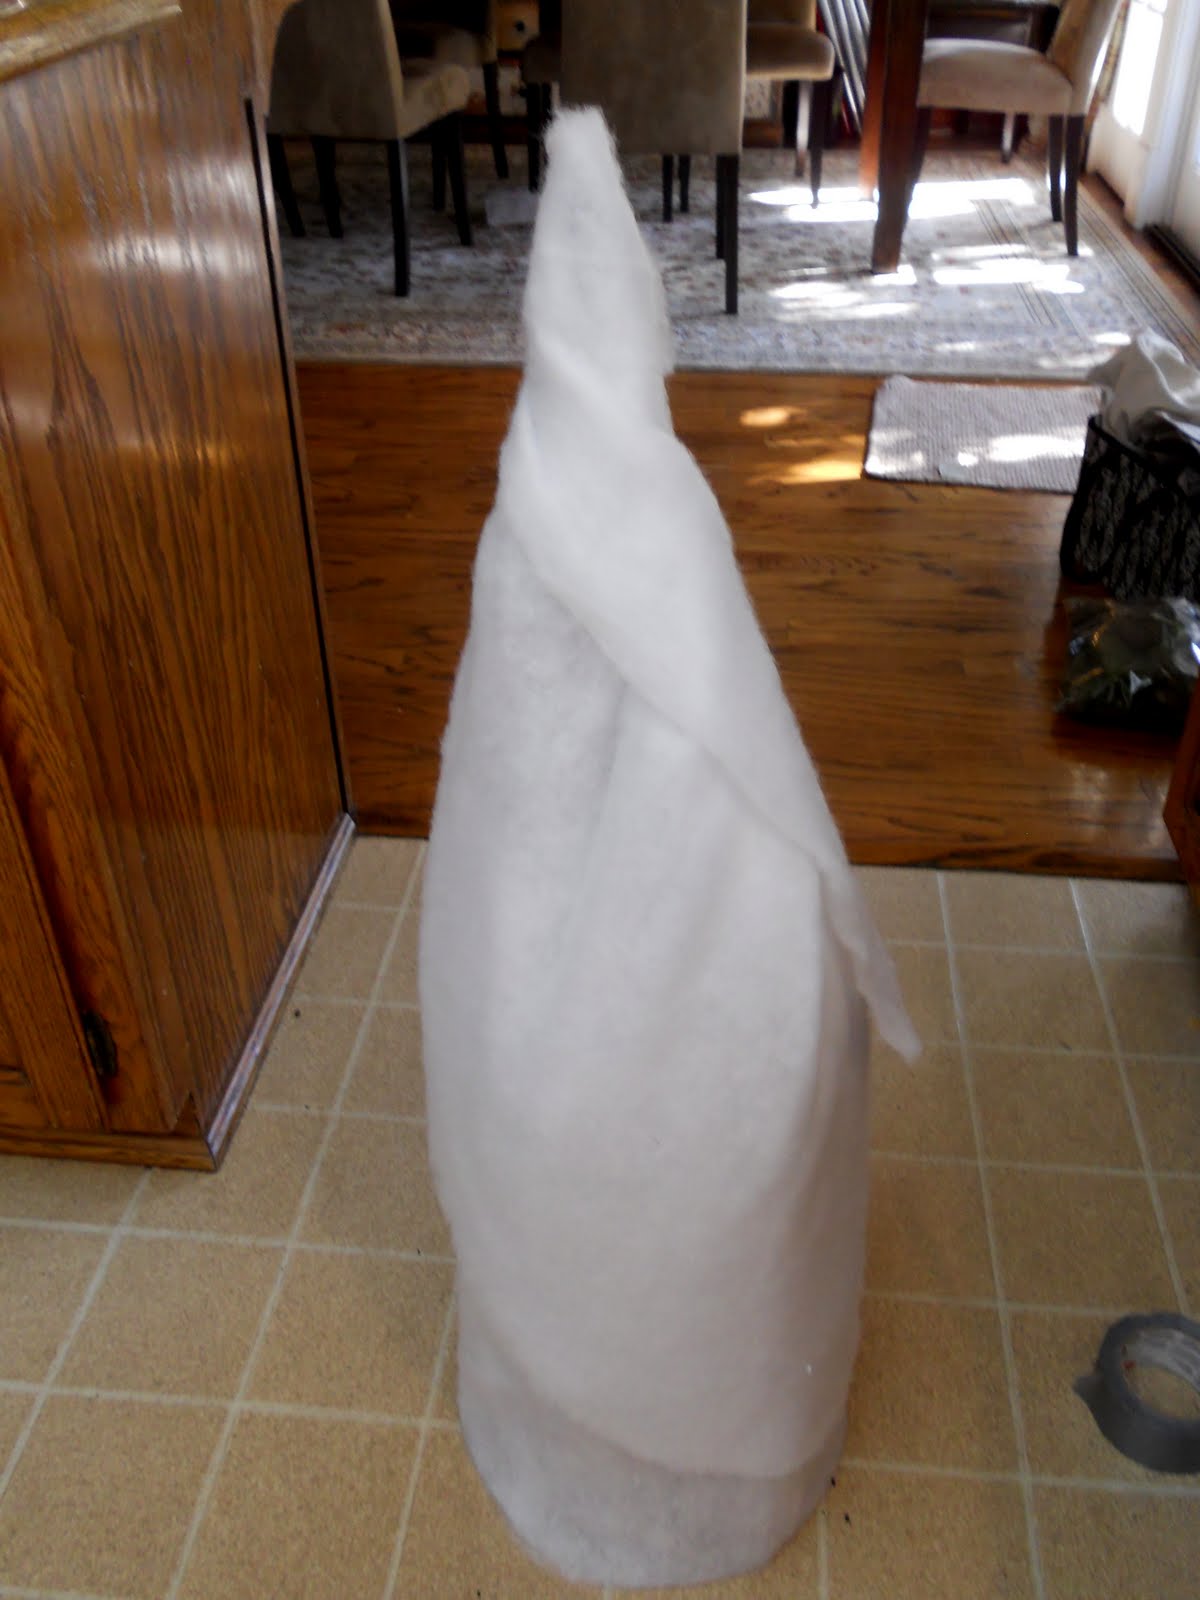
As I look at this, I’m already thinking this process would make for a cute ghost next Halloween…
Anyway, it doesn’t matter that it isn’t even, because you’re going to add greenery. Take tree clippings (your local tree lot will give them to you for free if you ask nicely…) and, starting at the bottom, you will run a bead of hot glue along the back if the branch and attach it to the batting.
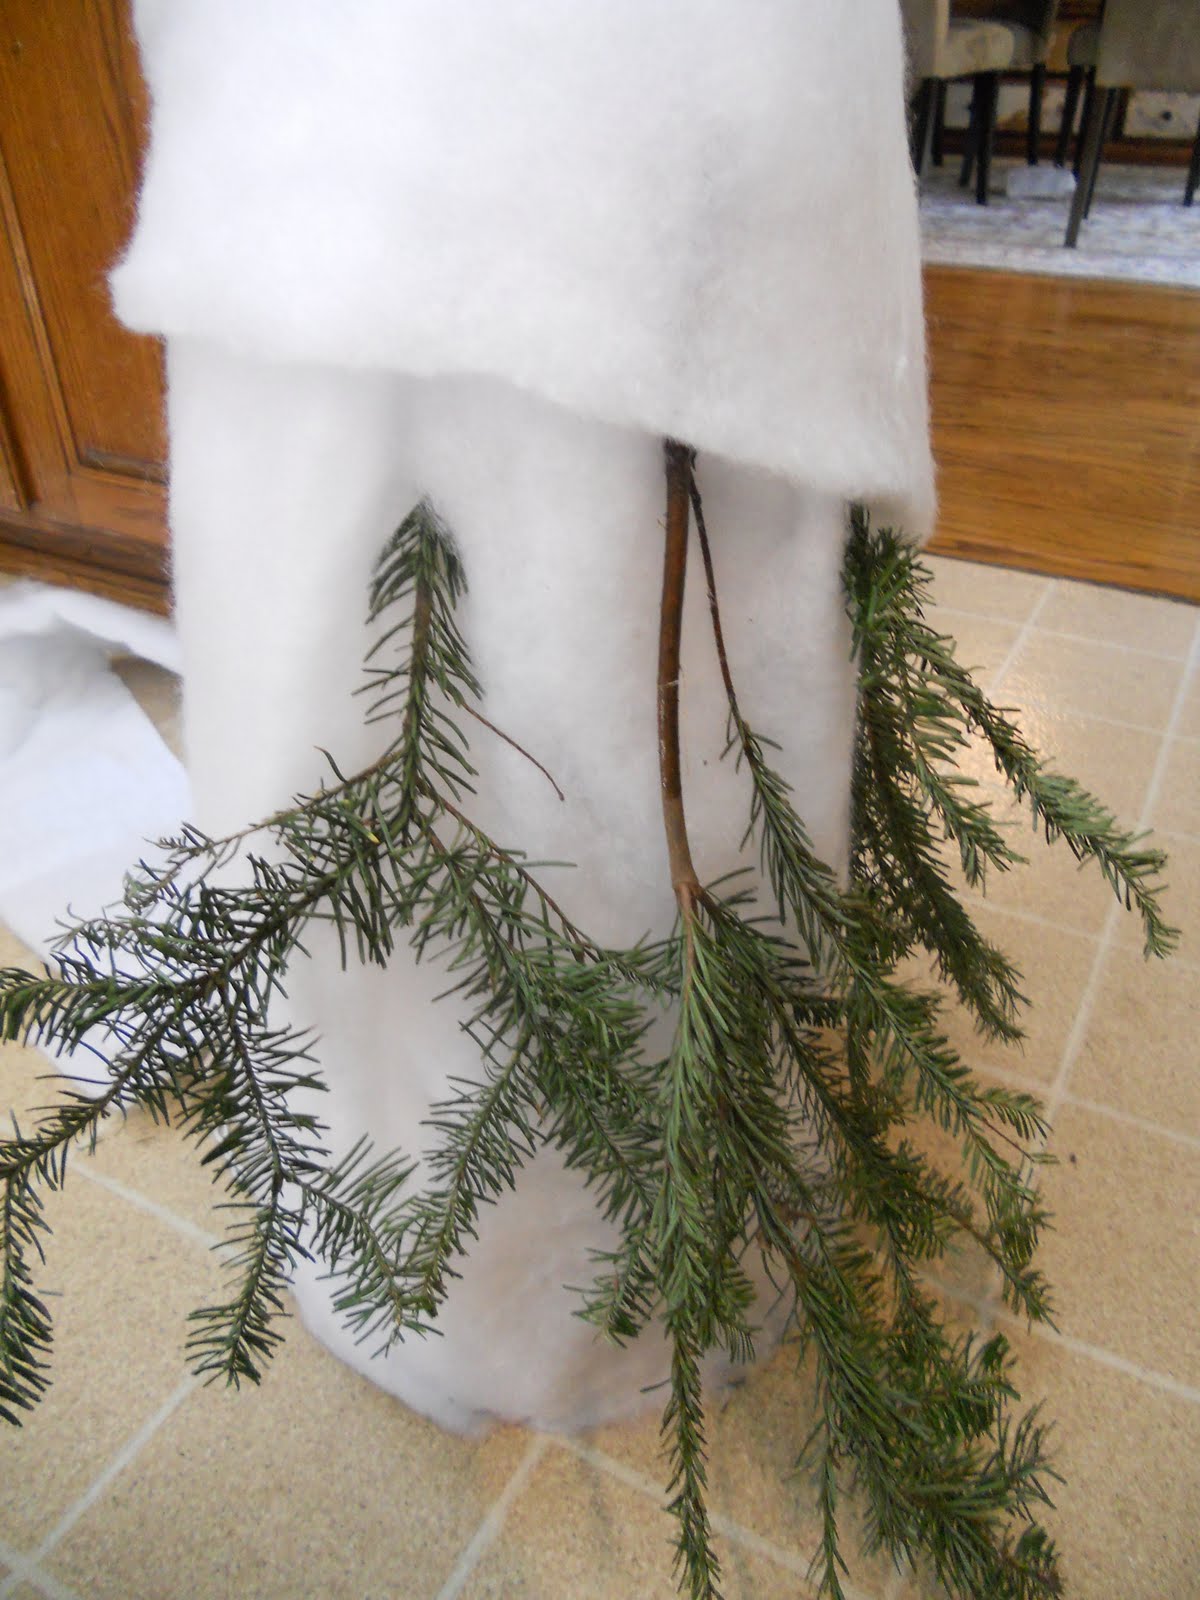
You will continue adding greenery as you go up, making sure that the next layer slightly overlaps the layer underneath it. Your clippings should get smaller as you go up.
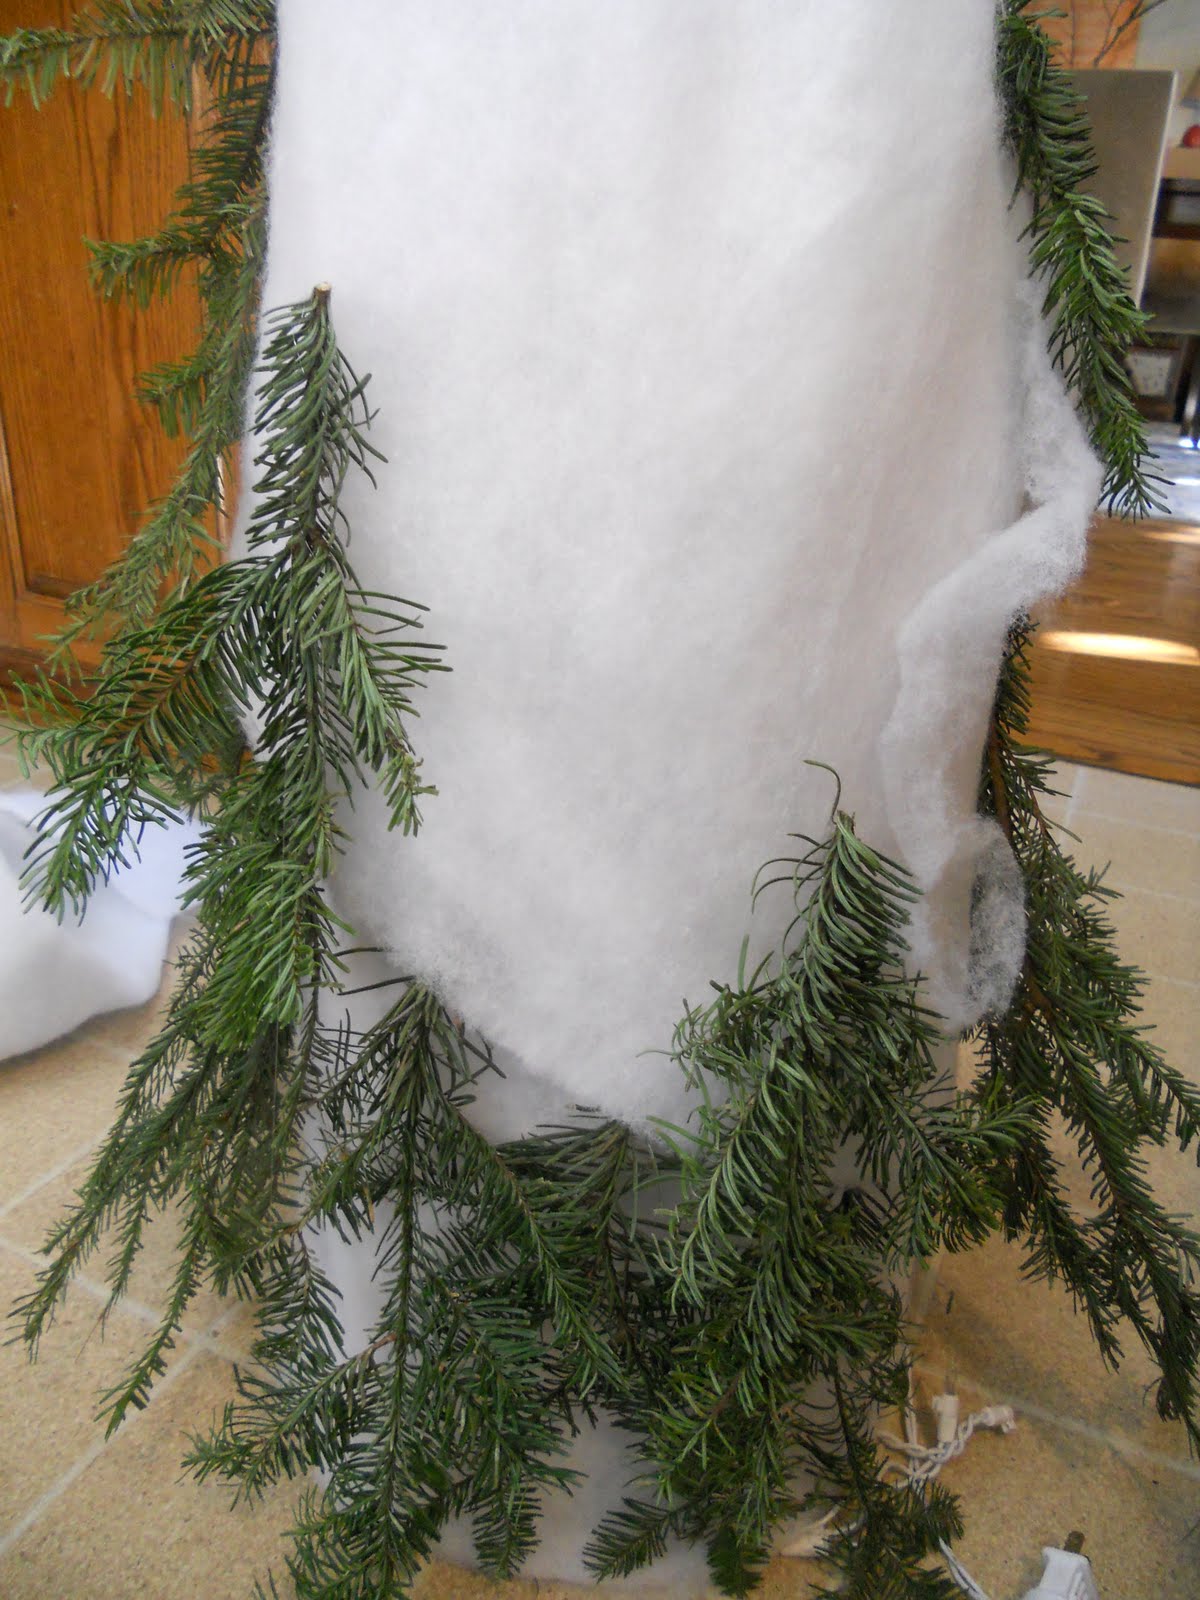
(Please note the plug hanging out of the bottom of the tree…)
When you’re finished gluing on the clippings, take that sucker outside and carefully shoot it with flocking snow. (You can get this stuff at any craft store this time of year.)
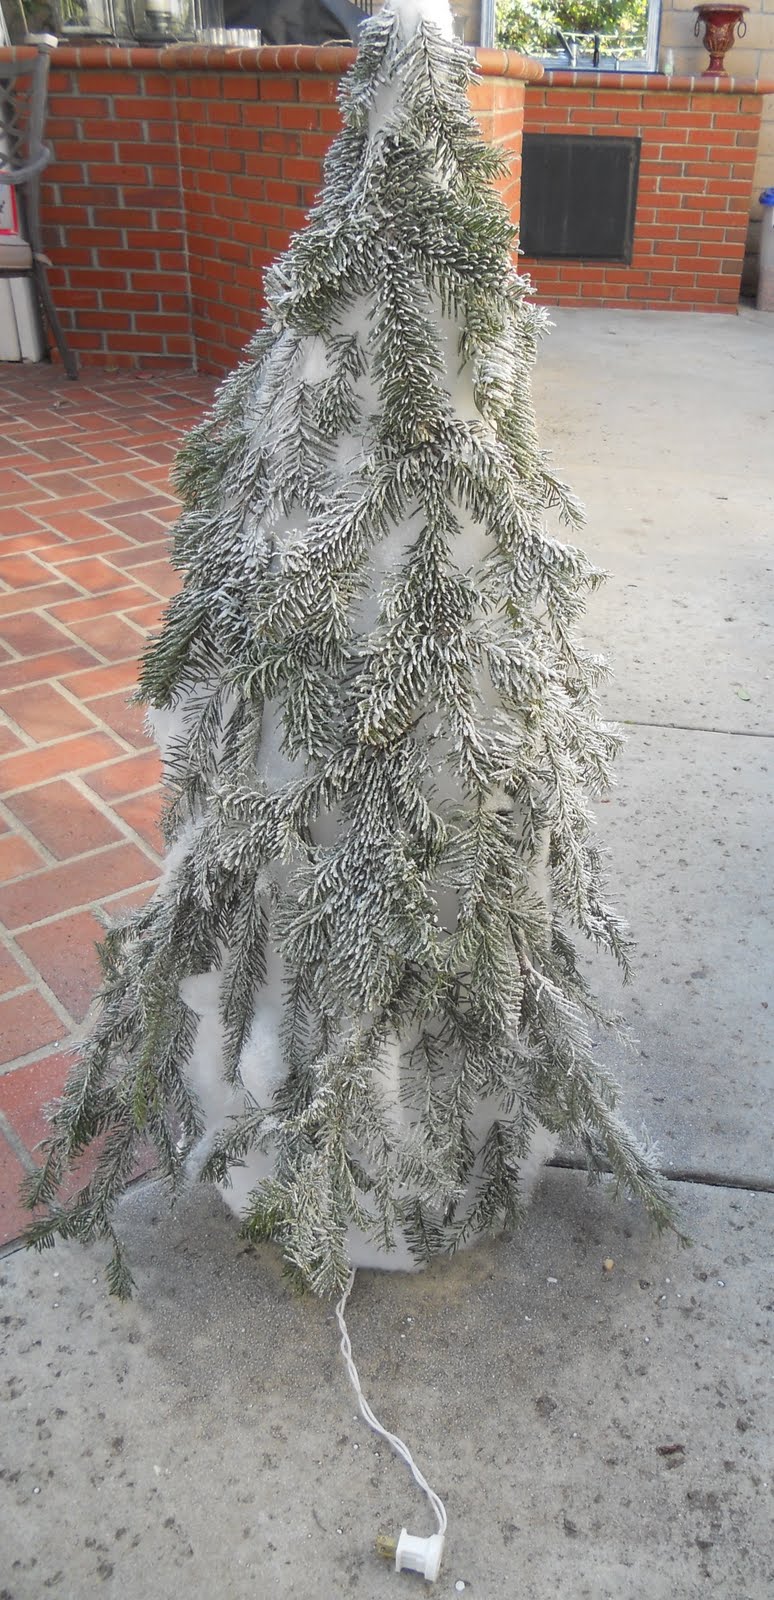
You don’t want to over-do it… just enough to make it look frosty and maybe camouflage some of the, um, less than perfect areas.

You can also wrap ribbon around it, or add any other embellishments to them. I left with just fir and frost.
You can set then directly on the ground, or wedge them into pots to raise them up a bit.

I like them. Shiny! Pretty! Cheap! (And I solved the “what’s the deal with those rusty tomato cages!?” question.)
Thanks Jen!

Thanks Vivienne!!!
I LOVE that idea!!
Those trees would be so cute on a front porch or going up a walkway!!

I can’t tell you how much I love Vivienne!!
She is so sweet, sincere, funny and super talented!!!
You might remember her awesome subway art:
She is so sweet, sincere, funny and super talented!!!
You might remember her awesome subway art:
![[P2261019.JPG]](https://4.bp.blogspot.com/_1Tx7wAOK2D4/S4g2yxD-kZI/AAAAAAAACIA/Qd5kvy-y_Ns/s1600/P2261019.JPG)
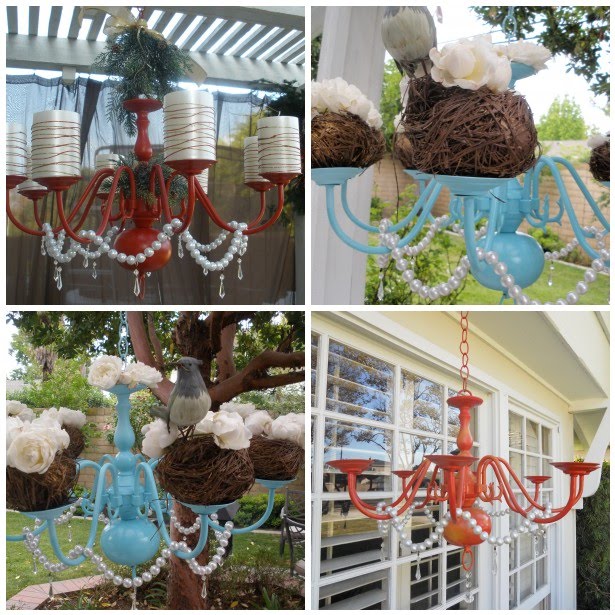
And I love this Outdoor Chandelier she changes up for the seasons:
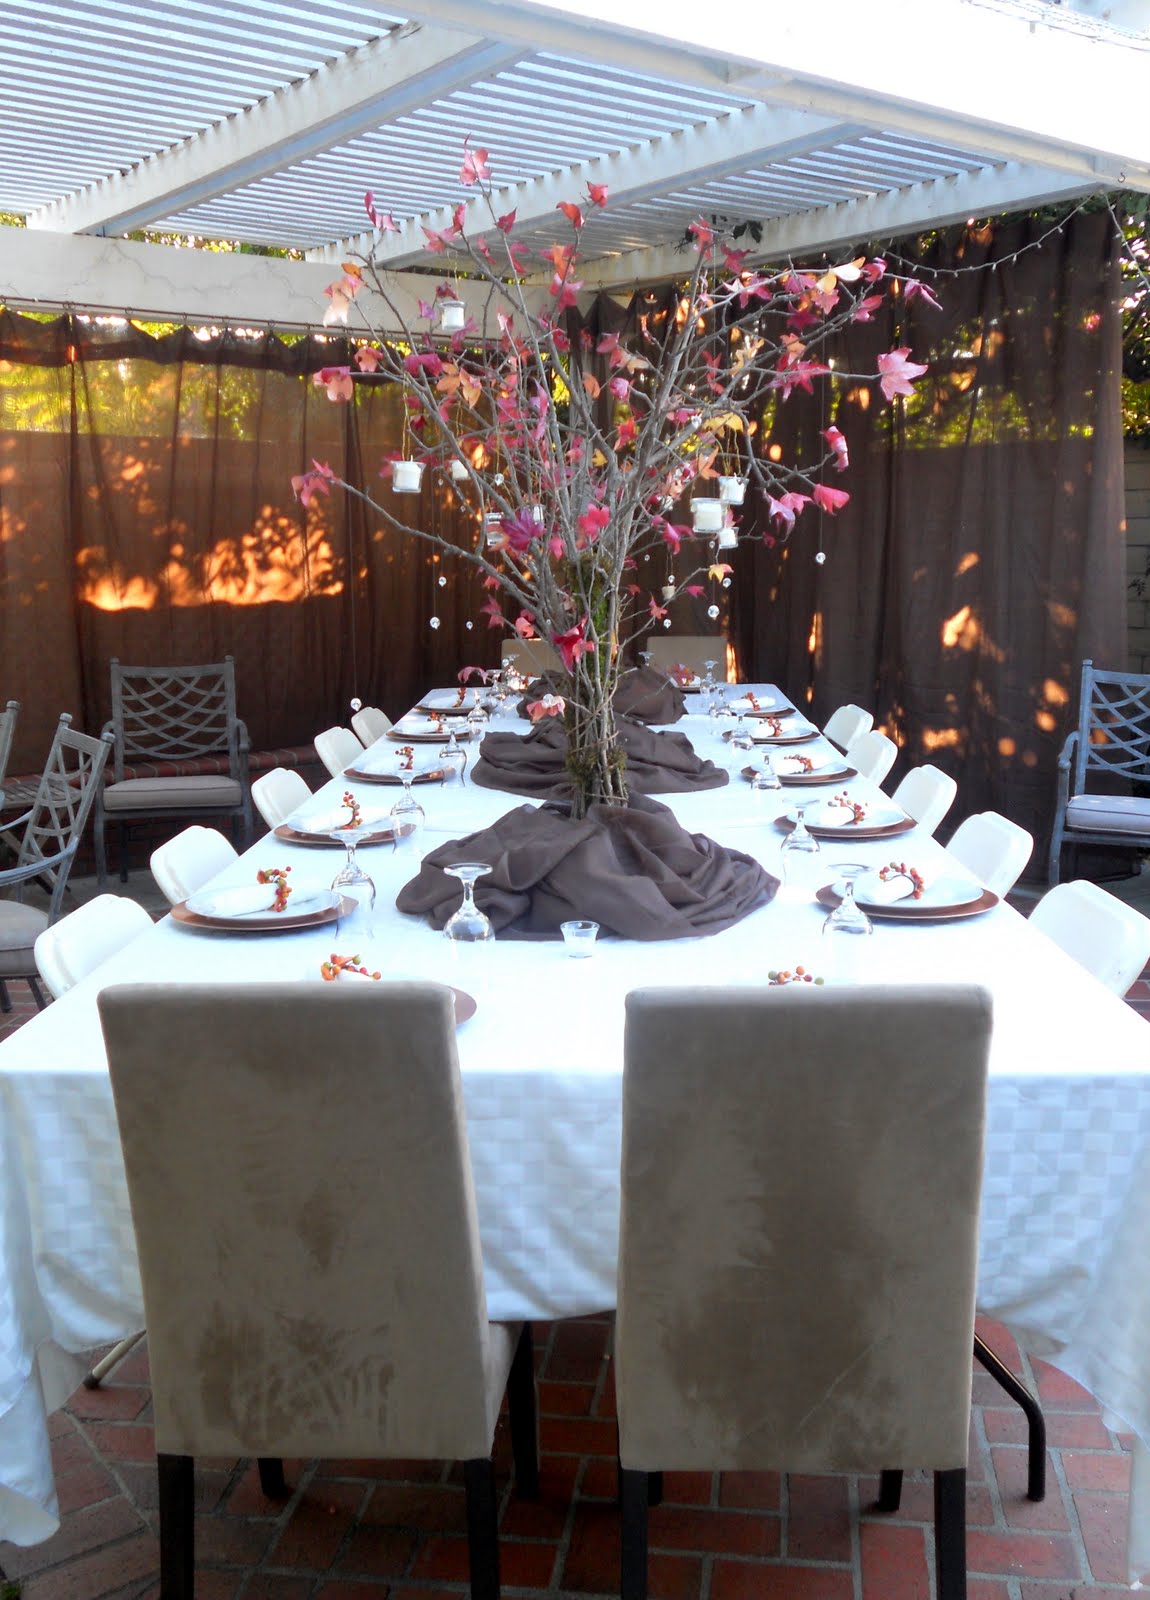
And she’s a master entertainer!
And she’s so pretty too — even as a vampire!

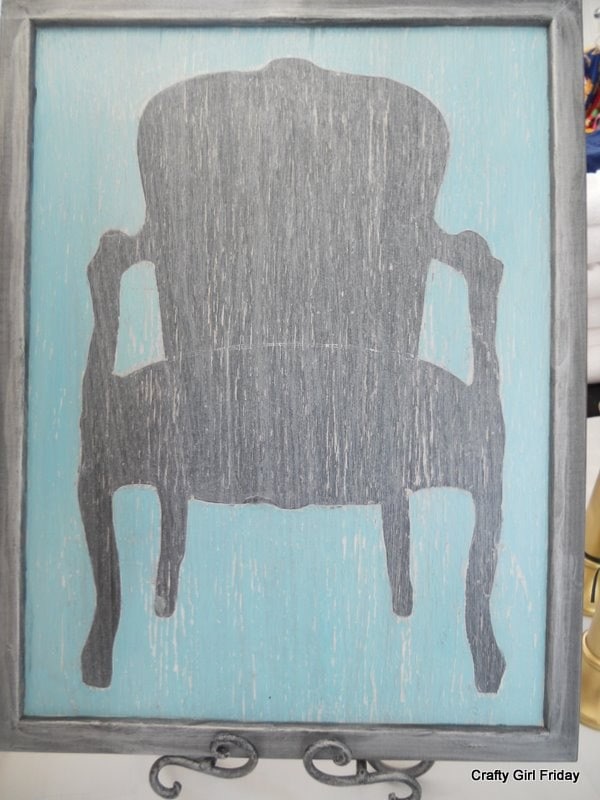
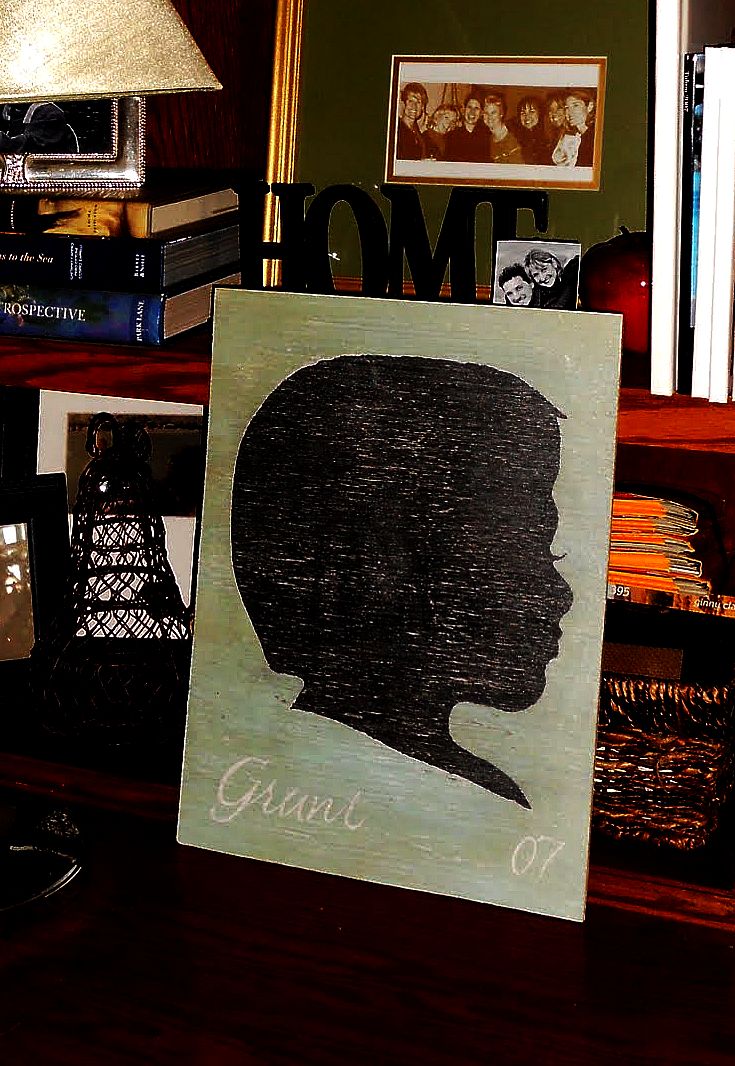
I just found out that Vivienne has opened an etsy shop — Crafty Girl Friday!
So fun!!!
She’s selling her gorgeous, hand painted and distressed artwork.
So fun!!!
She’s selling her gorgeous, hand painted and distressed artwork.
And guess what?!!!
Today you can win a CUSTOM Silhouette, made by my friend Vivienne!!! I’m so excited for you!

Just go over to The V Spot to find out how to win!!!!
xoxo


Just dropping by to let you know that I linked to this post in a round up today from the Home & Garden channel at Craft Gossip. 🙂 This will appear in the main Craft Gossip RSS feed, on the main home page and can be found directly here
http://homeandgarden.craftgossip.com/25-christmas-tree-crafts/
If you would like a "featured by" button, you can grab one here!
http://homeandgarden.craftgossip.com/grab-a-craft-gossip-button/
I am a new follower of her blog! Love her and the fact that she married her high school sweetheart 15 years later…me too!
I'm wondering now if those rusty tomato cages are still out in the shed, or if we got rid of them! Hmmm….especially since we have a TON of icicle lights we don't use anymore! What a great project! Vivienne is too crafty 🙂 Off to her shop!
This is such a great idea! I love it!! I want to make these!!
Also. Get thee to a manicurist??? LOL
And any project that involves duct tape is awesome.
She's AMAZING, right?! Have you seen her etsy shop?! Adorable.
Jen!! Thanks for having me over and thanks for the kind words. 🙂
xoxo
WOW! Never would have guessed that tree started out as a tomato cage!!
Paula
I love Vivienne! She is so crafty and resourceful! I'm amazed at the things she comes up with sometimes. Plus, she's a hostess…w/ the mostess…and I love that!
How cool!
Yea! Two of my favorite bloggers together AND with a fun project.
Super-cute! Love the idea and thank you for sharing!
I LOVE it!!! I am hitting up freecycle now to find some tomato cages!!!