Hi TT&J readers! I am Johnnie from Saved By Love Creations, Printable Decor, and the newly launched Totally Green Crafts.
It’s so exciting to be here today. Tatertots & Jello has set the creative blogging bar in my opinion, and Jen amazes me all the time. I squealed when she invited me to share this DIY upcycled shelving wall art tutorial & printable. Thank you Jen!
Printable Decor is where I share daily free printables from the web’s best designers. You can stop by the submission page and submit your great freebie prints to be featured. Being a self taught graphic designer, you will also see my Printable Decor exclusives scattered amongst the daily features.
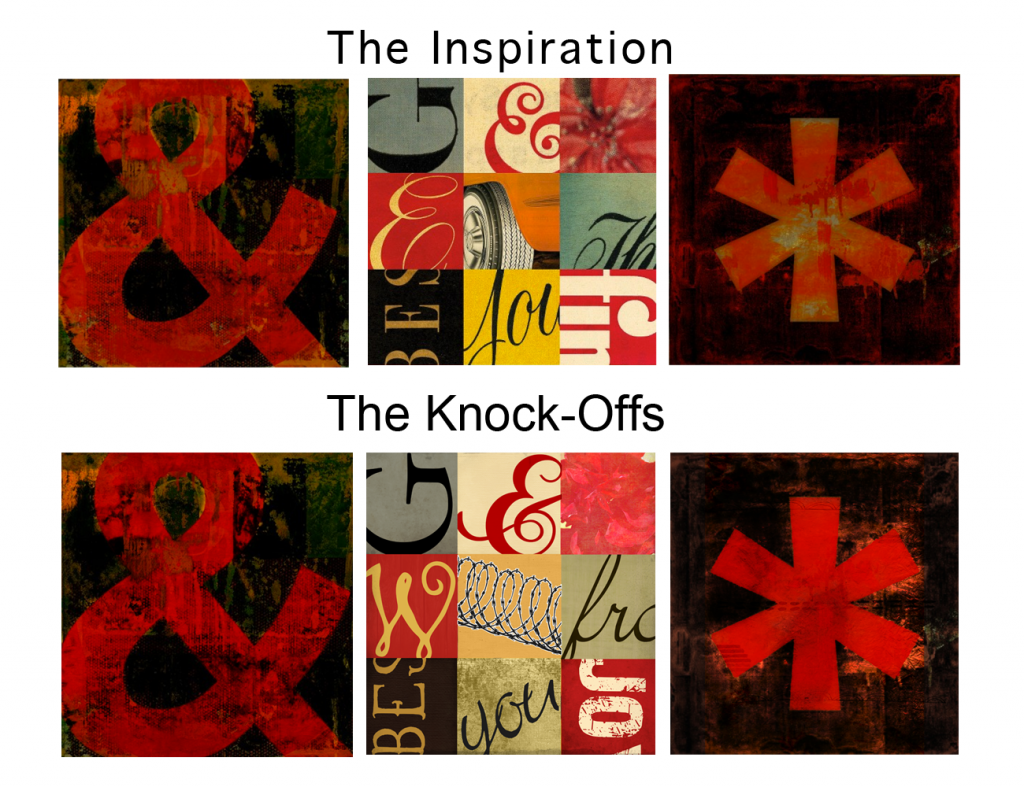
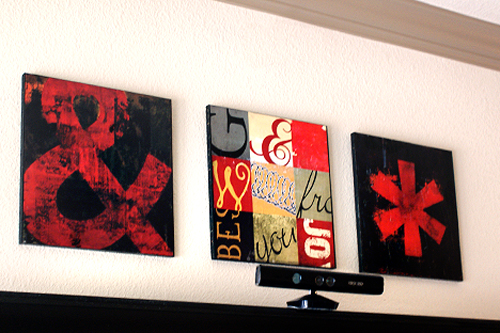
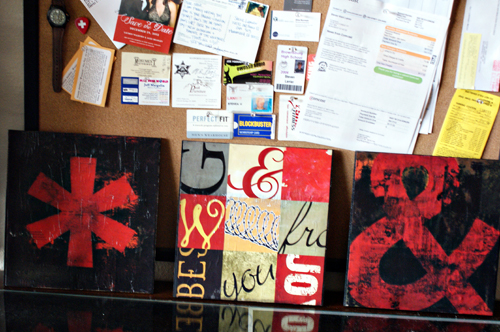
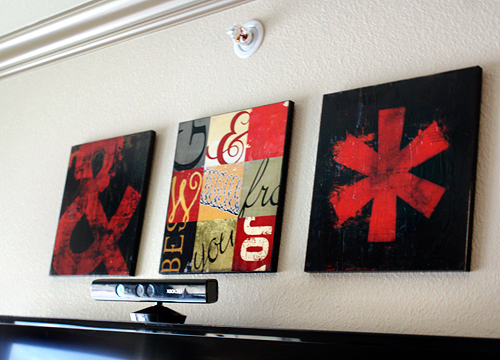
I recently had the opportunity to make a wall art trio while in Colorado visiting my stepson. He commissioned me to create art from three salvaged particle board shelves to adorn the bare walls of his new apartment. Graphic design and repurposing… I jumped at the chance. After picking his brain to get an idea of the look he was going for, we got online and landed on three Target prints for the inspiration. I opened Photoshop and got busy creating my version of his favorites:
You can recreate this set yourself for way cheap. Here is how!
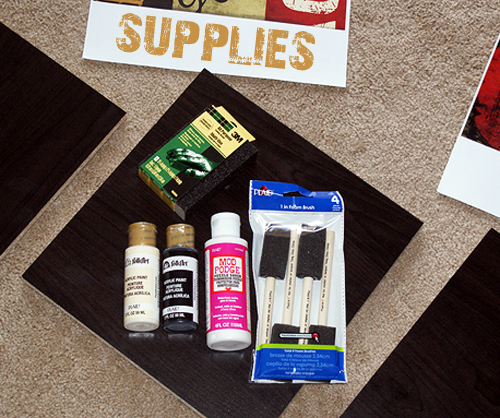
Supplies:
- The graphics – right click each link to open the full resolution version and save to your computer. Transfer to a flash drive and go to your local Staples, Office Max or other printer to have them printed on regular copy paper. Office Depot and Office Max charge around $0.80 per 11×17 color copy, and Staples is a little more at just over $1. You are looking at around $3 total for the prints. The image size for each print is 11 x 11.5 inches since that is what the shelf size for mounting is. If you want to resize or crop to a different aspect ratio, just pull the graphics into your favorite photo editor and have at it. You should be able to resize to 12×12 inches without losing picture quality, but I wouldn’t go much bigger than that.
- Mod Podge in finish of choice
- 1 inch foam brush
- Scrap wood (same size as your prints)
- Black acrylic paint
- Hanging Mechanism – We used Velcro brand removable picture hangers since they are damage free
- Scissors
- Sandpaper
- Damp Cloth
Tutorial:
Thank you for following along! Visit me at Printable Decor for tons of, well, printable decor. Be sure and submit your printables to be featured while you are there.






Wow! These are Amazing! Using the particle board as a base is pure genius! I’ll definitely be thinking twice the next time I have to bust up some particle board furniture 🙂
Love the inspiration! I assume that I can’t do this with my inkjet printer at home?
This looks amazing – thanks for sharing! Looking forward to getting my craft on now 🙂
Wow, these look great and what a statement they make!
Debbie 🙂
Hi Jen! These are really awesome looking printables but for some reason i cannot open them. I right clicked on them to open and then clicked on them directly but nothing. Not sure if they are still available, i wanted to check with you.
Love your ideas. I’m sure your son was really pleased with your hip designing.
Absolutely love this, and the fact that you included the artwork as printables too. But I’m not surprised, as I’m a frequent visitor to your Printable Decor blog! Thanks for sharing!
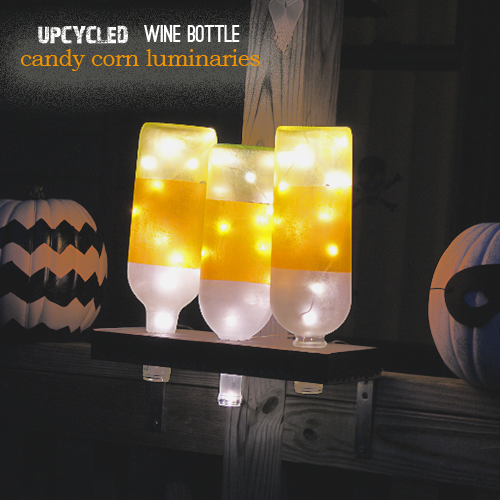
Love! the candy corn bottle lights – so cute 🙂
Thank you, Nicole. They are super simple to make, and they fit my sudden candy corn obsession!
Those are SUPER COOL! Can’t wait to create my own wall art in Photoshop!
Thanks Julie! Glad you are inspired.
Thanks for such an awesome tutorial and I love those printables Johnnie!!
xox
Wow! These are Amazing! Using the particle board as a base is pure genius! I’ll definitely be thinking twice the next time I have to bust up some particle board furniture 🙂
Thanks Jen!