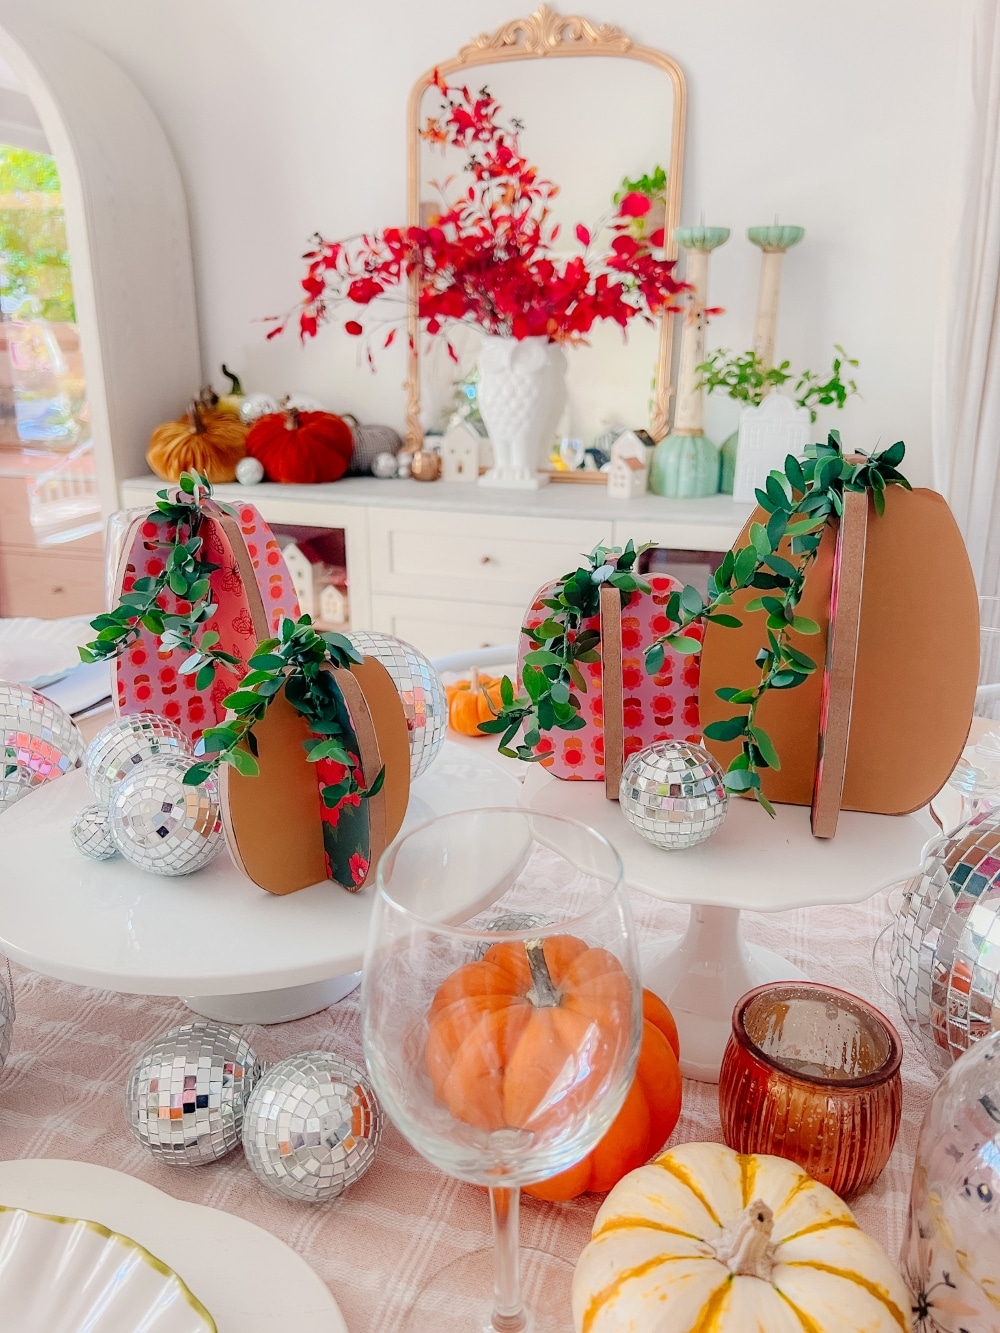
Fall Centerpiece with Decoupage Pumpkins. This pumpkin fall centerpiece is a fun and easy craft idea you can make with your kids to add a personal and festive touch to your fall decor.
Fall Centerpiece with Decoupage Pumpkins
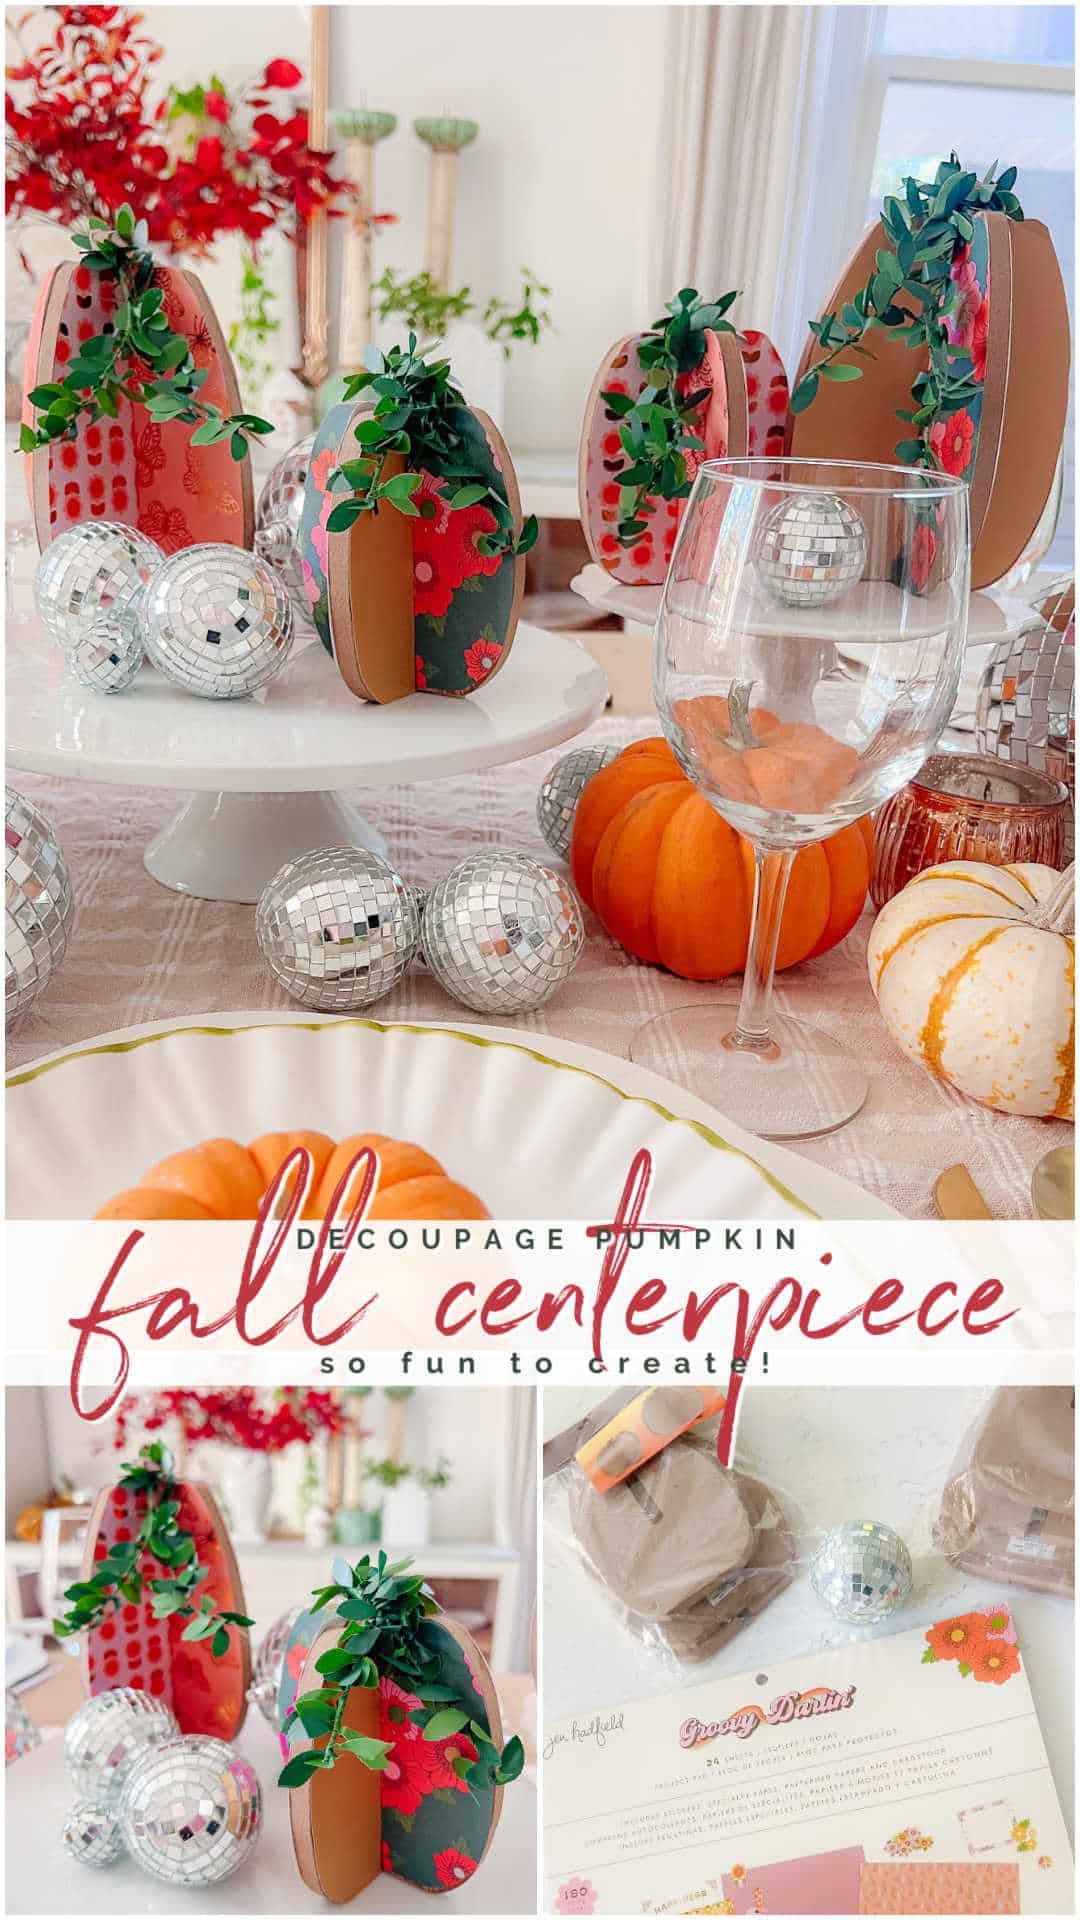
I’m so excited to share a fun new project featuring my American Crafts Groovy Darlin’ paper, which is now shipping and available at JoAnn Stores! If you love creating with paper like I do, this is the perfect project for you. I’ve been obsessed with these chipboard pumpkins I found at Hobby Lobby, and as soon as I saw them, I knew they’d be adorable covered in paper. These pumpkins make a great addition to any fall centerpiece, and they are also perfect for Thanksgiving decor. I can’t wait to show you how to decoupage them to create something special for your home!
What is Decoupage?
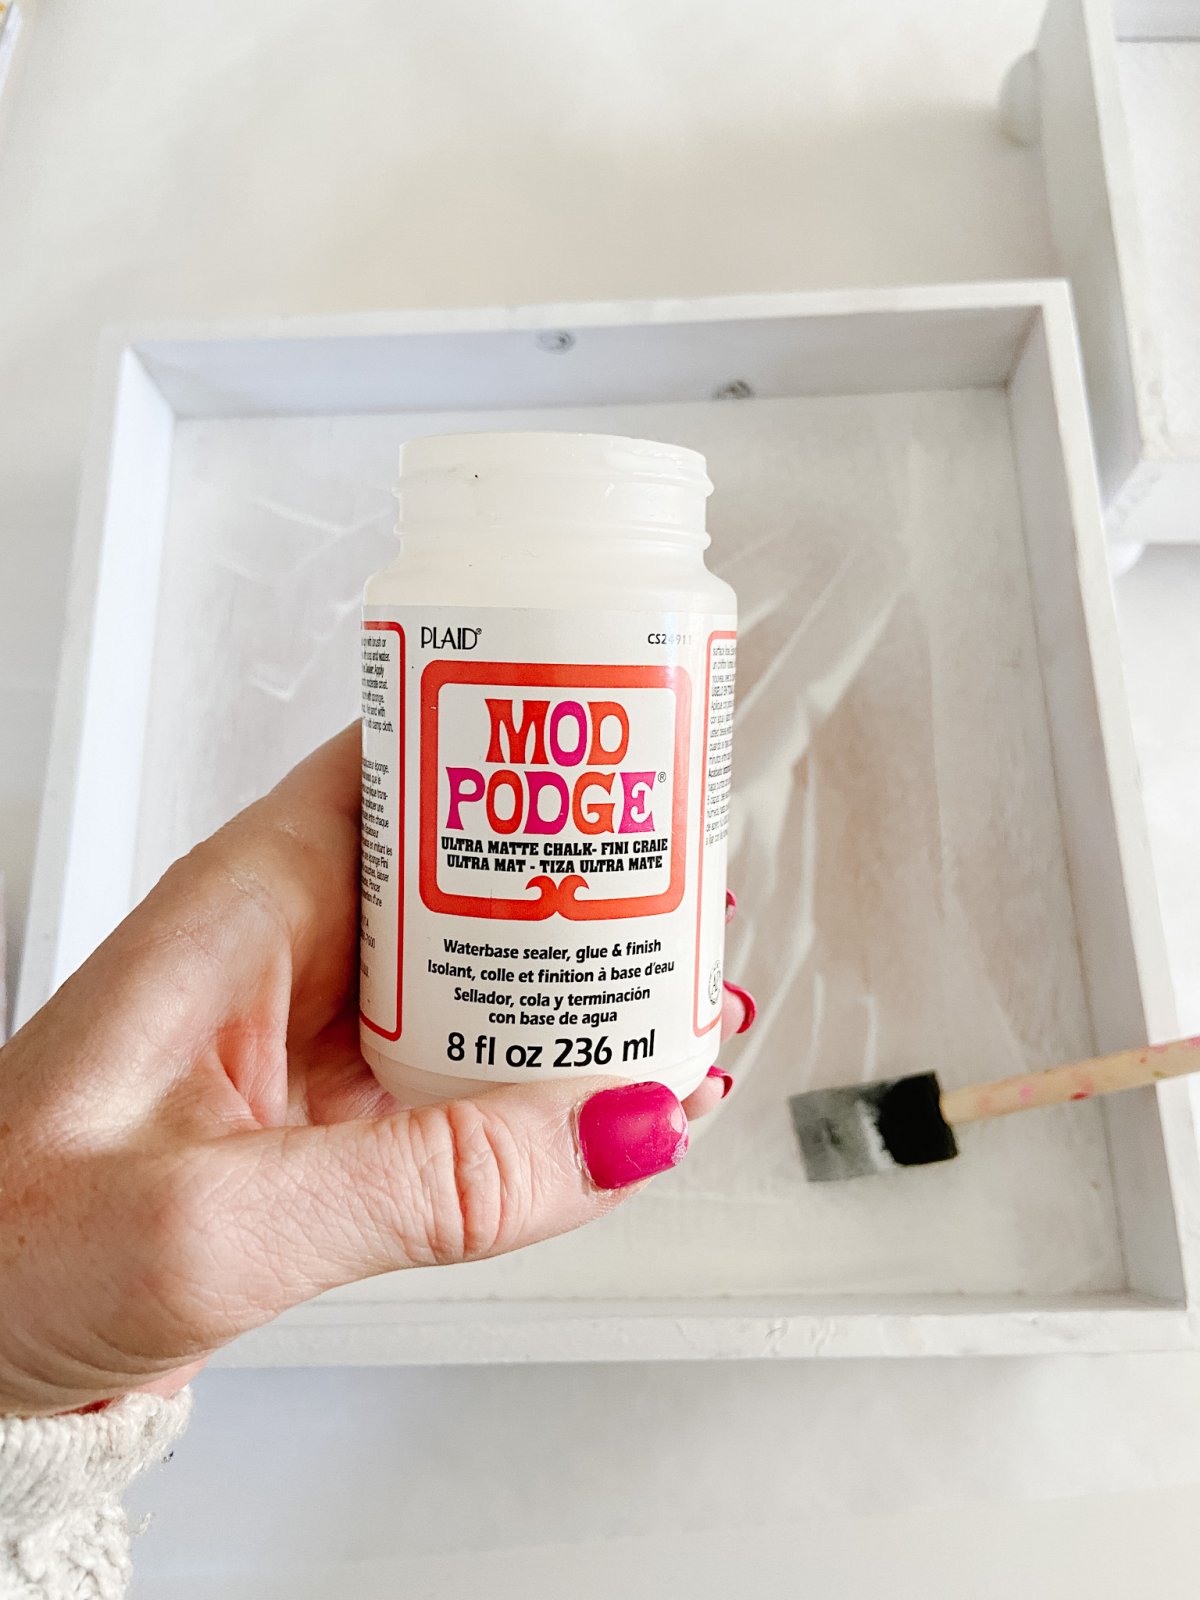
Before diving into the project, let’s talk about decoupage, a technique I use all the time. Decoupage is simply the art of decorating an object by gluing paper cutouts onto it. The glue or sealer used in decoupage is called Mod Podge. It’s a multi-purpose adhesive that dries clear, giving your project a smooth, professional-looking finish. There are different types of Mod Podge, including Matte, Gloss, and Satin finishes, depending on the look you want. Matte gives you a soft, flat finish, while Gloss adds a shiny coating. You can even find Outdoor or Dishwasher-Safe Mod Podge for projects that need to be durable. For this centerpiece project, I recommend using the Matte Mod Podge for a clean, smooth look that will highlight the beauty of the patterned paper without too much shine.
What is a Paper Pad?
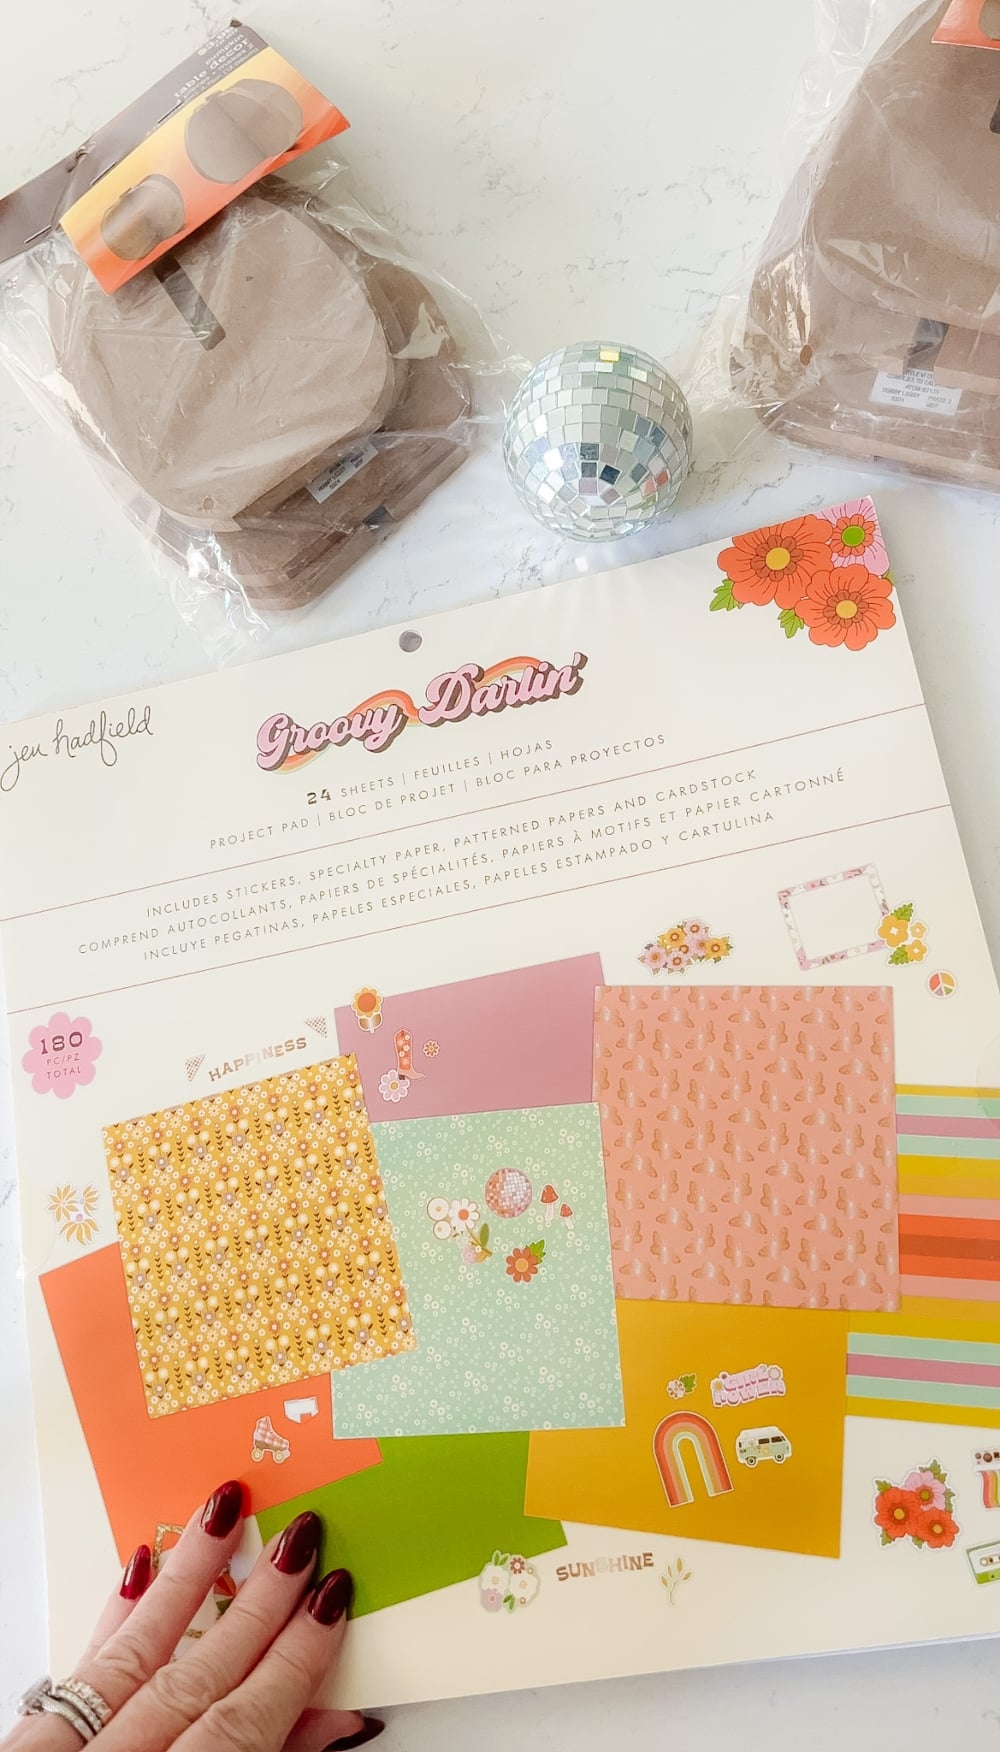
A paper pad is a must-have for crafting, offering a collection of coordinated patterned papers bound together in one convenient place. I love using paper pads because they include everything you need to create cohesive projects, whether you’re at home or on the go. They’re also perfect for people who aren’t big crafters or are just getting started. Paper pads are an economical way to craft without having to buy a ton of supplies—each pad typically comes with 24 sheets of coordinating papers, including plain papers, stickers, and cardstock, all designed to work beautifully together. This makes it easy to create polished, professional-looking projects without the hassle of hunting for matching materials.
Where to Find the Pumpkin Kits
The chipboard pumpkins I used come in kits, which include two pumpkins—one small and one large. Each pumpkin is made up of two pieces that fit together, so they will stand up on their own, creating a 3D look. I found mine at Hobby Lobby, and they are such a fun and affordable base for any fall project. If you don’t have a Hobby Lobby near you, no worries! I’ve also linked similar kits that you can order online, so everyone can join in on the crafting fun. The beauty of these kits is that they are a blank canvas for creativity—you can decoupage them, paint them, or even leave them natural for a rustic vibe.
Supplies You Will Need to Make Fall Centerpiece with Decoupage Pumpkins
Here’s what you’ll need to get started with your own decoupage pumpkin centerpiece:
- Pumpkin kits (each kit comes with two pumpkins) Hobby Lobby
- American Crafts Groovy Darlin’ paper (available at JoAnn Stores or your local craft store)
- Mod Podge (Matte is recommended)
- Foam brush or regular paintbrush for applying Mod Podge
- Scissors
- Pencil for tracing
- Mallet or hammer (optional but helpful)
- Soft cloth or towel (to avoid damaging the pumpkin when assembling)
Fall Centerpiece Instructions
Now, let’s get to the fun part—decorating the pumpkins! Follow these simple steps:
Pick out the papers you want to use for your pumpkins
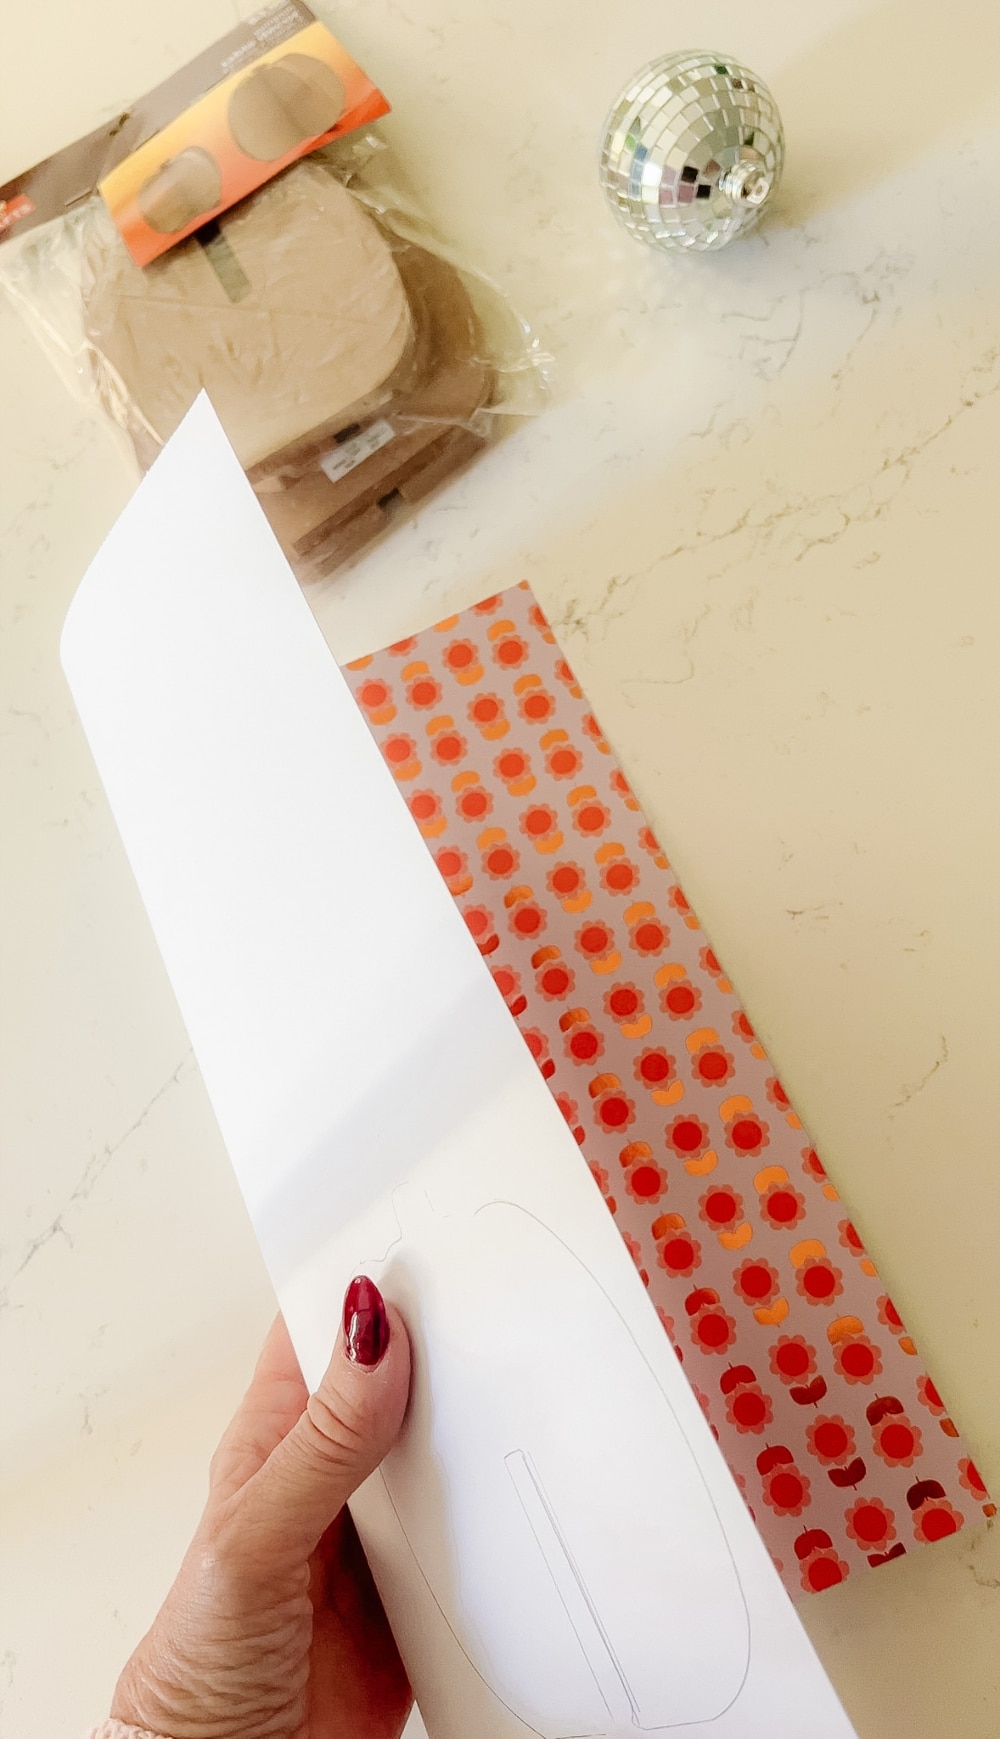
I like to use two coordinating papers for each pumpkin to create a layered and textured look. Each pumpkin has two pieces that fit together, and each piece has two sides, so you’ll need to cut two pieces of the same size for each side of the pumpkin.
Trace and cut your paper
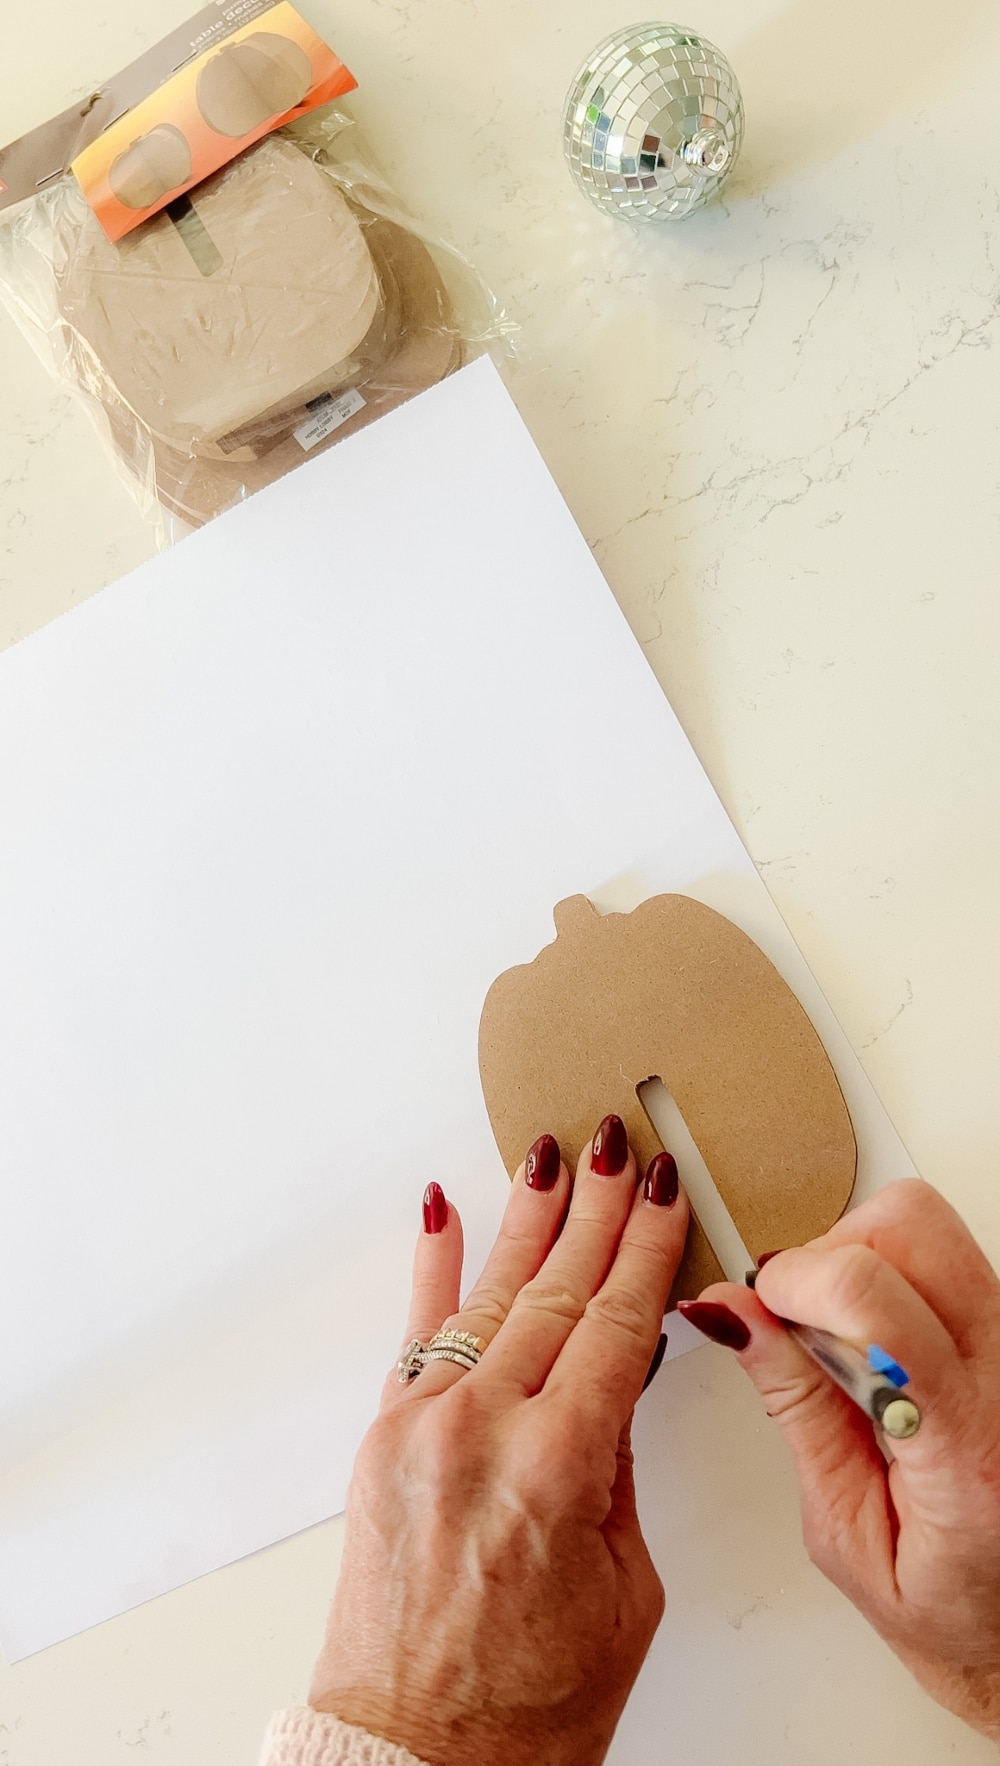
Start by taking your paper and folding it in half. This way, when you trace the pumpkin shape onto the paper, you can cut out two pieces at once. Use a pencil to lightly trace the pumpkin shape onto the paper, then cut it out. Repeat this step with your coordinating paper for the other side of the pumpkin.
Apply Mod Podge
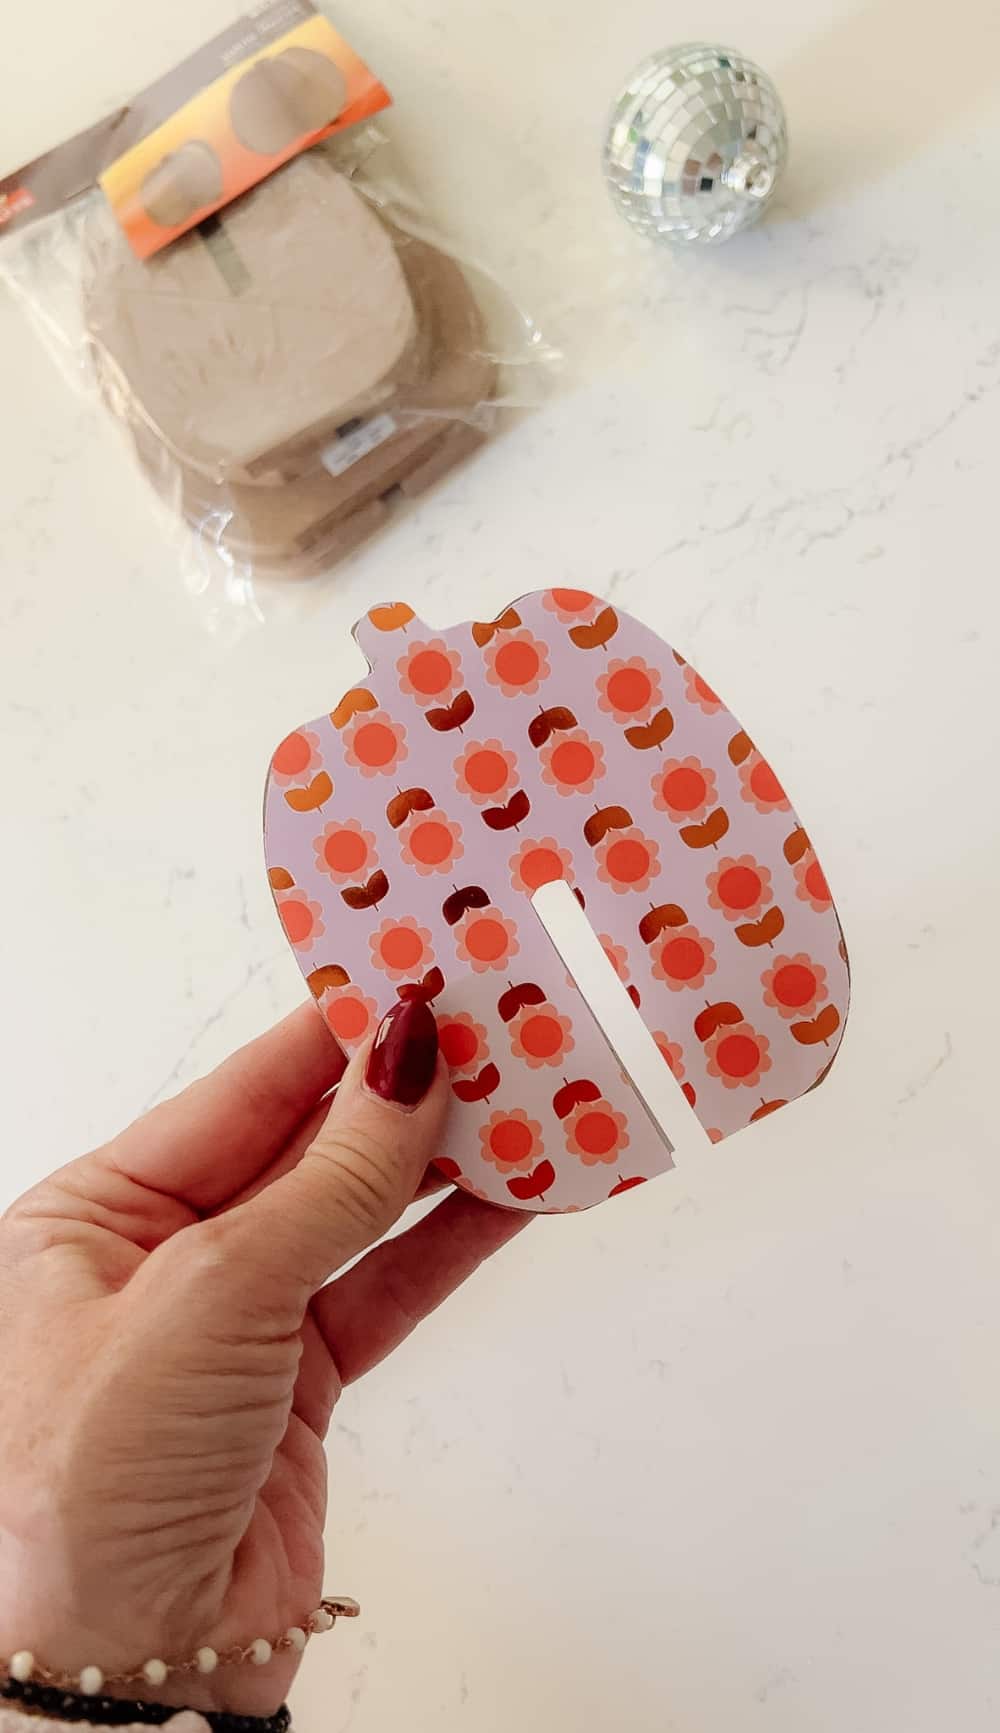
Use your foam brush or paintbrush to apply a thin, even coat of Mod Podge directly onto the pumpkin. Then, carefully place your paper over the top and smooth it down, lining up the edges. Use your fingers or a brayer to smooth out any air bubbles that might form. Repeat on the other side of the pumpkin piece, and then do the same with the second pumpkin piece.
Assemble the pumpkins
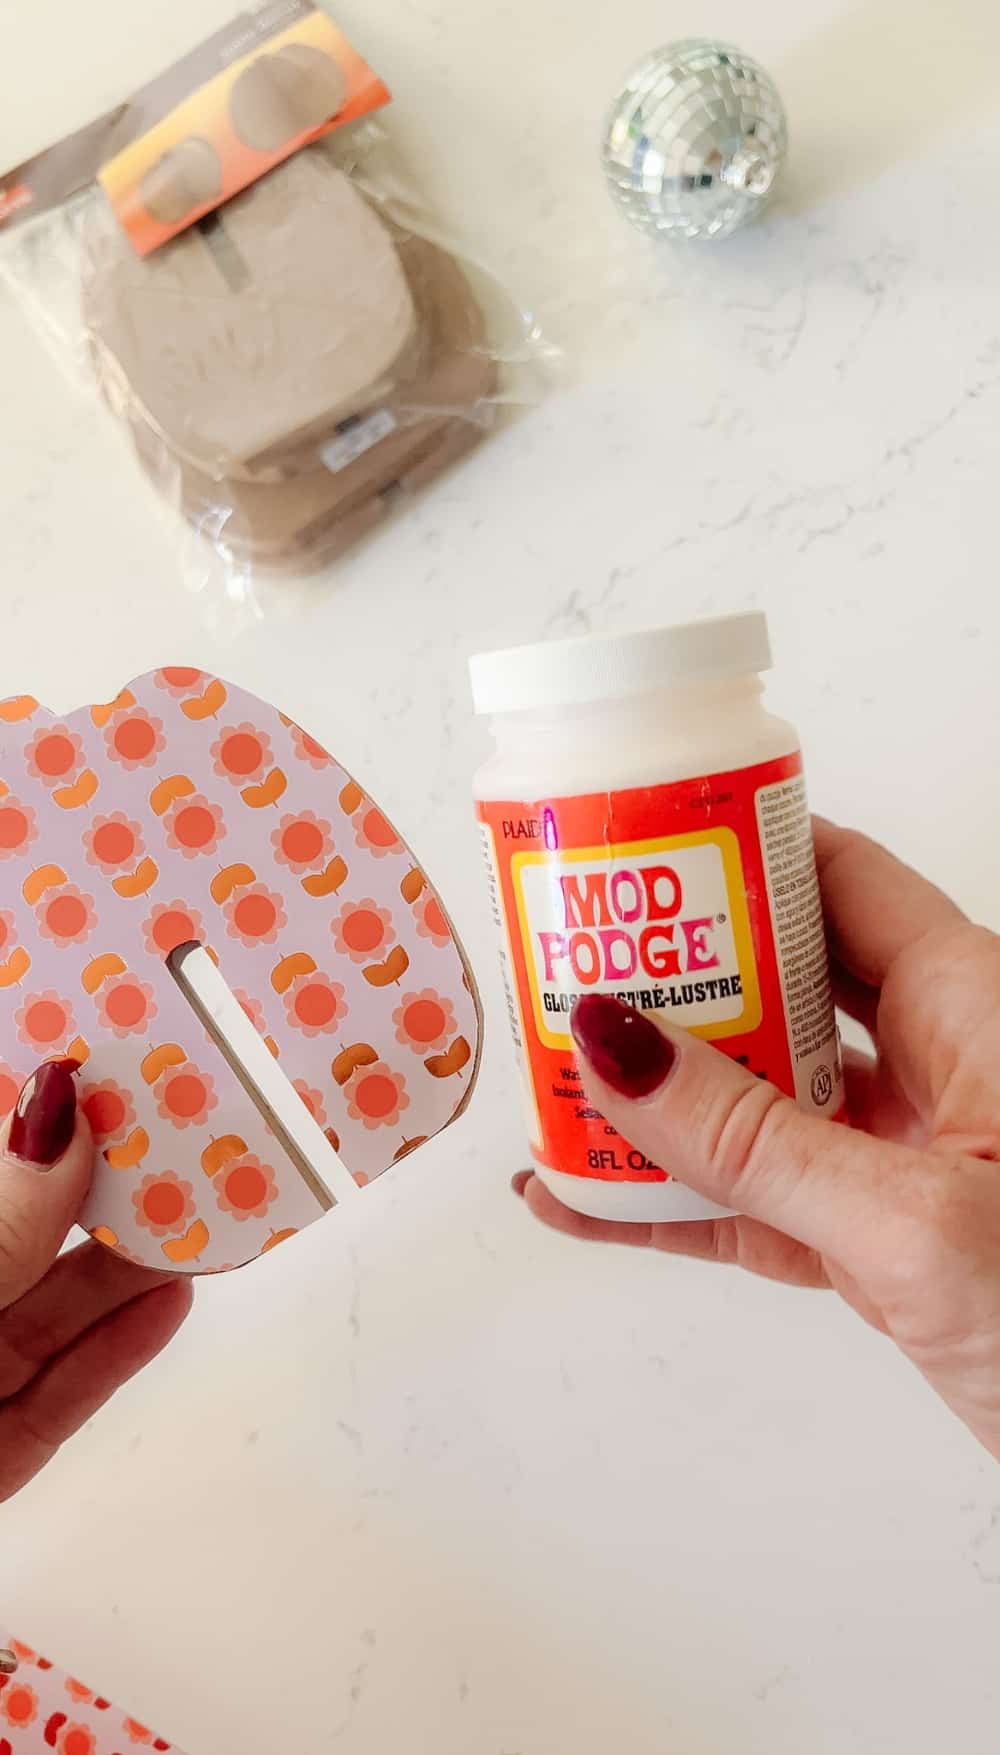
Once both pumpkin pieces are covered in paper, it’s time to fit them together. The two pieces have slits that allow them to fit snugly, creating a 3D standing pumpkin. This can be a tight fit, so if you have trouble aligning them, don’t worry! Use a mallet or hammer to gently tap the pieces into place. To avoid damaging the pumpkin, place a towel or soft cloth over the pumpkin and then tap with the mallet until the pieces align. If you don’t have a mallet or hammer, any flat surface like a coffee cup will work in a pinch!
Finishing touches
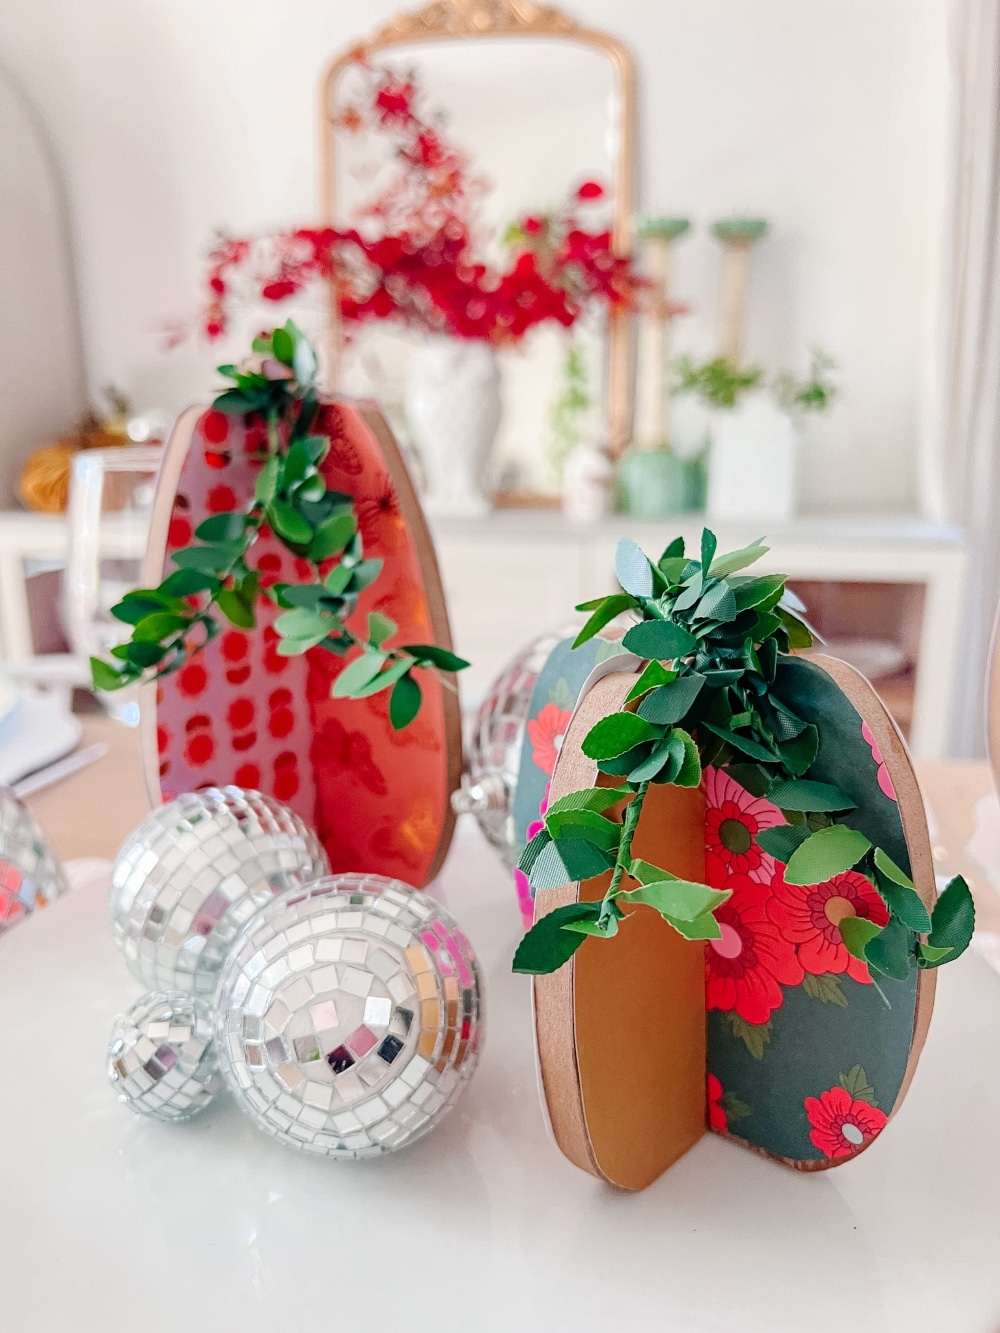
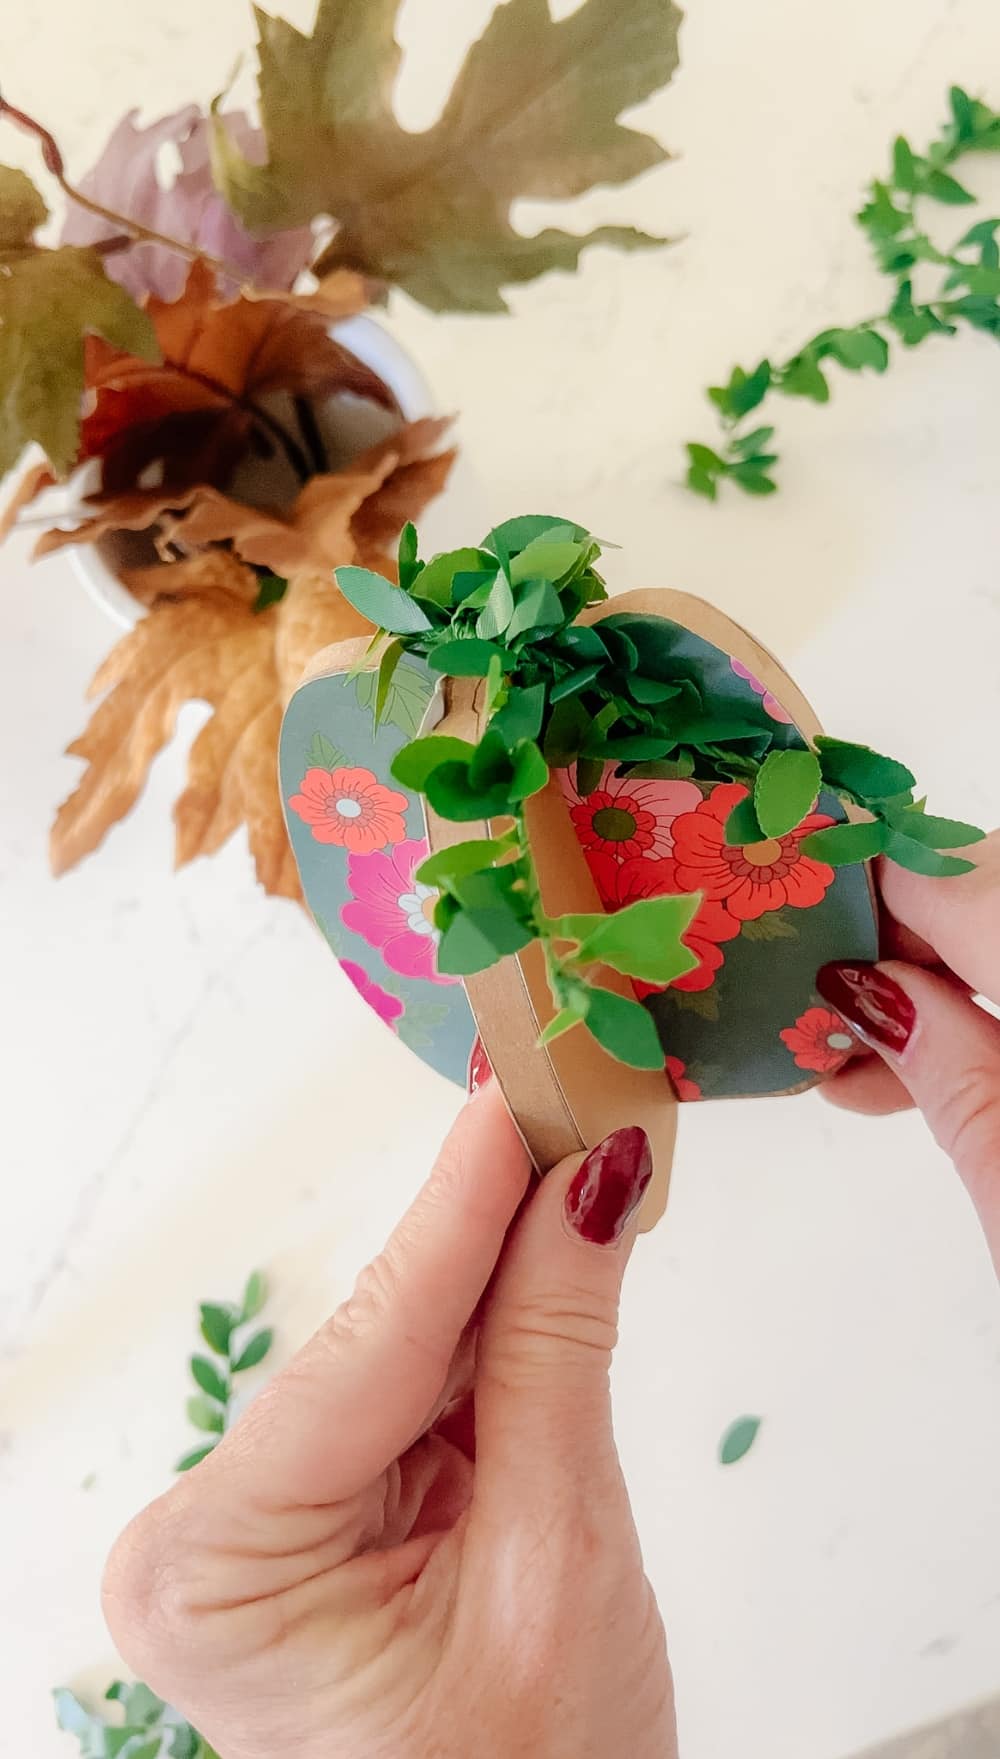
For the final step, I wrapped some leaf-shaped ribbon around the pumpkin stem to give it a finished look. You can get creative with this step—use twine, raffia, or any other ribbon that fits your decor style.
The Perfect Fall or Thanksgiving Centerpiece
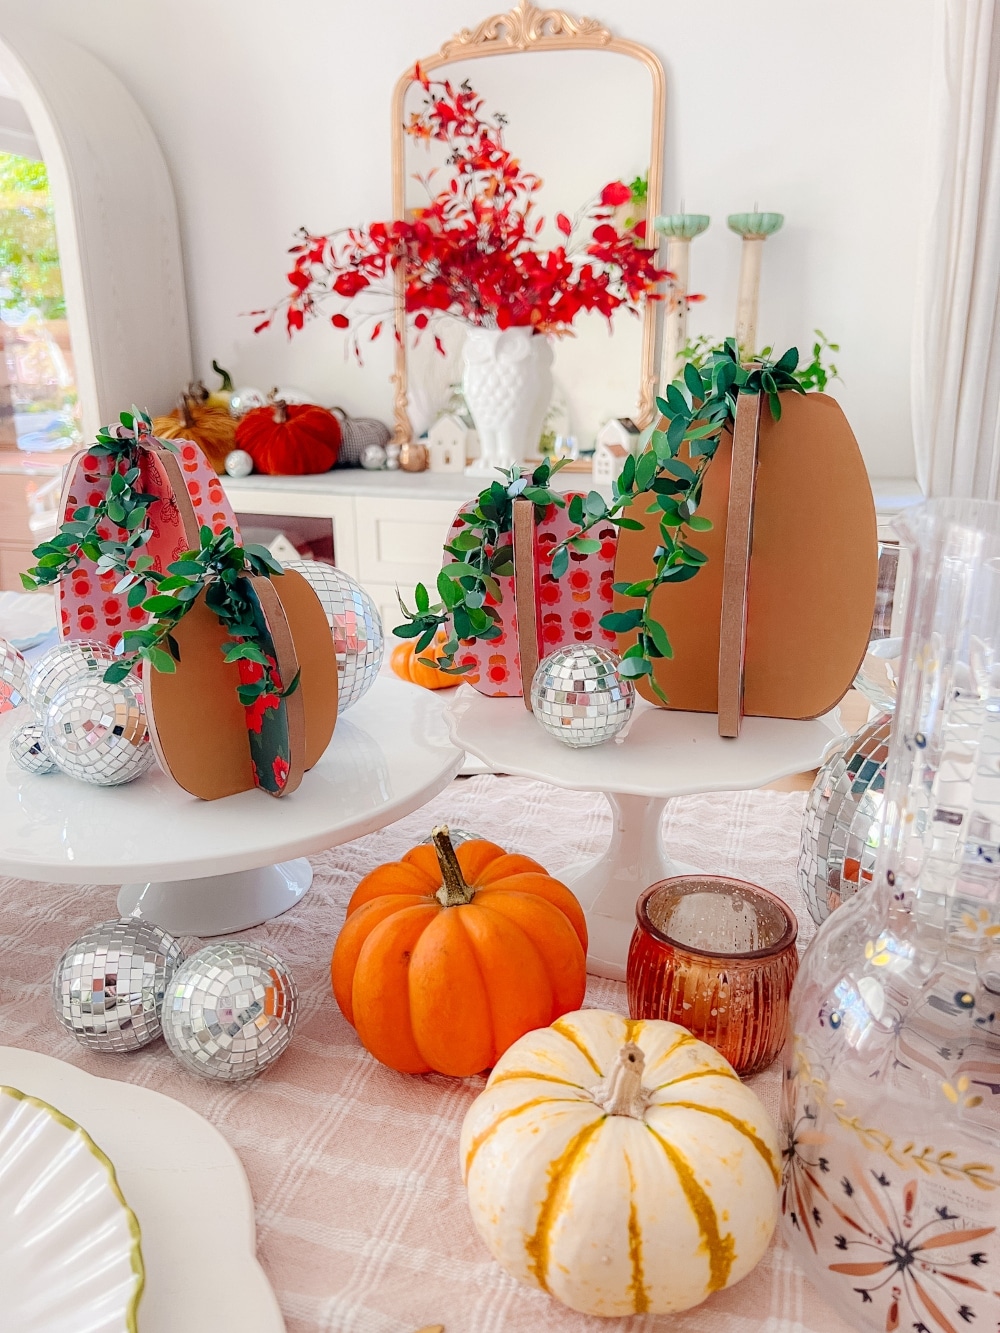
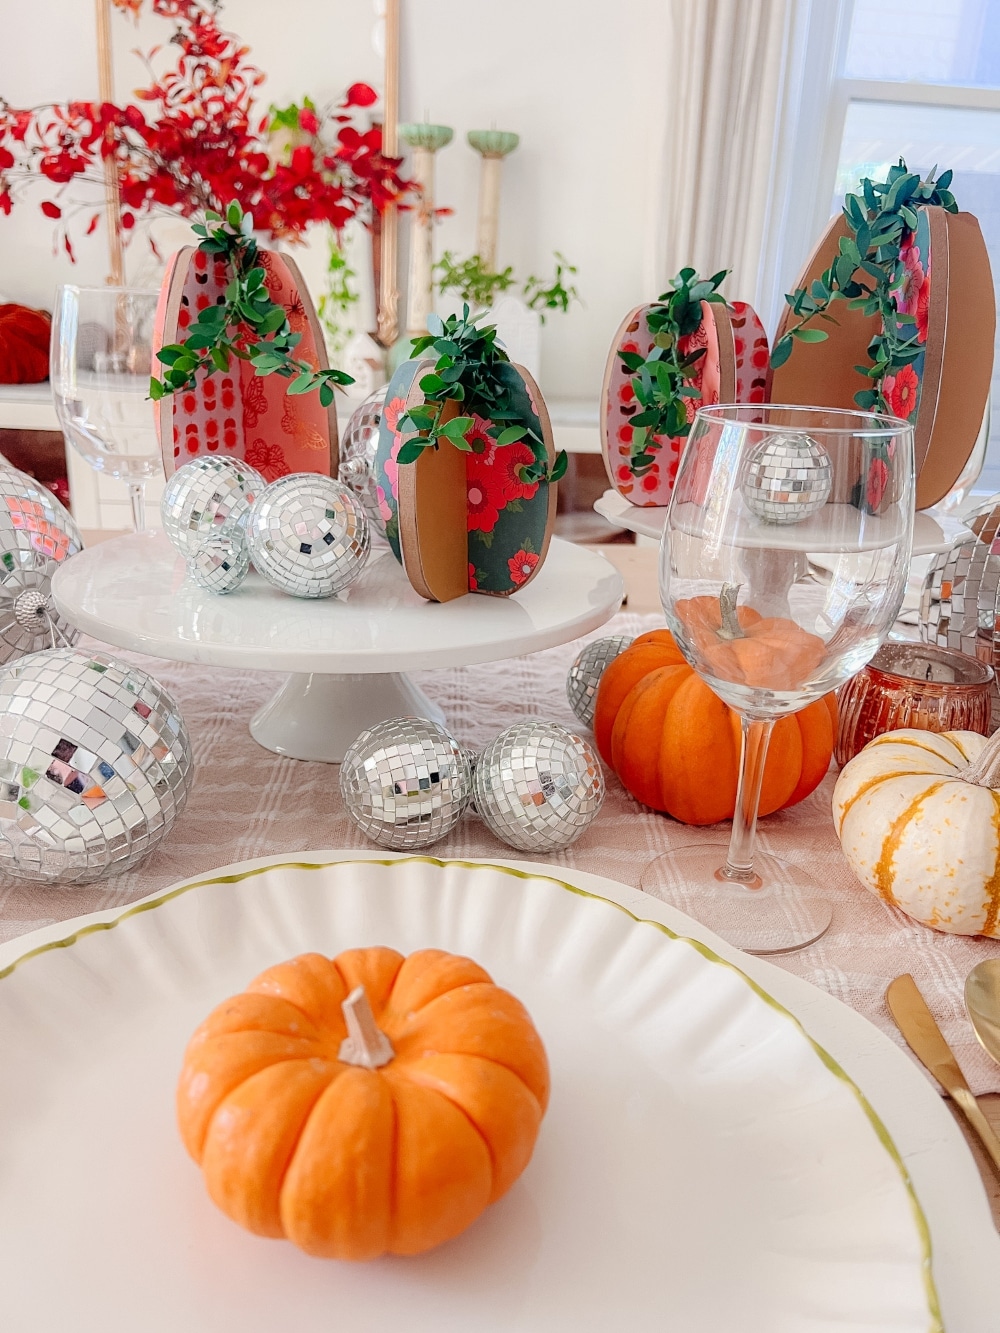
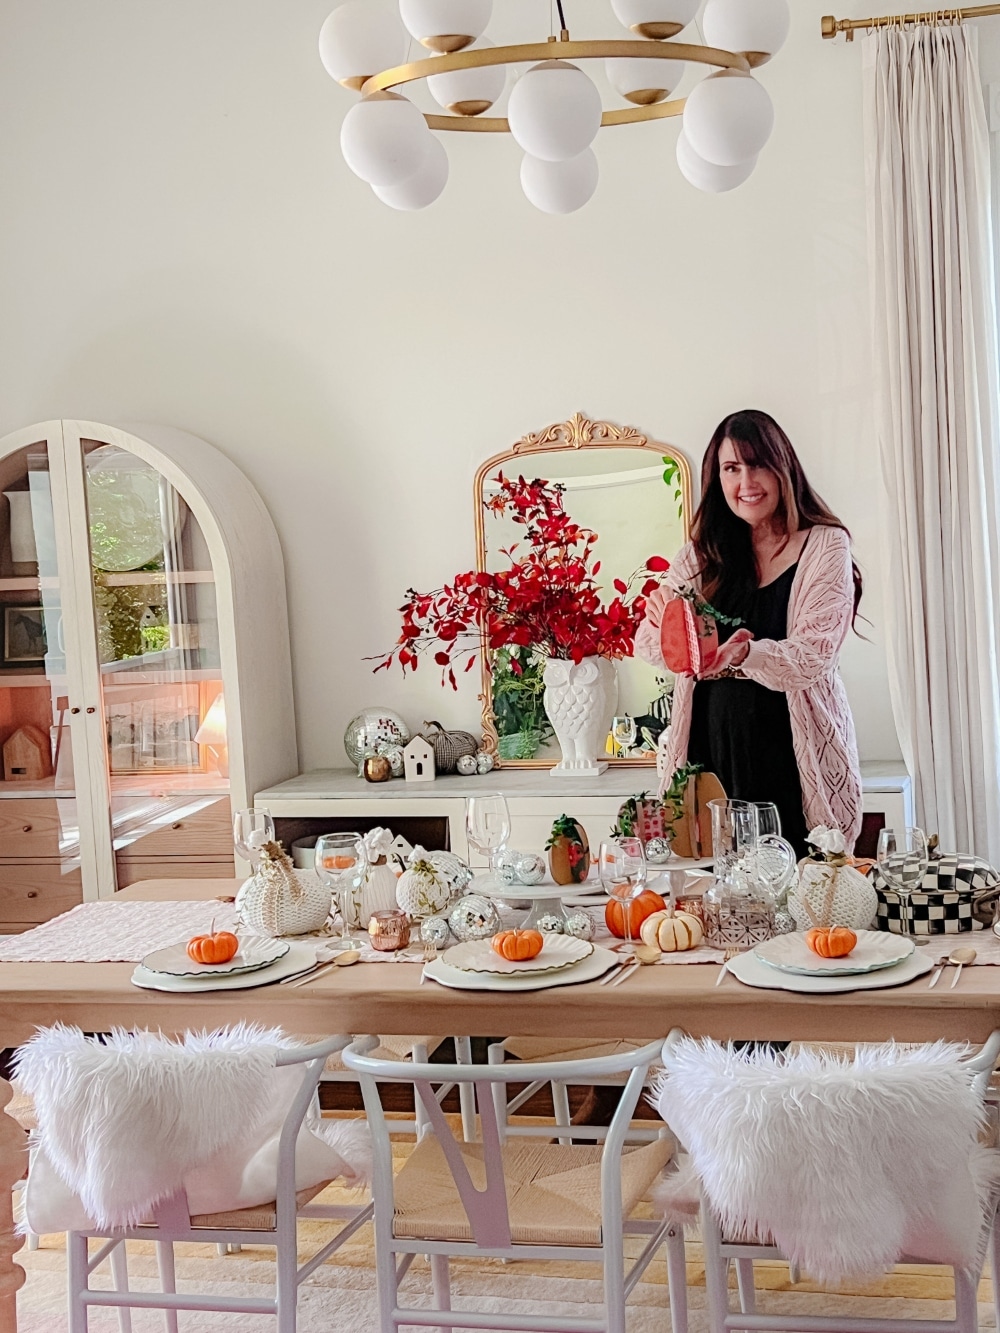
Once you’ve completed your pumpkins, arrange them on your dining table, mantel, or entryway for a sweet and festive fall centerpiece. Whether you’re hosting a Thanksgiving dinner or just adding some seasonal decor to your home, these decoupage pumpkins are sure to make a statement. The combination of my American Crafts Groovy Darlin’ paper with the simple elegance of the chipboard pumpkins creates a centerpiece that is both stylish and personal. It’s a project that’s easy enough for beginners but fun for experienced crafters, too!
More Fall and Holiday Crafting with PAPER!
Here are some other fun ideas to use paper for home decor!
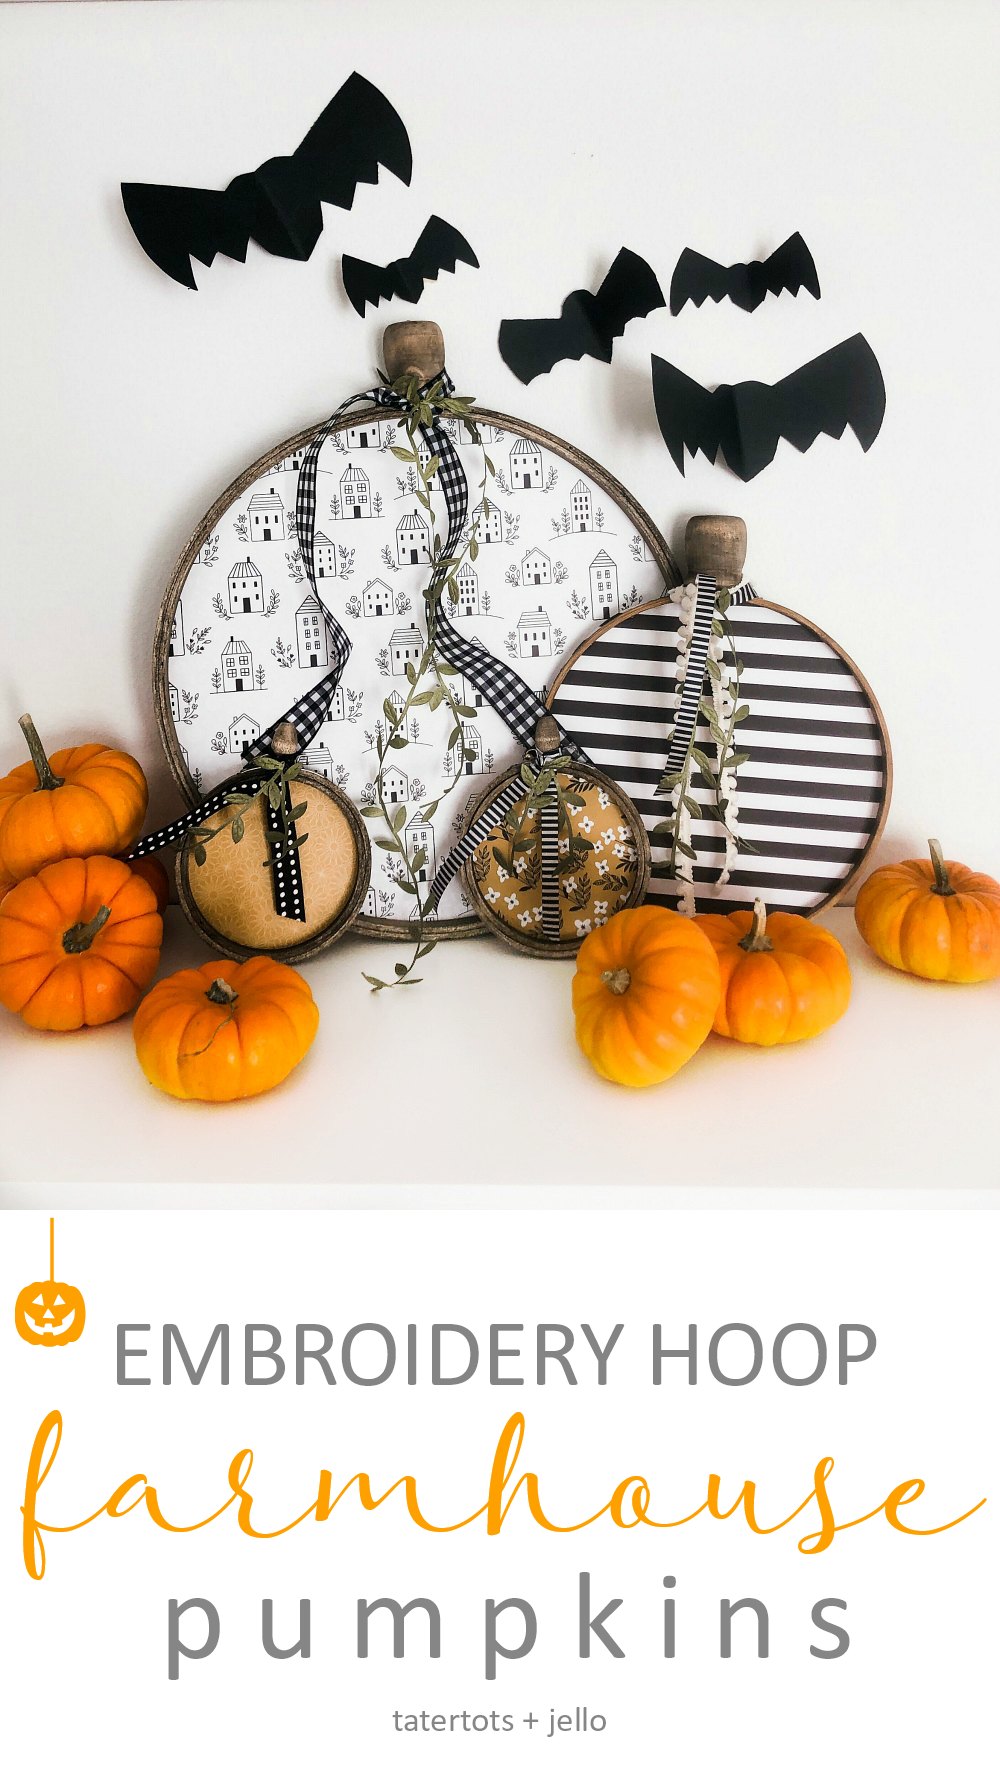
Embroidery Hoop Pumpkins
Embroidery Hoop Farmhouse Pumpkins. Turn embroidery hoops pretty and paper into adorable pumpkins you can display all fall long!
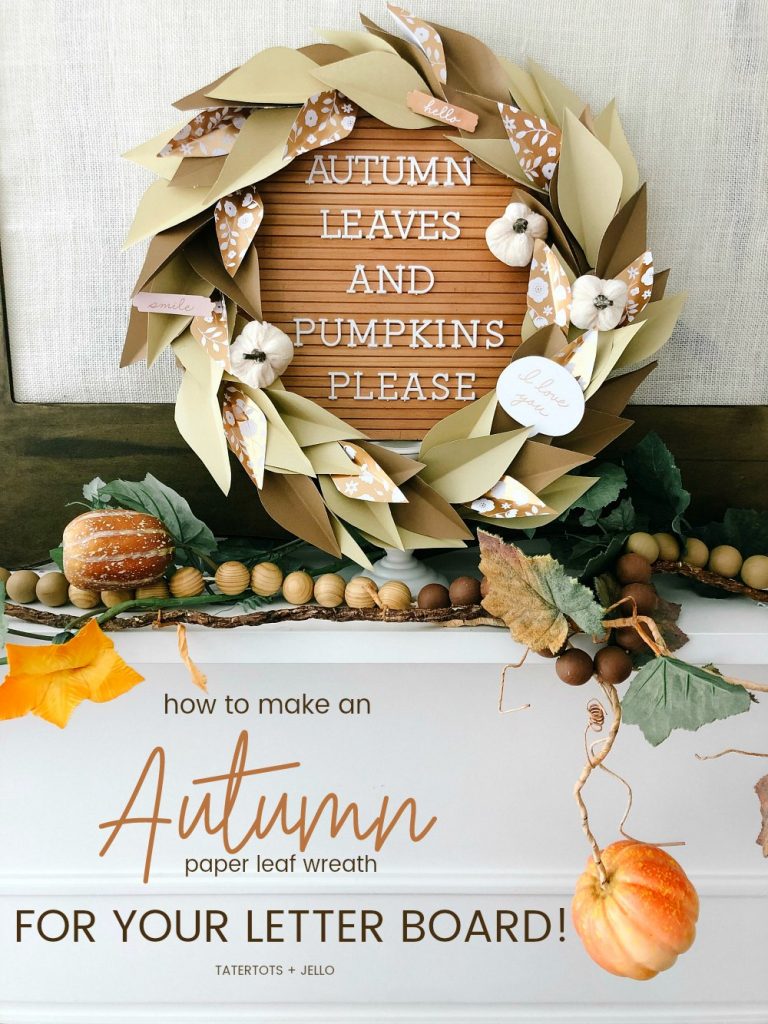
Autumn Paper Leaf Wreath
How to Make an Autumn Paper Leaf Wreath! Turn paper into a gorgeous paper leaf wreath that you can use by itself or pair it with a letter board!
Have a Creative Day!
xoxo

