Welcome to the Summer of Paper series – where we’ve invited fabulous guests to create projects using supplies from my Home + Made paper decor line.
Hi, I am Laura and I blog over at Laura’s Crafty Life. My blog is a place to find inspiration to craft a creative and well-lived life through simple craft projects, themed party ideas, organizing tips and tricks, as well as adventures in renovating our home.

I am so excited to be here today sharing how to make this adorable envelope mini-album using supplies from Jen’s new Home+Made collection! This mini album is perfect to tuck away inspirational quotes, journal your achievements or to commit your goals to paper.

Supplies needed:
- Homemade Pebbles Paper Pad
- Homemade Chalkboard Label Stickers
- Homemade Decorative Tape
- Cottage Living Thickers Alpha Stickers
- Cottage Living Paper Flowers
- Cottage Living Gold Stickers
- Cottage Living Rub-ons
- Cottage Living Puffy Stickers
- We R Memory Keepers Envelope Punch Board
- Paper trimmer
- Double sided adhesive or glue
- Foam dots
- Gold brads and twine (optional)

Create Envelopes
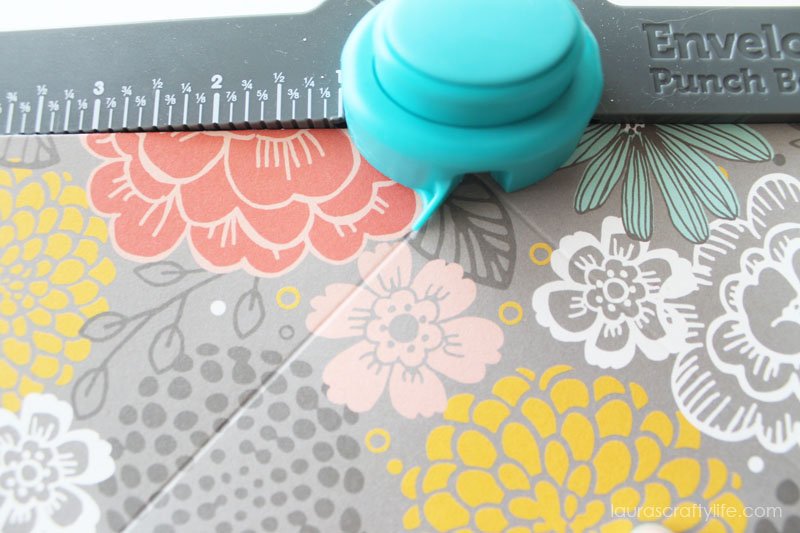
To start with we need to create our envelopes. Choose your favorite papers from the paper pad. I used six different patterns of paper. Trim your paper to 9 1/2″ x 9 1/2″. We are creating envelopes that will be 5″ x 7″ when finished.

Using the guides on the envelope punch board, you will line up your paper at the 4″ score line. Punch your paper and then score it.

Rotate your paper 90 degrees counter-clockwise, align your score mark with the score guide, and then punch and score. Repeat this step of rotating your paper 90 degrees, lining up your paper with the score mark, punching and scoring for all four sides of your paper.
Now, round the corners using the reverse punch at the top of the board.

Fold your envelope on the score lines. Add adhesive to the two smaller flaps to create your envelopes.


Repeat this process for all six sheets of paper.

Note: If you want to add brads and twine to your album to be able to tie it closed, you will want to do it before you assemble your envelopes. Choose which envelopes you want to use for the cover and the back of the album. You will add a brad to the cover envelope just below the large flap before you secure the flaps, as shown below.

To add the brad and twine (or ribbon) to the back cover, you will add a brad to the lower flap of the envelope before securing the flaps as shown below.
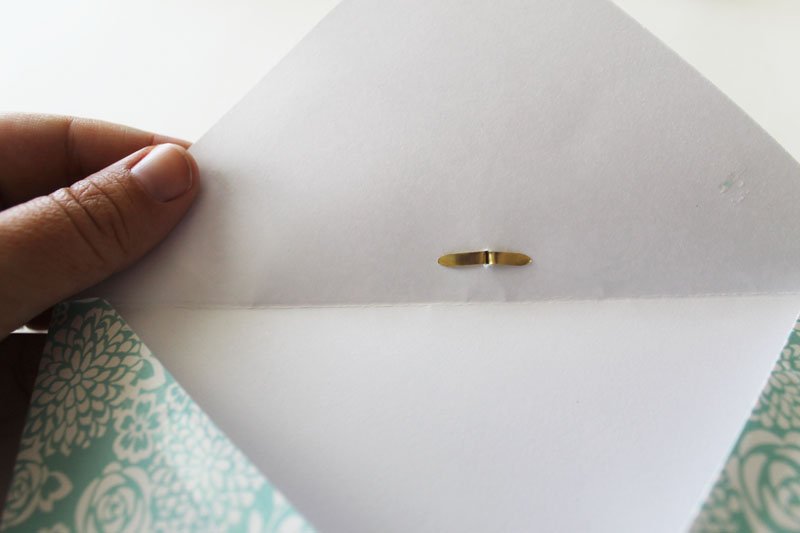
Secure the small flaps with adhesive to close the envelope. Then tie on your twine around the brad.

Create Envelope Mini Album
Now that you have all six envelopes created, you will now create the mini album by connecting the envelopes together. Begin by choosing your envelope you wish to use as your cover. I chose the grey patterned paper with flowers.
Taking the second envelope you want in your album add adhesive to the top two edges and along the score line on the inner part of the top flap of the envelope. You can see where to add adhesive to the flap in grey below.

Slip the second envelope into the cover envelope with the adhesive side down. Press to secure the adhesive. You will be folding your flap on the second envelope backwards to create your album. This will make a little pocket for you to slip papers or photos into on the left side.

Repeat these same steps for the remainder of the envelopes until you have all of your envelopes attached.

To finish the album, you will simply add adhesive to the flap of the cover envelope and secure it to the back.

Embellish Envelope Mini Album
Now is the fun part! You get to embellish your album. You can certainly do this as you go while you use your album, but I like to have some basics in place to help keep me inspired.
I started by adding gold glitter tape. I cut teal polka dotted card stock from the paper pack and attached it to the front with adhesive. I used one of the sayings from the paper pack (it’s a new day to shine), cut it out and attached it to the front using foam dots. Lastly I added puffy stickers (be awesome) and a pretty teal paper flower.
For the next page, I cut out some of the lined paper and attached it using the numbers decorative tape.
I cut another one of the inspirational sayings out from the paper pack (today is a good day to be awesome) and slipped it inside the envelope. The great thing about these pretty card stock paper is the back is plain white and the perfect spot to attach a picture, inspirational quote or some journaling. I have added sheets of trimmed card stock to each envelope. I trimmed mine down to 4 1/2″ x 6 1/2″. This is the perfect size to slip into the 5″ x 7″ envelope.
On the next page I added a 4″ x 6″ teal card stock sheet with adhesive. I added one of the chalkboard banner stickers and used the alpha Thickers to spell out the word, CREATE.

On the next page, I attached a strip of polka dot card stock to the page. I used another saying (life is better when you laugh) and attached it to white cardstock. I added a sweet gold heart from the puffy sticker sheet and attached the entire card using foam dots.

This next page was really simple. I cut the lined paper from the paper pad to fit the envelope page and simply attached it with the gold decorative tape on two of the corners.

On the last page I cut out the wood grain paper to fit the page, added a rub on to the bottom right corner and attached the whole sheet using a gold circle sticker.

Lastly on the back cover I embellished one of the chalkboard stickers with an arrow rub-on and attached it to the back.

My little mini album is ready to be a great source of encouragement and creativity for me.
Thank you for having me here today at Tatertots and Jello!
*******
Thanks Laura! What a gorgeous little album and I love that it has an inspirational purpose too! Laura has such awesome ideas on her blog, here are a few projects I know you’ll love:
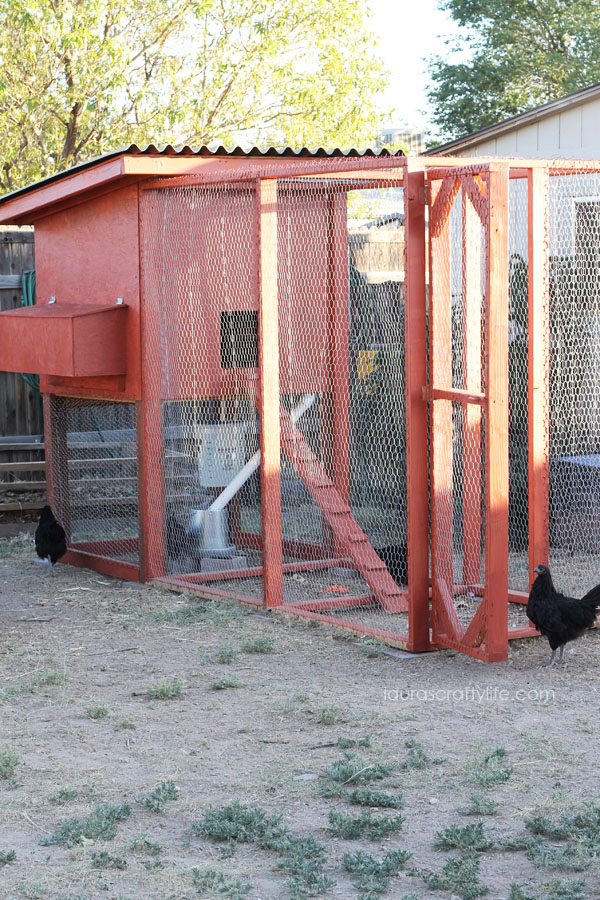
She has a really awesome tutorial for How to Build a Chicken Coop! SO fun!
She also has amazing printables! Visit her page of 31 Days of Homemaking Printables for tons of printables to help you get your home organized!
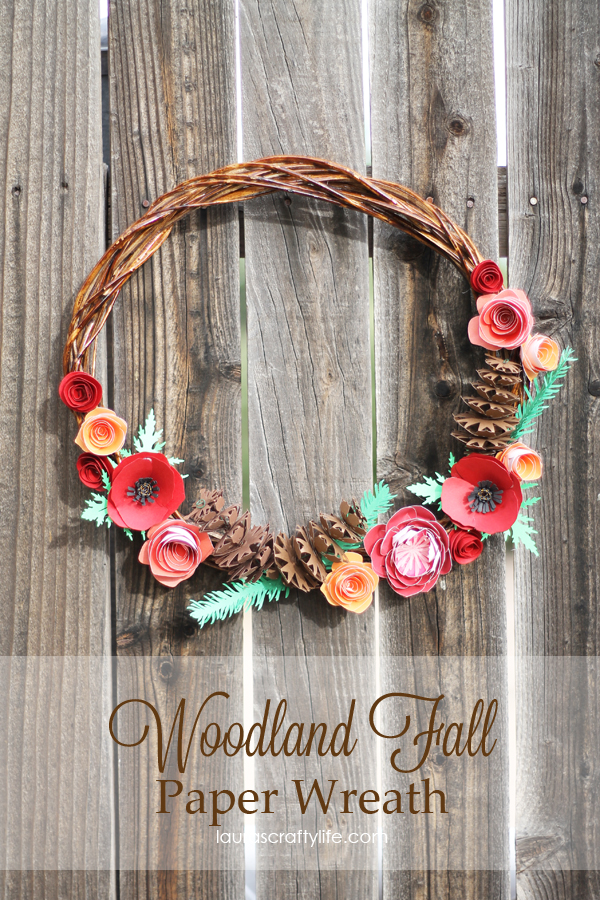
And with fall right around the corner, I just love this Woodland Fall Paper Wreath she made!


Attractive component of content. I just stumbled upon your web site
and in accession capital to claim that I get in fact loved account your blog posts.
Any way I will be subscribing in your augment or even I achievement you get admission to persistently rapidly.
Thanks on your marvelous posting! I really enjoyed reading it, you might be a
great author.I will ensure that I bookmark your blog and definitely will come back down the road.
I want to encourage you to ultimately continue your great job, have a nice evening!
This site definitely has all of the info I needed concerning this subject and didn’t know who to ask.
Yes! Finally someone writes about codigos de descuentos.
Thank you for every other excellent post. The
place else may just anyone get that type of information in such a perfect
manner of writing? I’ve a presentation next week, and I’m at
the search for such information.
Attractive section of content. I just stumbled upon your website
and in accession capital to assert that I get in fact loved account
your blog posts. Any way I will be subscribing in your feeds and even I success you access persistently fast.