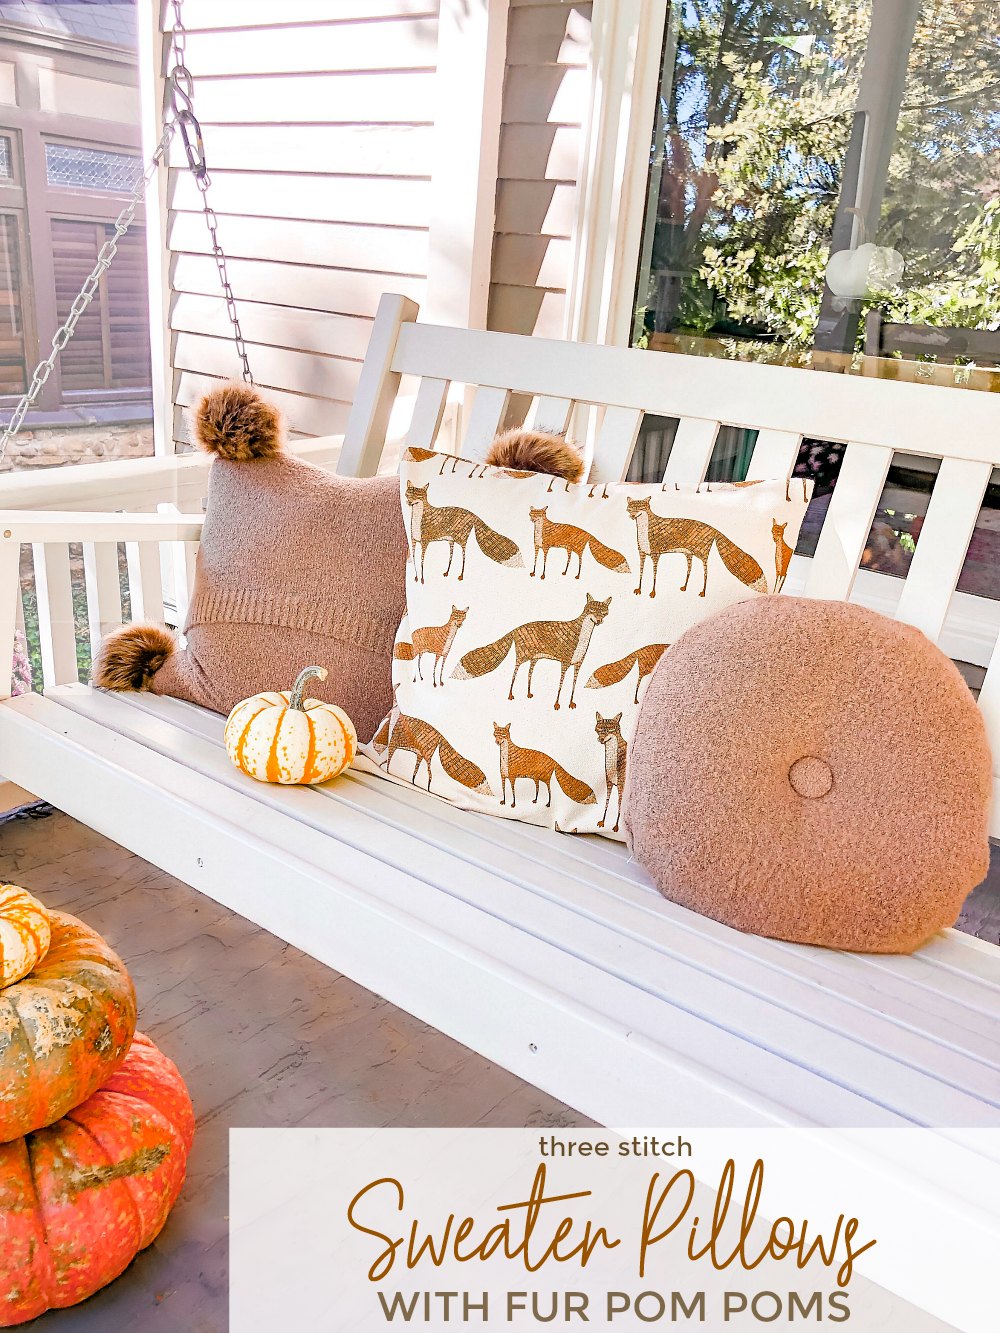
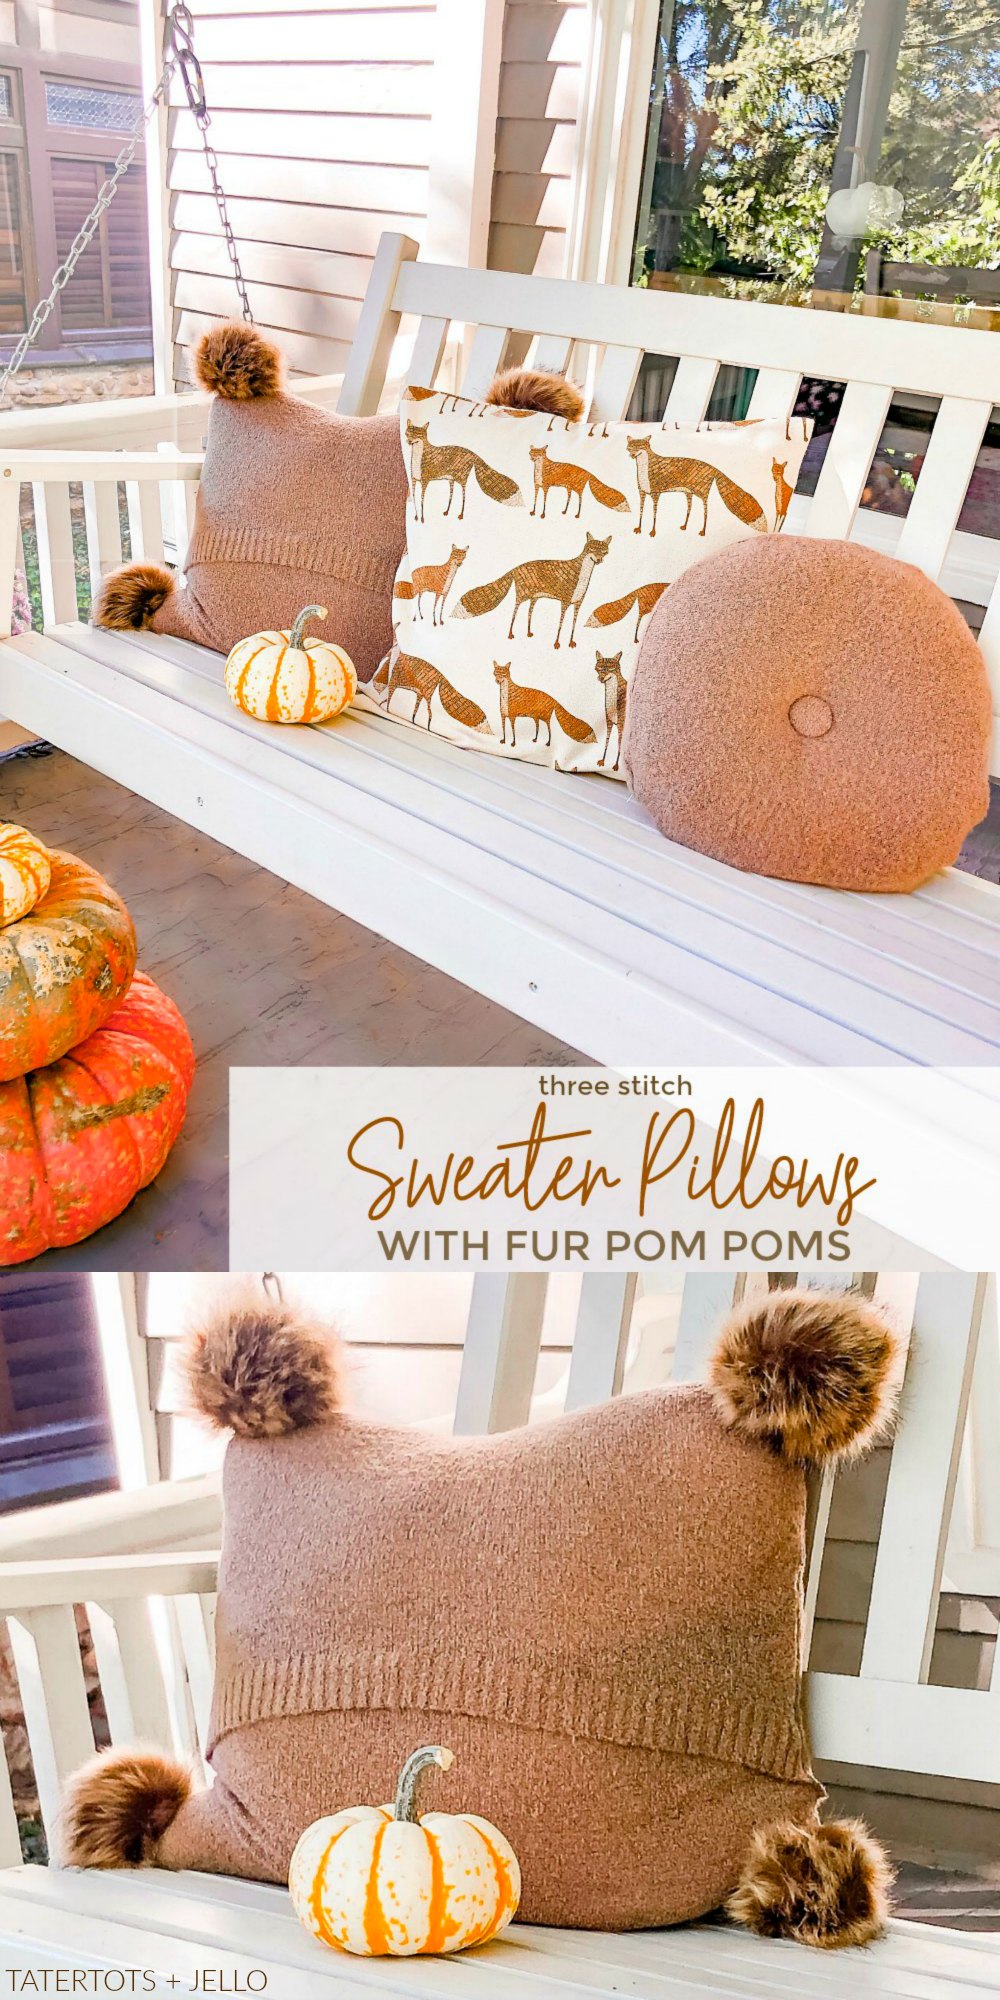
Easy Envelope Sweater Pillow Covers with Fur Pom Poms. Turn old sweaters into adorable pillows. With only three Seams, you can make Sweater Pillows in minutes and add trendy fur pom poms.
Upcycle Old Sweaters into Trendy Sweater Pillow Covers
I had a big pile of sweaters to donate as I was cleaning out our home in preparation to move. I took a couple sweaters and turned them into cute fall decor! You might remember the white sweater that I turned into Fall Sweater Pumpkins a few weeks ago. I love the way they look on our mantel.
Easy Sweater Pillow Covers with Fur Pom Poms
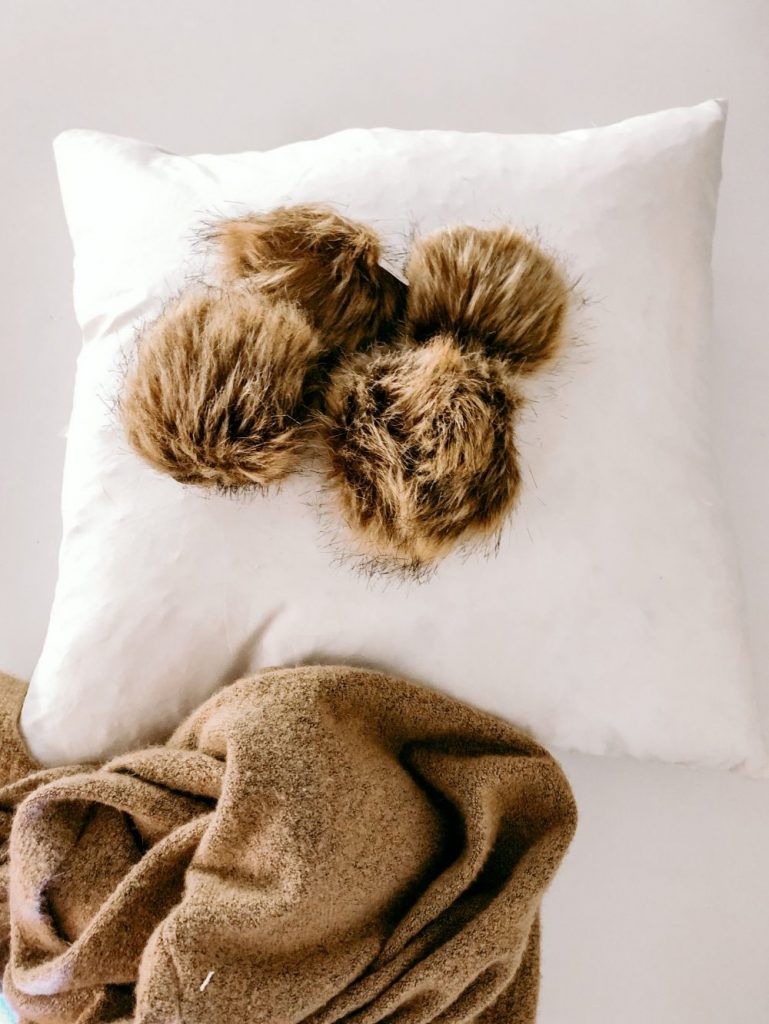
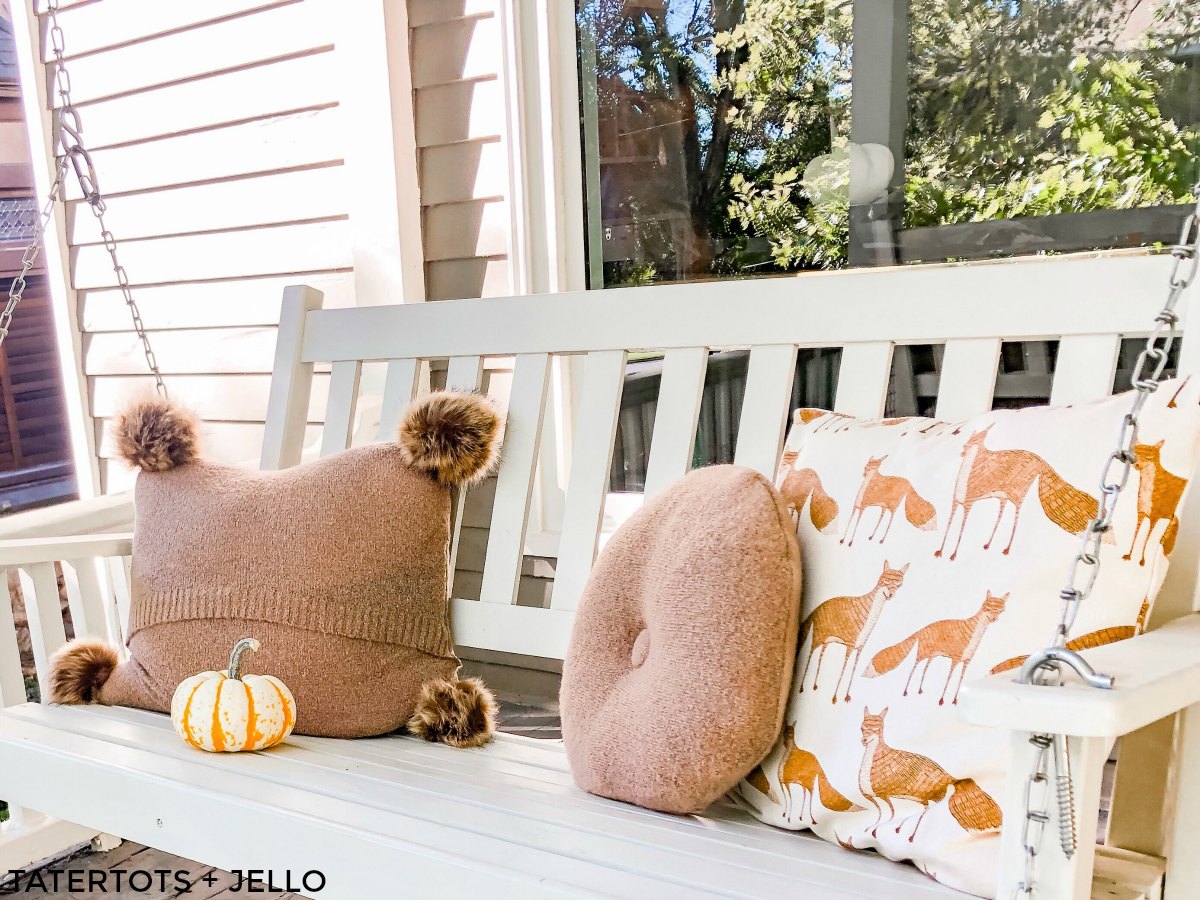
I also had a brown fuzzy sweater. I decided to create some fuzzy fall sweater pillows for our front porch swing! They are perfect for snuggling up on a fall day and watching the world go by in our new downtown house.
To give the bigger pillow a little more style I added fur pom poms on the four corners. I love the way the fur looks with the brown sweater. It’s so cozy looking!
11 Fall Plaid or Sweater DIY Ideas
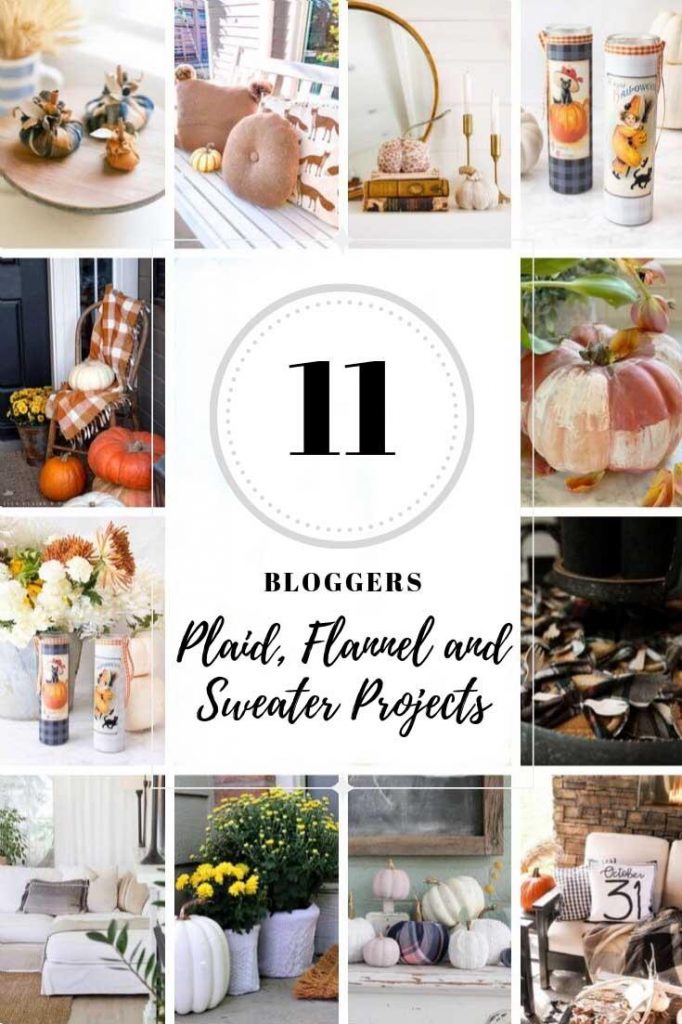
Be sure to see all of the other fall plaid or sweater DIY ideas that my friends are also sharing today. Just scroll down and click on the links to HOP over! Pin them for later!
How Do I Make Fur Pom Poms?
The fur pom poms are from JoAnn Stores and I think they are supposed to be hair accessories. They come attached to an elastic band. I used my 60% off coupon and they were about $2 each. I think they give these recycled sweater pillows a very upscale look!
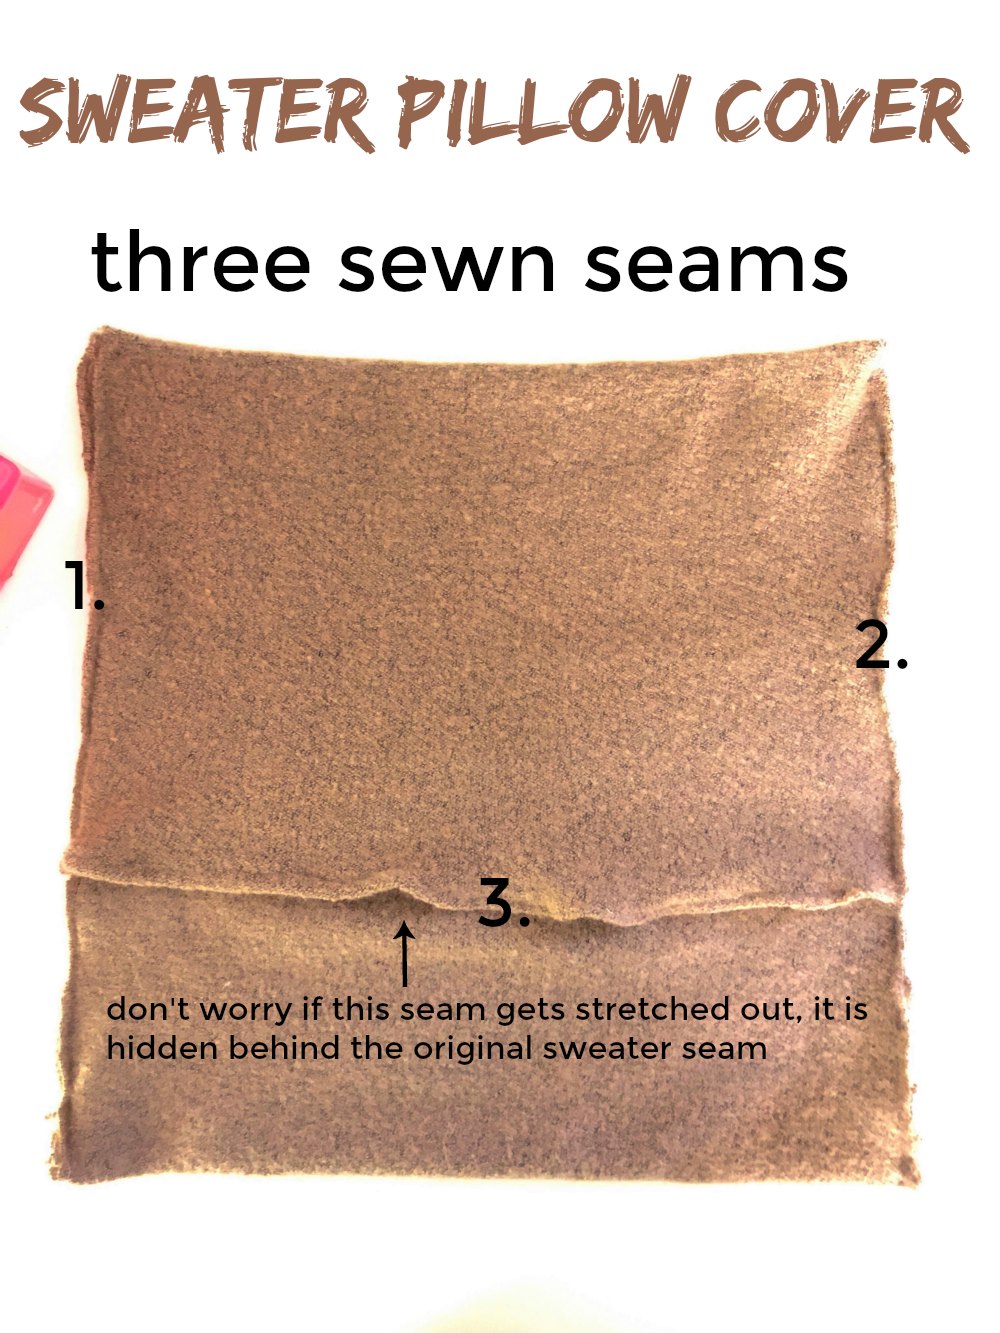
Three Stitches on The Sewing Machine
I love making pillow covers. You can see my popular 10-Minute Pillow Cover Tutorial. Since my sweater had a finished edge I didn’t need to sew that edge. And since the sweater material was super stretchy and long enough, I was able to use one continuous piece of material all the way around the pillow, eliminating another stitch which also saves time!
How Do I Cut a Sweater to Make a Sweater Pillow?
Cut Panels Out of Sweater Material

You want to find the biggest area of the sweater and cut the largest piece of material out of the sweater. This is usually the back and front of a crew-neck sweater. If you are using a cardigan like I did, then that is the back and sides of the cardigan.
Cut the Back of the Sweater Out
I laid the cardigan out of my work surface and spread out the back of the cardigan. Then I cut the entire back out, all the way up to the arm seams and neck. This long area was the piece I used to create the large pillow cover.
Cut Side Panels Out
I also cut out the side panels and they were big enough to make two additional pillow covers. This was a very long cardigan.
Cut Pillow Panel
I laid my pillow insert on top of the panel I cut from the back of the cardigan and measured the width that I needed to cover the pillow cover. You need the width to be the width of the pillow cover PLUS at least one inch. If you are using a stretchy sweater material you can get away with cutting the width of the panel the same as the pillow cover since it will stretch. But if you are using material that doesn’t stretch you want the width to be at least an inch wider than the width of your pillow insert.
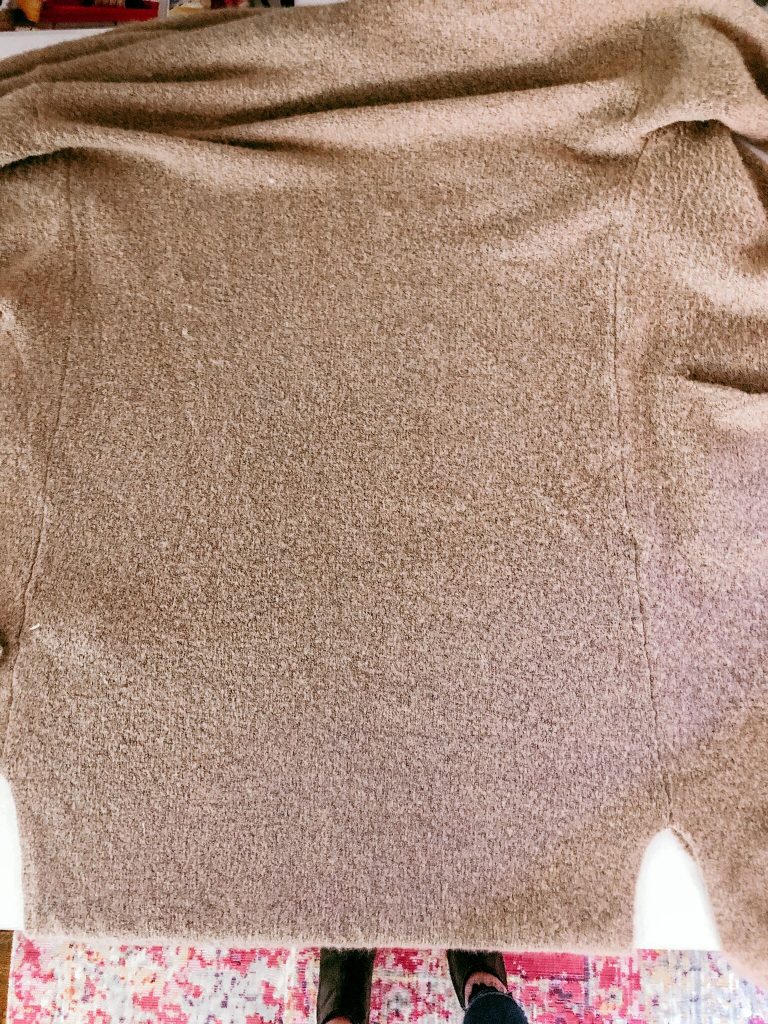
1. Lay the Sweater out flat 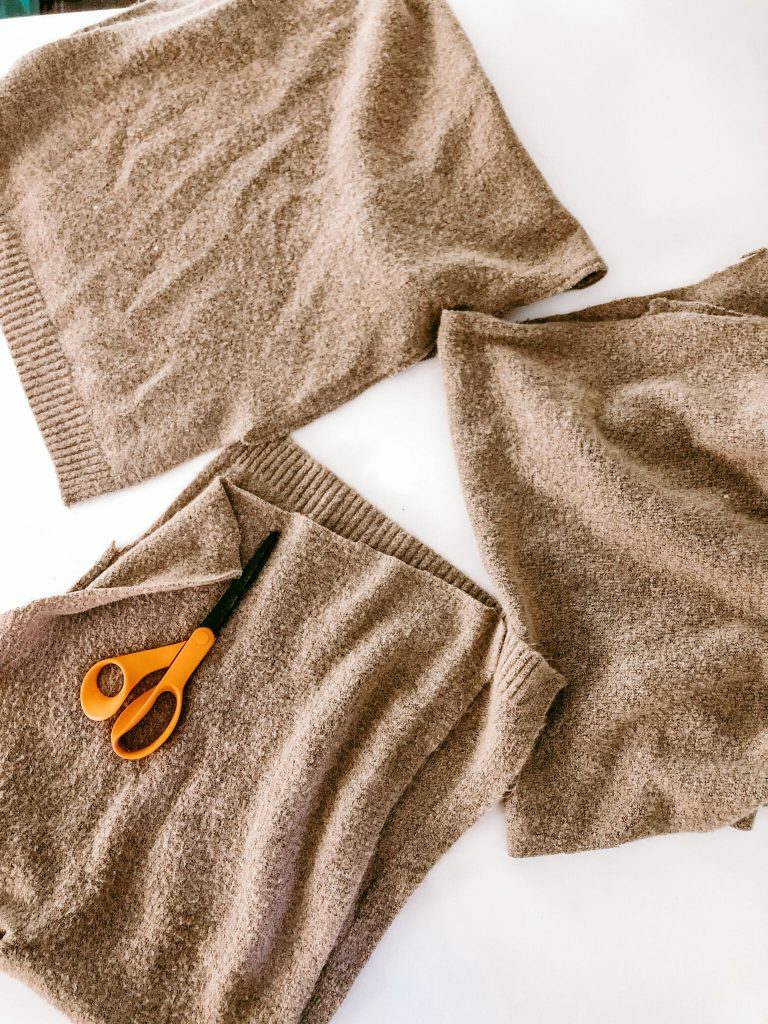
2. Cut sweater into panels. 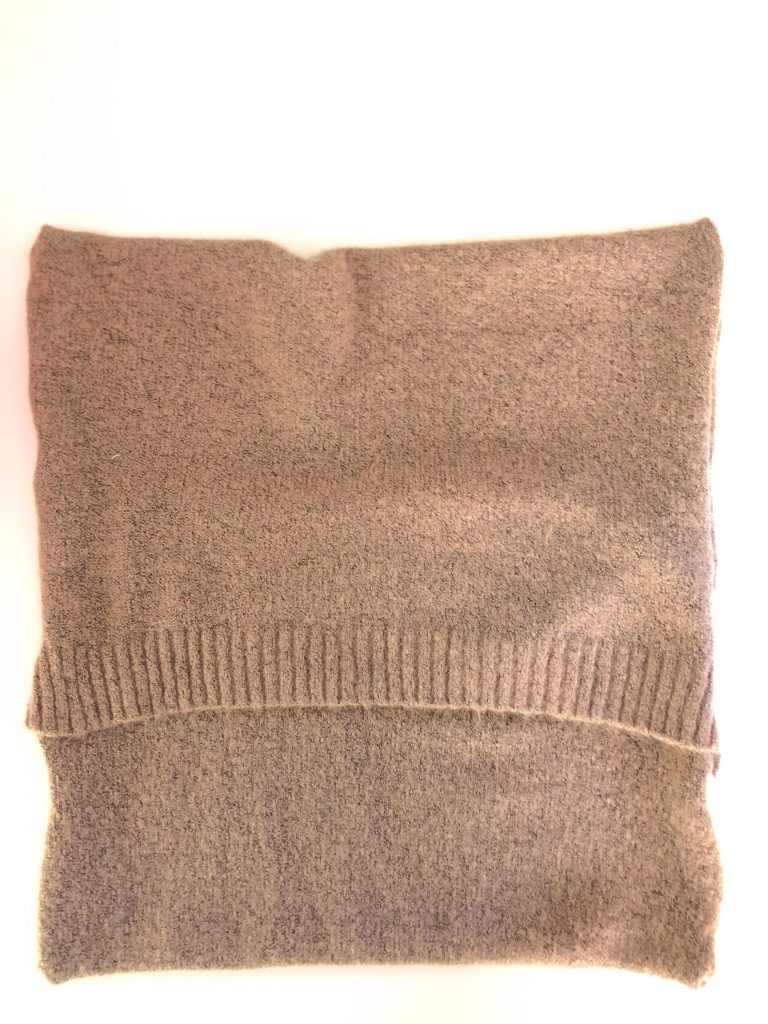
3. Sew three seams and turn right-side out. 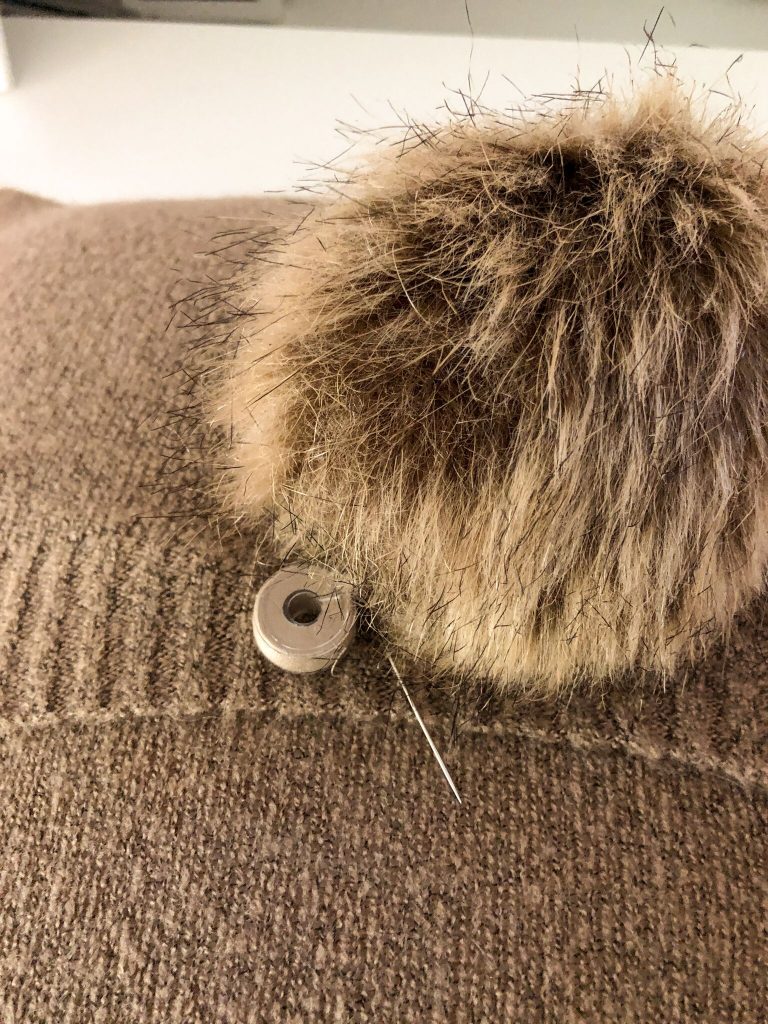
4. Sew pom poms onto the four corners of the pillow cover.
One Panel Pillow Cover
Since I had a piece of material that was long enough to wrap completely around the pillow insert and overlap, I didn’t need two separate sides. But refer to my popular 10-Minute Envelop Pillow Cover Tutorial for directions on how to make a basic Envelop Pillow Cover.
Add 4 Inches to the Length of the Panel
You need at least four inches of overlap on the length of your pillow cover material. This overlap is the part that keeps your pillow insert inside the cover. I also wanted the sweater edging to be in the front of the pillow insert for decoration. So that sweater edging is in the front of the overlapping material.
Sew Raw Edge of Panel
One edge on the length of the sweater panel should have a finished edge on the bottom of the sweater. The other edge will be raw. Sew the raw edge by folding the raw edge under twice to create a seam that won’t unravel.
Pin the Pillow Cover to Sew
Now pin the pillow cover. Flip the material inside-out and fold it so it is the size of the pillow insert, with the sewn seam on the outside, overlapping the original sweater edge by four inches. You cant all of your raw edges on the outside of the pillow cover. That way you can sew the seams and flip it right-side out and have all of the raw edges inside the pillow cover with the sewn edges on the right side of the pillow cover.
Sew the Remaining Two Seams
Now you will sew the two sides of the pillow cover. Be sure to back-stitch at the top and bottom of each seam.
Flip the Pillow Cover Right-Side Out
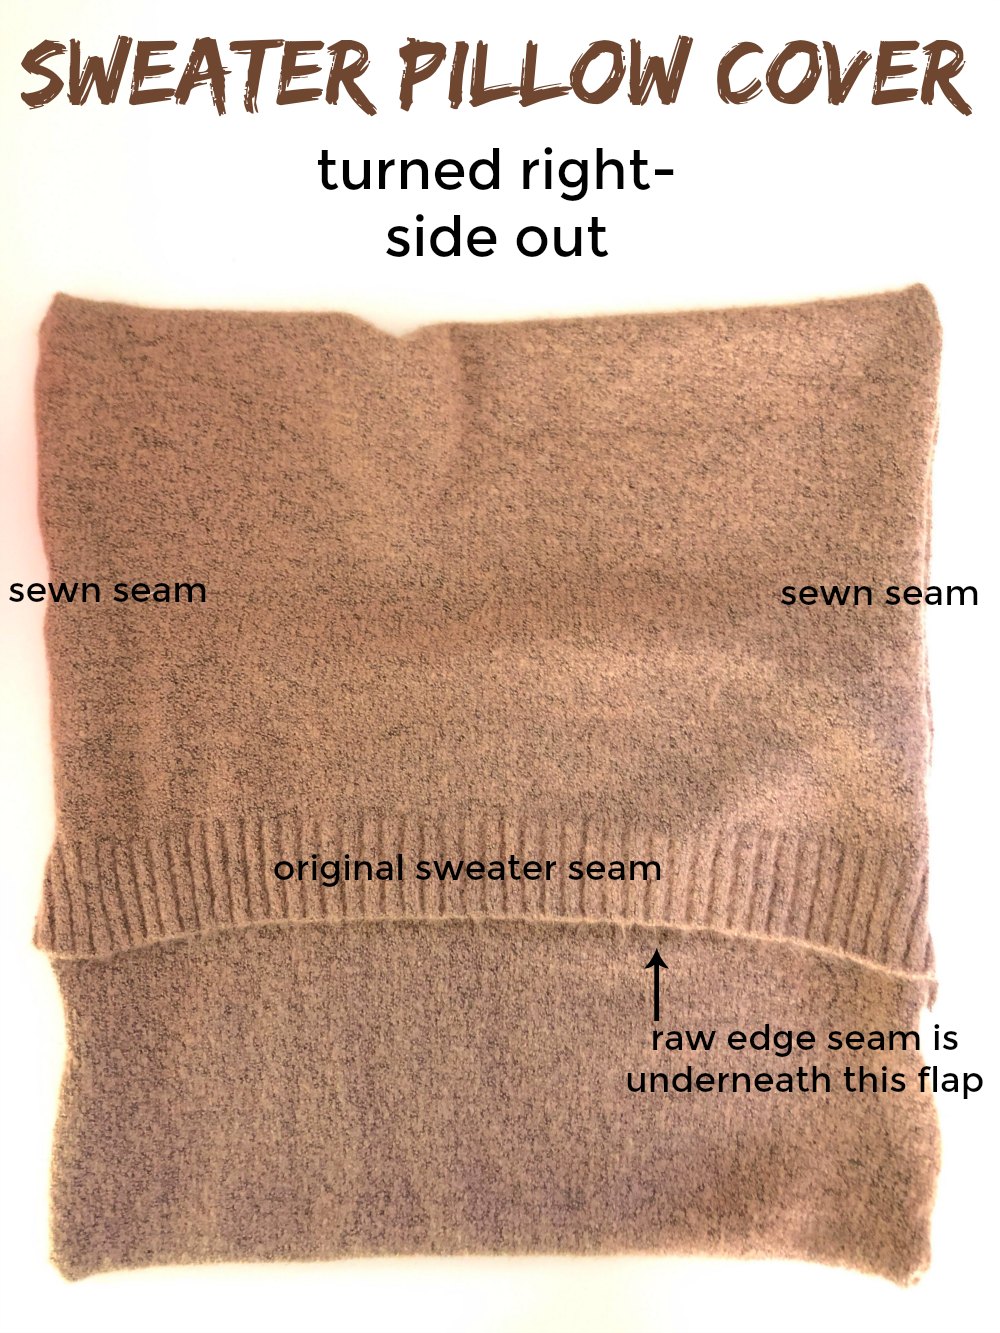
Once you are done sewing the two side seams, flip the entire cover right-side out. Your original sweater edge should be on the outside of the flap. You can choose to have this be the front or turn it to the back if you want a plain pillow front.
Insert the Pillow Form into the Pillow Cover.
Open the pillow cover and insert the pillow form inside. Pull the corners of the pillow insert up to fit inside the corners of the pillow cover and smooth the flap over the opening.
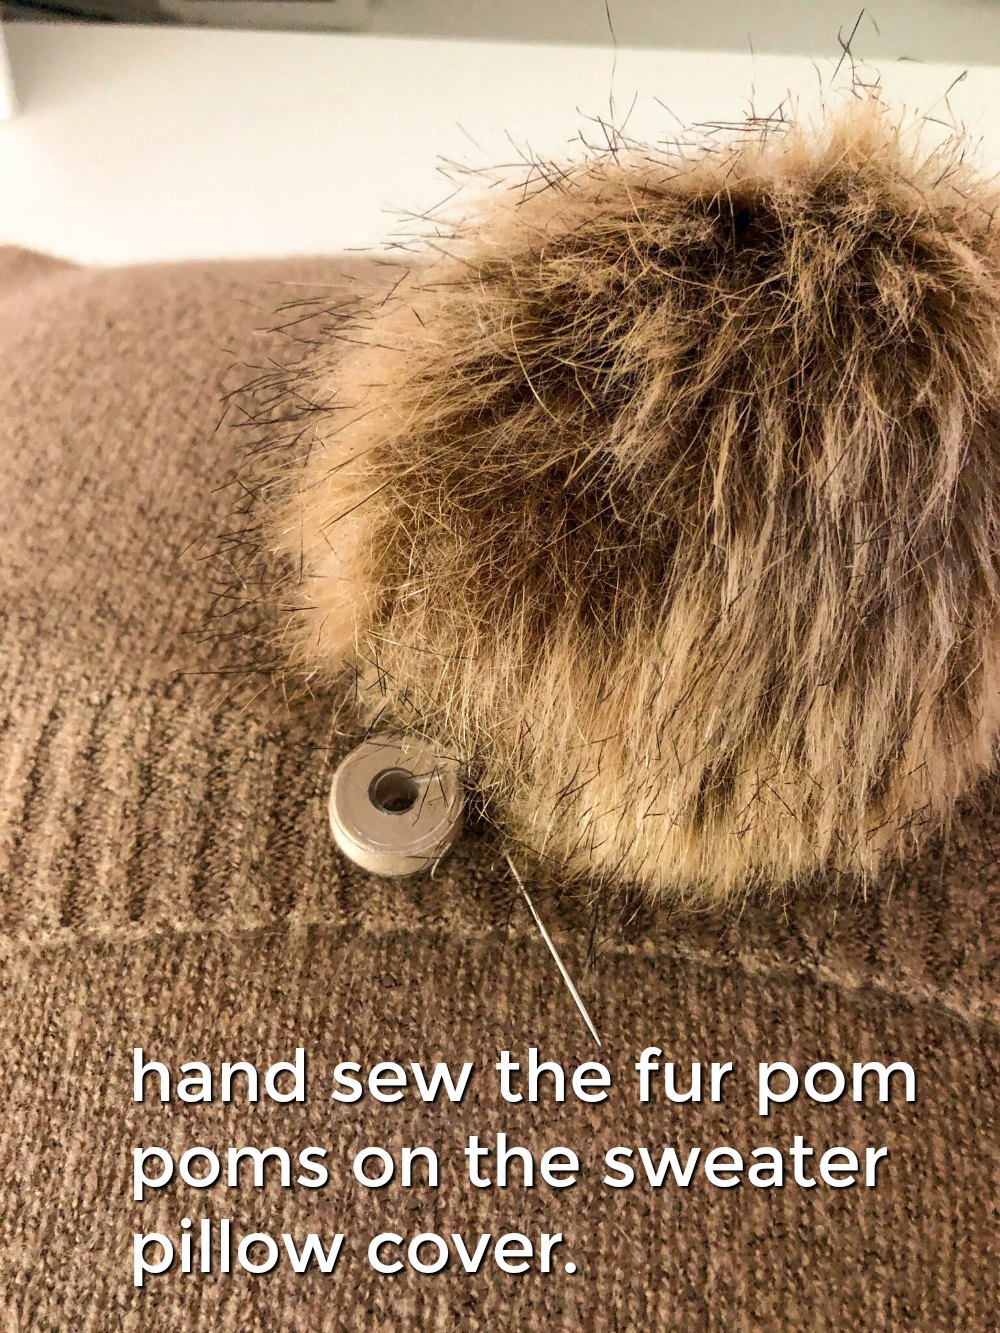
Sew the Fur Pom Poms on the Pillow’s Corners
Now you will sew the pom poms on the pillos’ four corners. The pom poms I bought had a rubber band attached. I kept that rubber band intact and used it to secure the pom pom to the pillow cover. Thread a needle with string and double reinformce the string – use two strands instead of one. You will need to use either heavy-duty thread or a lot of regular thread.
Reinforce the first Stitch
Since your sweater’s weave is more open than regular fabric, intead of tying a knot in the thread and running it under the pillow cover to start, you will need to run the needle under the pillow cover and knot it onto the sweater material first to make sure that the thread is really anchored. Then run the needle up to the pom pom and through a portion of the pom pom, then back under the sweater material and up again. Do this over and over again until the pom pom is attached securely to the pillow corner.
Sew the Pom Poms on Two Ways
You can either sew the pom poms on with the pillow insert inside the cover or without the pillow cover inside. I chose to sew the pom poms while the pillow insert was inside the cover because I wanted to make sure of the placement of the pom poms.
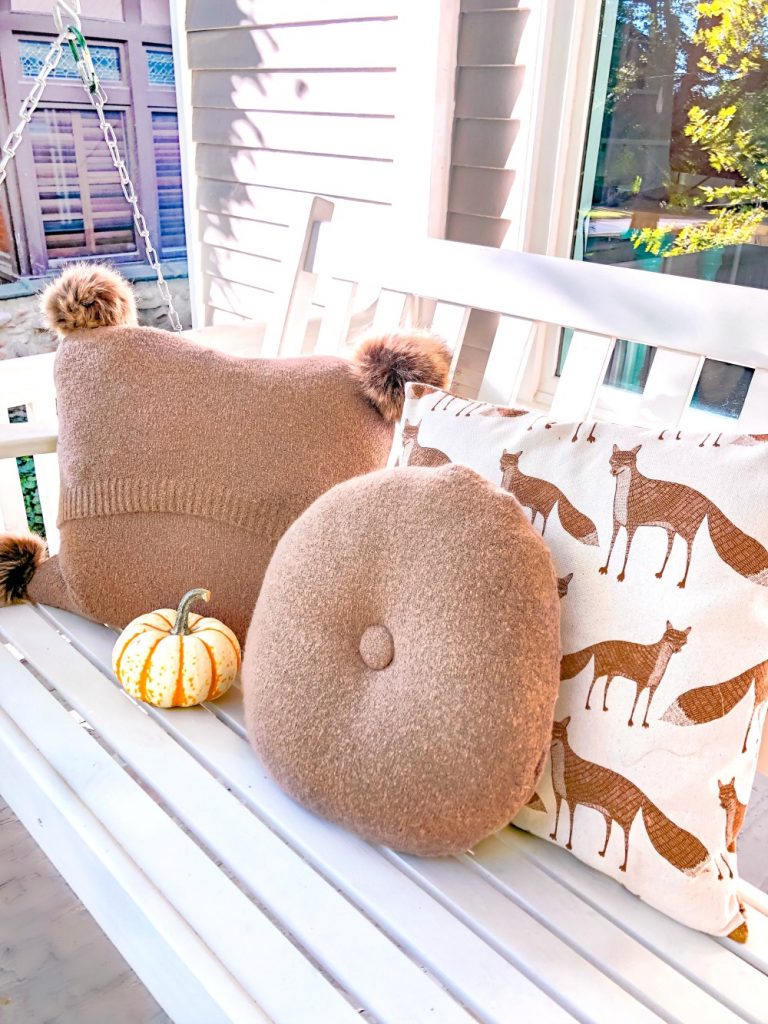
Enjoy Your Pillow Cover
Aren’t they so cozy on our porch? I also made a round pillow and added big buttons in the middle. I’ll write up a tutorial on how to do that. Instead of making an envelope-enclosure I sewed the pillow form right into the cover and that is a different tutorial. Coming soon!
11 Fall Plaid or Sweater DIYs
More Fall DIY Project Ideas
Check out what my friends made for this fun fall DIY blog hop! Plaid, flannel and sweater DIY ideas.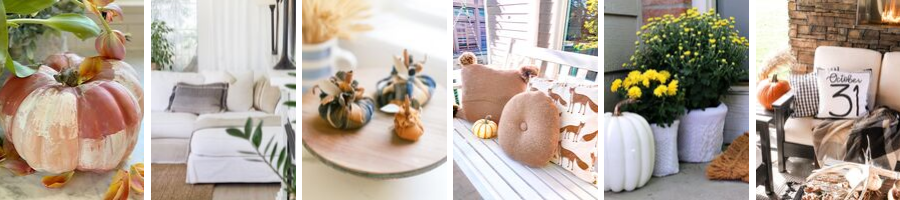
Painted Pumpkin Ideas // My 100 Year Old Home
Scented Flannel Pumpkins // Finding Lovely
Sweater Pillow Pom Poms // Tatertots & Jello
No-Sew Sweater Flower Pots // The Tattered Pew
DIY Halloween Pillows // Taryn Whitaker Designs
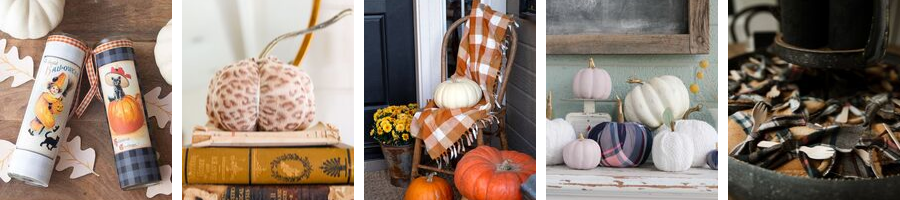
DIY Halloween Decor // Happy Happy Nester
DIY Sweater Pumpkins // Modern Glam
No-Sew Flannel Throw Blanket // Ella Claire
Pin this project to make later!
Have a Creative Day!
xoxo


Jen! These are absolutely adorable and SO chic! Love them so much.
So cute, Jen! LOVE your pillow!