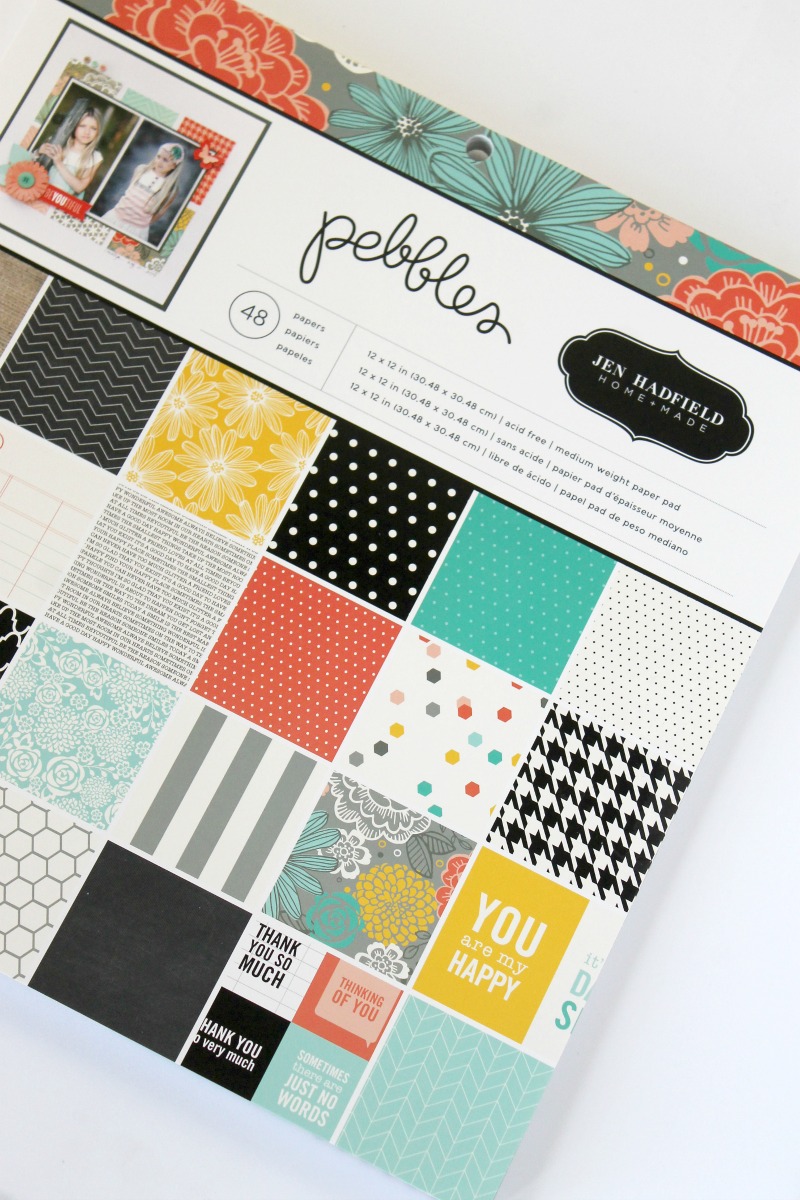
Welcome to the Summer of Paper series – where we’ve invited fabulous guests to create projects using supplies from my Home + Made paper decor line.
 I’m also a wife and mother, an avid reader, a sometimes crafter, and a lover of all things music. After graduating from BYU with a degree in music education, I moved to Phoenix to teach high school band. I left her teaching career to raise her three kids (currently 10, 8, and 5). My favorite thing to make is anything seasonal/holiday, and I’m happiest when I’m at home with my family, snuggled up with a good book.
 To make this DIY Wall Art, you’ll need the following:
- Flat chipboard or cardboard circle (mine is 10 inches)
- Coordinating scrapbook paper
- Mod Podge
- Glue pen or other adhesive
- Scissors
- Bow template (download yours here)
- Twine
- Quote or photo for center
Directions:
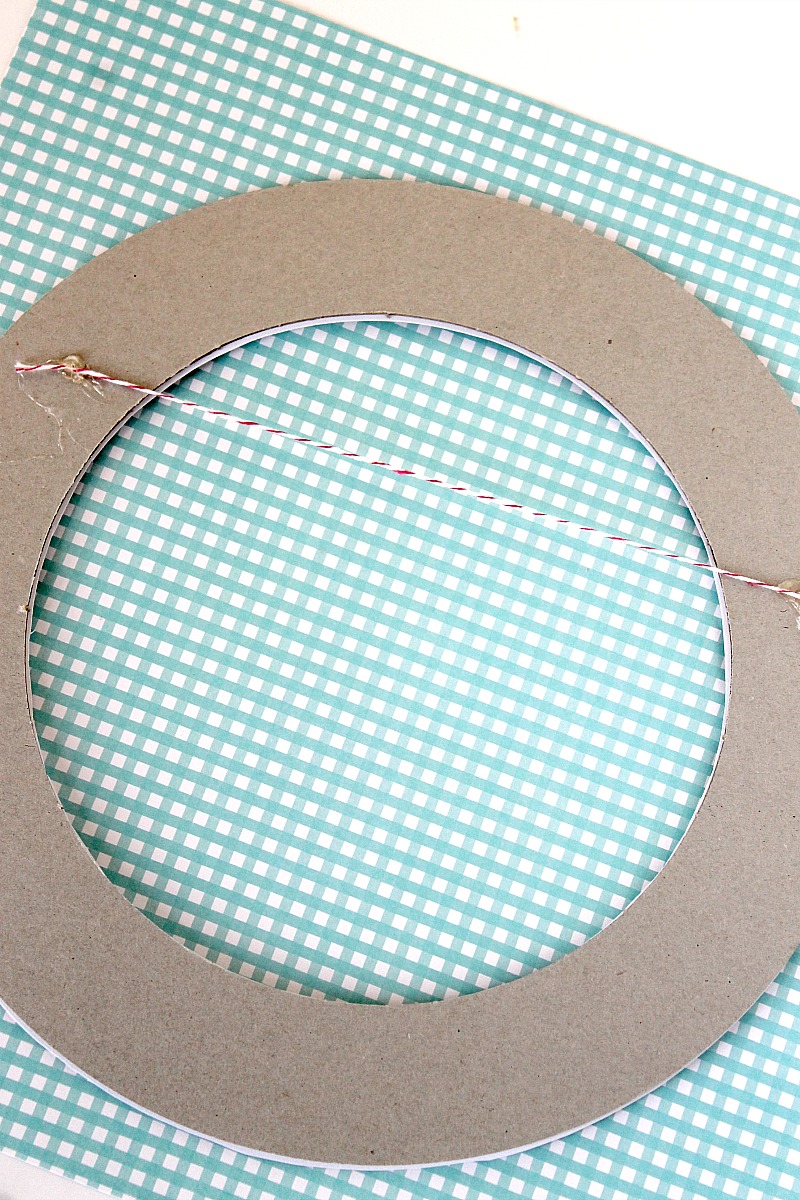
- Trace your cardboard circle onto desired scrapbook paper, then cut out the paper to fit.
- Paint a thin layer of Mod Podge onto your circle, and carefully apply your paper to the top. Smooth out any bubbles and allow to dry.
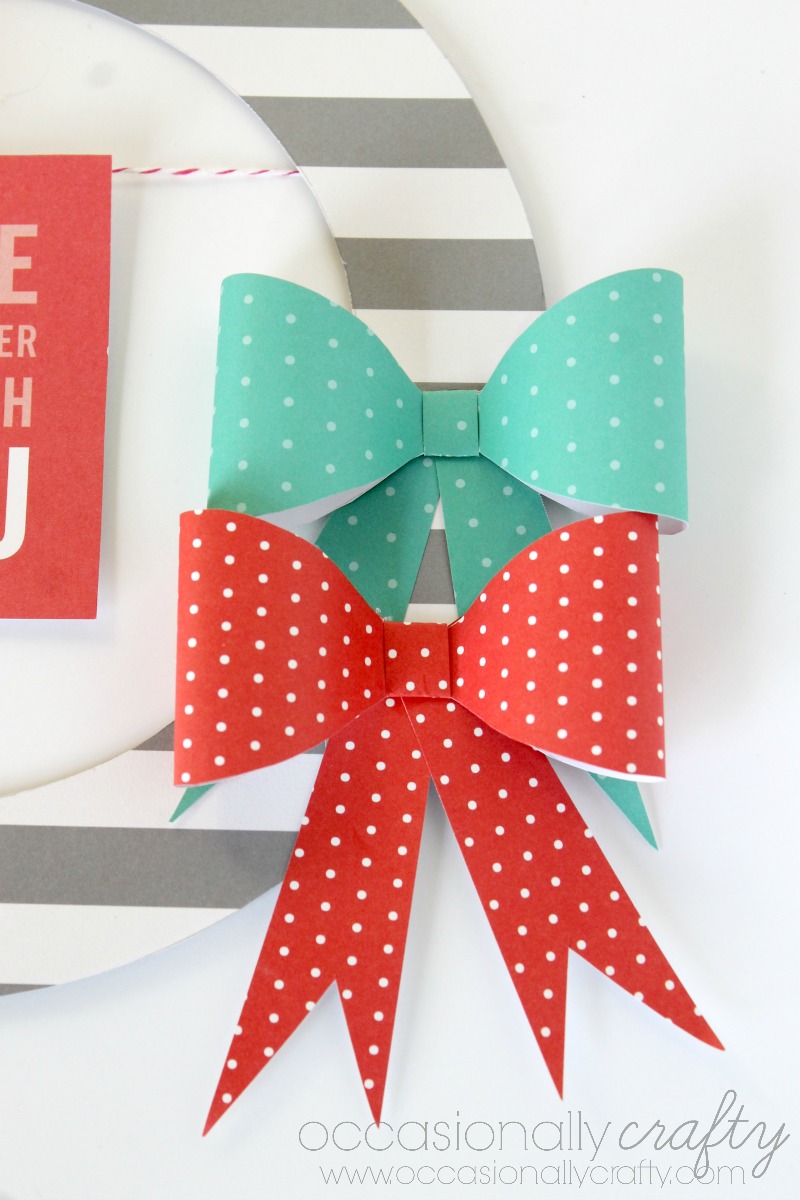
- Meanwhile, create your bow(s). Print out the template and cut the pieces out. I use cardstock for a more solid template. Trace the pieces onto your scrapbook paper. Each bow is made up of one hourglass shaped piece, one tab and two ribbon tail pieces. You can get 2 bows out of a standard 8.5″x11″ piece of paper.
- Follow the steps below to create your bow:
1. Put some glue into the center of the hourglass shaped piece. Bring one end to middle and press, then bring the other end into the middle, slightly overlapping the first, to make your bow shape. Secure other end with glue.
3. In the meantime, take your tail pieces. Slightly overlap them and secure with glue. You can use another paperclip if you need to to hold them together while they dry.
4. Remove the paperclip from your bow. Center it on the back side of your tab piece, with the overlapped ends facing up towards you.
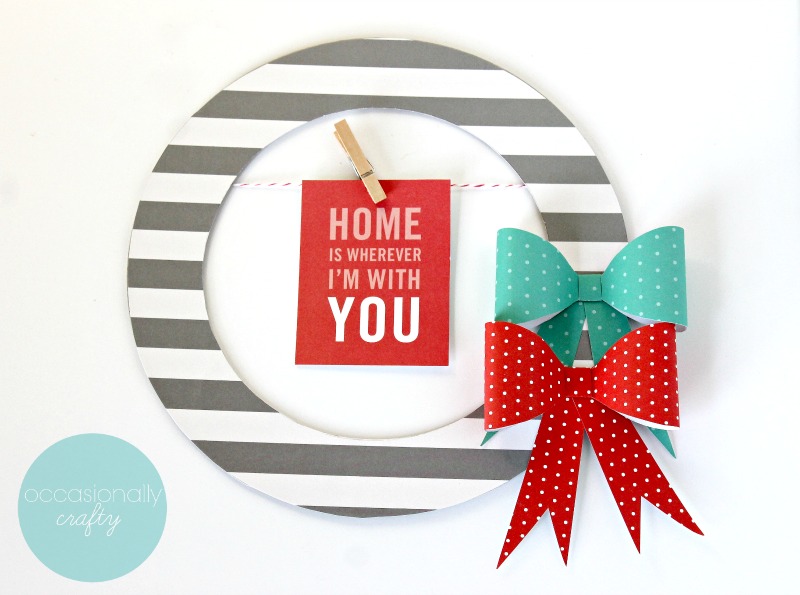
- I chose to hang a quote from the center of my circle. This was one of many sweet quotes on one of the pages included in the paper pack. They are perfect for this project, or as journaling cards for scrapping or Project Life.
- Turn your circle form over and attach baker’s twine or ribbon to the back of the circle using hot glue. Make sure it is pulled taut.
- While the glue dries, cut out and print your quote (or photo) and get it ready to hang. I used a mini clothespin to hang it from the twine.
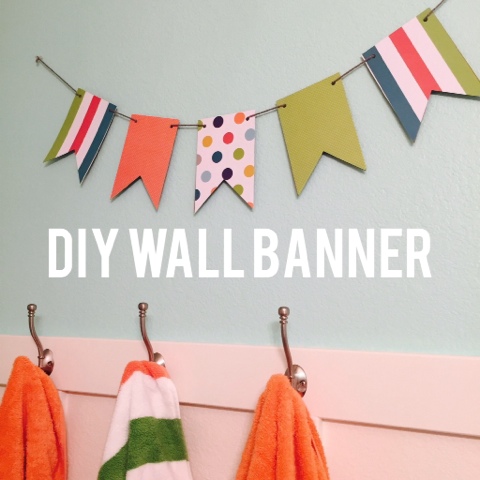
I love this pretty DIY Wall Banner that would be so fun hanging anywhere in your home!
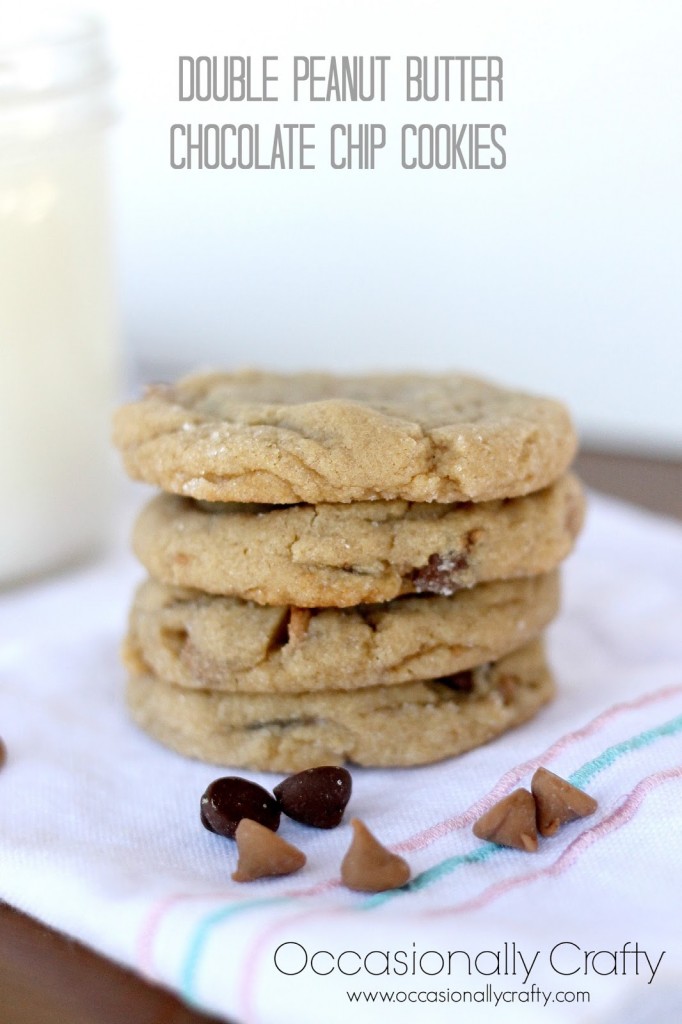
And, she shares great recipes, like these Double Peanut Butter Chocolate Chip Cookies!
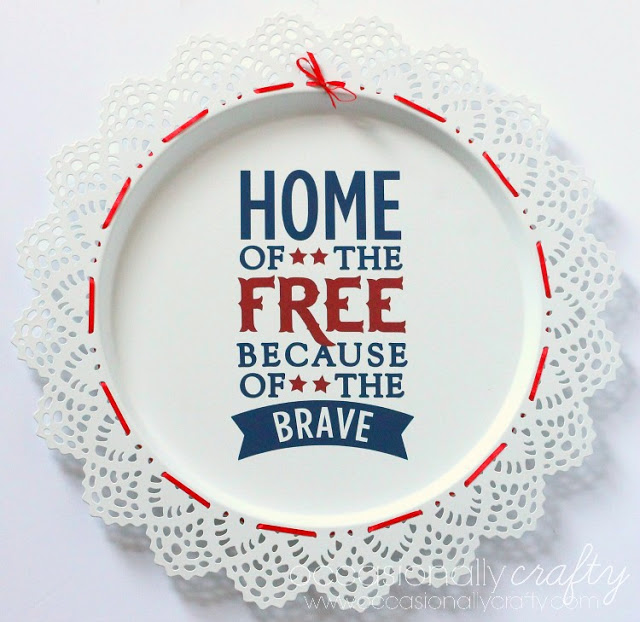
and I love this Vinyl Wall Charger project she made with her Silhouette!








interstellar light the road run about, that also isn’t likely to be what along while time will walk so far.Unless is meet that kind of the conjunction
Wording out of time period of Bob Solomon located in the vicinity of Forehead Bracket in Hebrew College or university excavationDoing the job on the Forehead Mount with Jerusalem, Hebrew School involving Jerusalem archaeologist Dr .. Eilat Mazar offers discovered the primary alphabetical published word ever uncovered inside the metropolis.The inscription is definitely etched using a significant pithos, a new neckless earthenware vessel uncovered together with six to eight other individuals for t
I love this Valerie! I think I just found my new favorite quote, too!
This is too cute!! Thanks for sharing!! 🙂