I partnered with Hobby Lobby to create this whimsical fairy garden. All ideas are my own.
DIY Terra Cotta Pot Fairy Garden – A Magical Spring Craft. Create a whimsical stacked terra cotta fairy garden with clay doors, moss, and magical miniatures to add charm to your spring porch!
DIY Terra Cotta Pot Fairy Garden

Spring is the perfect time to add some enchantment to your outdoor decor, and this DIY Fairy Garden made from terra cotta pots is the perfect way to do it. This whimsical stacked design is not only eye-catching, but it’s also a fun project to make with your children.
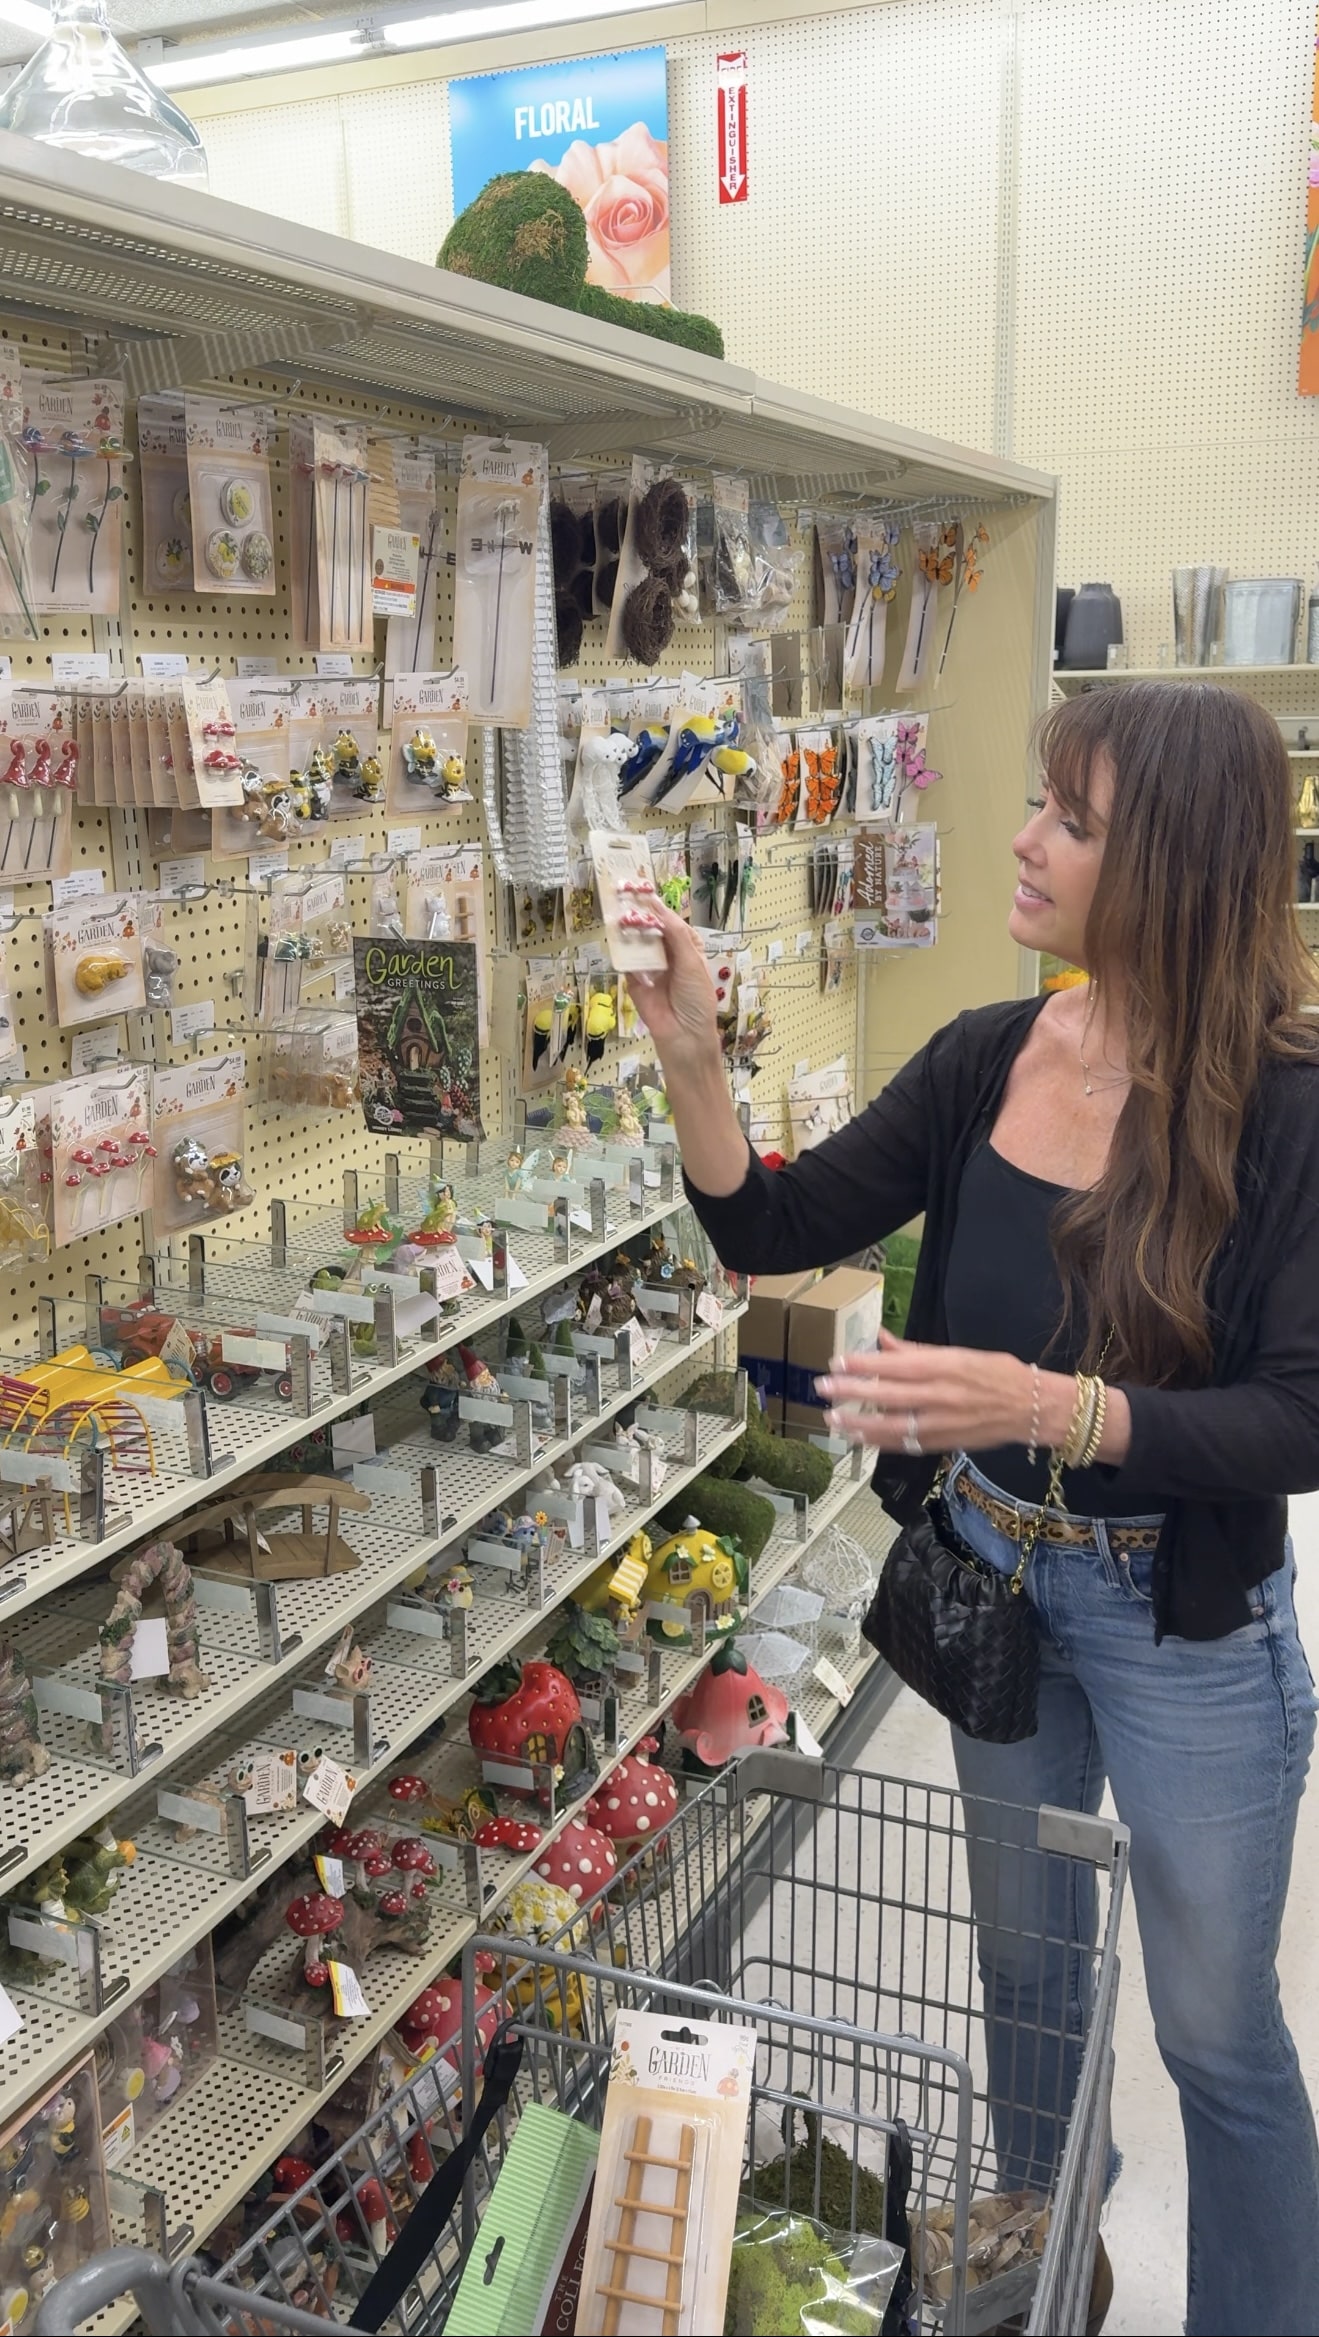
Thanks to Hobby Lobby’s Spring Department, I was able to find everything I needed to create this fairy tale-inspired display—adorable figurines, natural moss, decorative lights, and so much more.

Whether you’re decorating your porch, patio, or backyard, this fairy garden adds a magical touch that will delight kids and adults alike. Let me show you how easy it is to make your own!
Supplies You’ll Need

All of the materials for this project can be found at Hobby Lobby, especially in their Spring Department, which is full of fairy garden elements this season.
- 4 terra cotta pots in varying sizes
- 3 terra cotta pot saucers (bases)
- 1 moss-covered birdhouse (used as the “roof” for the top fairy house)
- Green moss
- Gorilla glue (or a strong, fast-drying adhesive)
- Sculpey clay (or any oven-bake polymer clay)
- Rolling pin and craft knife
- Acrylic paints for doors and windows
- Small ladder, mini birds, faux mushrooms
- Fairy lights and light-up greenery garland
- Decorative tape (optional, for holding pieces while drying)
Step 1: Plan Your Layout
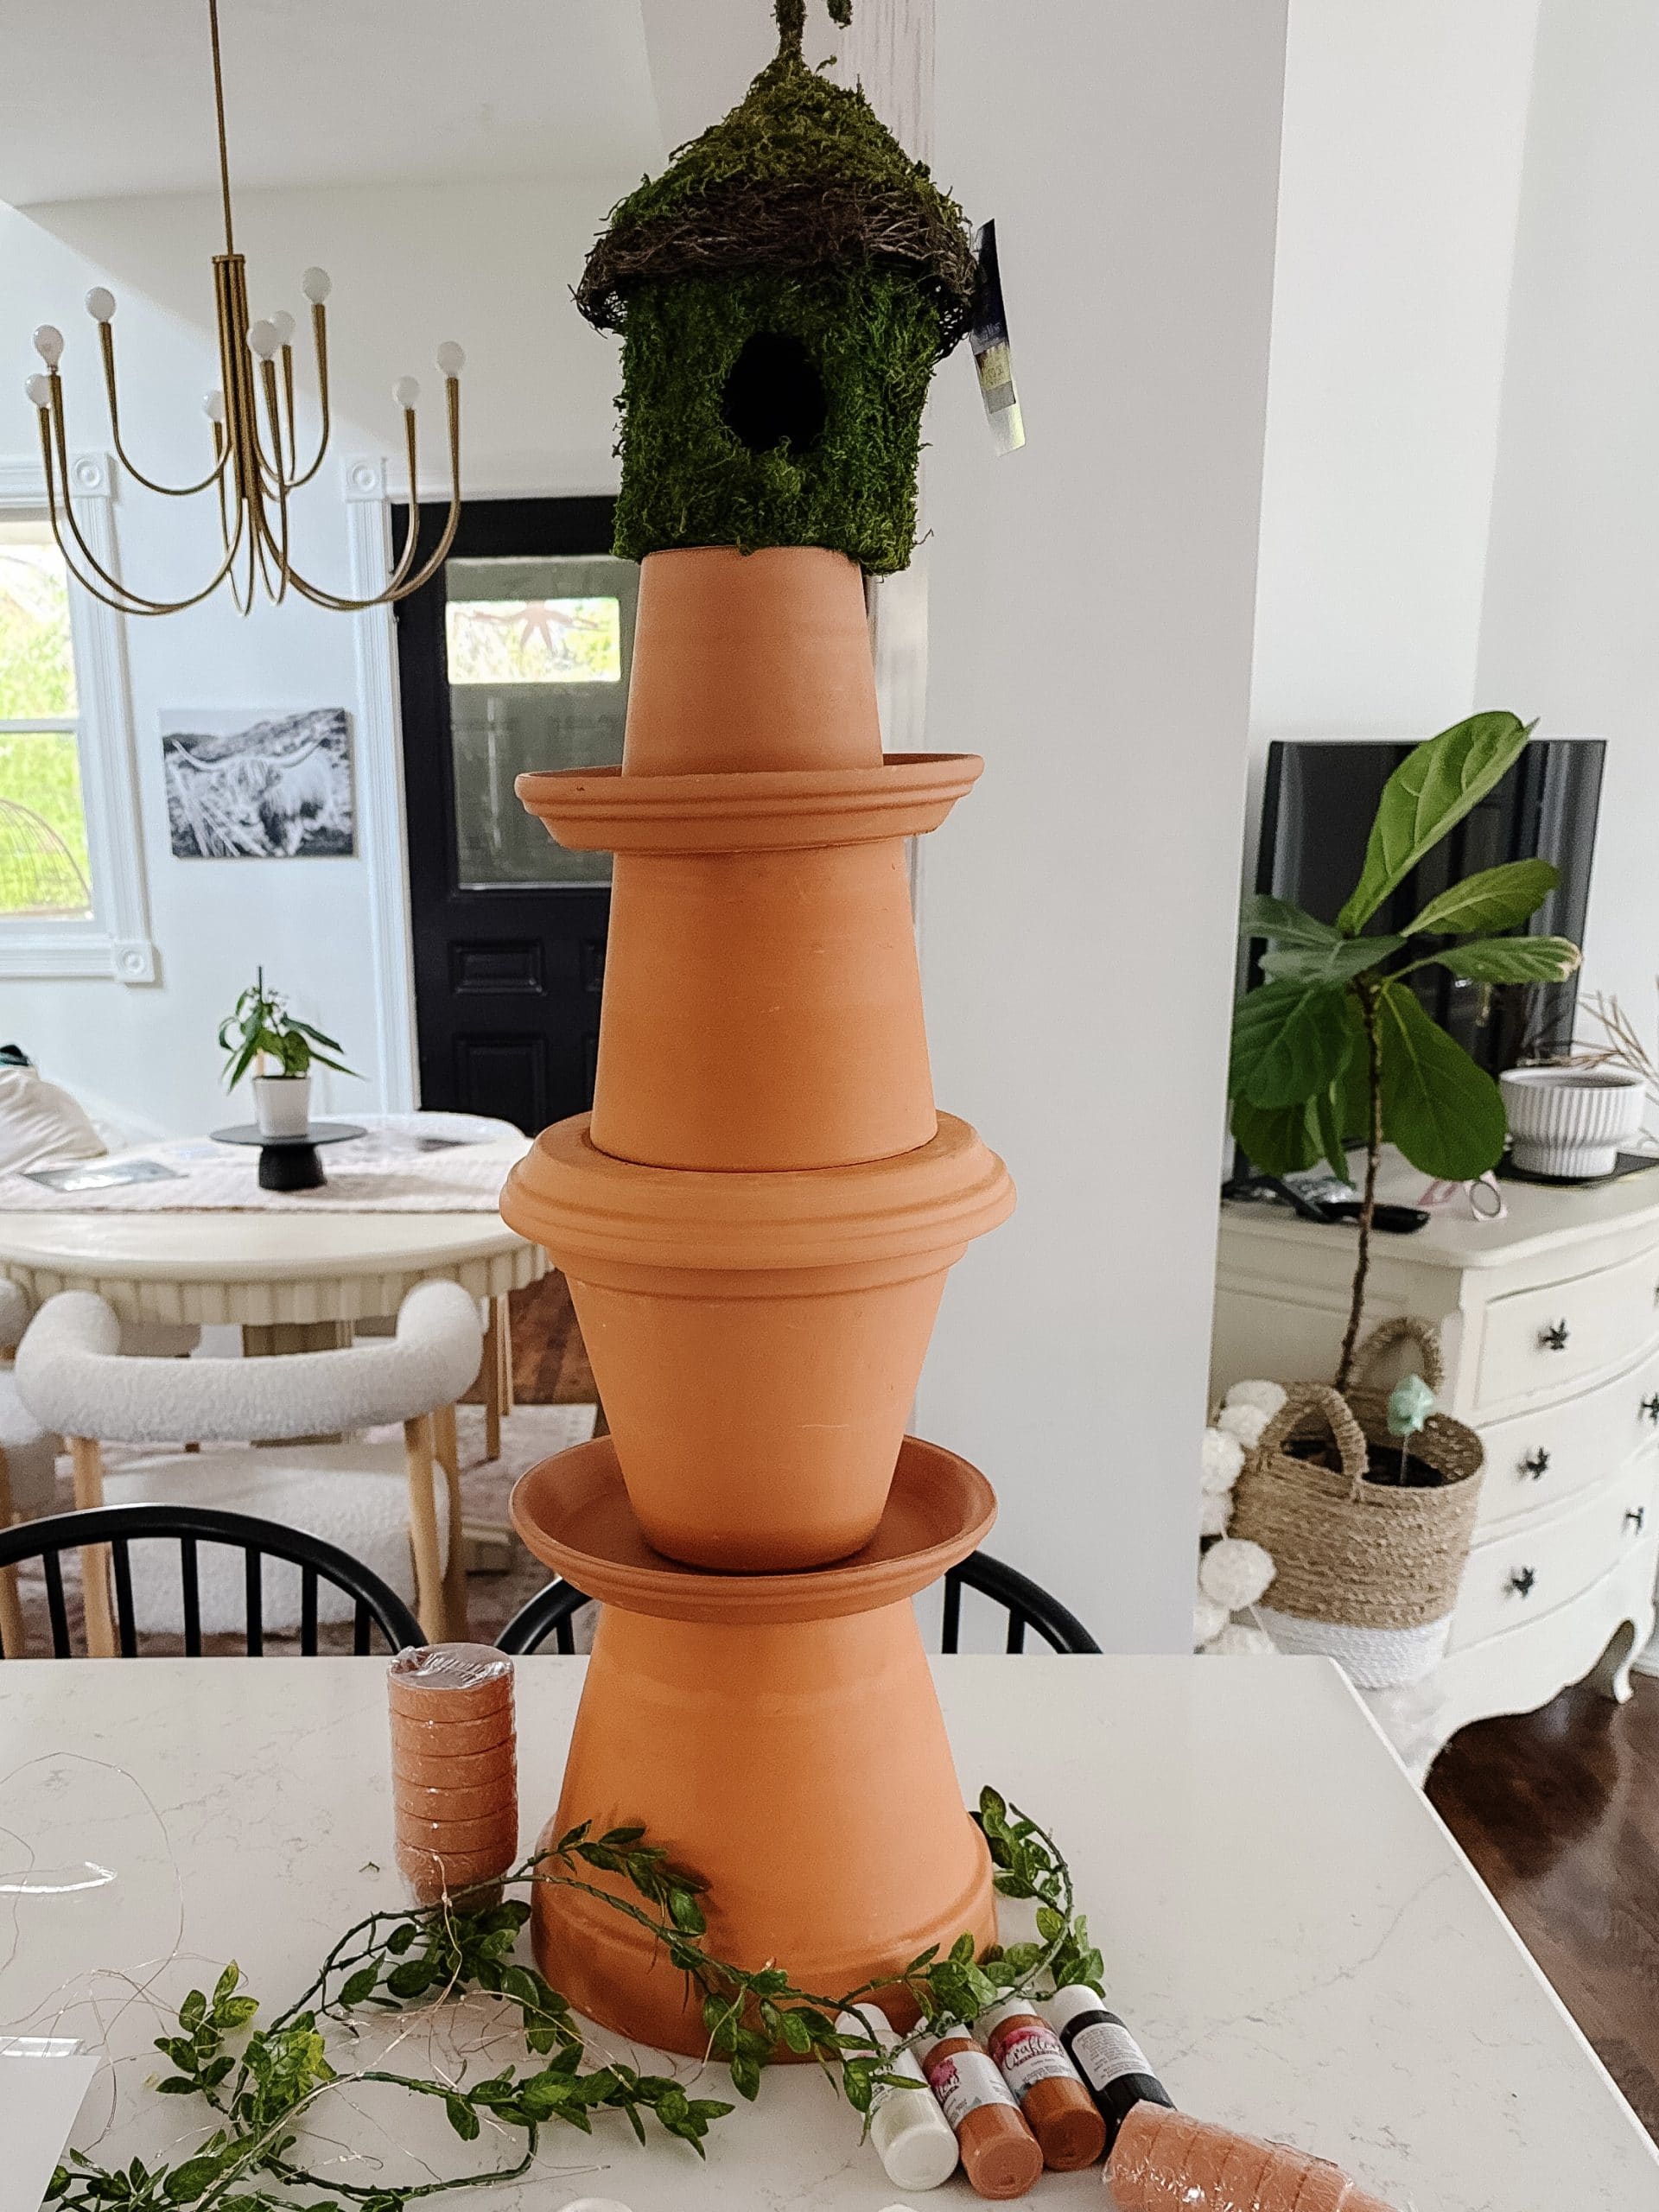
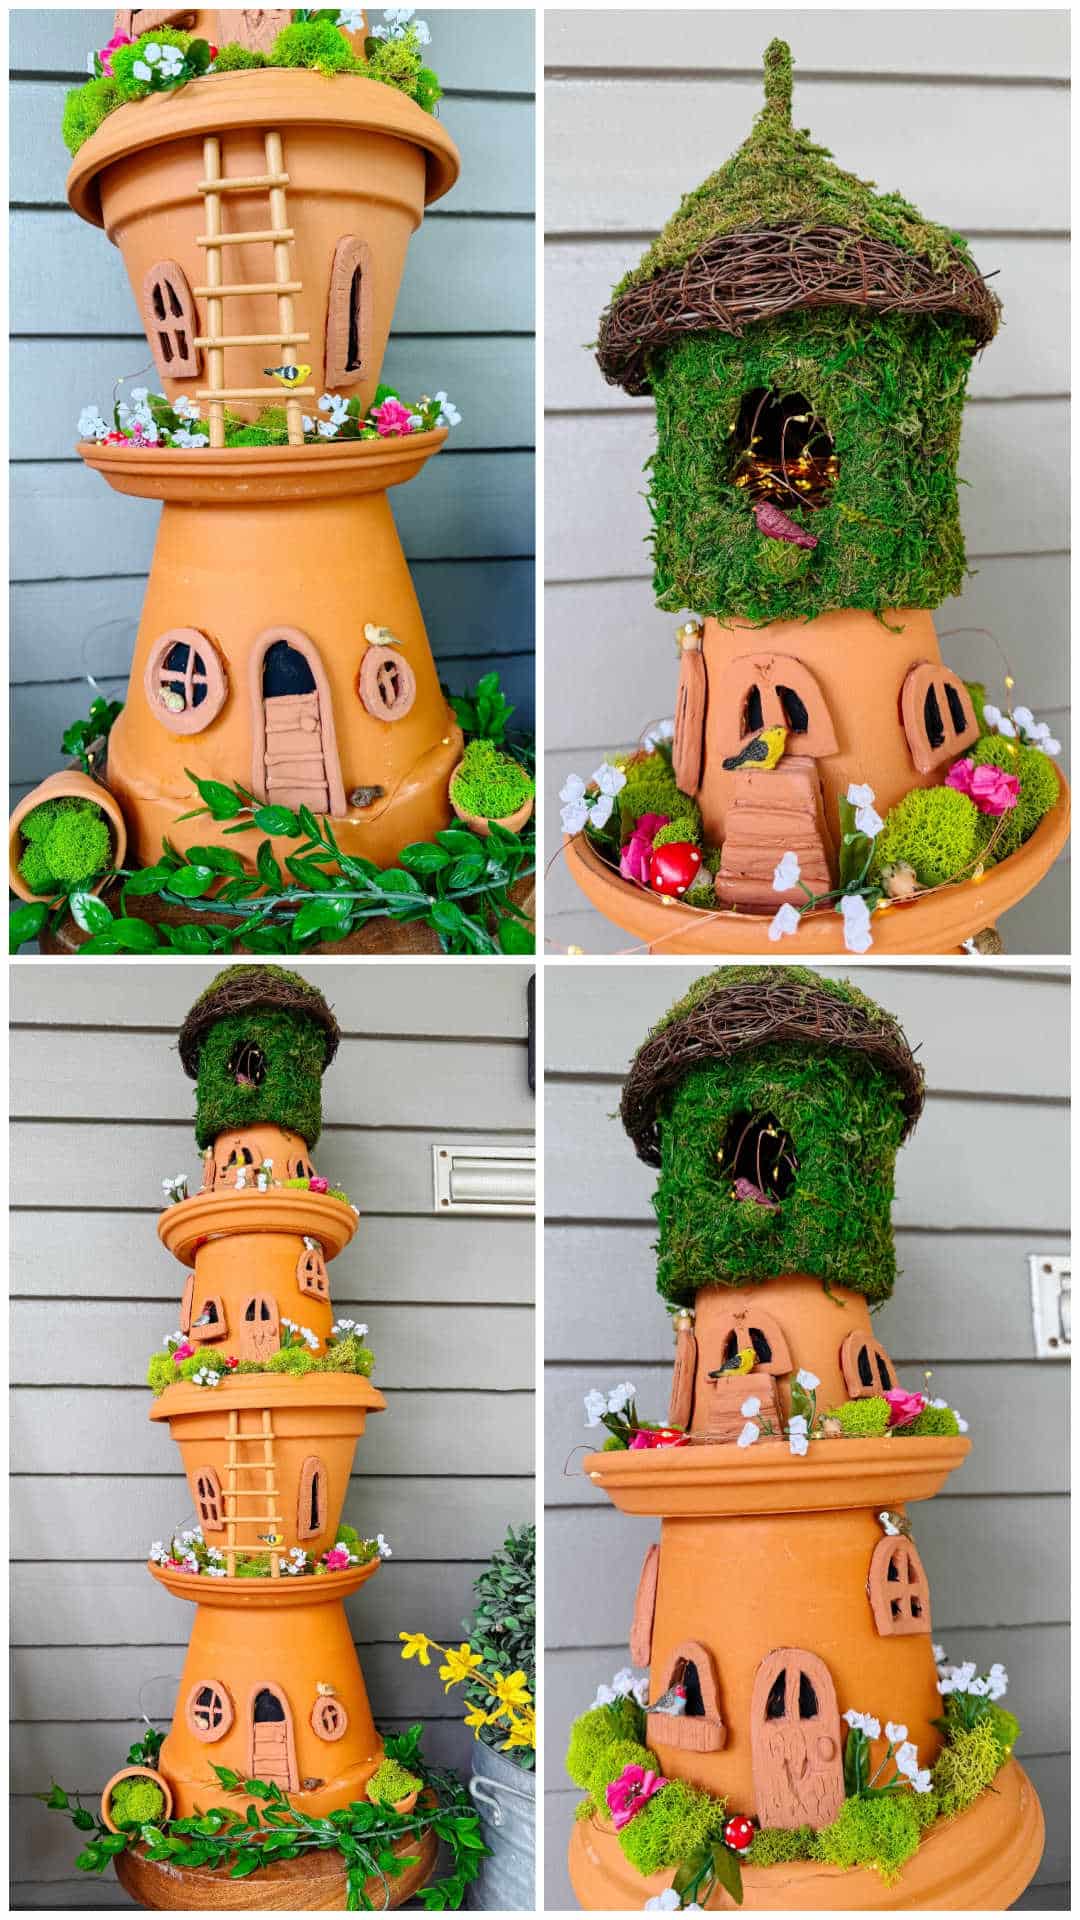
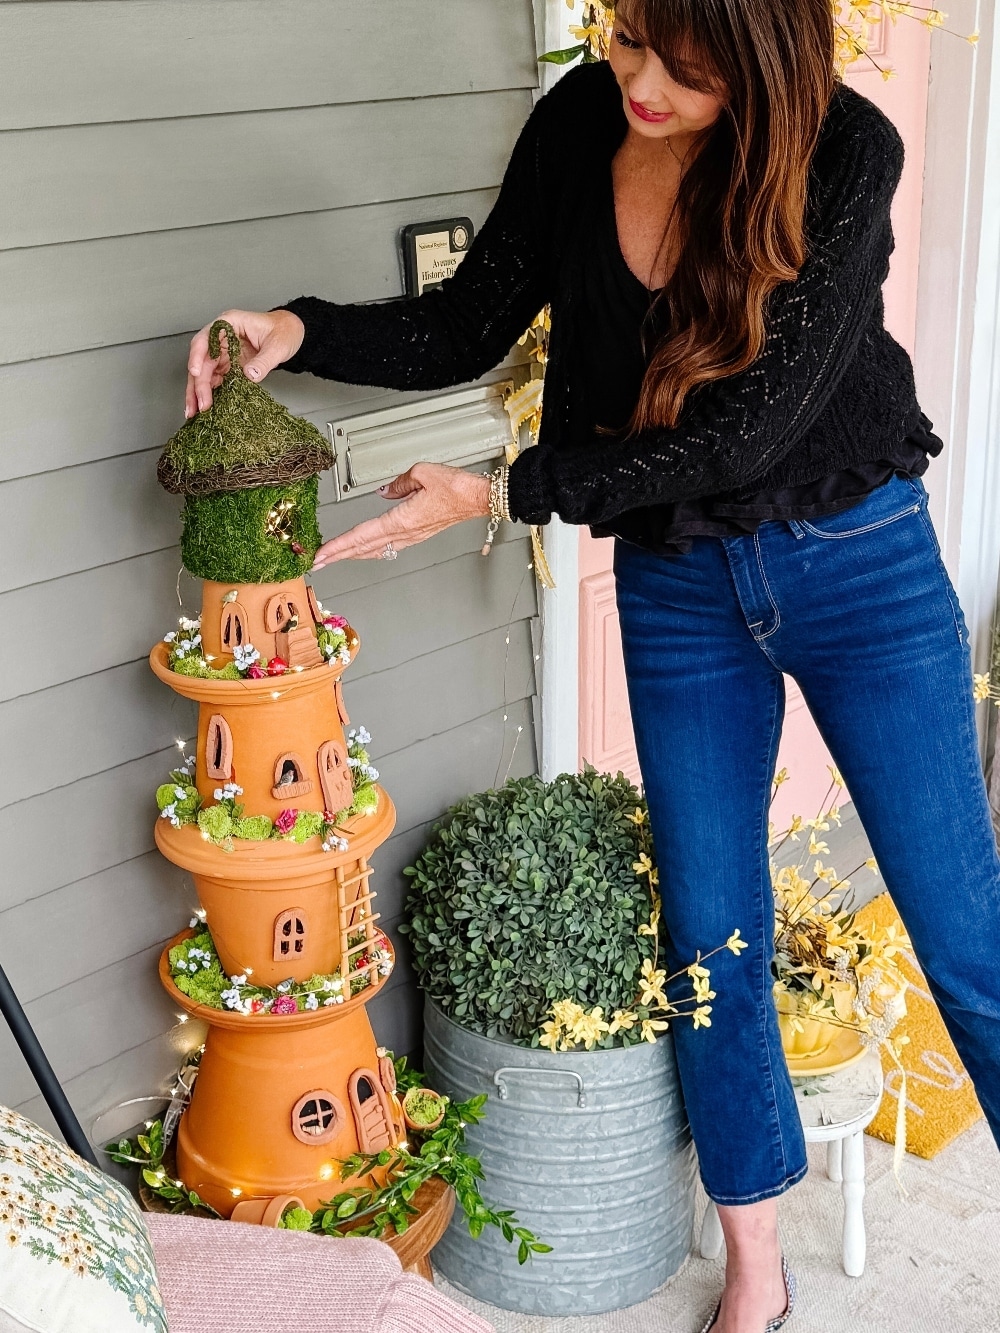
Start by laying out the terra cotta pots in descending size order to create a tower. I used four sizes of pots, each flipped upside down, with three terra cotta saucers between them to give the structure added visual interest. The moss-covered birdhouse serves as the whimsical roof of the fairy tower.
Position your components without gluing at first. This gives you time to adjust spacing, check balance, and visualize where you’ll add doors, windows, and decorative accessories.
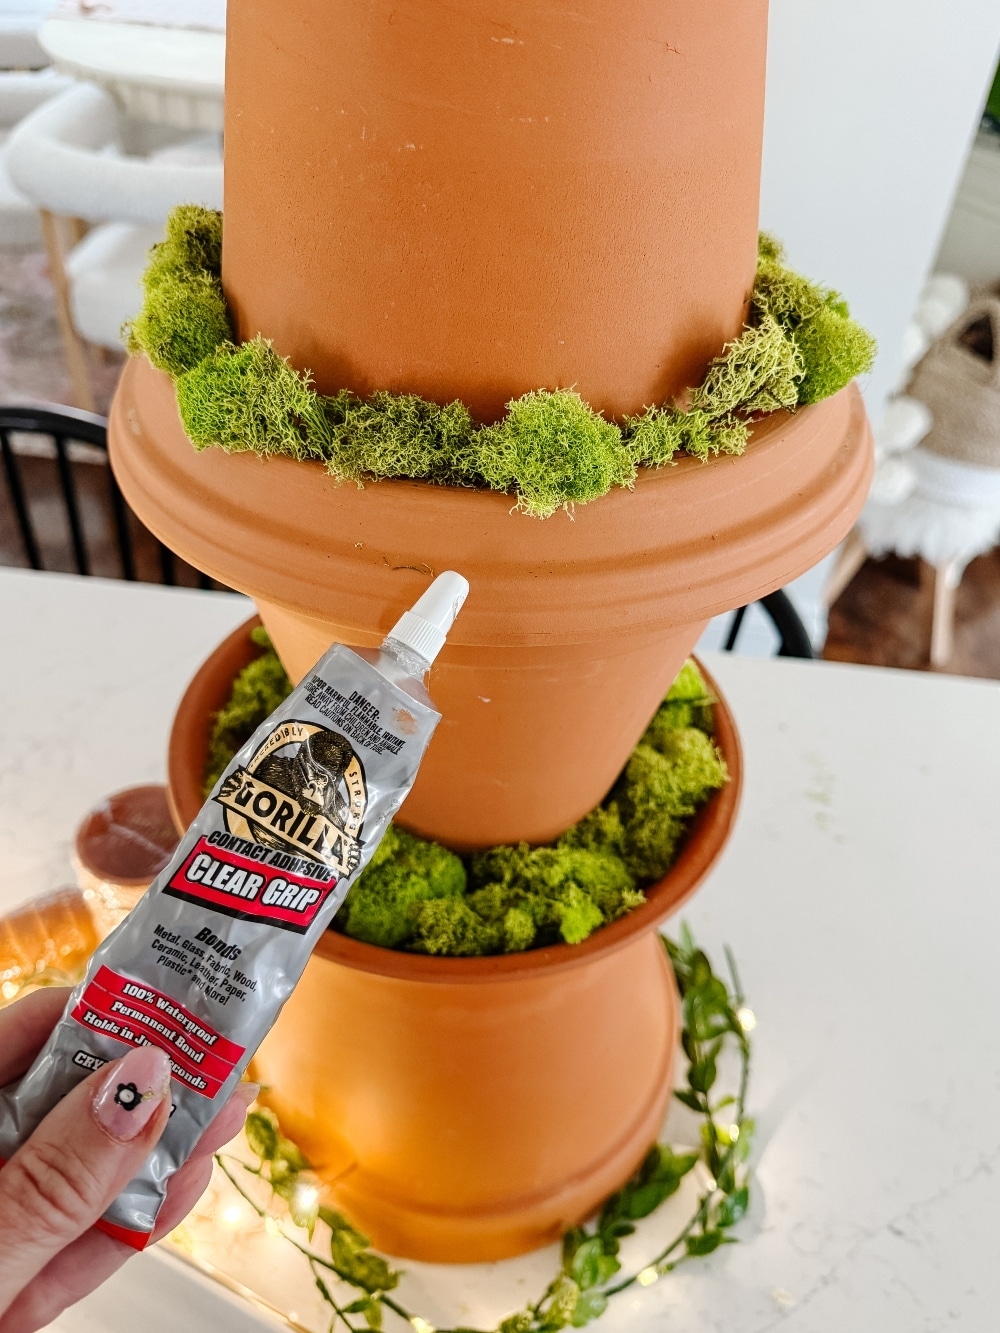
Step 2: Assemble and Glue
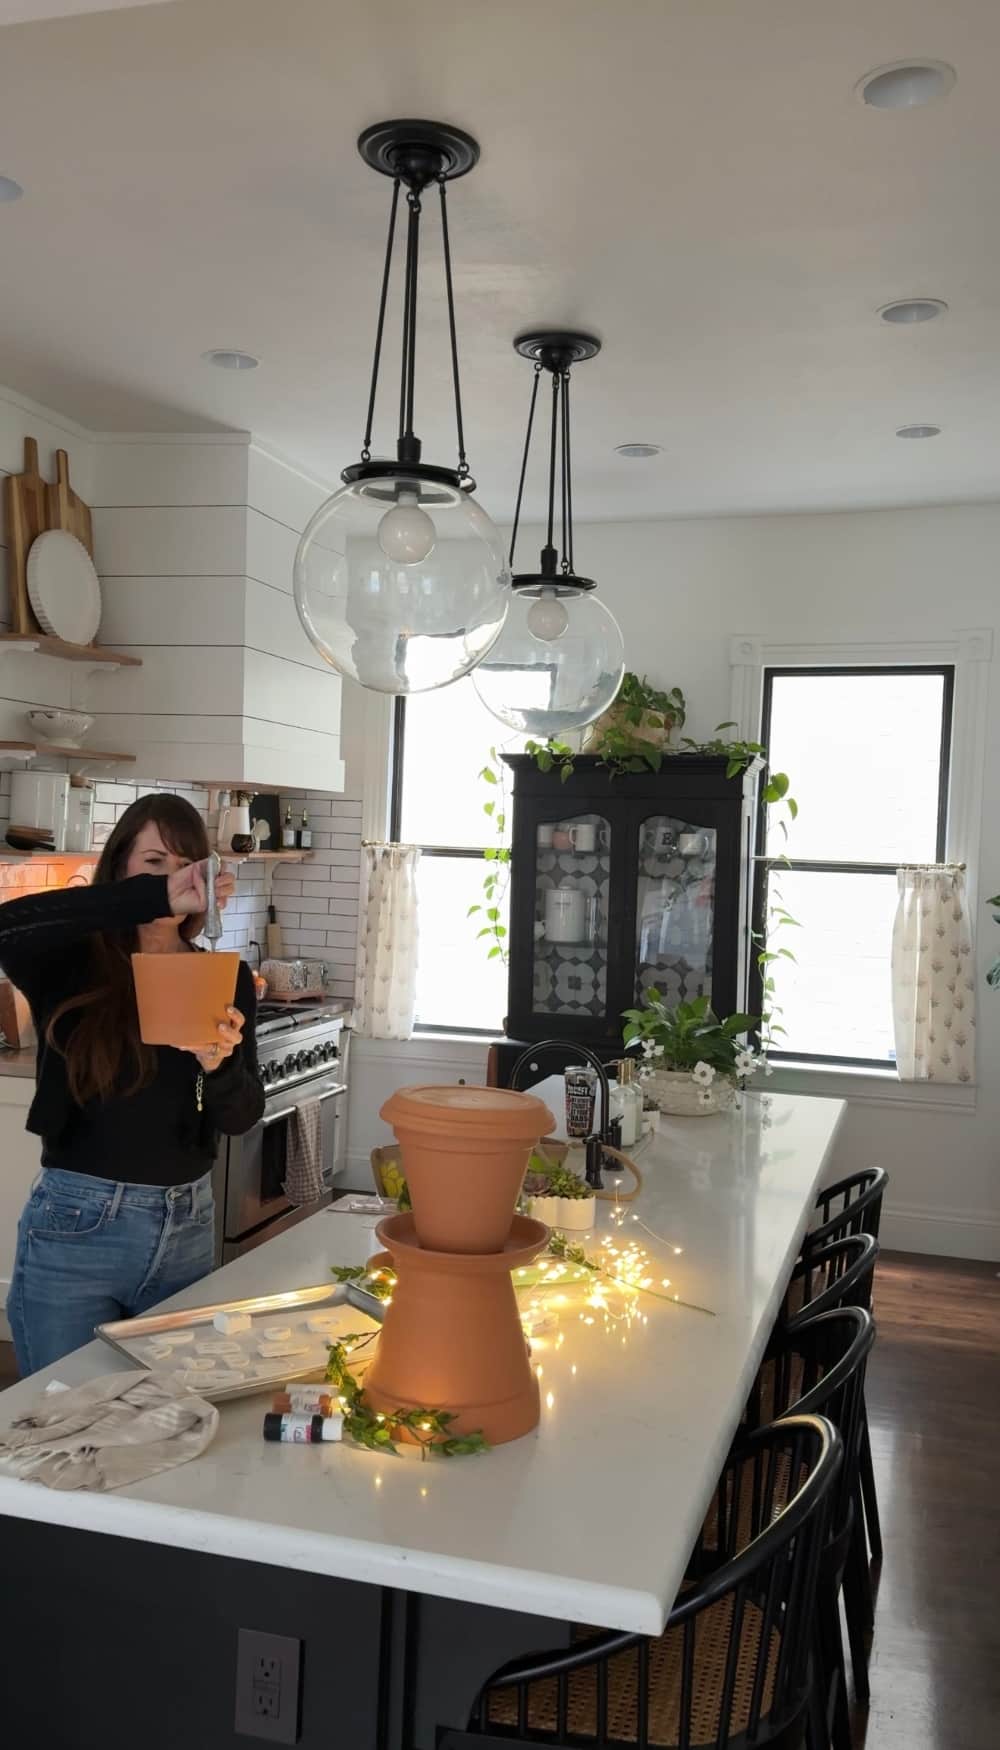
Once satisfied with the layout, begin adhering the pots and saucers together. I used Gorilla Glue, which sets quickly and provides a strong bond. Apply the glue generously to the contact points between each pot and saucer. Stack each level carefully, pressing down for a secure fit. Let the entire tower dry for at least 30 minutes.
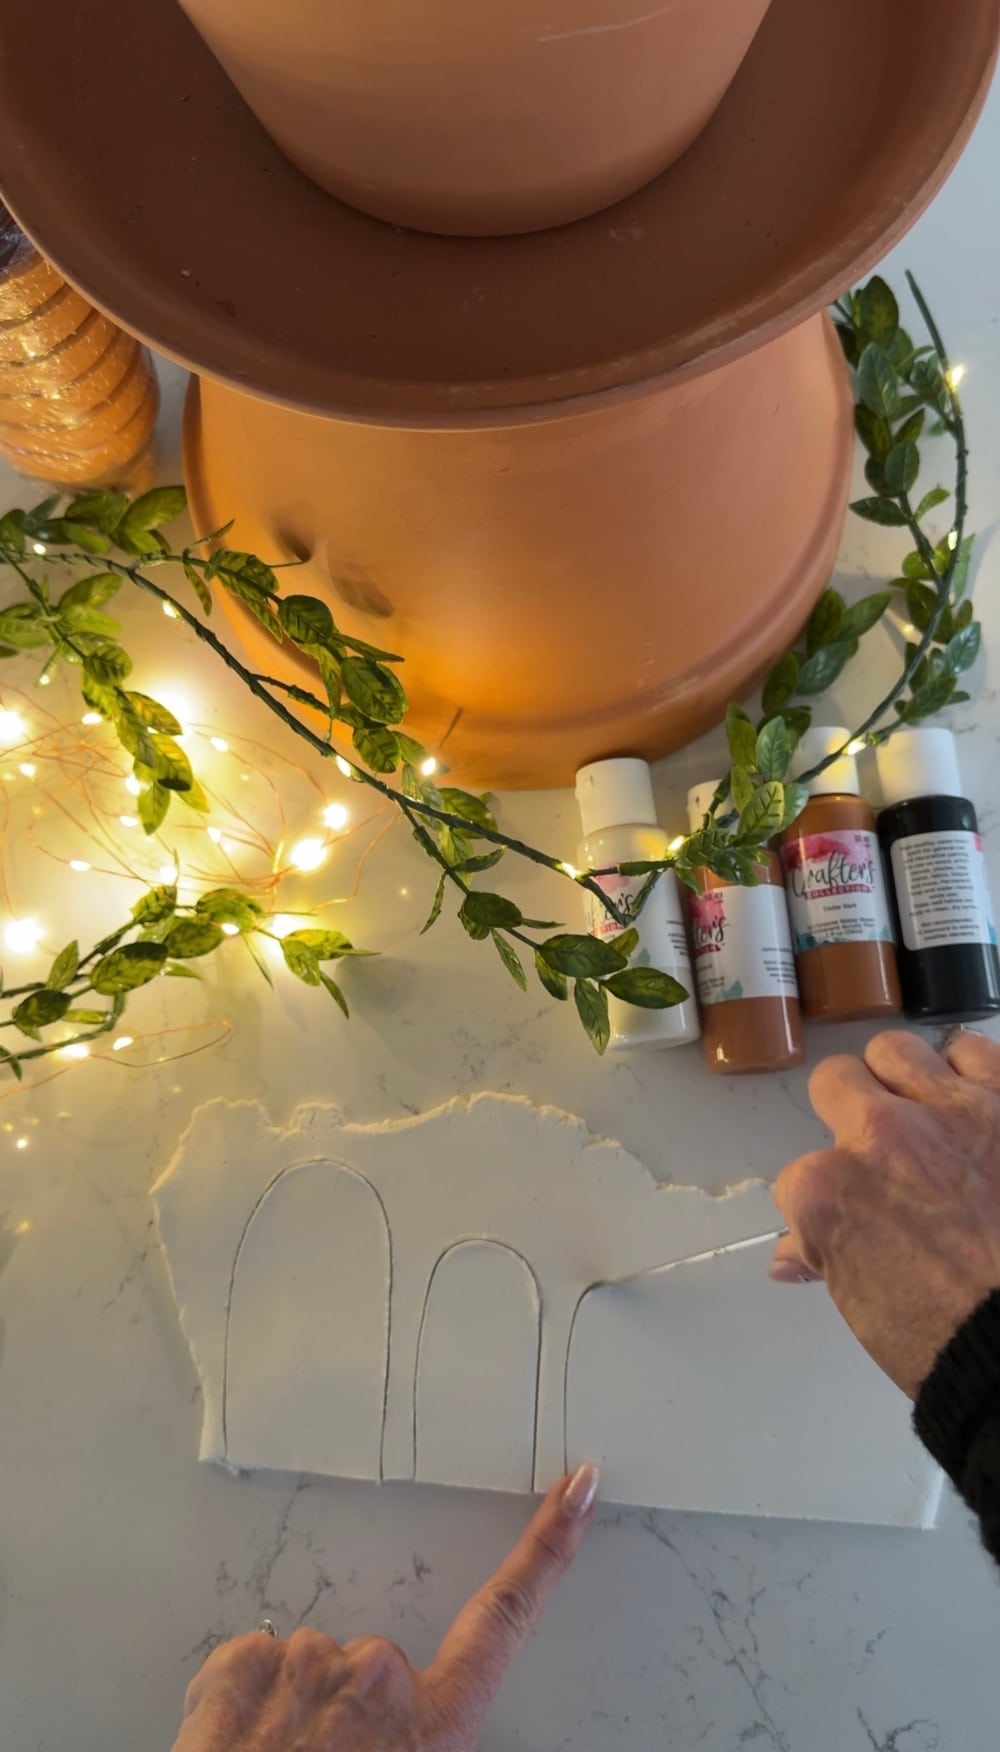
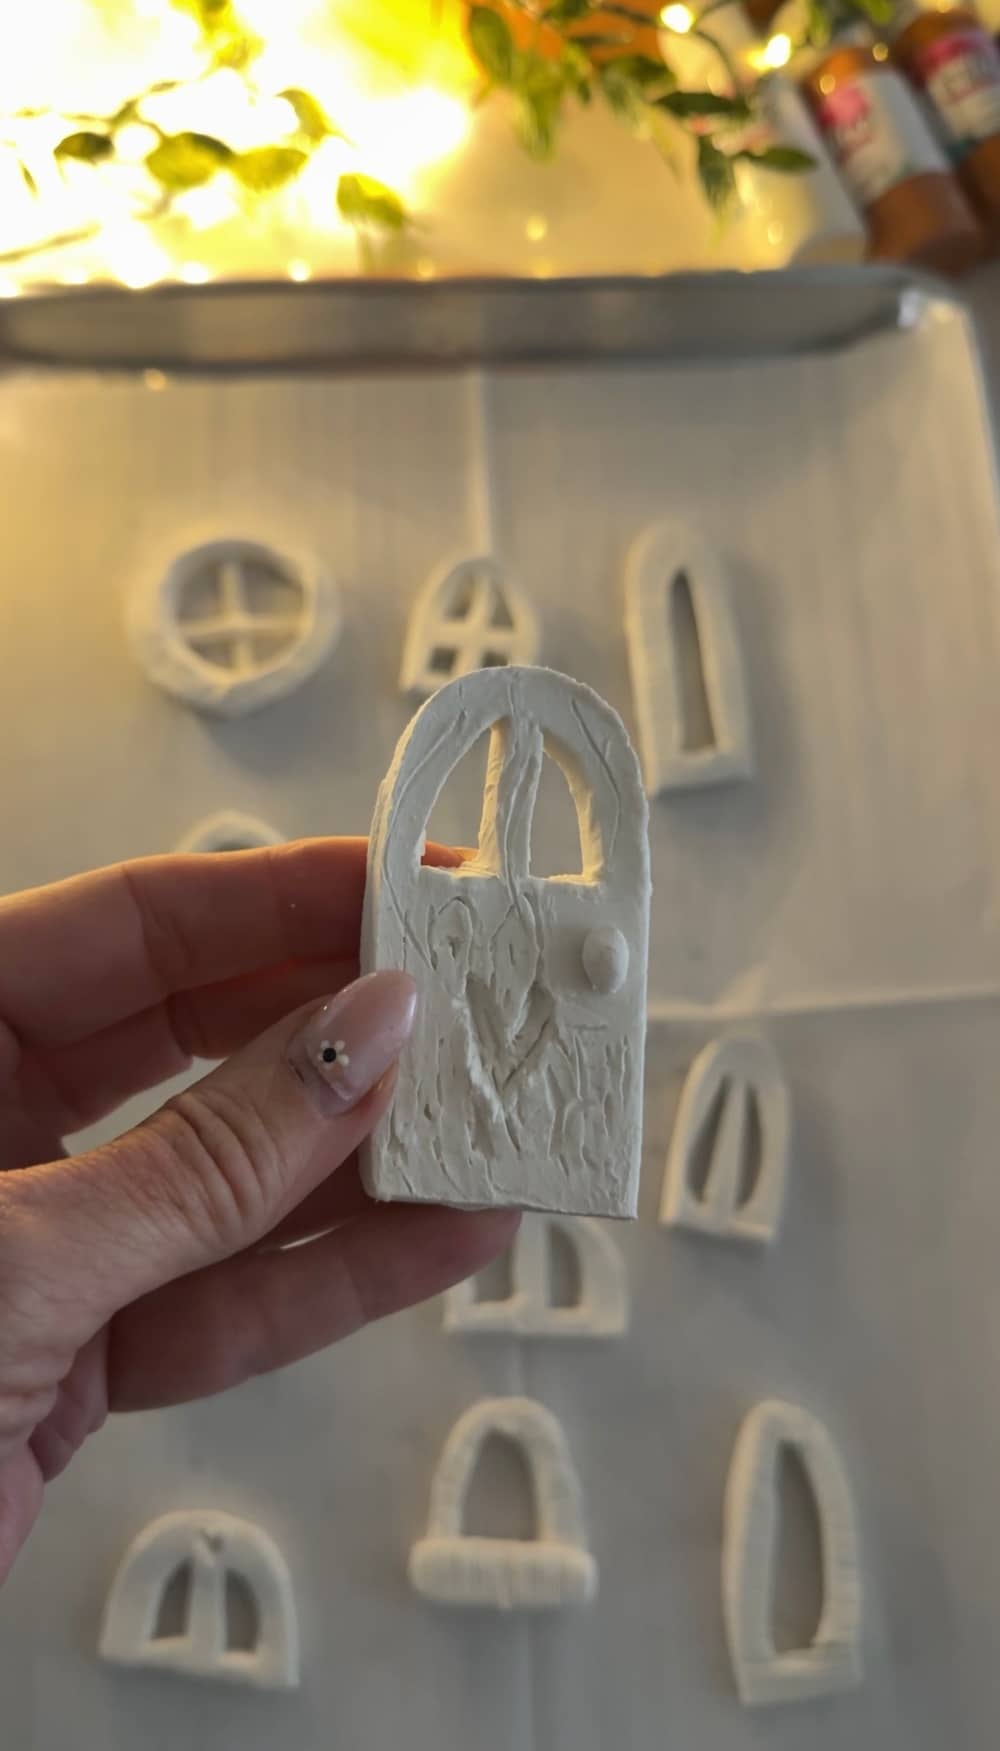
Step 3: Sculpt Windows and Doors
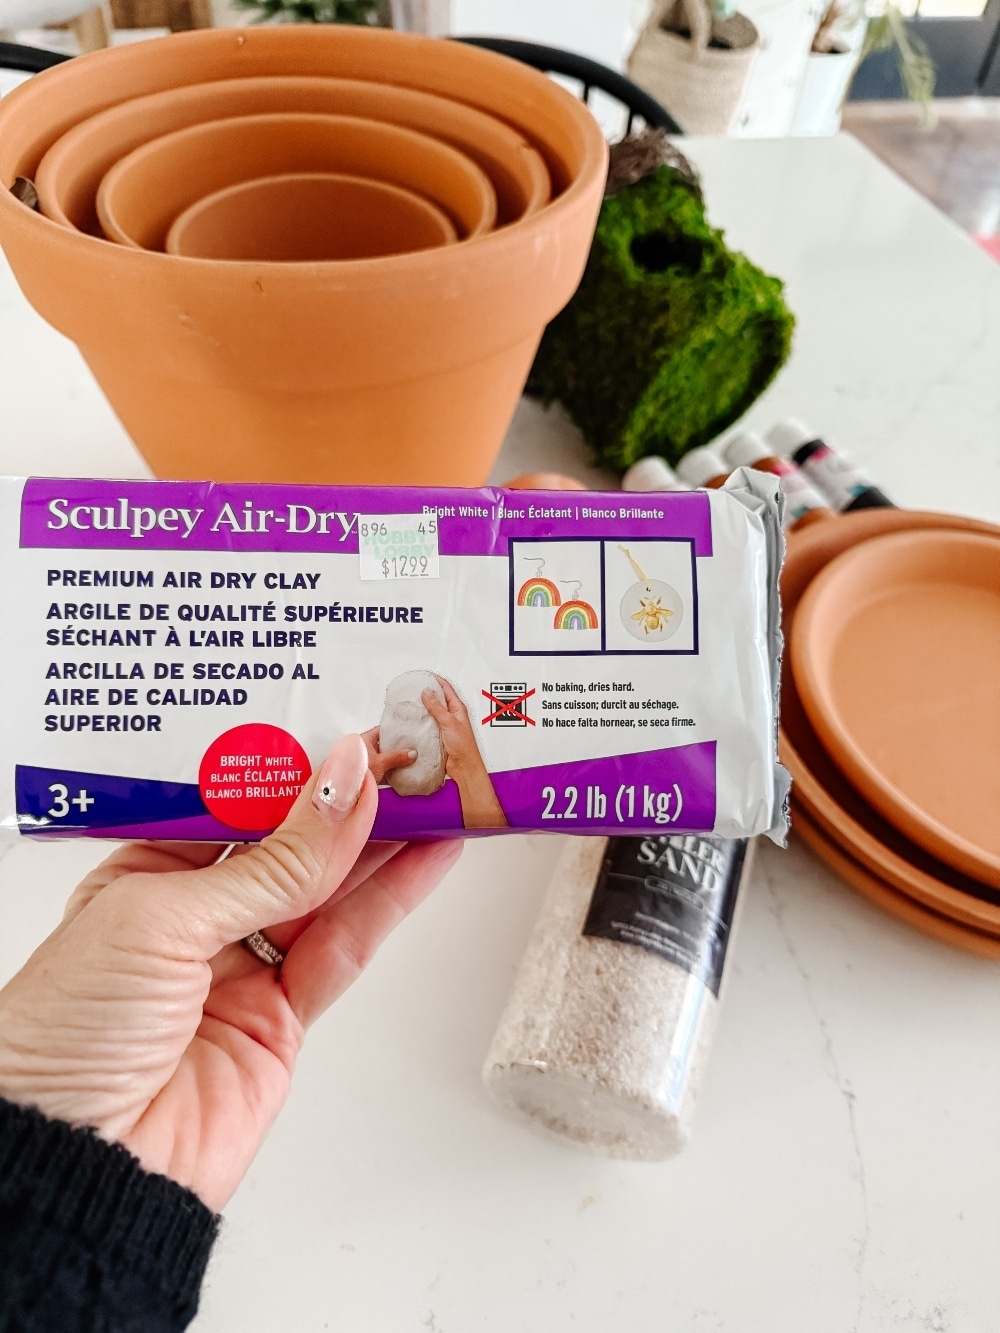
While your glue dries, it’s time to create the doors and windows. Roll out your Sculpey clay using a rolling pin to approximately 1/4-inch thickness. Use a sharp knife to cut out whimsical shapes—arched doors, circular windows, even tiny shutters if you like!
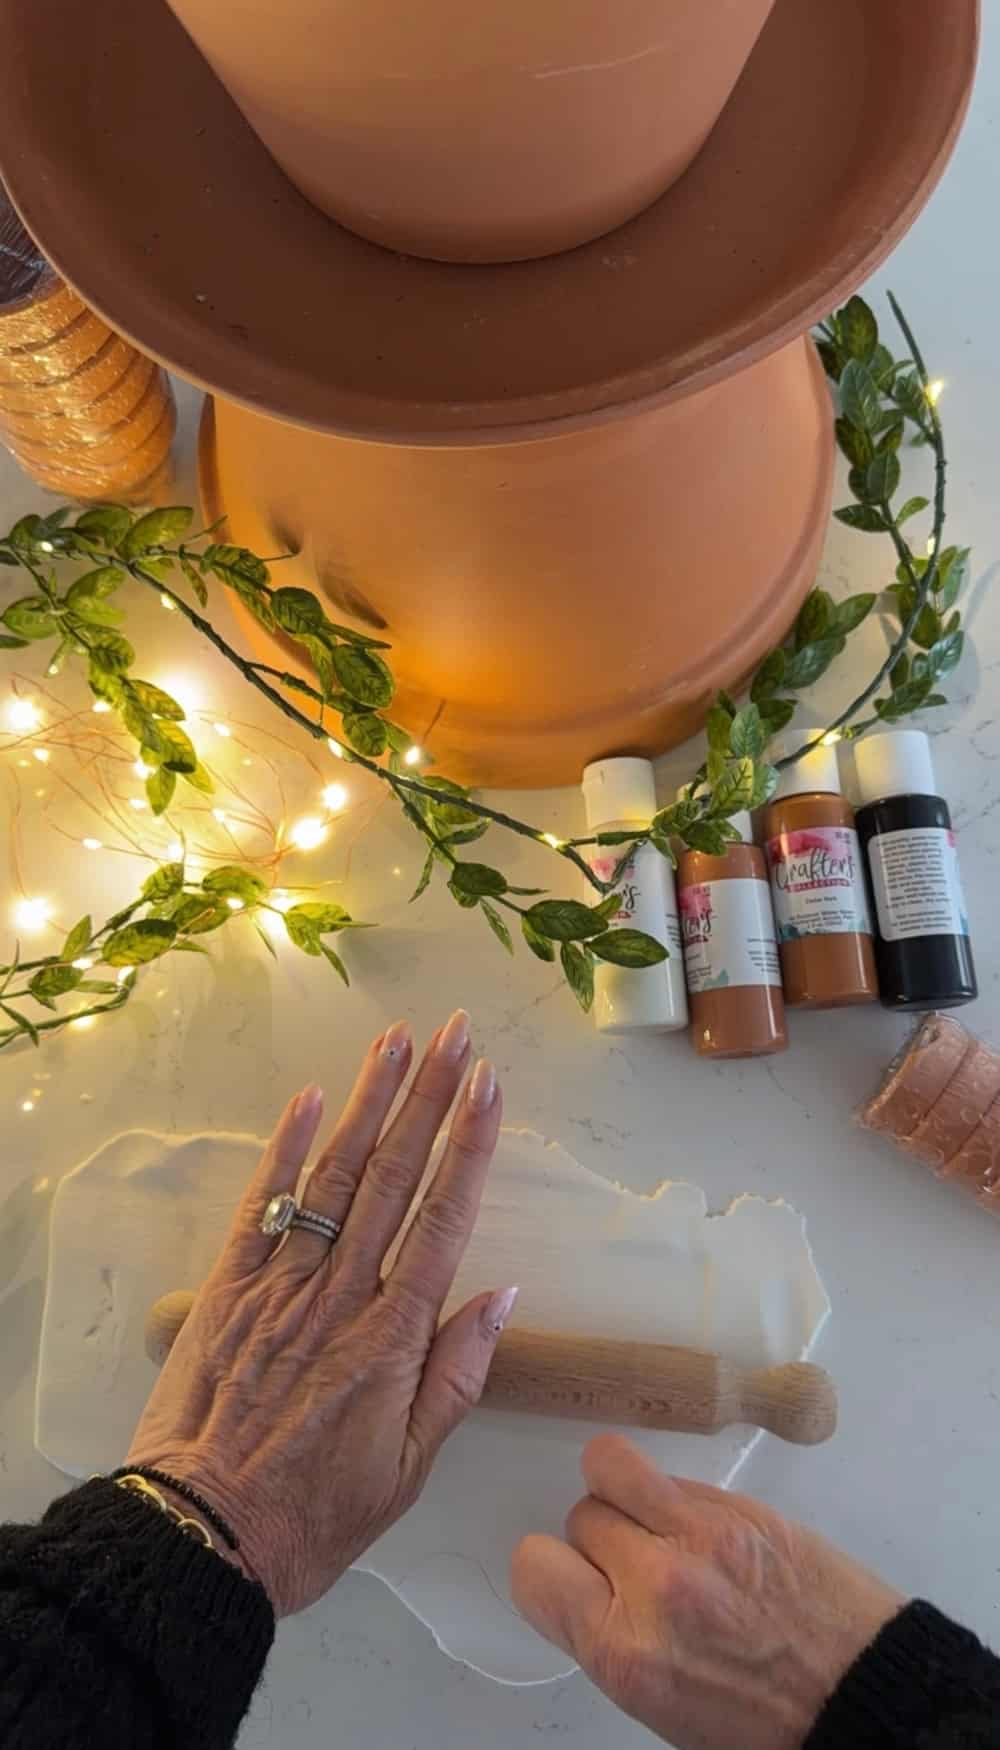
Tip: Dip your fingers in water to smooth the clay edges and give your shapes a polished look.
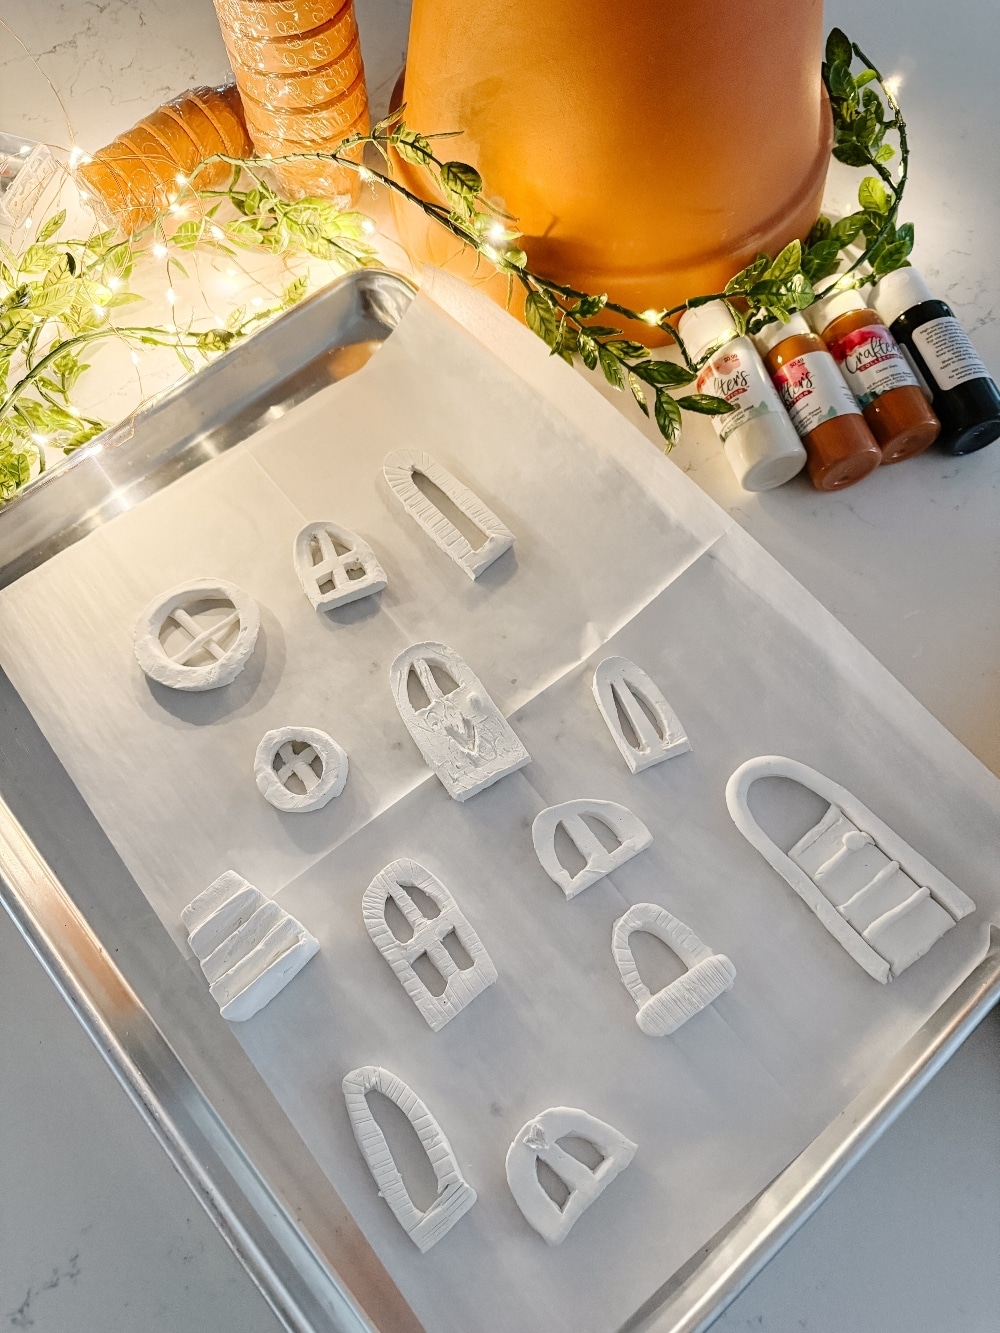
Step 4: Bake the Clay
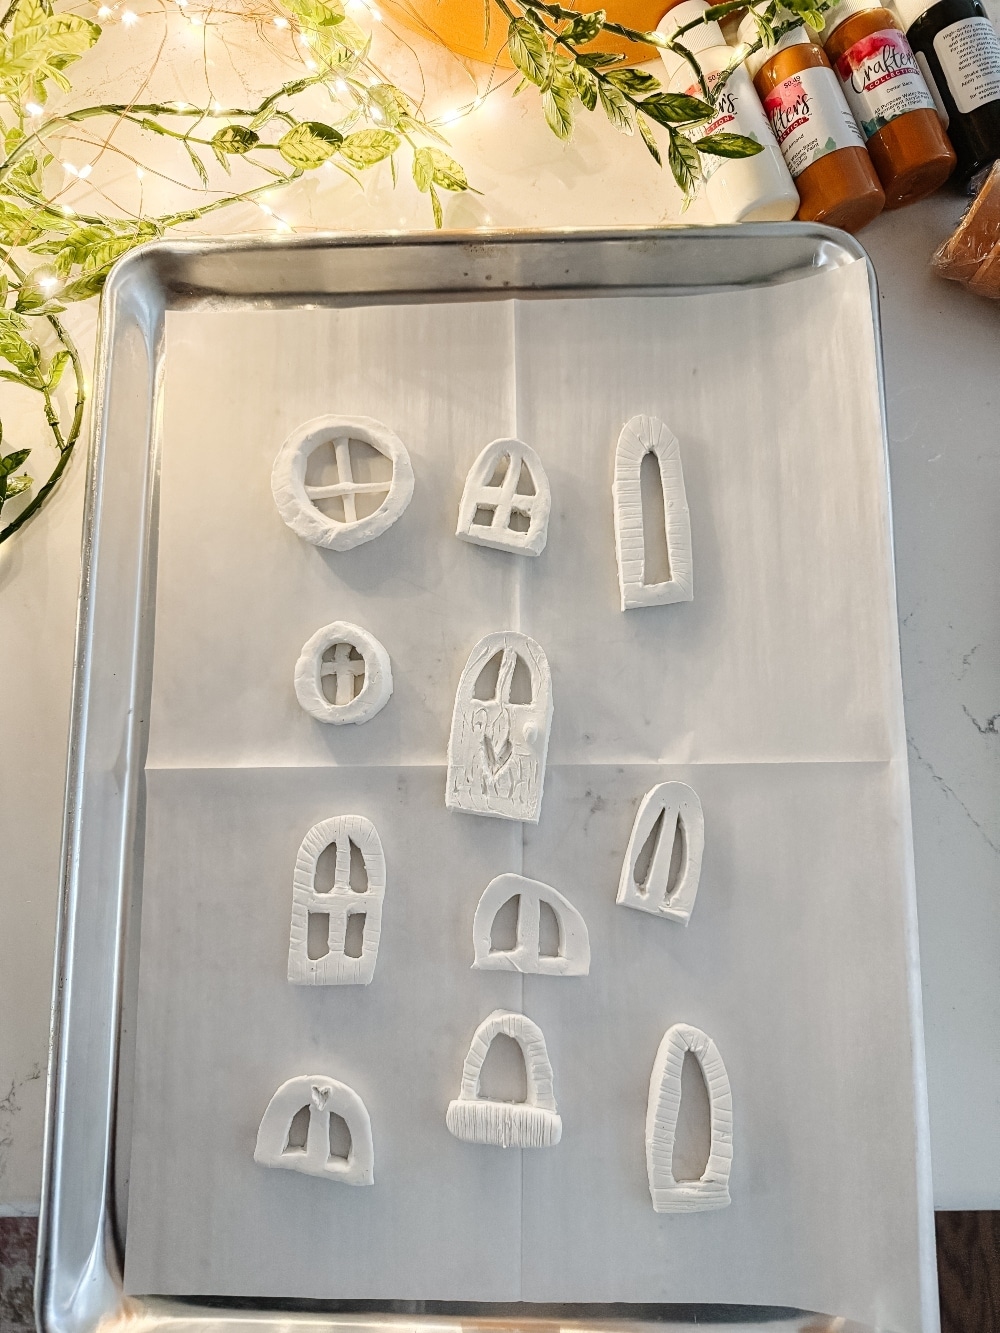
Place your clay shapes on a parchment-lined baking sheet and bake at 200°F for 1 hour, or until hardened. Alternatively, let them air-dry overnight. Once set, your pieces will be lightweight, durable, and ready for paint.
Step 5: Paint and Customize
Paint your doors and windows using acrylic paints to match the warm tones of your terra cotta pots. I used a muted brown for doors and an earthy charcoal black to fill in window panes for contrast. Use a small detailing brush to define features like window grids or door handles.
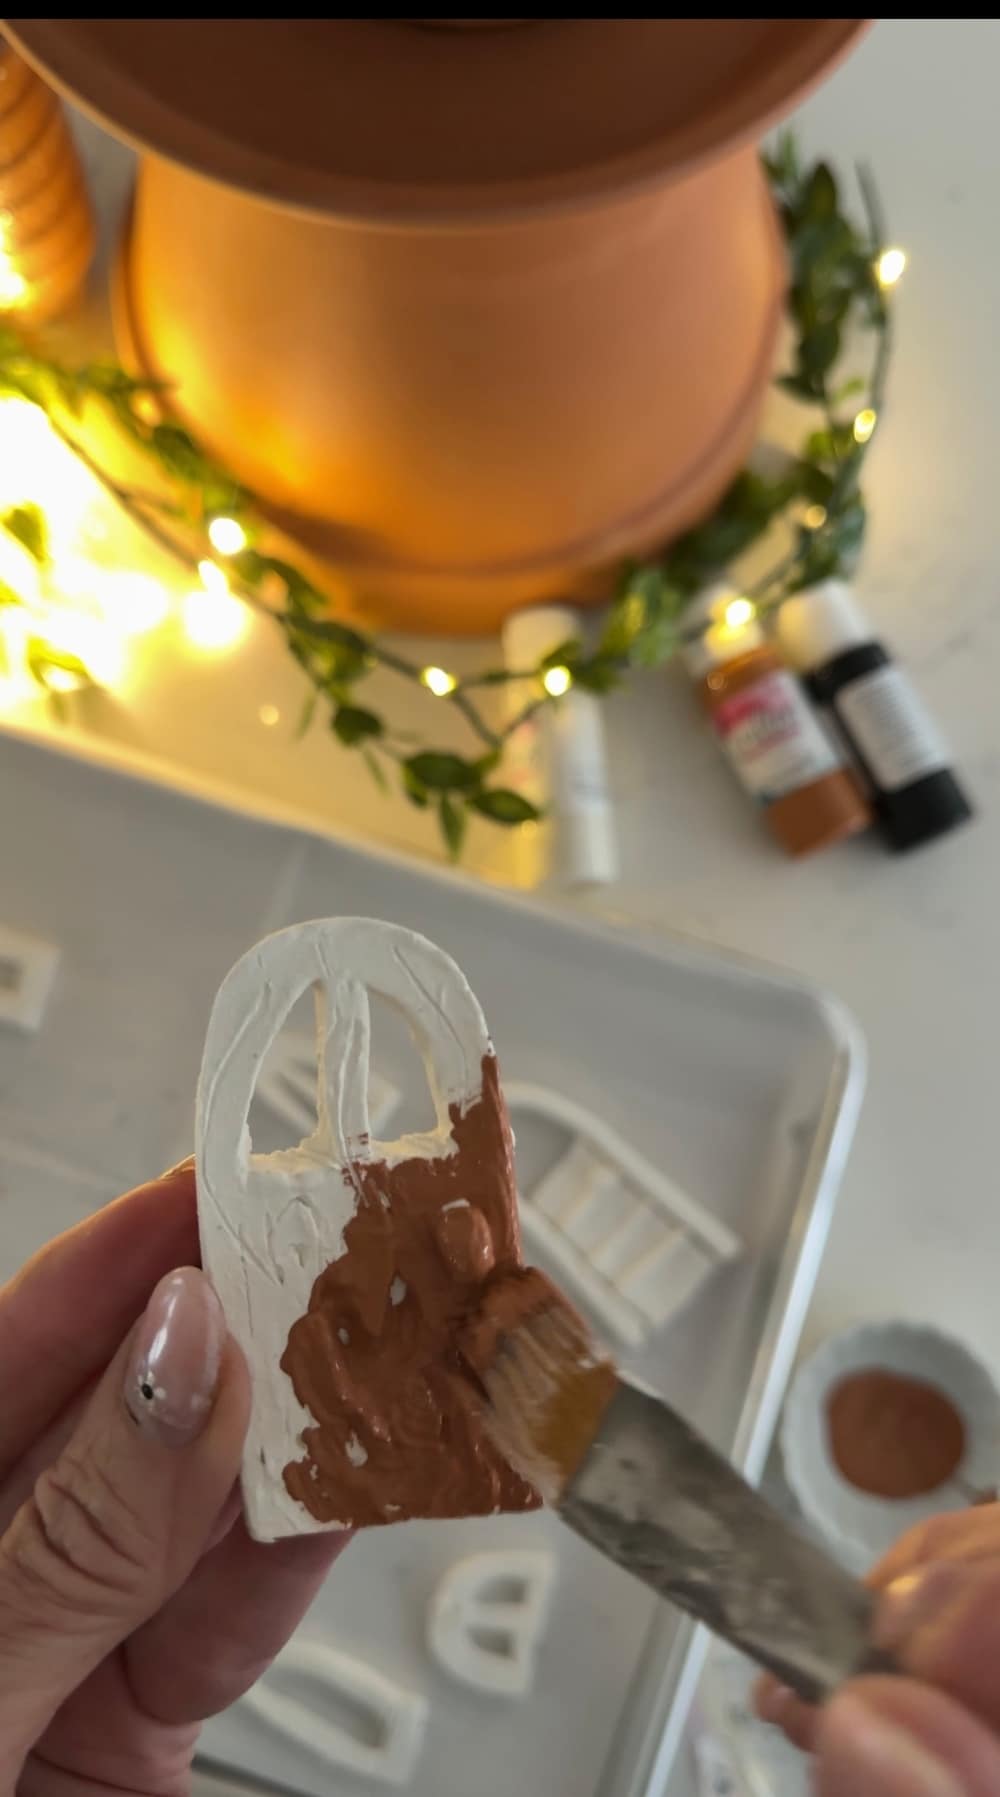
Let the paint dry completely before attaching the clay pieces to your fairy tower.
Step 6: Glue on Windows and Doors
Using Gorilla Glue again, attach each door and window to the corresponding pot level. I used strips of painter’s tape to hold them securely in place as the glue dried. Give it at least 30 minutes before removing the tape.
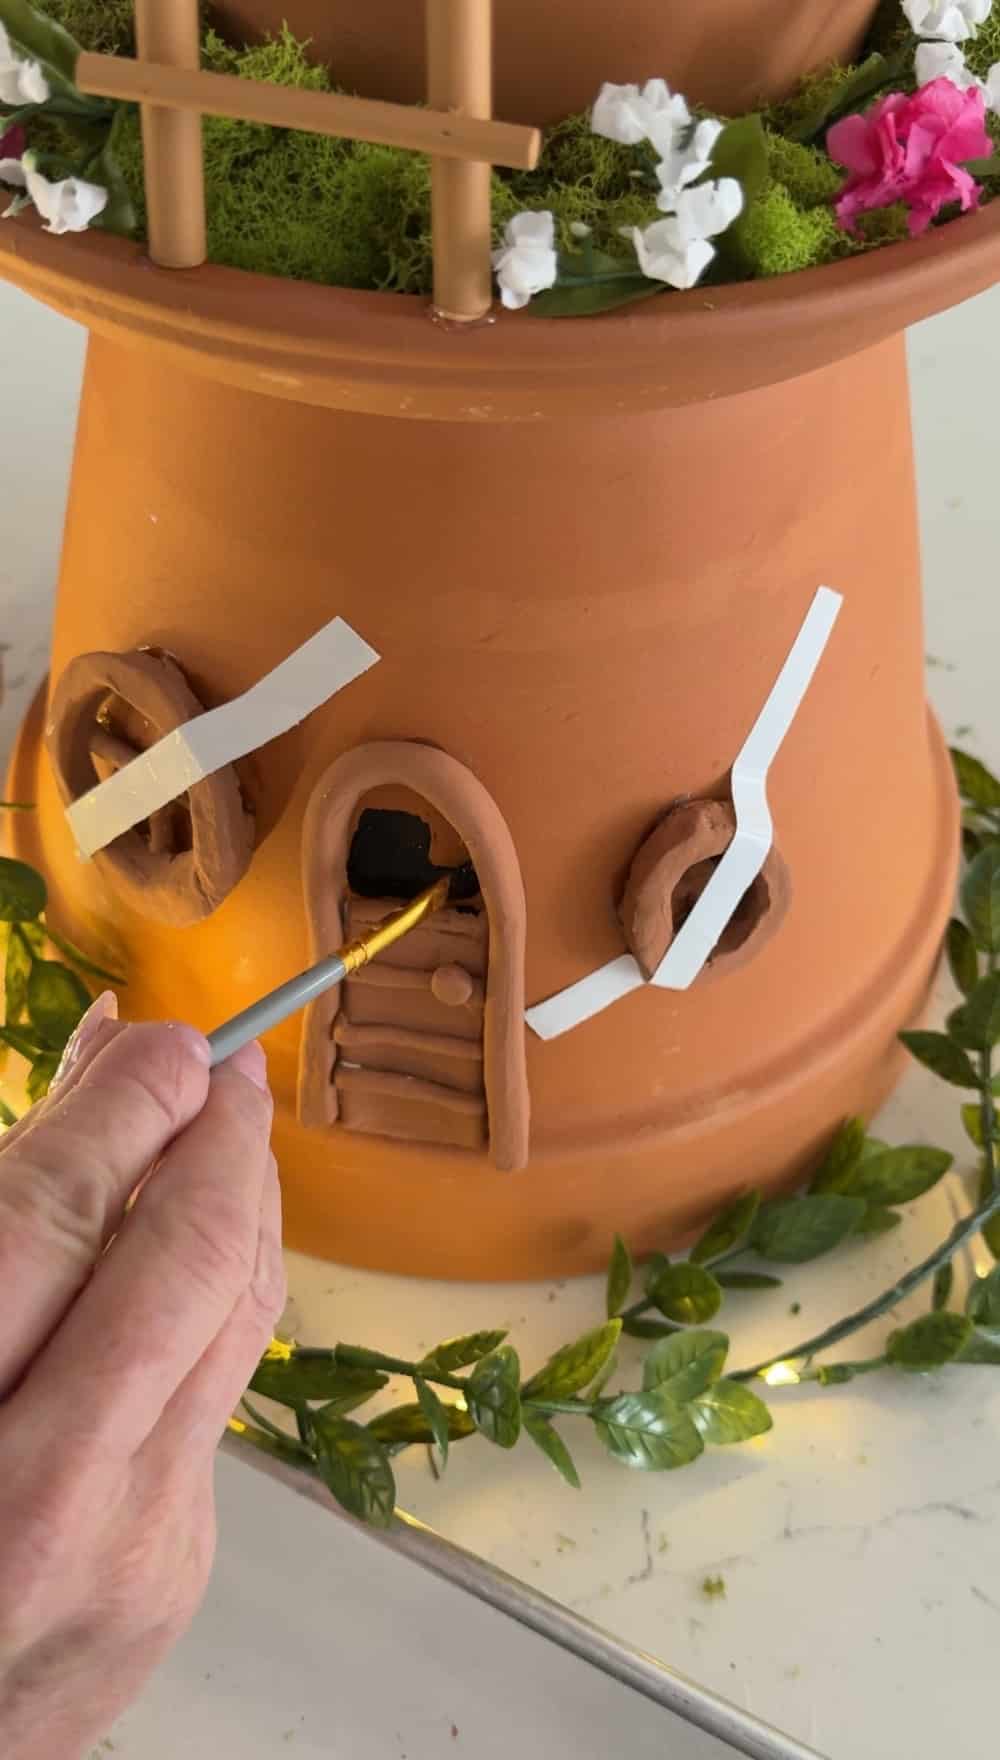
These hand-sculpted elements are what truly bring the structure to life—giving it a handcrafted charm that kids will love.
Step 7: Add Moss and Detail Work
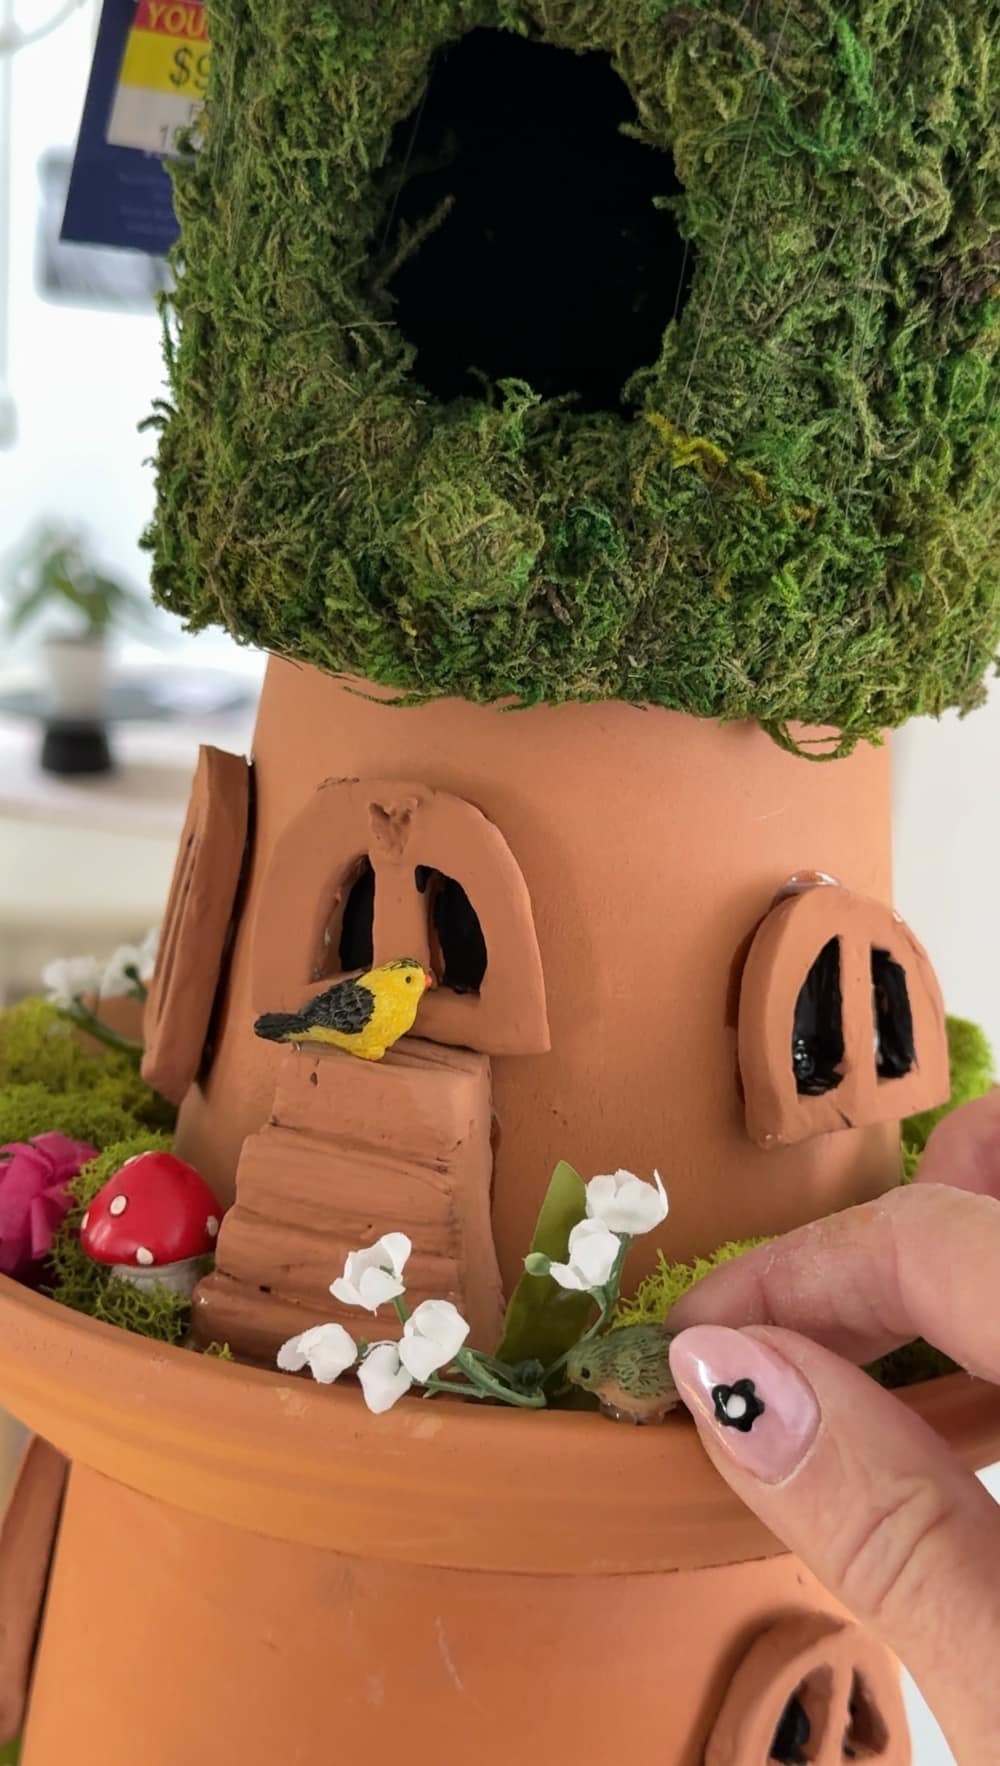
Now for the fun part—adding character! Use adhesive to glue green moss around the edges of the pot saucers. This softens the transition between levels and gives it an earthy, overgrown feel. You can also glue moss around the birdhouse roof and base for continuity. Use a small paintbrush to paint the insides of the windows black to give them dimension.
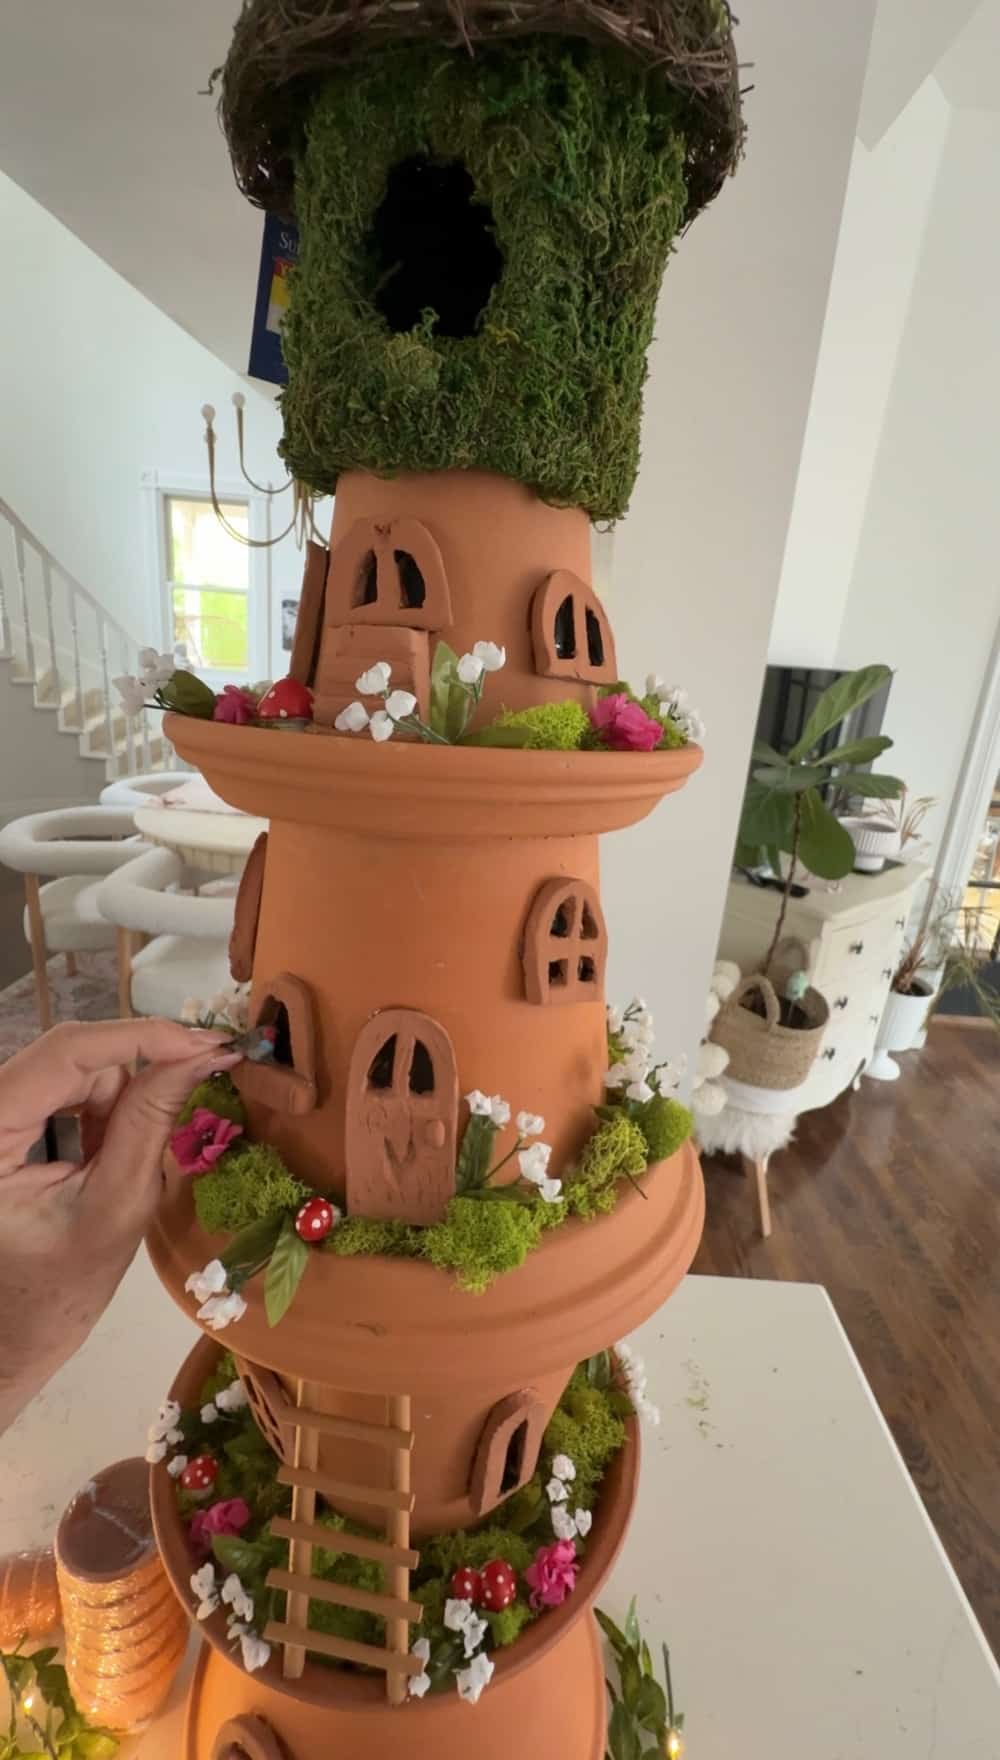
Then, begin embellishing with miniatures: perch tiny birds on windowsills, tuck faux mushrooms along the base, and position a ladder climbing up one of the pots. Hobby Lobby’s selection of fairy accessories makes it easy to customize your garden with magical touches.
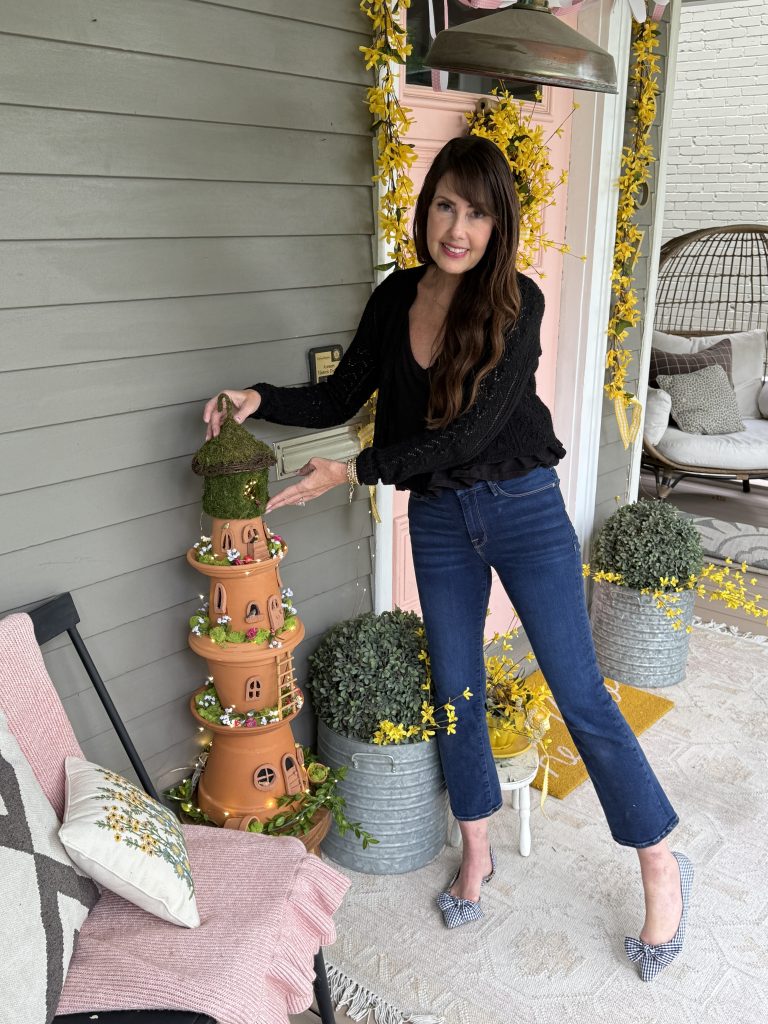
Step 8: Move to Final Location
Once your fairy tower is fully assembled and dried, carefully move it to its final destination. This piece is ideal for a covered porch, garden entryway, or patio nook—anywhere that could use a little springtime magic.
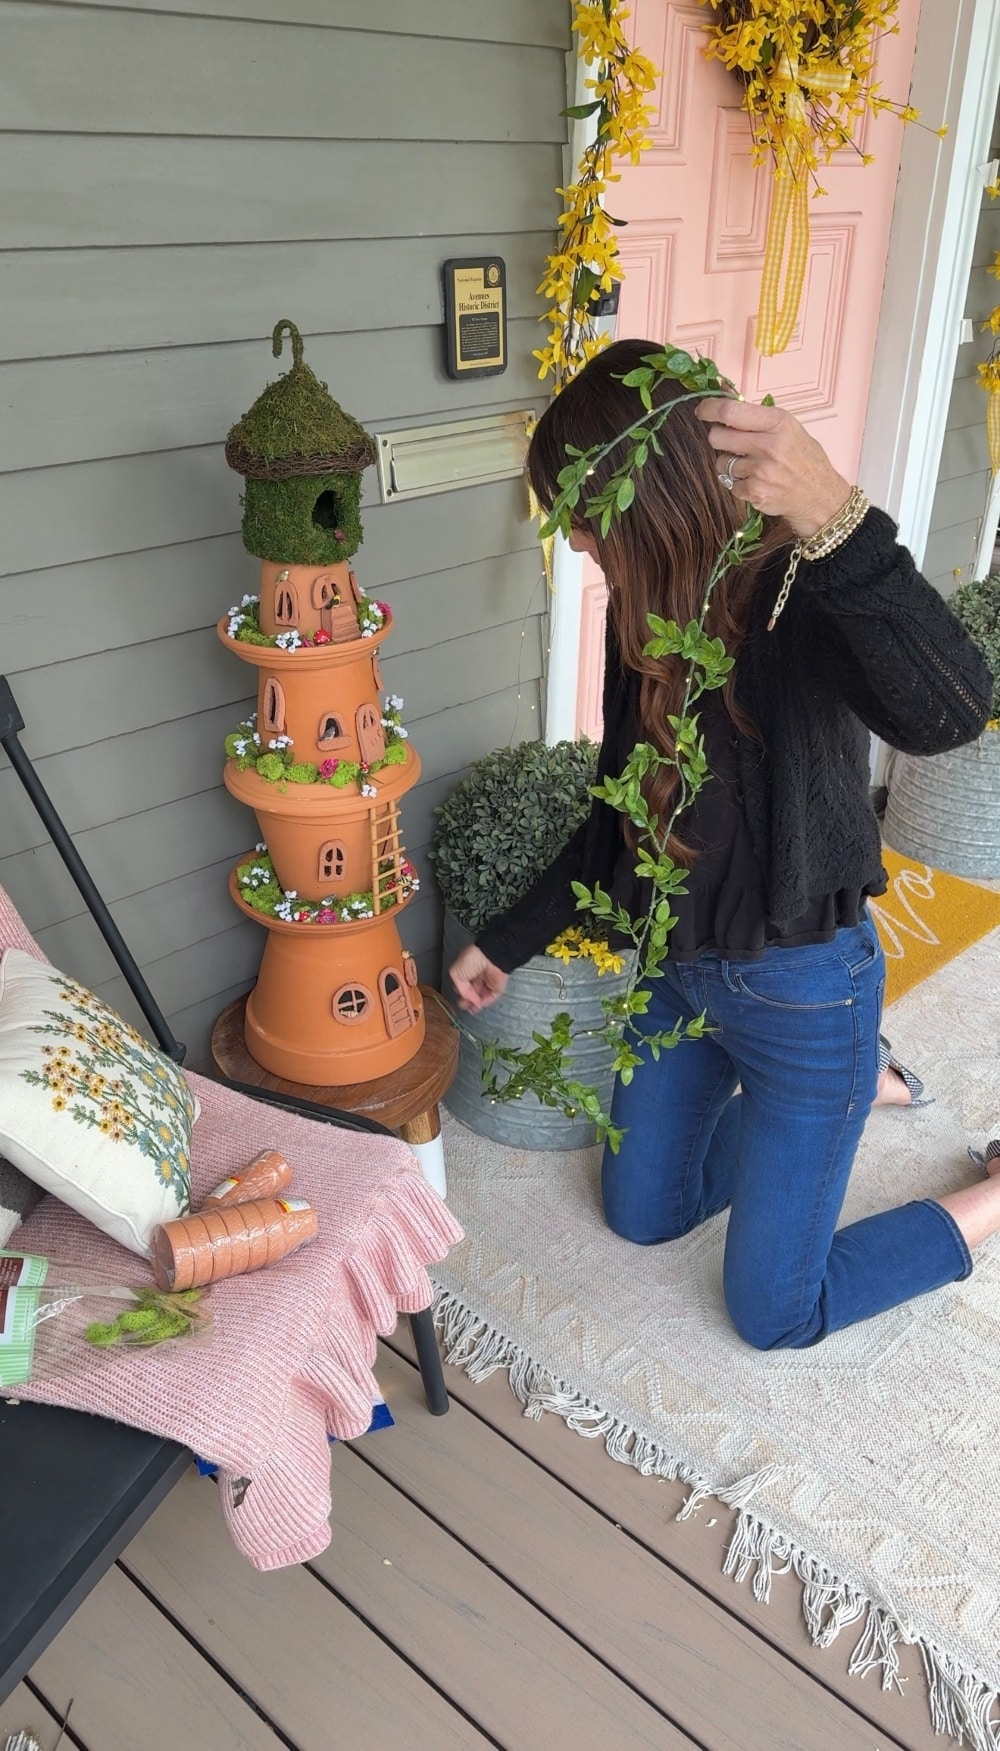
Step 9: Add Fairy Lights and Finishing Touches
For that final sparkle, wrap a strand of fairy lights or a light-up greenery garland around the base and up the tower. Secure with floral wire or small adhesive clips. As daylight fades, your fairy tower will begin to glow—just like a tiny enchanted village.
A Hit With the Neighborhood Kids
Our neighborhood children absolutely adore this project. They’ve already been spotted peeking in the “windows” and dreaming up stories about the fairies who might live inside. This DIY is more than just decor—it’s an invitation to imagination.
Get Everything You Need at Hobby Lobby

If you’re inspired to make your own fairy garden, head to Hobby Lobby! Their Spring Department is brimming with whimsical fairy garden items, from moss and miniatures to paints and pots. Don’t forget to check their social media channels for updates on sales and more crafting inspiration.
Creating a fairy garden is such a sweet way to celebrate the season and engage with your kids in a hands-on, creative way. I hope this tutorial inspires you to add some magic to your home this spring!
xoxo


Liked it? Leave a comment! Thanks! xoxo