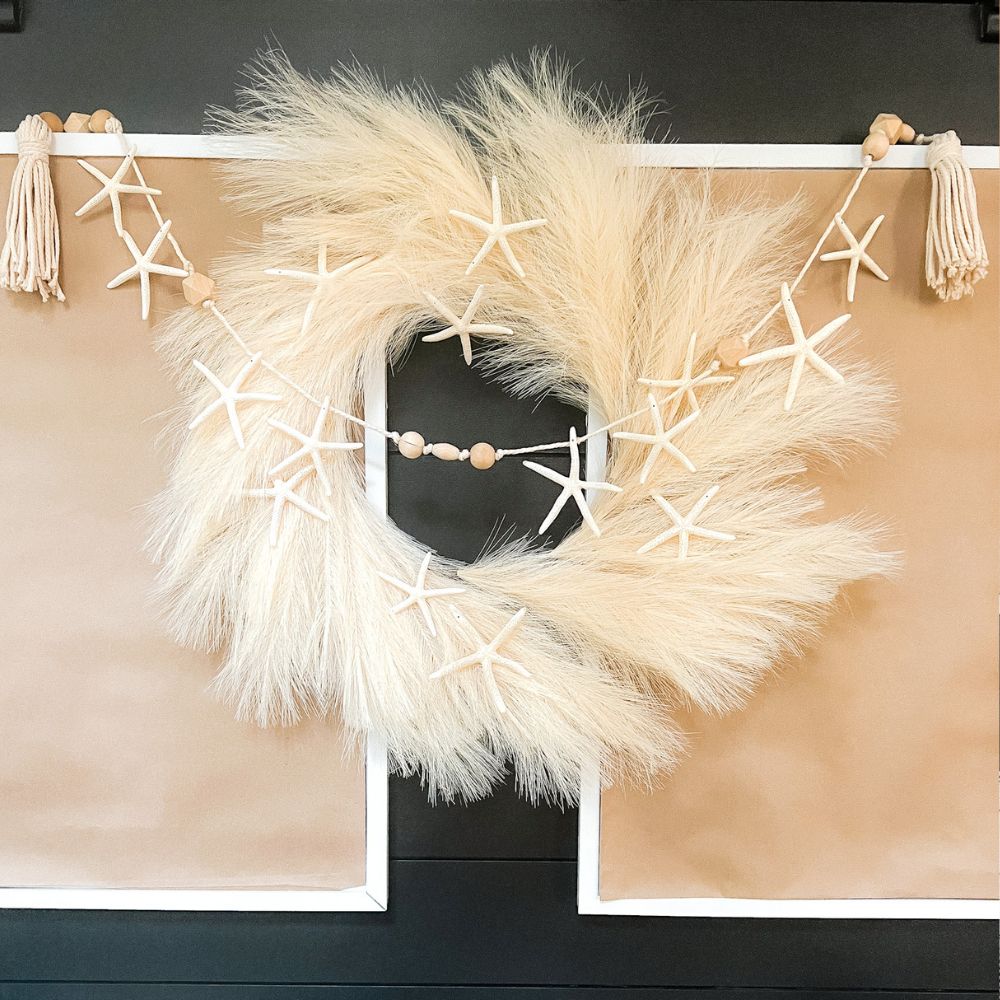
DIY Tassel and Bead Starfish Garland. Add a little boho flair to your home with this easy beaded boho starfish garland with tassels on both ends.
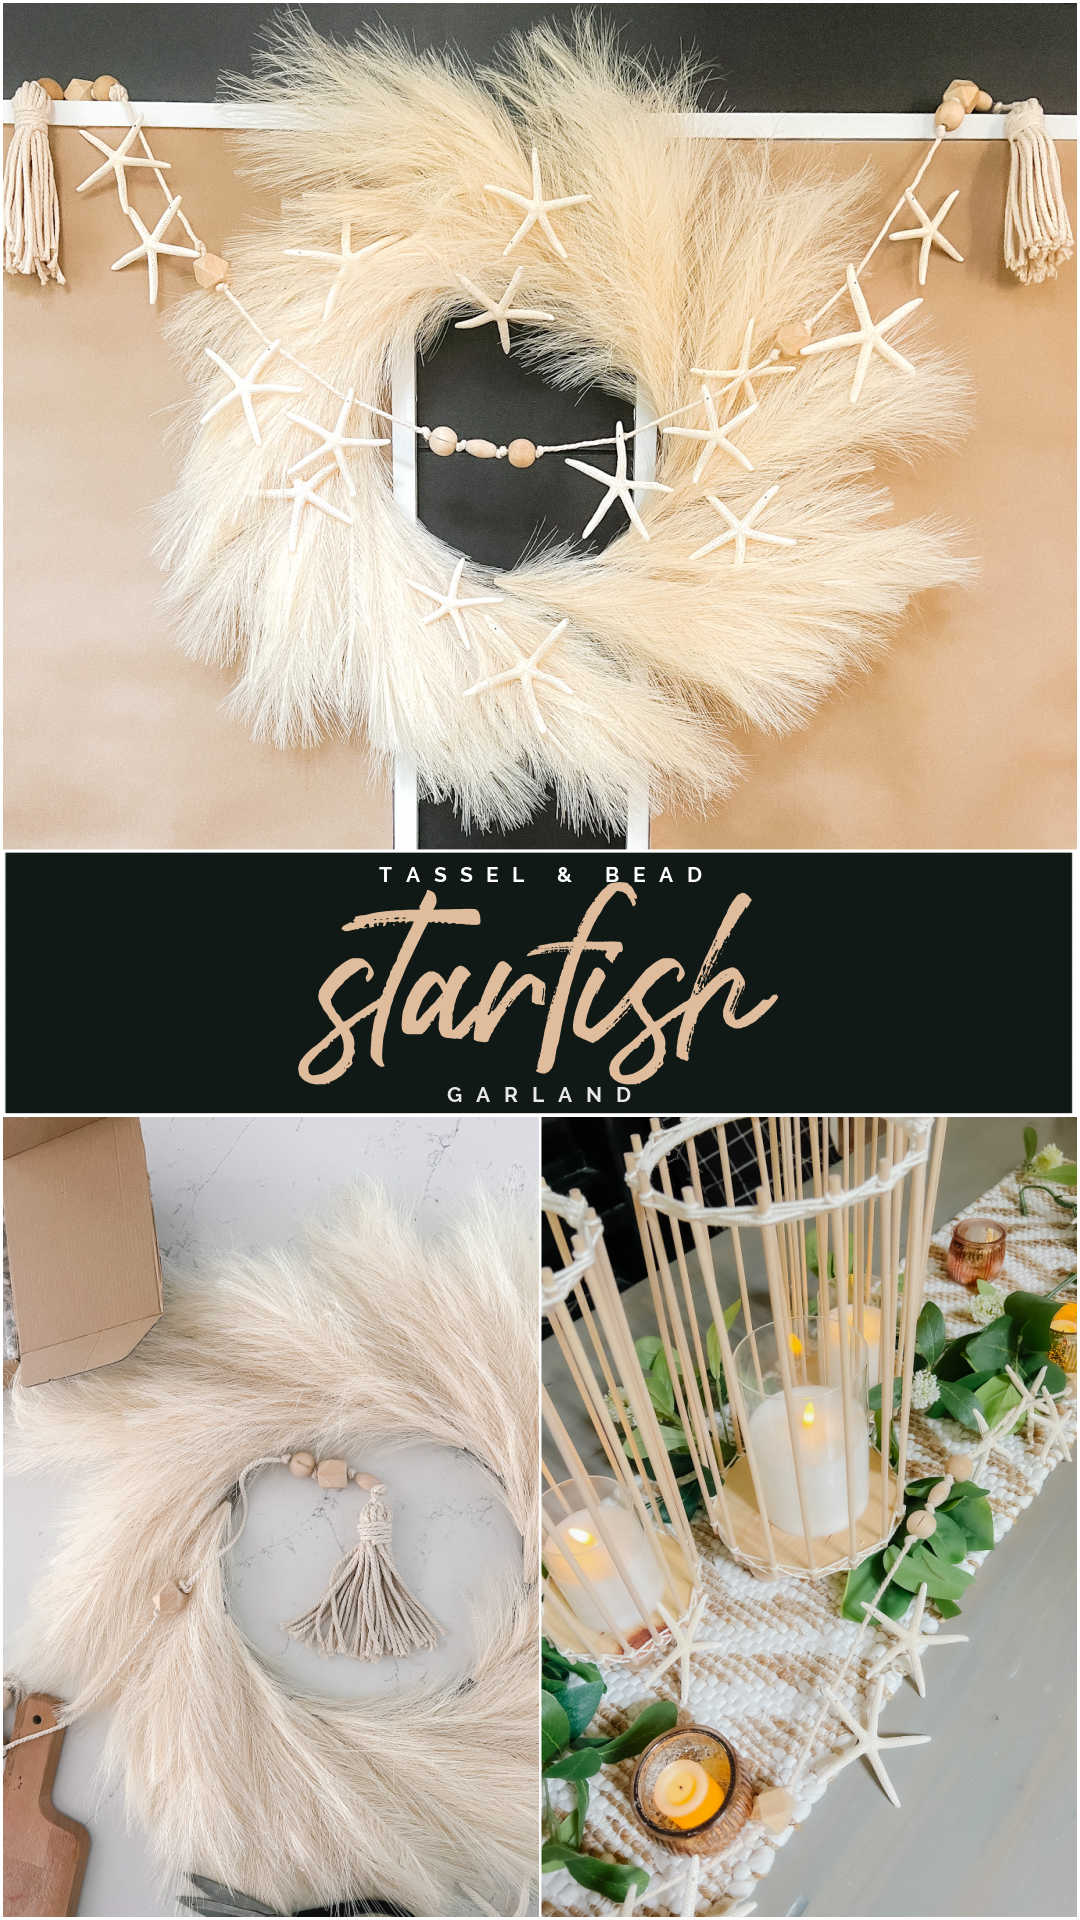
DIY Tassel and Bead Starfish Garland

Hi friends, happy July! We are in full summer gear here. I love decorating for summer. This year I added a coastal summer theme. This DIY tassel and bead starfish garland is SO easy to make and looks perfect on a shelf, over a doorway or on a mantel or table! I added some starfish to my boho wreath and I love the way they look together to bring summer vibes to our home.
Handcrafted Society Theme for July
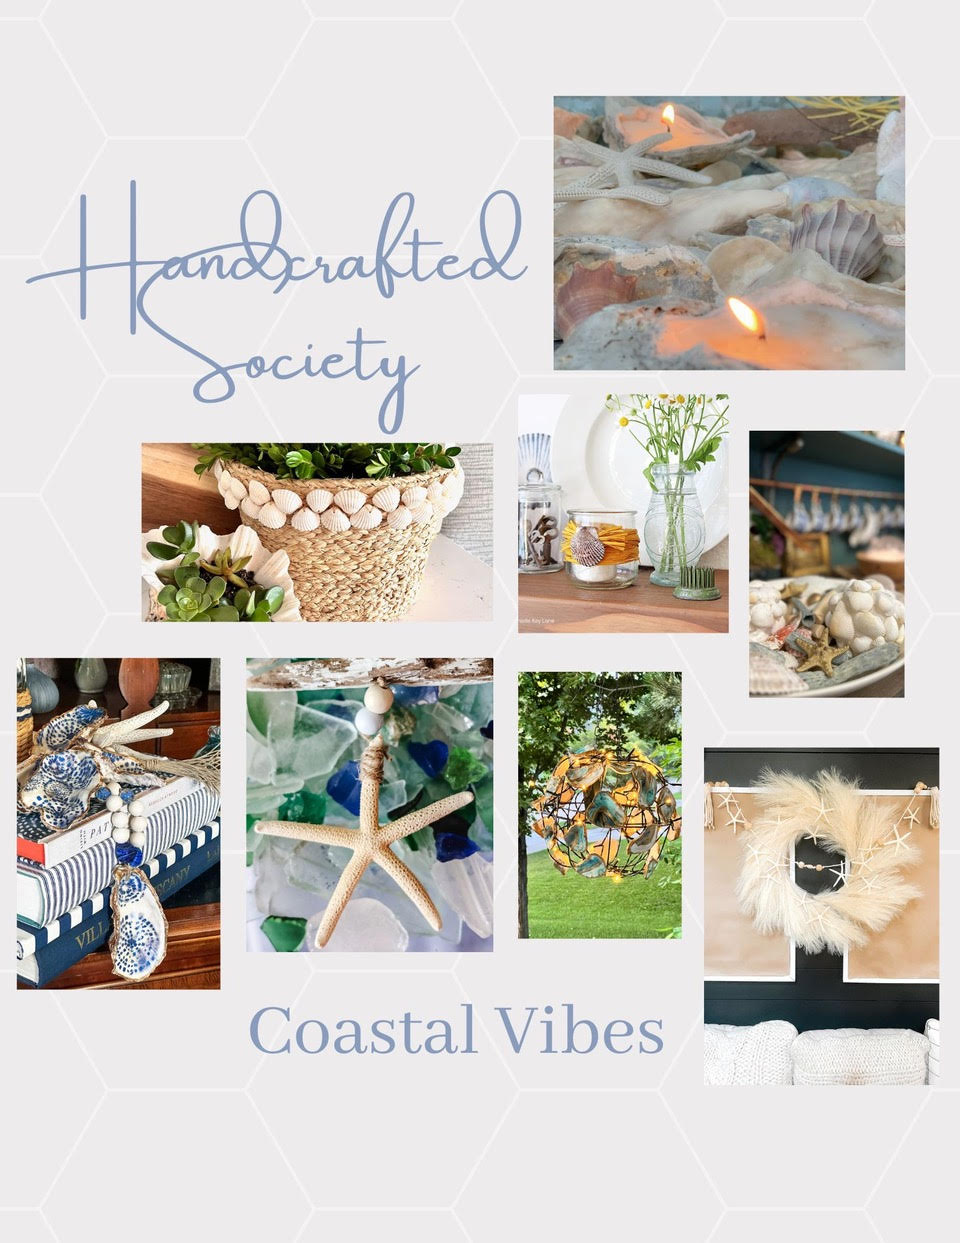
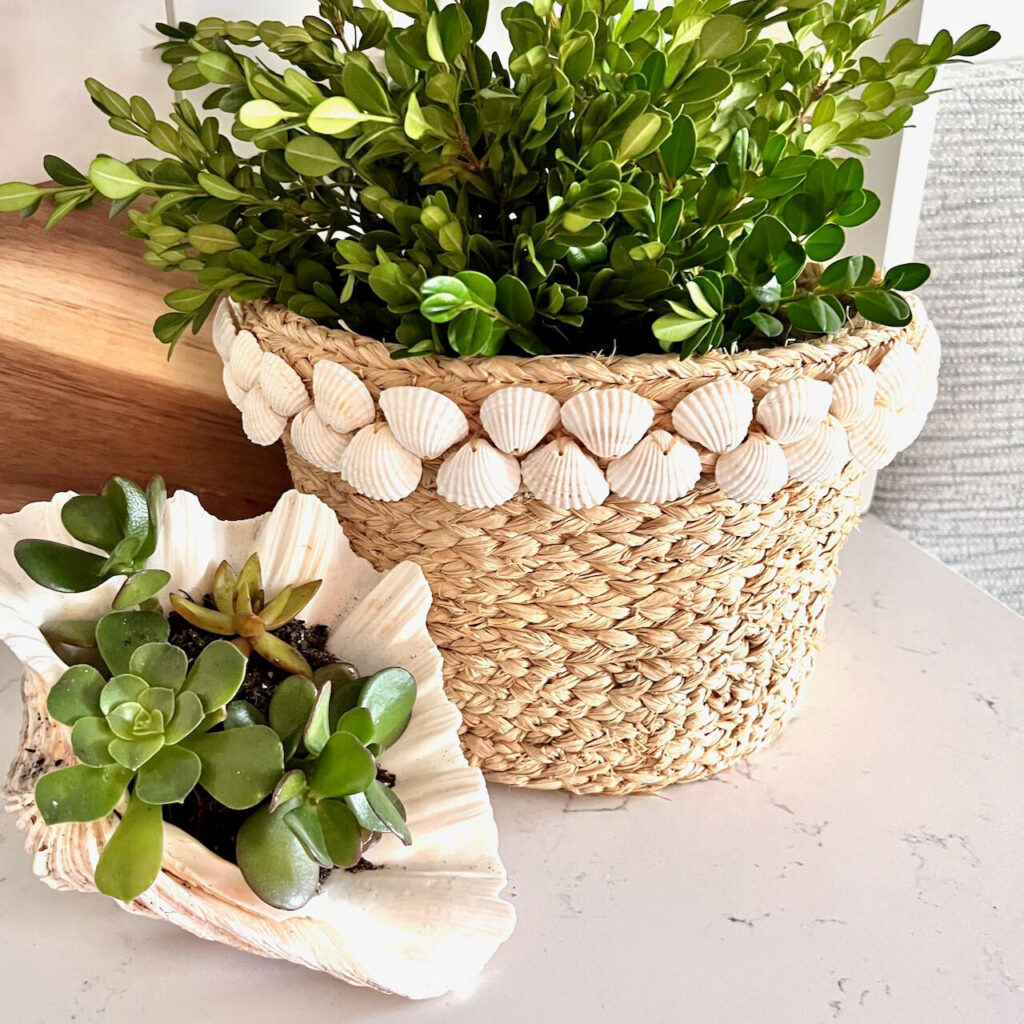
This month our theme for July was “shells” and, although starfish are not really shells, I think they fit in well with our coastal shell theme. Be sure to check out all of the SHELL projects my friends are sharing! If you are stopping by from South House Designs, welcome!! Aren’t Diane’s basket with shells so pretty??
Where to Order Starfish
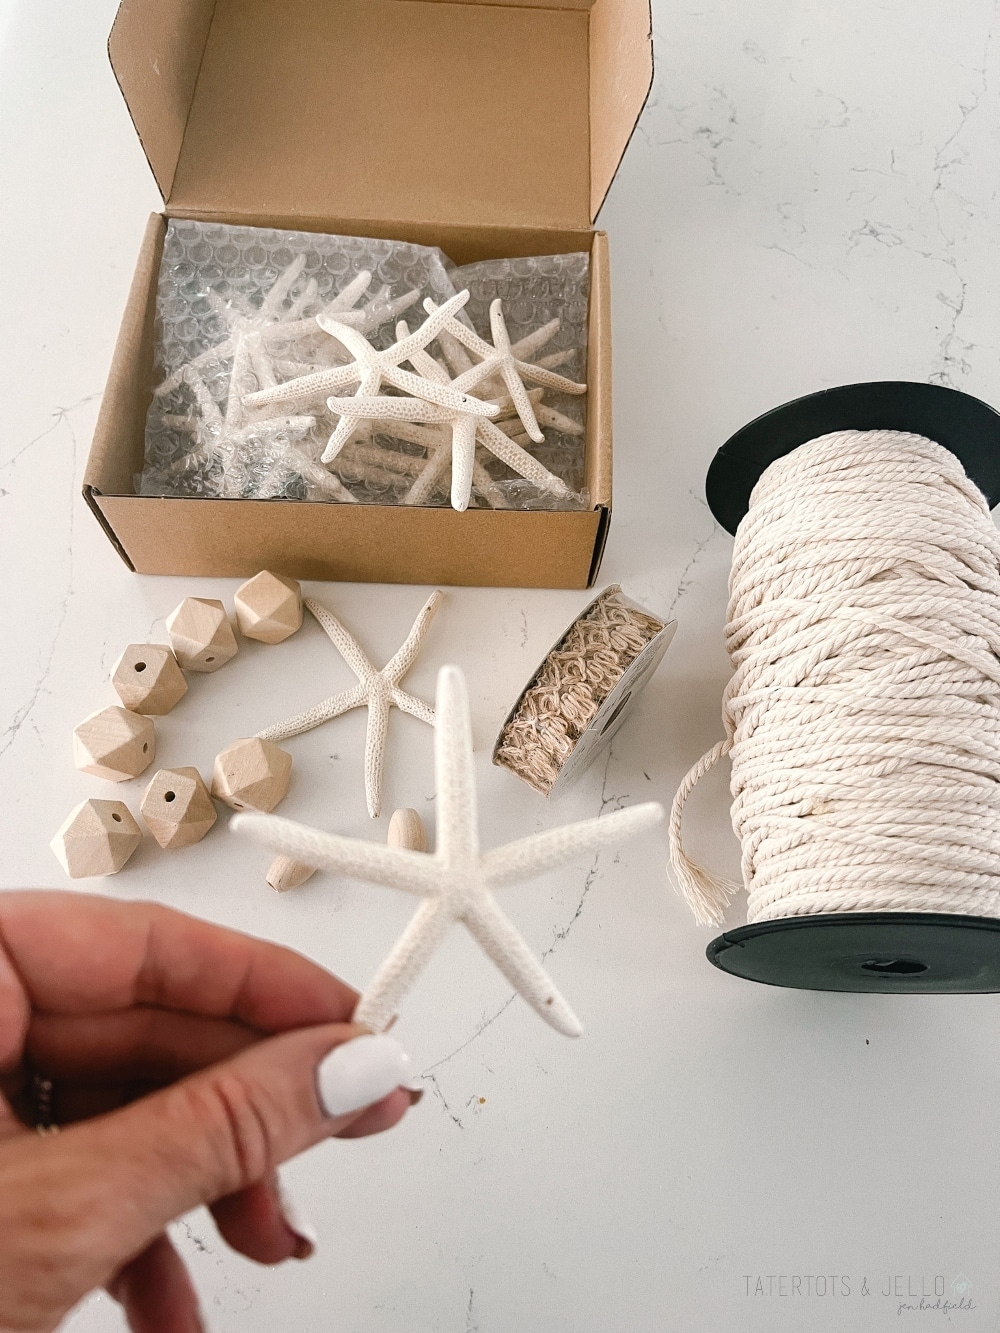
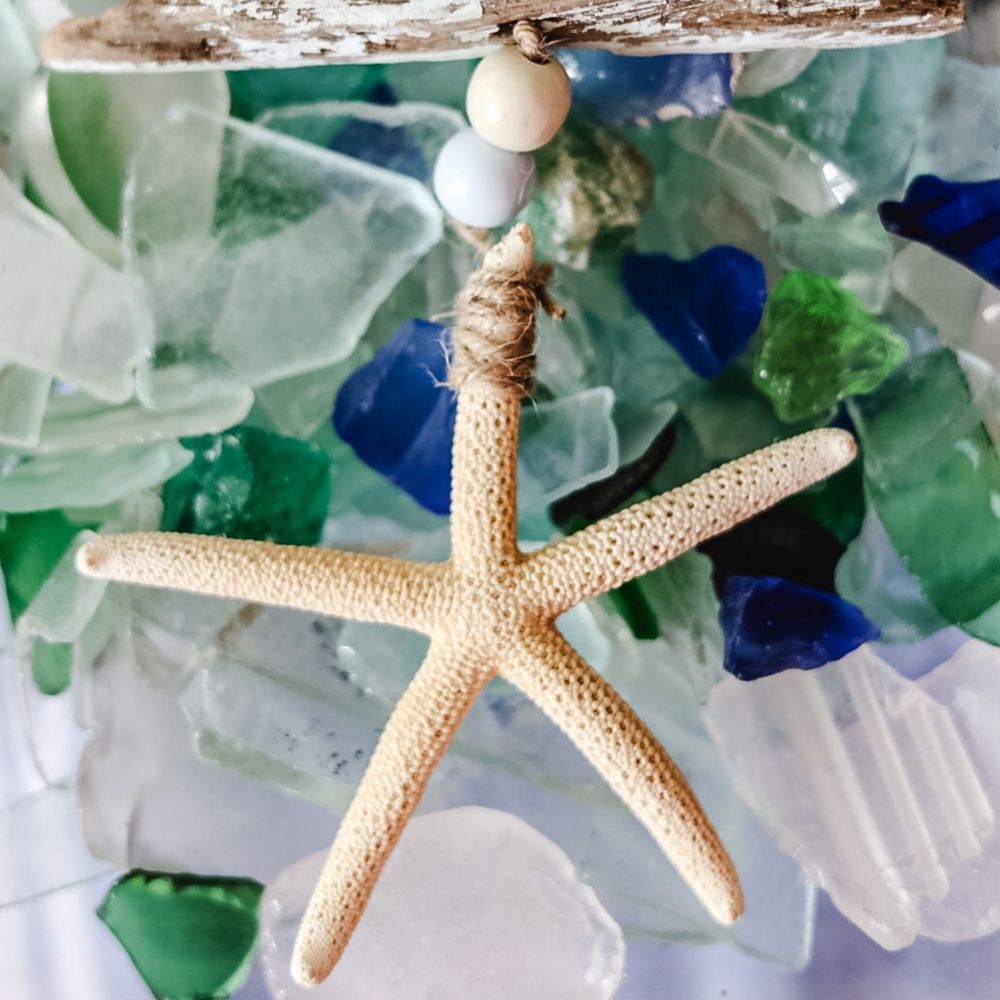
You might be wondering where you can order starfish from. I found the most beautiful starfish on amazon. They come in a set of 20, in two different sizes. I love that they already are drilled if you want to string them with a small string or wire. I used hot glue to attach them to the garland. But they come with gold string which you can use to hang them or tie them to a wreath.
Supplies to make a Boho Beaded Garland with Tassels
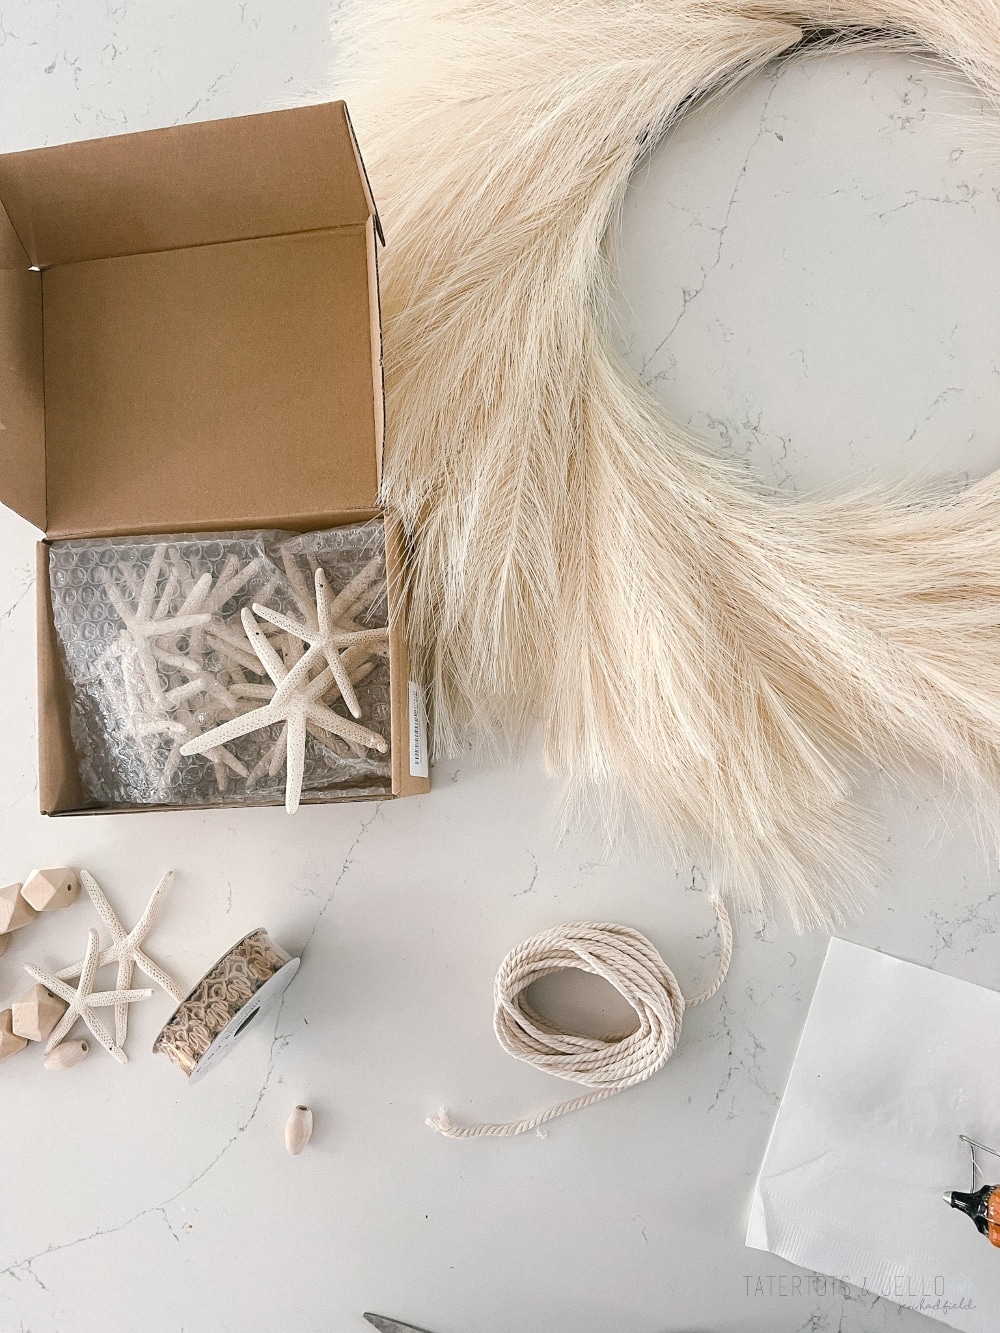
Here is the supply list to make this boho tassel starfish garland
- Macrame String
- Wood Beads – I used three different shapes of beads
- Starfish – I found the best starfish that are already pre-drilled and come in two different sizes.
- Ribbon – optional. You can use a little ribbon to wrap around the base of the tassel. I ended up not using the ribbon I was going to use.
- Boho Wreath – This is the wreath I ordered and added starfish to go with the beaded starfish garland.
How to Make a Beaded Boho Starfish Garland
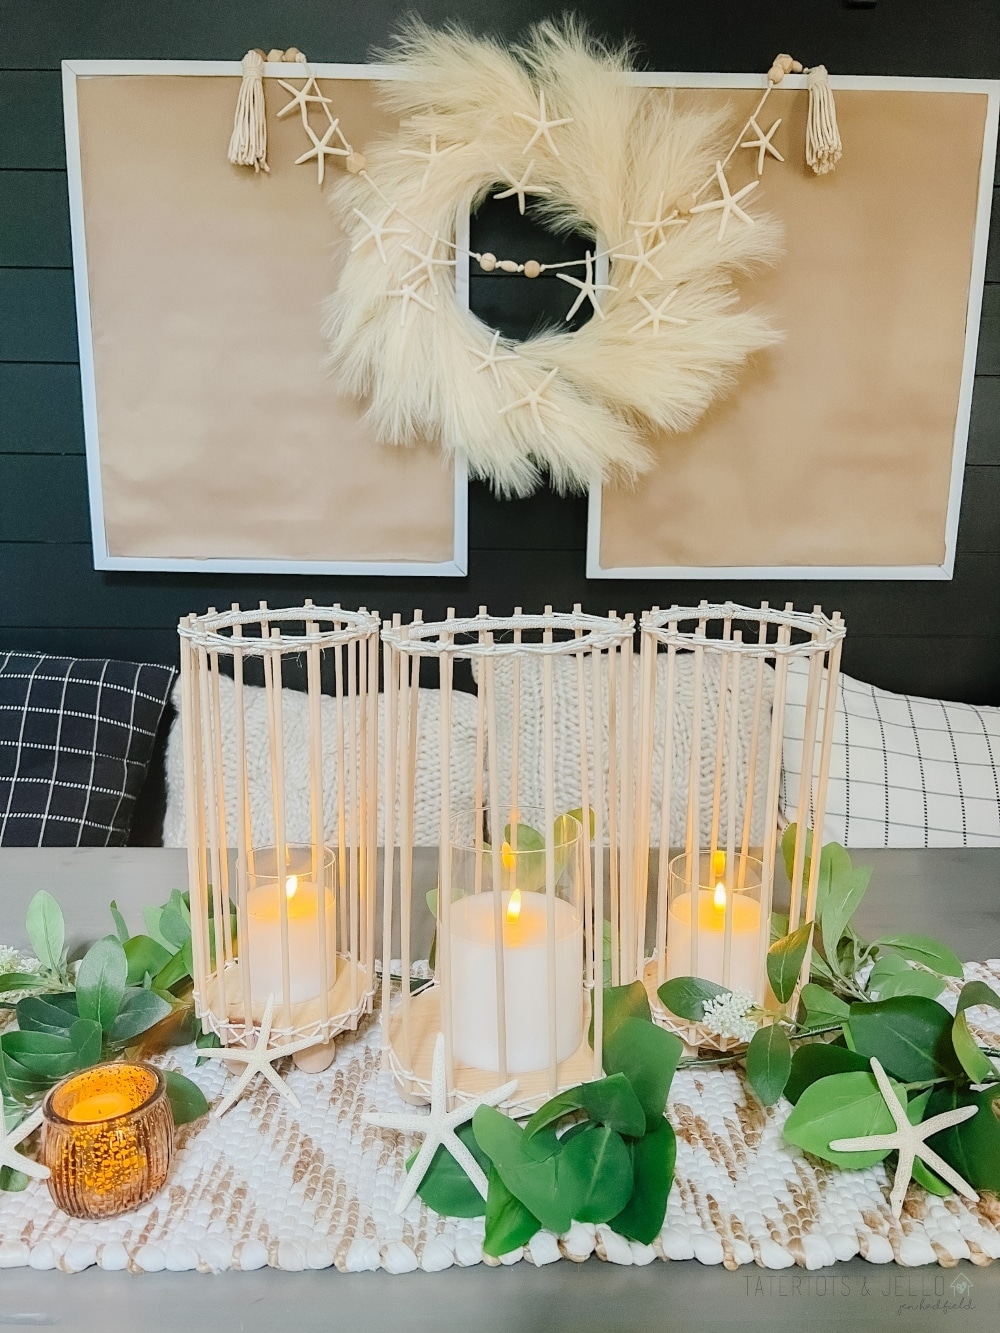
You can literally complete this garland in under an hour. The longest part is creating the tassels and I will explain how to do that in a separate paragraph below.
- Cut a piece of macrame string the length you want your garland to be plus a 4-8 inches to account for the knots you will add. I always err on the side of caution just to make sure it is long enough. My garland is about 4 feet long and I cut it to be 6 feet to be safe.
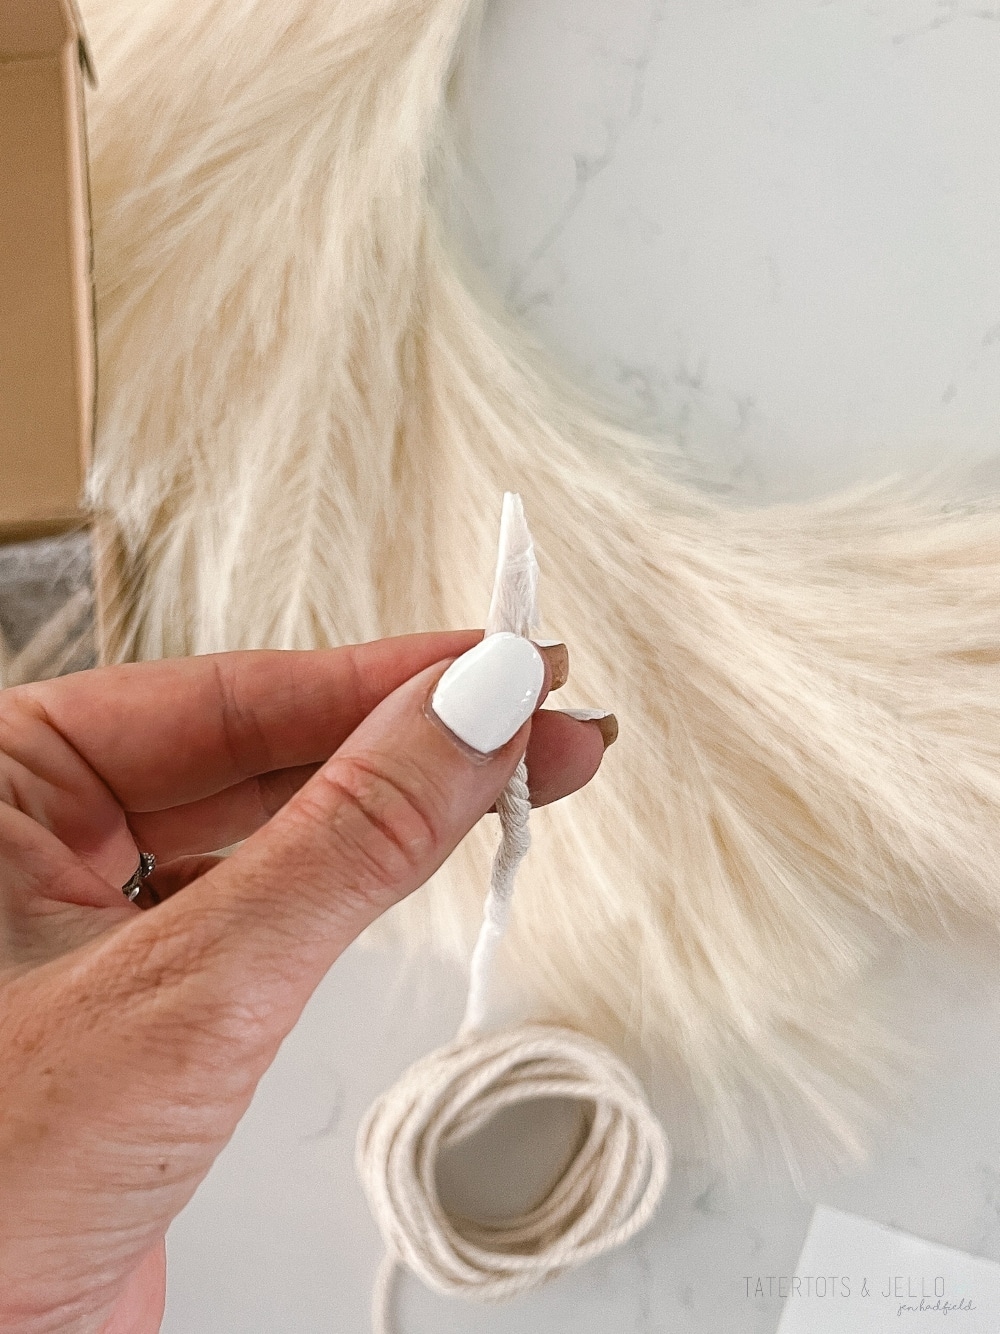
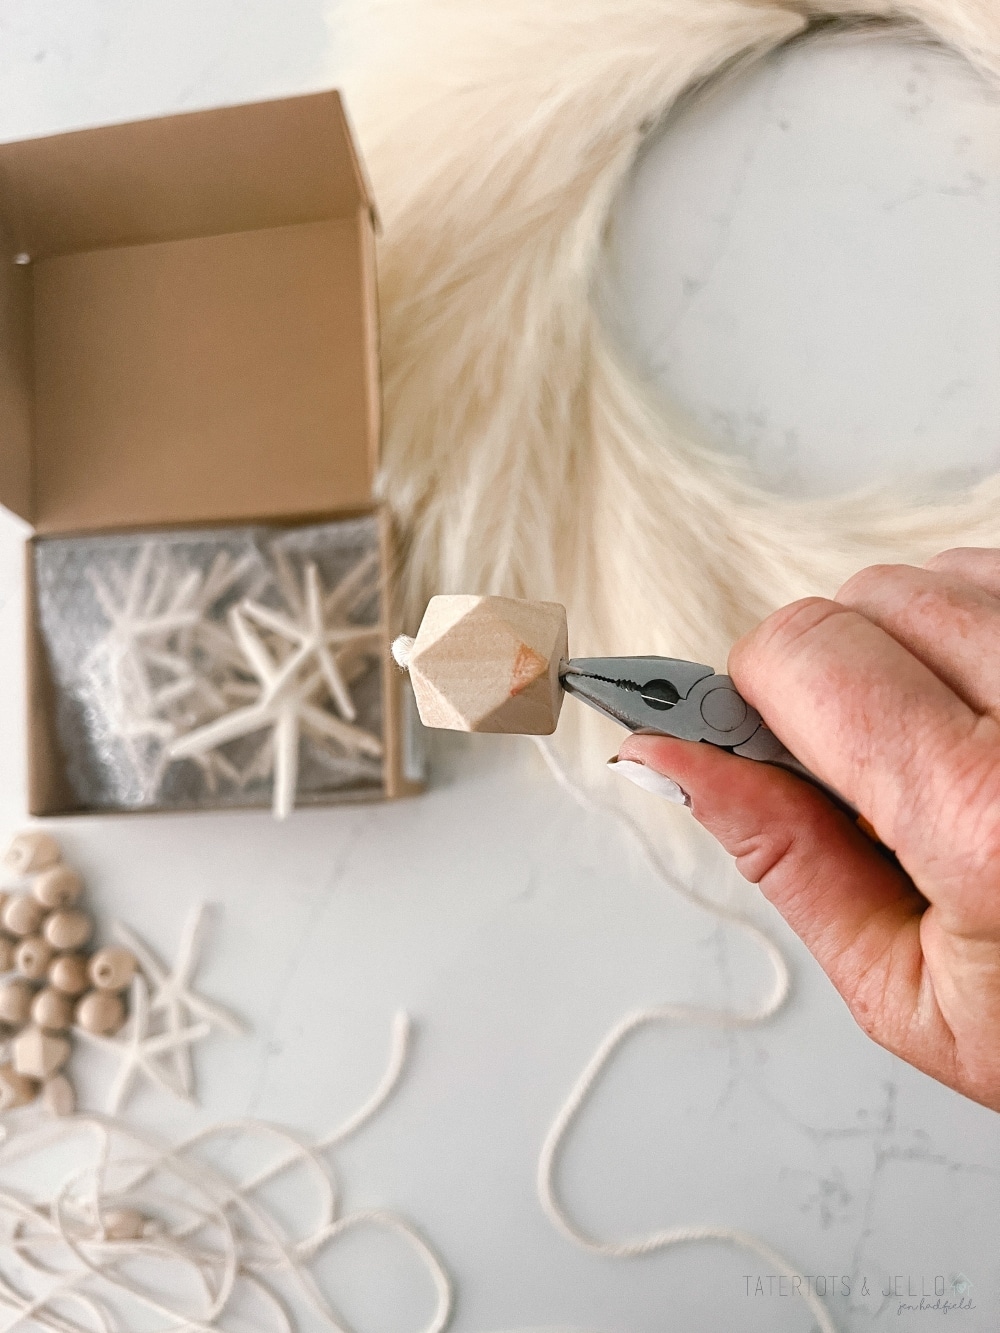
- Wrap one end of the string TIGHTLY with tape. This makes it easy to push the string through a small hole in the bead. TIP – if your bead has a small hole, you can push the string through and use a pair of small pliers to pull it through the other end.
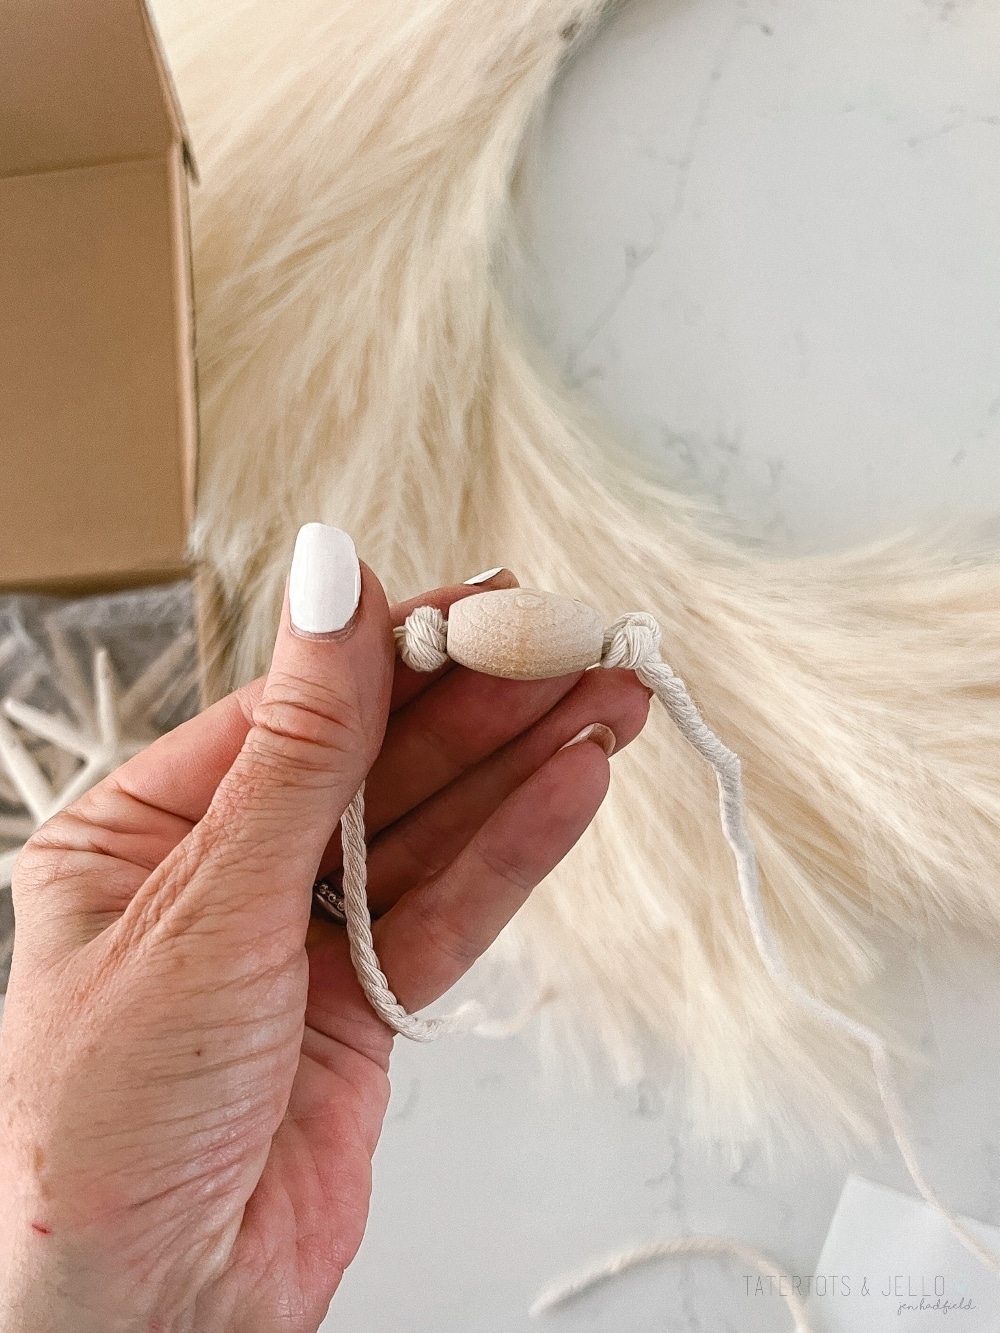
- Make a knot at the other end of the string where you want the first bead to be placed. Tip – make sure to leave at least 8 inches on the end to attach the tassel to before the bead.
- Thread the first bead through the string and push it against the knot.
- Tie another knot on the other end of the bead.
- I spaced my beads out about 5 inches apart on the string. I threaded three beads through with knots in between the first group. Space the next bead out 5 inches and attach the following bead with knots on both ends. Now space another 5 inches of string and attached another set of three beads. You will attach the starfish to the spaces in between the beads. Make sure there is room to attach the starfish.
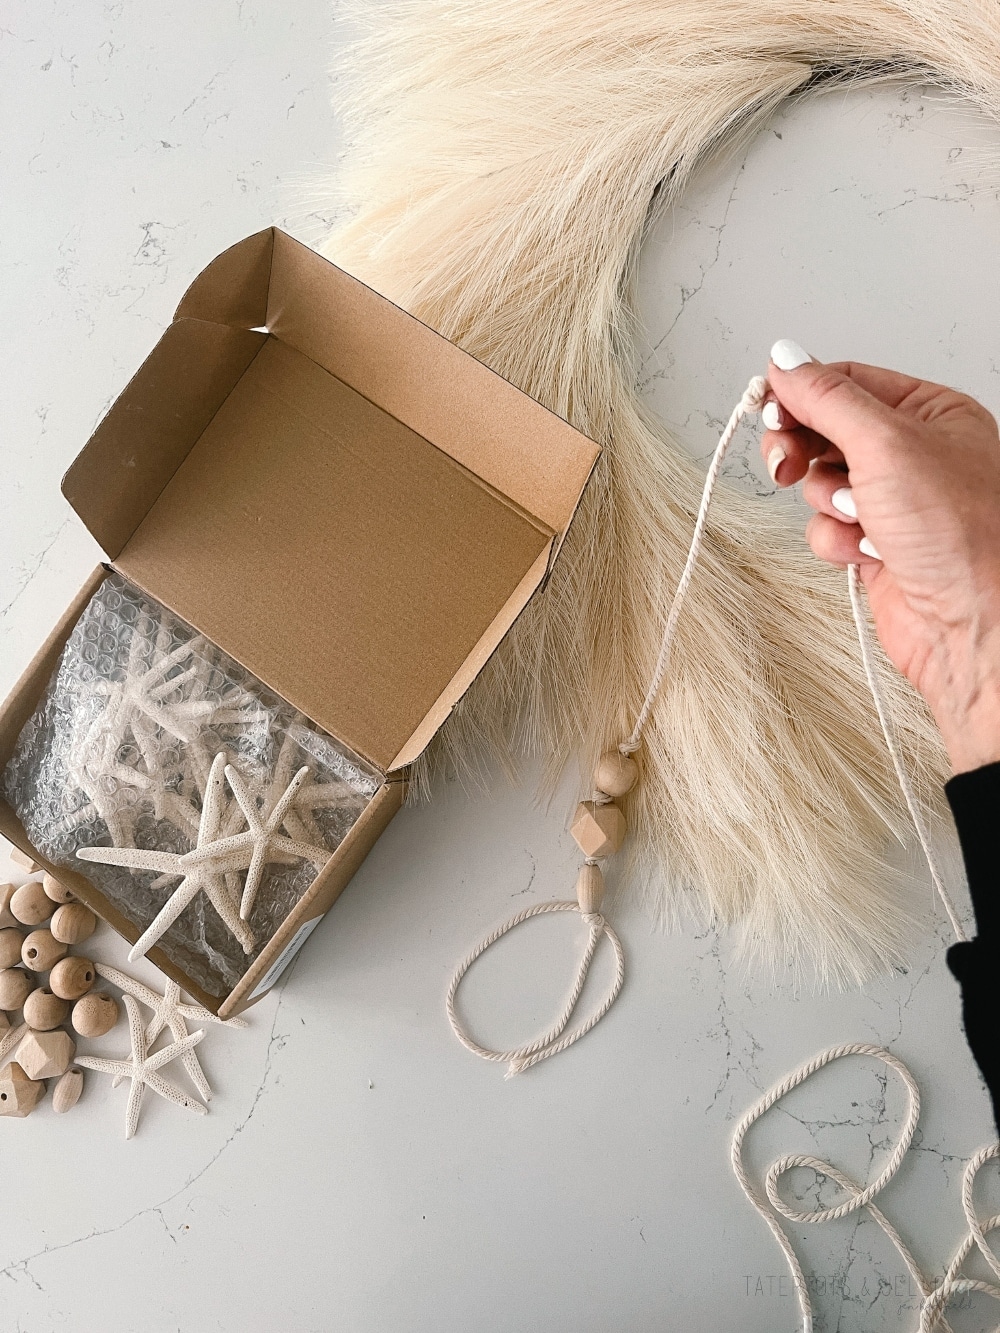
- Now, continue this pattern until you get to the other end of your garland. Tip – make sure you leave at least 8 inches of string on the end to attach the other tassel.
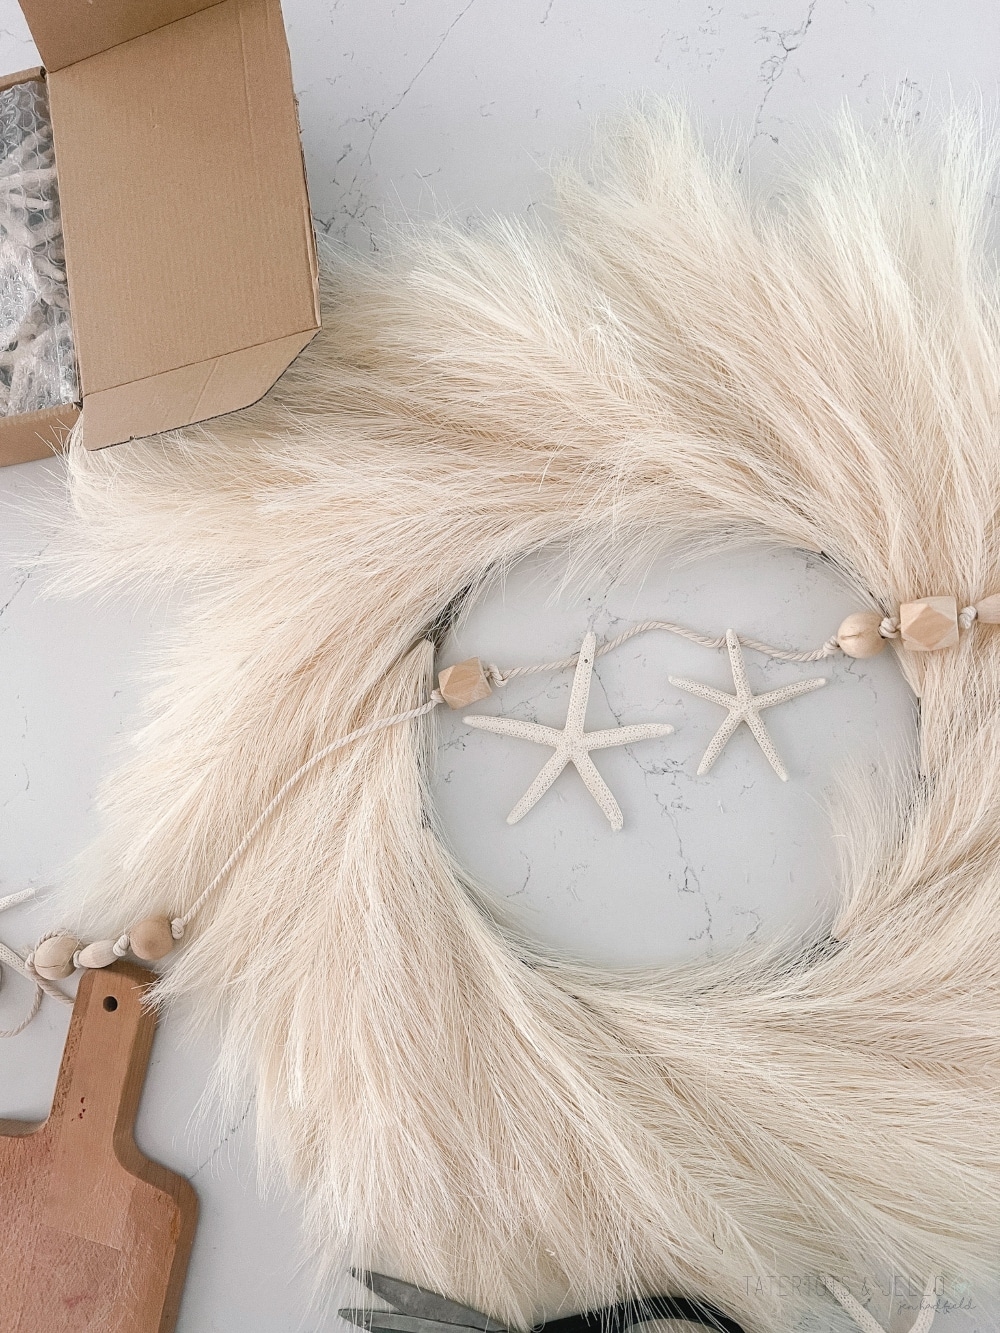
- Hot glue the starfish to the string in between where the beads are.
How to Make a Boho String Tassel
Now it’s time to make the tassels for the ends of the beaded garland.
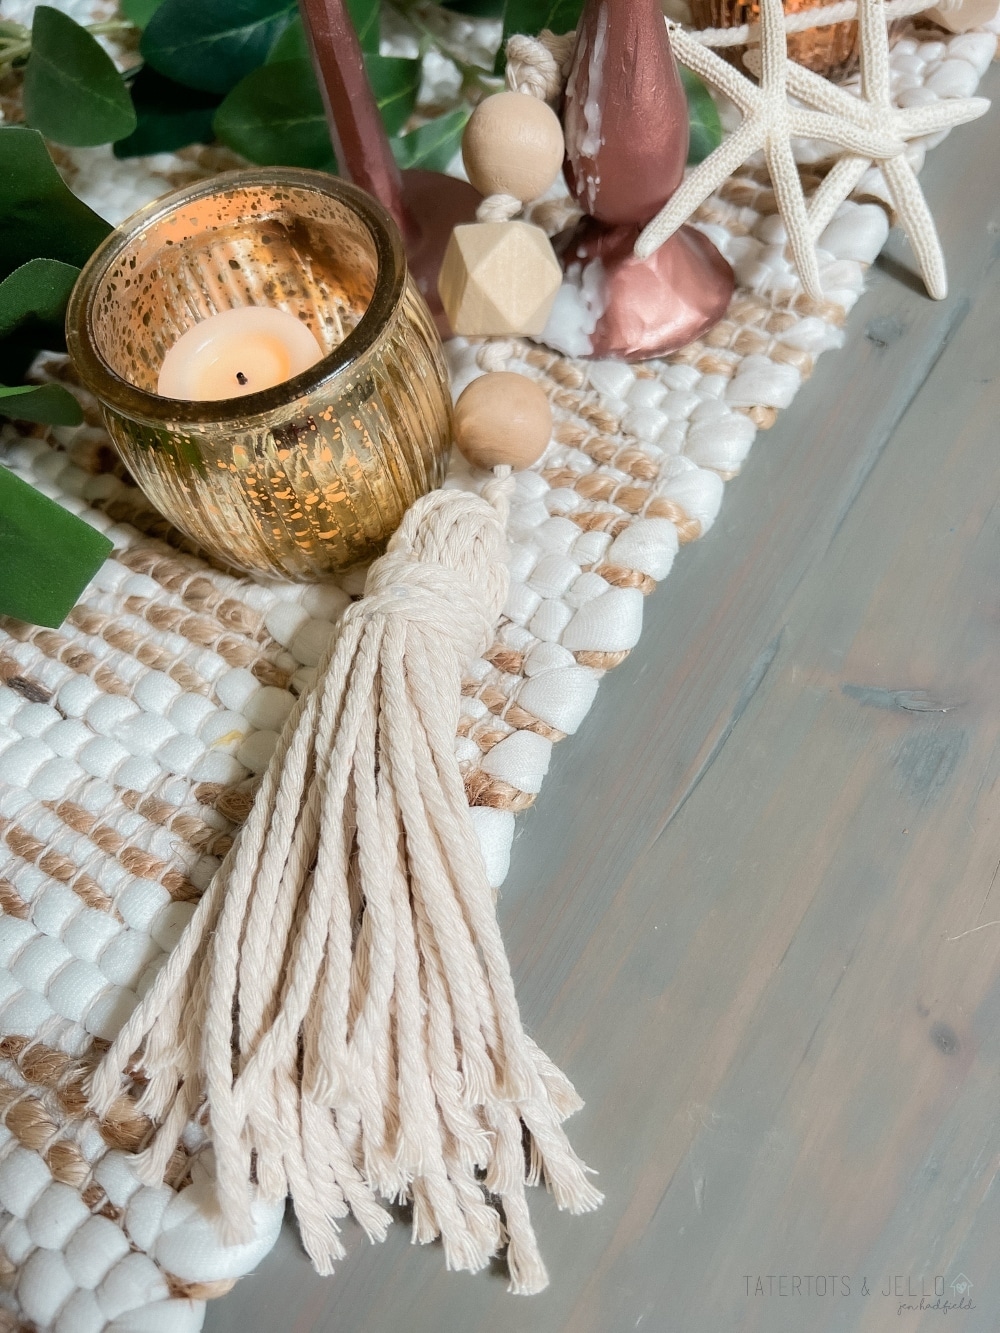
- Decide how long you want your tassels. Use a piece of cardboard or something to wrap the string around. I used a cutting board that was about 12 inches long. The tassels will be half the length of the cardboard or object you are using. A 12 inch cutting board makes tassels that are 6 inches long.
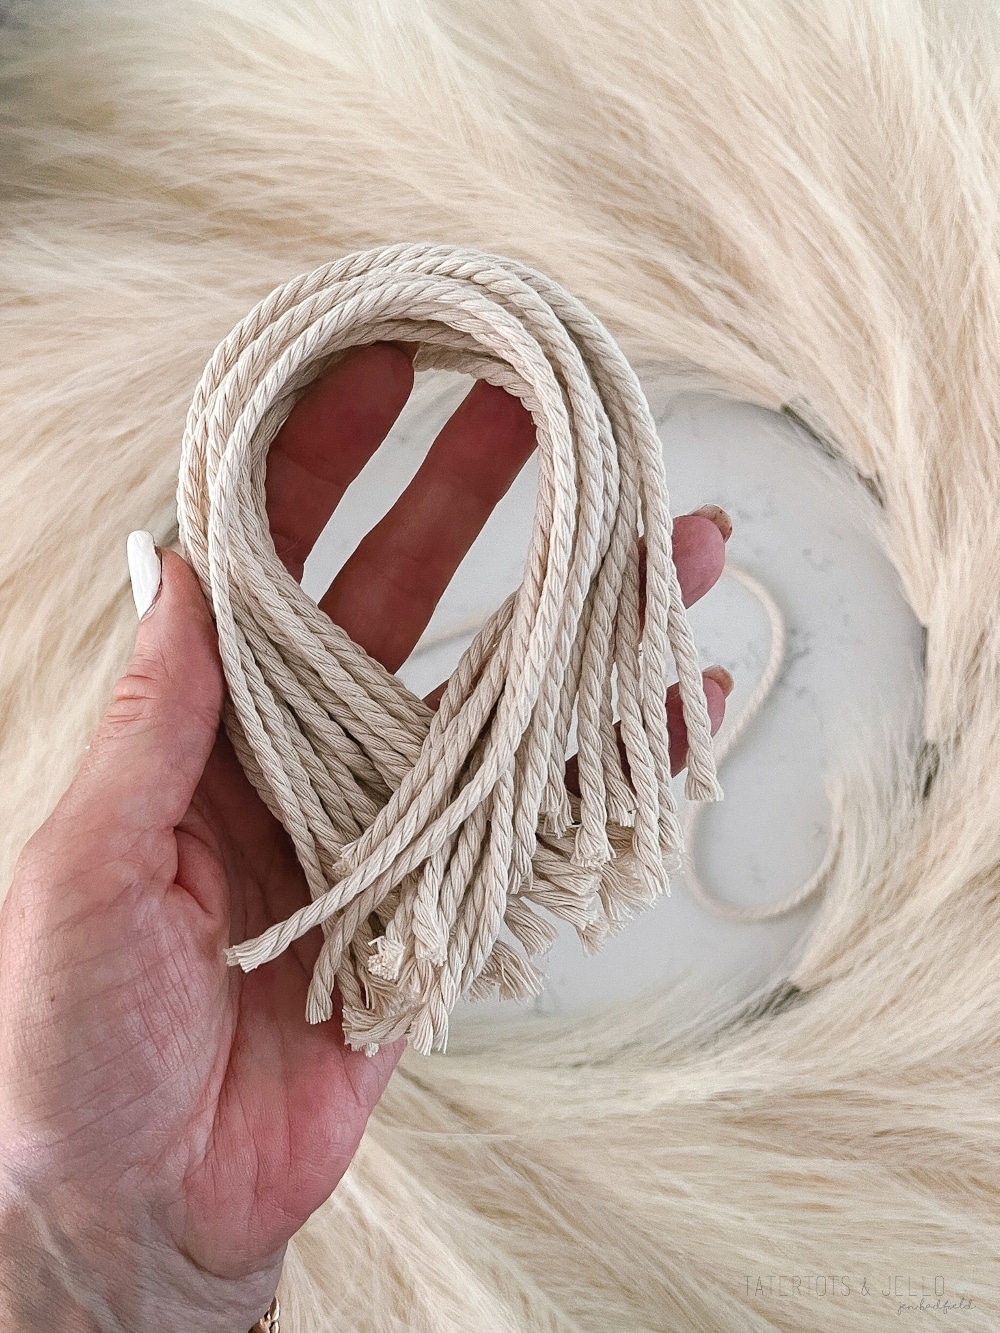
- Wrap macrame string around your cardboard or object 10 times. Cut the end of the string.
- Take the string off the cardboard or object.
- Cut the string on both ends, so all pieces are the same length.
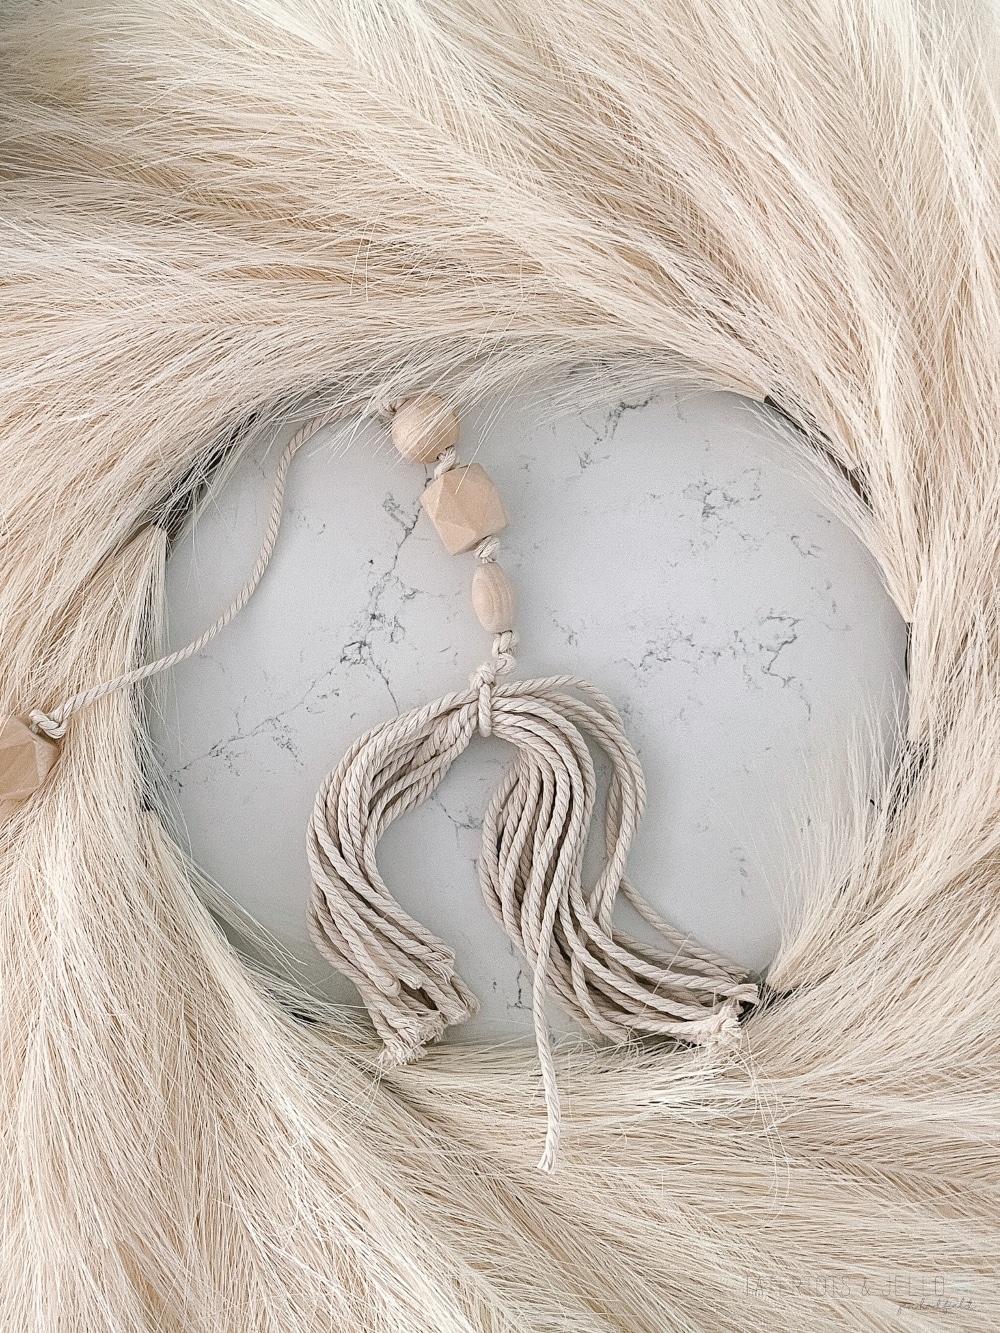
- Put the cut pieces evenly over the end of the beaded garland string. The end of the string will be in the center of the cut pieces.
- Wrap the string around the cut piece and tie in a knot a the top of the bundle.
- Cut the end of the string right next to the knot.
- And you can use a little bit of hot glue to secure the cut end so the knot doesn’t fray and come apart.
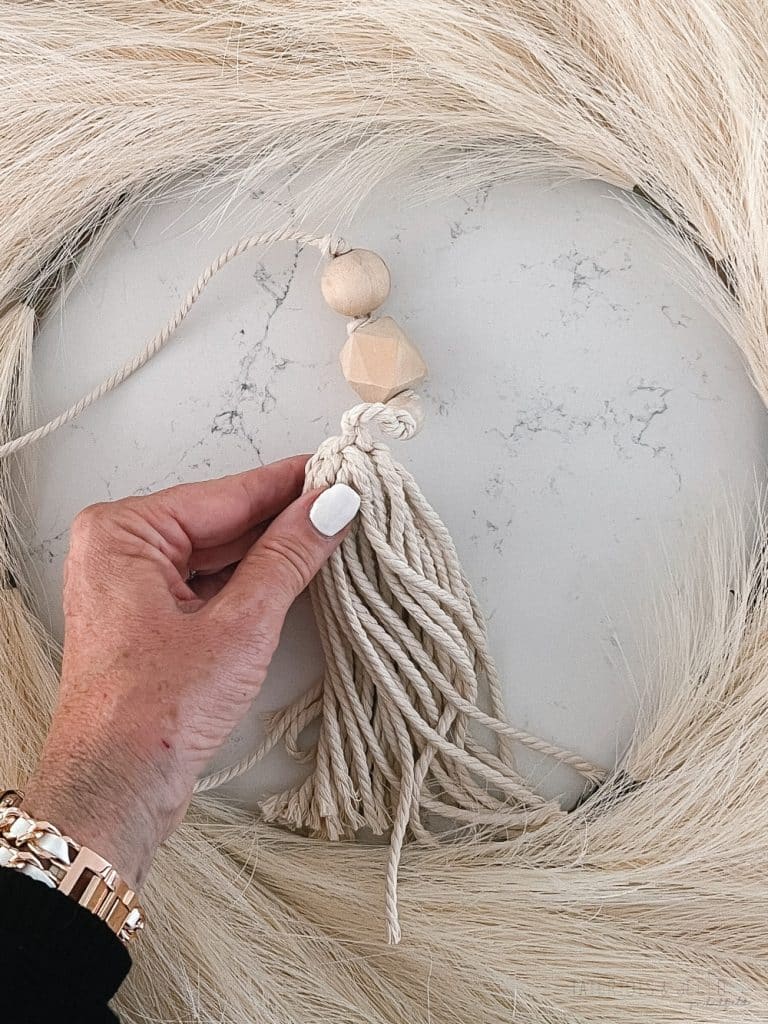
- Fold the ends of the cut pieces down together, around the loop of the string you just cut.
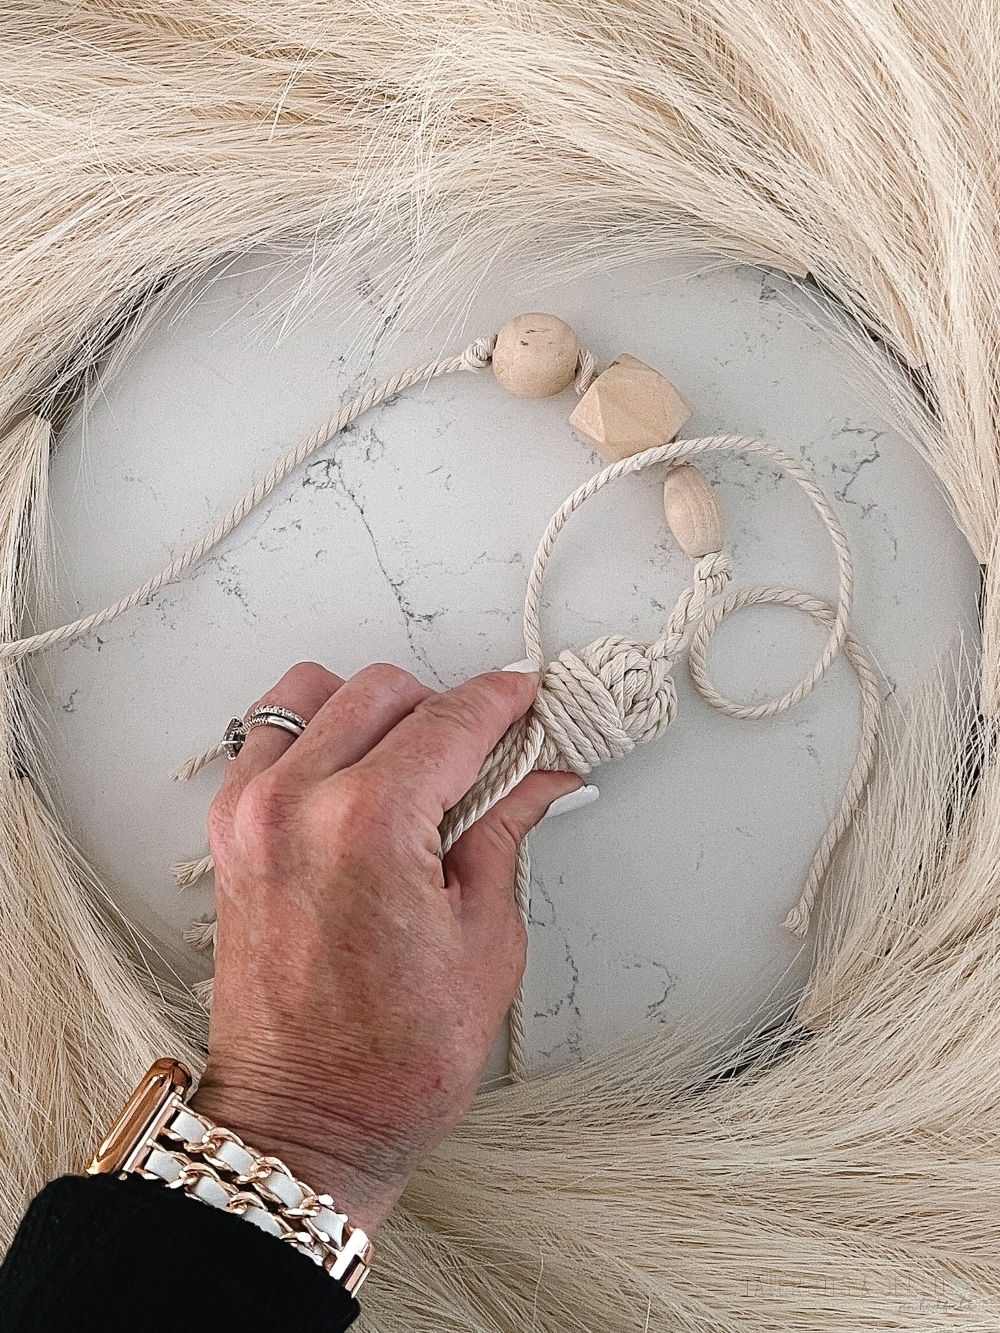
- Use an 8 inch length of string to tie the looped string at the top of the tassel.
- Start by putting a dot of hot glue where you want the top of the tassel to be.
- Then wrap the string around the head of the tassel 3-4 times.
- Use another dot of hot glue to secure the string around the head of the tassel.
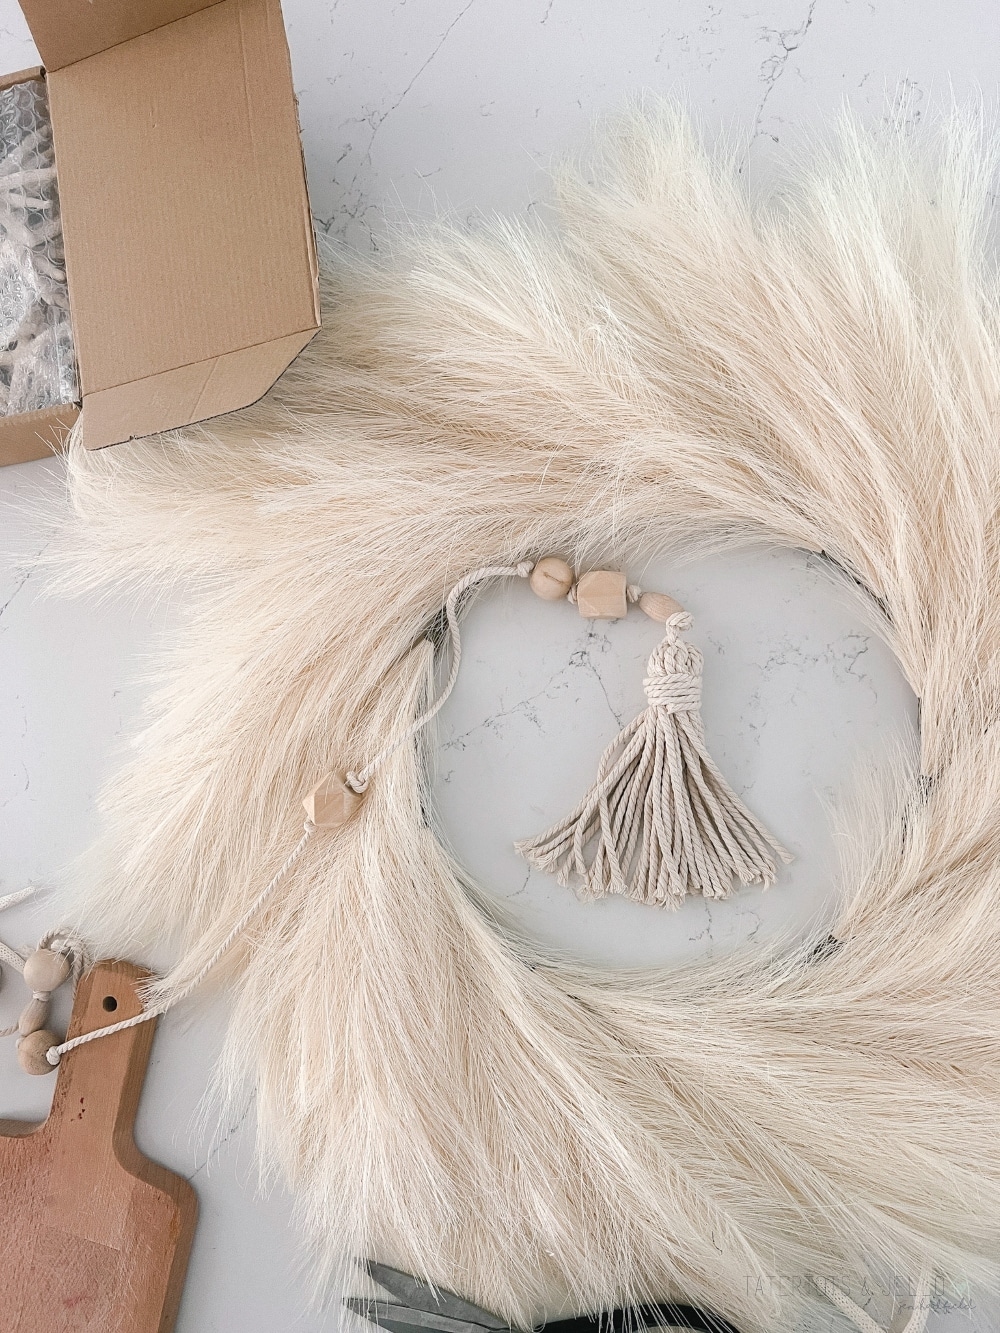
- Now, when the hot glue cools, cut the end of the string very close to the hot glue. Also, you can use another dot of hot glue to keep the end from fraying.
- Now do the same steps on the other end of the beaded garland.
Enjoy Your New Summer Beaded Starfish Garland
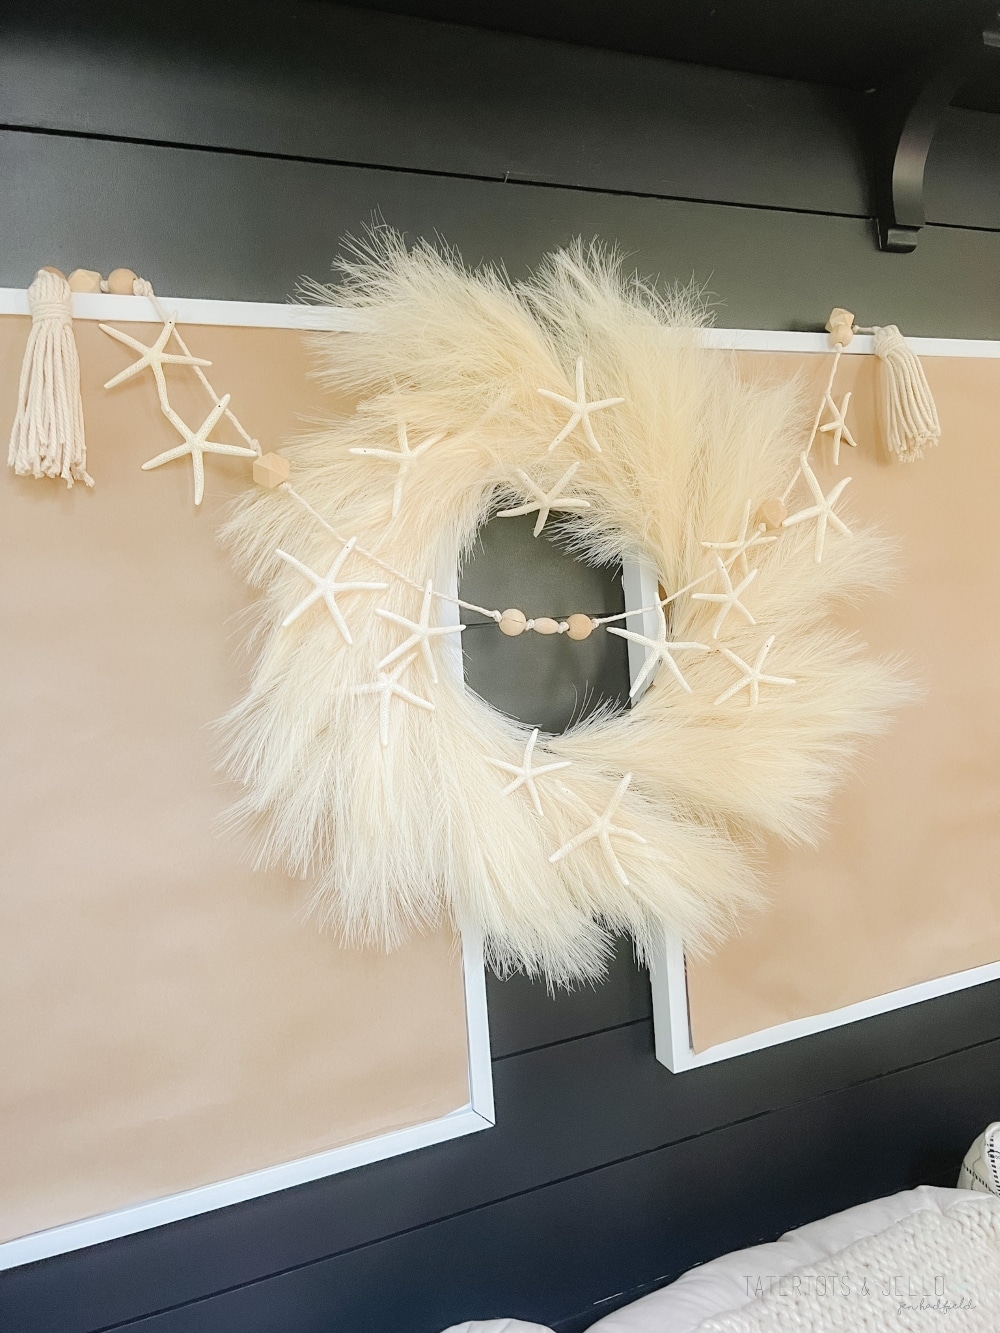
That’s it! Wasn’t that easy?? As I said, this beaded starfish garland is perfect to place on a shelf, over a doorway or on a mantel! Tag me on Instagram at @tatertotsandjello if you make one! I would love to see it and share YOUR garlands!
Next Stop on the Handcrafted Society Tour
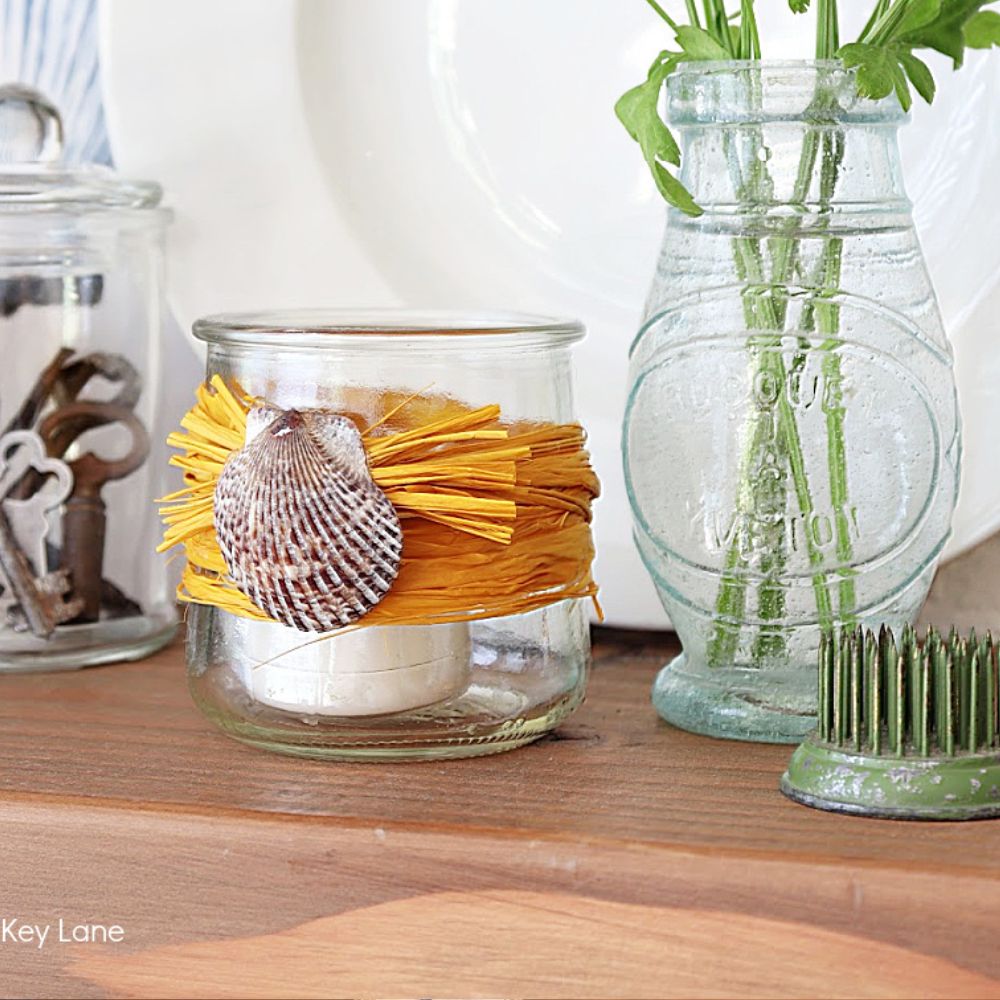
Now head over to Amy’s site at Chateau Chic and see Amy’s gorgeous coastal decor with seashells! I love Amy’s home and I know you will too!!
Be sure to check out all of the Handmade Society shell projects!
More Summer Decorating Ideas
Here are a few summertime ideas I’ve made over the years for inspiration!
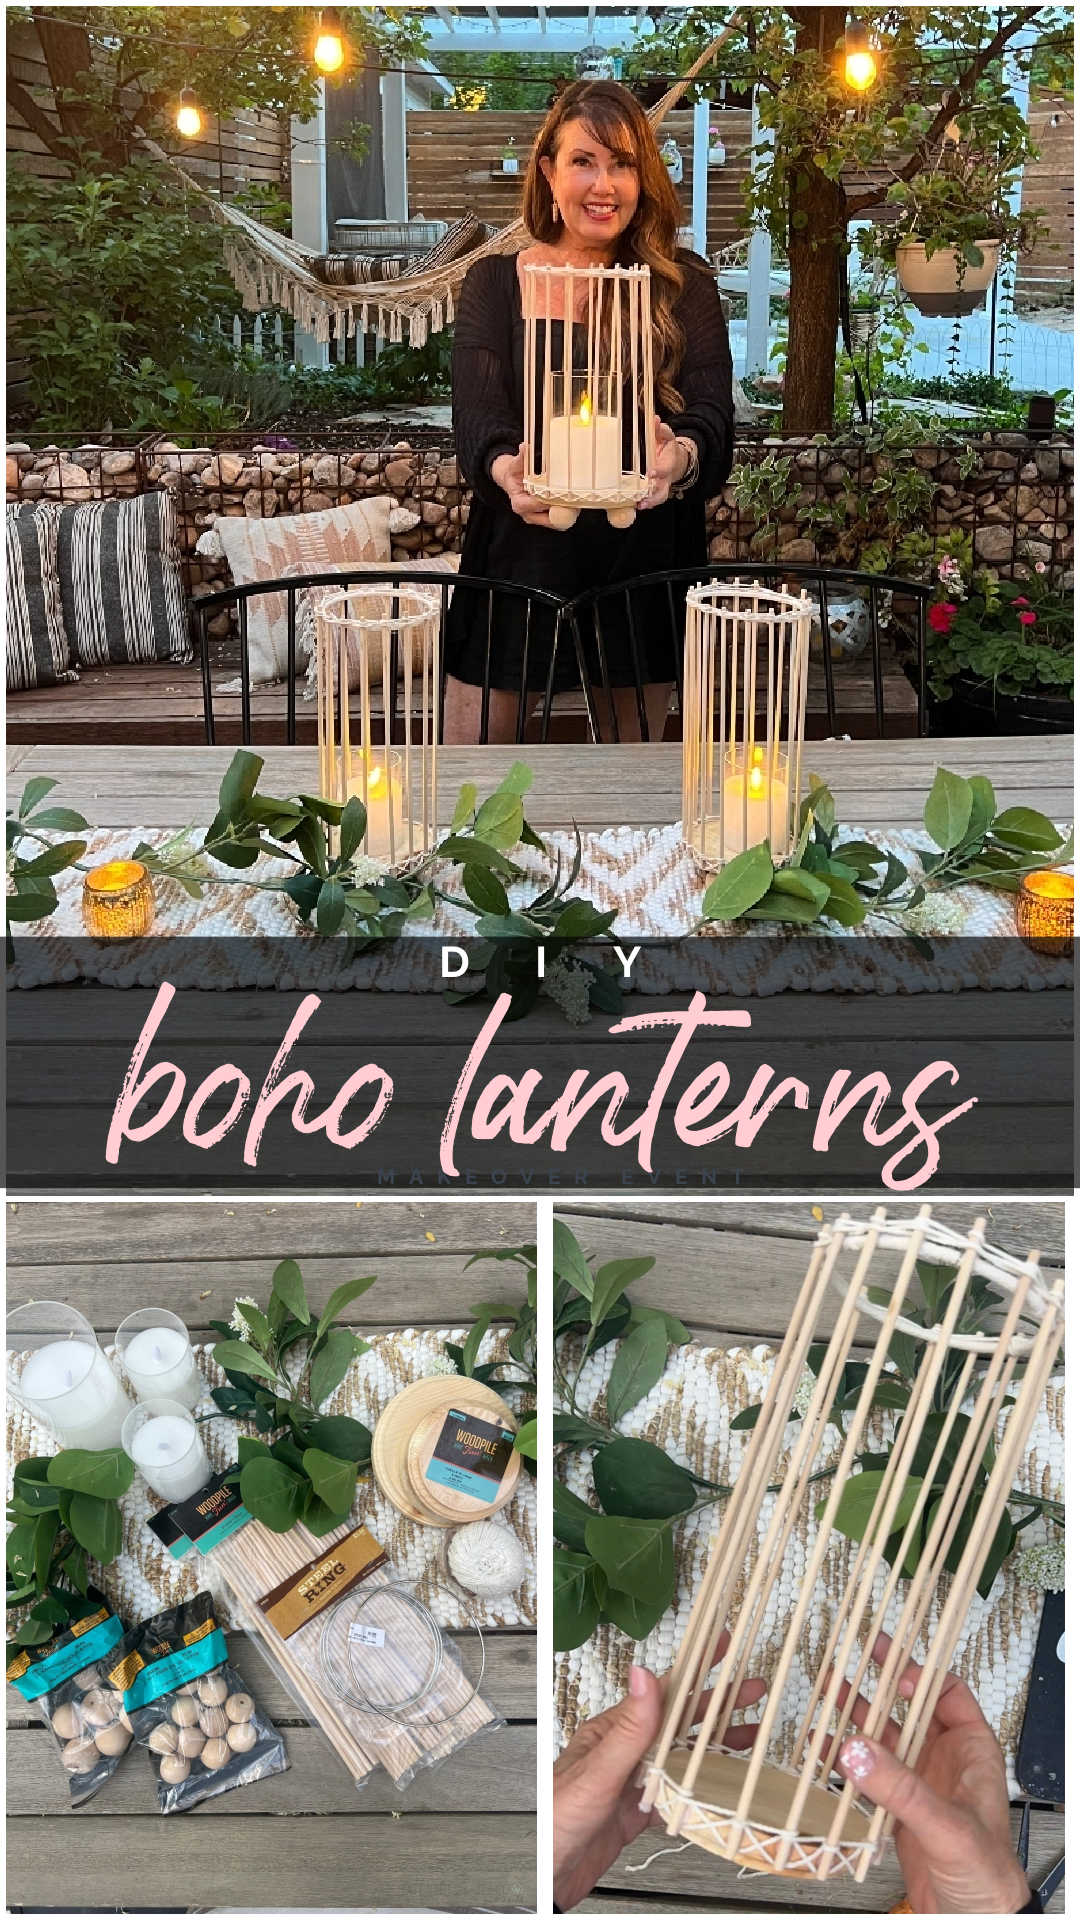
DIY Boho Lanterns
These are the lanterns that are on my table with the starfish garland. They are so fun to make!
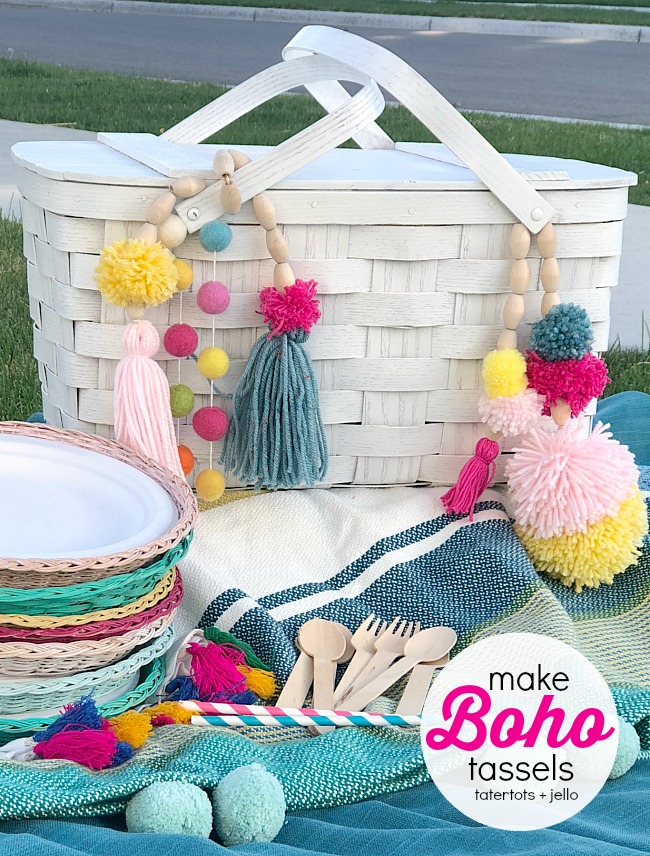
How to Make Boho Tassels
How to make Beaded BOHO Beaded Pom Pom Tassels. Make a tassel for a shelf, a doorknob, embellish a present or a picnic basket. You can make pom poms with yarn and your hands. A beaded boho tassel also makes a wonderful gift idea!
Have a Creative Day!
xoxo





I love this idea. It is so creative.
Your garland and the entire wall are picture perfect! I Can’t believe you found them already drilled and ready to go. The whispy wreath was the perfect addition to your wall.
Wow Jen, this is so good! This could be used in so many ways too! Pinned! Thank you for sharing!
Love anything starfish!! So pretty Jen!
Finding predrilled starfish is brilliant Jen! Love how your garland turned out, which looks fabulous with your boho wreath and on your table. Those lanterns are pretty fabulous too!
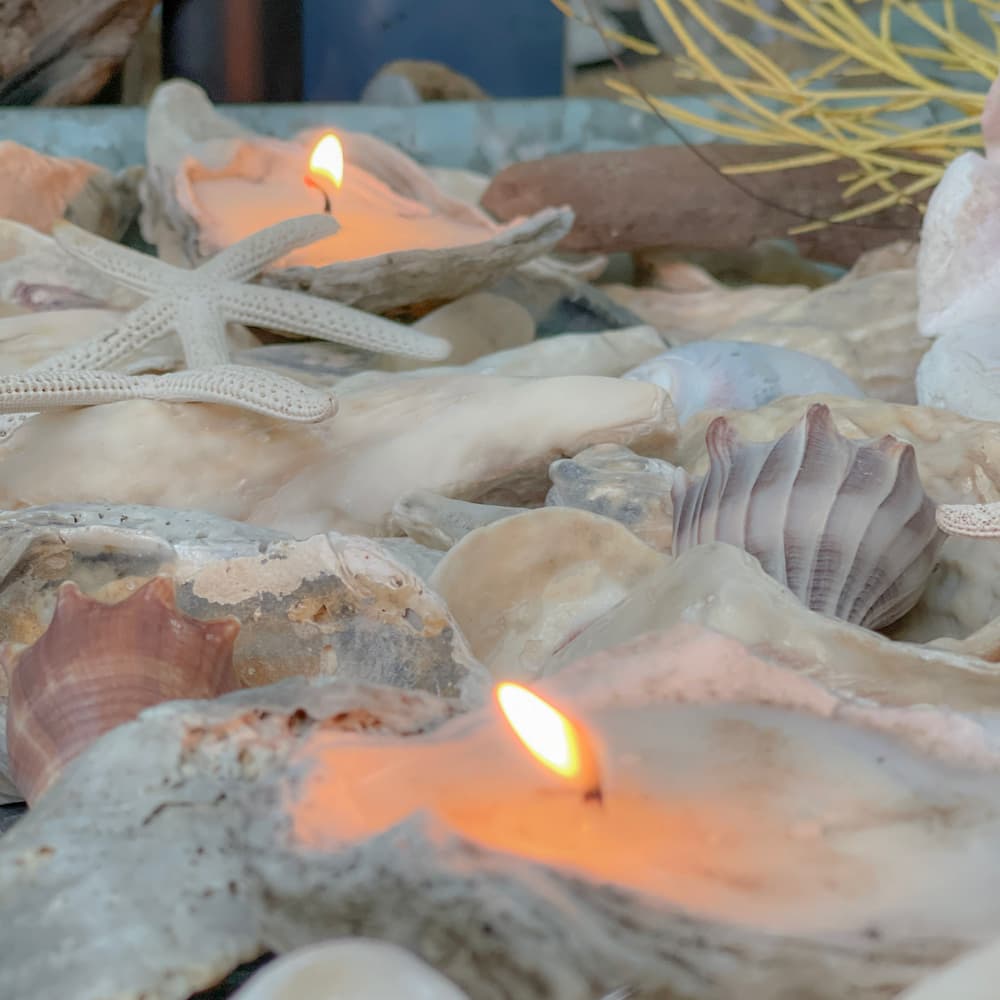
Thanks Michelle! I loved your shell candle holders!! This shell theme has made me start thinking about a coastal christmas with starfish haha!
xoxo
This is such a pretty and versatile garland! I love the macrame tassel that you added! Thanks for a great Handcrafted Society project! Pinned!
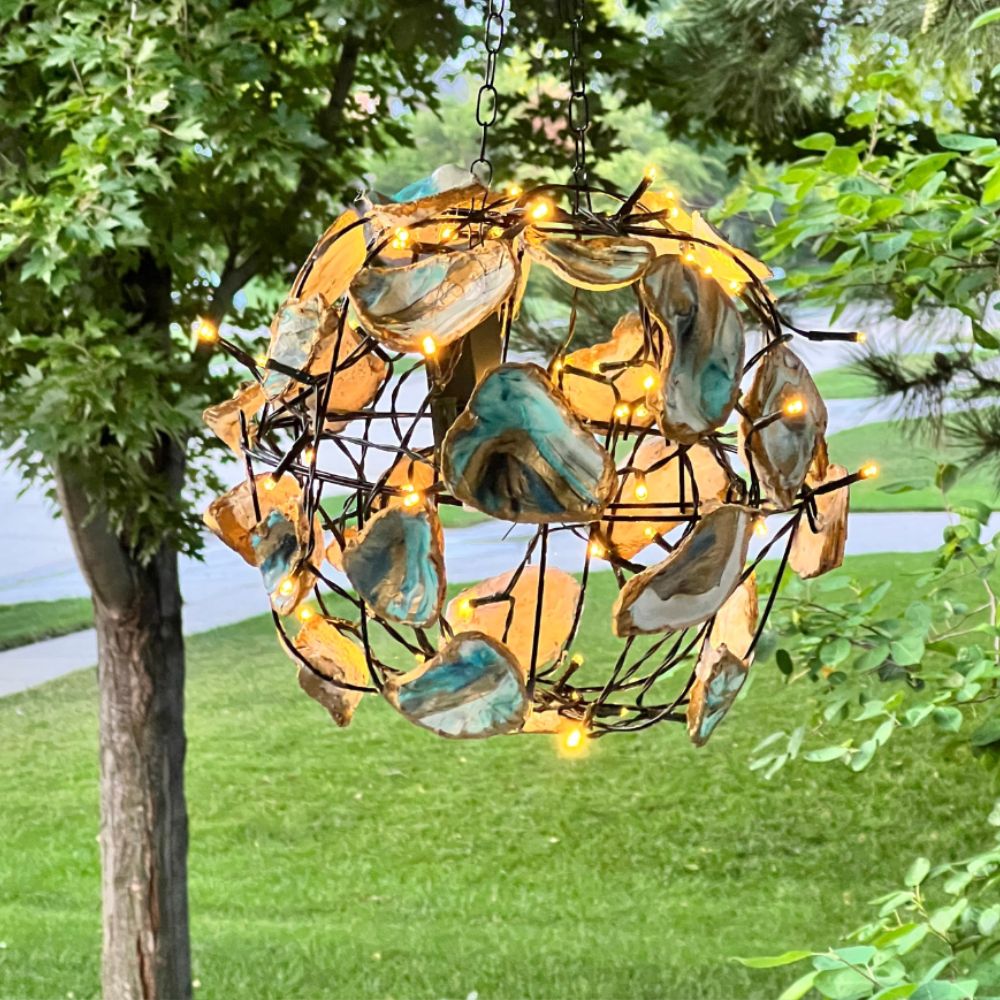
Thanks Missy! I LOVED your twinkling shell chandelier. You are SO clever!
xoxo