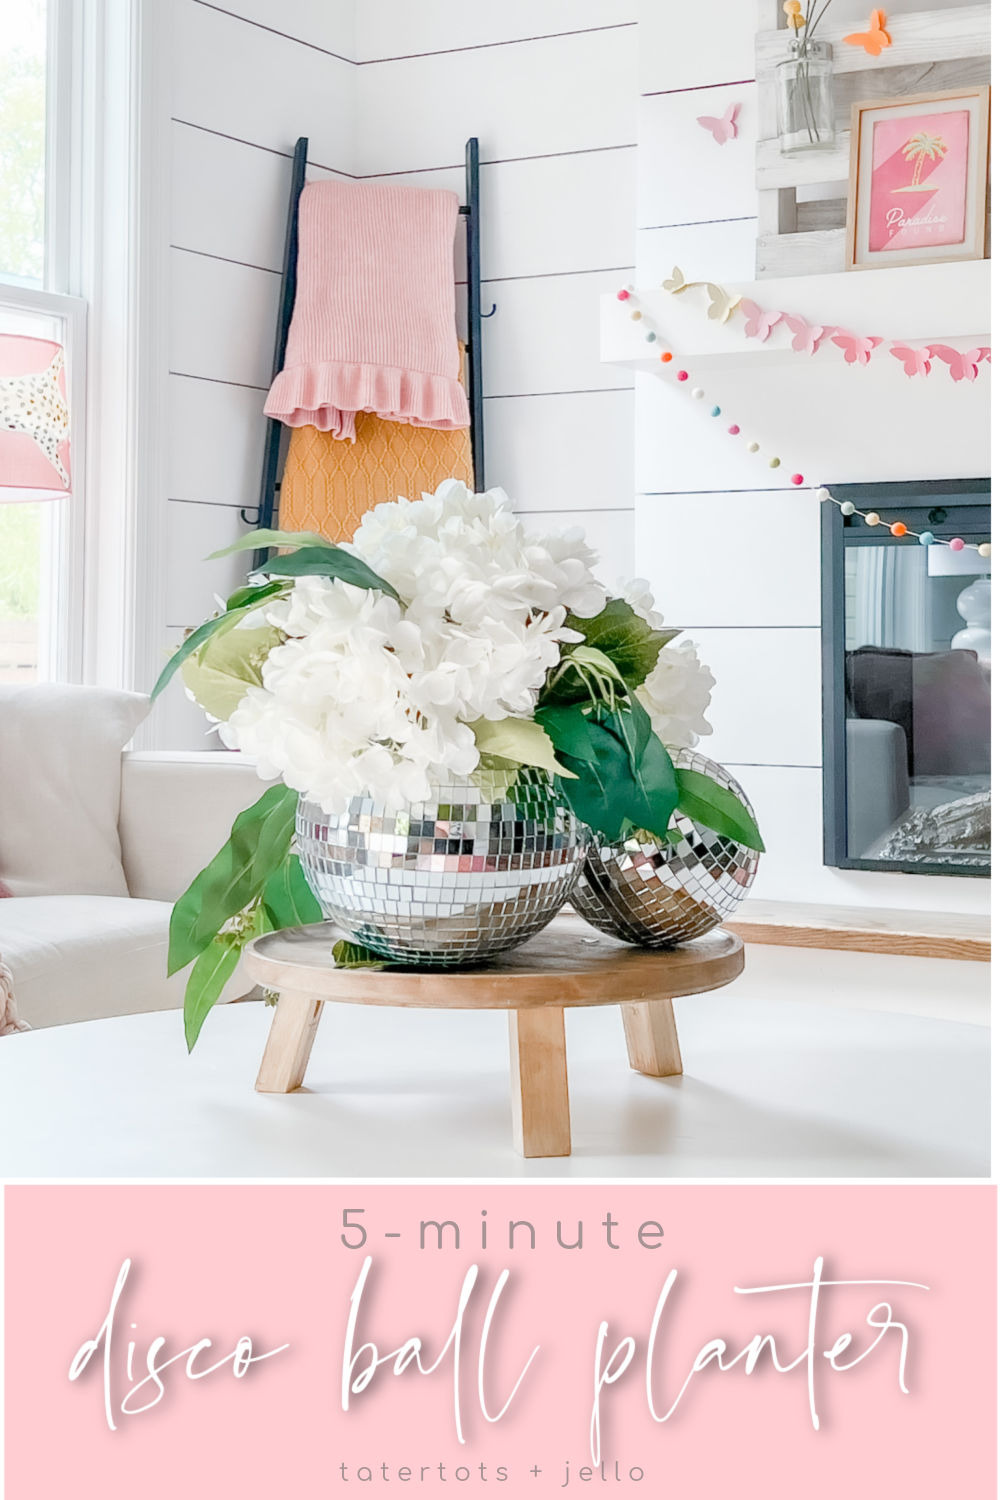
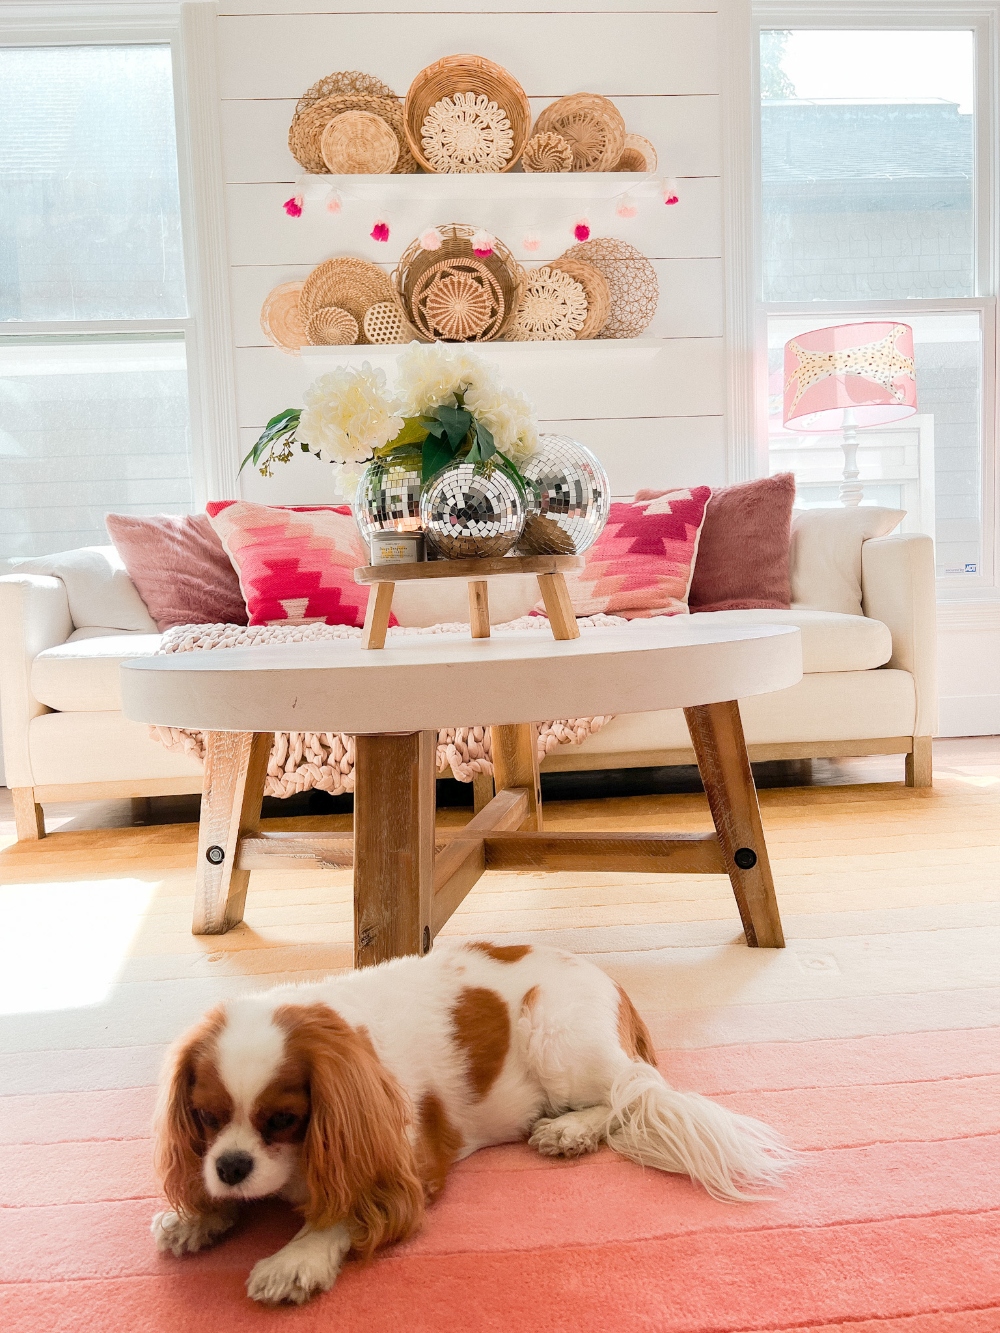
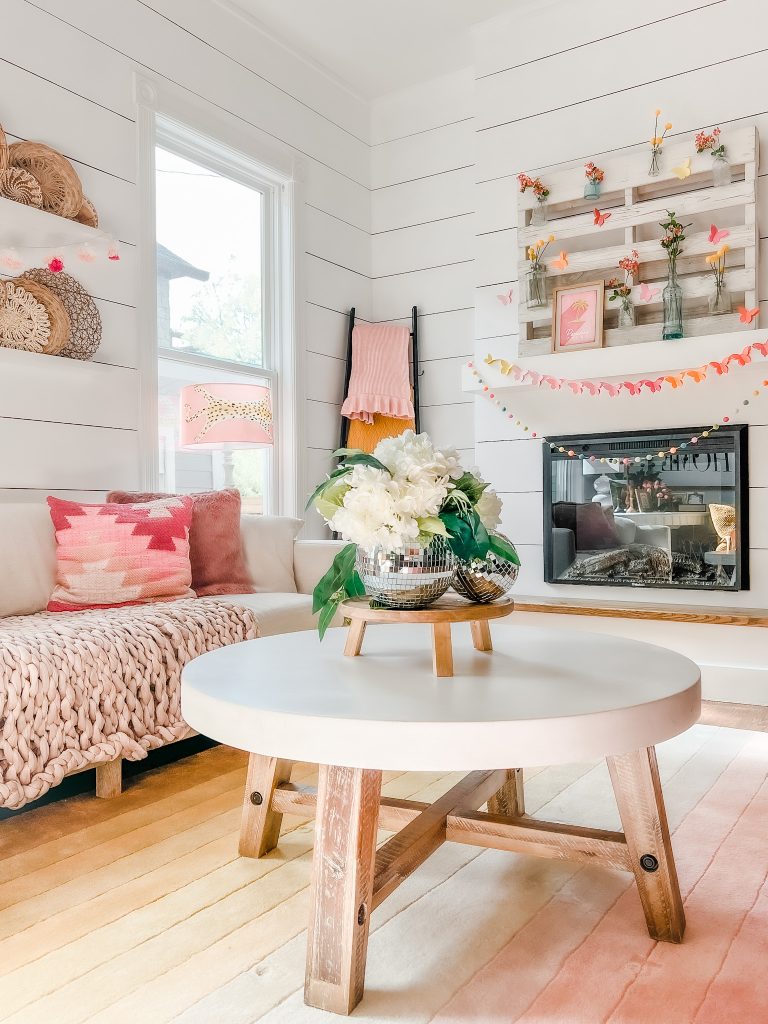
DIY Summer Disco Ball Planter. Turn a disco ball into a whimsical, sparkling summer centerpiece in less than 5 minutes!
DIY Summer Disco Ball Planter
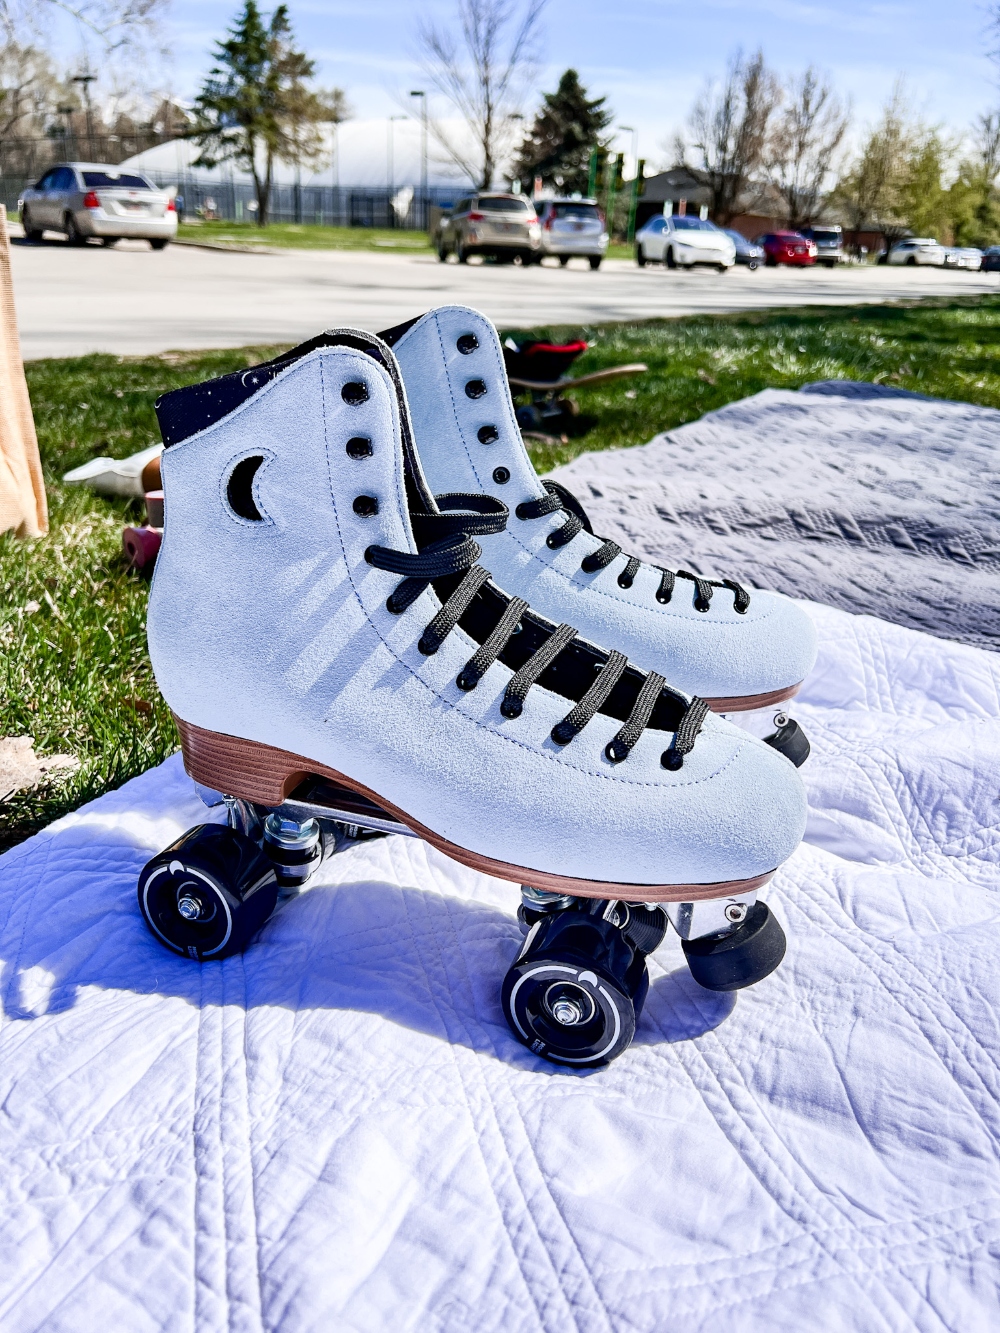
I love summer and I love my new Moonlight Rollerskates. Aren’t they so cute?? We have a big park near our house and it’s so great because it has a circular track that is perfect for roller skating. I love going there with my kids while they skate. It’s one of my favorite things right now. I decided to create a disco ball centerpiece that reminds me of going skating at the roller rink every saturday with my friends when I was in middle school!
11 Summer Ideas
I am sharing my DIY Disco Ball Planter today and I am joining 10 lovely friends who are sharing the prettiest summer ideas! If you are here from Pasha Is Home, welcome!! I loved Pasha’s red white and blue ideas! And be sure to see all of the Summer Ideas at the bottom of the post.
Easy Summer Centerpiece Idea
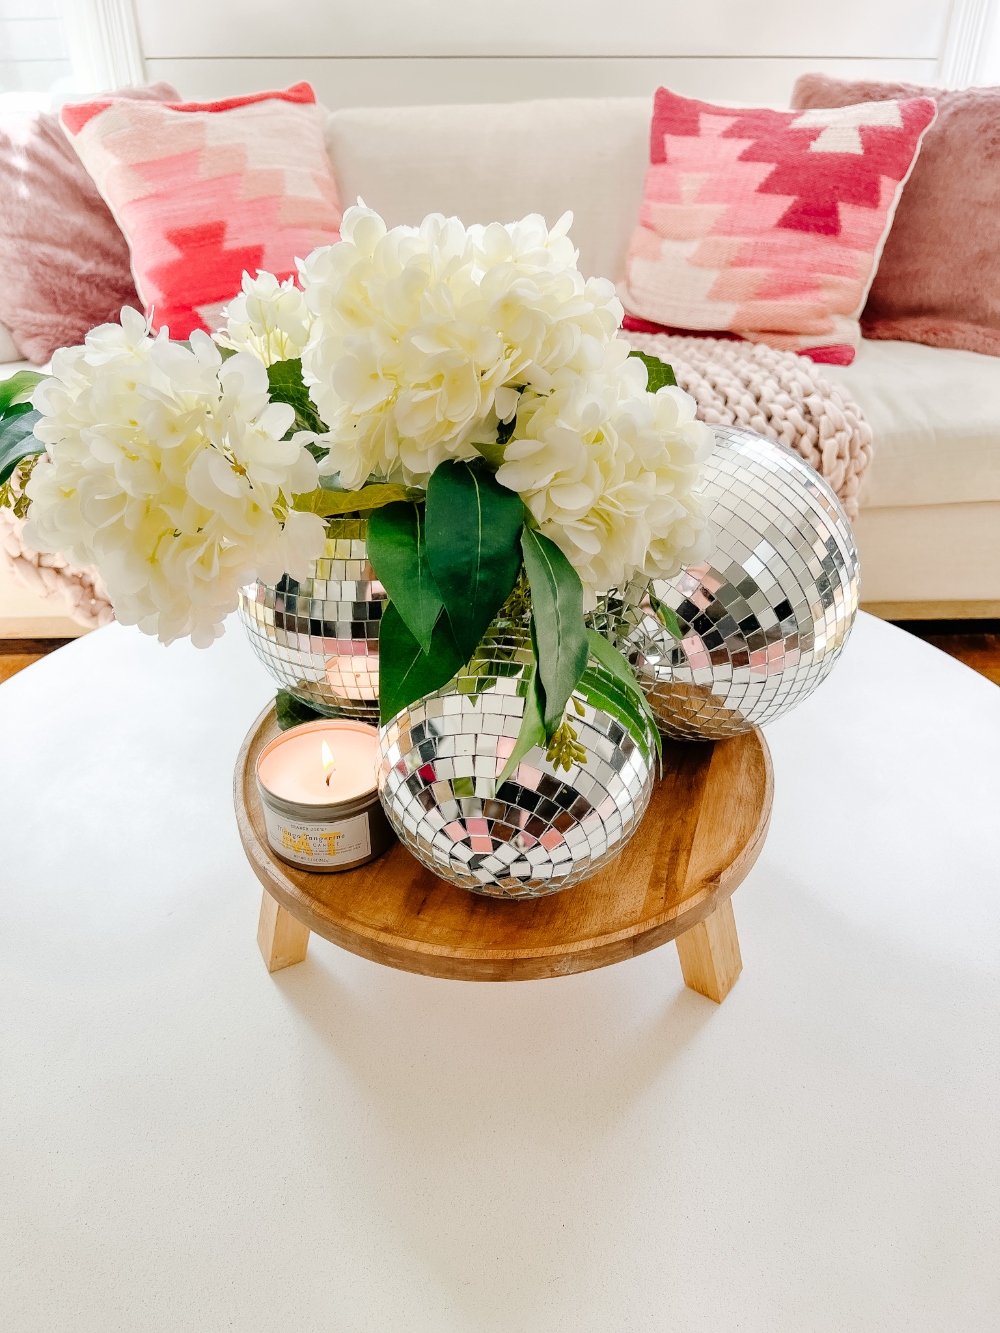
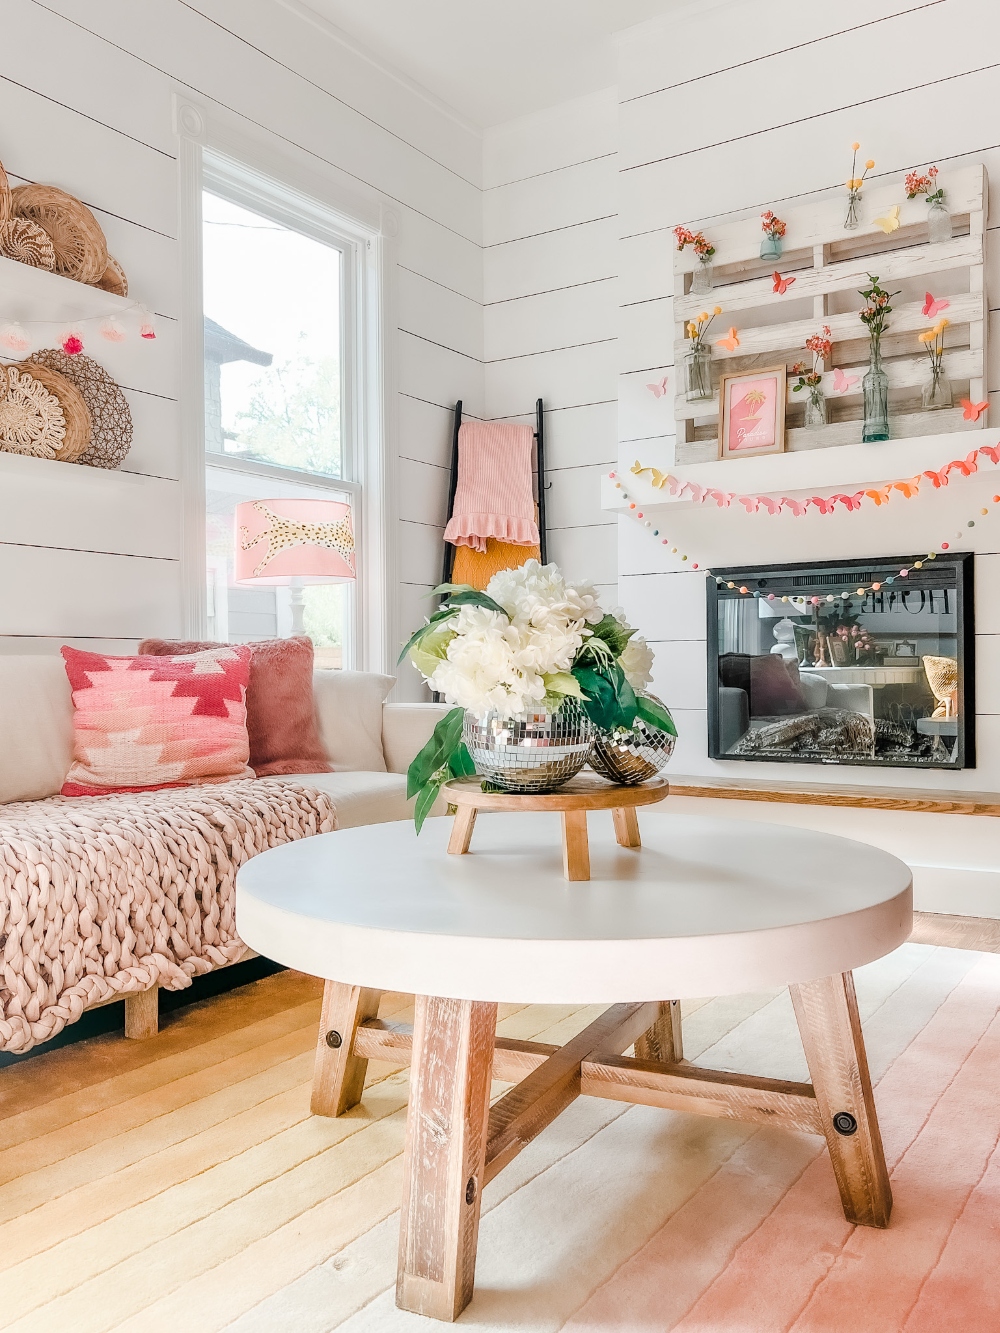
Disco Balls are so magical when they are reflecting light! Make this disco ball. planter and see it sparkle all summer long. I wasn’t sure if this DIY would be difficult or easy as I thought about how to create this idea. It turns out it was so much easier than I imagined. Yay! Here’s how to do it:
Disco Ball Planter Supplies
All you need is a couple supplies to make this project!
- Disco Ball – this is the disco ball I ordered — 8″ disco ball. You want one that is hollow inside.
- Planter to go inside the disco ball – here is one that fits inside the disco ball I used.
- A knife
- Glue dots (optional) – this makes it so the ball doesn’t roll around.
How to Make a Disco Ball Planter
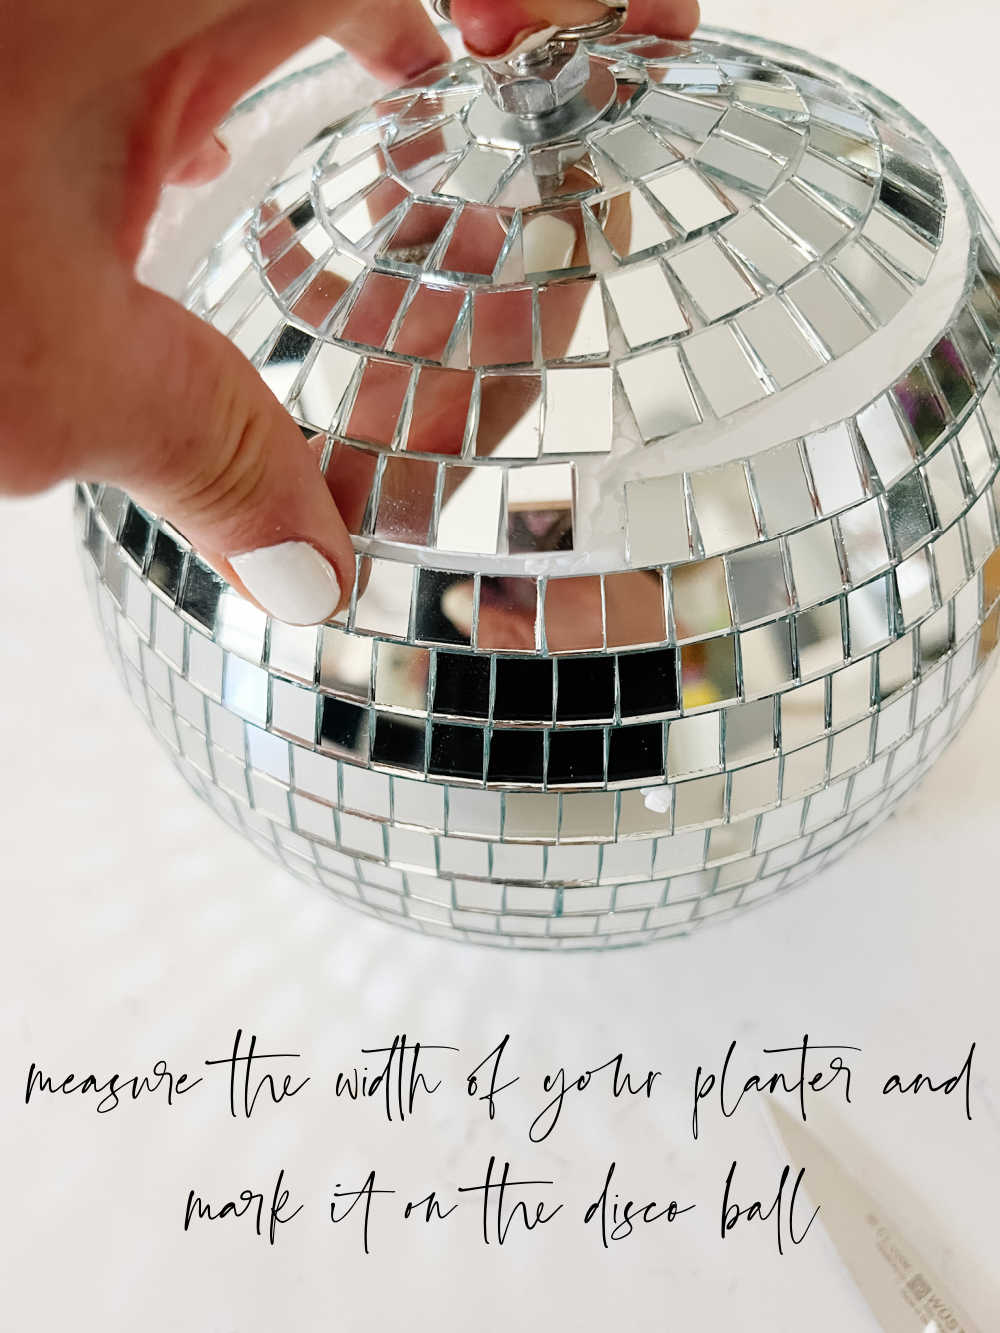
- Put the disco ball on your work surface and put the planter on top so you get a sense of how wide you need to make your opening.
- Mark where you will cut into the disco ball. I made my opening bigger than the width of the planter just to be safe. You can also make it larger if you need to.
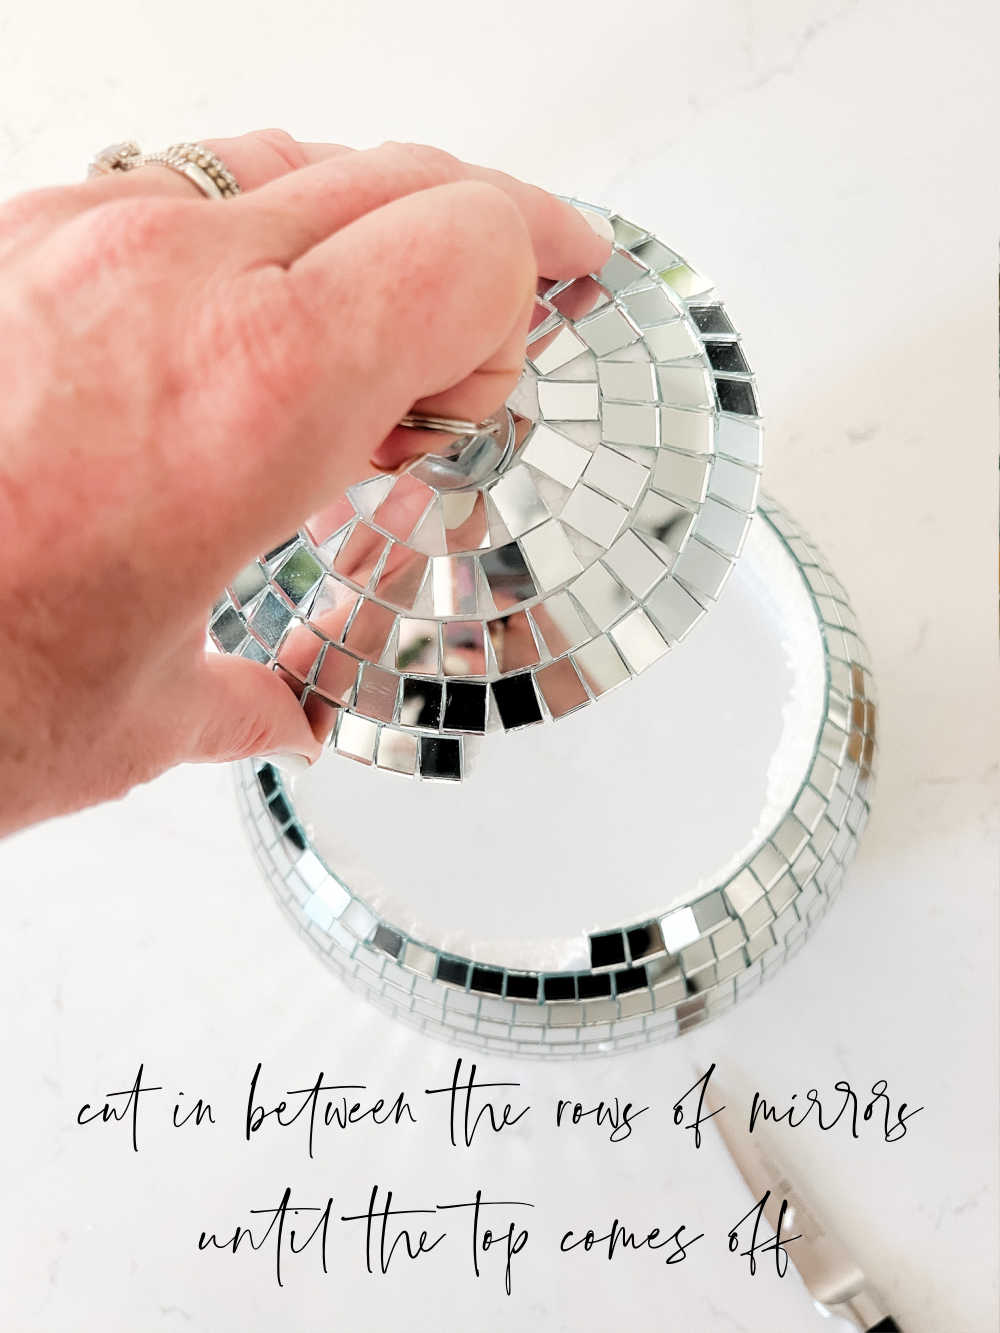
- Take your knife and insert it in between the rows of mirrors.
- Cut along the rows until you have cut to the point where you started. Since the mirrors are continuous you will have a little step where you cut to take the top off the disco ball. This will not be very noticeable once you have inserted your flowers or plant inside the planter.
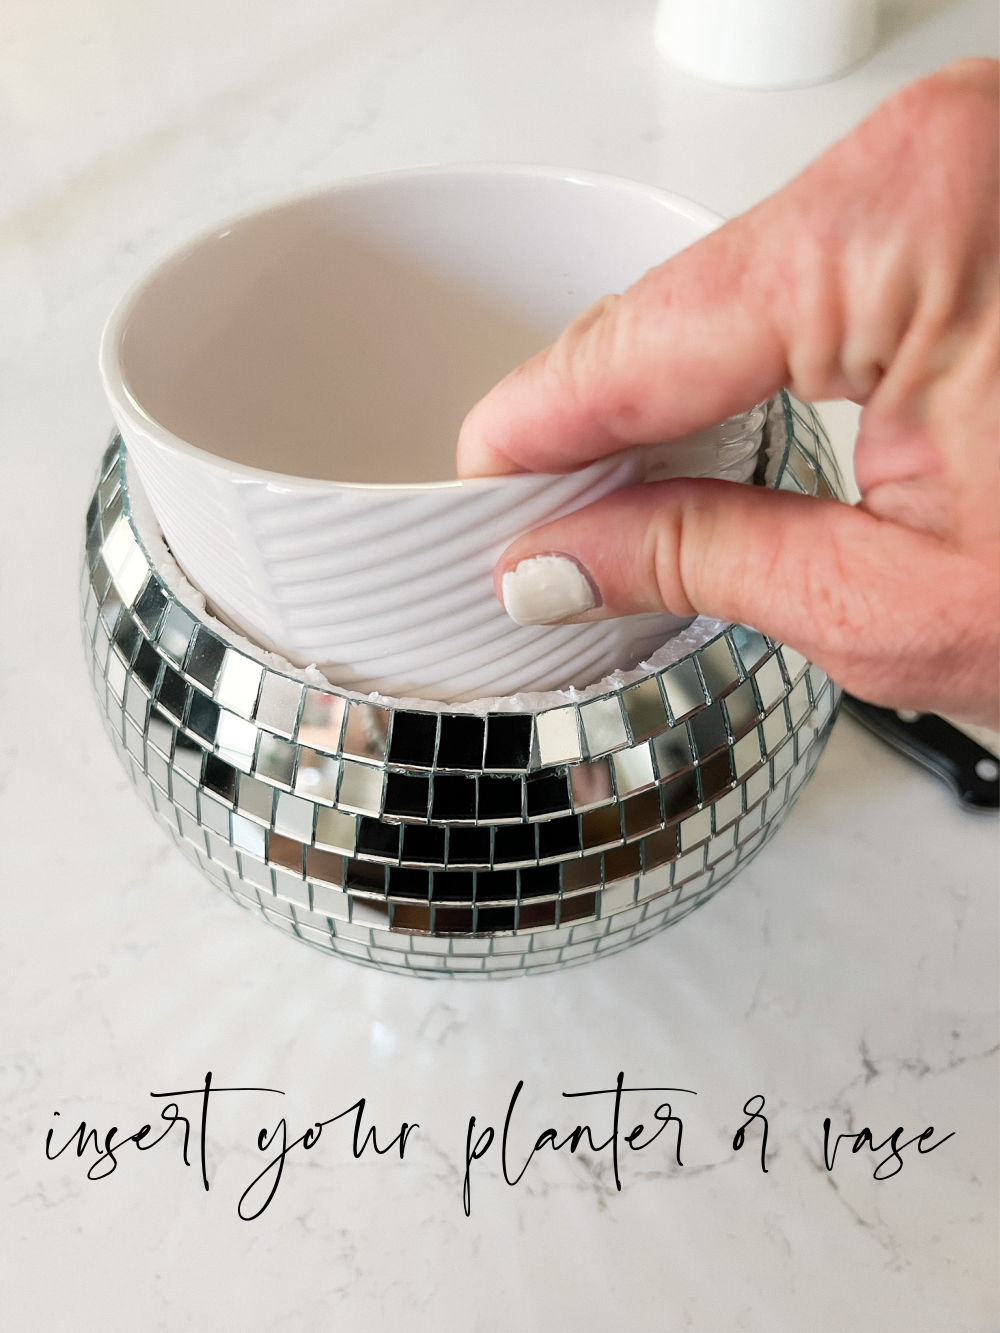
- Take the lid off the disco ball and place your planter inside. If it’s a tight fit, you can trim some of the styrofoam away inside the ball to make it a little larger. Or you can cut another row of the mirrors off.
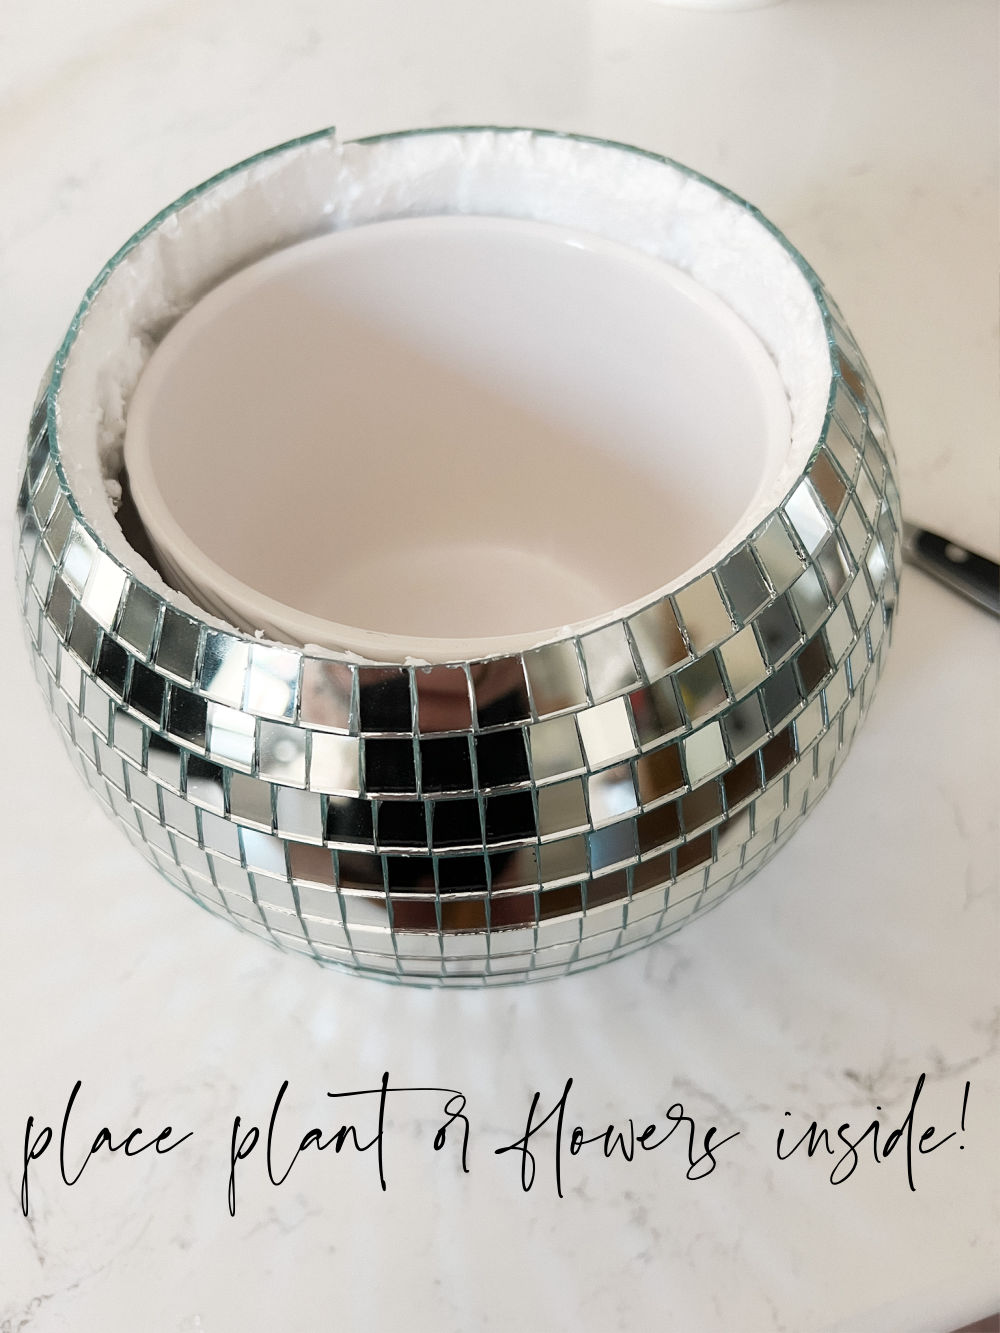
- Now you can insert a plant or flowers inside the planter and enjoy your sparkly planter! I am going to make a macrame hanger for mine and I will share that tutorial and link it here if you want your planter to hang in a window for EXTRA sparkle!
Next on the tour is Willow Bloom Home! Those lemon ideas are so cute!
Summer Inspiration from Eleven Talented Bloggers

Small Cottage Guest Bedroom, Vintage and Delightful // Dabbling & Decorating
Five Simple Things That Look Good on Your Summer Mantel // Robyn’s French Nest
Five 4th of July Party Ideas That Will Sparkle // Pasha is Home
DIY Summer Disco Ball Planter // Tater Tots & Jello

Lemon and Floral Summer Kitchen Decor // Willow Bloom Home
Five Minute Simple Summer Centerpiece // Midwest Life & Style
5 Affordable Summer Decor Ideas for a Small Front Porch // Simply 2 Moms
Seven Amazing Ways To Have A Memorable Summer // Cottage in the Mitten
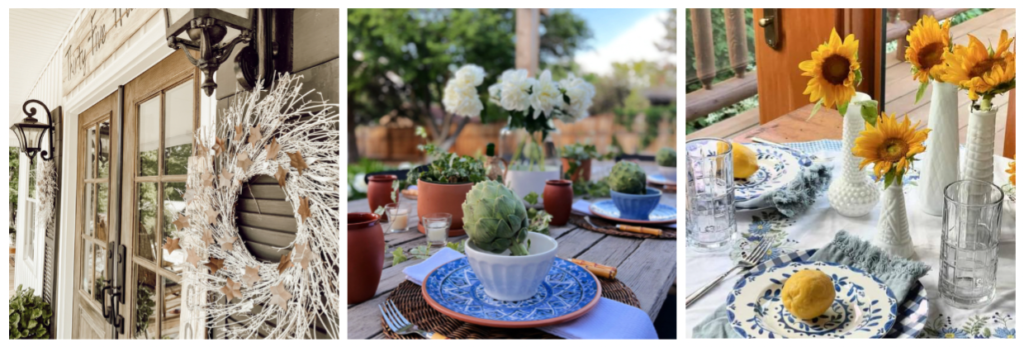
DIY Star Neutral Wreath for Summer // The Pond’s Farmhouse
An Outdoor Summer Tablescape Using Blues and Terracotta // The Tattered Pew
5 Ways to Set An Everyday Summer Table // White Arrows Home
More Summer DIY Ideas
Here are a few other summer DIY ideas I’ve created if you want to make some for your home!
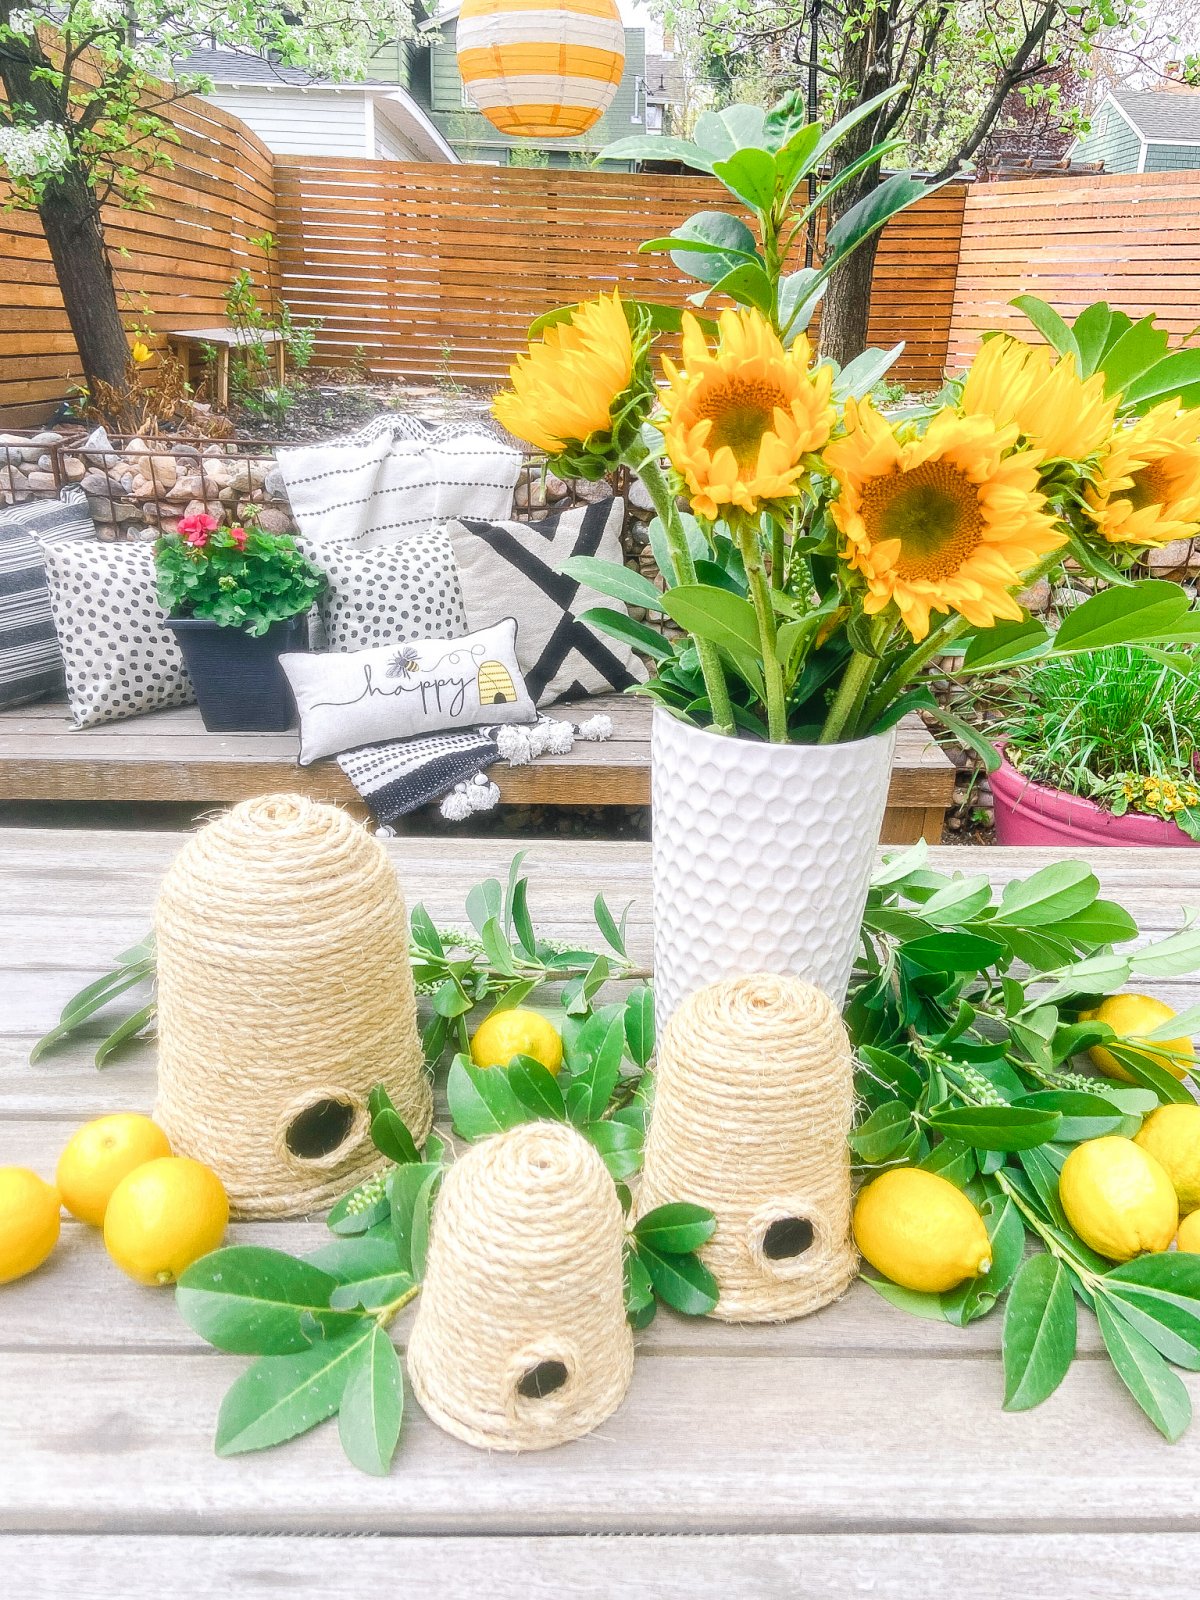
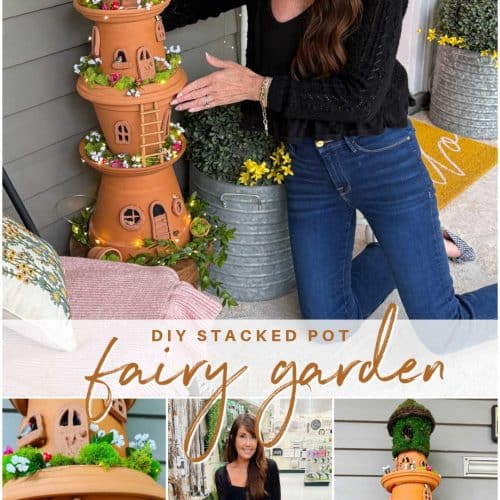
How to Make Summer Beehives
DIY Beehives and Beehive Backyard Inspo! Create cute and inexpensive beehives, add beehive pillows and create a hanging basket garden for a beautiful summer patio!
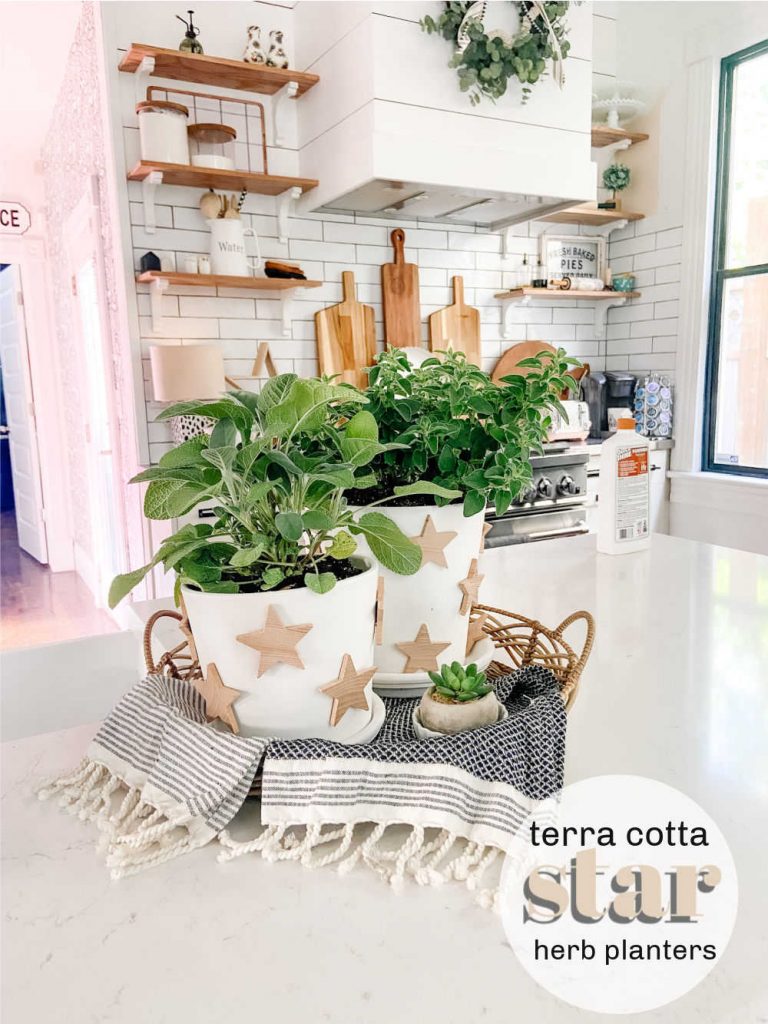
Star Herb Planters
Terra Cotta Star Herb Planters. I love fresh herbs! Summer is the perfect time to plant some fresh herbs for your yard or kitchen! Take inexpensive terra cotta pots and turn them into pretty pots with a farmhouse twist.
What are YOU working on at your house?
Have a beautiful day!
xoxo



I just found your site today and I think your project is just great and inspiring. Thanks also for the detailed assembly instructions. Please keep it up.
Best regards
Karl Heinz
What a fun idea and it looks fabulous with the flowers! I have to say, I may get some roller skates for the summer too! 💖 So nice touring with you, Jen!
I just love the way it sparkles in the sunshine 🙂
xoxo
Jen seriously send some of your creativity my way! You are amazing and this is the cutest little DIY I ever did see! And the roller skates…be careful and have fun. Wish I lived closer as I would dust off my rollerblades. Ha!
You are so sweet, Kelly! I love the way it sparkles. I love your beautiful tablescape!
xoxo
Jen, what a fun and beautiful idea! I also love those adorable rollerskates- definitely makes me want to try it again.
I love how it reminds me of roller skating with my friends growing up. And the way it sparkles in the light! Thank you!!
xoxo
This is so darn cute, Jen. What a fun and creative idea! When I was in elementary school we went skating at a local rink for our end-of-the-year party. I had completely forgotten about it until reading your post and seeing your fun DIY. Thank you for sharing and for bringing back such fun memories. Pinned
Oh yay! I am glad it brought back good memories for you, Jen! I have so many and I love how the mirrors catch the light and make the room glow!
xoxo
This might be one of the funnest planters I have ever seen! Great ingenuity Jen ;)!!
xx-Pasha
Thanks Pasha! So many good memories that come back looking at that little project 🙂
xoxo
Oh my gosh, YES! Middle school, Abba, roller skating, and meeting boys:)))) Those were the best Saturday girl’s nights outs ever! Thanks for the nostalgia. Such a fun idea and those rollerskates are amazing!
YES!!! So many fun memories of the roller rink with this little project! I love that! Thanks Ann!
xoxo
Oh my goodness, what a fun and cute idea! Thanks for sharing!
It brings back some fun summer memories 🙂
xoxo
Such a super fun & creative idea! So fun touring with you. Pinned!
Thanks AnnMarie! I am excited to come over and see your festive home!
xoxo
Jennifer,
What a cute idea and so festive. I love your creativity. So fun doing these together.
Thanks Rachel! I adore everything you create. This is so fun!
xoxo