DIY Spring Flower Lanterns. Spring is the perfect time to create DIY spring flower lanterns with dried flowers, Mod Podge, and glowing candles!
DIY Spring Flower Lanterns
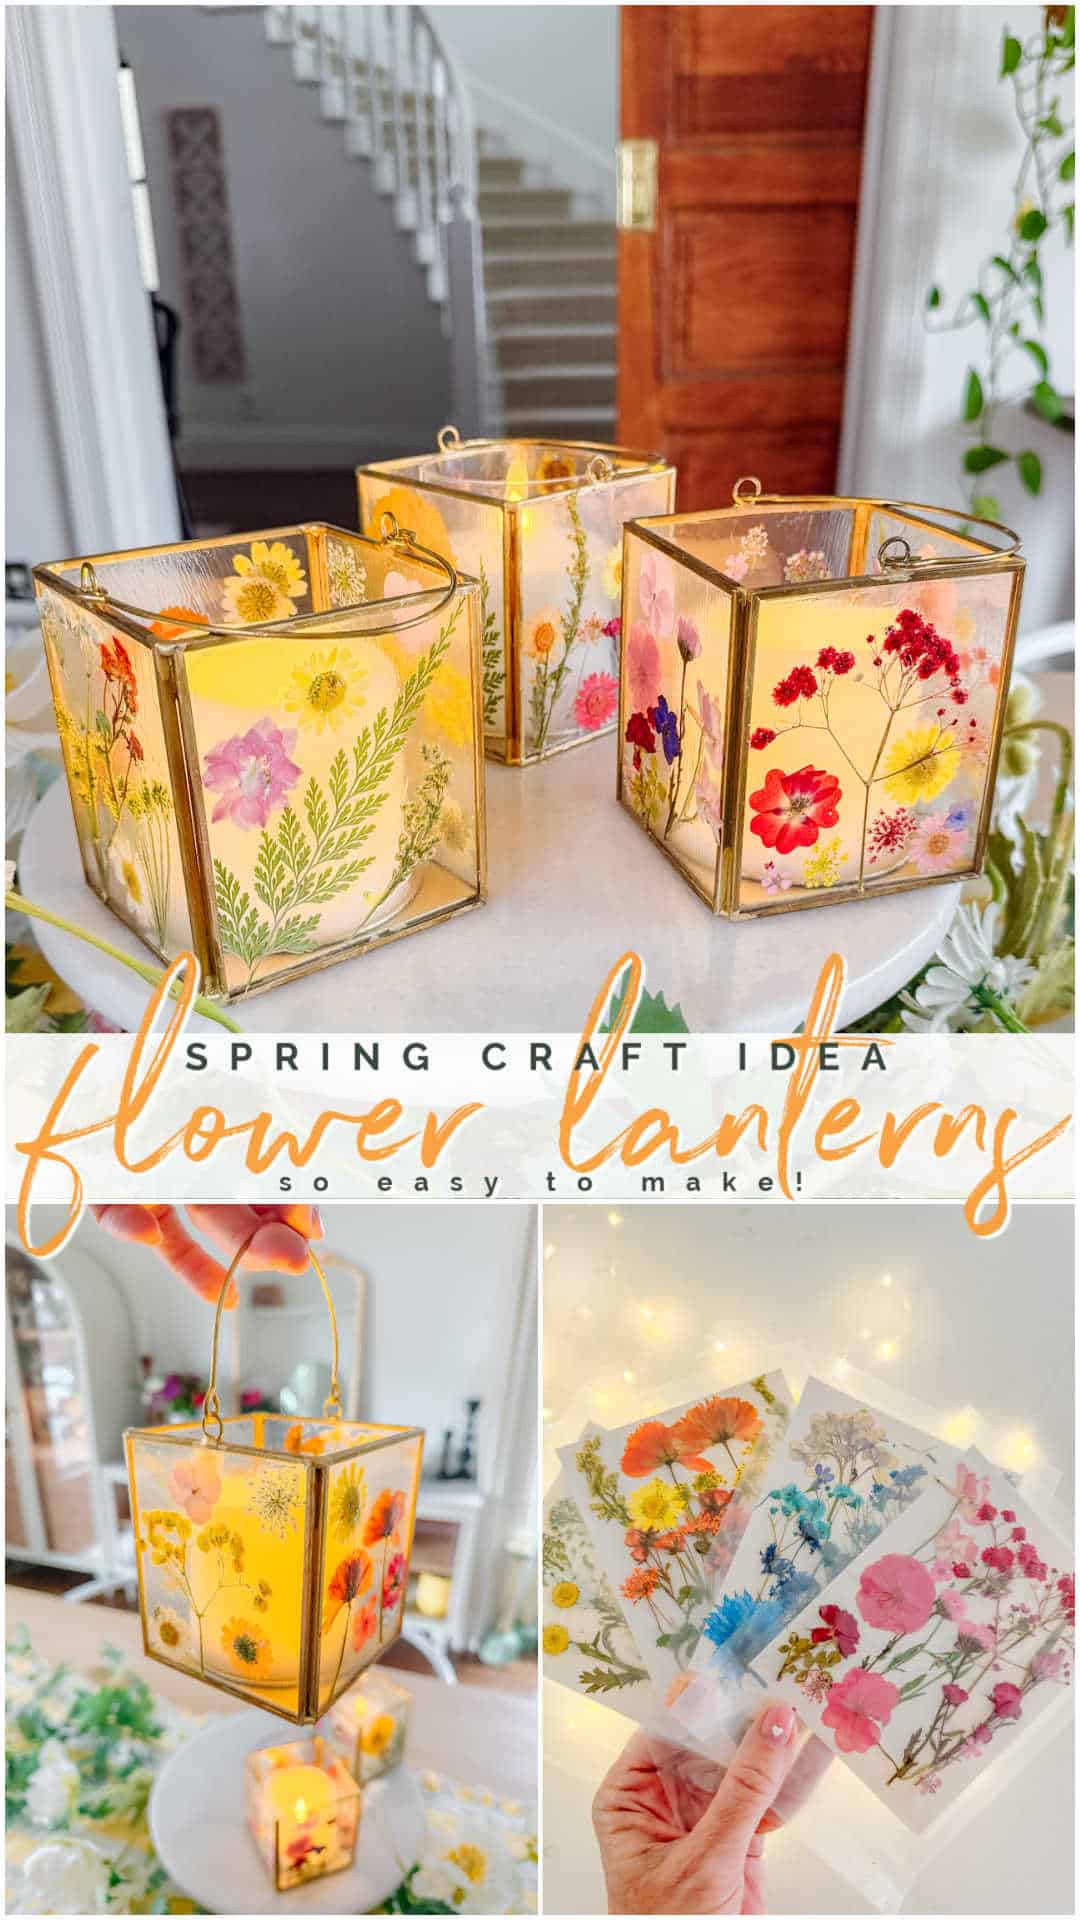
Spring is almost here, and there’s no better way to bring the beauty of the season into your home than with a simple and charming DIY project!! These easy DIY Spring Flower Lanterns capture the essence of blooming flowers and glowing candlelight, creating a cozy and inviting atmosphere. This project is perfect for crafters of all skill levels and only takes about 30 minutes to complete!
Spring Flower Lantern Supplies
To create these delicate lanterns, you’ll need just a few basic supplies:
How to Make DIY Spring Flower Lanterns
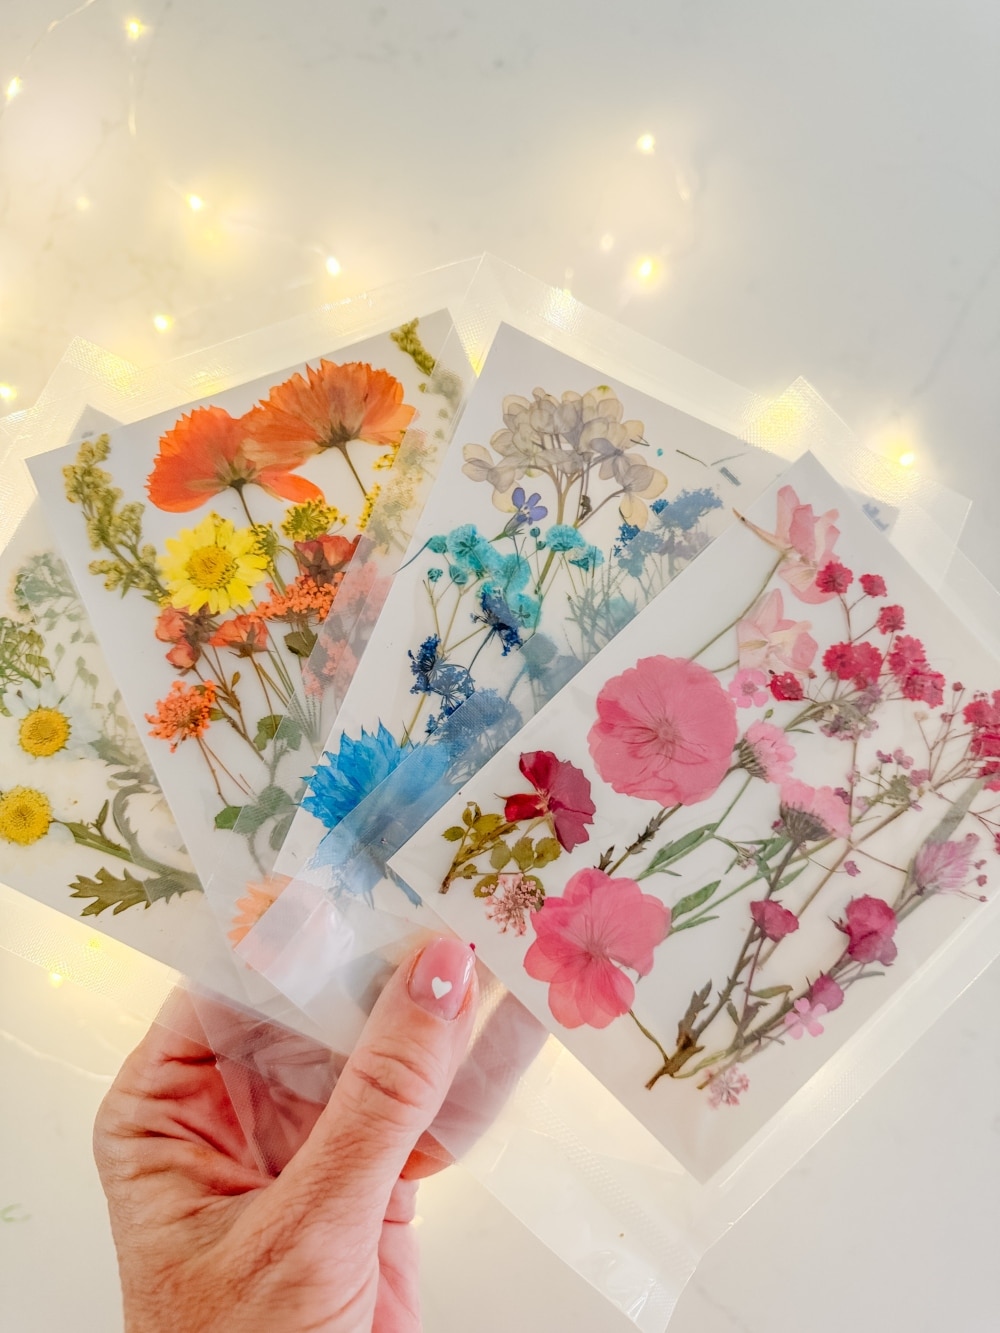
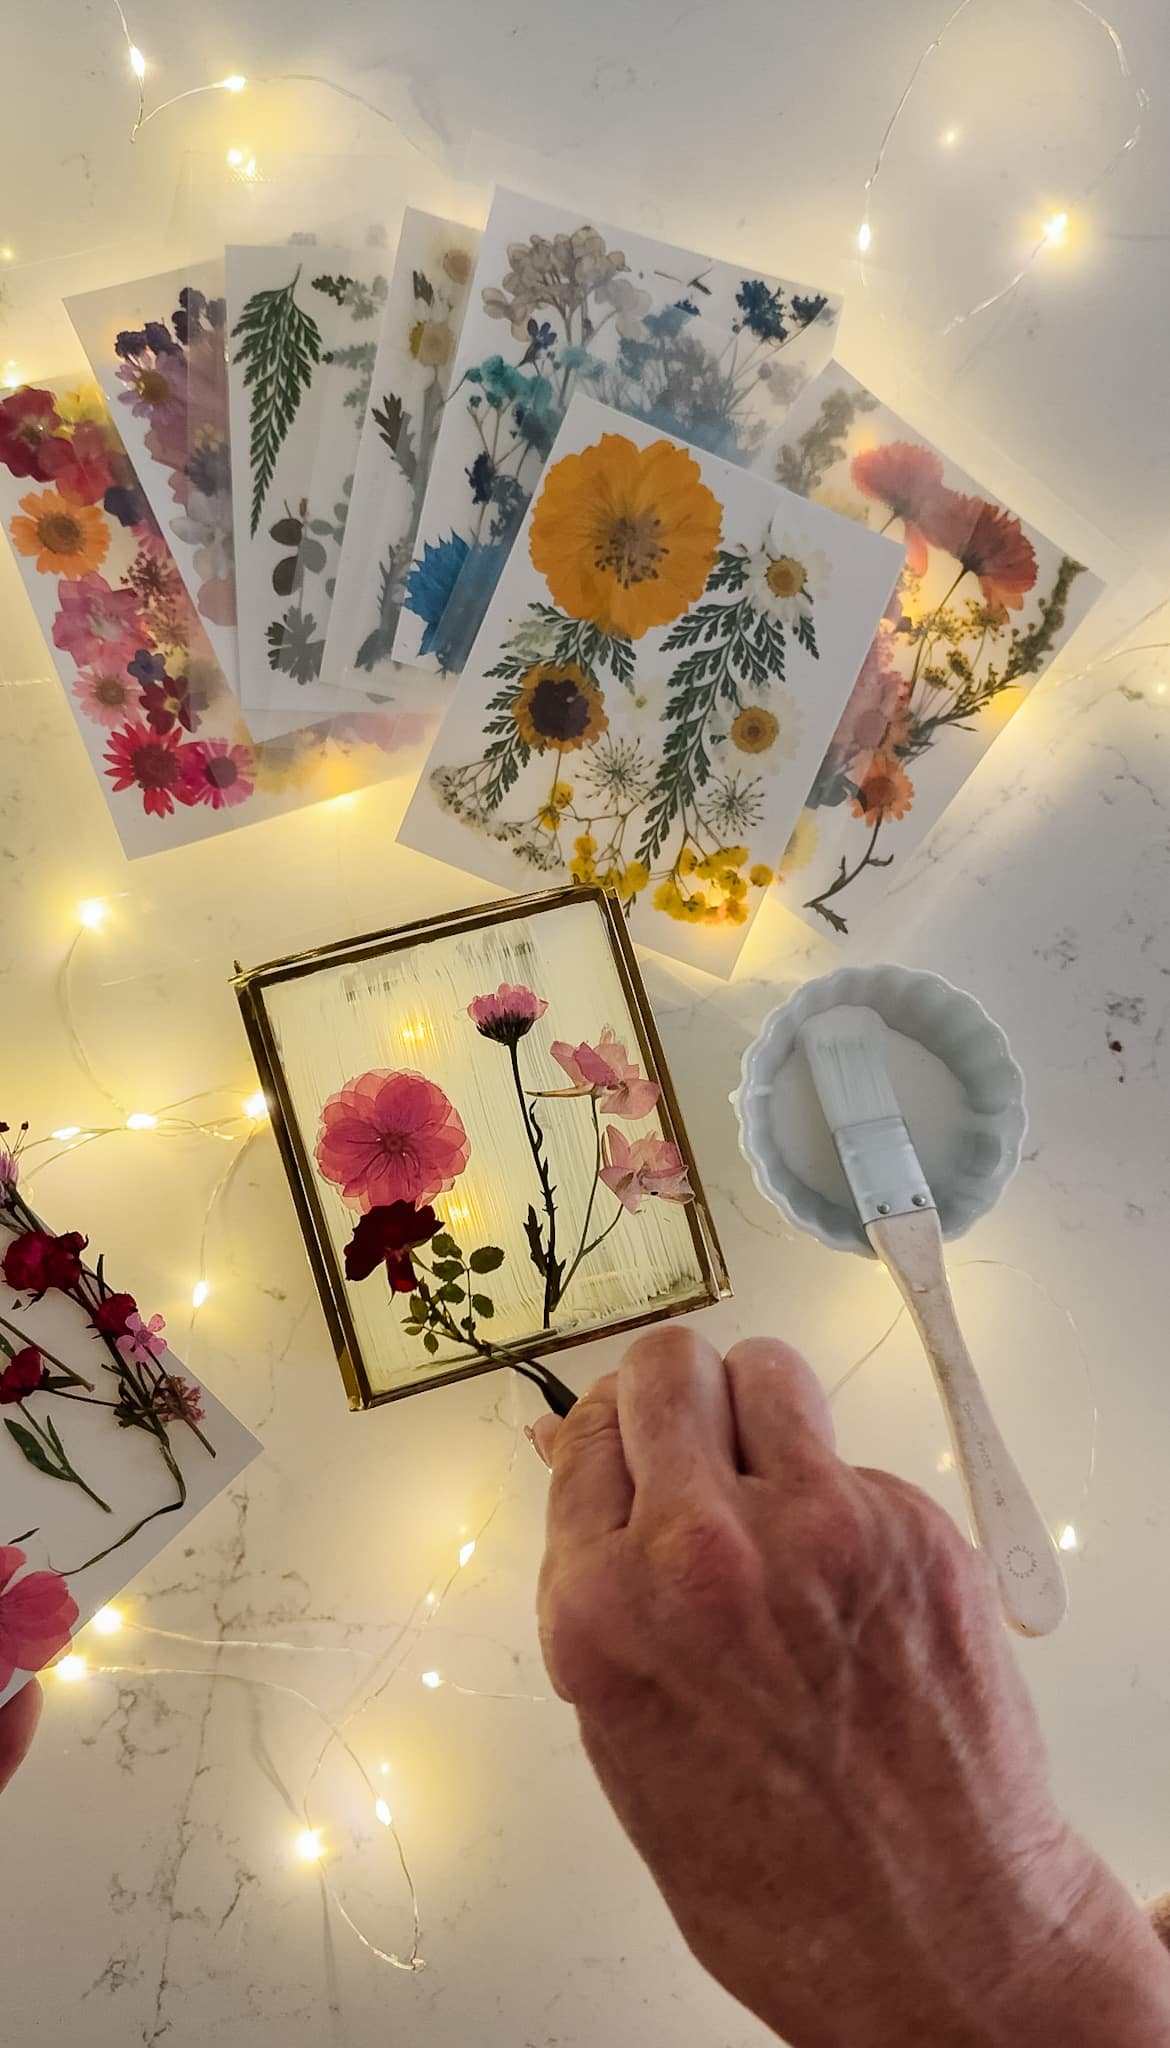
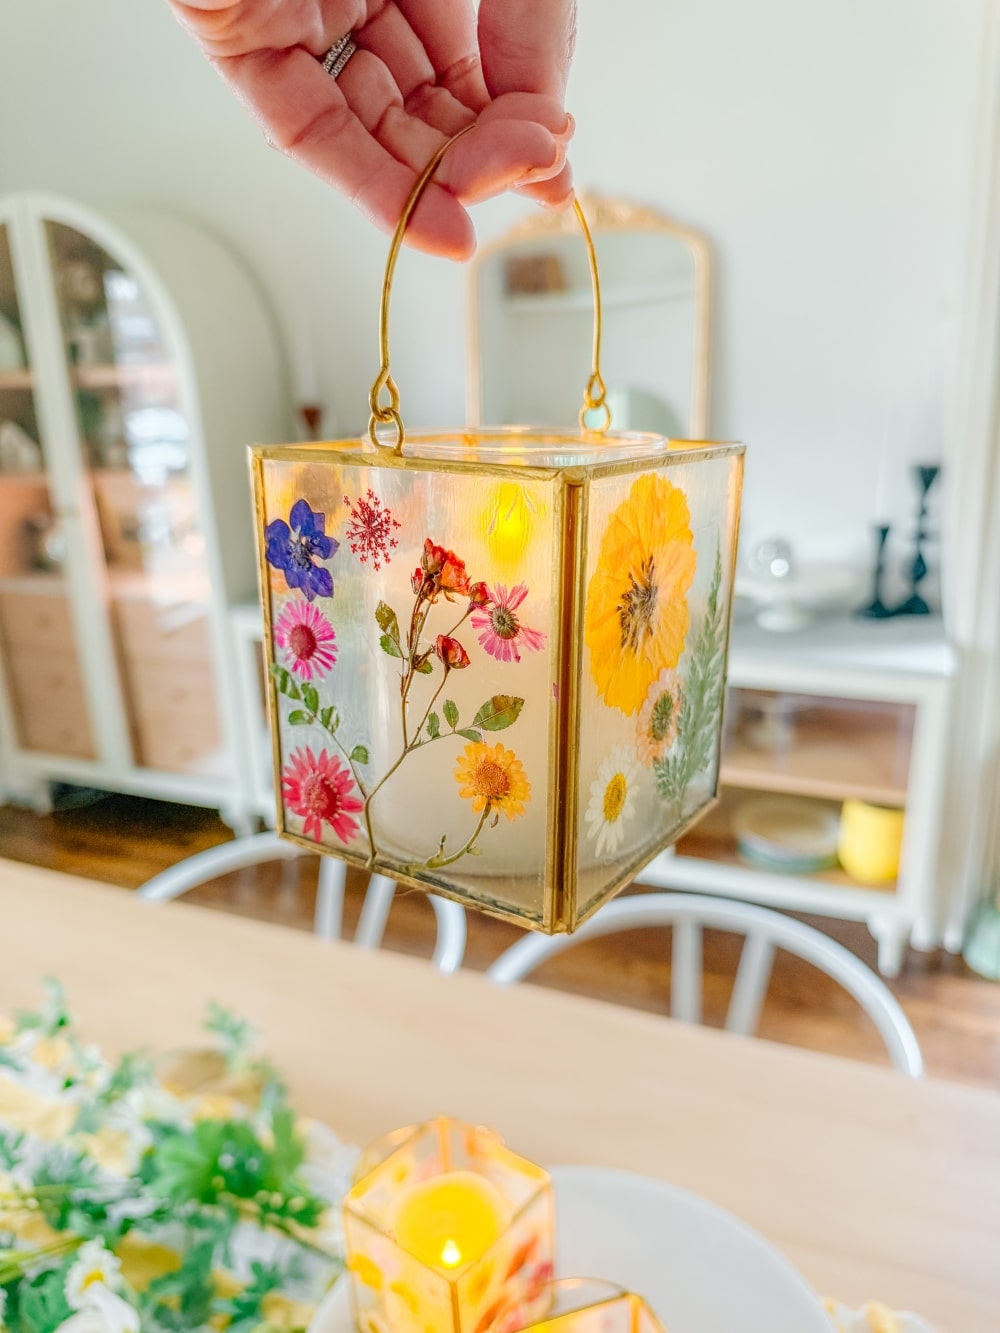
The dried flower packages come in several different color schemes, allowing you to customize your lanterns to match your decor. I bought two different packs of flowers, and I still have about half left over, so one package is plenty for decorating up to three small lanterns. The best part? Each pack of flowers comes with tweezers, making placement super easy!
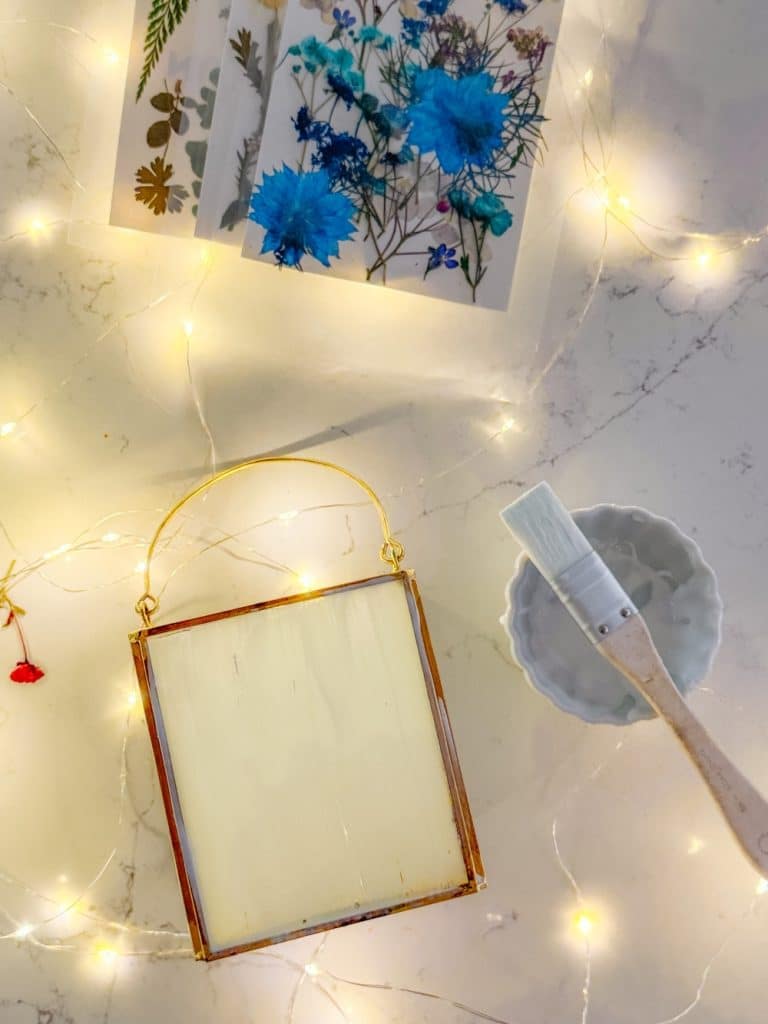
Step 1: Prepare Your Work Area
Before you begin, set up your workspace with all your supplies within reach. Pour a small amount of Mod Podge into a container for easy application. Make sure your lanterns are clean and dry so the flowers adhere properly.
Step 2: Apply the First Layer of Mod Podge
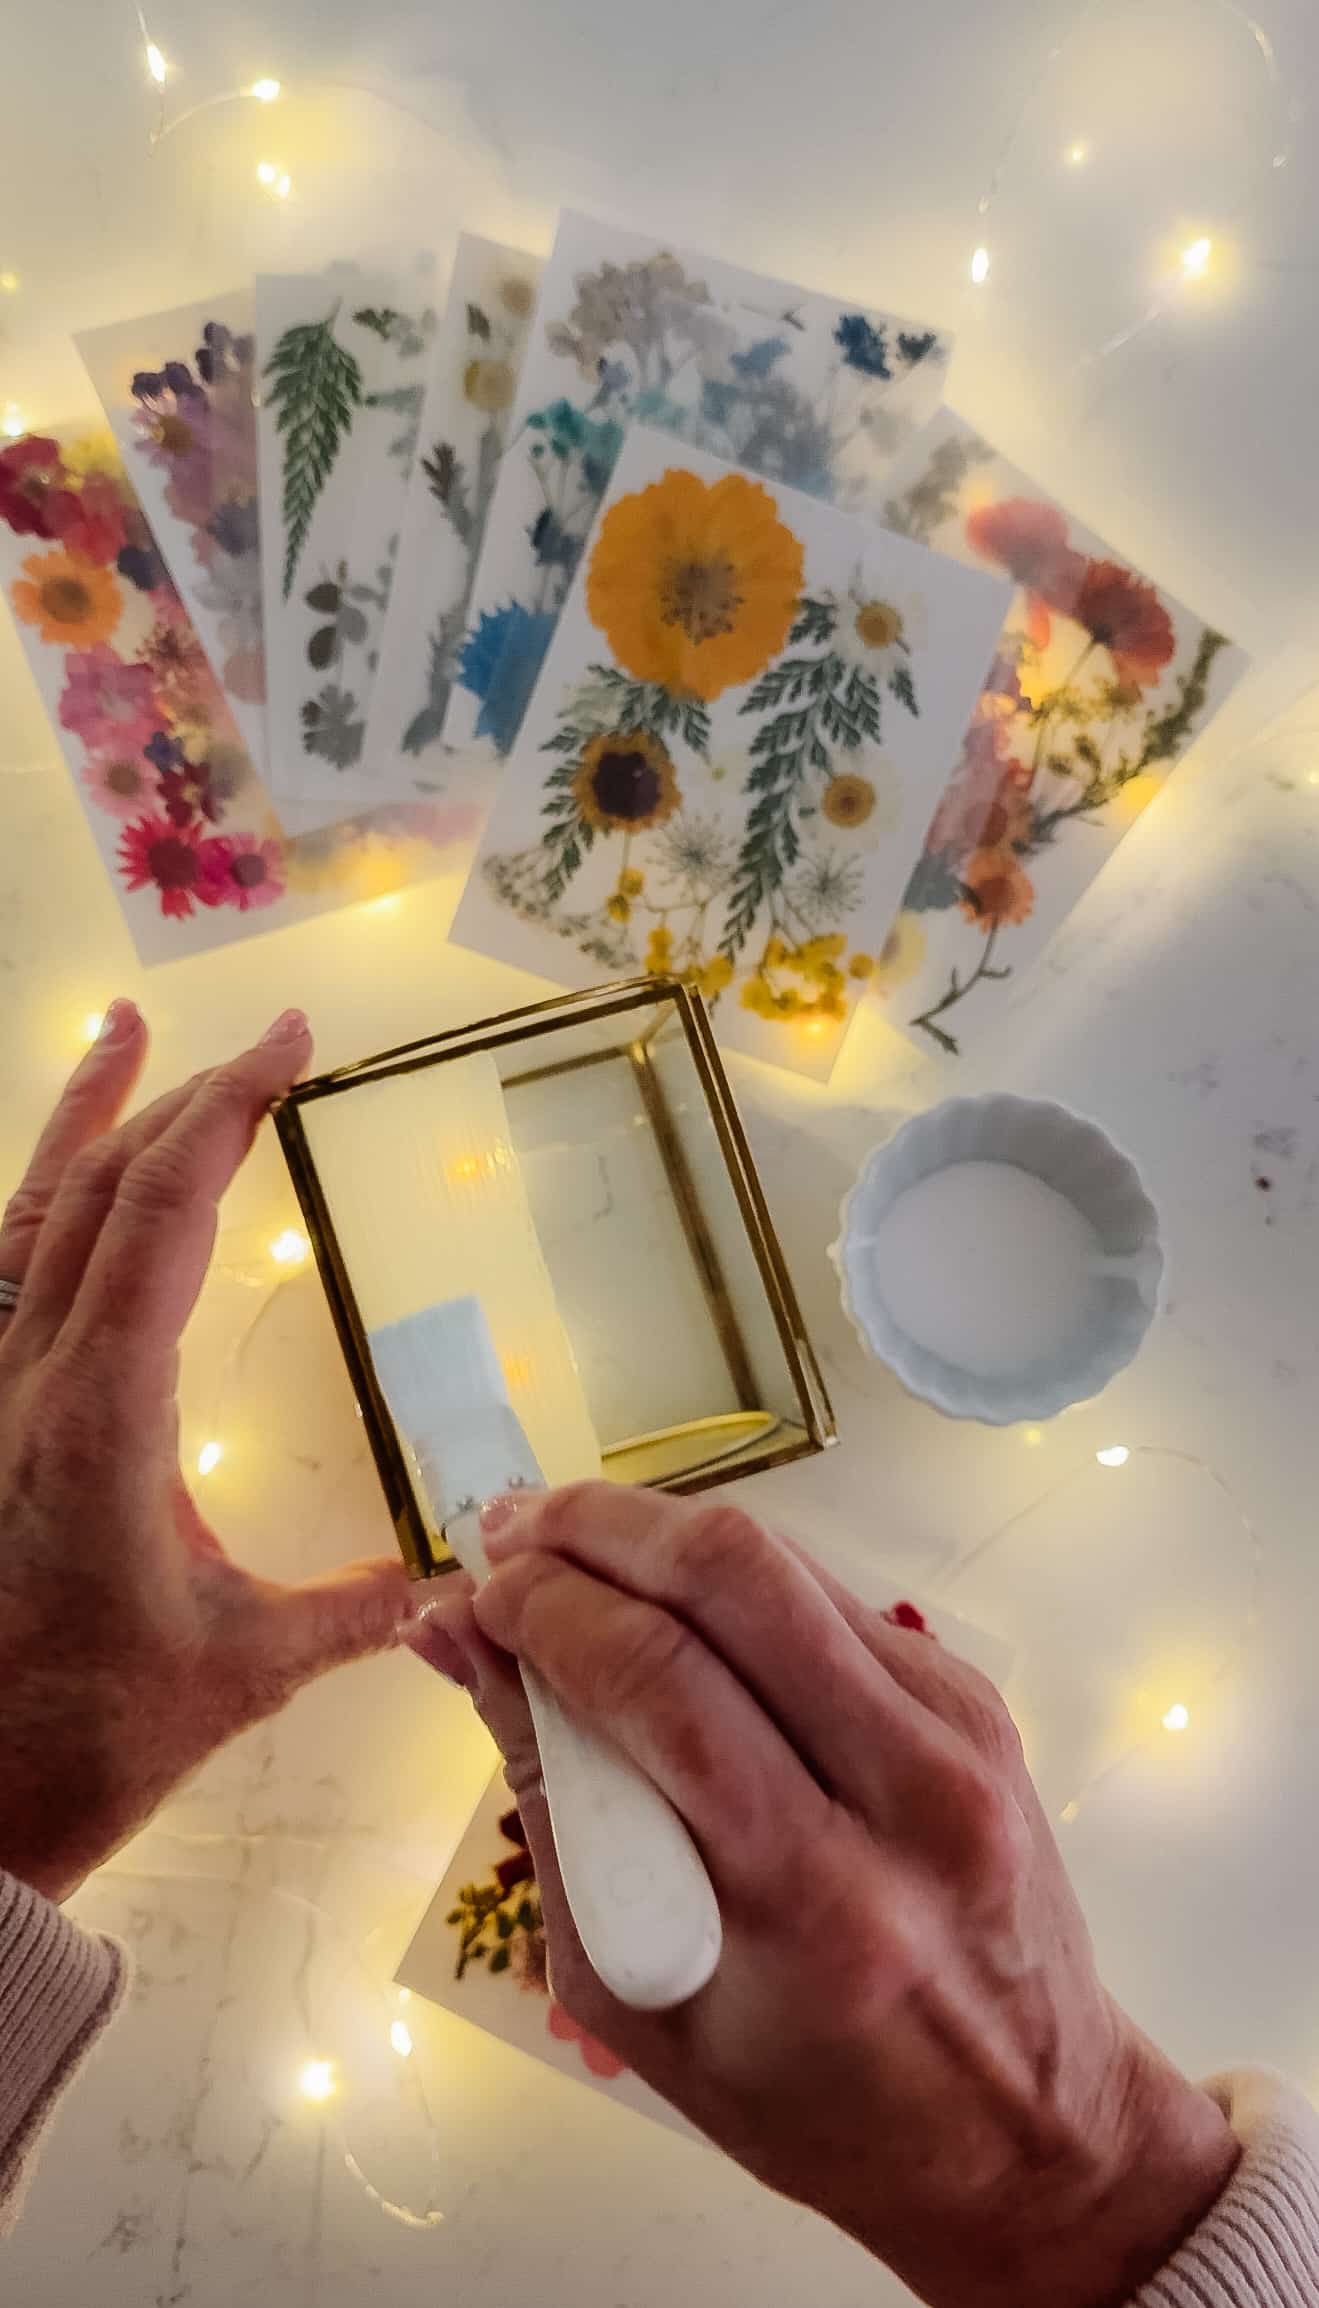
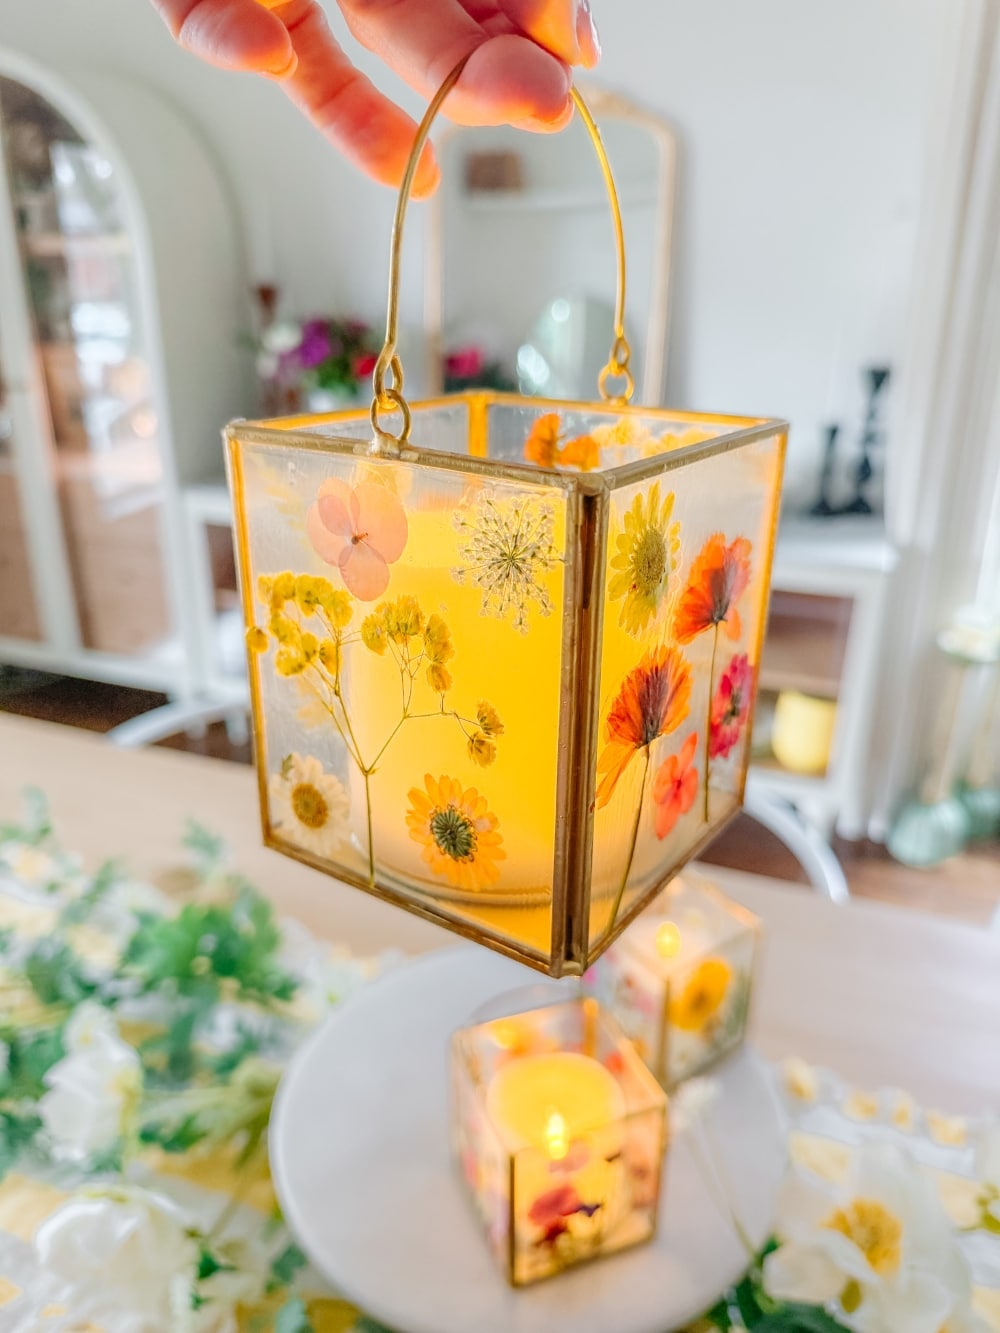
Using a paintbrush, apply a thin layer of Mod Podge to one side of the lantern. Be sure to use even strokes in one direction for a smooth and polished finish. The Mod Podge dries clear, but it will create a rippled texture, giving the lantern a gorgeous stained-glass effect!
Step 3: Place the Dried Flowers
While the Mod Podge is still wet, carefully place the dried flowers onto the lantern. Use the included tweezers to position them exactly how you want. Gently press down so the flowers adhere to the surface. The flowers are delicate, so handle them with care to prevent tearing or crumbling.
Step 4: Seal the Flowers with Mod Podge
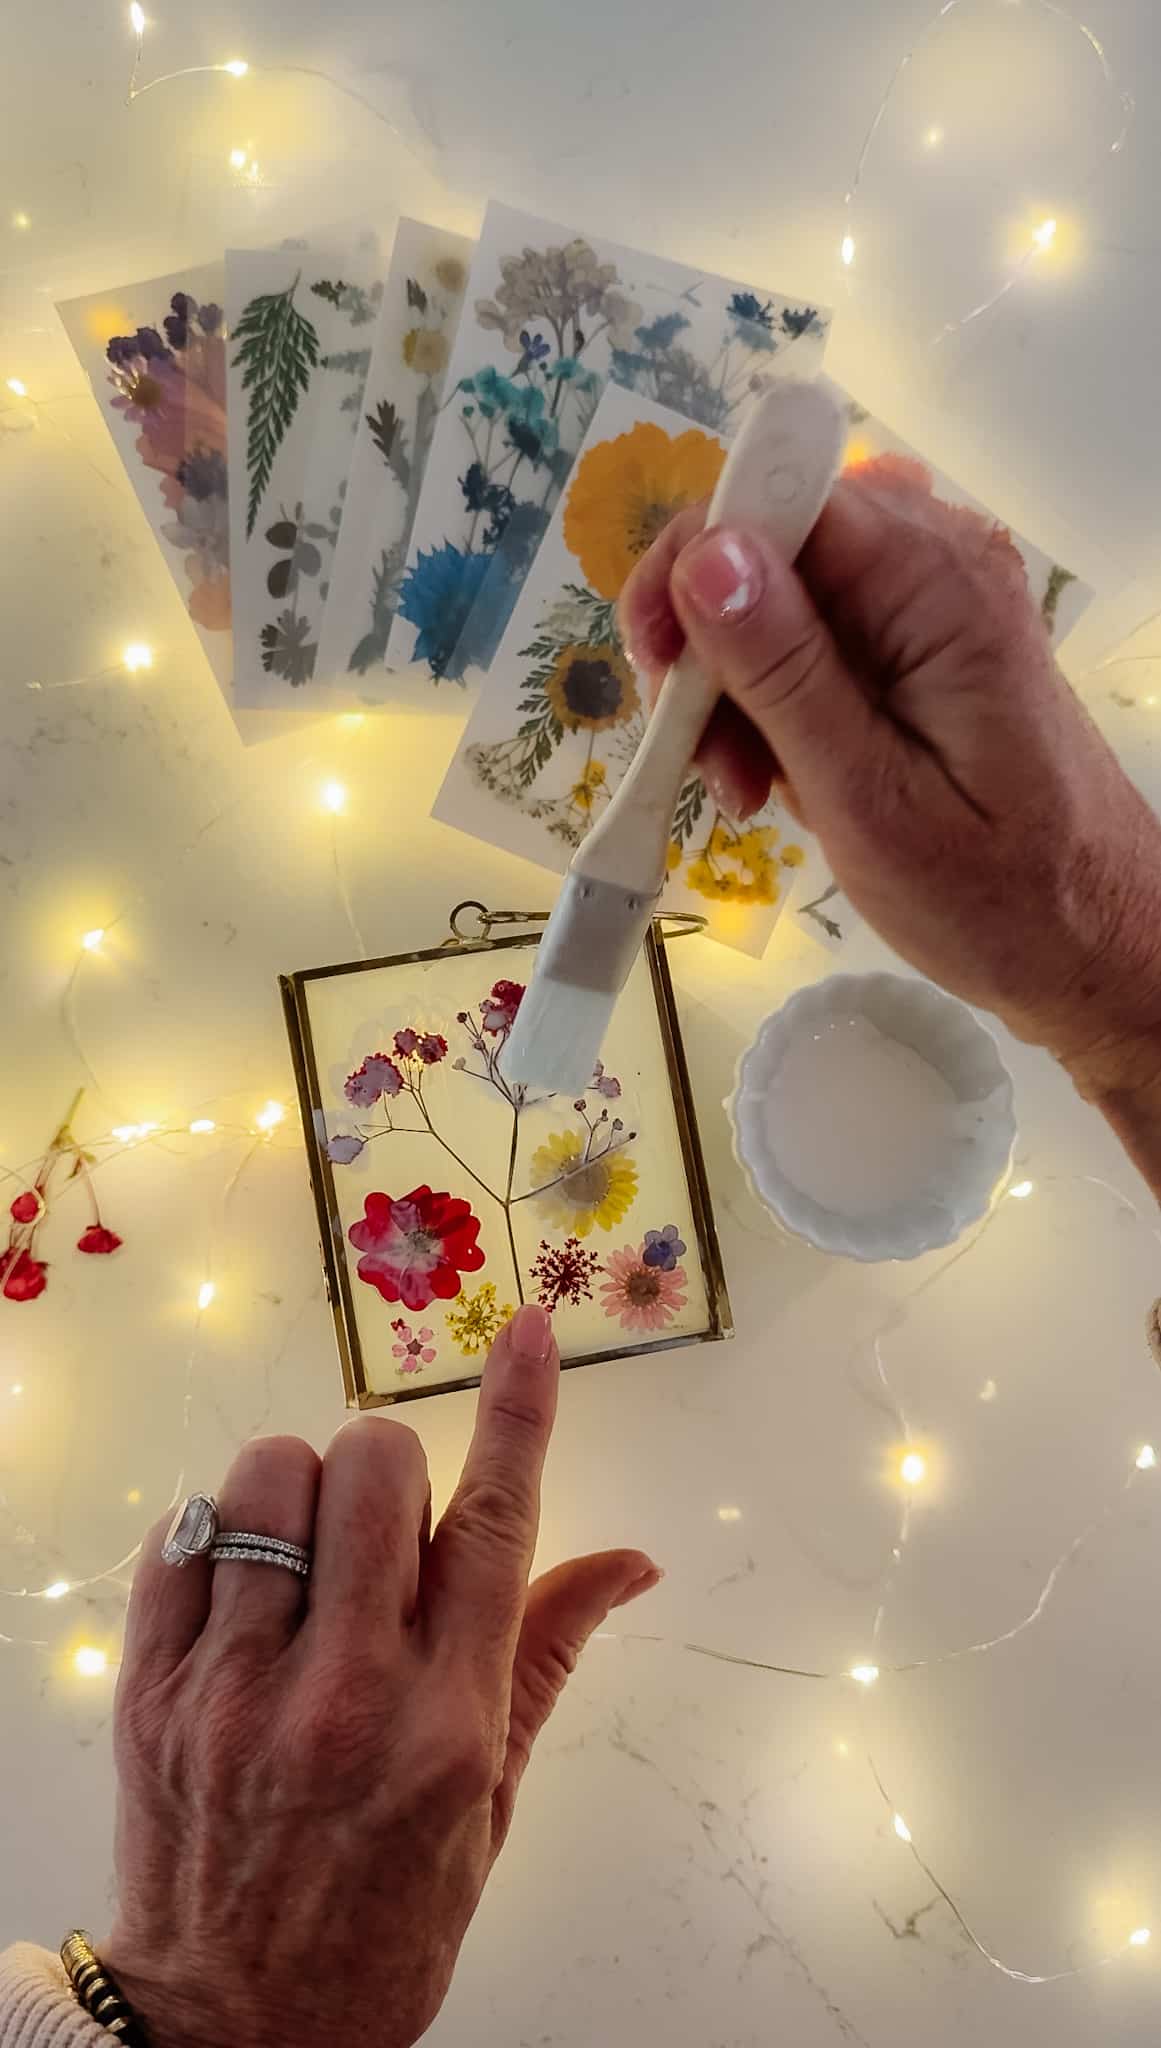
Once your flowers are arranged, brush another layer of Mod Podge over them. This will seal them in place and protect them from peeling or lifting over time. Be gentle with your brush strokes to avoid damaging the fragile petals.
Step 5: Repeat on All Sides
Turn the lantern and repeat the process on each remaining side. Apply Mod Podge, press on the dried flowers, and seal them with a topcoat. Continue this process until all sides are complete. Allow the Mod Podge to dry completely before moving on to the next step.
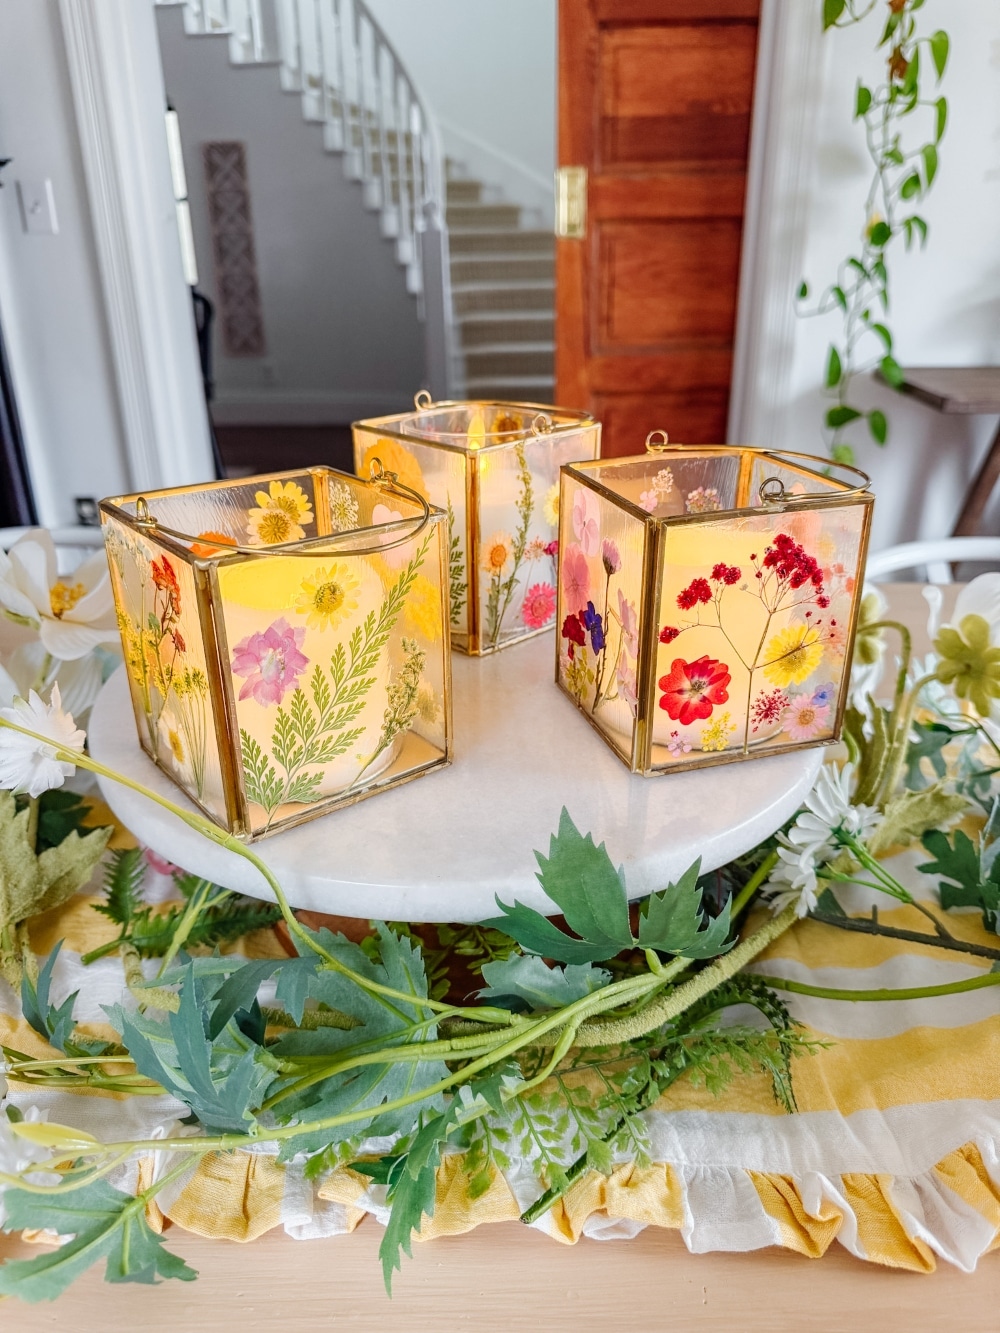
Step 6: Add Your Battery-Operated Candles
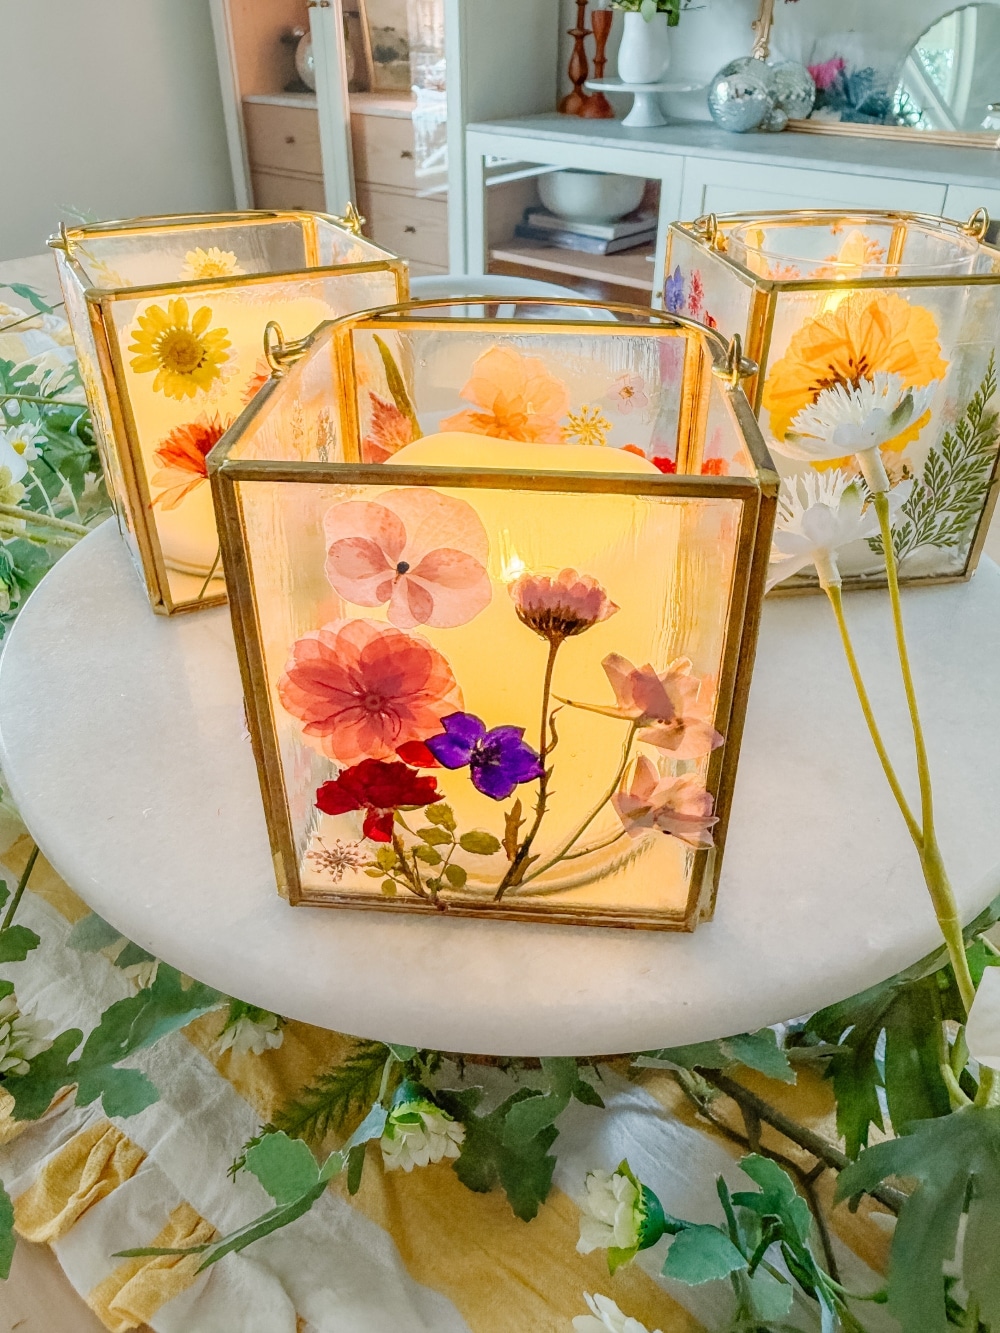
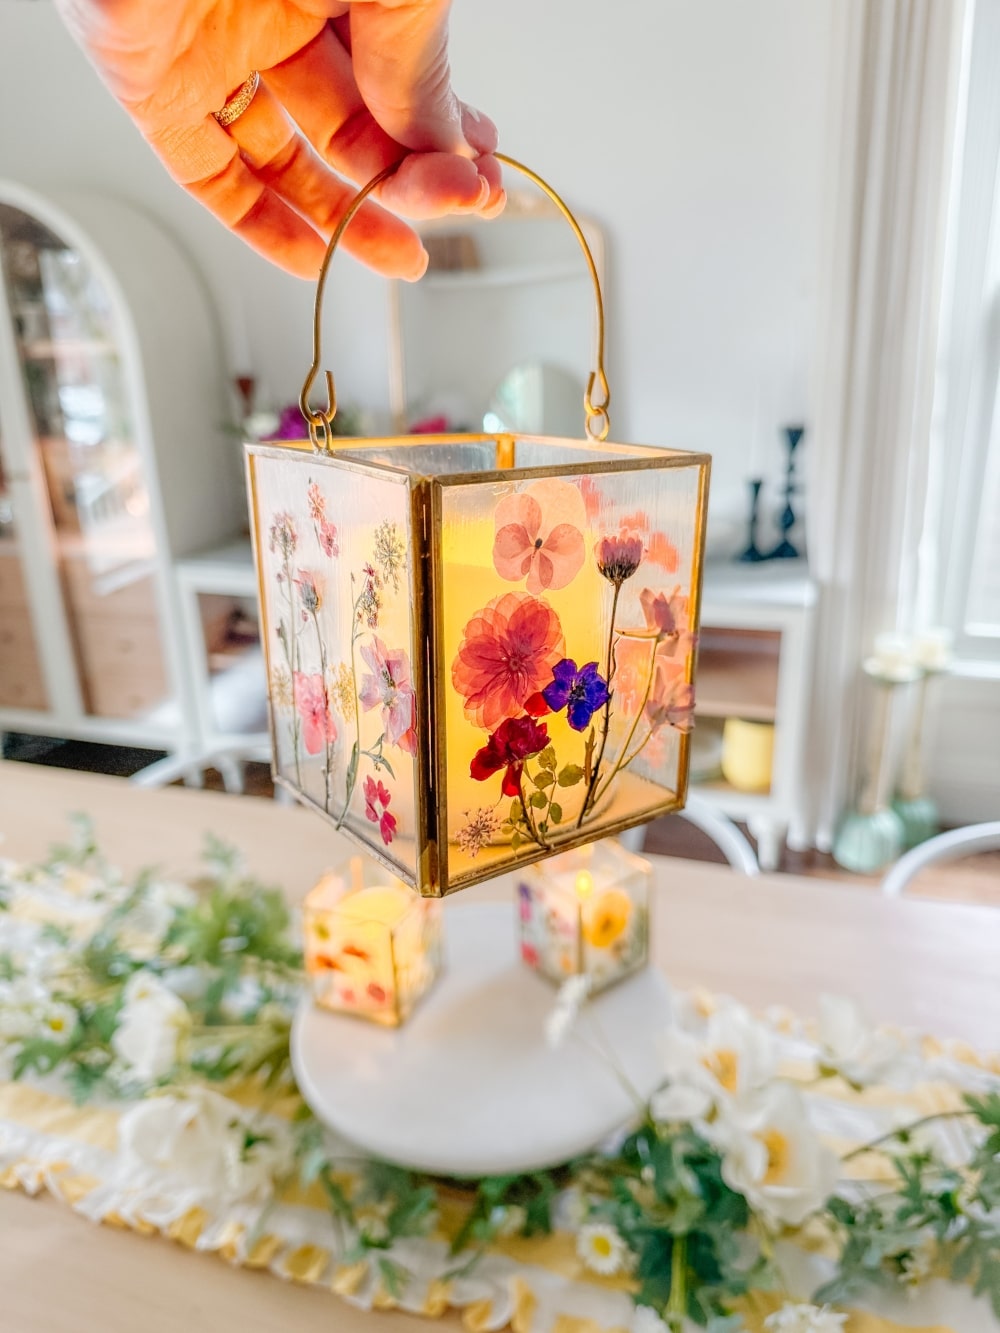
Once your lantern is dry, place a battery-operated candle inside. The soft glow of the candlelight shining through the pressed flowers creates a stunning effect, making these lanterns a gorgeous addition to any space in your home.
Where to Display Your Flower Lanterns
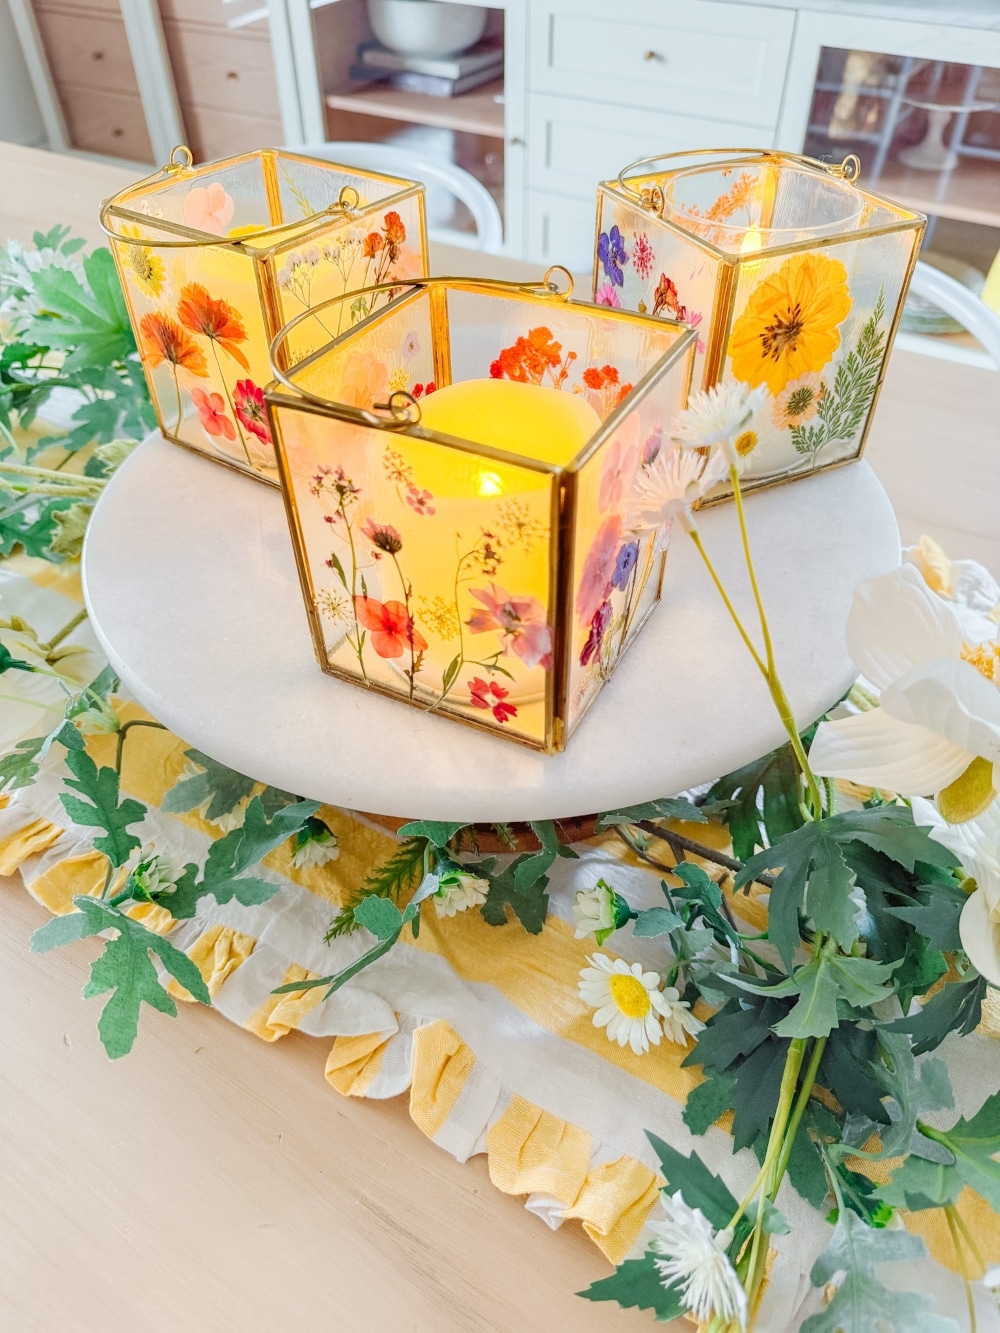
These DIY Spring Flower Lanterns are incredibly versatile! Here are some ideas for where to place them:
- As a centerpiece: Arrange them on your dining table for a beautiful spring-inspired tablescape.
- On a shelf: Add them to a bookshelf or mantel to brighten up your decor.
- In the kitchen: Place one on your countertop to bring a touch of spring to your cooking space.
- On a nightstand: Use them as a soft and dreamy nightlight in your bedroom.
- On a covered porch: You can also use outdoor mod podge and display these lanterns on your porch!
Final Thoughts
Creating these DIY Spring Flower Lanterns is such a fun and easy way to welcome the season into your home. The delicate pressed flowers combined with the soft candlelight make for a truly magical look. Plus, this project is beginner-friendly and budget-conscious—one package of dried flowers goes a long way!
Spring Flower Crafts
Here are some more fun spring flower crafts to make!
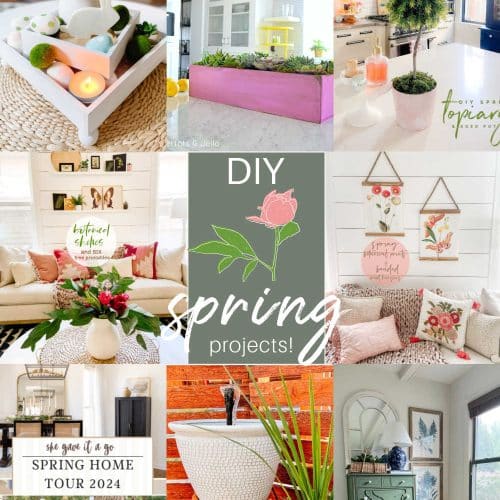
More DIY Spring Projects
Blogger’s Best Spring Craft With Flowers

DIY Flower Garland | Happy Happy Nester
A DIY flower garland is an easy and beautiful way to add charm to any room. This specific garland is made from paper flowers and a bay leaf base! It’s a fun, creative project suitable for any season, whether you want bright blooms for spring or warm tones for fall. You can drape it across a mantel, use it as a table runner, or display it over a shelf for a cozy touch. With just a few basic supplies—crepe paper flowers and some string—you can create this homemade floral garland that looks effortlessly beautiful and lasts a long time.
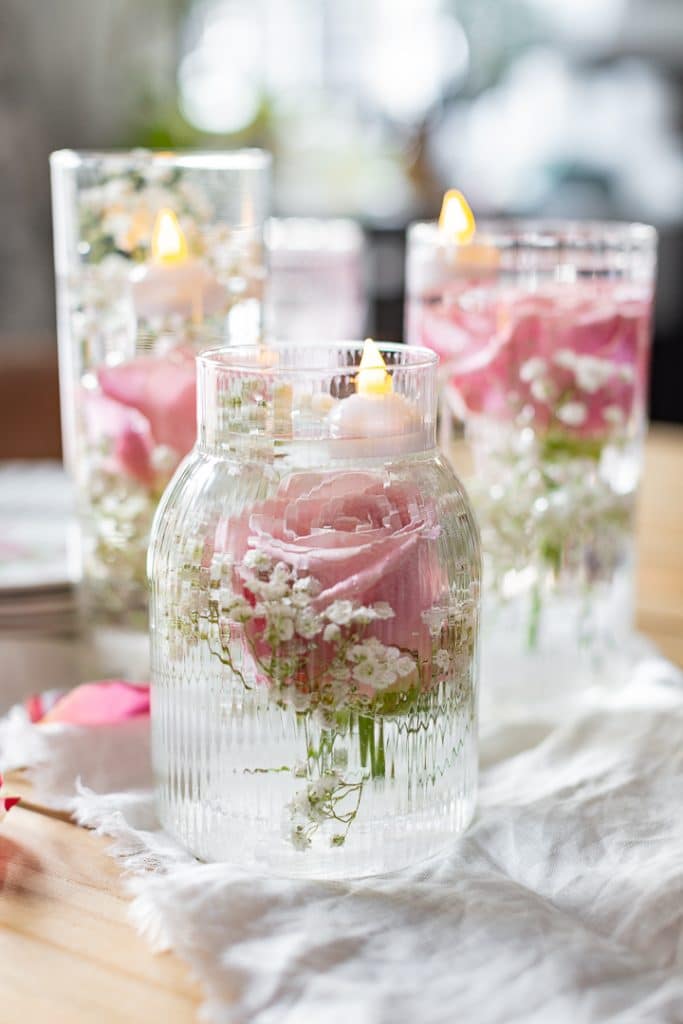
Easy Rose And Floating Candle Centerpiece | Craftberry Bush
This easy to put together centerpiece would be beautiful for any occasion but a great way to welcome spring.
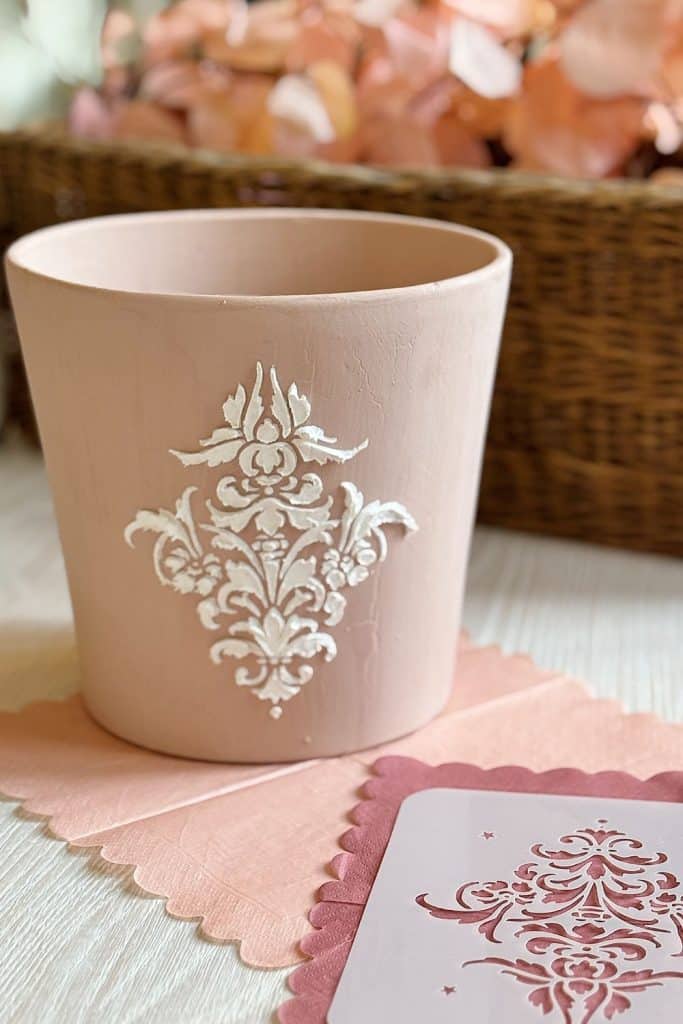
DIY Stenciled Terracotta Pot | My 100 Year Old Home
There’s something so satisfying about transforming a simple terracotta pot into a custom, one-of-a-kind decorative piece. I treasure my beautiful flower pot.
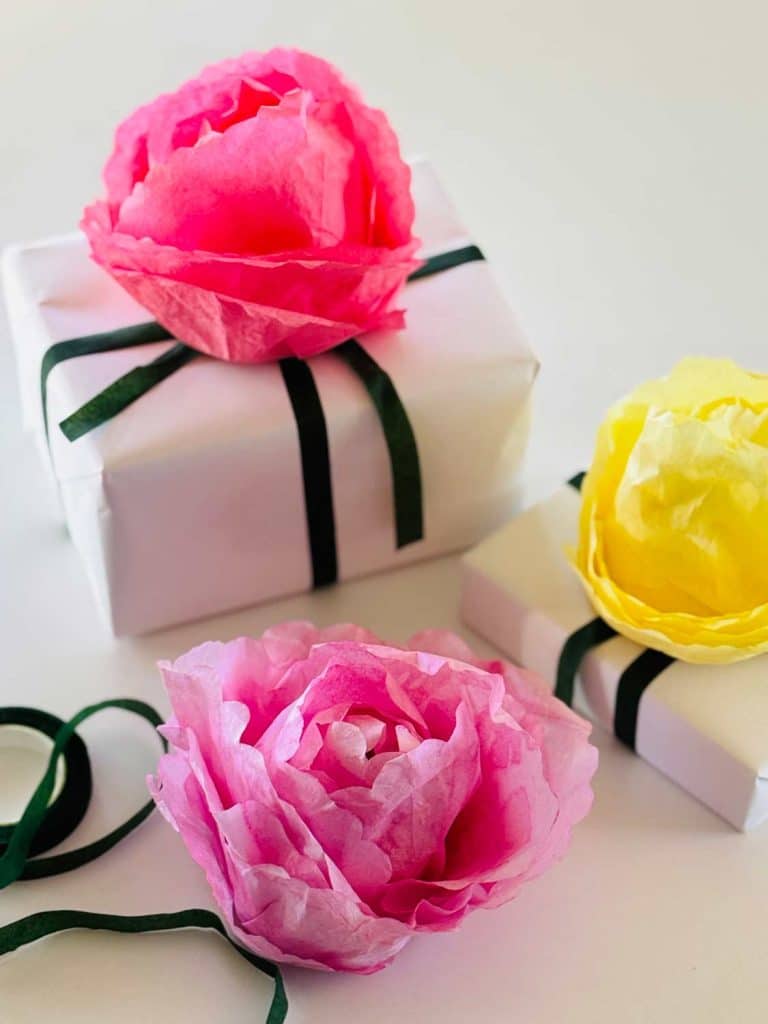
How to Make Beautiful Flowers Using Coffee Filters | Most Lovely Things
Make beautiful paper flowers to use on gifts for bridal showers, Easter & Mother’s Day.
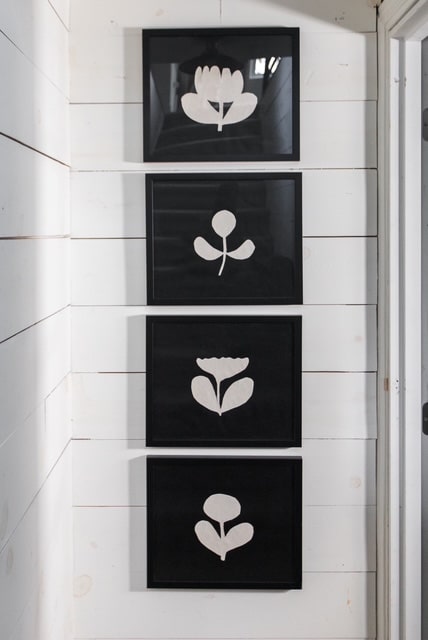
Affordable Spring Floral Art | My Sweet Savannah
Create beautiful, affordable spring floral art with this easy DIY project! Using simple materials and free downloadable patterns, you can make stunning floral artwork that fits perfectly with your neutral home decor. Get started today and add a touch of spring to your walls!
And here are a few more DIY ways to bring the feeling of Spring into your home!

DIY Spring Bunny Treat Bags
Simple Easter Bunny Treat Bags. Celebrate Spring and Easter with the simple bunny bags you can create in minutes!
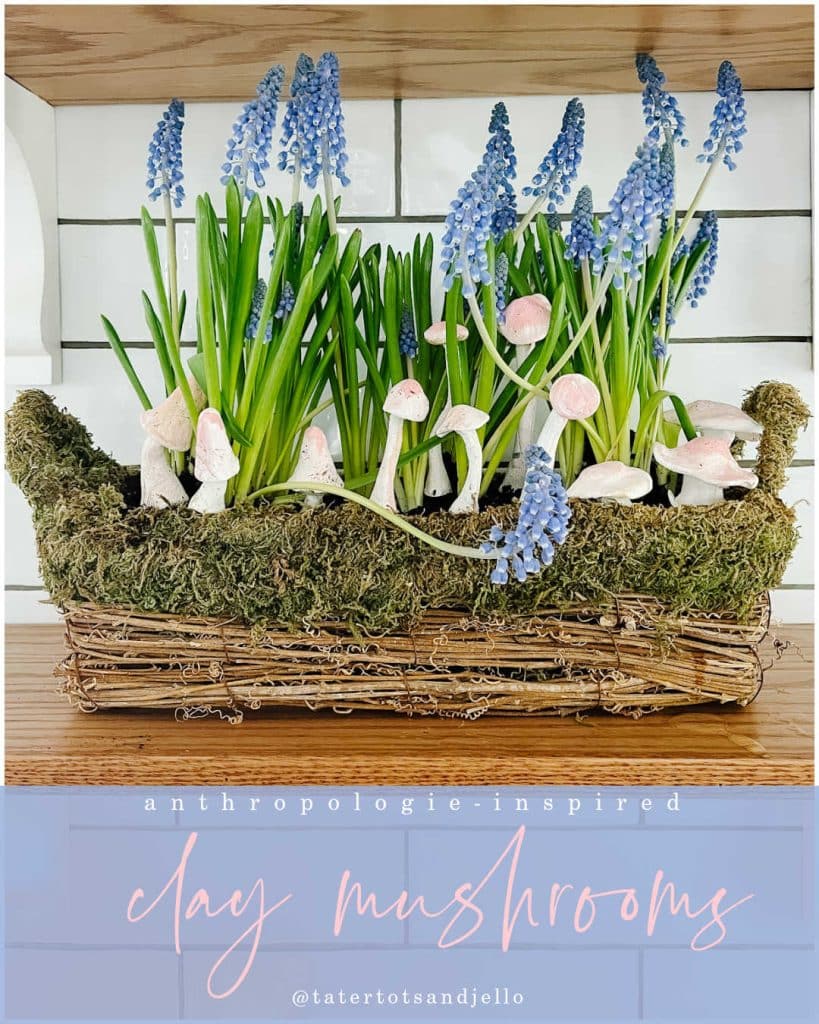
Spring Clay Mushroom Stakes
Anthropologie-Inspired Clay Mushroom Plant Stakes. Make these adorable clay mushroom stakes to add to planters and for Spring!
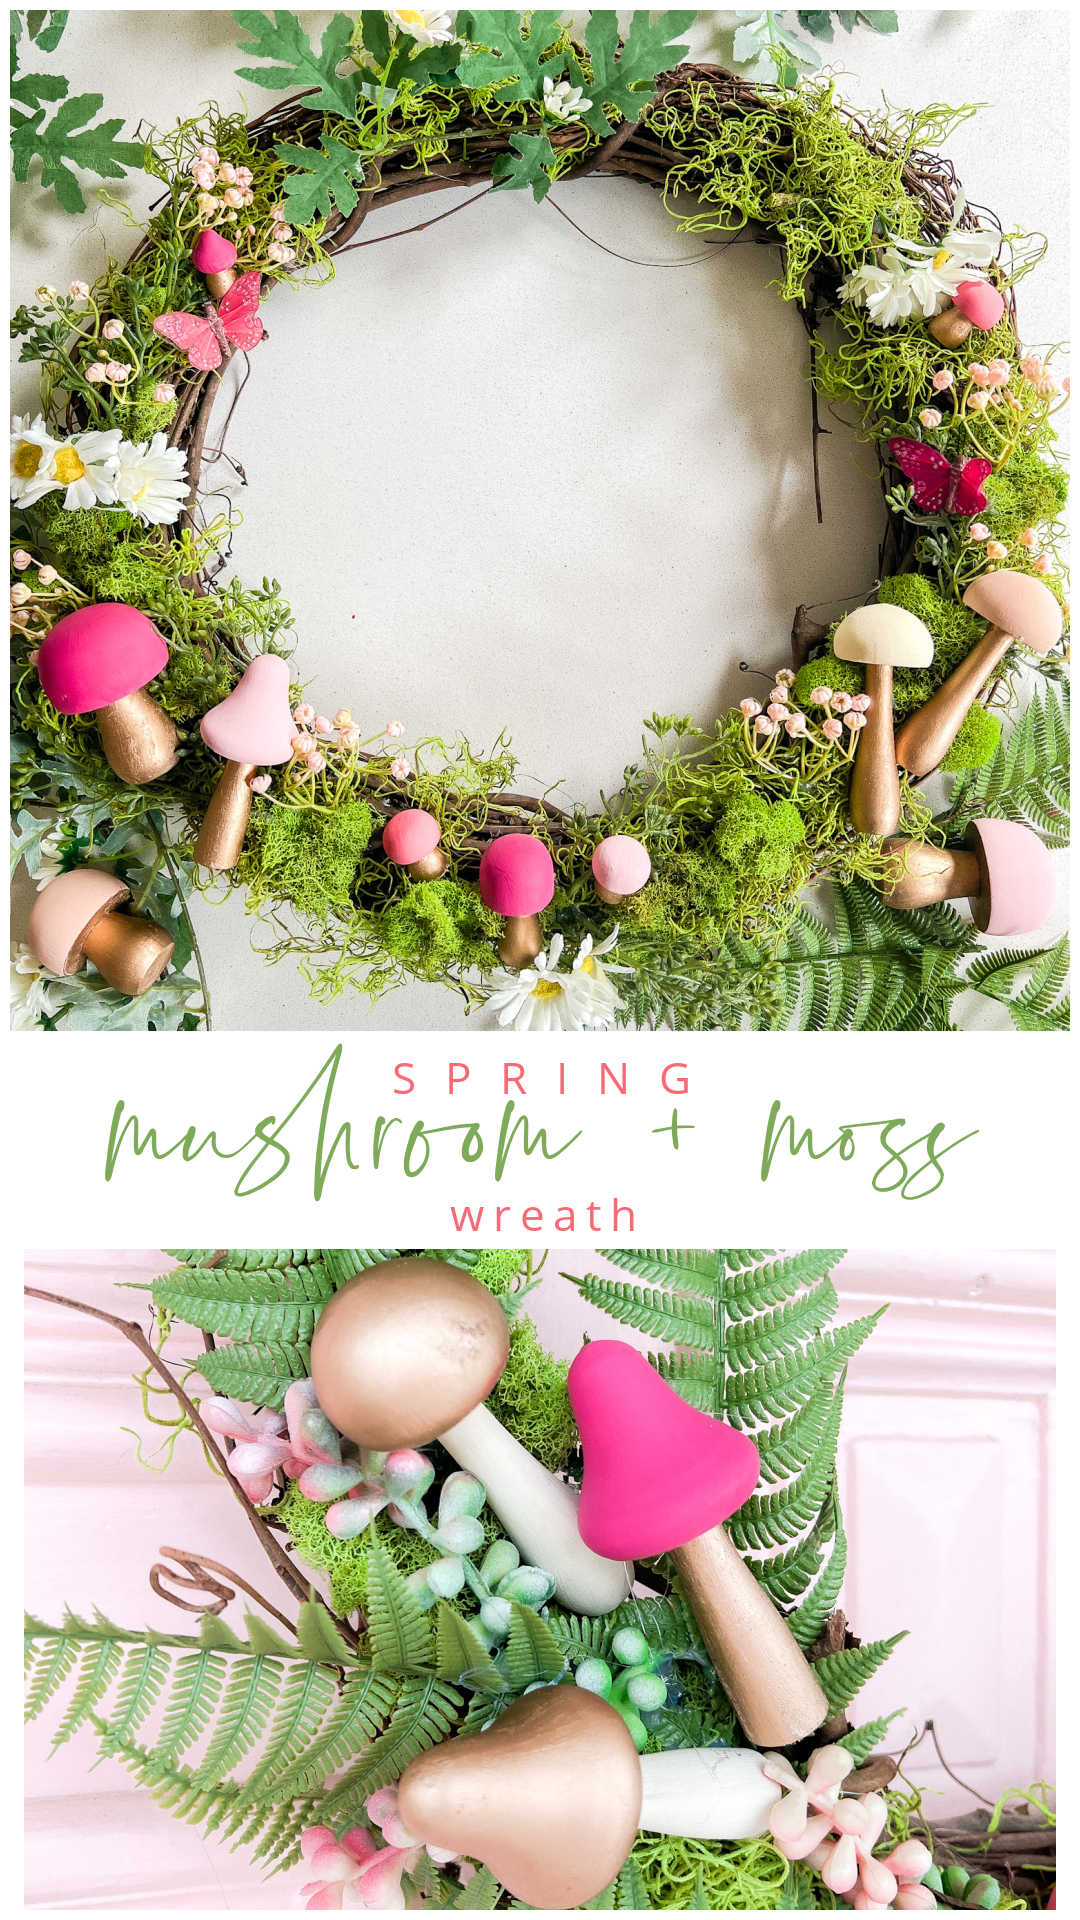
Spring Mushroom and Moss Wreath
Celebrate Spring by making this DIY wreath with wooden mushrooms, butterflies and moss!
What projects are YOU working on for Spring?
xoxo


Love these dried flowers and what you did with them!
Thanks Melaine!!
xoxo
I love the lanterns! Do you have links to where you bought supplies? I’m not seeing them. Thank you!
Hi Denise! Yes! Here’s a link to the supplies. I hope you give this cute project a try! https://www.amazon.com/shop/tatertotsjello/photo/amzn1.shoppablemedia.v1.7a57655e-7ca7-4440-84d2-6a0fde524434?ref_=aipsfphoto
Jen, these are adorable! I had no idea ypu could buy dried flowers like that. Pinned!
Thanks Annie! Yes those flowers are so fun! I had half left over and I am excited to use them in another project 🙂
xoxo