Tatertots and Jello

COLORFUL HAPPY HOME -- Daily DIY, Decor, Craft and Recipe Tutorial

  • My Home
    • 1905 Cottage
    • Daybreak House
  • DIY
    • DIY Projects and Ideas
    • Organizing
    • Tutorials
    • Printables
  • Decor
    • Spring Projects
    • Summer Projects
    • Fall Projects
  • Crafts
    • Kids Crafts
    • Painting Projects
    • Paper Projects
    • Sewing
    • Wreaths
  • Holidays
    • Valentines Day
    • Easter
    • Halloween
    • Thanksgiving
    • Christmas
    • HAPPY Holidays Series!
  • Recipes

Explore

  • my home
  • diy
  • decor
  • crafts
  • holiday
  • printables
  • recipes

Connect

Home » diy » Happy Holidays: DIY Shadowbox Christmas Ornaments

diy, guest tutorials, holiday · November 27, 2015

Happy Holidays: DIY Shadowbox Christmas Ornaments

Tatertots & Jello is a participant in the Amazon Services LLC Associates Program, an affiliate advertising program designed to provide a means for sites to earn advertising fees by advertising and linking to amazon.com.

Hi Tatertots and Jello readers, I’m Amy from Atta Girl Says, where I share ideas to make your home brighter and your heart lighter. I’m happy to be here today with some ornaments you can make for your Christmas tree.
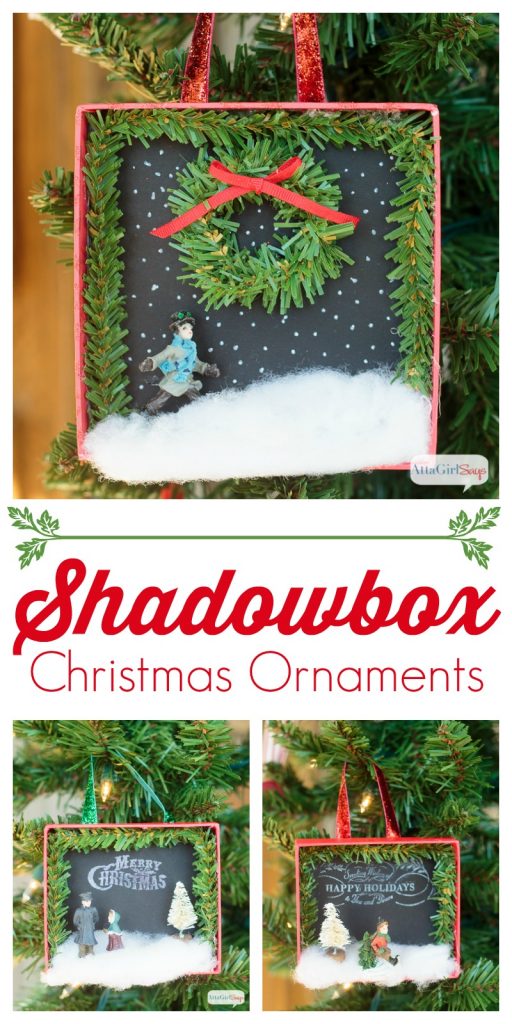
pinnable-800px-shadowbox-christmas-ornaments

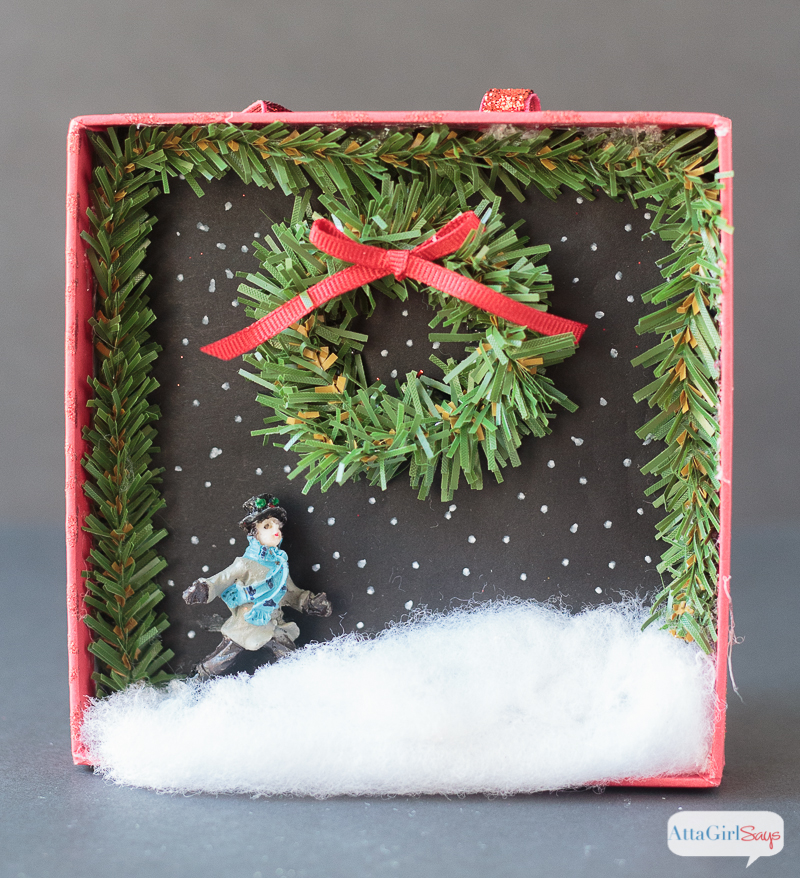
This fun little craft is quick, cheap and easy — plus it’s a great way to reuse old gift boxes.

happy-holidays-2015-300

At our house, we always end the Christmas season with a bunch of boxes with missing tops or mangled bottoms. Instead of throwing them away, save them to make these cute shadowbox ornaments.
800px-diy-shadowbox-christmas-ornaments-4

This project was inspired by an ornament I saw at PotteryBarn. They wanted $16.50 for theirs. For that price, you could DIY a dozen of these ornaments!

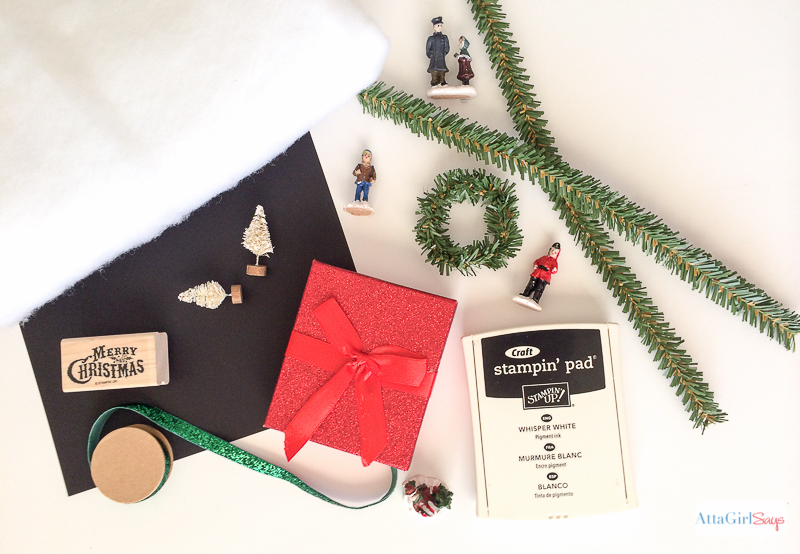
Supplies:
800px-diy-shadowbox-christmas-ornaments-8

  • small gift box with lid
  • black card stock
  • scissors
  • double-stick tape or gluestick
  • garland ties or chenille stems
  • seasonal stamp
  • white craft stamp pad
  • white ink chalk pens
  • mini bottlebrush trees
  • miniature figurines
  • quilt batting
  • ribbon
  • hot glue


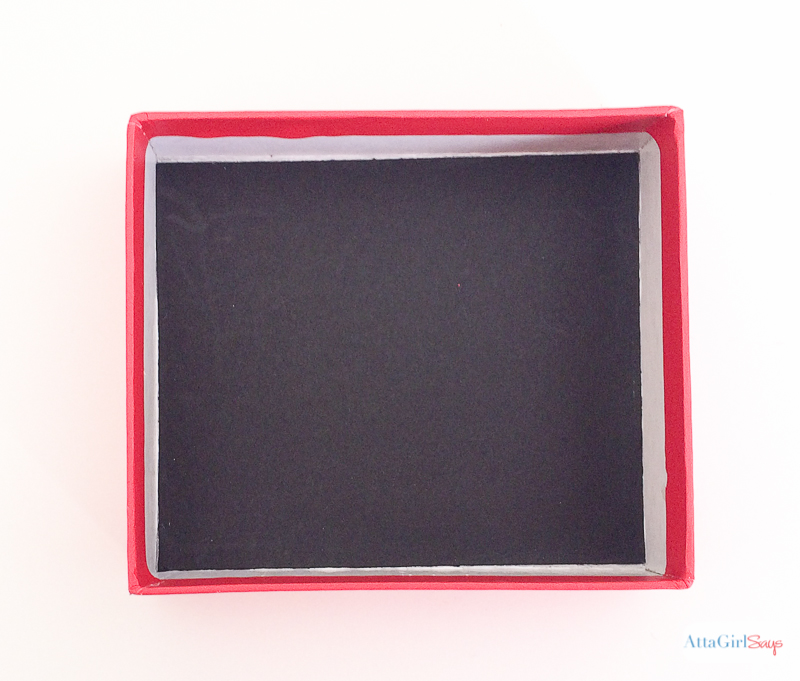
Cut a piece of black cardstock or chalkboard paper to fit the inside of your box. (You can use the top and bottom of each box to make two ornaments.) Secure the paper glue or double-stick tape.
800px-diy-shadowbox-christmas-ornaments-9

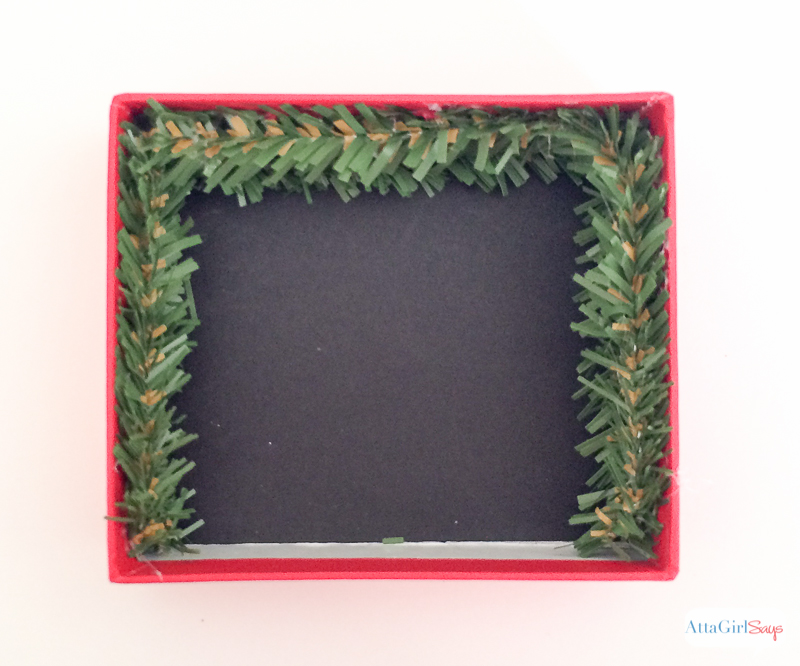
Glue a garland tie, decorative ribbon or a chenille stem around the inside edge of the box to cover any white spots.
800px-diy-shadowbox-christmas-ornaments-10

Decide on how you want to place your miniature trees and figures. Then use the white ink to stamp a seasonal message inside the box. Alternately, you could use a chalk pen to write “Merry Christmas” inside the box or use a free chalkboard printable. There are lots available.
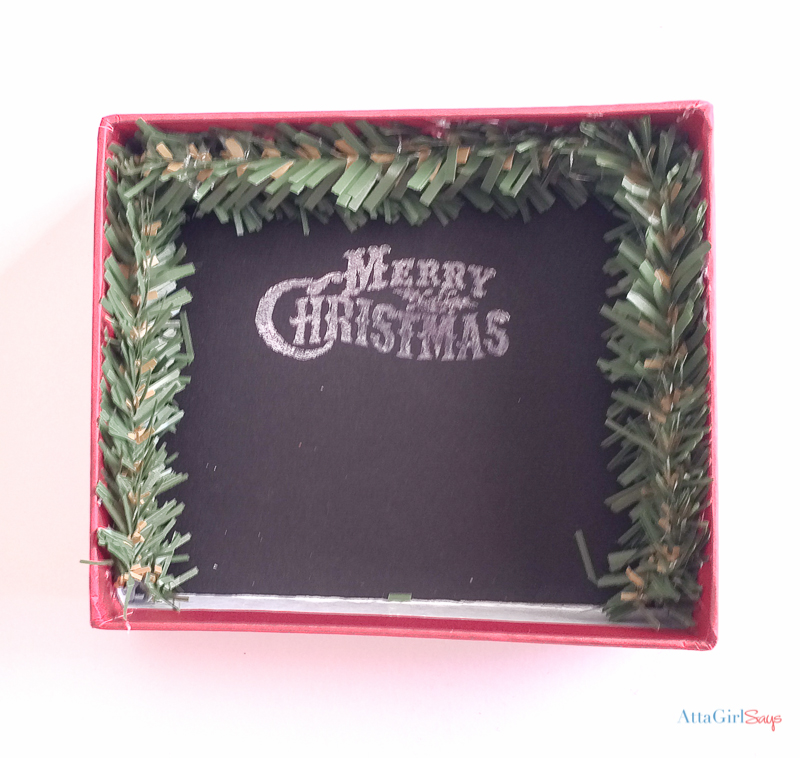
800px-diy-shadowbox-christmas-ornaments-12

Using hot glue, place the miniature figures in the bottom of box, Use hot glue to add quilt batting “snow” to the scene. Be careful not to burn your fingers when gluing on the snow.

Use hot glue to attach a ribbon hanger to the back of each box.
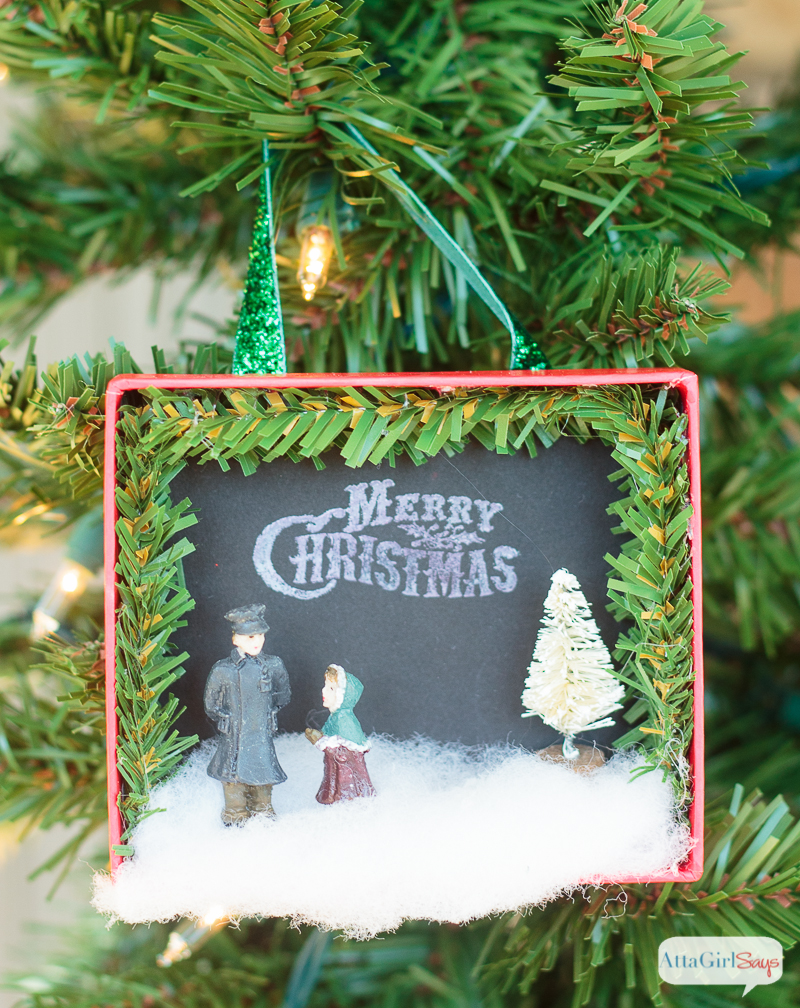
800px-diy-shadowbox-christmas-ornaments-6-1

Feel free to add a dusting of glitter to your shadowboxes or use a chalk pen to draw snowflakes, as I did on this version.
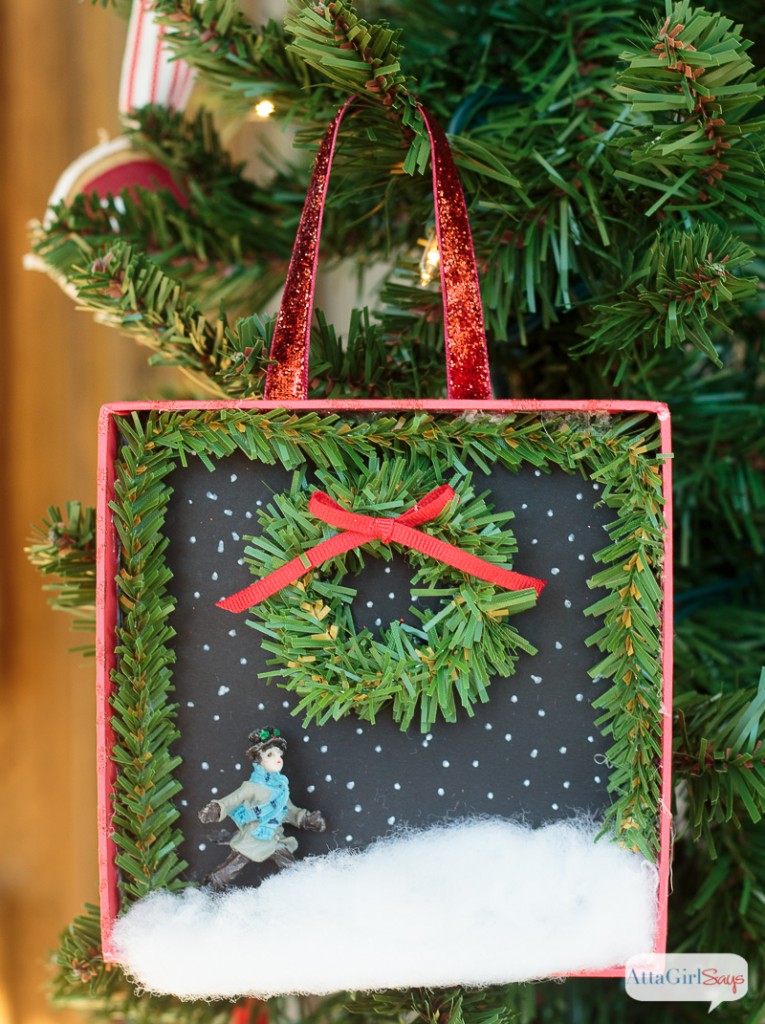
800px-diy-shadowbox-christmas-ornaments-7

In case you’re wondering, I found my miniature figurines at the dollar store, but you should be able to find an assortment of them at your craft store. You’ll also find bottlebrush trees and miniature gift boxes there, too, if you don’t have any in your gift wrap stash. And feel free to use patterned card stock in your boxes.
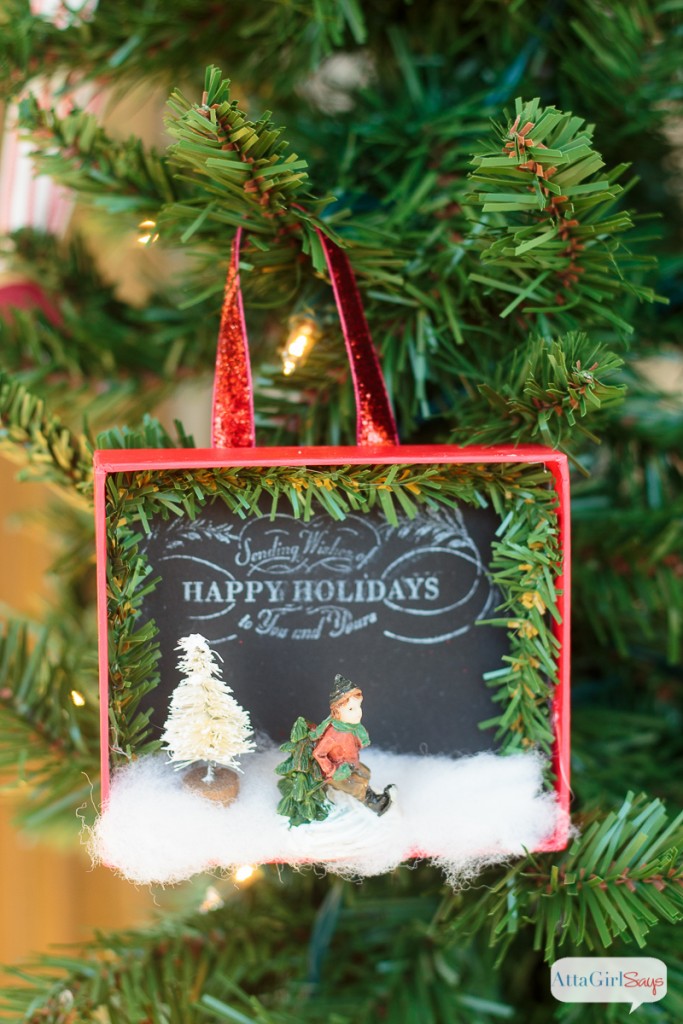
800px-diy-shadowbox-christmas-ornaments-5

I loved how these turned out, and I can’t wait to make more.

***

Thanks Amy! I just LOVE those cute ornaments! Amy has great ideas on her blog. Here are a few I know you’ll love:

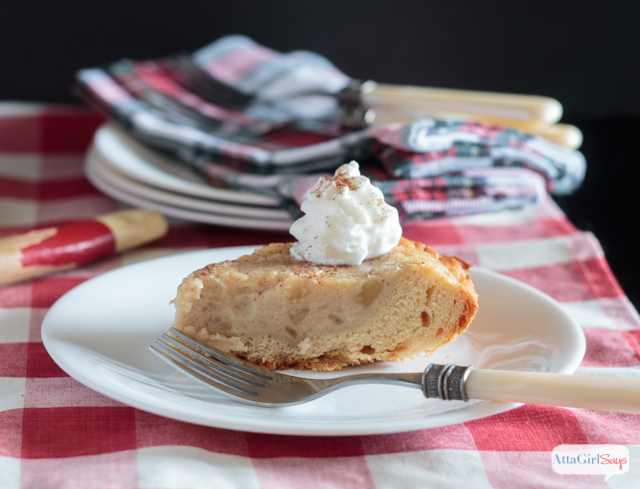
applesauce-pie-recipe-5

She has this amazing recipe for Old Fashioned Homemade Applesauce Pie!

pinnable-2014-christmas-home-tour

And you won’t believe all her gorgeous Christmas decorating ideas! Check out her Christmas Home Tour for tons of inspiration!

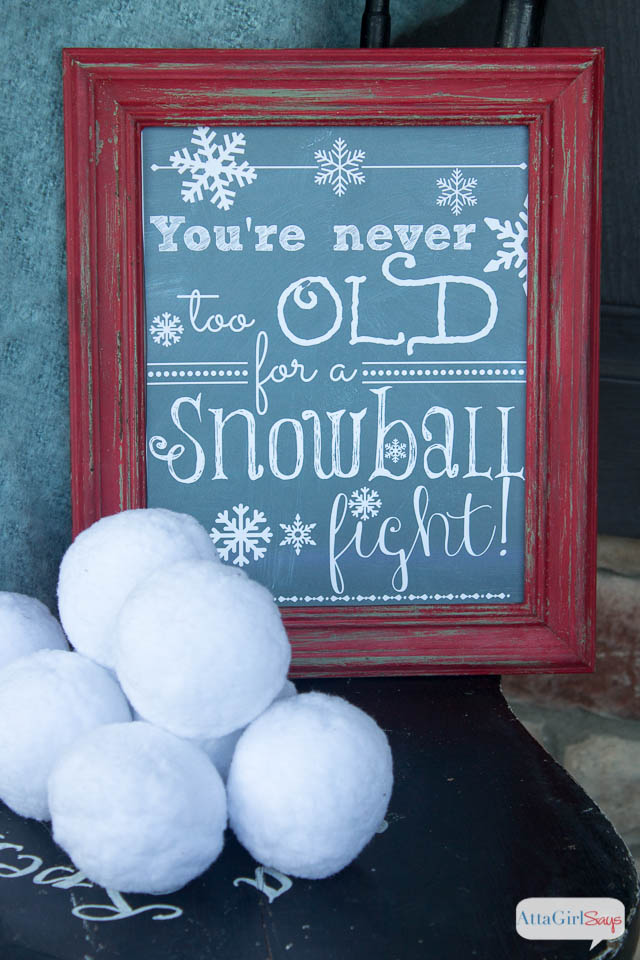
cozy-winter-porch-15

And she’s got this adorable Chalkboard Printable that would be perfect to leave up all winter long!

Make sure to follow Atta Girl Says and
pinterest.32x32.icon.circle
Follow Atta Girl Says on Pinterest
instagram.32x32.icon.square
Follow Atta Girl Says on Instagram
facebook.32x32.icon.circle
Follow Atta Girl Says on Facebook
twitter.32x32.icon.circle
Follow Atta Girl Says on Twitter

happy-holidays-2015-300

Follow the HAPPY Holidays Event at Tatertots & Jello
all through the holidays with awesome tutorials, recipes, decorating ideas and more from some amazing blogs!
xoxo
jen signature

Posted By: Jen · In: diy, guest tutorials, holiday

Black Friday – My Favorite Printer Deal!
Link Party Palooza — and Old Fashioned Stocking Bundle Giveaway!

You’ll Also Love

DIY Halloween Bat Mantel Ideas
make a dog playhouse out of a box. all the instructionsMake an Adorable DIY Dog Playhouse Out of a Box!
Make a DIY Marble Kitchen Pedestal

Comments

  1. Jess says

    August 16, 2018 at 6:41 AM

    Great article!

  2. Paige says

    November 27, 2015 at 11:06 AM

    These shadow boxes are so cute!

    Paige
    http://thehappyflammily.com

  3. TidyMom says

    November 27, 2015 at 8:15 AM

    I saw some of these in a local shop a few weeks ago and was planning some too – they are so cute!!

  4. Emma says

    November 27, 2015 at 8:01 AM

    I love this idea! It would be so much fun to put together a winter scene. Thanks for the idea!

Hi! I'm Jen Hadfield. I'm a mom of 5 restoring an 1891 home in the heart of Salt Lake City. I love being creative and sharing simple ideas to make your life easier and more beautiful!

Receive the Latest Crafts, DIY, Recipes and More in your INBOX!

Follow us on Pinterest! It's awesome!

Top Posts & Pages

Copycat Panera Spinach and Artichoke Egg Soufflés - SO good!
Spruce up Your Outdoor Space with a DIY Recirculating Fountain! (tutorial)
12 Must-Have Items to Pack on an Alaskan Cruise!
A New Deck in Under 30 Minutes!
DIY Fountains to Make Your Yard Amazing!
How to Change a Recessed Can Light into a Pendant Light with No Remodeling!


Popular Posts

  • Copycat Panera Spinach and Artichoke Egg Soufflés - SO good!
    Copycat Panera Spinach and Artichoke Egg Soufflés - SO good!
  • Spruce up Your Outdoor Space with a DIY Recirculating Fountain! (tutorial)
    Spruce up Your Outdoor Space with a DIY Recirculating Fountain! (tutorial)
  • 12 Must-Have Items to Pack on an Alaskan Cruise!
    12 Must-Have Items to Pack on an Alaskan Cruise!
  • A New Deck in Under 30 Minutes!
    A New Deck in Under 30 Minutes!
  • DIY Fountains to Make Your Yard Amazing!
    DIY Fountains to Make Your Yard Amazing!
  • How to Change a Recessed Can Light into a Pendant Light with No Remodeling!
    How to Change a Recessed Can Light into a Pendant Light with No Remodeling!
  • DIY Secret: How to Print on Post-It Notes (and Free Printable Template)
    DIY Secret: How to Print on Post-It Notes (and Free Printable Template)

As seen in


Amazon Affiliate

Tatertots & Jello is a participant in the Amazon Services LLC Associates Program, an affiliate advertising program designed to provide a means for sites to earn advertising fees by advertising and linking to amazon.com.
  • About Me
  • Advertising
  • Get Featured

Copyright © 2025 Tatertots and Jello · Privacy
This site is a place for positive discussion and ideas. Negative talk, comments that disparage others, and similar are not welcome and may be removed.