Hello!!!
TT&J Readers, this is Angelina from JoJo and Eloise. I am so absolutely THRILLED to be here with you today.
I am even more THRILLED to be one of the newest members of the TT&J’s contributing team. I mean Seriously, how Amazing is this years line up. Super Talented, RIGHT!?!?
Spring is Rapidly approaching and I couldn’t be happier. Everything about this time of year makes me HAPPY! The colors alone make me want to SING!
Spring time tends to bring LOTS of special occasions, like Weddings, Parties, Reunions, Vacations and Family Portraits. The Temperature, Colors and Fresh Blooms make a perfect backdrop for all those Parties.
I thought I would share how to make those events a little bit more Special. With this Pom Pom Sash or Head Wrap.
It is SUPER easy and makes quite the statement piece.
First start out by choosing your Colors. I wanted colors that represented Spring to me. So I went with Martha Stewart and Bernat Yarns. You can use any color combination that suite your particular Style or Occasion.
Making Pom Poms is something I never tire of, so this was the FUN part. There are different ways you can go about making your Pom Poms. The above picture shows how you can wrap your yarn around a Fork and use a separate piece of Yarn to tie a not in the center and slip your yarn off your fork. The more Yarn you use the Fatter and Fuller your Pom Pom will be.
Pictured Below: Cut a small strip of yarn about 5 inches long. Place it in between your fingers. Begin wrapping your yarn around your fingers ( 2, 3, or 4 fingers ). The more yarn you wrap will determine the fullness of your, Pom Pom. Using your separate strip of yarn, that you cut earlier, take it and tie a knot in the center of your Pom Pom. (make sure it’s tied tightly and secure ) Slip it off your fingers and Cut the Loops. Be sure NOT to cut your CENTER knot, that is what’s holding your Pom Pom together. Once you are done cutting all your loops open, give your Pom Pom a Trim and Fluff.
Continue making Different Colored and different size Pom Poms.
If you prefer a more Exact method you can always purchase a Pom Pom maker.
Using some felt cut out the shape and size desired for your Sash. Using a Hot Glue Gun, begin gluing your Pom Poms down. On the back side I cut a small Square like shape in the same size of my sash. I hot glued the TOP and Bottom, leaving the sides open, making a belt loop of sorts. Using some Satin Ribbon run it through and cutting it to the desired length needed.
And, that’s it folks! Your DONE!!
So Easy Peasy and yet so ABSOLUTELY, STUNNING and SWEET!
This Pom Pom sash will dress up any Spring outfit and will be such a Statement piece for your parties or portraits.
It’s also so PERFECT for your Spring Wedding!
Put it on the Bride, share them with the Brides Maids or dress up the Flower Girls.
Make them for those upcoming Family Portraits.
Or just have FUN and throw it on top of your head and go to town!
Either way your sure to turn heads, with this Pom Pom Adorableness!
So go ahead, get that yarn out and start making some Pom Poms.
Turn them into a Sash or Head Wrap and add some Life to your SPRING TIME fun
**********
What a fun idea Angelina! It is the perfect accessory that you could use a ton of different ways. I love it! Angelina has tons of great ideas other blog. I’m beyond thrilled to have her as one of my contributors this year!! Here are a few of her recent projects that I love:
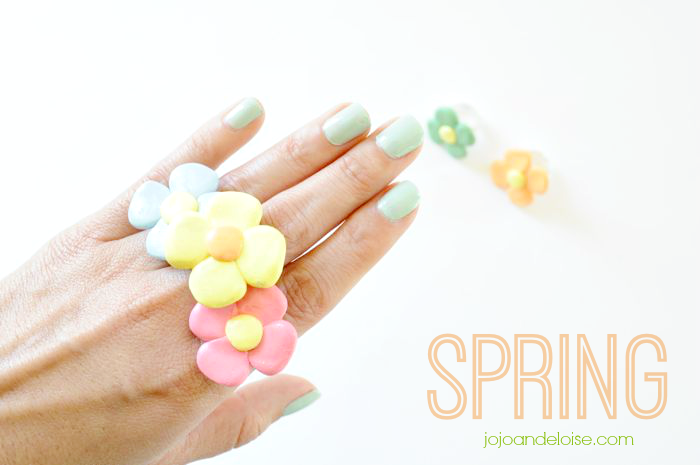
Her Spring Sash would go perfectly with these DIY Polymer Clay Daisy Flower Rings on her blog! It would be a fun craft to do with kids too!
These Gluten Free Cream Cheese Cookies look so happy and bright too! She has lots of great gluten free recipes on her blog!
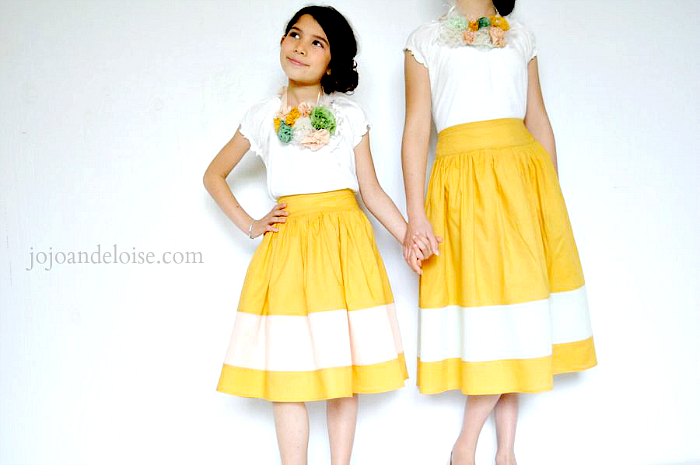
And her Borderline Skirt Tutorial would be perfect for making some matching Easter outfits!
Follow JoJo and Eloise and


Hi there! I just wish to offer you a big thumbs up for your excellent information you have right here on this post.
I’ll be returning to your website for more soon.
Ohh this is so creative! I’m definitely trying this out. Great post!
Read more at https://tatertotsandjello.com/2013/11/happy-holidays-diy-santa-bag.html#kYGT3vIHmMYT0bTL.99
Love those colors!
Super cute… Pinning!
This is adorable! Love all the fun bright colors!
Hi Jen, I just love Jo Jo & Elosie’s diy! Super pretty & perfect for spring. Had to pop by and say happy spring, it’s been a while. 😉 Theresa
I Love this! So cute and such pretty spring colors. I just posted a DIY Pom Pom Garland blog for my sons nursery! http://sugarstripe.blogspot.com/2014/03/diy-pom-pom-garland.html
Great job!
Super cut! Love the belt!!!
It’s so adorable Angelina! I love it. Thanks for sharing the tutorial with us!
xoxo
Thank you so much for having me 🙂 I am so excited to be here sharing with your lovely Readers! Happy Spring!
xoxo