DIY Plate Rack Wall with Scallop Molding. Create a charming and functional DIY plate rack wall with scallop molding in your kitchen, using simple materials and a step-by-step guide!
DIY Plate Rack Wall with Scallop Molding
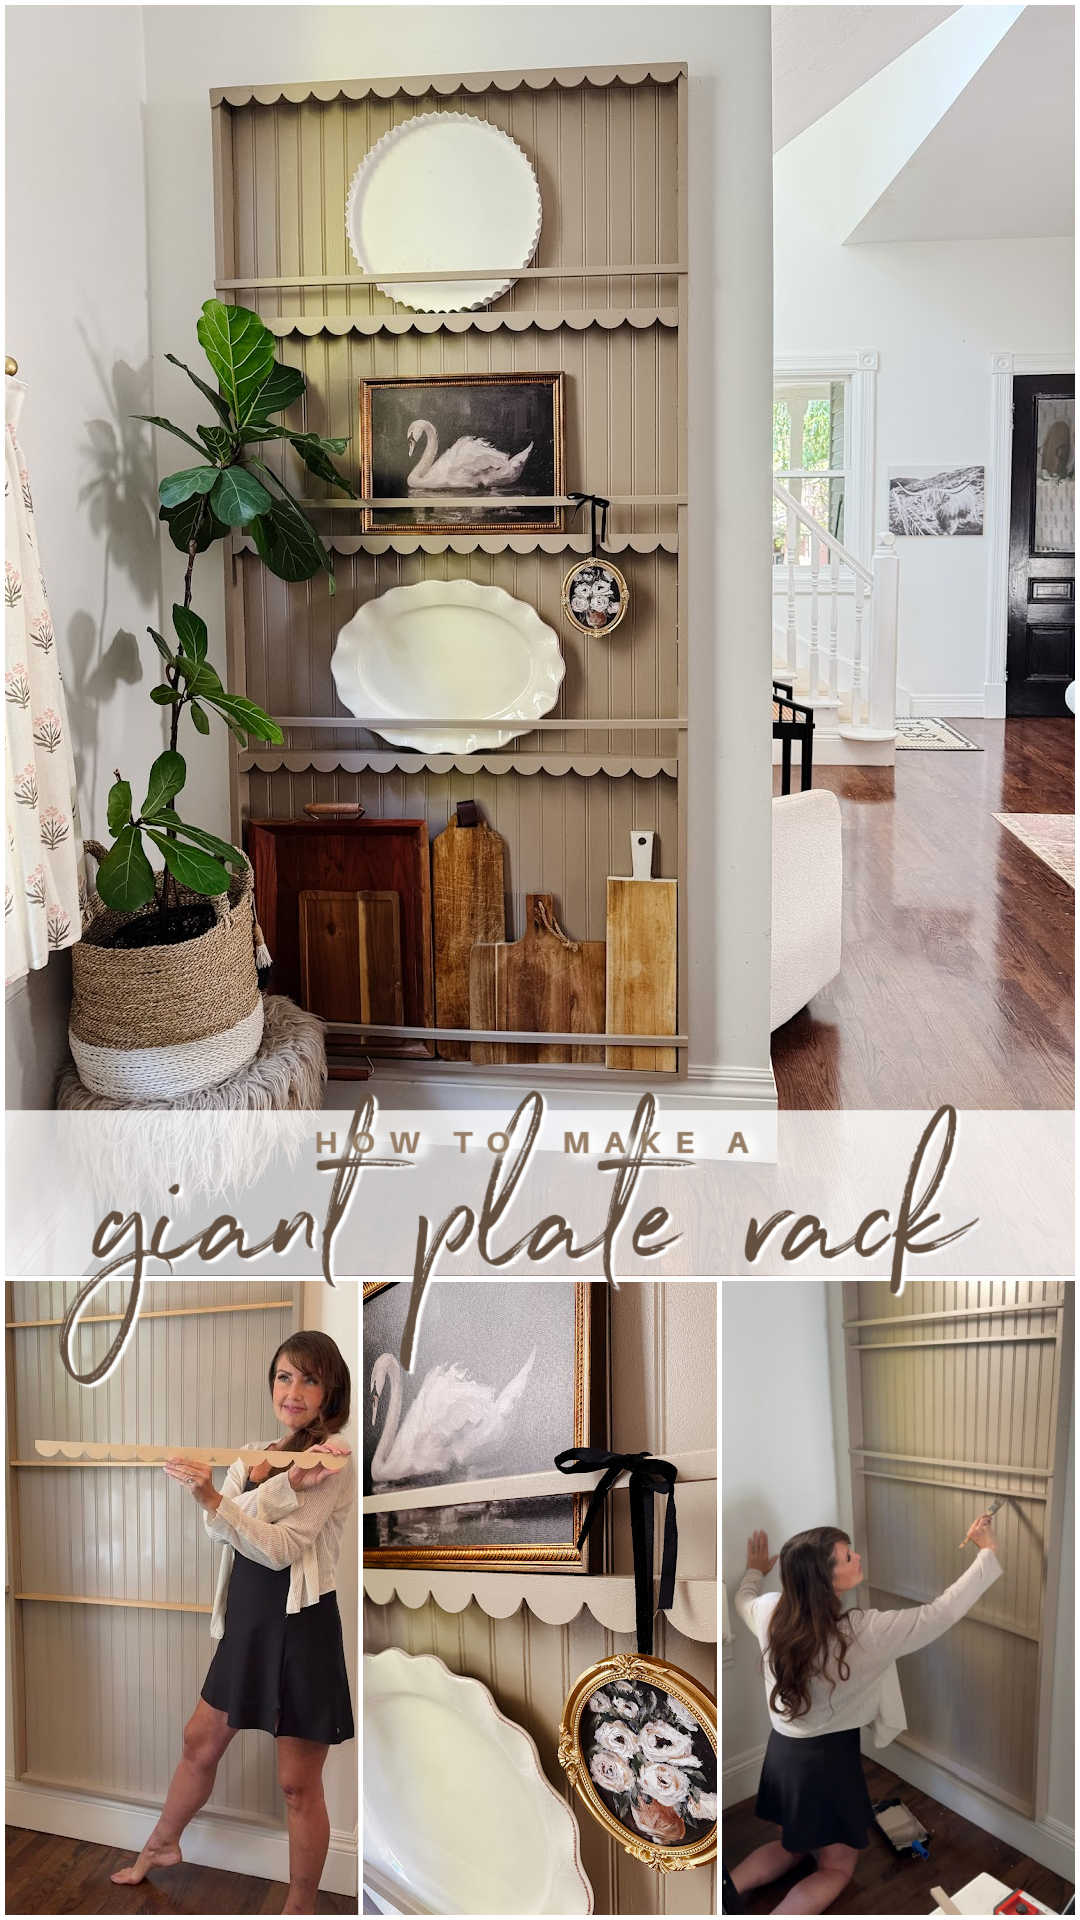
As many of you know, we’ve been in the process of restoring our 1891 home for the last six years, and I’ve been dreaming of creating a giant plate wall in our kitchen for almost as long! Well, I finally did it, and I’m so excited to share it with you today! It all started with the perfect scallop molding, which I used to give the plate rack a little extra charm. If you want to see more ways to use scallop molding, be sure to check out my 12 Ways to Add Charm to Your Home with Scallop Molding post. But first, let’s dive into the details of this DIY plate rack project! (I’ll link to the scallop molding here for your convenience, but you can also find it on Amazon.)
Materials You’ll Need
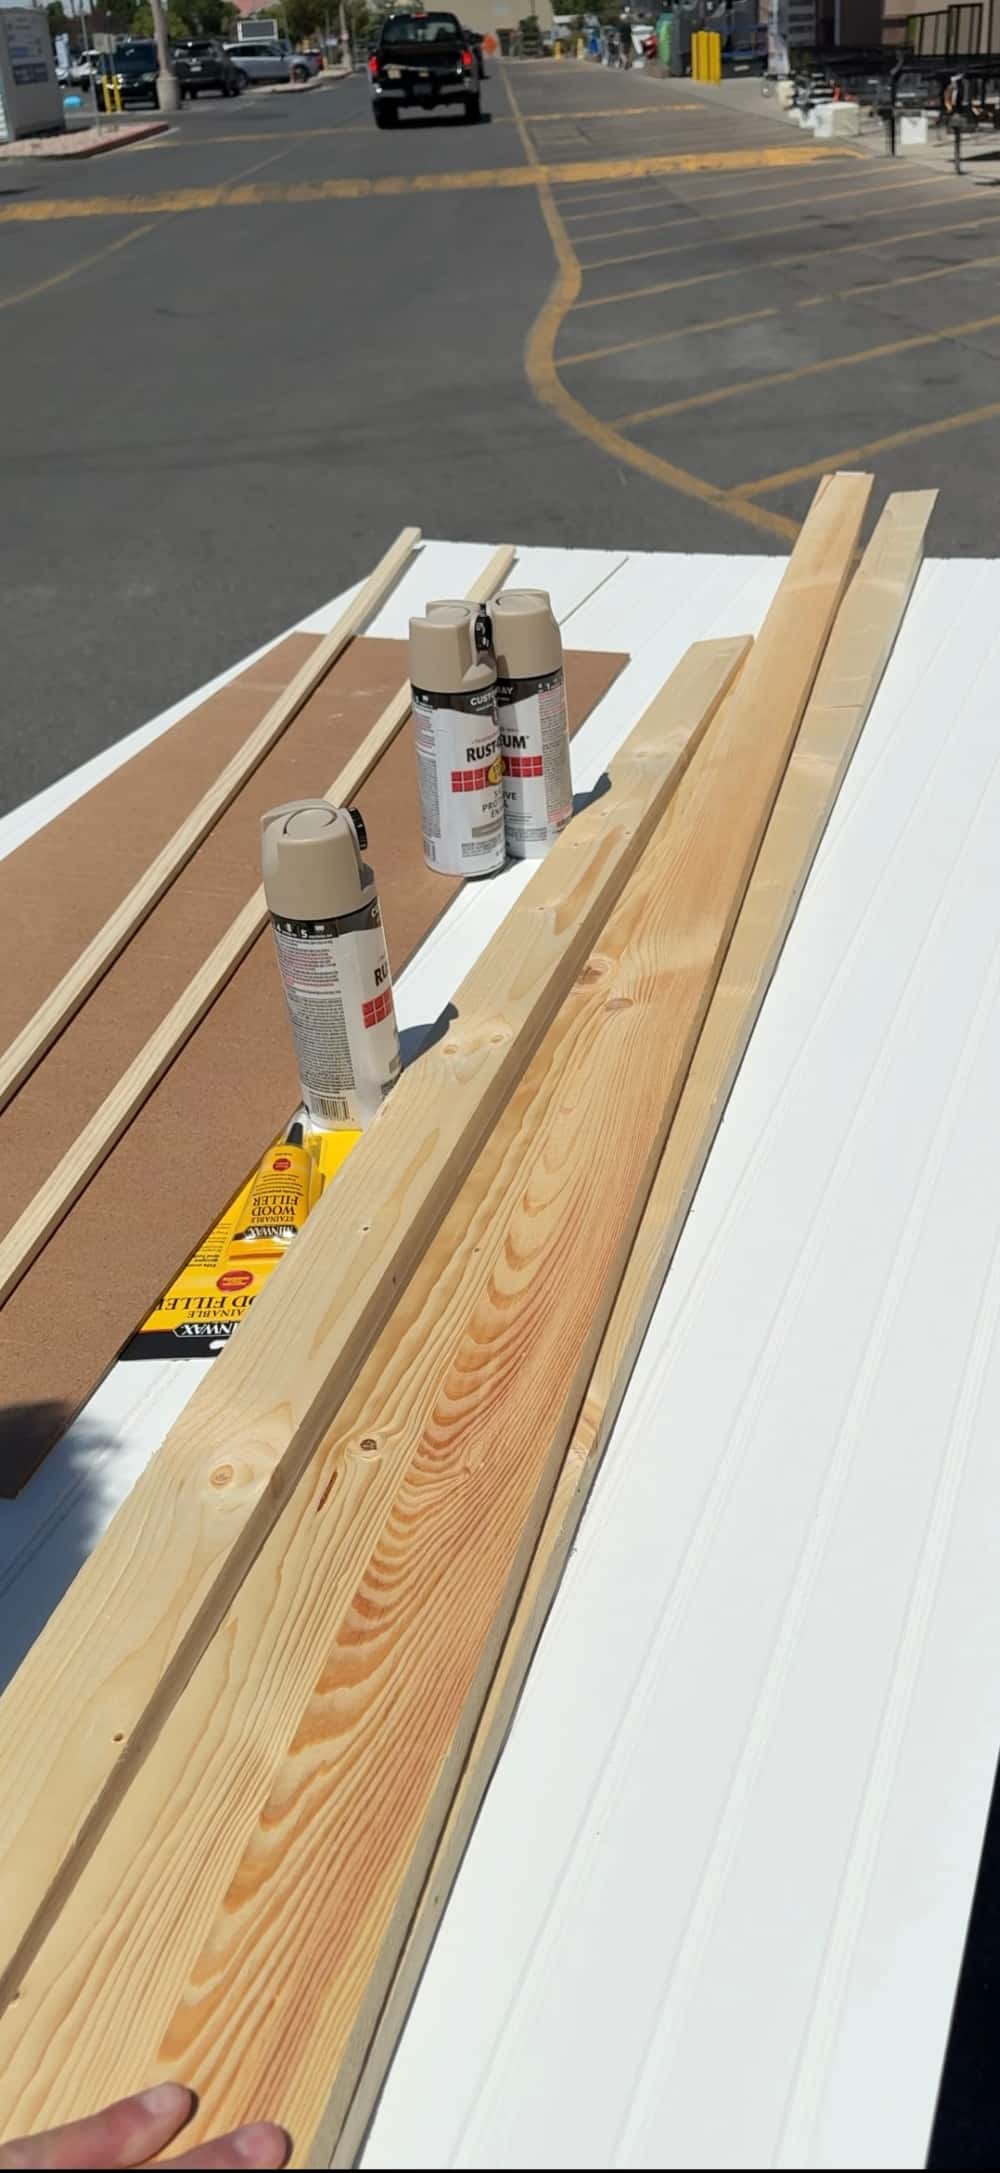
For this project, I gathered the following materials:
- Beadboard (for the back of the plate wall)
- Painters tape (to mark where you want the plate wall)
- 1×3 boards (for the frame around the beadboard)
- 1×2 boards (for the shelves)
- Small metal brackets to go in the middle of each shelf to hold more weight.
- Thin square molding to hold the plates against the frame
- Scallop molding (for the top and front of the shelves)
- Paint (Rustoleum French Beige spray paint)
- Quart of satin French Beige paint (color matched to the spray paint)
- Nail gun
- Chop saw
- Stud finder
- Measuring tape (for precise measurements)
- Foam 4-inch roller and tray (for smooth paint application)
One of the best parts about working on this project was the convenience of having Home Depot cut the beadboard for me! It made things so much easier, and I highly recommend this service if you’re looking to save time. I also used a chop saw to cut the moldings and a stud finder to ensure everything was securely attached to the wall.
Step-by-Step Instructions
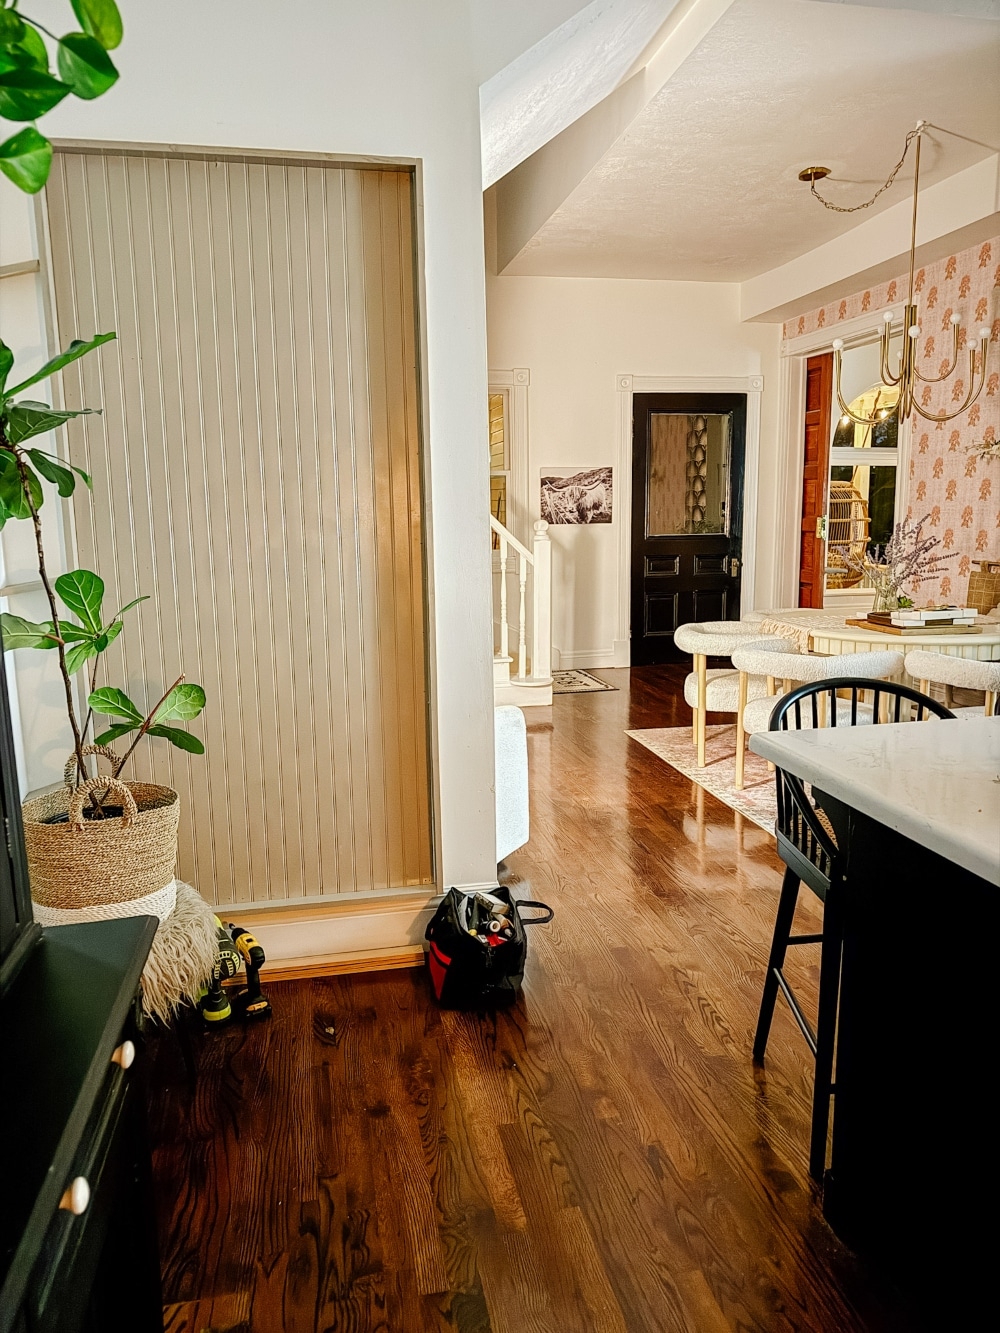
1. Prepare the Wall
I started by using painter’s tape to mark out where I wanted the plate wall. I knew I wanted it to be quite large and cover most of the wall space, so I made sure to leave plenty of room for the plate rack to take center stage.

Once I was happy with the layout, I went to Home Depot to get the beadboard cut to size. If you’re unsure about the measurements, no worries! They’ll cut it to your specifications.
2. Attach the Beadboard to the Wall
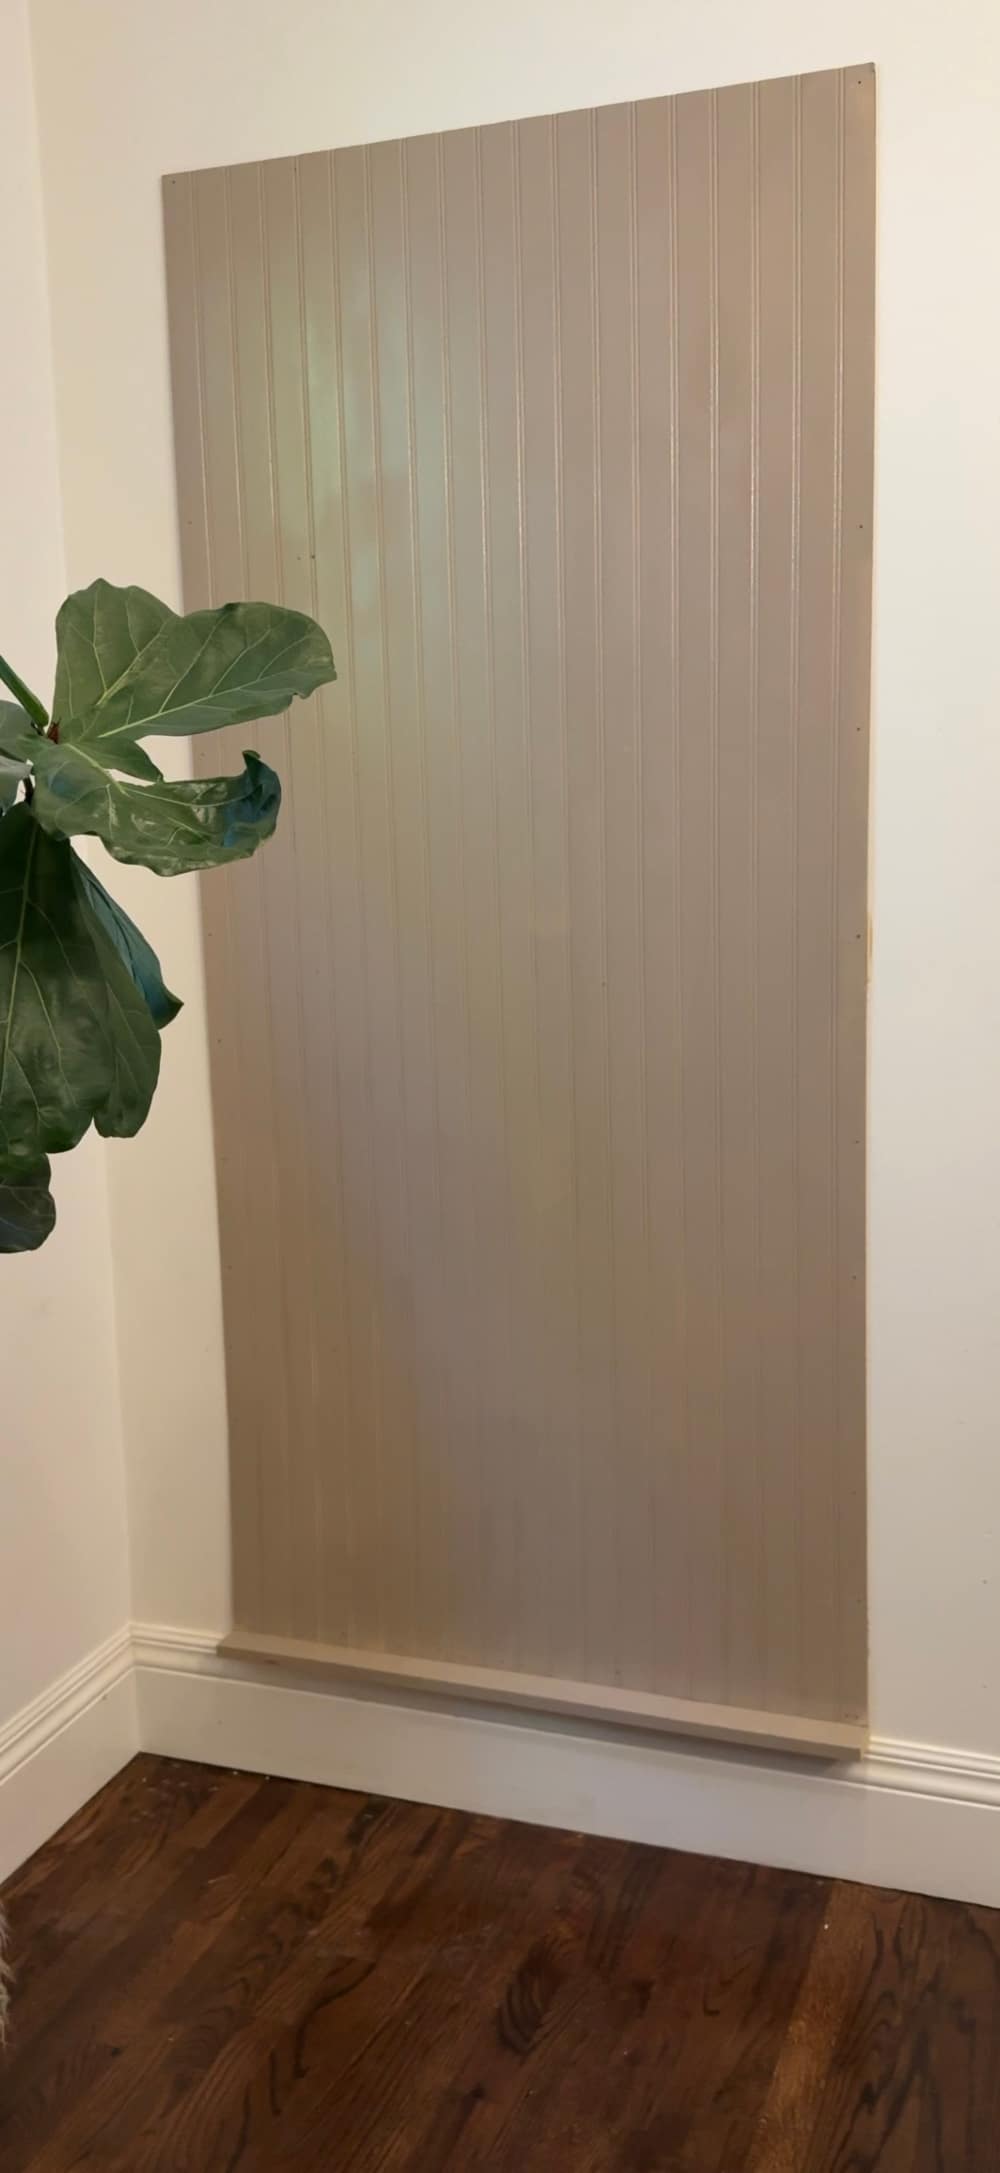
I used a stud finder to locate the studs and nailed the beadboard to the wall, ensuring it was secure. I went around the edges of the beadboard to make sure everything was fastened tightly.
3. Build the Frame Around the Beadboard
Next, I used 1×3 boards to build the frame around the beadboard. I cut the pieces to size and nailed them in place using a nail gun. For the shelves, I used 1×2 boards, which I cut to 40 inches wide. After that, I made sure to measure and cut everything carefully. I didn’t bother mitre-ing the edges; instead, I made sure the longer boards covered the shorter ones at the top and bottom so the seams weren’t visible from the sides of the plate rack. This step was key for getting that clean, polished look! Then I added the shelves. I used 1/3’s for the frame and 1×2’s for the shelves so they would be recessed within the frame and not stick out. I used a harder wood for the shelves so they can hold more weight. And then I added small metal brackets to the center of each shelf. The brackets are covered up by the scallop molding.
4. Add the Scallop Molding and Small Molding
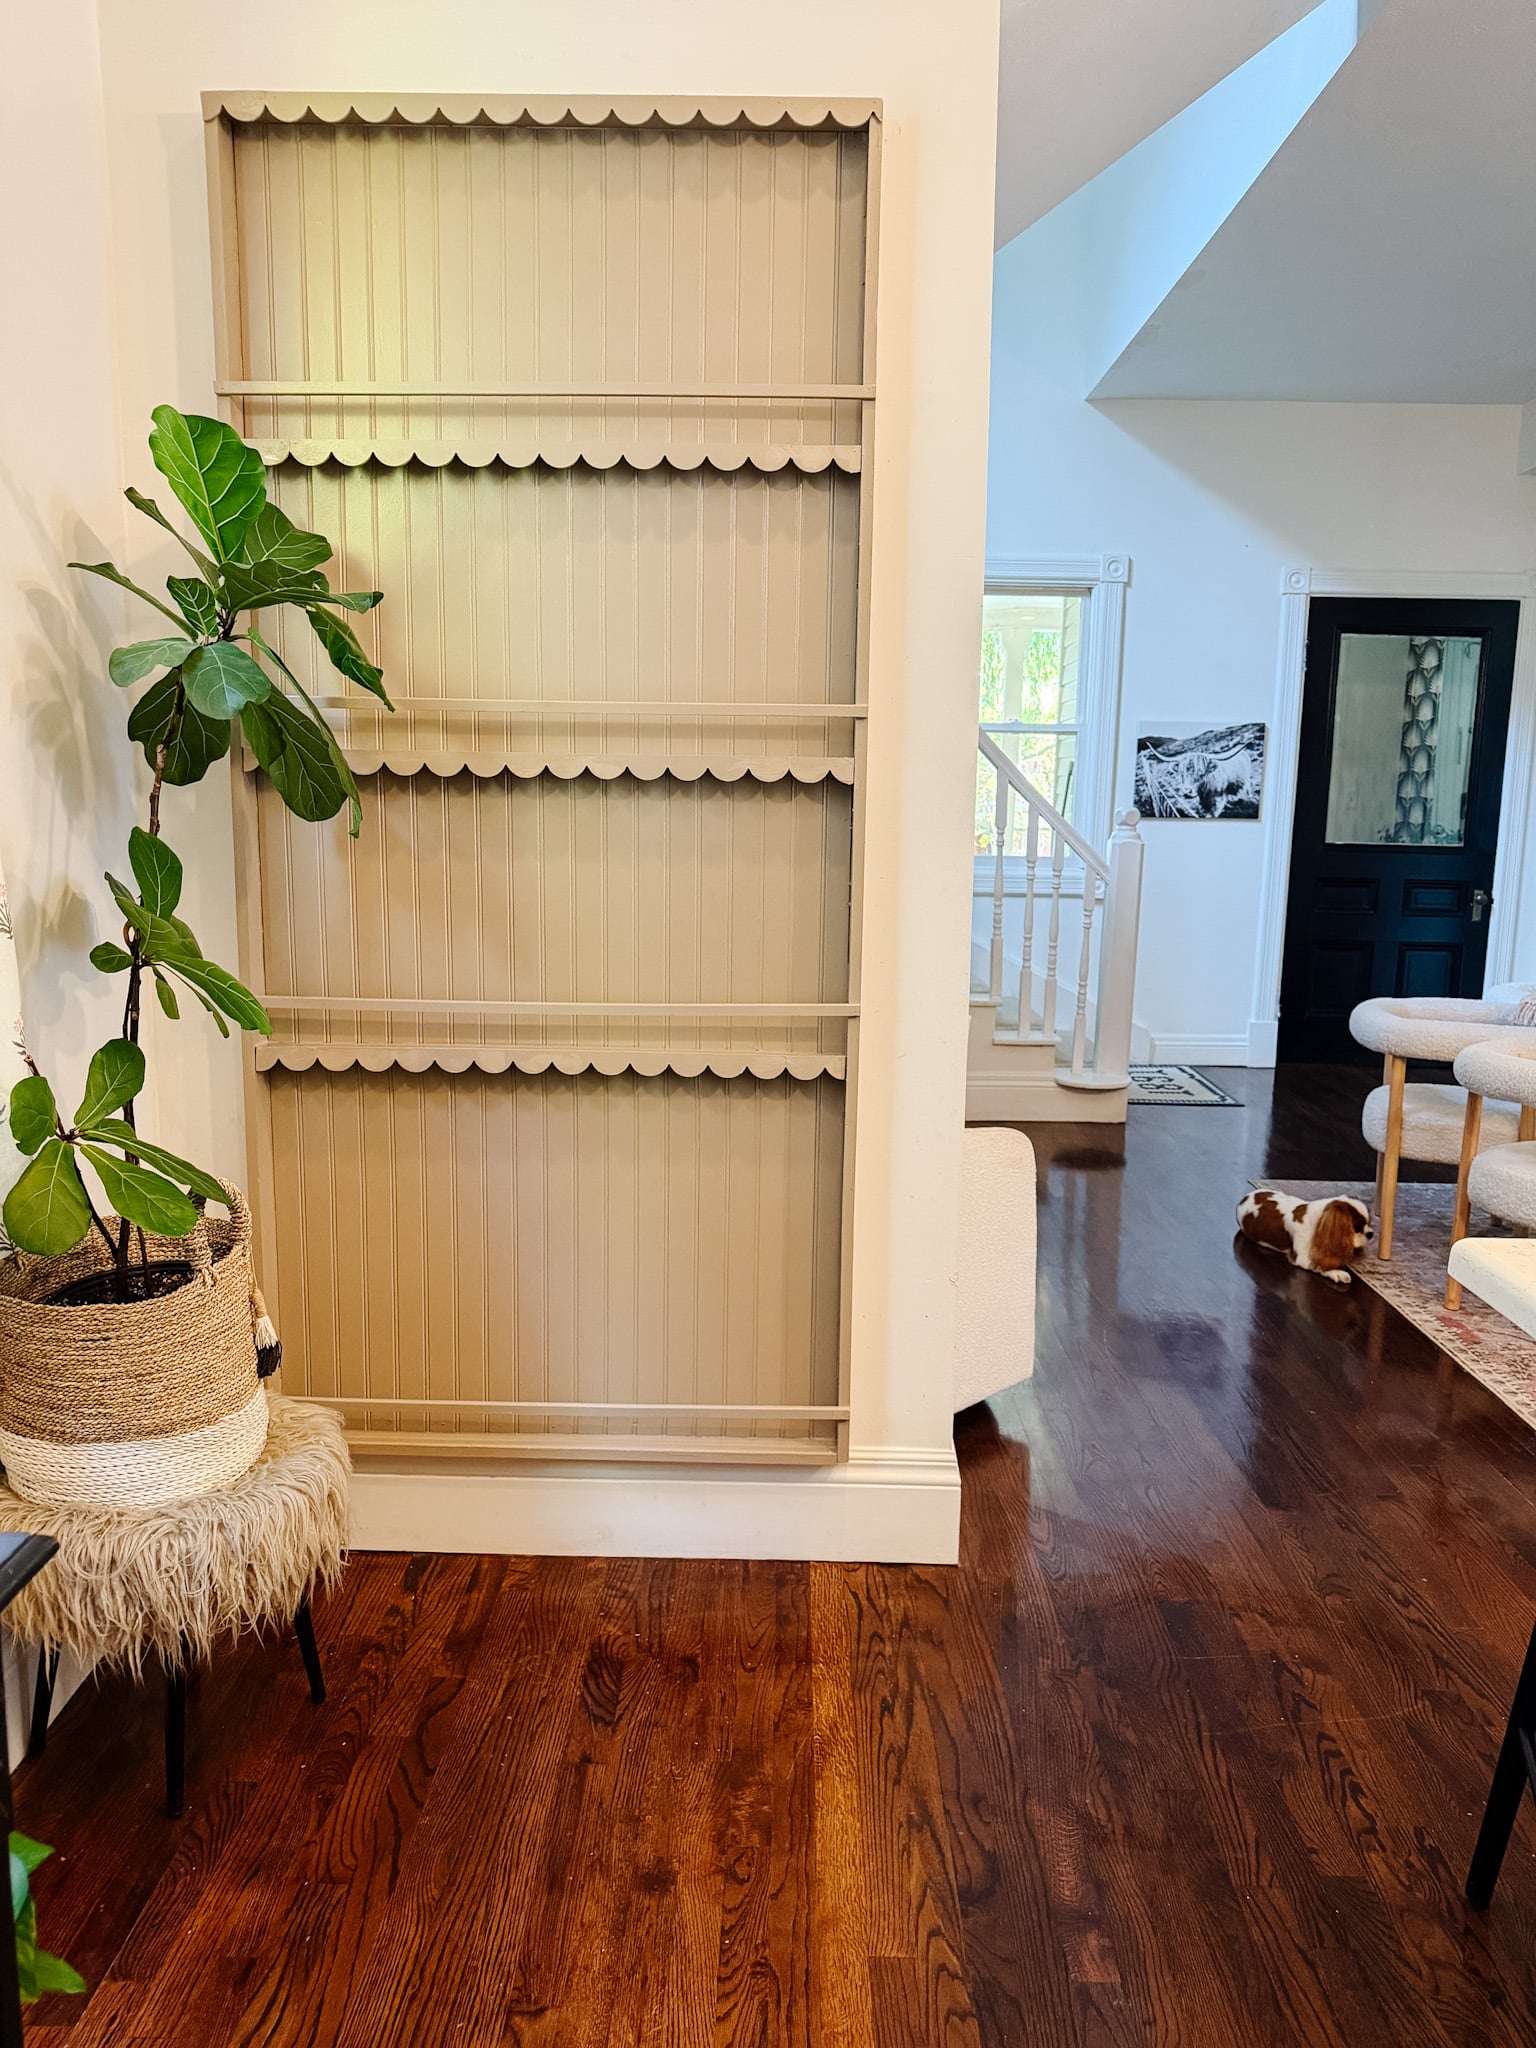
Now, the fun part—adding the scallop molding! I used 30-inch pieces of the molding, which I placed across the top of the plate rack and in front of the shelves. To make the plate rack feel more balanced, I added the scallop trim to the center of the shelves as well. I also cut extra scallop trim pieces for the sides using a chop saw to give it that perfect finish. I attached small square molding to the front of the shelves about 4 inches above to hold the plates and platters against the rack. I used two nails on each end of the molding to hold it in place. Then I used wood filler to cover up the nail holes.
5. Painting the Plate Rack

Once the frame and shelves were all set, I went ahead and painted everything with my new favorite color—Rustoleum French Beige. I used a spray paint to cover the surface, and for the grooves of the beadboard and the edges, I used a small brush to get into every nook and cranny. I applied three coats to make sure everything looked smooth and even. Tip: to get the exact shade I wanted, I also had the spray paint color matched and purchased a quart of satin French Beige paint for a consistent finish on all the pieces. I used a foam 4-inch roller for a smooth application.
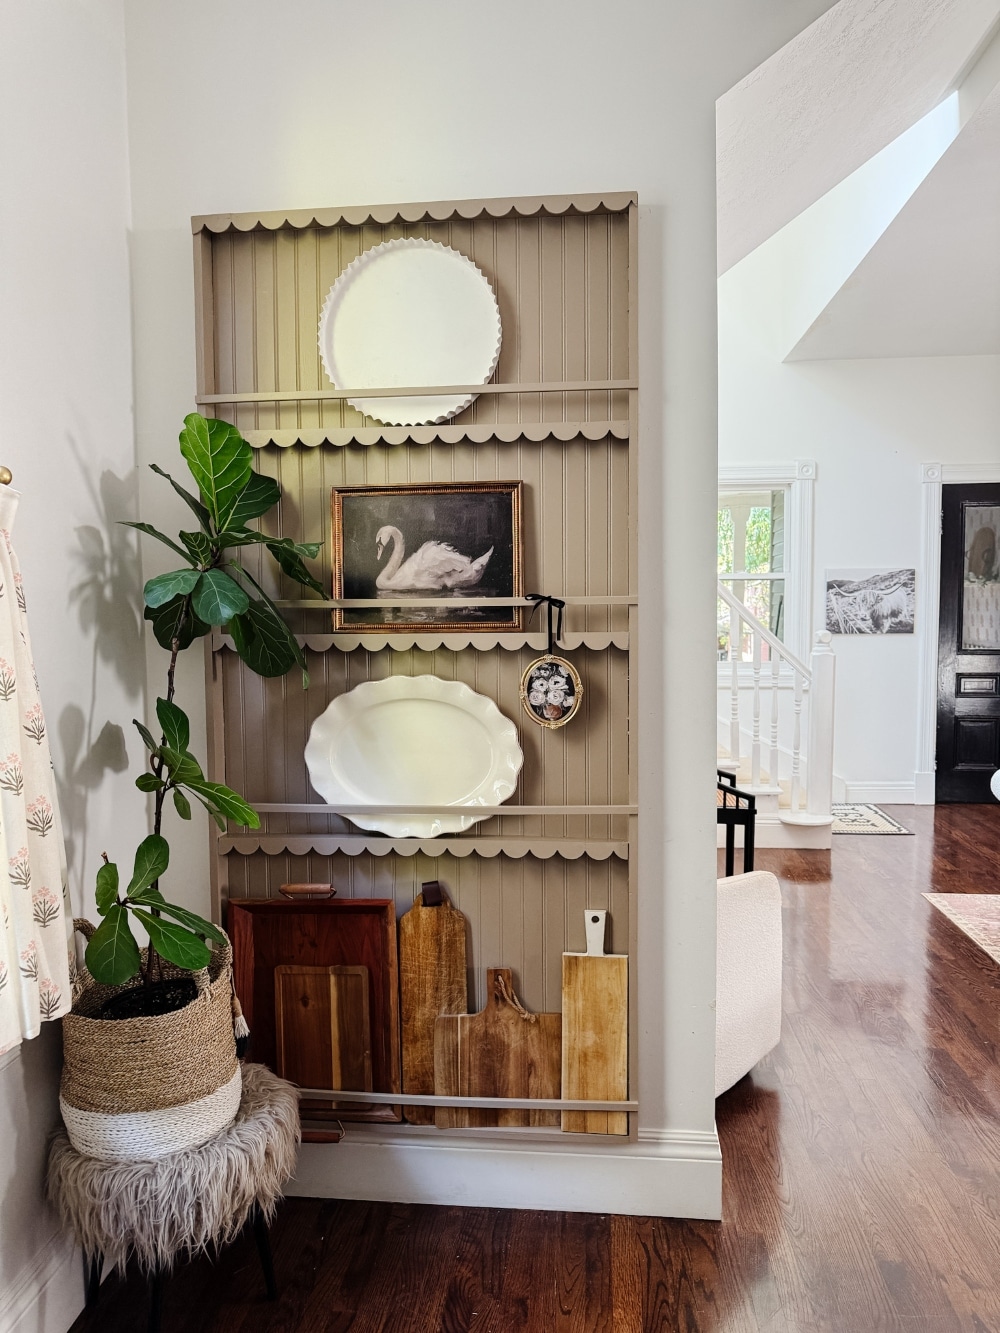
Styling the Plate Rack
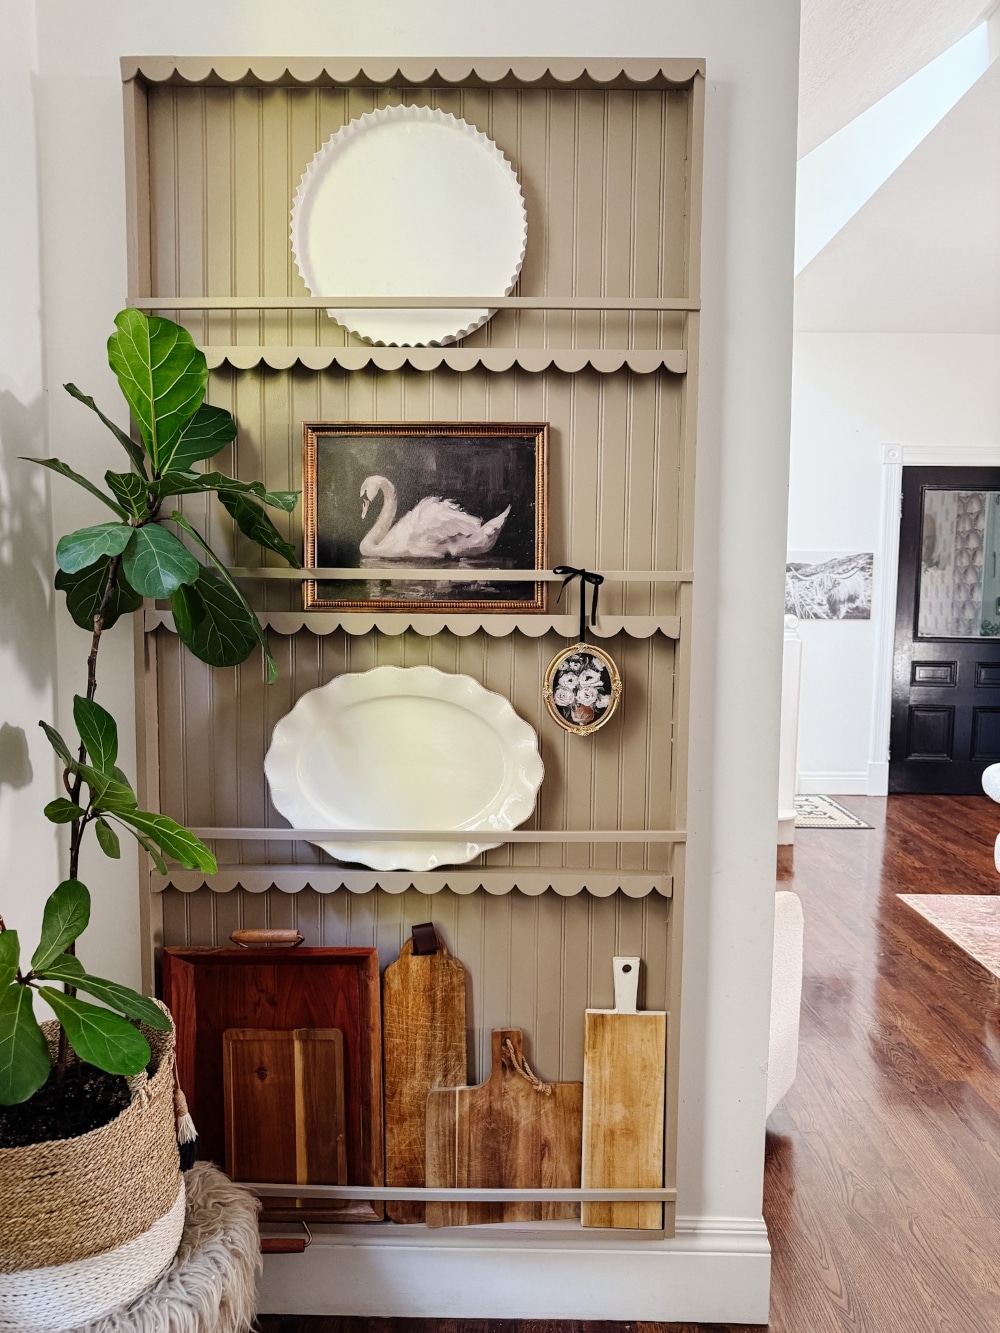
Once the paint was dry and everything was secure, it was time to style the shelves! This is my favorite part of the project, and I love how the plate rack adds so much charm to our kitchen. Not only does it look great, but it’s also super functional for storing cutting boards, platters, and other kitchen essentials. I’m especially excited to style it for the holidays!
If you’ve been following along on Instagram (@tatertotsandjello), you might have already seen the DIY plate wall I created over the weekend. It was such a rewarding project, and I’m thrilled with how it turned out!
Items I Used to Style the Plate Rack
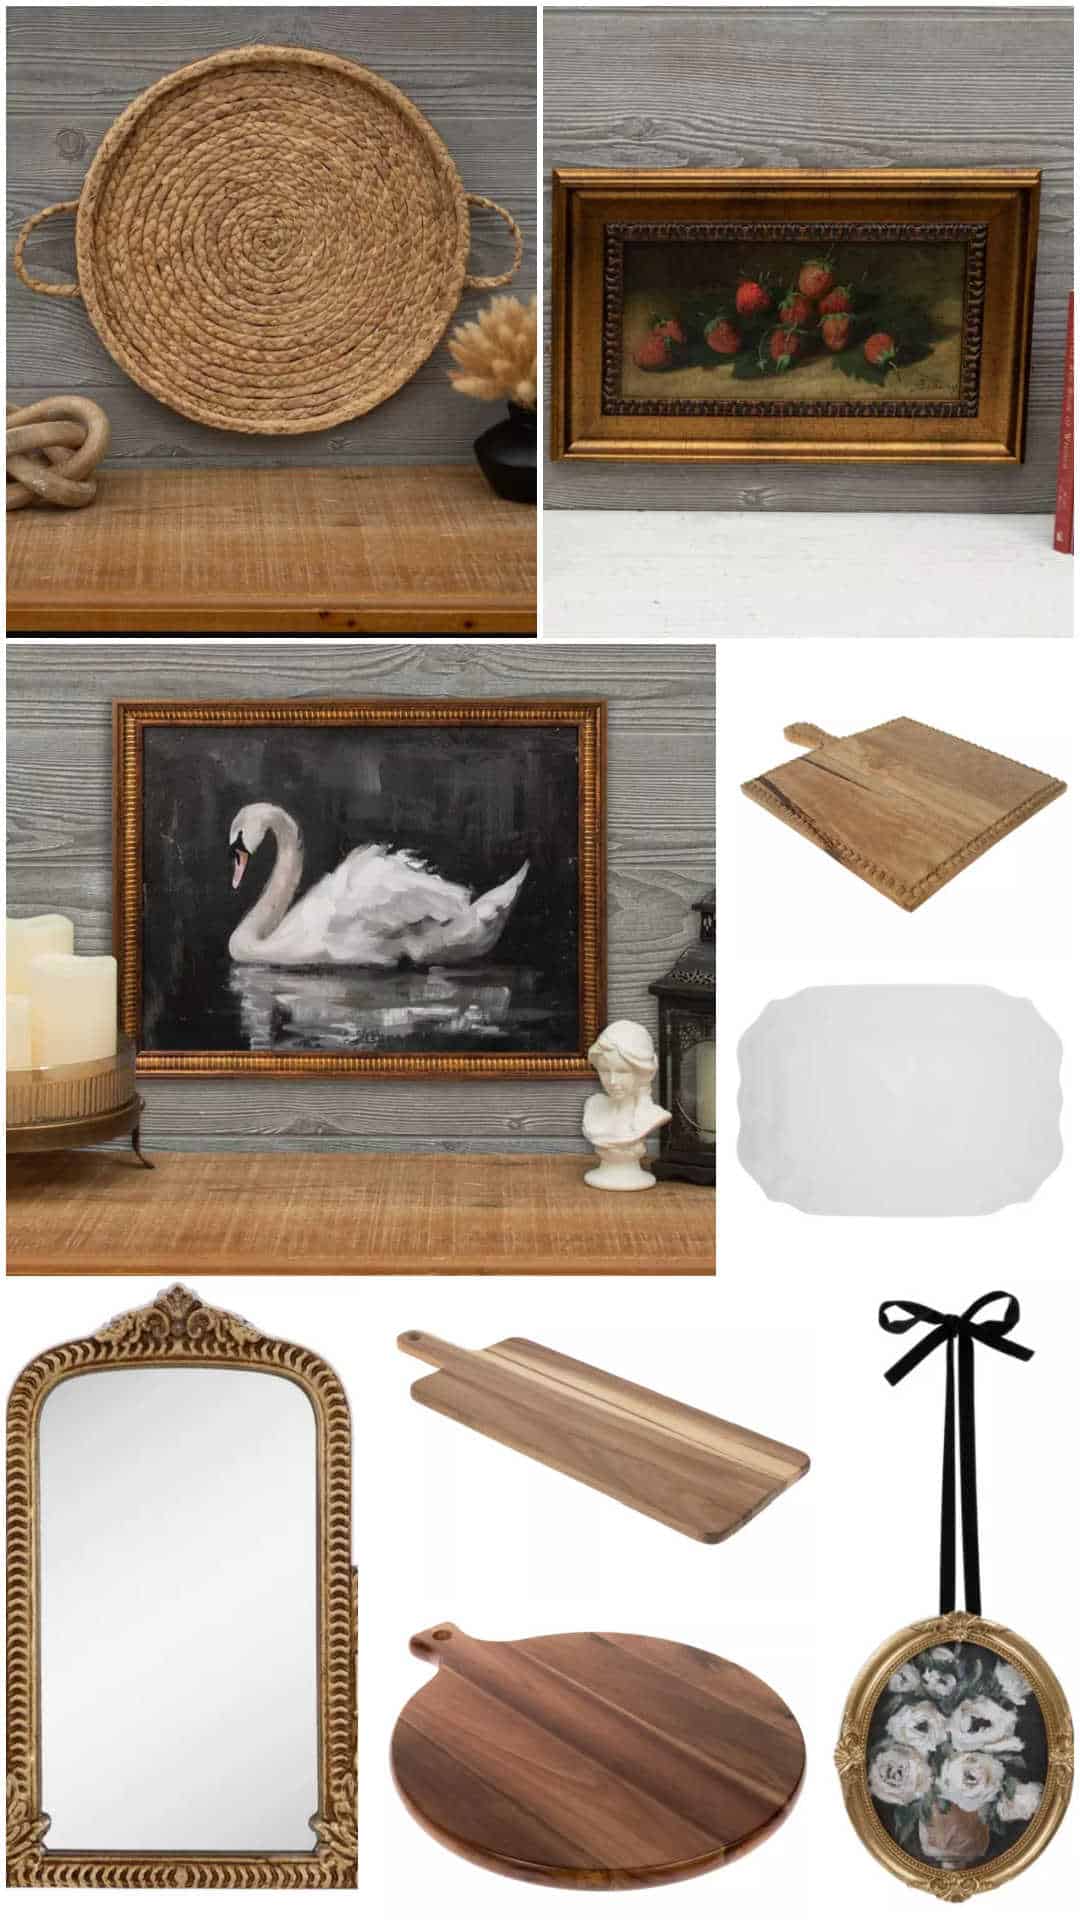
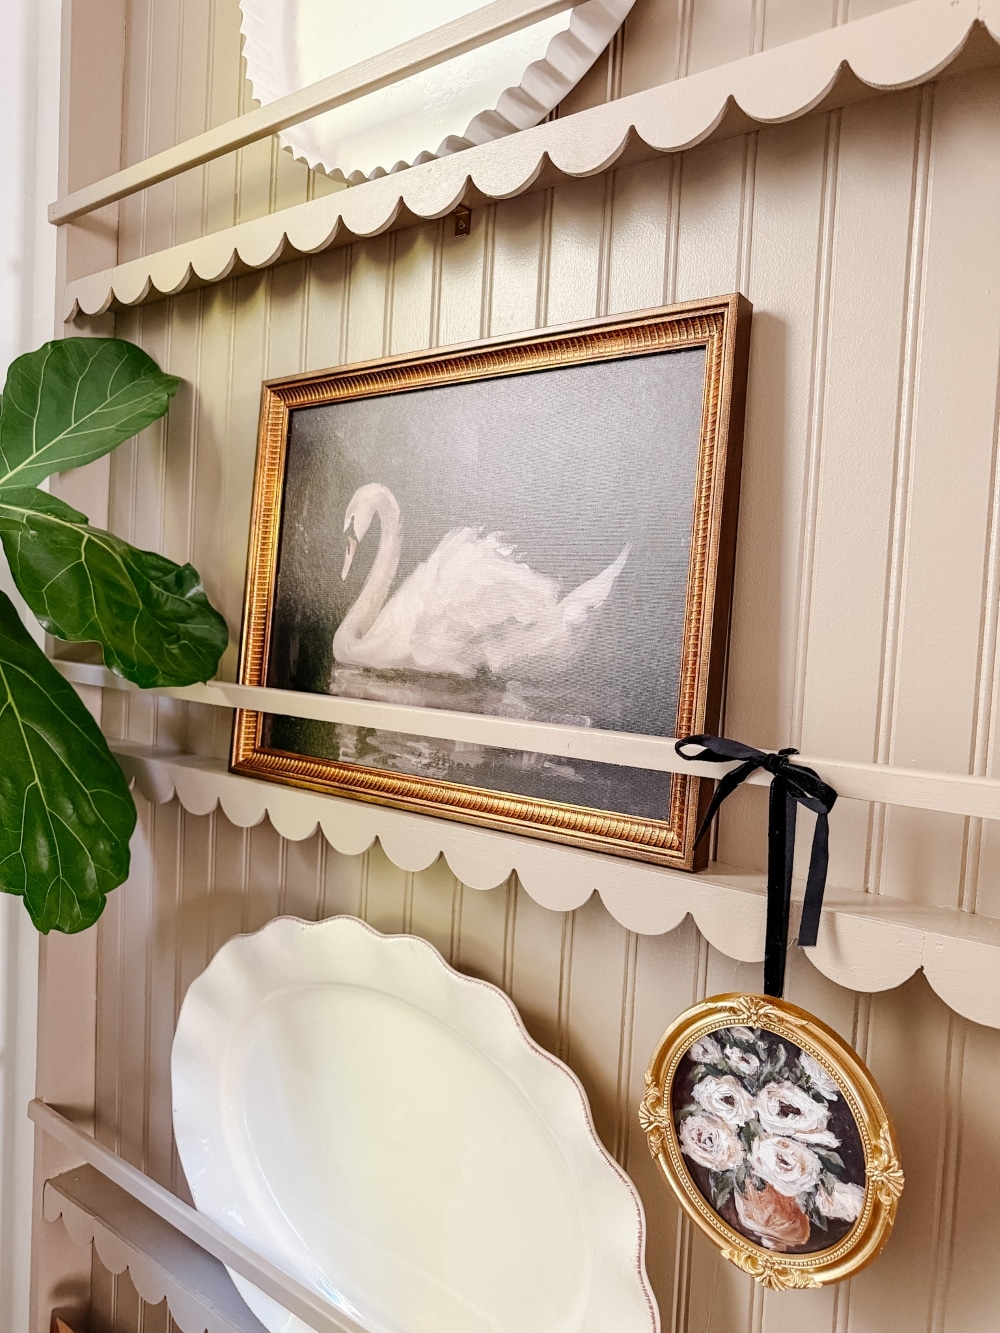
Now for the fun part—styling the plate rack! I decided to go with a mix of cutting boards, small paintings, and vintage plates to create a cozy, curated feel. Here’s a look at some of the items I used to decorate the plate rack:
- Wooden cutting boards in various sizes and shapes
- A few small vintage plates for a charming touch
- A couple of art prints for some personality
- Ceramic bowls and dishes for balance
I can’t wait to continue styling this plate rack for the upcoming holidays and beyond. And If you’re thinking of trying a plate wall in your own kitchen, I highly recommend it! It’s a perfect way to add both beauty and function to your space!
I hope this DIY project inspires you to try something similar in your own home! And, be sure to check out my 12 Ways to Add Charm to Your Home with Scallop Molding post to see even more creative uses for this charming molding. Happy crafting!
More DIY Home Projects to Make!
Here are a few more DIY ideas to make your home more charming!
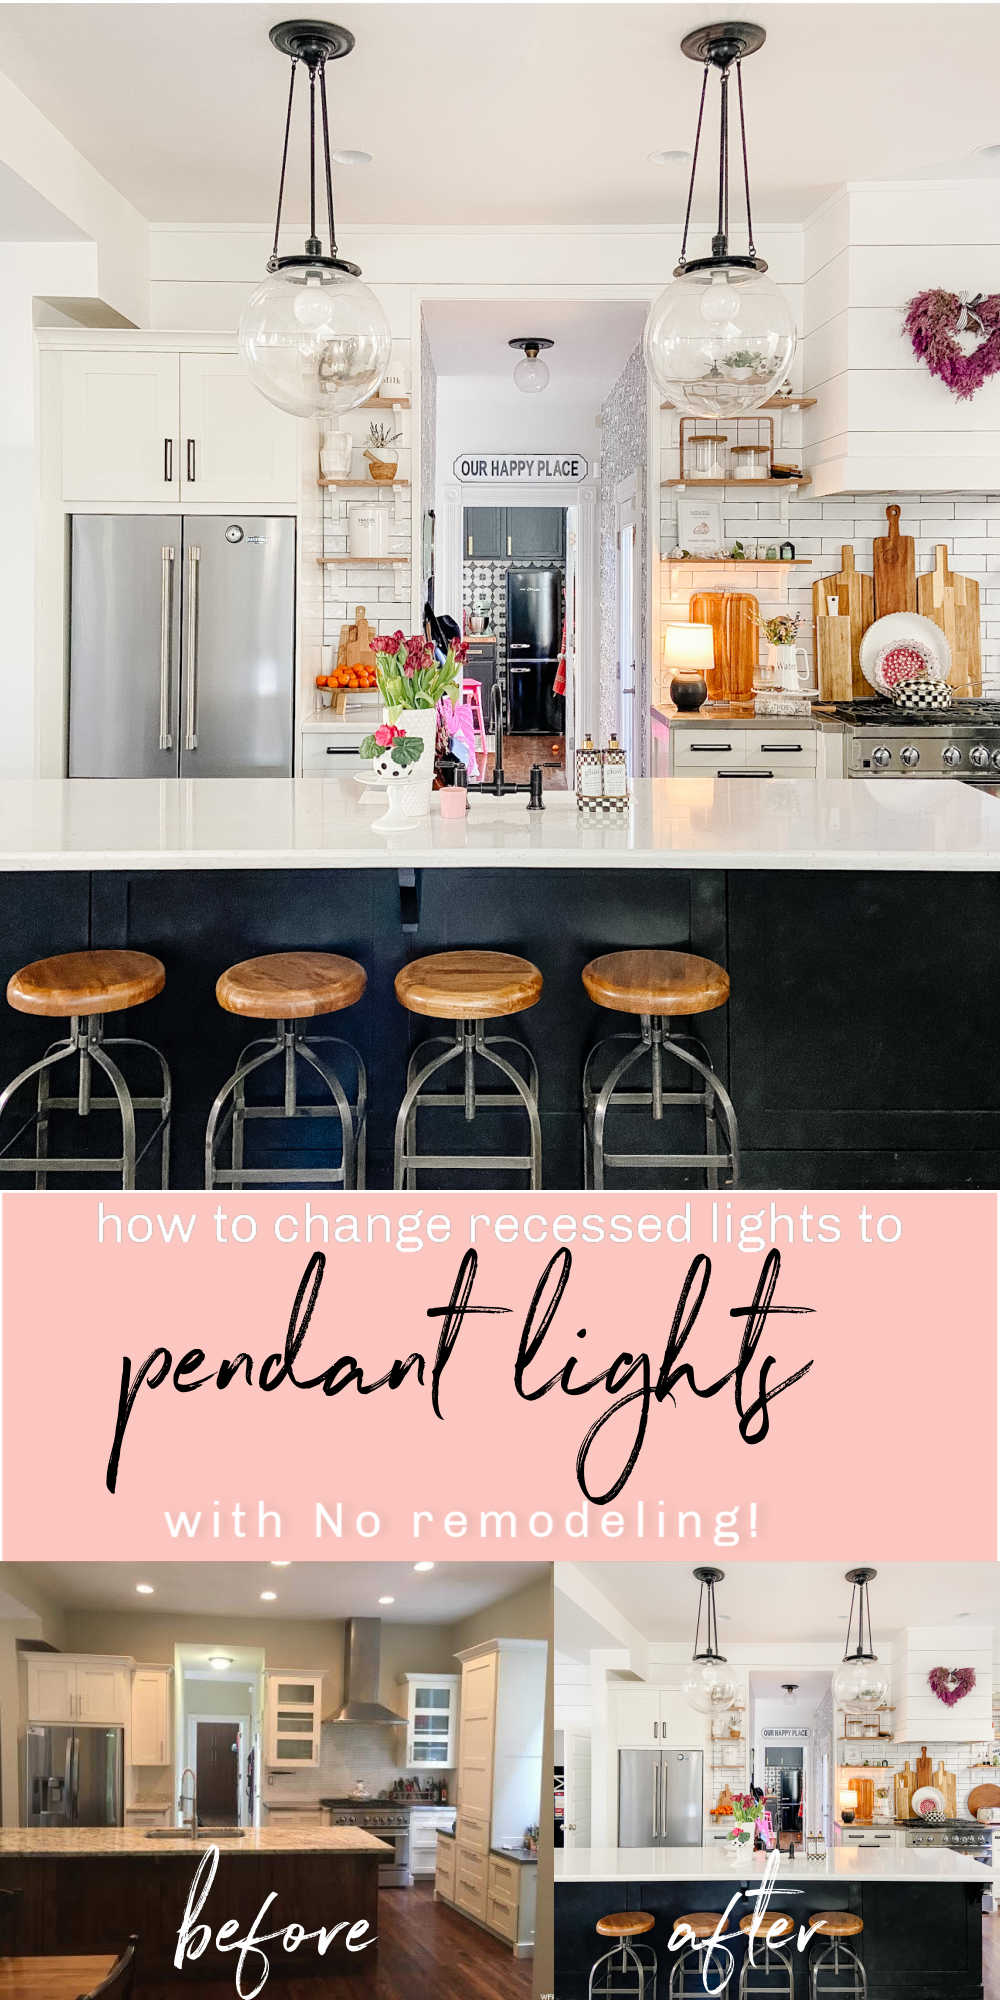
How to Change a Recessed Can Light into a Pendant Light with No Remodeling!
How to change a recessed can light into a pendant light with no remodeling. Switch out a can light for a beautiful pendant or chandelier light in just minutes with no remodeling!
Build a shiplap electric fireplace
How to Add a New Electric Fireplace to Your Home. Fireplaces provide a cozy focal point and heat to your home. How to choose an Electric Fireplace for Your Home.
Be sure to follow along with me on Instagaram @tatertotsandjello – where I share behid thee scenes projects and shopping ideas!!
xoxo


Liked it? Leave a comment! Thanks! xoxo