So let me introduce you to the first crafter —
Hi, everyone! I am beyond excited to be featured on Tatertots & Jello today, Jen’s projects are some of my favorites! I can’t wait to make some of the cute ruffle necklaces she posted not too long ago.
To start with, gather your supplies. For the first project, you’ll need:
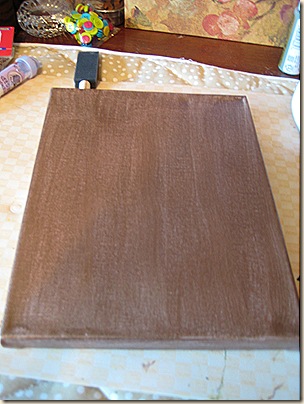
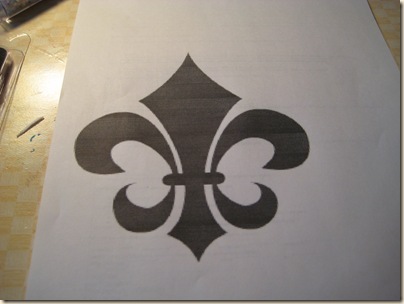 Draw your shape onto your painted canvas using a marker.
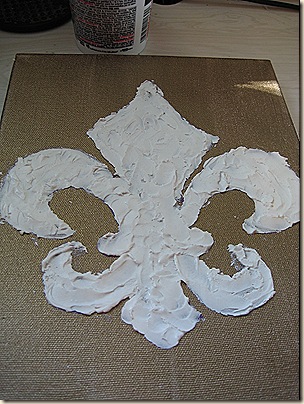
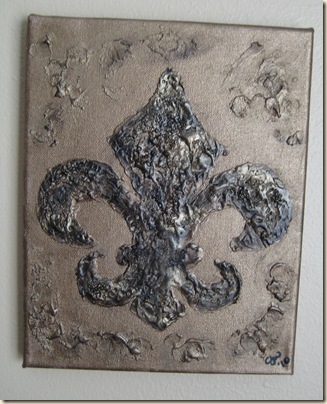
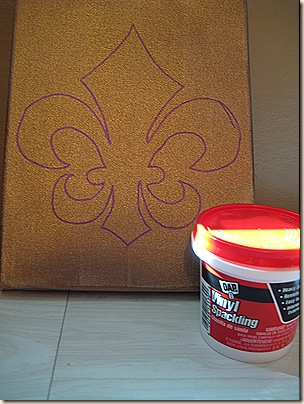 Next, spread on your joint compound or spackle with a plastic knife, or you can use your fingers. You can make it as smooth or as textured as you like. I built mine up in several places to create lots of texture. Try to cover your marker lines, and keep a wet paper towel nearby to wipe off any smudges.
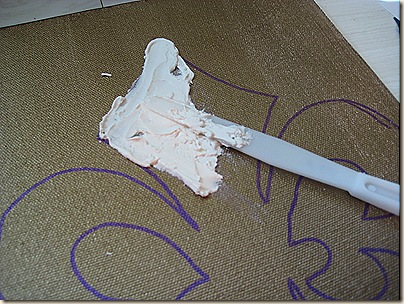
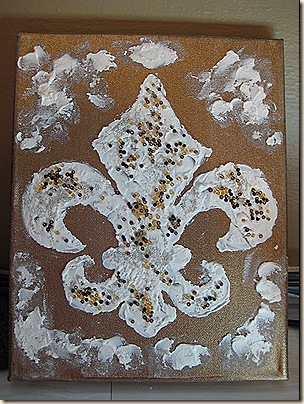
So now you should have your shape on your canvas.
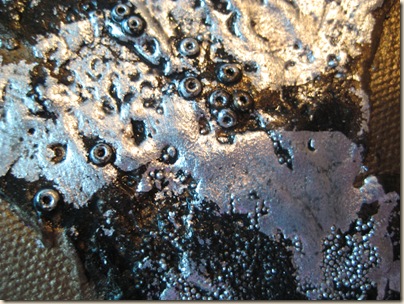
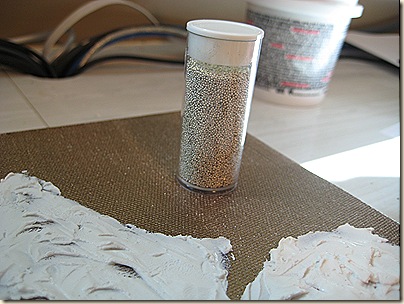
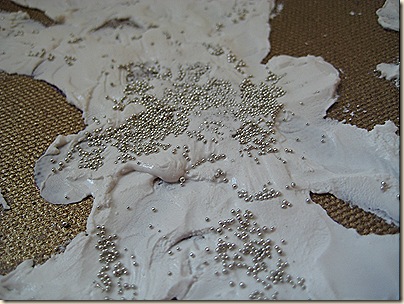
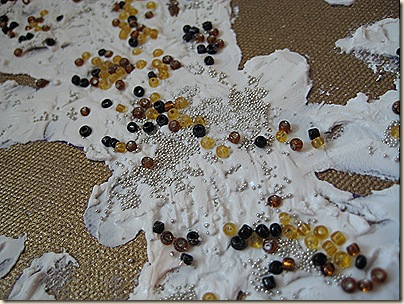
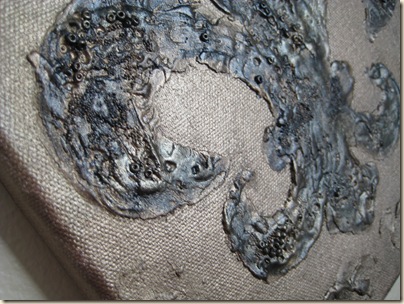
 Before the spackle dries, you can press some seed beads or tiny marble beads into the spackle if you want more texture. I found these tiny silver marble beads in the scrapbook section of Michael’s:
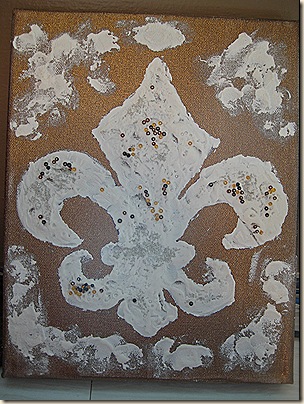
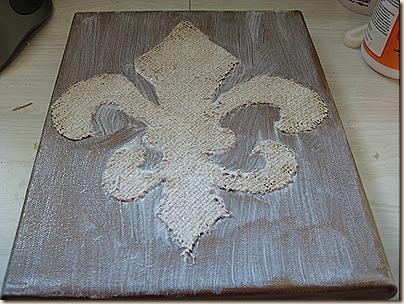
Now paint over the entire canvas again using your background color. 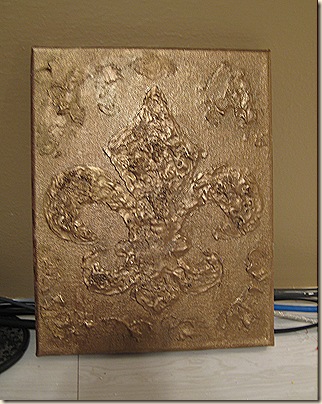
See all that great texture?
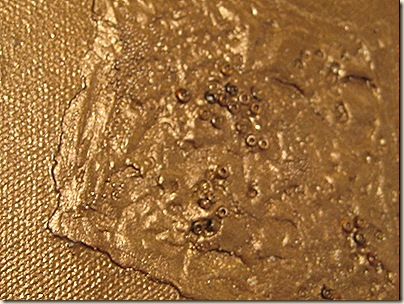
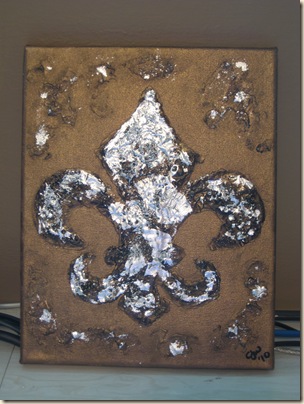
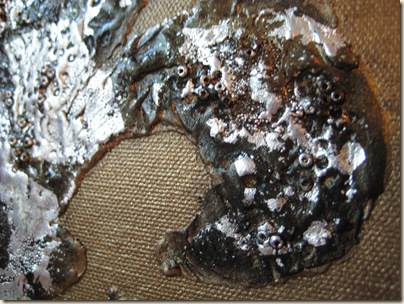
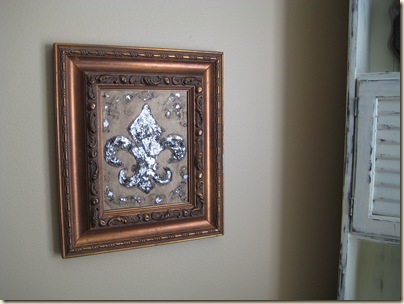
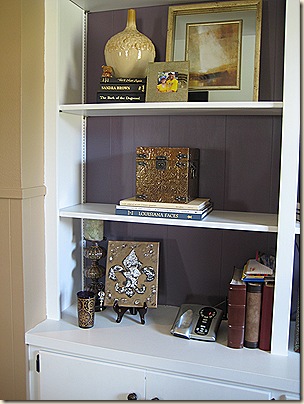
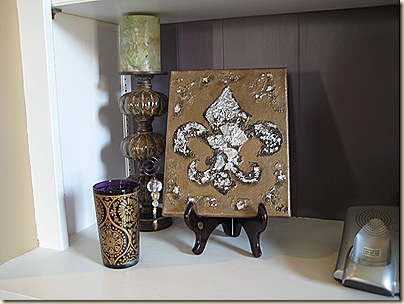
I think the silver leaf just gave it another dimension and made the textured elements really pop!
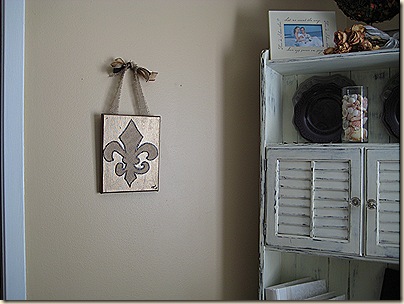
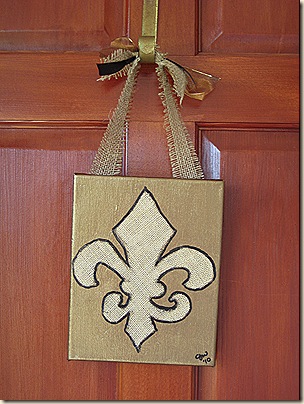
Ok, this next version of textured art is a little more simple. You’ll need:
~A canvas
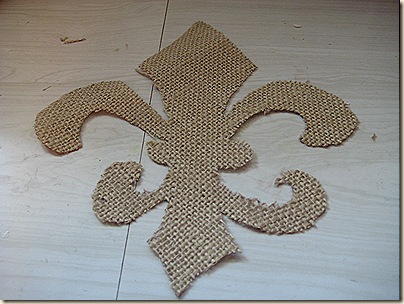
~Scrap of fabric (I used burlap)
~Image you want to use
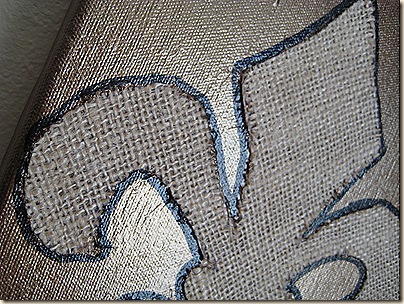
~Paint & paint pen
~Modge Podge
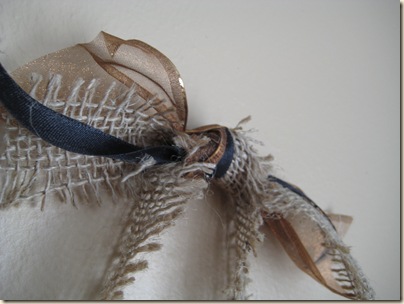
~Ribbons for hanging (optional)
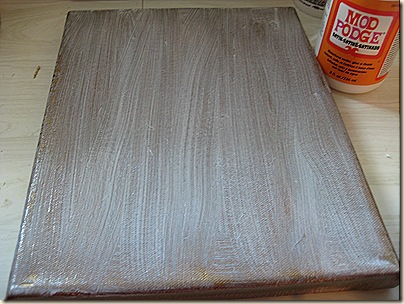
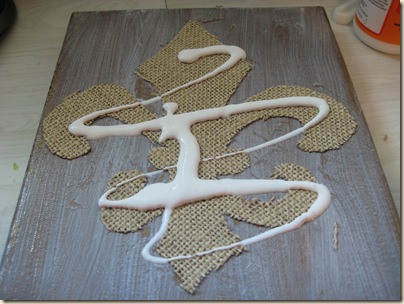
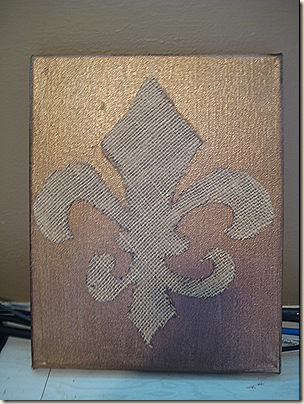
Then press your fabric shape down. 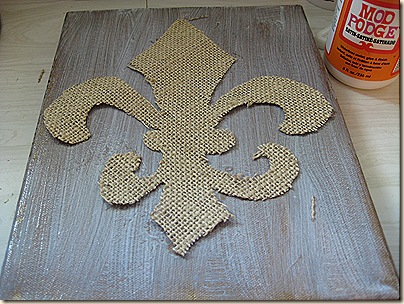
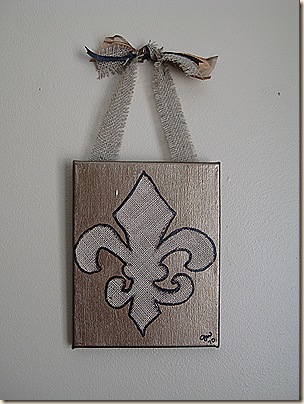




Oh, that is so cute!!!! I've never seen the spackling technique- – it's so cool to use everyday things like that in a new way. And fleur de lis… my fave too. I'm just going to have to give this a try very soon! Awesome tutorial.
Blessings!
-Sarah
How fun! I love good & messy tutorials! (:
I'd love to share one of mine sometime if you have room.
http://www.samstermommy.blogspot.com
Thanks!
Thanks again so much for letting me guest post, Jen! I grabbed the button & blogged about you today.
So great tutorial!! Thanks for sharing.
Charo
Wow, this is SO cool and I love your tutorials!
Cute project! You know I would love to share a tutorial sometime! Thanks for the opportunity!
Thanks for the good luck thoughts. I am always more worried about what I am going to wear then what I am so going to say. I am such a freak!!
I would love to be featured on your fabulous blog!
Love this! Ever since I went to New Orleans I have been obsessed with fleur de lis! Love it…love your blog! Thanks for sharing!
What terrific tutorial!
Very cool tutorial! Thanks for sharing!
P.s. i LOVE your new blog header! 🙂
love love love it!
What a fun project! I've never worked with joint compound, but I bet there are a thousand different things you can do with it! Love the fleur de lis too:) I would love to share a tutorial on your SUPER amazing blog!
Great tutorial!
I ♥ this idea, Jen. And you did have such a great response, I think this will be perfect!
OHH I really like the first version. Gonna have to try that one out soon! Thanks for sharing!!
Great tutorial! Thank you!
Fun idea! I'd love to share something sometime.
That's a very cool project!!