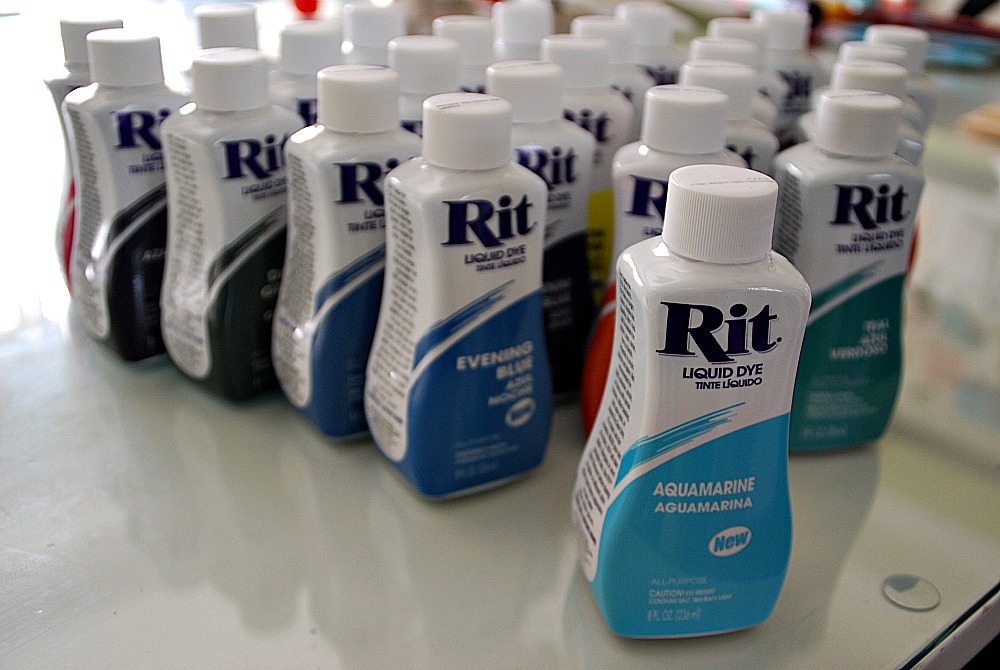
Are you so excited for the holidays?? I love decorating this time of the year. I have wanted to make a project with pom poms for awhile. And when RIT Dye sent me a big, huge box of every dye color imaginable, I thought it might be time to make something festive for the holidays with dye!!
Did you know that you can dye more than fabric with RIT dye?? It’s true, I went to their website and blog and found all kinds of information and project ideas. So I decided to try to dye — wood!!
Here’s what I did:
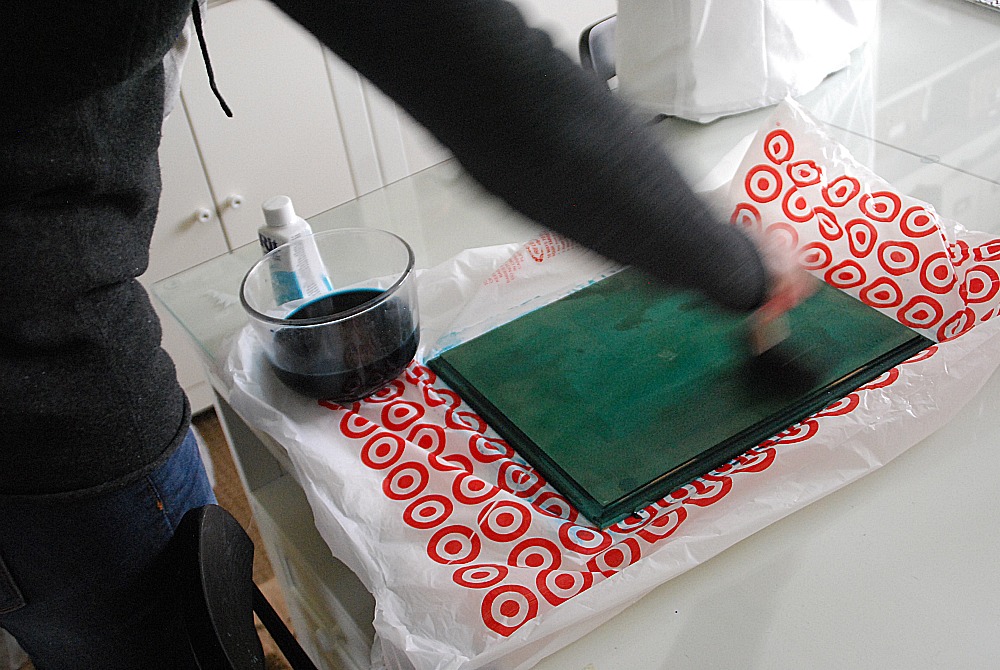
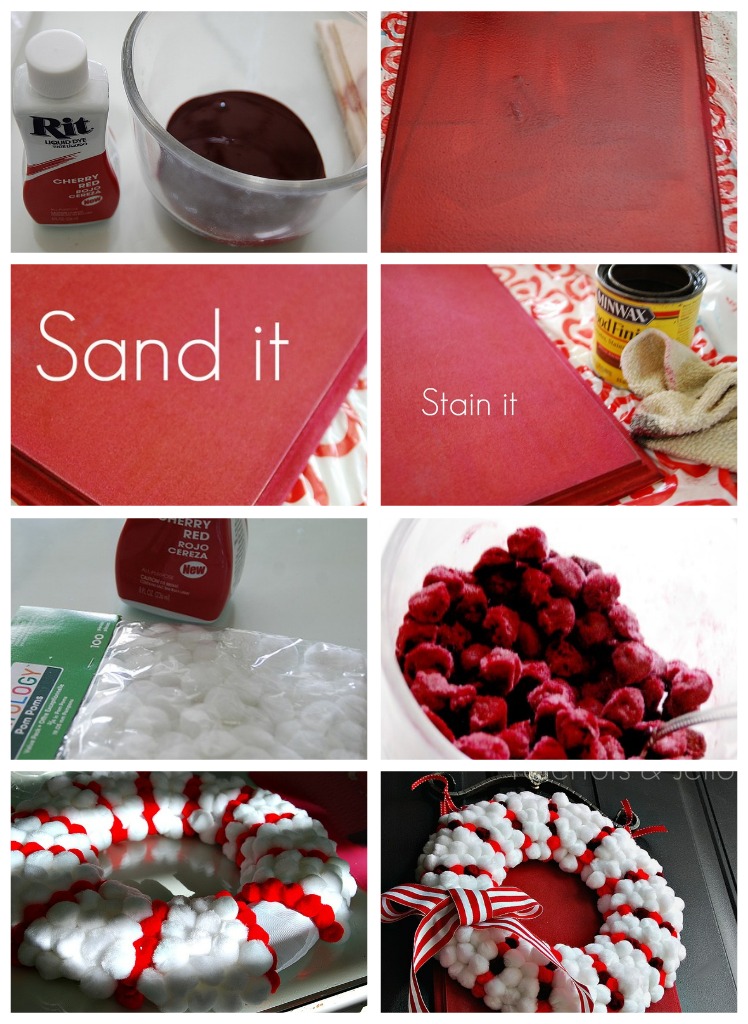
I dyed a routed wood board. At first I thought it was a total craft fail. You see, when you brush the dye on the wood, all of the brush strokes show up in different darknesses. And I thought it would stay that way. I was so disappointed!! But when it dried, it dried evenly. HALLELUJAH!!
TIP — When dying wood, heat up the water you mix with the dye to boiling before you mix the dye in. This will help the wood take the dye better.
I started off with a blue board but decided I didn’t like that, so I mixed up some more dye and died a second board red. And love it!! Once the board dried, I sanded it and then applied stain with a damp cloth to the edges, followed by a light coat of polyurethane. Then I drilled holes through the top edges of the board.
Then I moved on to the pom poms. I bought some plain white poms poms. And I dyed those the same red color as the board. They looked great until I rinsed them out and all of the color rinsed out too. I discovered that you really need to pay attention to the fiber content. Anything polyester is not going to hold the dye. You need as high of cotton fiber content as you can find. So I went with small cotton balls. I dyed those and it worked out great.
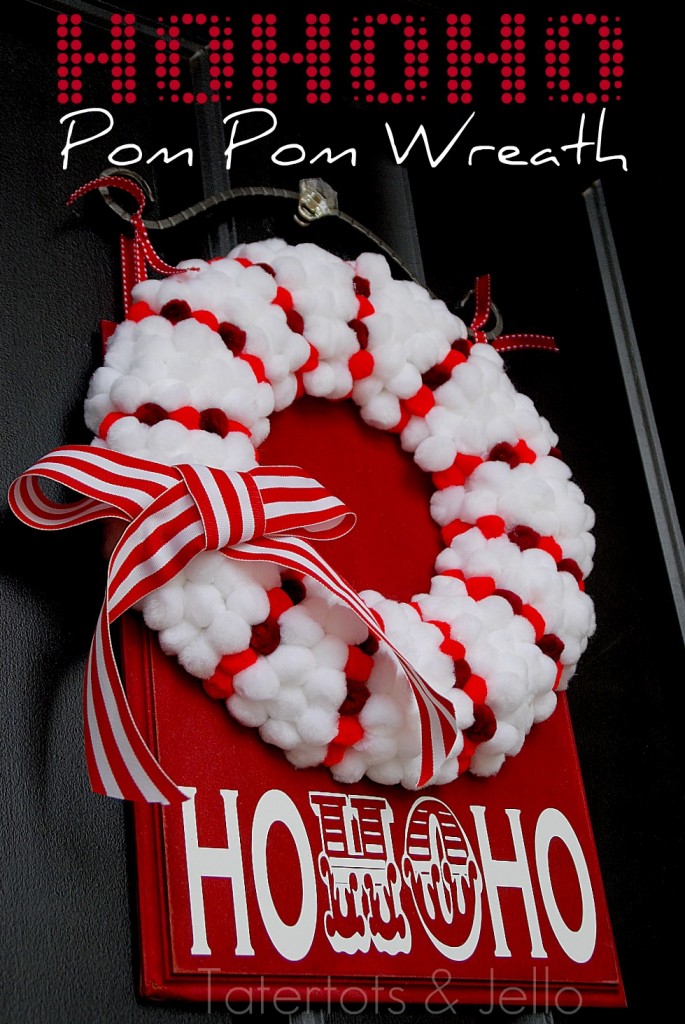
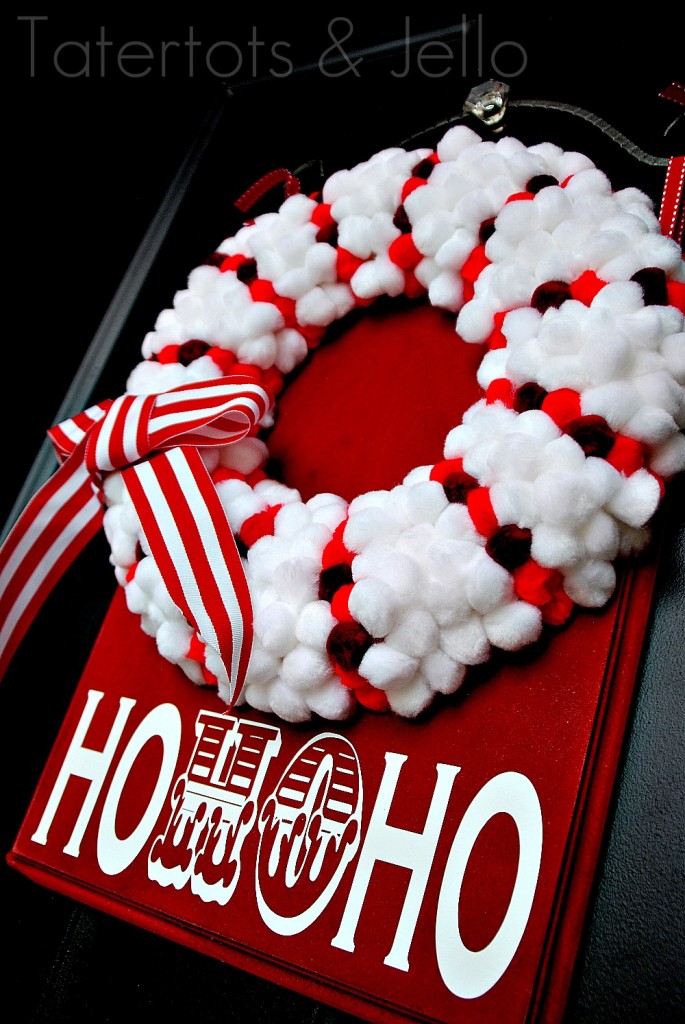
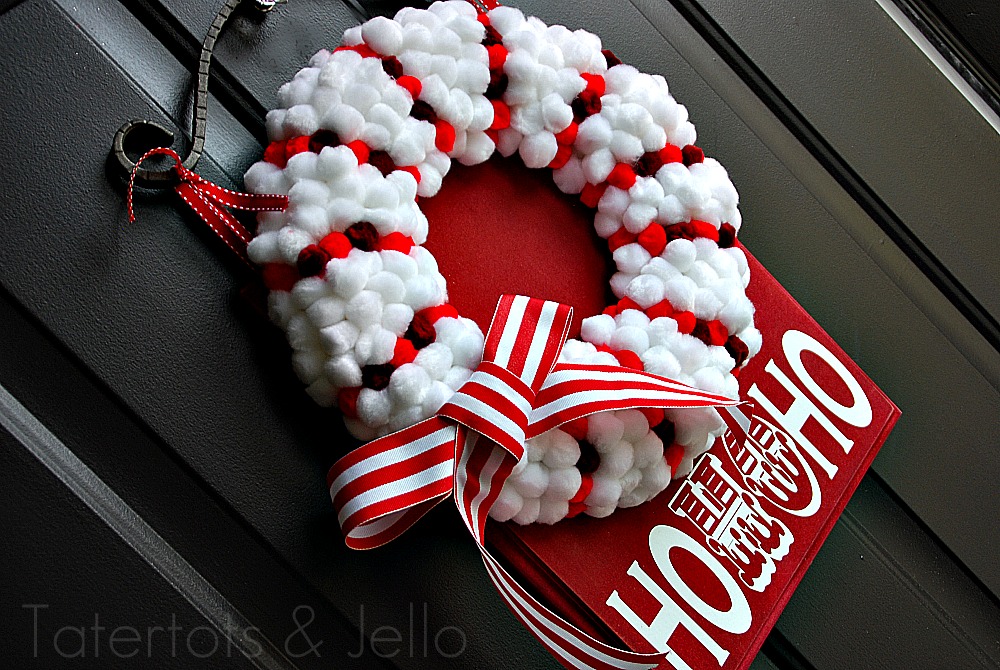
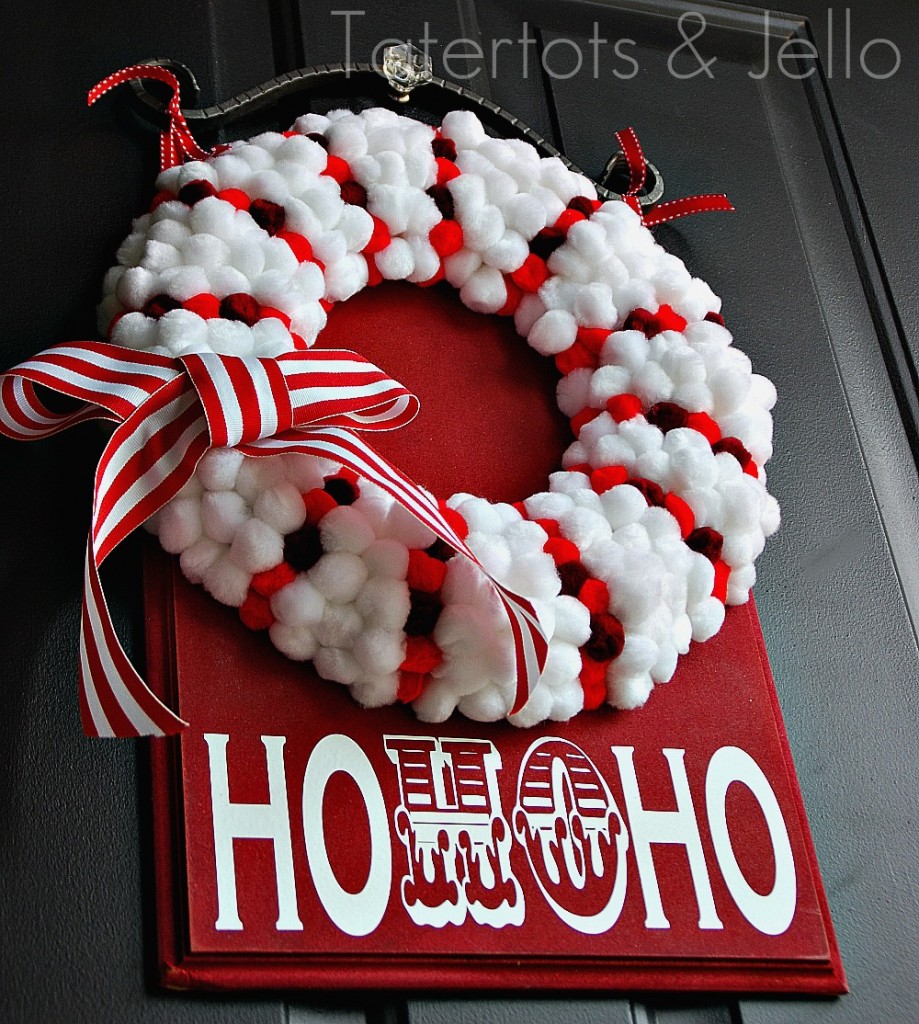
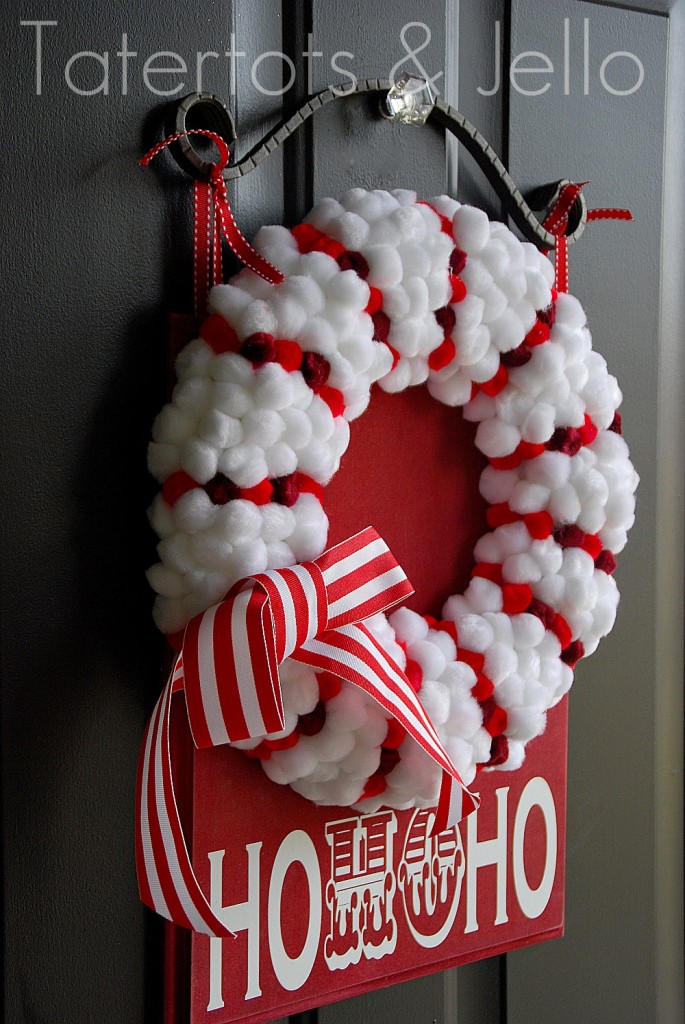
Then I moved on to the wreath. I bought a half wreath from Michaels — it’s rounded on one side and flat on the other. Perfect to glue onto a board. I wrapped the wreath in ribbon. Then I glued on a row of the dyed red cotton balls, interspersed with red cotton balls I bought from Michaels. I glued the rows first all the way around the wreath, and then I filled inbetween with the white pom poms.
I next thing I did was designed a HOHOHO font on my Silhouette. I used Copperplate for the Ho’s on the sides, and then Cast Iron for the HO in the middle. I printed it off and the applied it after I had hot glued the wreath on the board.
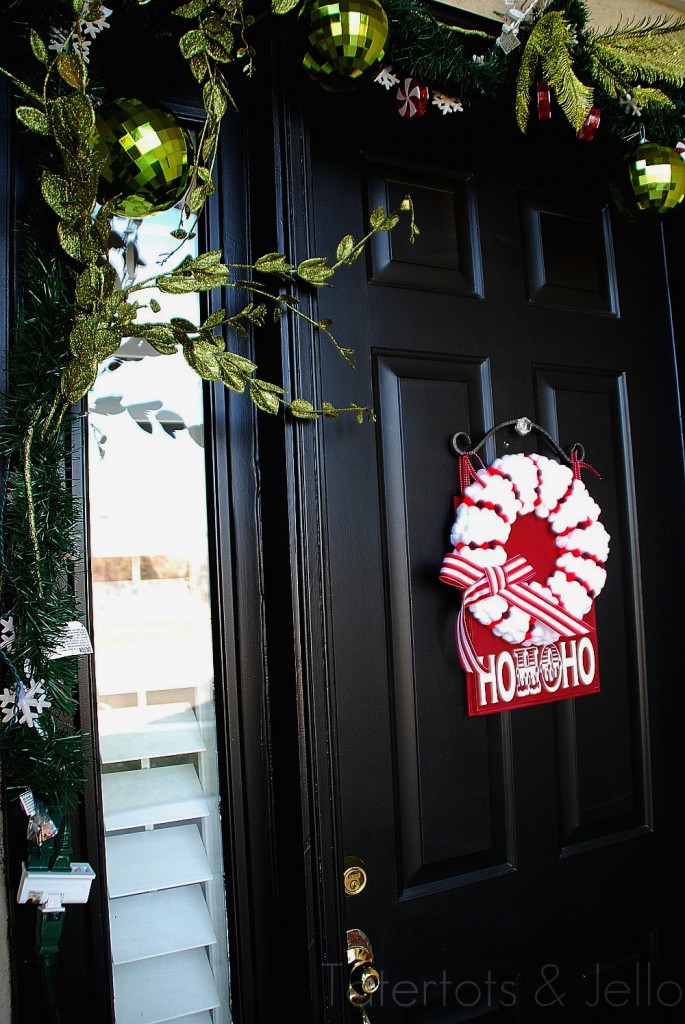
The last thing I did was hot glue a ribbon bow to the side of the wreath and loop some ribbon through the drilled holes at the top and attached them to the iron finial at the top of the wreath to hang on the door.
I think it’s a fun, Festive pom pom wreath for the holidays!!
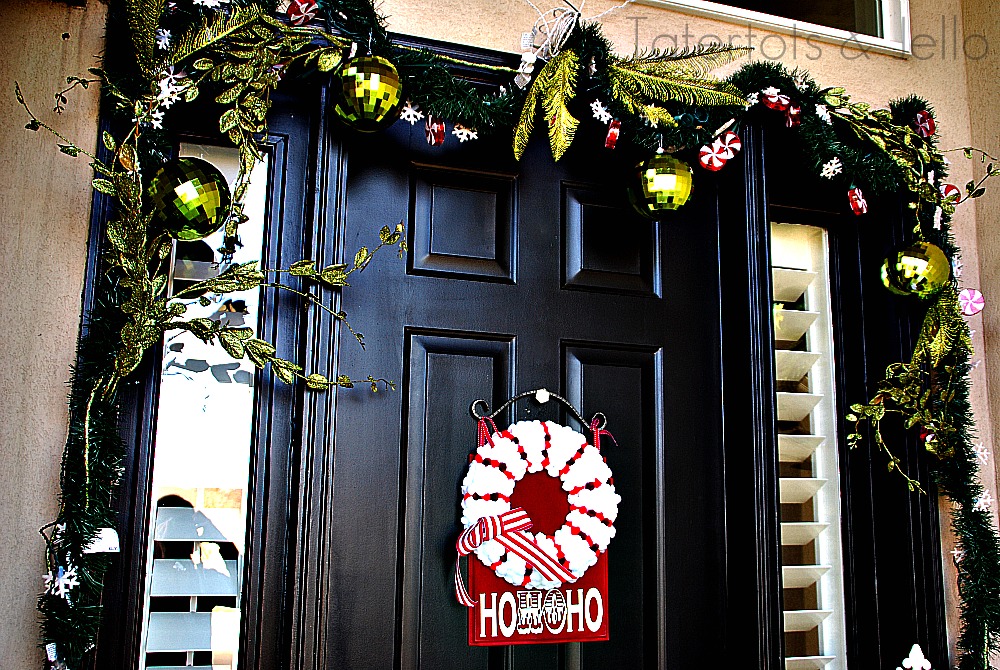
I love seeing it hanging on my door! And I also love that I DYED the wood – who would have ever thought you could do that?? Just think of the possibilities!!
And, stay tuned — RIT dye is going to be giving away their ENTIRE COLOR LINE to someone!! That is like a gazillioncolors!! Just think of the projects you can make this all of those colors!!
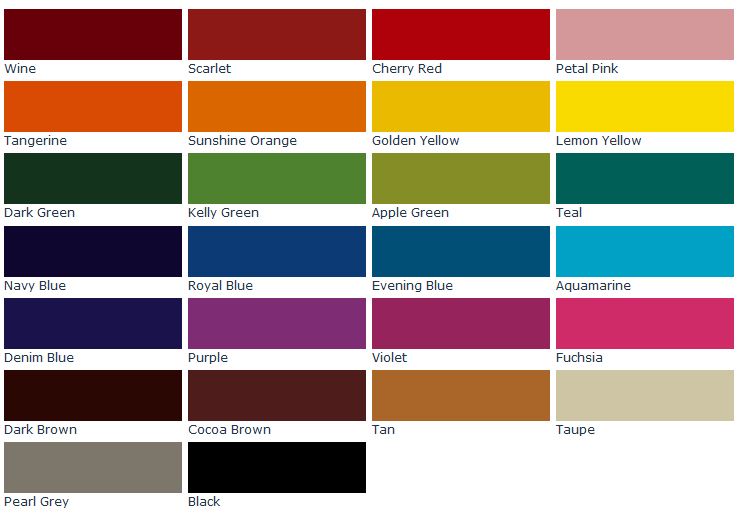 And, be sure to check out their RIT Formula Guide. It allows you to create custom colors without having to guess the ratios of dye.
 Amazing!!!
Have a CREATIVE Day!!!
xoxo
PS — For MORE RIT dye project ideas and information, follow RIT dye:




This is awesome! What ratio of water to dye did you use? I just picked up a bunch of colors and plan to make some scroll saw toys and dye them then seal with a beeswax finish 🙂
Just stopping by to let you know I featured this project on this round-up
http://diycraftyprojects.com/2012/12/50-beautiful-christmas-wreath-ideas-and-insperation-collection.html 🙂
Feel free to grab a featured button from my side bar.
This is so adorable! You are always coming up with some clever and creative projects!
I had never thought of dying wood OR pom poms before! Definitely worth a try! 🙂
WOW!!! This is great. I never would have thought to dye wood! Jen, where did you get the iron finial? I have never seen anything like this before.
Love the blog and read nearly everyday.
Maureen
Very cute! I love that you used different fonts! And I had no idea you could dye wood!
This is so cute!
Thanks Karen!!
xoxox
That is so cool! Thanks for sharing. I’ve never heard of half-wreaths before but that makes perfect sense. Love this project!
Thanks Tricia!! You can but wreaths with a flat back at your craft store.
xoxo
Jen
Cute sweater! And I love your disco balls. xo
Thanks Ashley!! I love the disco balls too – they are so sparkly!
xoxox
Jen
I love this idea. It is so different than the typical wreath. I think it would be fun to do a pink, purple and yellow one for my triplets door. I will post a pic if I find the time to complete it (hehe).
Thanks, Lauren
How fun! I love it! I still have never tried rit die… i might have to go get some!
Thanks Jamielyn!
I had never tried dying anything before this either. Now I want to dye everything in site LOL! Thanks for your sweet comment!!
xoxox
Love this! I’ve been digging pom poms lately too! Great job!
Oh wow! I love Rit dye, but had no idea you could use it to dye wood. I’m gonna have to try it!
Thanks Kara!! I know!! And the wood dyed better than I thought it would. I thought I would have to brush on a bunch of coats of the dye, but I just did two coats. Kind of fun!!
Thanks for the sweet comment!!
xoxox
So darling!! Would LOVE it if you would link this up at my turquoise lovin’ party! (and red during the holidays) http://www.sweetlittlegals.com/2011/11/turquoise-lovin-15.html
Your sign is beautiful! It’s inspiring!
Thanks so much Mariah!
xoxoxo
Jen, you always amaze me with the things you make!
Thanks Emily!!! I always like to try new things 🙂 Thanks for the sweet comment!!
xoxox
This is so incredibly lovely!!! Wonderful job!
Thanks so much Kim!!
xxoxox
That is adorable! My girls would love those fluffy poms! And who knew you could dye wood?! That’s awesome!! Pinning this.
Aloha,
Charlie
Thanks Charlie!! I know, I never would have thought it would have such great coverage. Now I am looking around trying to find more wood things to dye LOL!
xoxoxox
Jen
WOOD? Who knew! I love it! And of course your wreath is FABULOUS! 🙂
Andrea –
Thank you so much!!! I am really enjoying it. And now I am trying to come up with some more projects to dye. I had never really dyed anything before and it’s fun!
Thanks for your comment – I appreciate it!!
xoxox
Jen
What a fun project, Jen! (And PS. I love the fonts you use to do “watermarks” for your shots) I had no idea you can dye wood. So pretty!
Thanks Amanda!! I use Picnik to edit my pictures. I really like their fonts.
Thanks for your nice comment. You are amazing and the most supportive blogger. I *heart* you!!!
xxoxoxo
Jen
I LOVE it!!! What a great idea. I might just have to try the dying of the wood…love!
You should try it Shana!!
Oh, one thing I forgot to mention in the post was if you are dying wood, heat up the water you mix with the dye to boiling. It helps the wood take the dye better. I will add that to the post.
Let me know if you try it. I would love to see your project!!
xoxoxoxo
Jen