Anthropologie-Inspired Clay Mushroom Plant Stakes. Make these adorable clay mushroom stakes to add to planters and for Spring!
Anthropologie-Inspired Clay Mushroom Plant Stakes
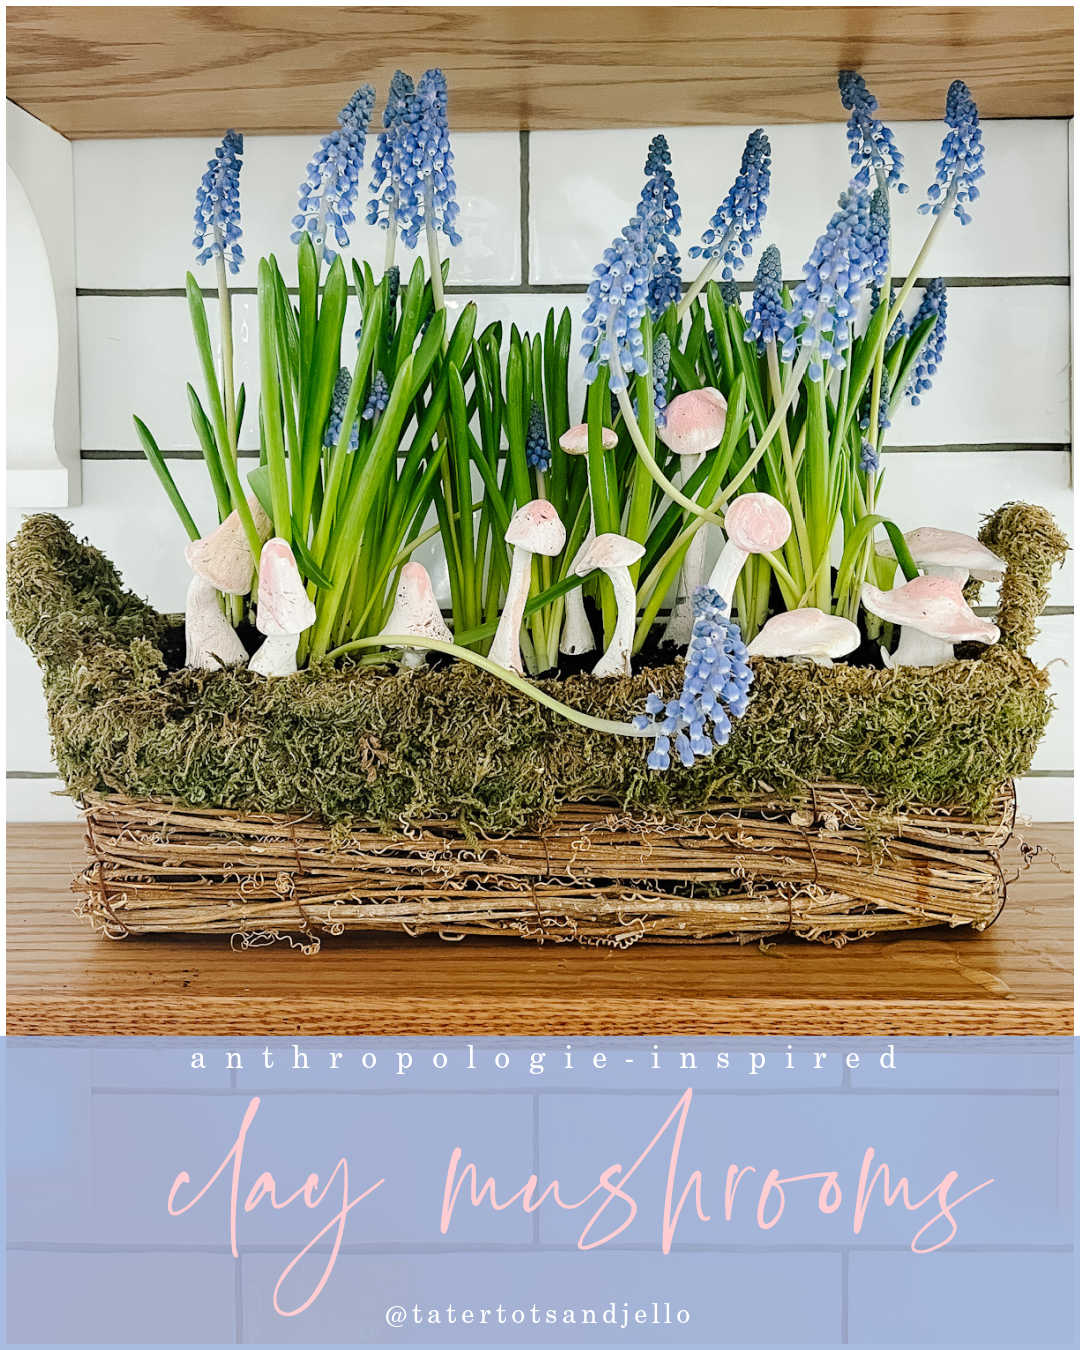
Hi friends! Are you getting excited for Spring? Today I’m sharing an anthropologie dupe that I think you’re going to love. I adore anthropologie And when I was browsing their site I found the most adorable, whimsical plant Stakes that are shaped like mushrooms. Today I’m going to show you how to make some similar clay versions!
Handcrafted Society Clay Projects for April
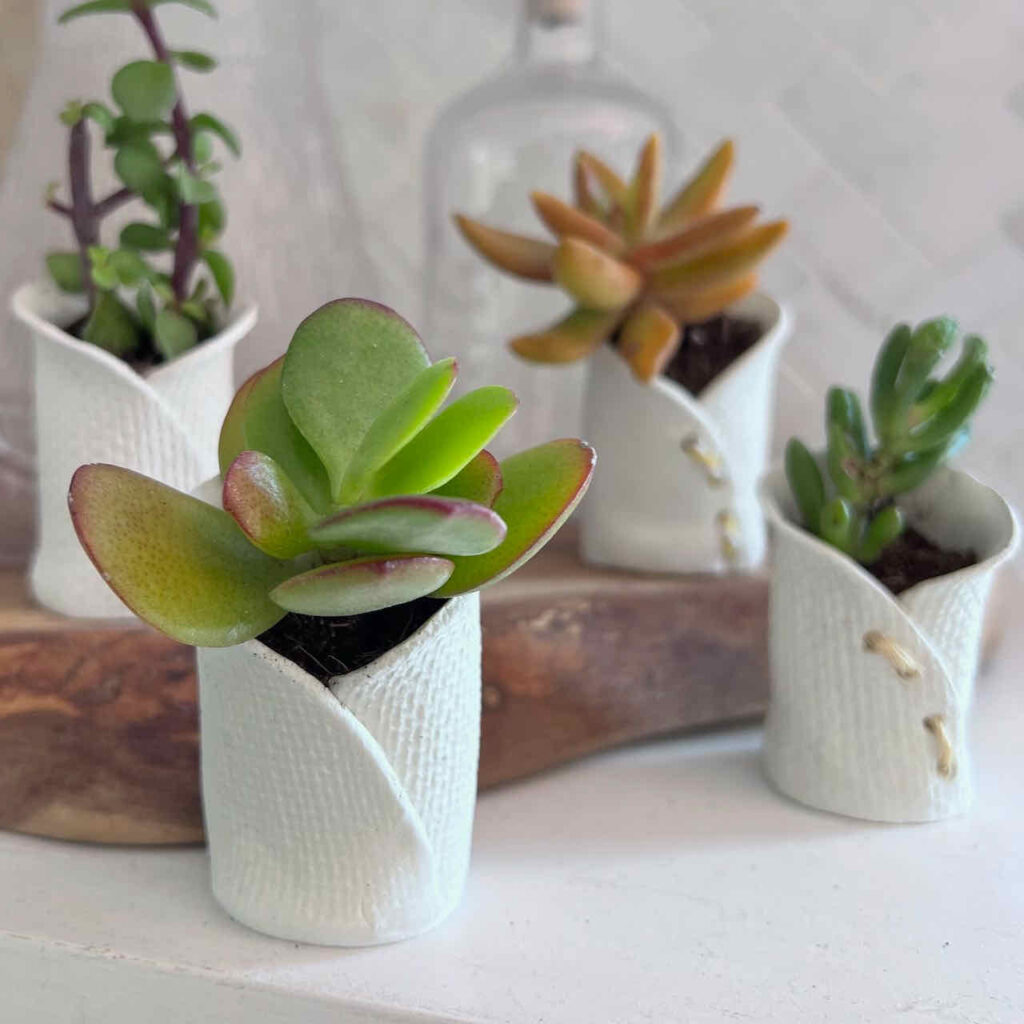
I’m so excited to join my friends in our handcrafted Society for our April challenge which is clay projects! We each came up with a project for spring using a type of clay. I chose these really adorable anthropologie mushrooms. If you’re here from Sonata Home Designs, aren’t Missy’s pots so cute?? Be sure to go over and see how she made them! You can see all of the projects at the end of this post! So hop over and pin the ideas so you can make them later.
How Air-Dry Clay Works
Have you ever made anything out of air-dry clay? I hadn’t had that much experience using clay so this was a really fun project for me. I chose air-dry clay and I’m so happy that I did! Air-dry Clay is so easy to use and there is no oven needed. Once you mold your clay into the shape that you want, you let your creation sit for about 24 hours so that it’s completely dry. You can tell when it’s dry because the color will go from a gray color to a white color and then you know that it’s safe to move. I wanted these mushrooms to be easy to insert into pots or moss in a centerpiece so I added toothpicks into the bottom of the stems while they were still wet. One note about using air dry clay, is the clay will dry out pretty fast. So you want to store the leftover clay in an airtight container. Another tip I discovered while creating these mushrooms is that if you have any bumps or creases in the clay, you can dip your finger in a little water and then smooth those out before the clay dries out!
How to Make Anthropology-Inspired Clay Mushrooms
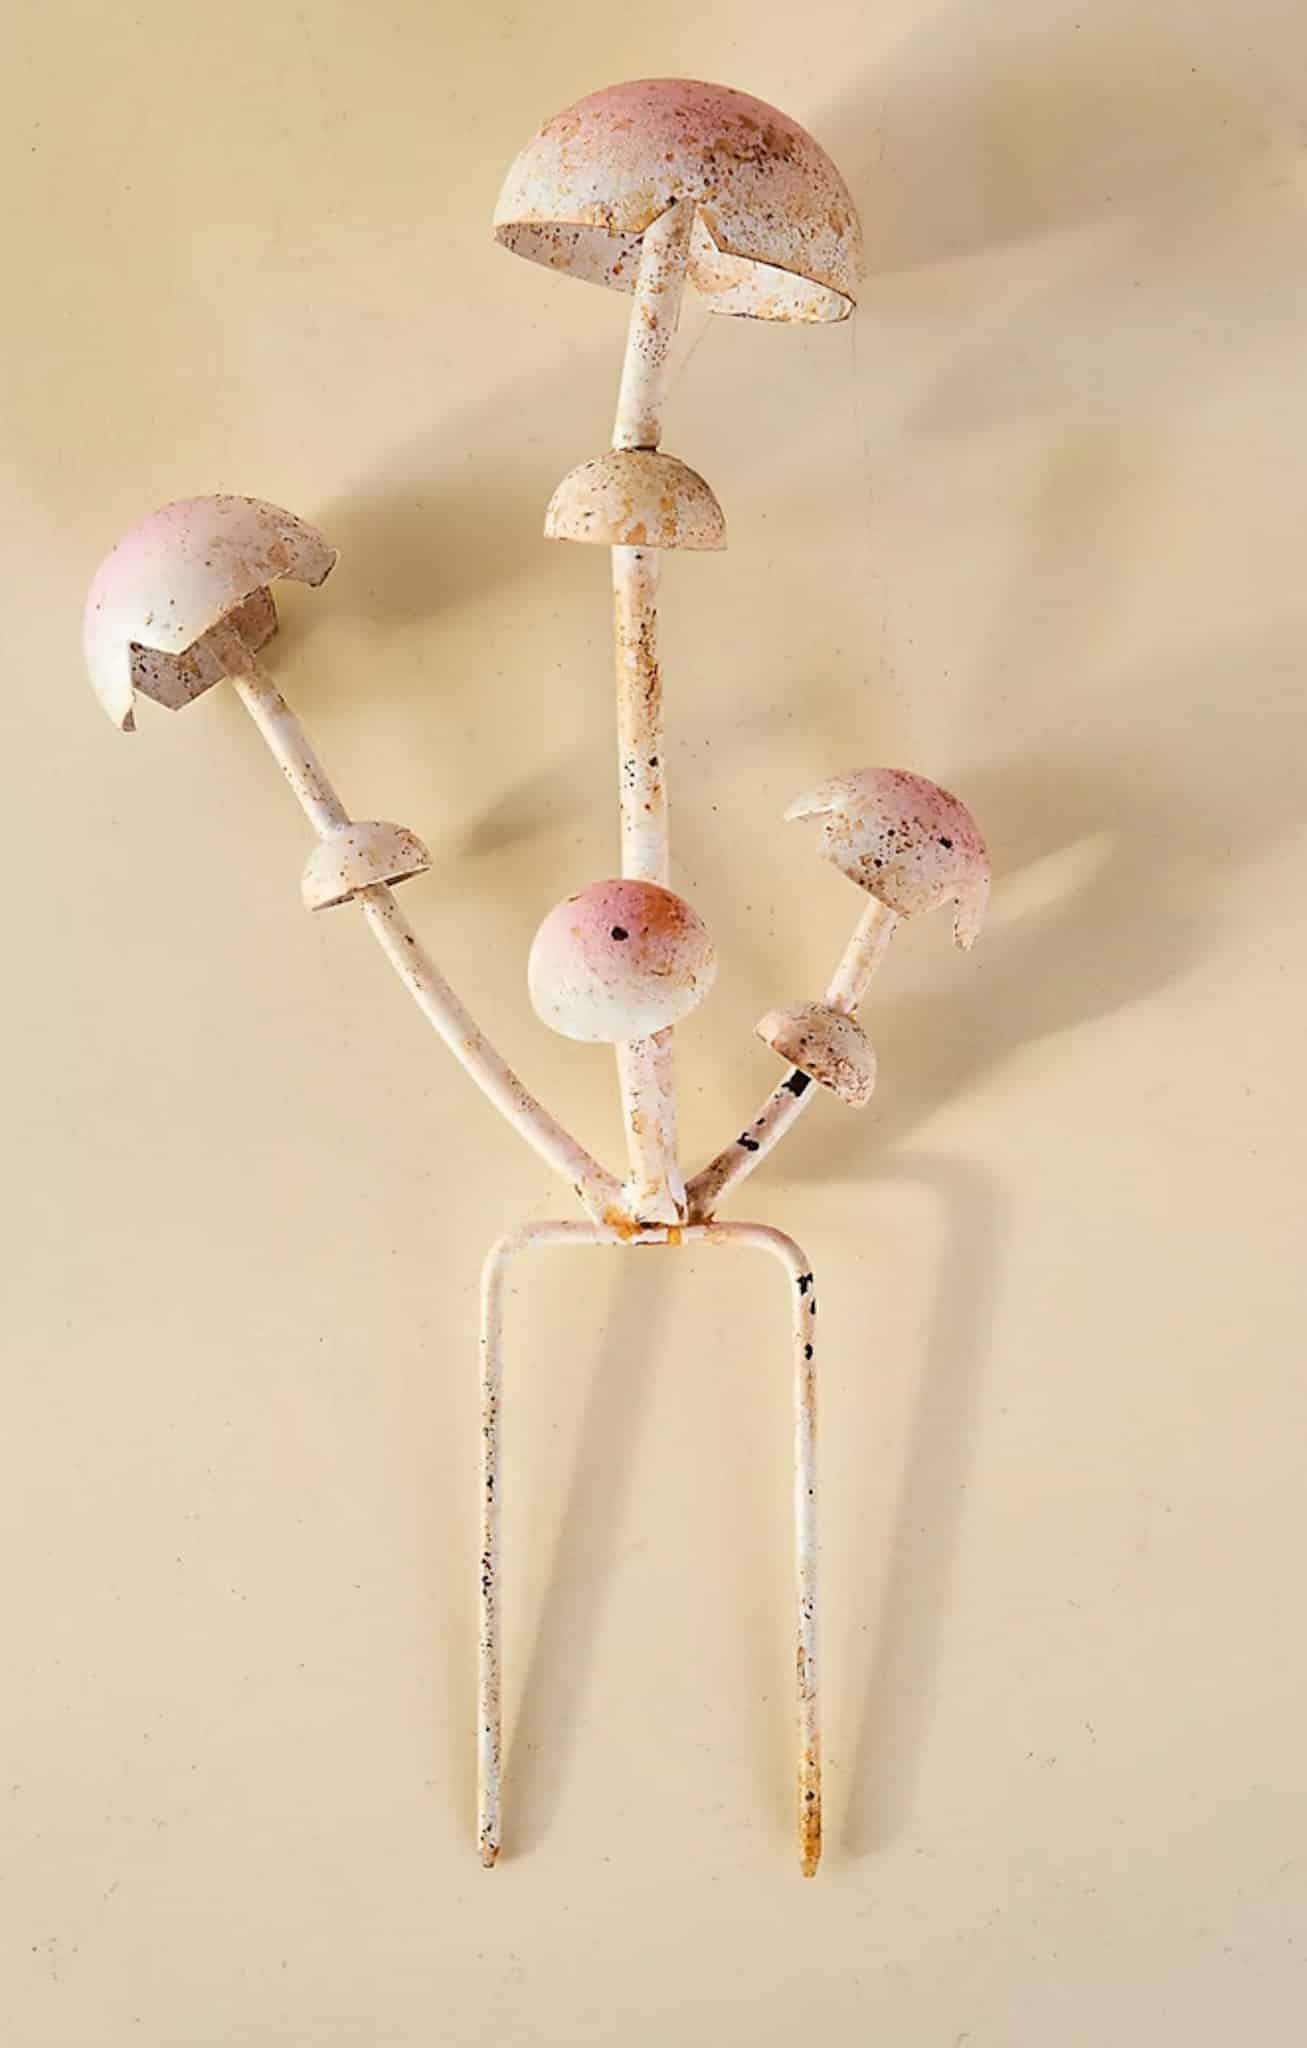
Here’s the Anthropologie plant stake I used as inspiration:
It was so easy making these mushrooms. Here are the steps that I used:
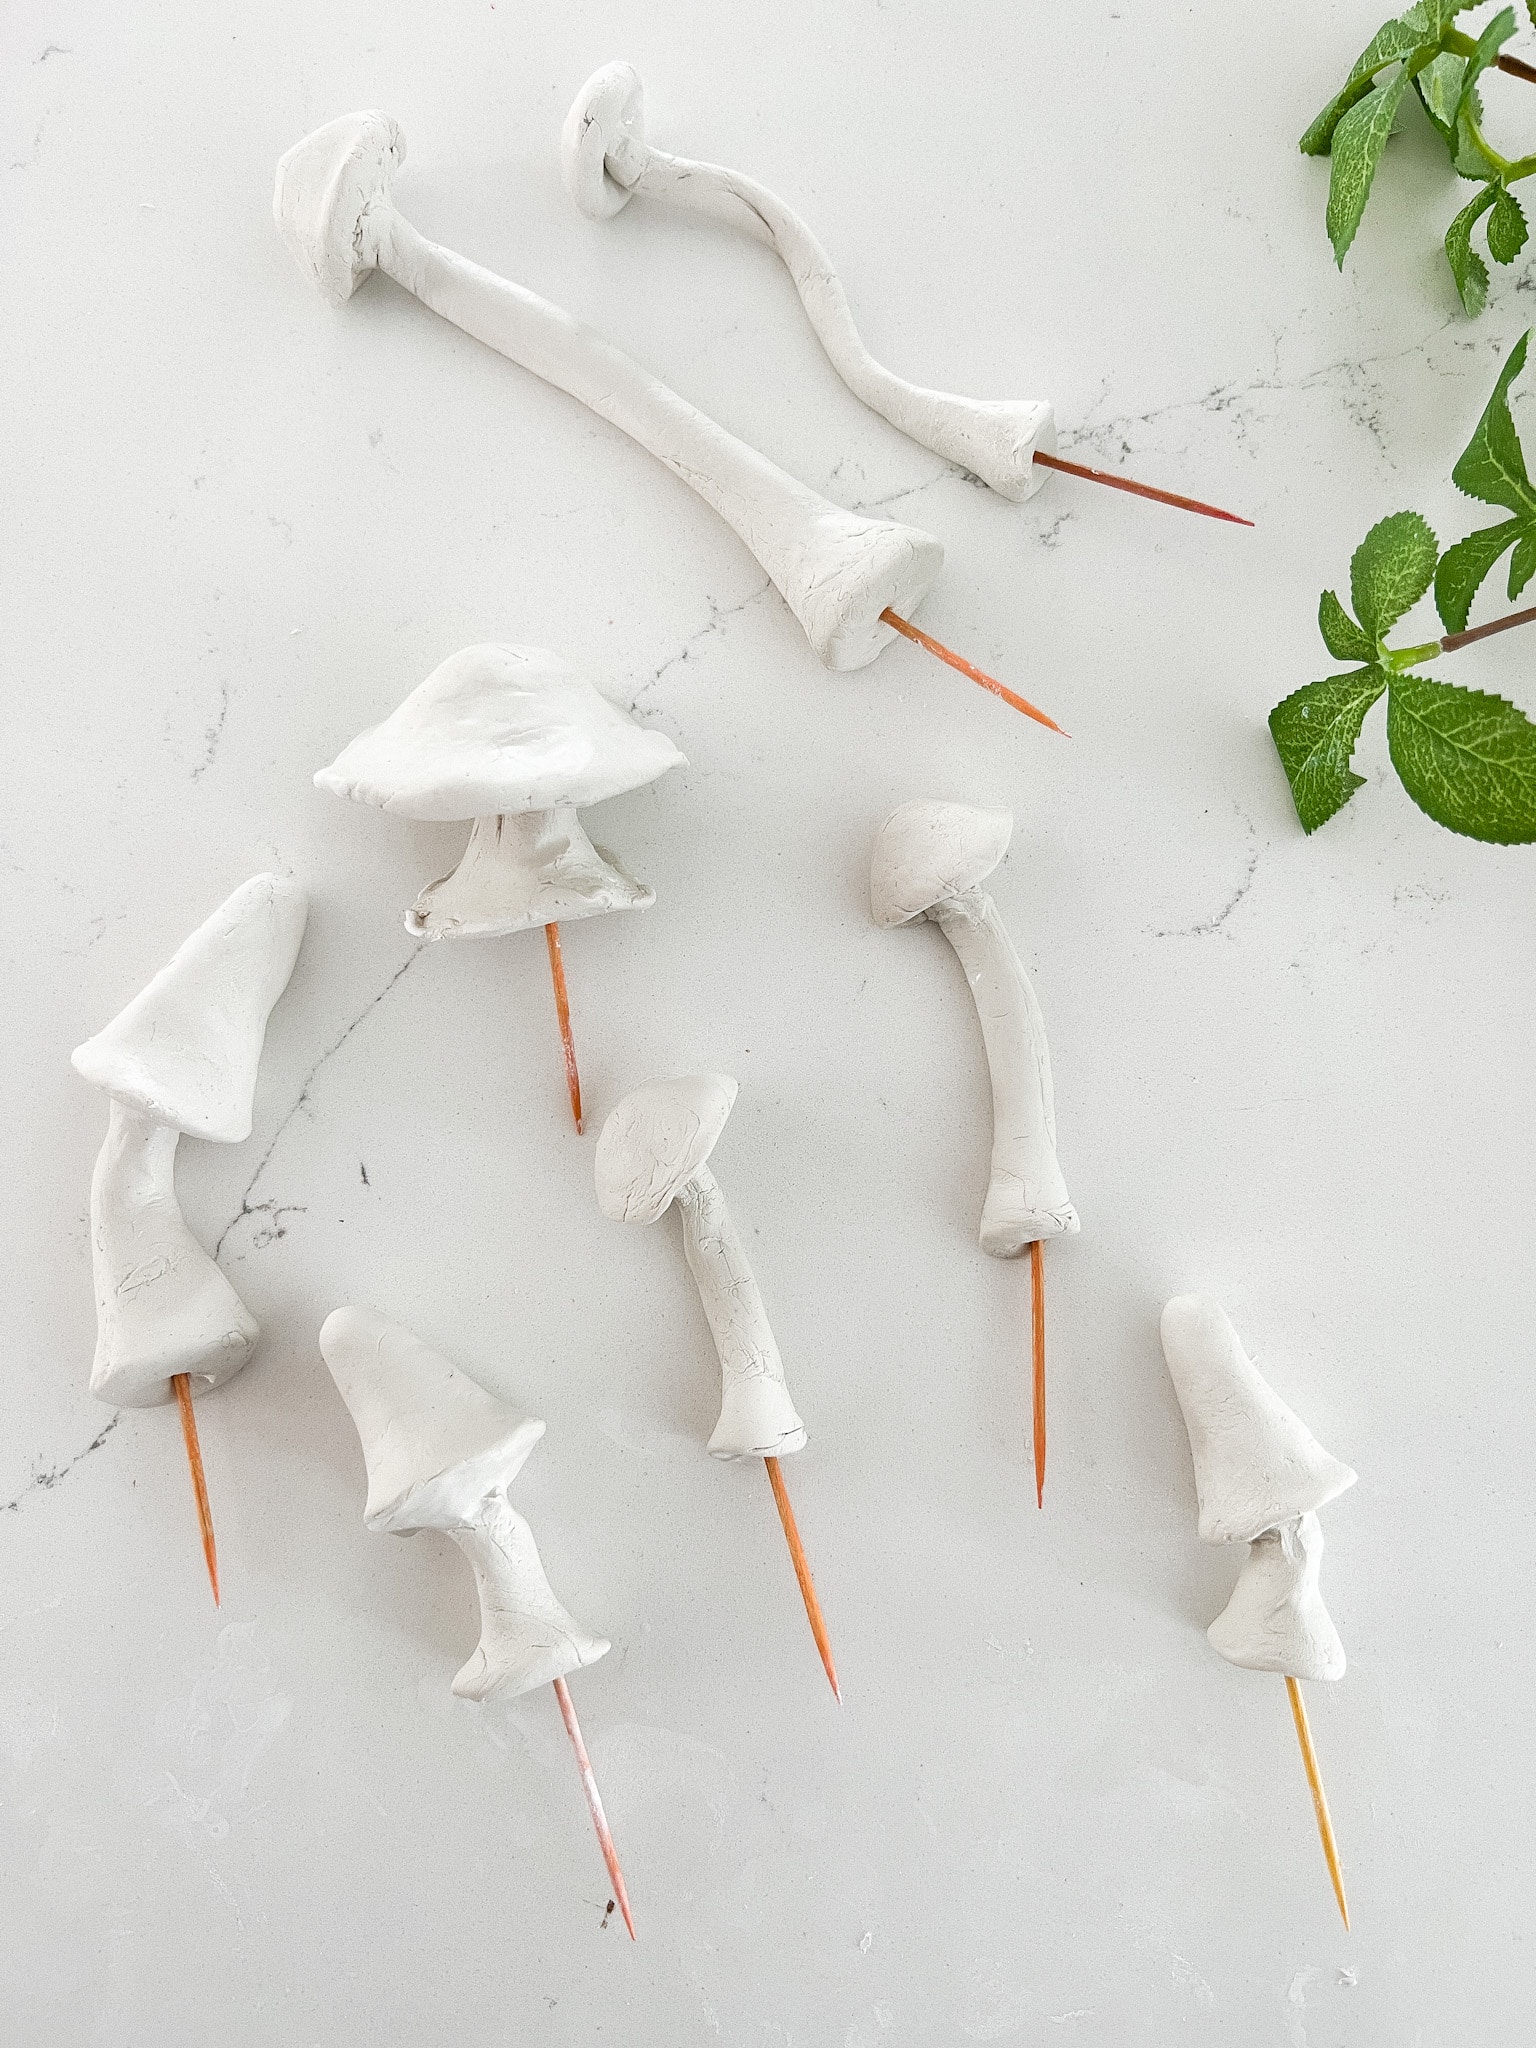
- I pinched off a quarter size piece of air-dry clay.
- Then I rolled the clay making the stem. I smooth the top and the bottom of the mushroom stand down to my work surface to make them a little bit thicker at the top and bottom.
- Next, I pinched off a dime size piece of clay, and rolled it into a round shape.
- I flattened the round shape to create the mushroom head.
- To make the mushroom head curved, I laid the mushroom head on top of one of my knuckles and smooth it so that the middle part of the mushroom had an indentation where the stem goes
- To connect the mushroom head to the stem, I laid the underside of the mushroom head and attached the stem. I used a toothpick to smooth the stem to the mushroom head.
Three Different Shapes of Mushrooms
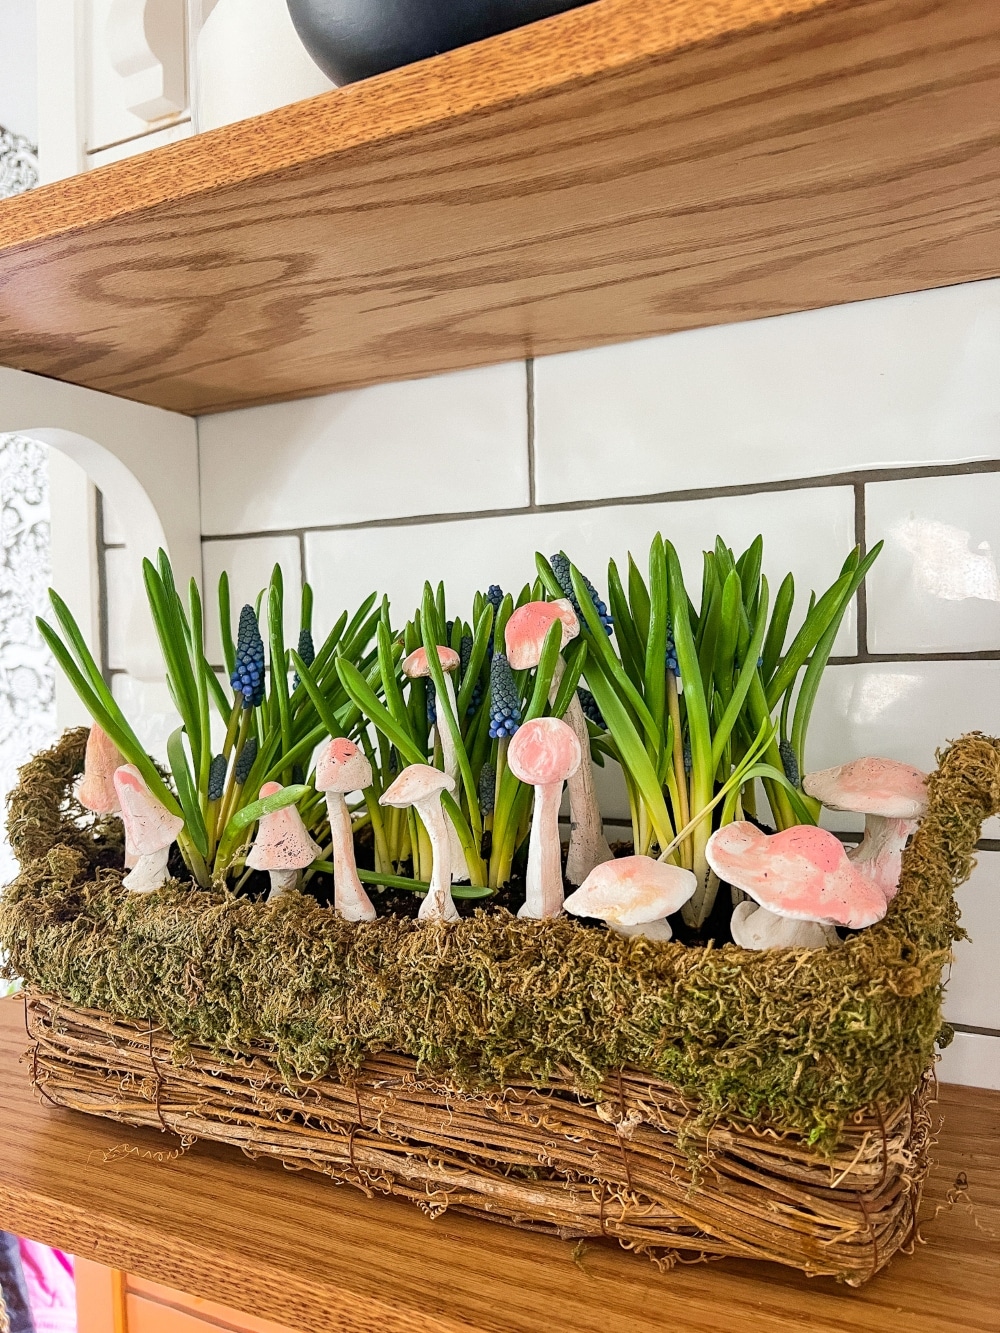
Did you know there are different varieties of mushroom which grow in all sorts of different colors and shapes? It’s true! For this project I used three different shapes of mushrooms. And I created three to five mushrooms in each shape.
Short Thick Mushrooms
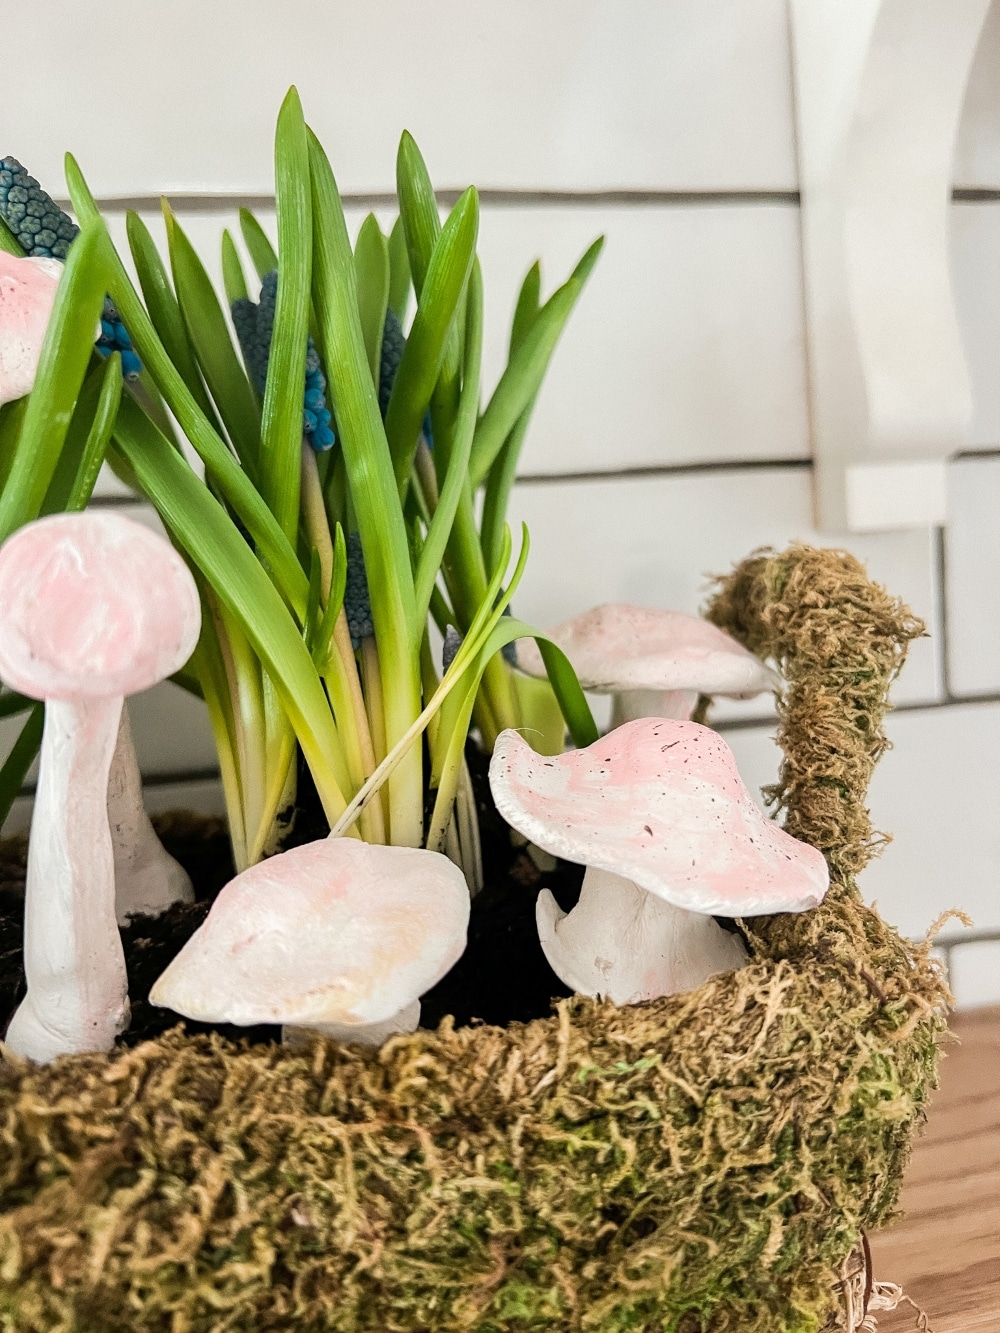
The larger mushrooms I created were loosely based on Shiitake mushrooms. To create the thicker mushrooms, I created a thicker stem with a top and bottom that curve. For the mushroom head, I used equal clay ratios. The head of this mushroom is very large and thick. Once I created the head I made the mushroom edges very curved. I created three different size mushrooms that I clustered together in the centerpiece I created.
Tall Thin Mushrooms
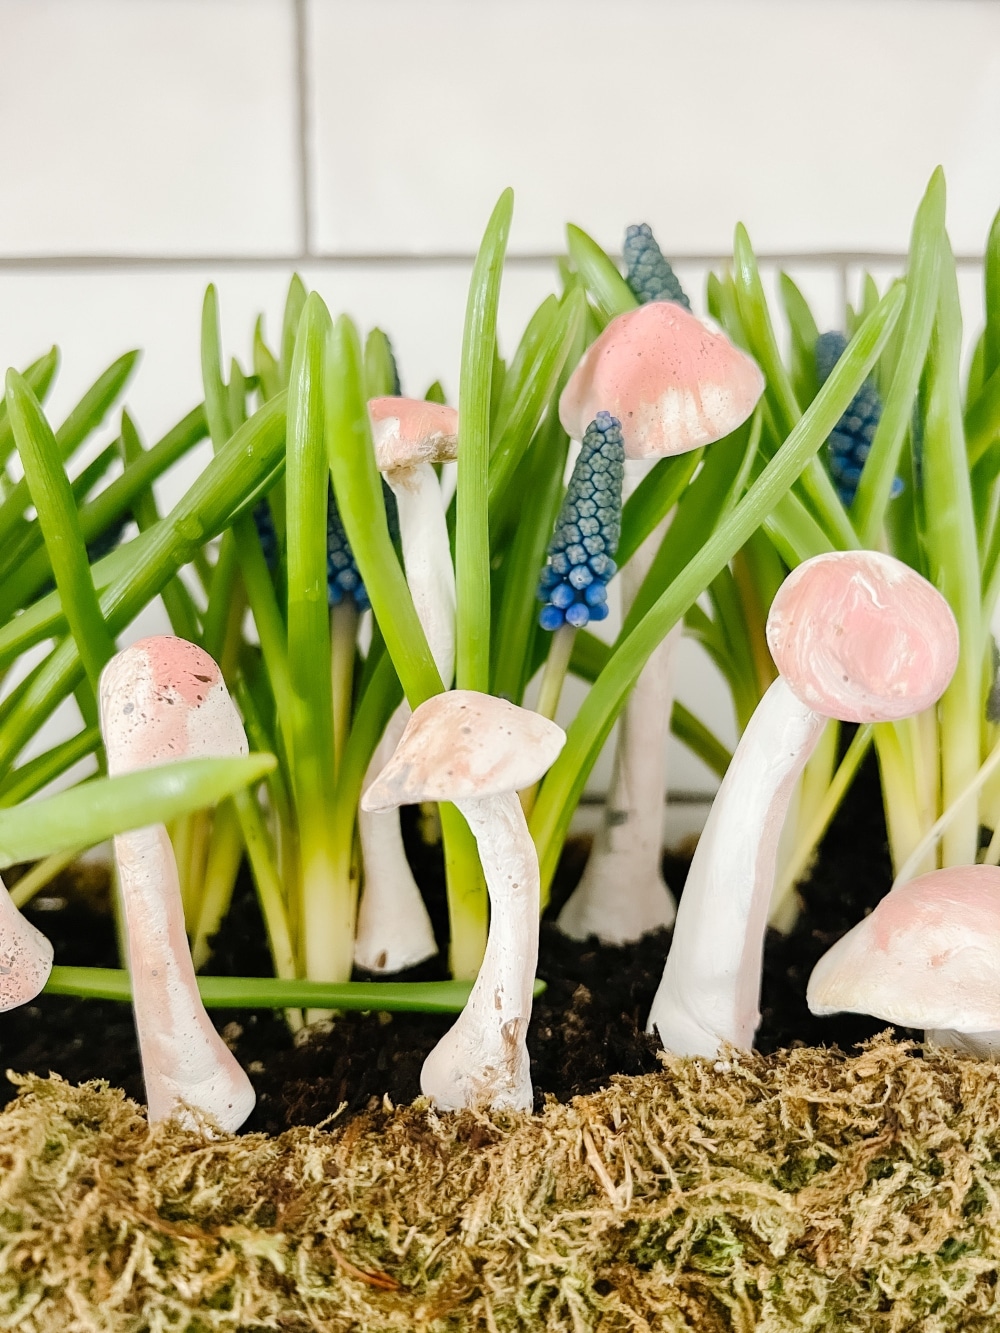
The tall, thin Mushrooms I created, or based on enoki mushrooms. To create these I created very tall stems and fairy small heads.
Mushrooms with Long Heads
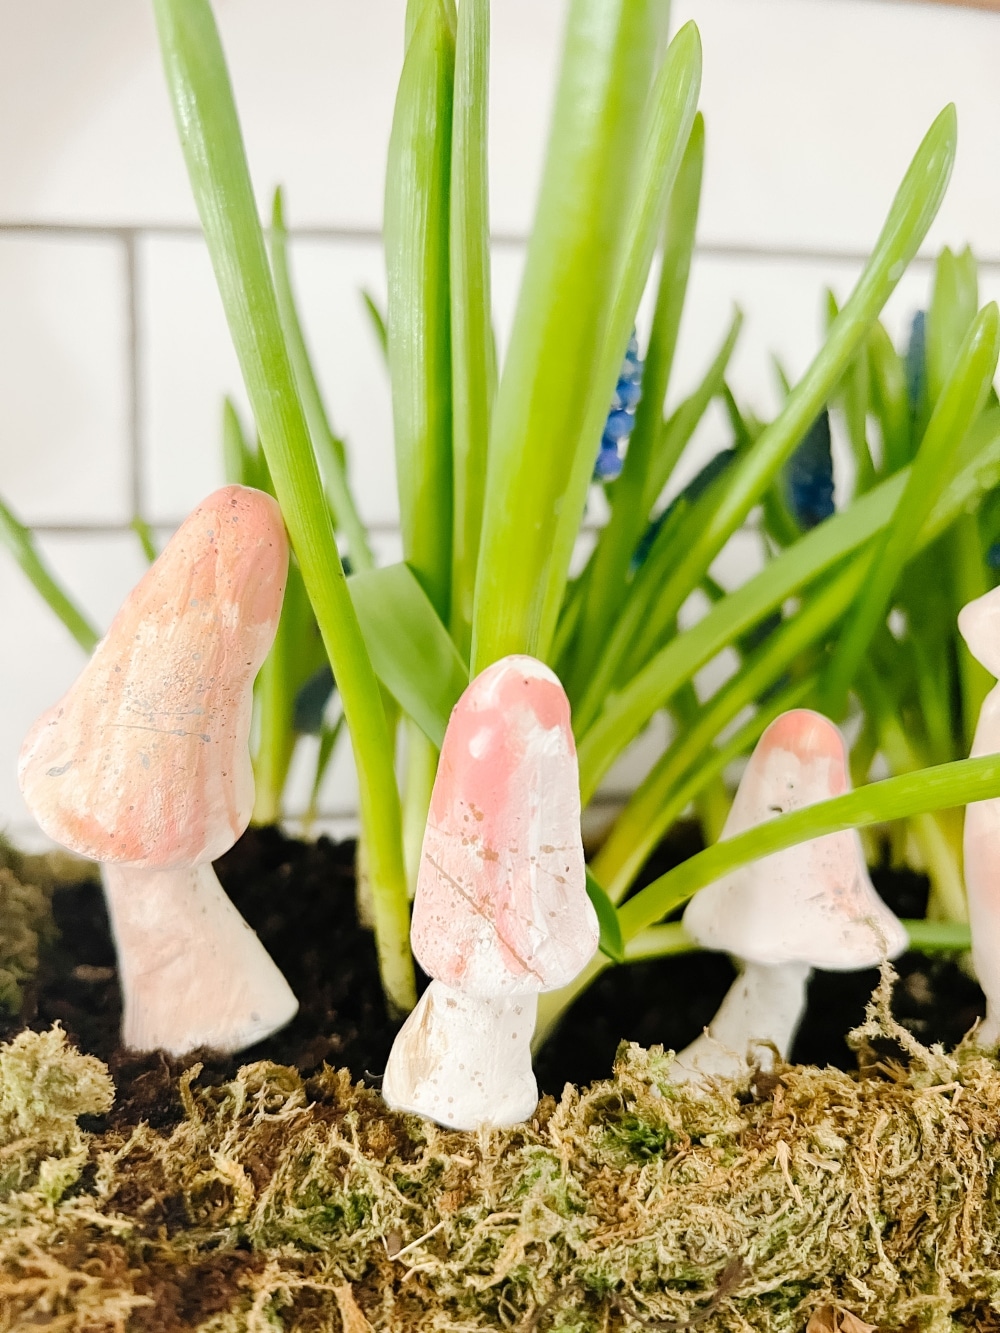
Mushrooms with the longer heads are based on morel mushrooms. To create these I used a piece of clay that was twice as big as the clay that I used for the stems.
Research different mushroom shapes and print out a page for reference
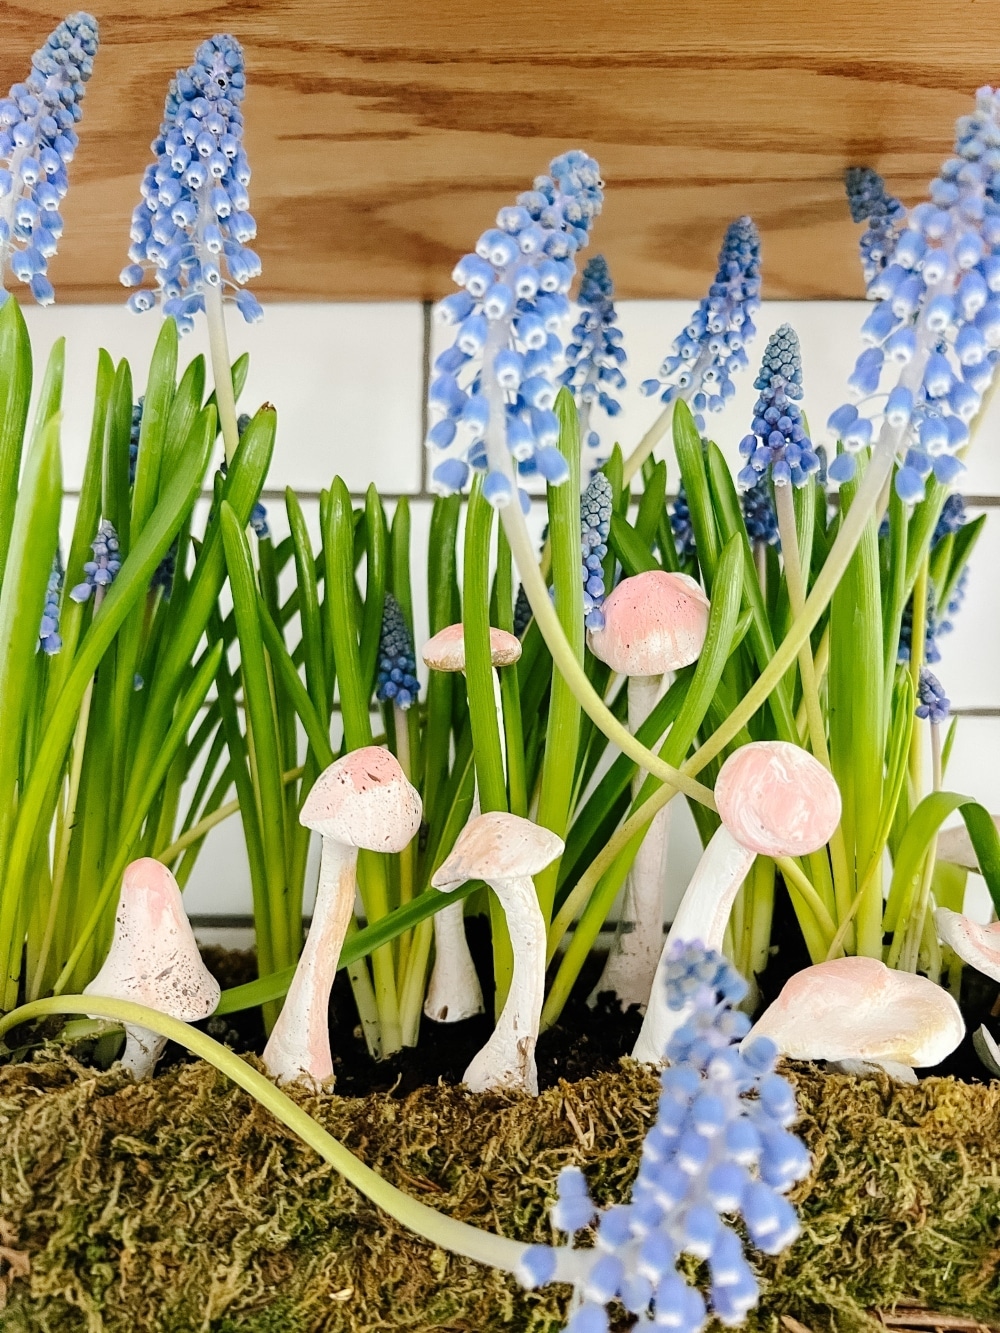
I found that if I researched the shape of the mushroom and found an image, it was a lot easier for me to create the mushrooms.
Painting air-dry clay
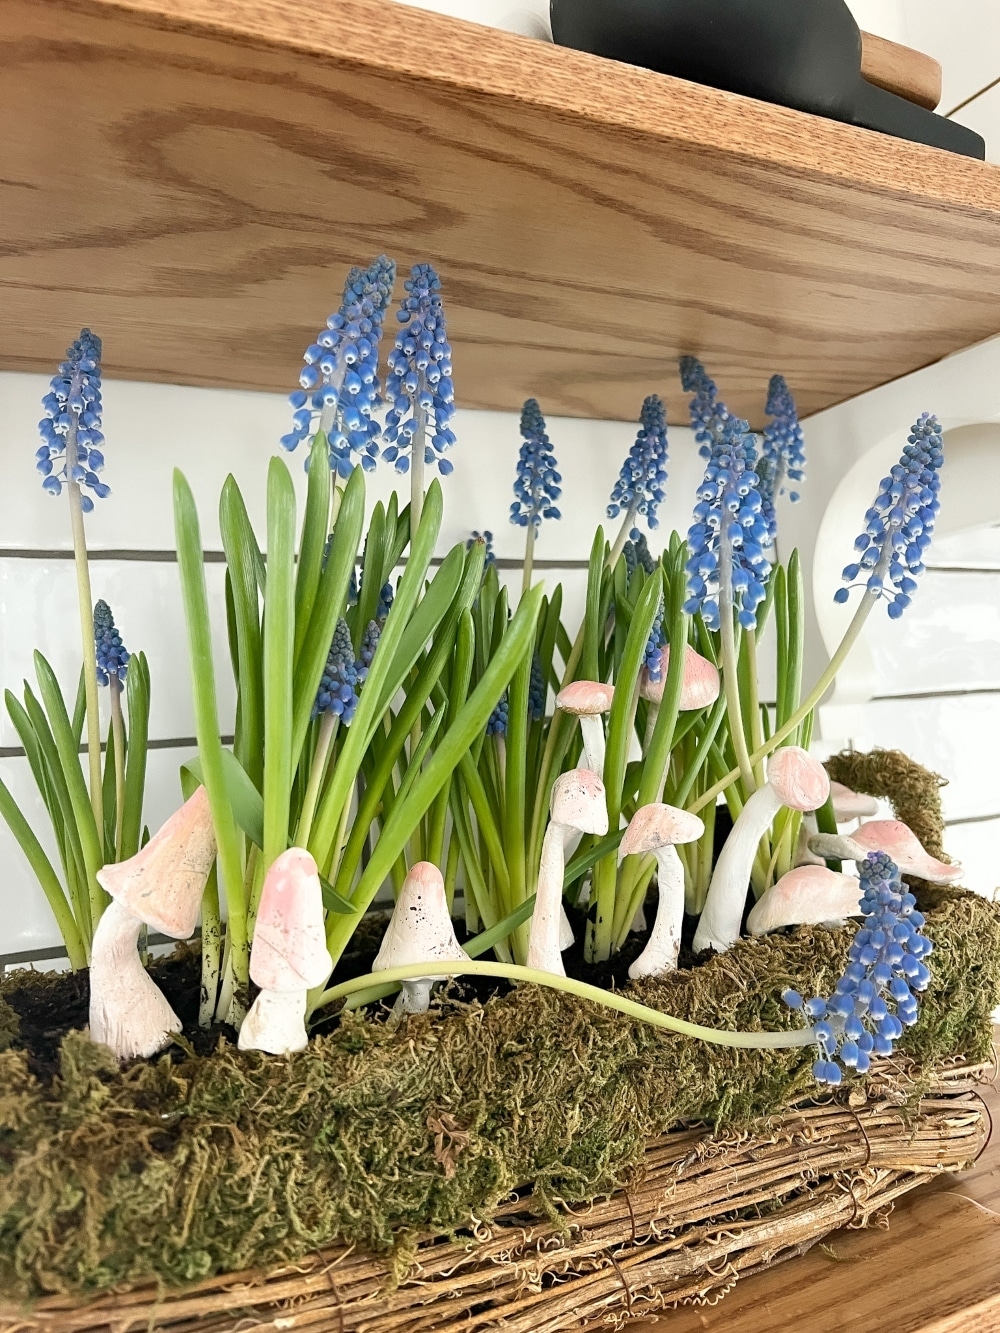
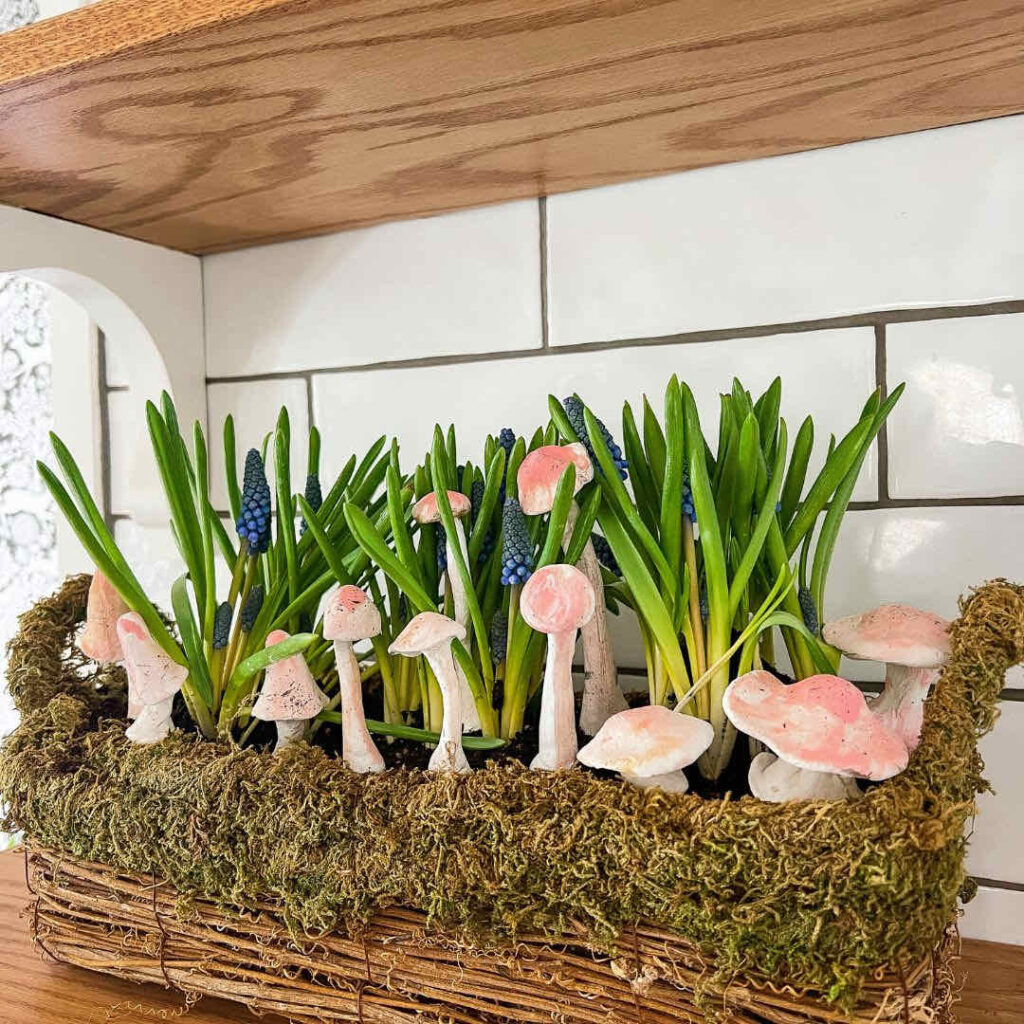
Once the clay was dried overnight, I was able to paint it. Air dry Clay is really easy to paint,. I wanted all of my mushrooms to kind of go together since they were going to be part of a centerpiece. so I painted them all pretty similarly as I was replicating the look from the anthropologie site. I loved the way the anthropologie mushrooms were pink and since pink is my favorite color that is what I used as a reference point as I was painting these mushrooms. You can paint your mushrooms any color you want!
- First I painted the mushrooms white.
- Then I painted the top of the mushroom head pink and Blended the pink into the white so that the middle of the head was the darker color.
- After that, I used some brown paint and flipped the paint so that some of the brown paint was visible and I added a little brown paint to the stems.
How to Create a Flower and Clay Mushroom Centerpiece
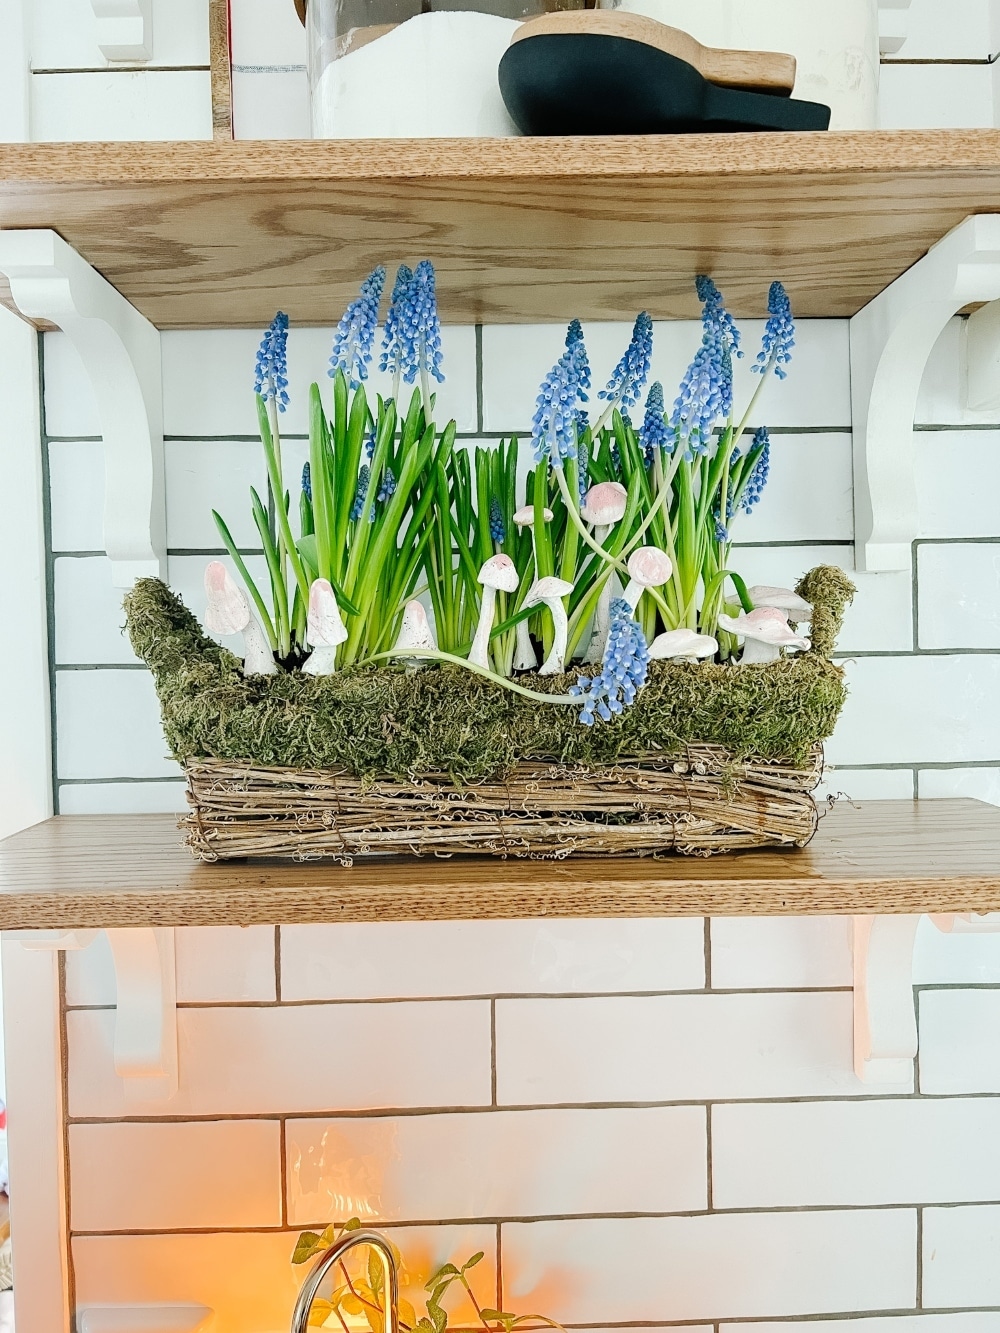
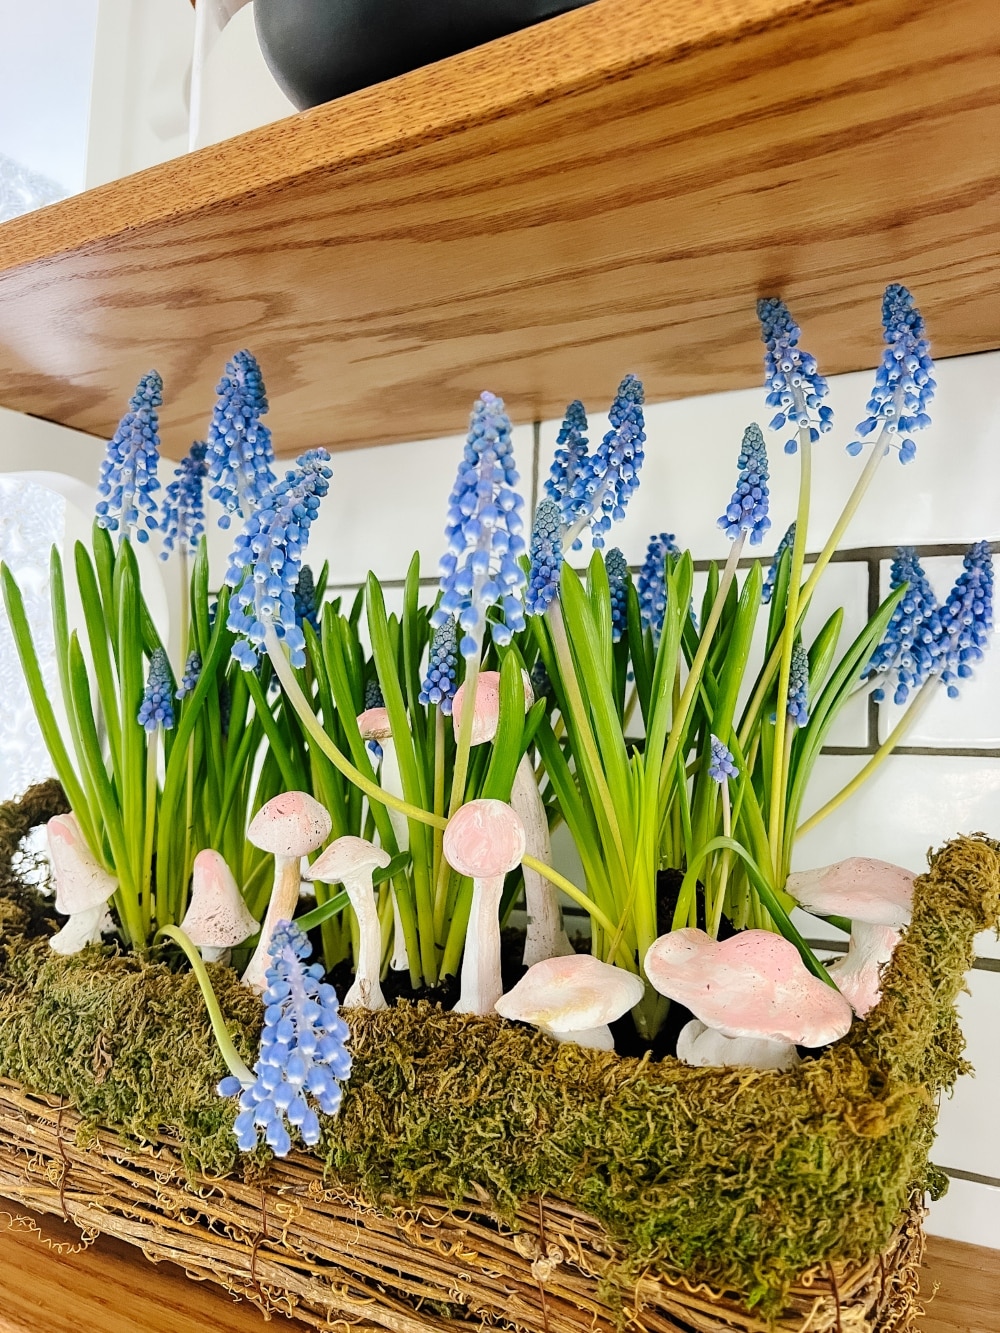
I created this really whimsical, colorful spring centerpiece using the clay mushrooms! It’s super easy to do. I found a container with a plastic lining, then I planted three flowering plants inside and surrounded the plants with soil. Then I added my clay mushrooms around the plants. I clustered the mushrooms together according to the type of mushroom. I love the way that they look and I want to make more soon!
Next clay project to visit
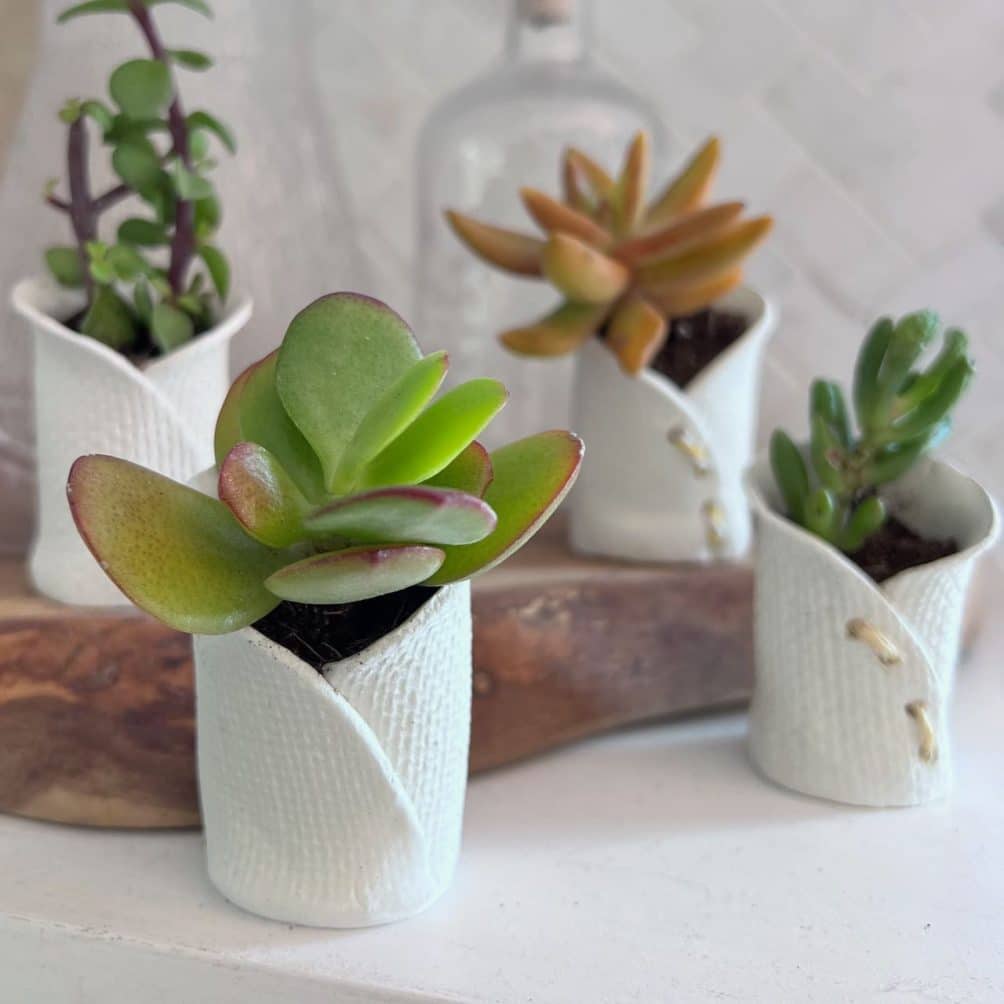
Next on our hot today, is South house designs! You are going to fall in love with the most adorable succulent clay folded pots so make sure to head over there and see how she made them!
Another Mushroom Project to Make!
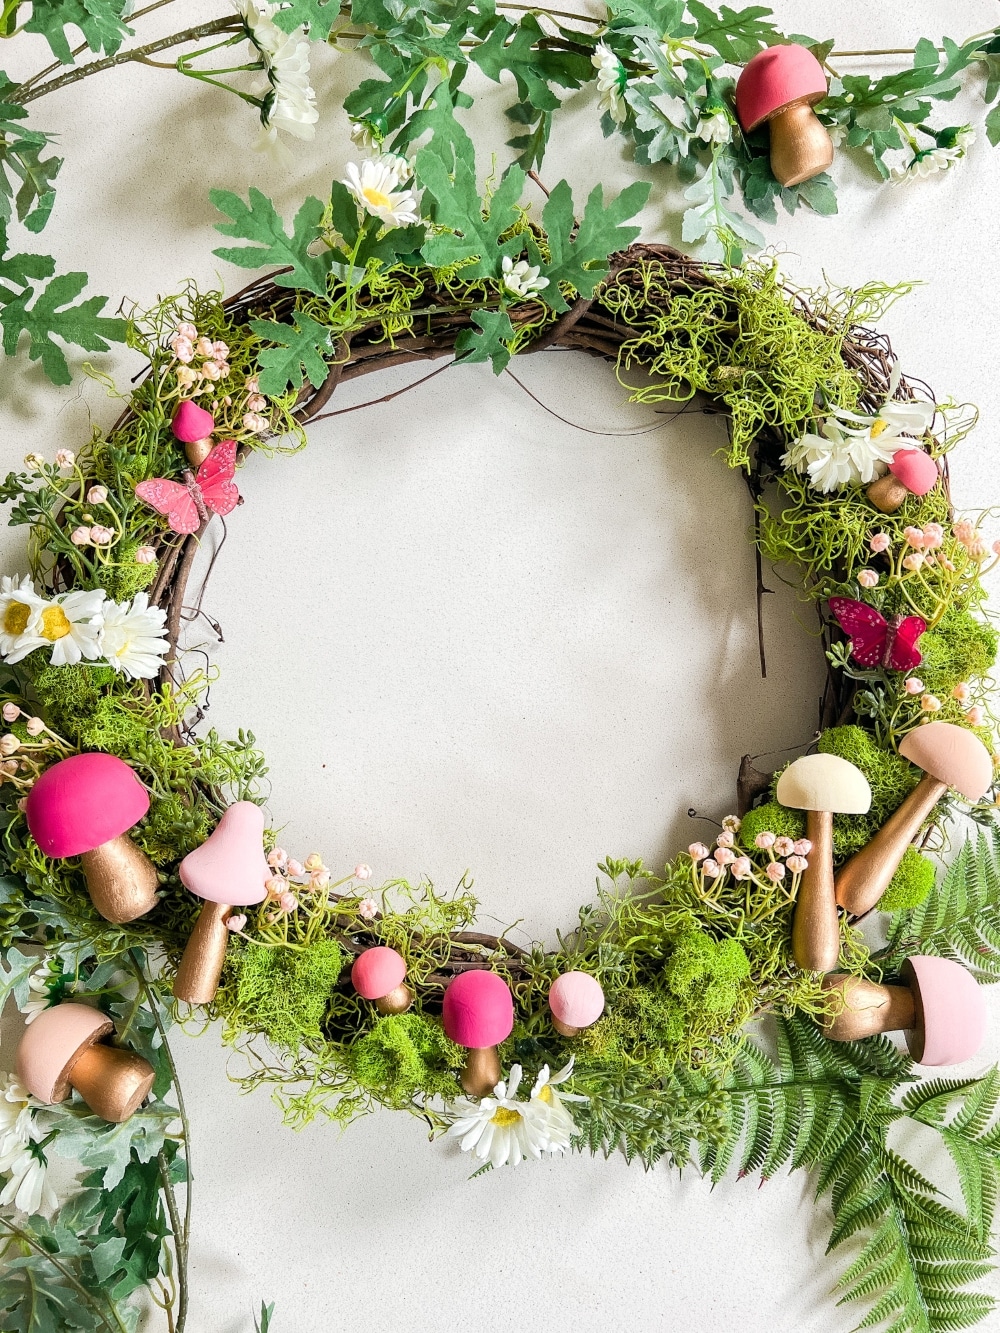
If you love mushrooms for Spring as what should I do, you will want to make this mushroom wreath! I found the most adorable wooden mushrooms and the link for them is in the post! So make this wreath and create these air dry mushroom stakes to add a little spring sunshine to your home! I hope you enjoyed all of these projects and I can’t wait to share more spring ideas with you! So connect with me on my Instagram page @tatertotsandjello and tag me if you create any of these projects. I would love to share your ideas!
Have a Creative Day!
xoxo

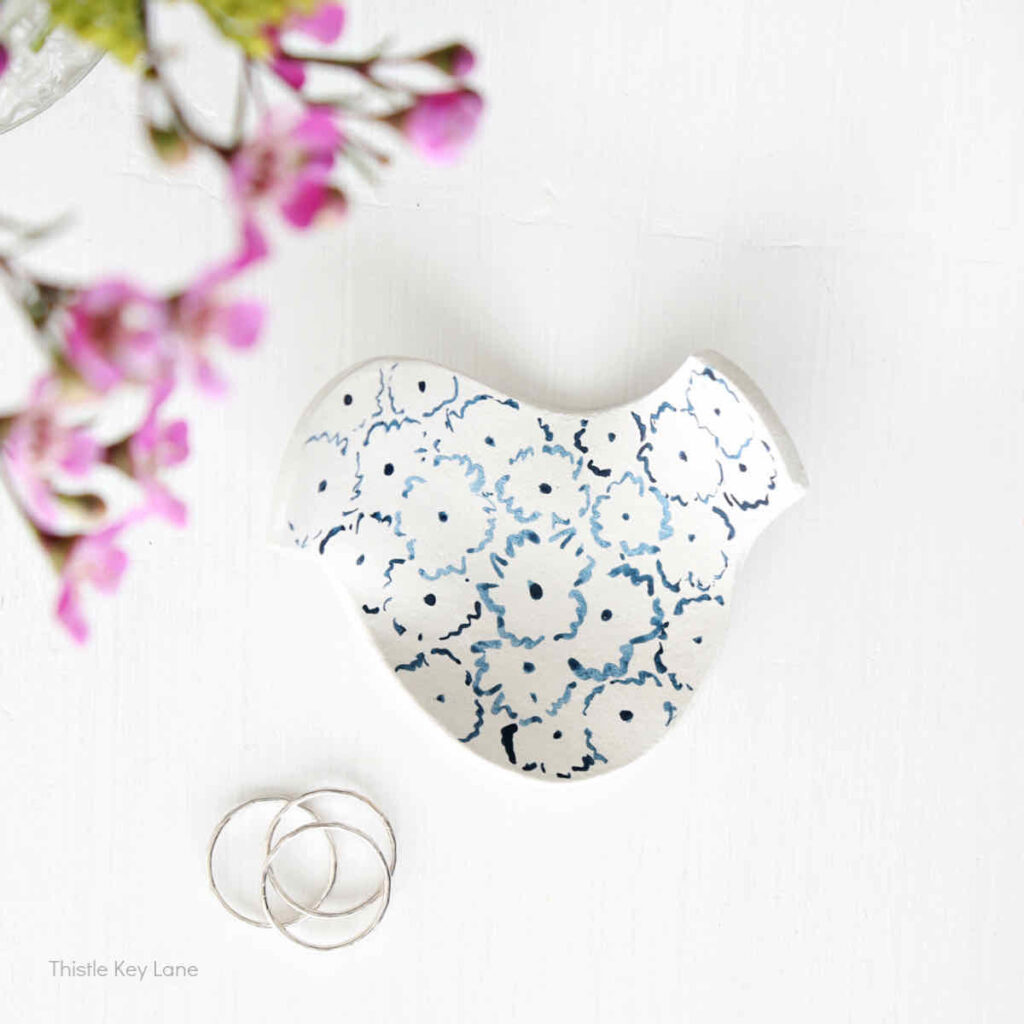
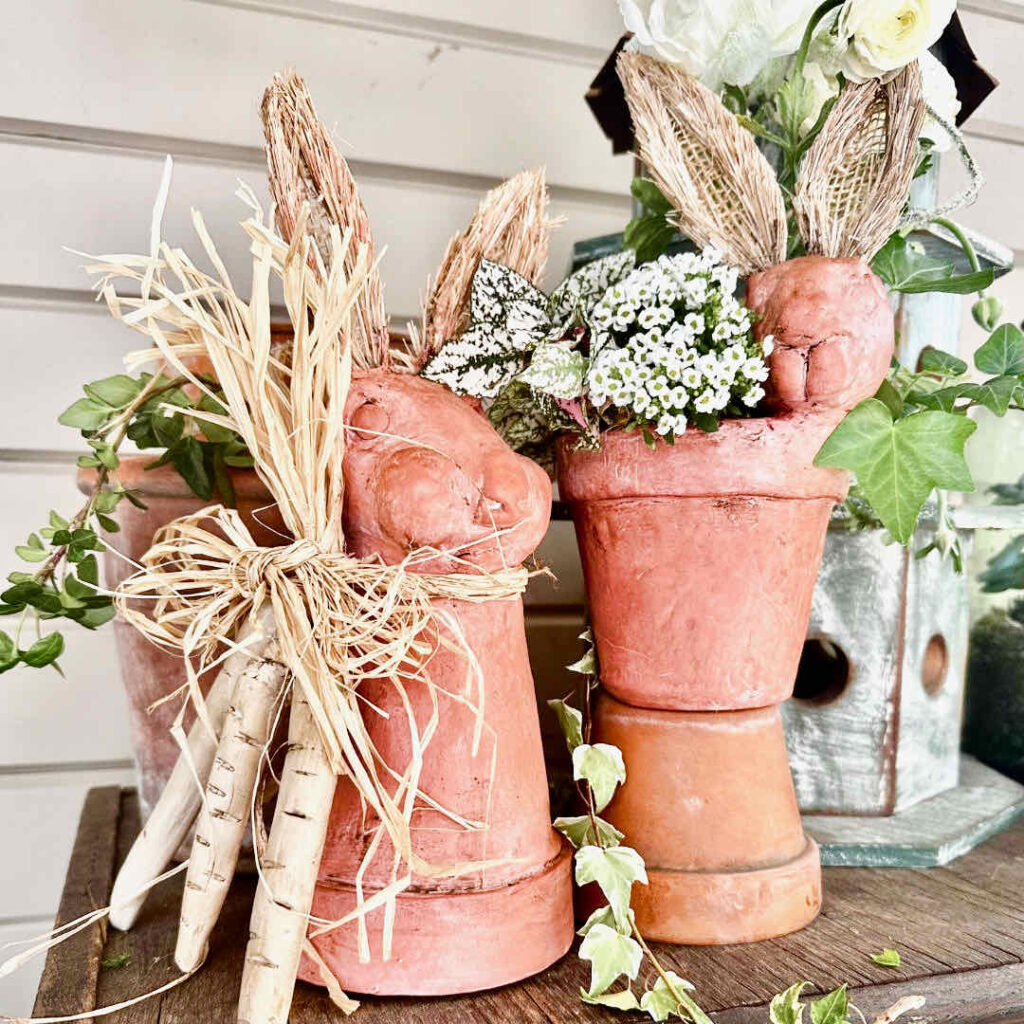



Love the air dry clay mushrooms ideas. How do you attach the stems to the cap?
Hi Jane!
You make the tops of the mushrooms and the stems, then lay the top upside down on your work surface, lay the stem on the head of the mushroom and use a toothpick or your nails to scrape the wet clay from the top of the stem onto the head of the mushroom. This will attach it. You need to do it while the clay is still soft. You can also add a little bit of water to make it more malleable. Then just let it sit and dry so it is hard 🙂
xoxo
❤️ these! They look real. I’ve been disappointed using air dry for mushrooms here in Florida. It’s so humid they never fully dry & get mildewed. What a fun, creative blog hop idea.
Hi! Have you trued drying them in the the oven at a very low setting?
You nailed it! These Anthro Mushroom Dupes couldn’t be cuter! So clever!
I absolutely adore these! The shapes are perfection and I love how you styled them! Anthropologie should take lessons from you! Pinned!
Jen, your mushrooms are adorable. Love them in the moss basket with the flowers. Also love the mushroom wreath with the woodsy look.
Jen, you knocked it out of the park with this one! I’m obsessed!!
I love your idea of researching mushrooms for this project Jen. No wonder the shapes look so realistic! They certainly look amazing in your centerpiece! I think the pink paint gives them the cutest personality!
Love, love your sweet mushroom garden! So darn cute.