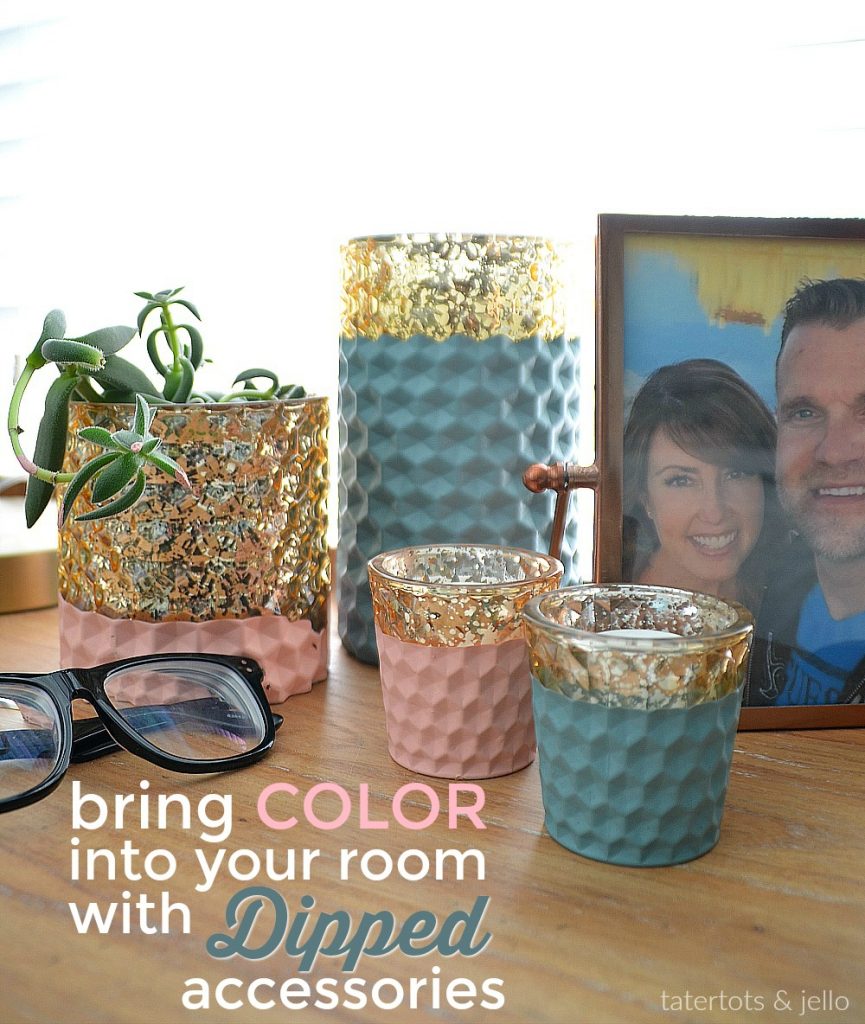
How to Dip Accessories with Paint
Happy Friday!! I had an epiphany a few weeks ago and embraced how much I love color! I’m sharing my colorful home ideas on Instagram with a #HappyColorfulHome hashtag.

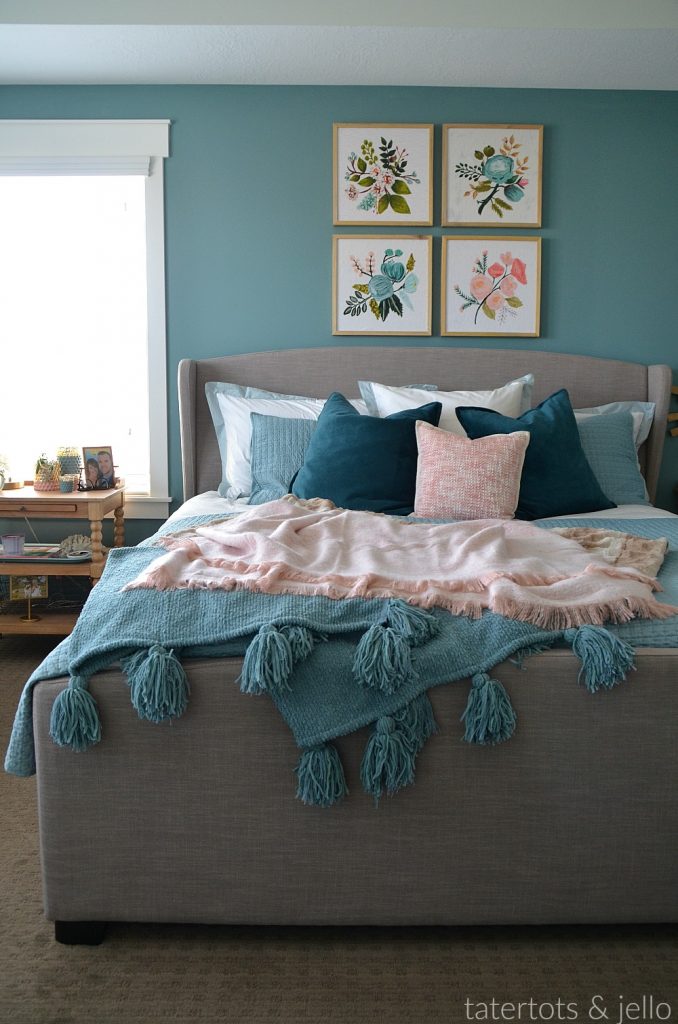
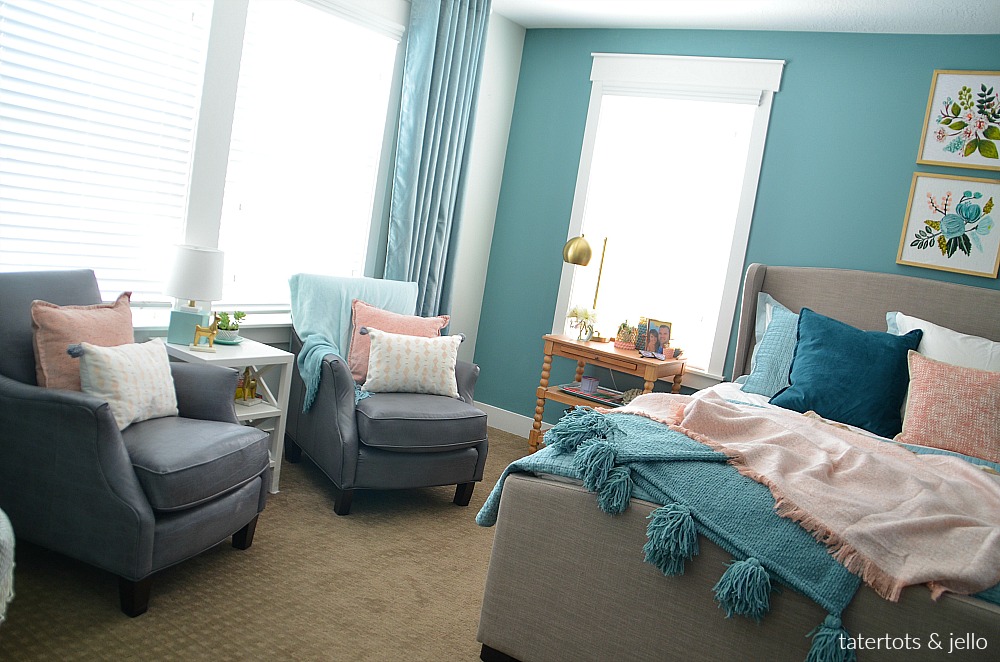
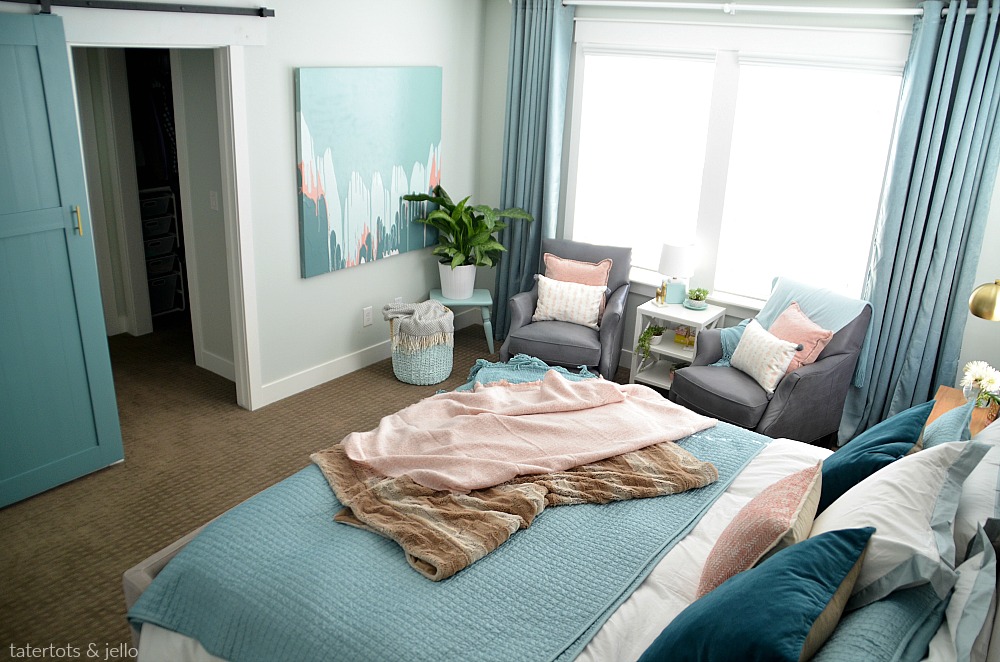
So when I was working on my Bedroom Makeover I knew I wanted to bring in some bright pops of color. Here’s an easy way to bring some color into a room – Dipping Accessories.
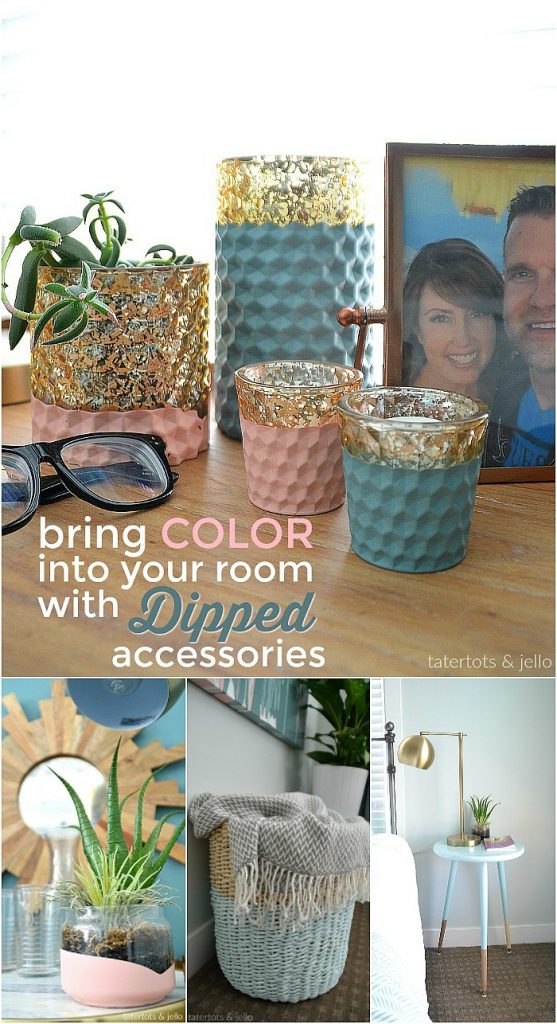
How to Dip Accessories with Paint
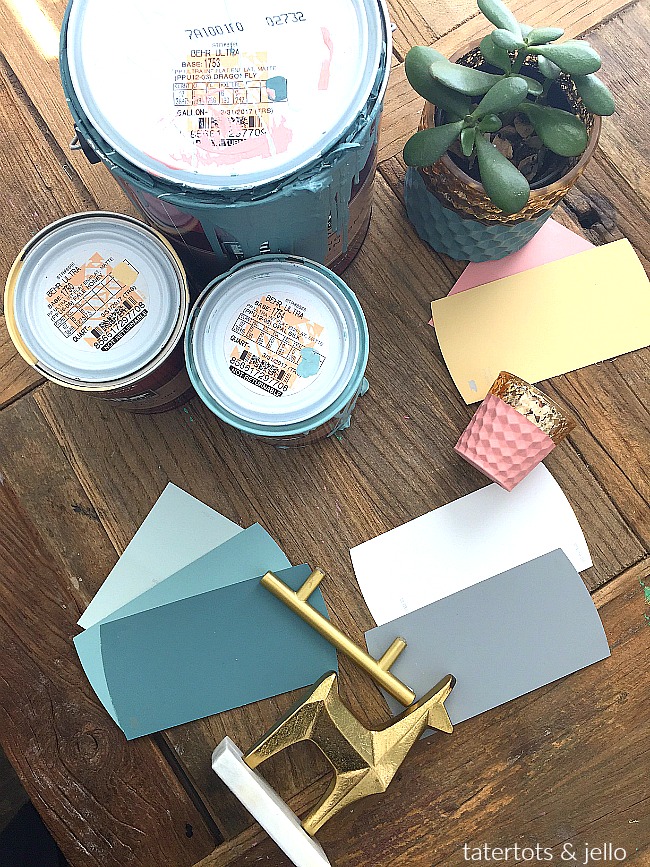
I had some mercury glass candle holders that I wanted to use in the room and add some color to. All I did was put some plastic paint sheeting over a table and then I dipped the candle holders right into the paint buckets and let the excess paint drip off. Then I laid the candle holders on the plastic sheeting. The only part that is tricky is that the paint that is trapped under the candle holder and the plastic sheeting has a hard time drying, so I had to move them around every couple of hours until they were dry.
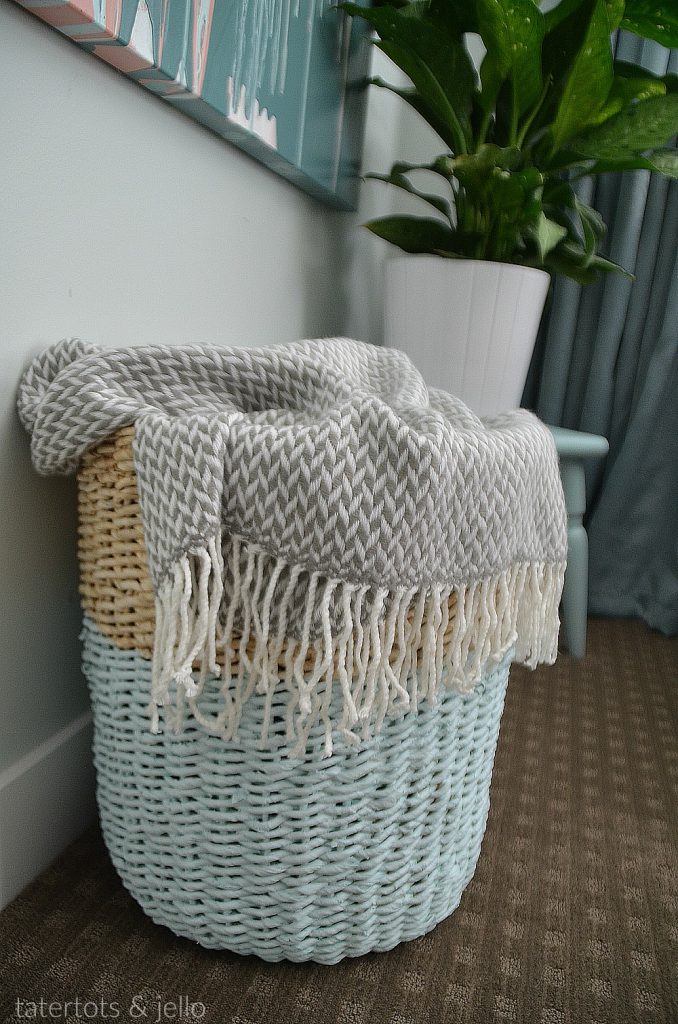
I also dipped a basket and I use it to keep throws for chilly nights. You don’t actually dip the basket – that would be very tricky to do unless it was a small basket. The way to make a basket look dipped is taping off the part of the basket that you don’t want painted and then painting the other part.
How to Dip Accessories with Paint
You make sure that you have a clear line between the painted part of the basket and the unpainted basket, that’s what makes it look dipped. My basket is pretty large, So I put a kitchen trash bag over the top and it fit very snugly. Then I taped under the kitchen trash bag so that the line was very defined. Then I put the basket on plastic sheeting and painted it with a large paintbrush. I used the bristles to get in the woven basket so that they paint looked saturated and the basket looks dipped.
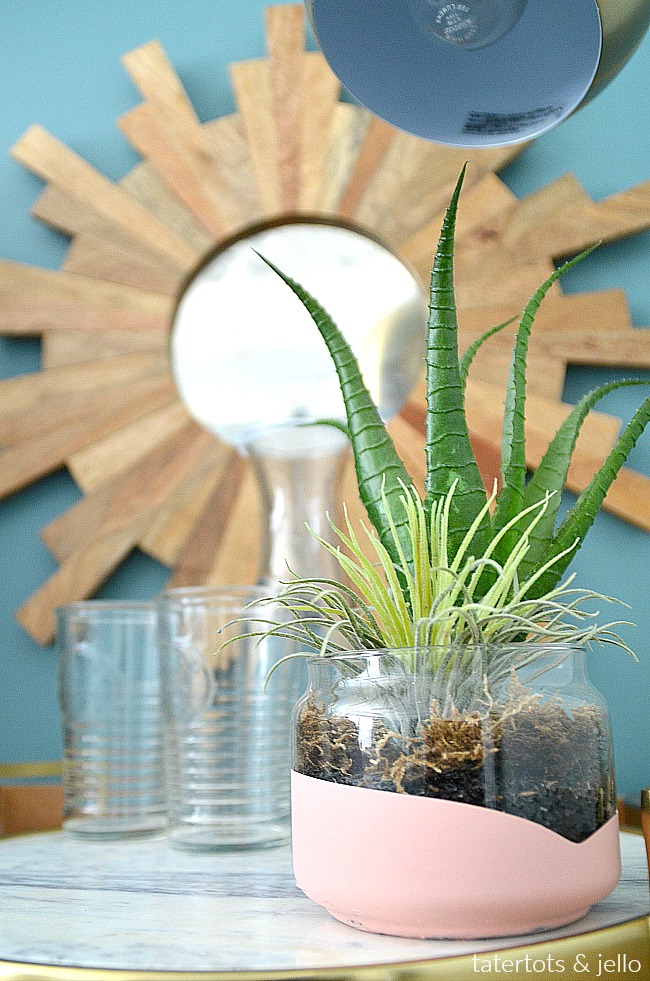
Other accessories that would look great dipped could be:
- Picture frames
- Glass vases
- Trays
- Lamps
- Nightstands (I “dipped” my nightstands last year made from very inexpensive legs and wood tops)
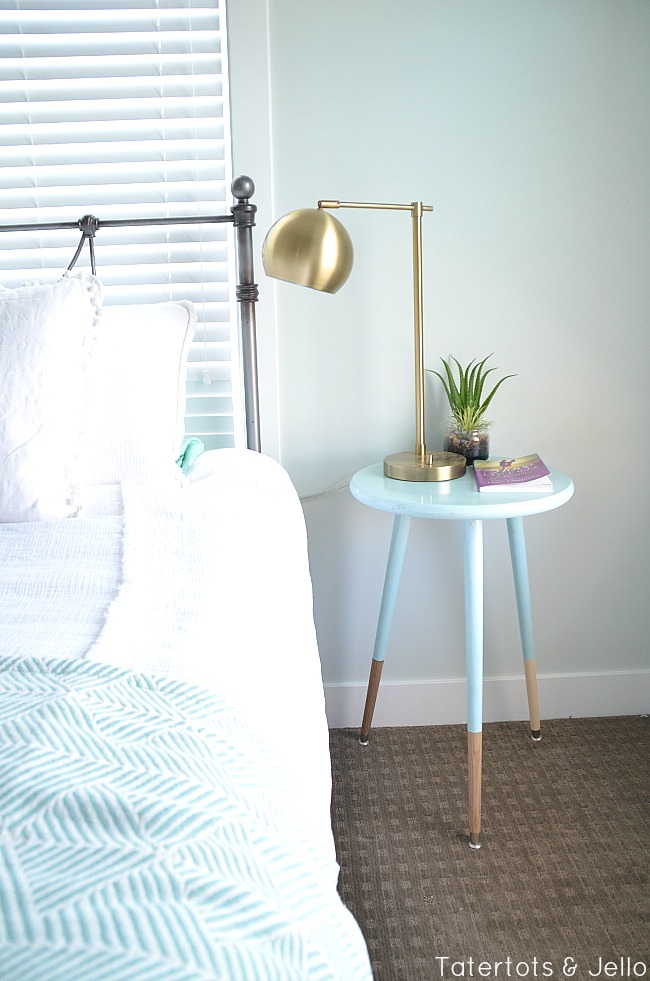
I love the look of dipped accessories. Also – to make your dipped accessories look more modern – you can dip them at an angle. I love that look too!
AND – how you would YOU like to win $10,000 to makeover a room in YOUR home??
Win $10,000 and more with the BEHR® Color Clinic
Today April 21 from 7 a.m. to 5 p.m. PST
Do YOU want to make over a room in YOUR home? I have some awesome information for you — it’s called the BEHR® Color Clinic.
Deciding on the next color for YOUR home DIY project is hard. Let the BEHR® Color Clinic experts help!! The BEHR® Color Clinic offers professional help to help you get paint on the walls! The BEHR® Color Clinic is a 2-day social media event where color and design experts will help YOU along on YOUR journey by sharing advice, inspirational room makeover projects and custom color palettes.
 TODAY from 7 a.m. to 5 p.m. PST
This is how it works:
TODAY from 7 a.m. to 5 p.m. PST, visit BEHR® on Facebook, Instagram or Twitter to join the BEHR® Color Clinic for live color and design counseling!! YOU can ask questions, seek advice or share a project with the hashtag #BEHRColorClinicSweepstakes for a chance to receive a response from a BEHR® Color Clinic expert and be entered for a chance to win one of the following sweepstakes prizes:
 Grand Prize — One $10,000 room makeover and a video chat with Sabrina Soto.
First Prize (four) — $200 Home Depot® gift cards and a 15-minute video chat with a color and design expert (one of them will be ME)
The sweepstakes will remain open through May 19,2017 11:59pm PST. Find out ALL the details at the BEHR® Color Clinic Page!! I will be answering questions on their Facebook page too – I can’t wait to answer YOUR questions!!
TODAY I will be on the BEHR® Facebook page answering questions, from 11am PST – 1 pm PST!
Follow along with Home Depot® and BEHR®:
I hope one of YOU wins!!
What would YOU do in YOUR home with $10,000???
Let us know in the comments!
xoxo




What a great idea. I’m going to try it. Thanks!
Thanks Terra! I think you will love it!
xoxo