Welcome to the Summer of Paper series – where we’ve invited fabulous guests to create projects using supplies from my Home + Made paper decor line.
Hi, I am Katie Adams from the Crafty Blog Stalker.

I was absolutely thrilled when I was asked my Jen to guest post on Tatertots & Jello. It was one of the very first blogs I started following before I began blogging myself.
Like Jen, I also love to create and inspire. In fact that is the focus of my website, I like to teach others, like you, how to create and show through tutorials how you can make it too! I share how to make many different things including recipes, sewing, jewelry making, paper crafting and more.
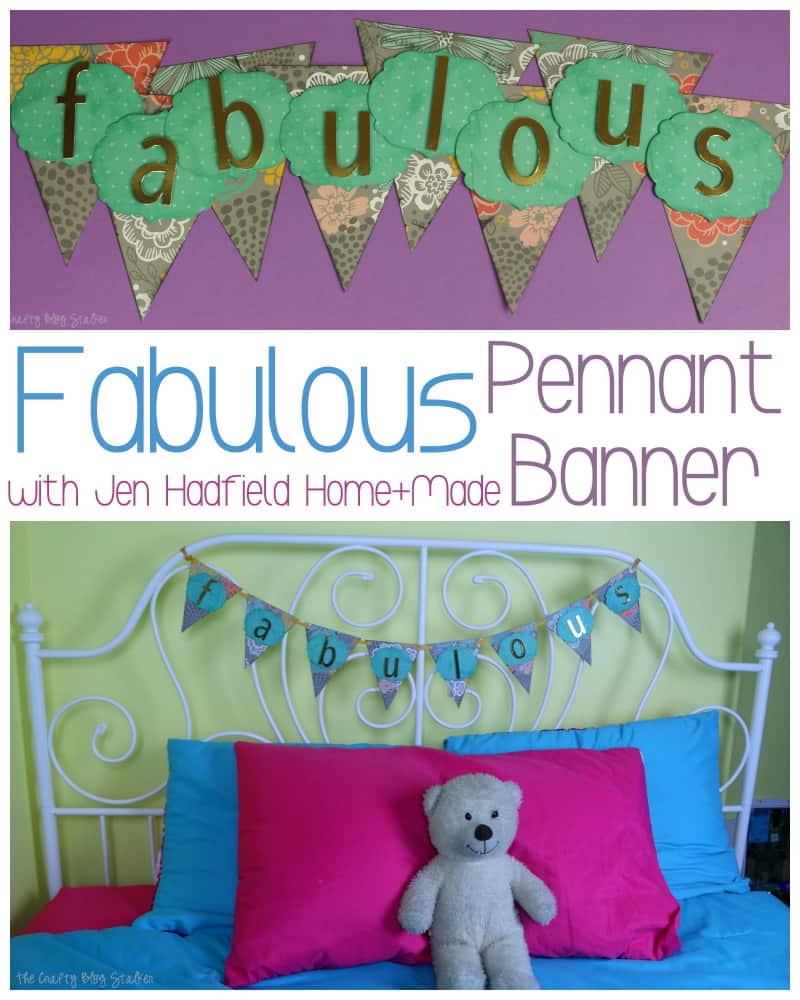
Last week Jen sent me a bundle of her totally awesome new product and asked me to make something fun. The honor was all mine.
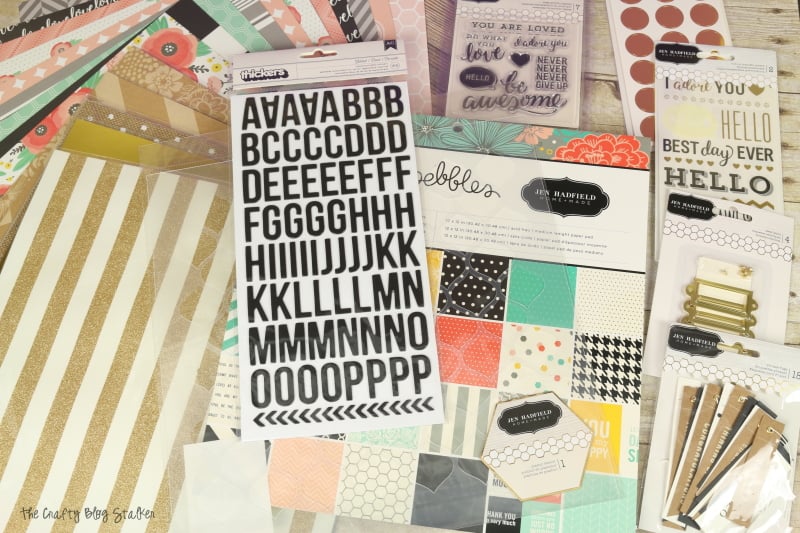
Jen’s new Hand+Made line is complete with color coordinating papers, accessories and all of the goods. I love using items that compliment each. It makes crafting so easy because I know that it will all work together seamlessly. Plus the colors and patterns are completely on trend, so I know I am going to love what I make!
I am totally in love with all of this product but what I used for my project is 1 sheet of Gold Foil Cardstock, and 2 sheets of patterned paper from the 12×12 Paper Pad.
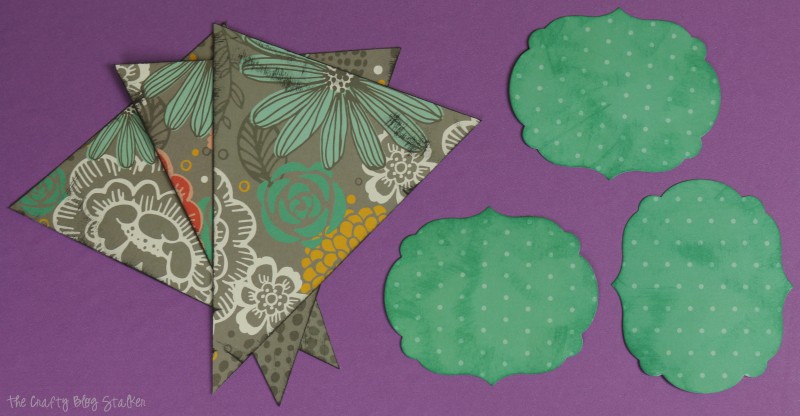
The first step to creating my pennant banner was to cut the pennant pieces. Did you know that you can cut 8 6-inch pennant banner pieces out of 1, 12×12 sheet of paper? And it’s not that hard. I made this video to show you how.
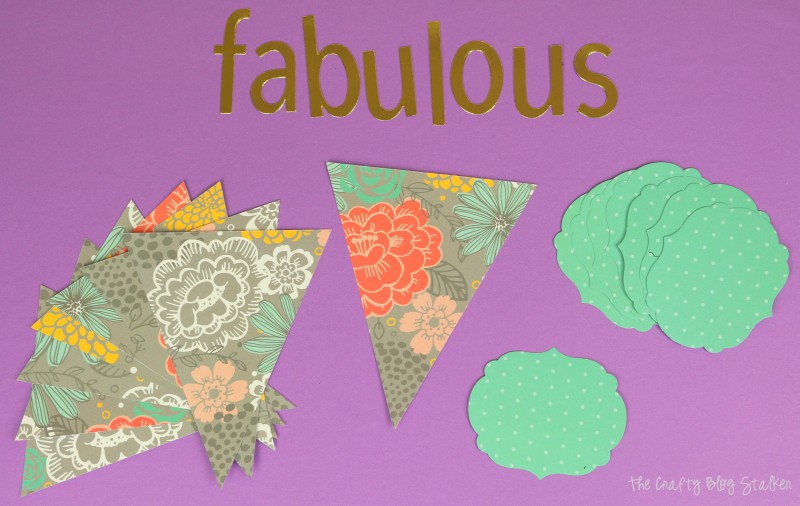
I told you it could be done! After the pennants are cut out, it’s time to layer and design the banner. I used the gold foil cardstock to cut my letters out of, and I have to tell you, this paper is shiny, sturdy and gorgeous! Then I chose a coordinating cardstock and cut out label shapes to layer on the pennants.
I love adding ink to paper. I think it adds texture and makes it so it doesn’t look so flat. To do this scrape the edge of the paper or cardstock on a coordinating ink pad.
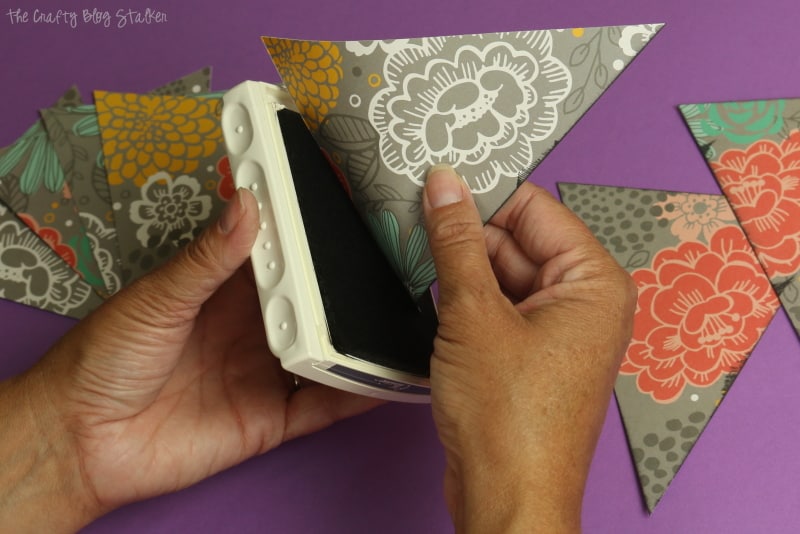
Ink the edges of the pennant banners and the label shapes. Don’t they look awesome?!
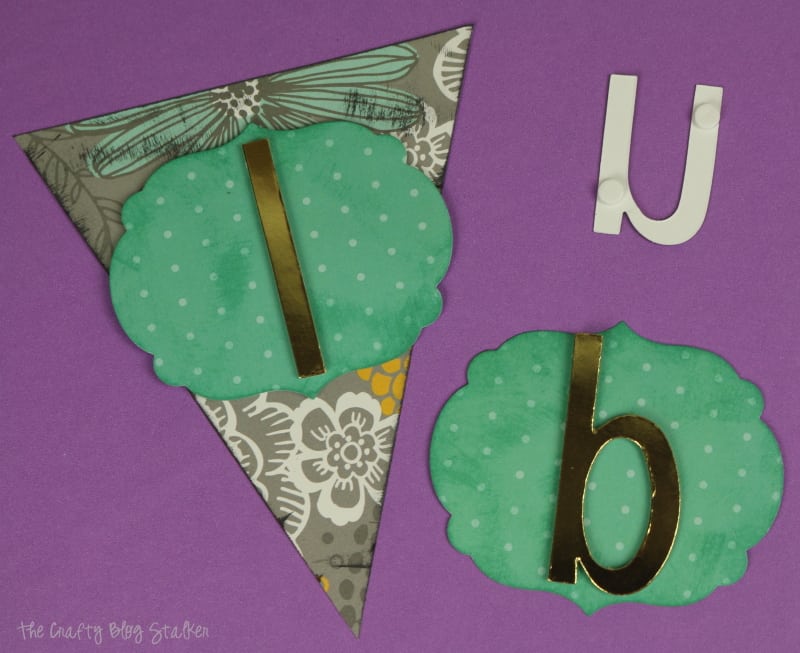
The next step is layering. I used adhesive foam dots to make the layers “pop” and stick up from each other a little bit. This also helps add dimension so the layers of paper aren’t so flat.
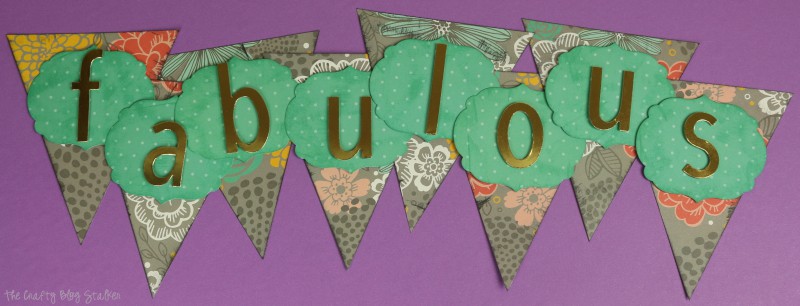
Do you ever have that moment of panic, when you’re all done but not sure if you spelled it right? Yeah, I got them to this point and said “oh shoot!” I may have googled fabulous to make sure I didn’t mess up – whew. I’m good. 🙂
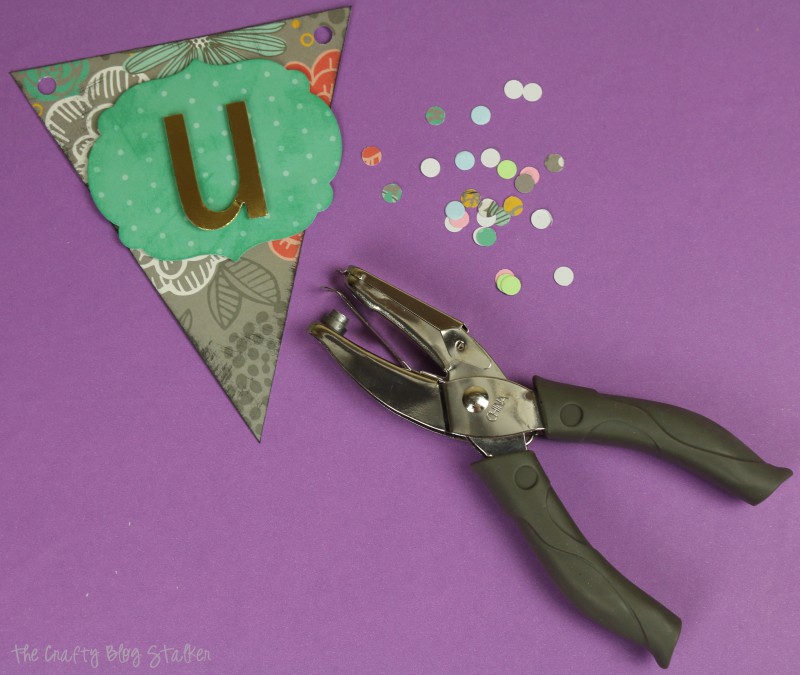
I used a hand hole punch to punch holes in the corner to run the ribbon through.
When the banner was finished I hung it on my daughter’s bed because she needs to know how fabulous she is every morning and night.
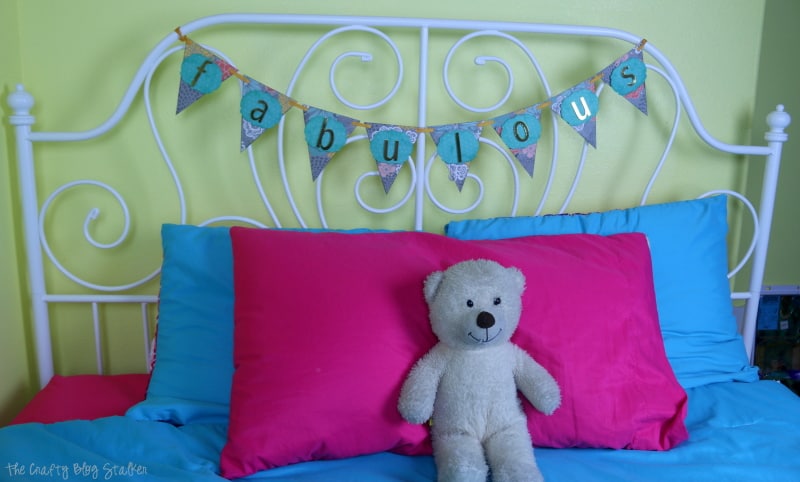
This fabulous pennant banner was so much fun to make!
You should totally go to your local craft store and pick up some Jen Hadfield Home+Made products. You will have so much fun making your own fabulous creations.

**********
Thanks Katie! What a fun banner that you can leave up all the time! Katie has such great ideas on her blog. Here are a few I think you’ll love:

She has a really yummy, delicious homemade ranch recipe!

She also has this fun Rag Quilt Tutorial that is perfect for the non-quilters!
Or you can learn how to make this Twine and Pearl Bracelet!


Such a cute banner and easy to make!