Hi, I’m Landee from Landeelu.com and I am so excited to be here for Jen’s Happy Holidays Event! So much inspiration for making this holiday season special for you and those you love! Today I want to share with you a fun project that will help you preserve those memories you are making each year and put them on display.
Christmas is so much about spending time with family and making memories. Well, that and eating so much sugar and refined flour it should be illegal. It’s also a time where lots of photos are taken but sometimes those photos don’t get out and get displayed year after year. I have been thinking that I would like to make some kind of a Christmas Memories banner or something for a while but then I got the idea to make some ornaments instead! The kids always help with the tree and it’s always amazing how so many of the Christmas ornaments have a special memory attached to them. Why not make some with some Christmas photos? I have also been dying to try out this photo transfer technique that I heard about a couple of years ago and this was the perfect project! It’s so much cooler than just mod podging a photo on (although I do love me some mod podge, no doubt on that). The image is actually TRANSFERED onto the wood. I love the look!

If you would like to make some Photo Transfer Ornaments too, this is what you’ll need:
- Wooden ornaments (found at Michaels for a couple of dollars each)
- Matte Gel Medium (found by the art supplies in your local craft store)
- White craft paint
- Christmas images you’ve had printed on a LASER printer (ink jet will not work. Kinko’s self serve printers are laser. Just put all your images onto a paper sized image in your photo editing software, put on a memory stick, and take stick to Kinko’s… the self serve machines are easy! They are 59 cents each to print). If you have wording or care about having the image a certain way, make sure you IMAGE FLIP the photos first.
- Foam brushes
- Glitter craft paint (optional)
STEP ONE: Paint your wood ornaments with your white craft paint (a lighter background is best to trasfer the photo). I distressed the edges with sandpaper. Totally optional but I love that look!
 STEP TWO: Cut photos to size. Apply a coat of the GEL MEDIUM to the image side of photo.
 STEP THREE: Put photo IMAGE SIDE DOWN onto ornament. Use a credit card or other burnishing tool to smooth paper down and get rid of any air bubbles. Allow to dry overnight.
 STEP FOUR: Use a squirt bottle to mist water over the back of the paper. Then use finger to gently rub the paper away. You can also remove any paper that is hanging off the edge as well. Best technique is to rub paper off entire surface and allow to dry. Repeat this until you no longer see any paper remnants. It took about 4 times to get all of the paper off for me. Luckily it only takes a few minutes for it to dry. And don’t worry if you rub a little of the image off… it just adds to the charm! 🙂
 STEP FIVE: Sand around edges again, if you want. Apply glitter paint to anywhere you’d like! I put it where there was snow, or there was a Christmas tree in the background, or on the plate of sprinkle cookies my son is holding in one (hard to see in these photos though). Get creative! Add twine to hang and you’re done!
 I love this technique because it makes the image PART of your ornament rather than just attached to it. You can see the wood grain texture through the image and it looks so cool! I also am glad I tried it with both black and white and color images. Black and white is more “vintage” looking but I love the look of the color as well!
Thanks for reading and thank you for having me Jen! Have a wonderful Christmas season! I’d love for you to stop by my blog and follow along on my social media sites as well! We can be e-BFFs! 🙂
 BLOG | FACEBOOK | PINTEREST | INSTAGRAM | GOOGLE+ | TWITTER
************
Thanks Landee! What an adorable ornament idea, and it would be perfect for giving as gifts to relatives! I love this idea. Landee has amazing ideas on her blog. Here are a few I think you’ll love:
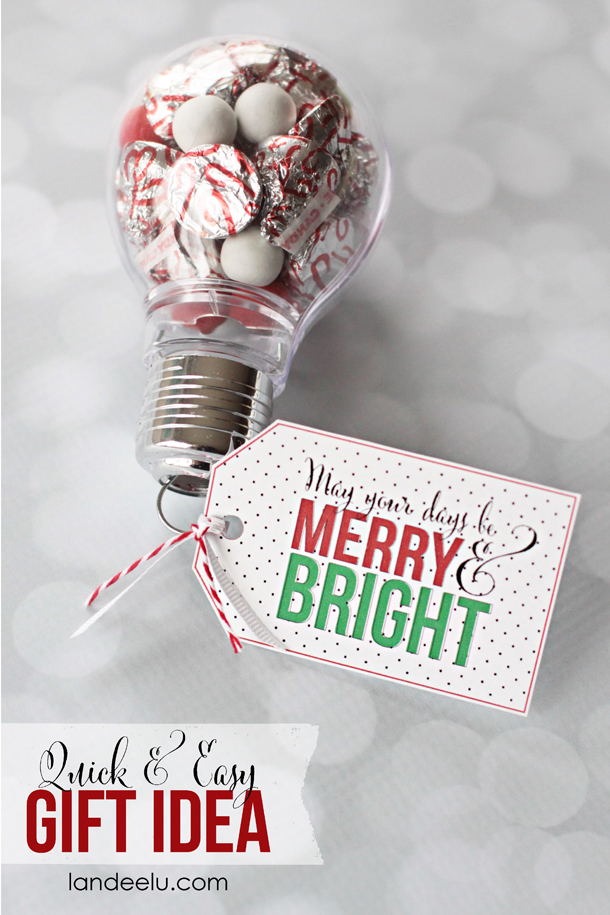
Here’s another great idea for gifts this year, use her cute Merry & Bright Printables to make this fun gift for neighbors and friends!
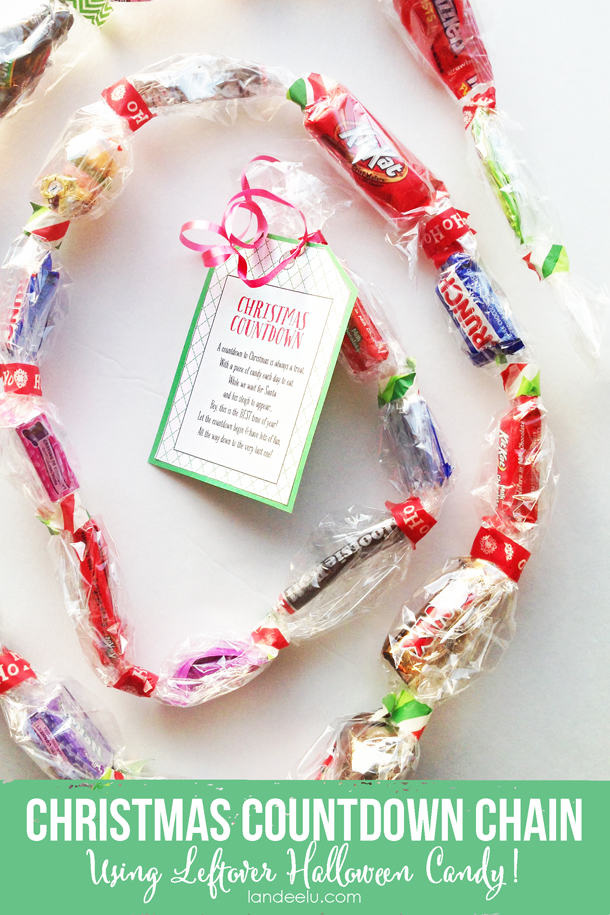
And if you’re looking for a great way to use up that Halloween Candy, start this Countdown to Christmas Chain idea with your kids. So fun!
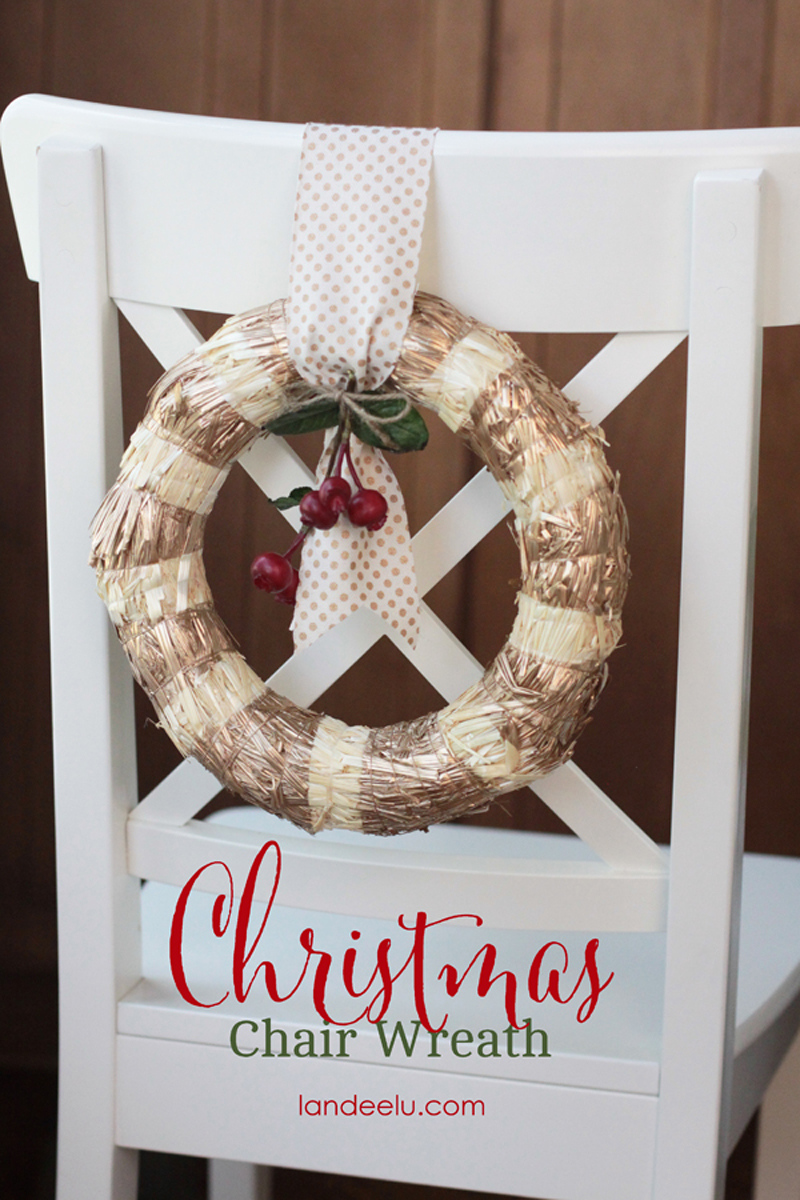
And, I love this idea of dressing up your chairs for Christmas with this Christmas Chair Wreath idea! So fun!
Visit Landeelu.com
and




I LOVE LOVE LOVE your site!!! Sharing with all my friends and family. Many blessings to you during this holiday season and always, besos ????
So – what is the consensus? Regular paper or photo paper? Assuming regular paper but would love to confirm this before trying. Thank you! 10.31.15
Did you seal with any product?
Did you deal with any product?
Visit to purchase Computer Cuisine Deluxe for $29. In Asia, it maintains sales and distribution offices in Japan, South Korea,
China, Taiwan, Philippines, India and Singapore. *
Practice simple recipes at first to get used to the difference in heat.
I just finished my “test” piece and I think it came out great! I used regular paper and had it printed at staples. I used mod podge as the medium which seemed to work. I did end up rubbing off more then I hoped but with a little more patience I think they will be even better :). I wasn’t able to find wooden ornaments so I used unfinished wooden pieces for 29 cents at ac Moore and will just drill a little hole for ribbon 🙂
Hello,
I am trying to find out if the picture was on photo paper or normal plain white paper?
Also is this the Gel Medium you used ? Liquitex Professional Matte Gel Medium? I googled Gel Medium and this is what came up.
Thank you again,
Cheryl
Does anyone know what kind of paper was used? Confused if it’s photo or actual paper. Thanks for any info!
Thanks for this great idea! I’m wondering if the white paint has to dry first, before applying the gel medium? Or can it still be wet from the paint? Thank you!
Can original picture be used – or does picture have to be printed on paper? PLEASE ADVISE as I’d like to try this for gifts. Thanks.
Did you use plain paper?
I love these so much! I wanted to give a special gift this year to my extended family – and this is just perfect! I just took out all the old family photos and my only problem is that there are too many pictures to choose!
Thank you!
thank you for breaking it down so easily! i will be making these for gifts!
Another fun way is to use a flat wood burning tool to melt the toner to the wood!
i love these, but was not good at not rubbing off the picture.
I can’t have too many Christmas ideas! Love those wooden photo ornaments