Hello, friends! I’m Kierste, the girl behind the blog Simply Kierste, and I’m delighted to be here today!
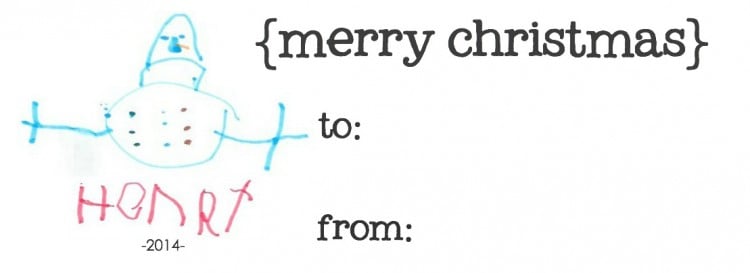
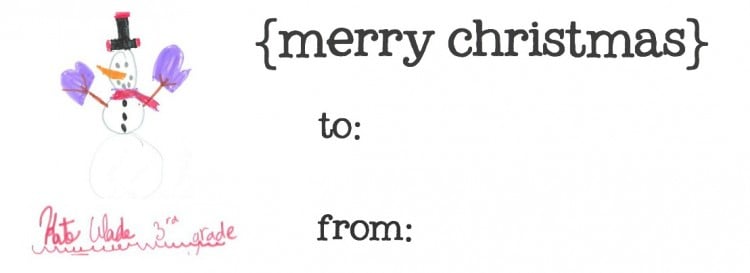
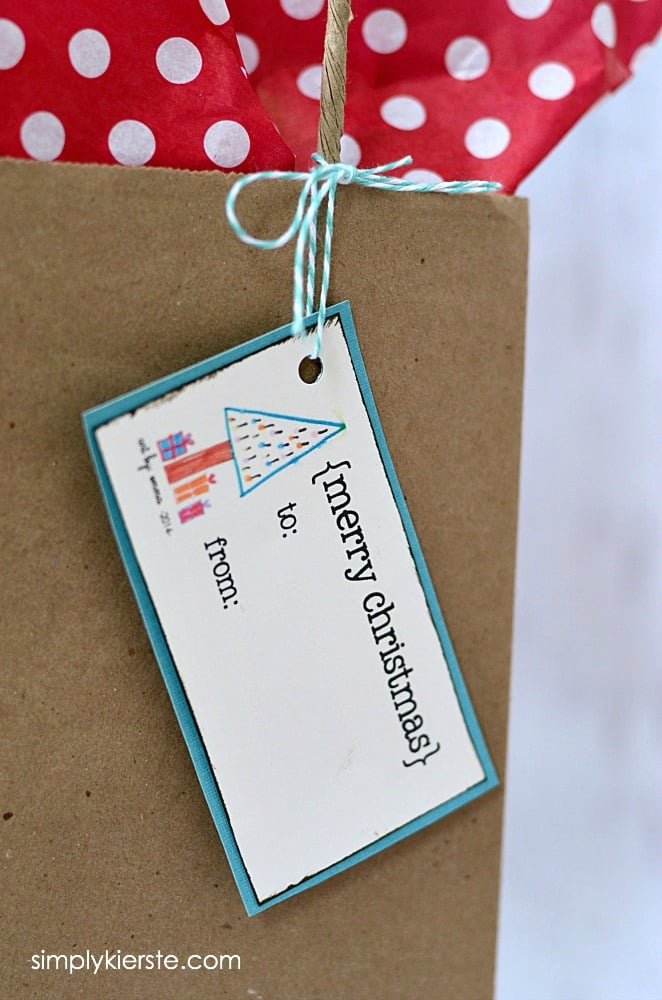
I love doing projects with my kids, and this not only includes them, but highlights their creations. Yesterday afternoon I asked my kids to draw me some Christmas pictures–anything they wanted. We brought out the markers and the white paper, and they went to town. I took their artwork, and made them into absolutely adorable Christmas gift tags.
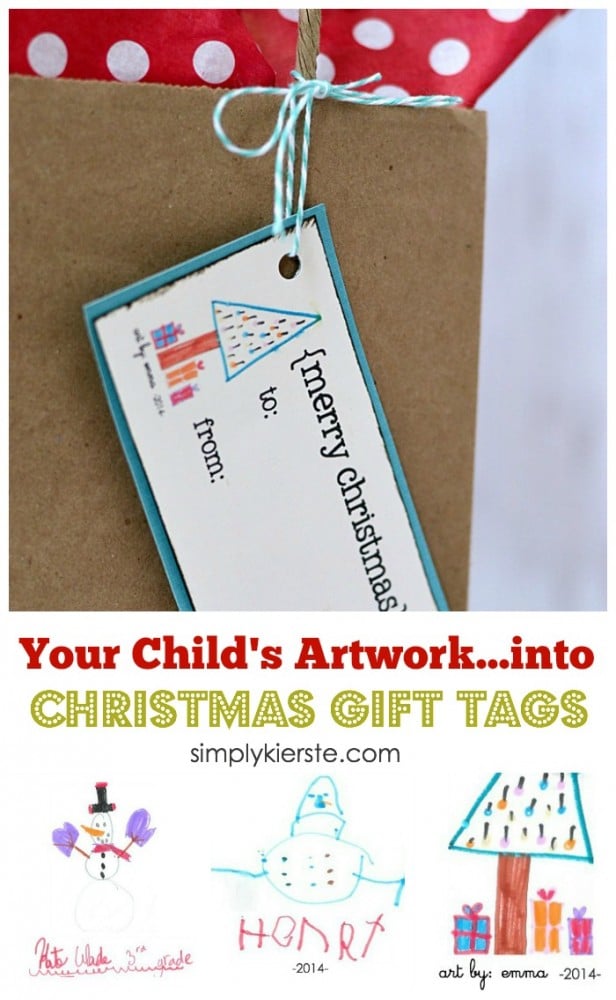
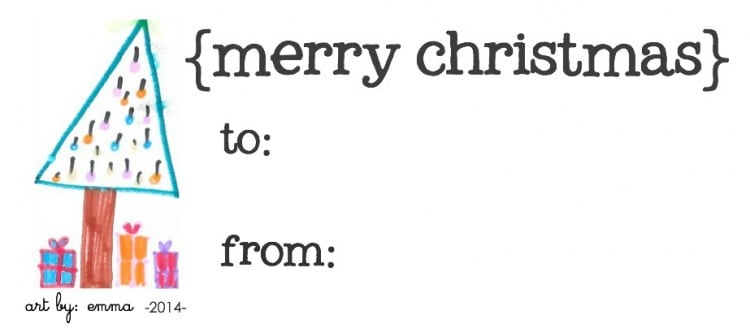
How adorable, right??!! There is something so special about immortalizing such sweet artwork, and being able to share it. They’re perfect for adding to presents you give to friends and family, or even for the ones you give to that specific child. They would also be darling on a teacher gift, or a child’s music teacher, ballet teacher, sports coach, etc.
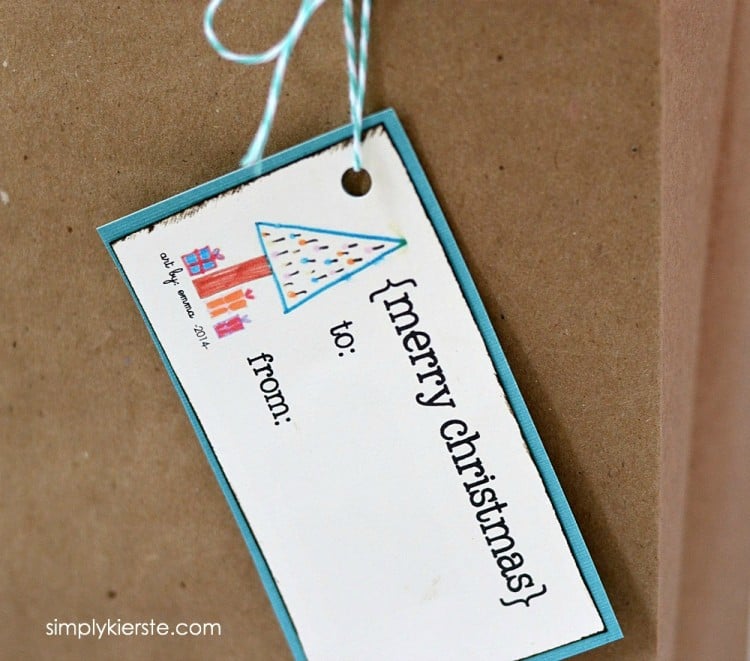
I made my tags in photoshop, but if you don’t have it, don’t worry! You can still make them–I’ll show you how!

ITEMS YOU NEED:
- your children’s artwork! (on white paper, with marker, any size will work!)
- scanner
- cardstock
- paper trimmer
- distress ink
- ribbon
DIRECTIONS:
1. Once the art is ready, scan it with your scanner, and save it as a file. My son had quite a few drawings on one paper, so I cropped each picture and saved it as it’s own jpg file. When you crop it, make sure it goes as close to the edges of the artwork as possible. If you don’t, it leaves a lot of extra space that will still be there later when you don’t want it! You can do that for free Picasa or PicMonkey, or you can use Photoshop, or similar.
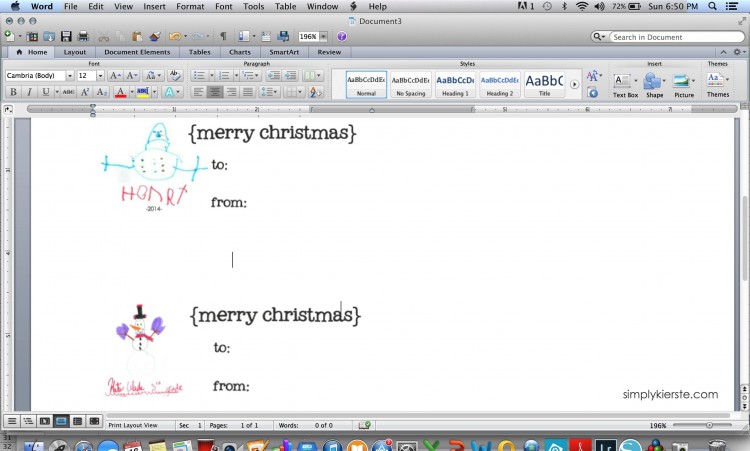
Photoshop/Gimp: I created a file that was 5 inches wide, and 3 inches high. I inserted the picture I wanted, then added text and saved it as a jpg file. I opened a new Word document, inserted the jpg file, and adjusted the size. I was able to fit 6 tags on one page. You can also insert your file into a mailing label document, then print onto labels.
Without Photoshop: You have a couple of different options!
** Create mailing labels–I suggest the 2×4 inch size, or larger. Open a new label document, then insert your picture and add your text.
** Use Picmonkey.com to create your tag! It’s a free program that allows you to edit photos, and create printables. It’s user-friendly, and gives you the freedom create things that you would normally need Photoshop for. I’m going to show you a step-by-step, so you can see how easy it is! You will have already needed to scan in the artwork as a jpg., cropped to the very edges of the art, and saved as individual images. If you’re not sure how to do this, the first few steps of the following tutorial will show you how to use the crop feature in pic monkey, so you can refer to that. Just upload your scanned picture, and crop each image (if there’s more than one), or crop the image so it’s right to the very edges of the image.
STEP 1.
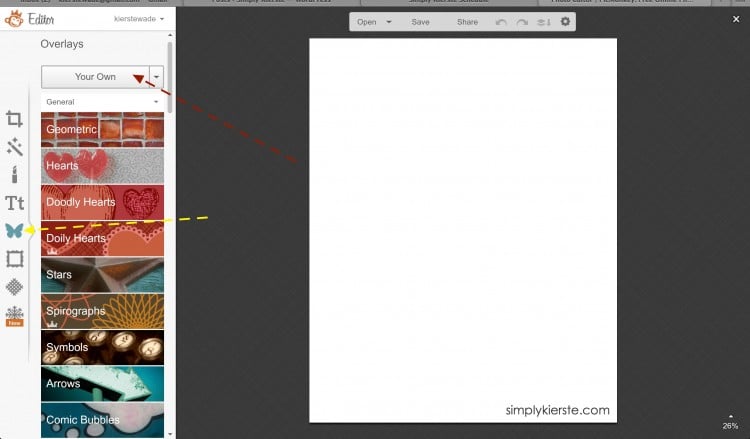
Upload a high-res white image into Picmonkey. Click on the overlays icon on the left, which is the butterfly. Click on “your own”, which allows you to choose any image file you have on your computer. This is where you would browse for the artwork you saved.
STEP 2:
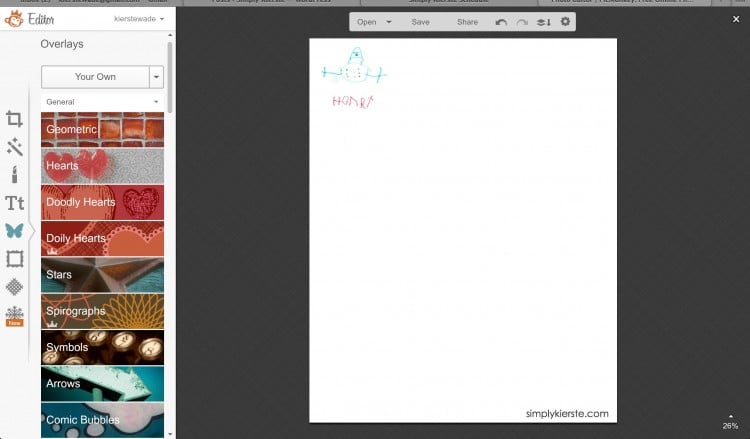
Once your images are uploaded, move them to the top of your white background.
STEP 3:
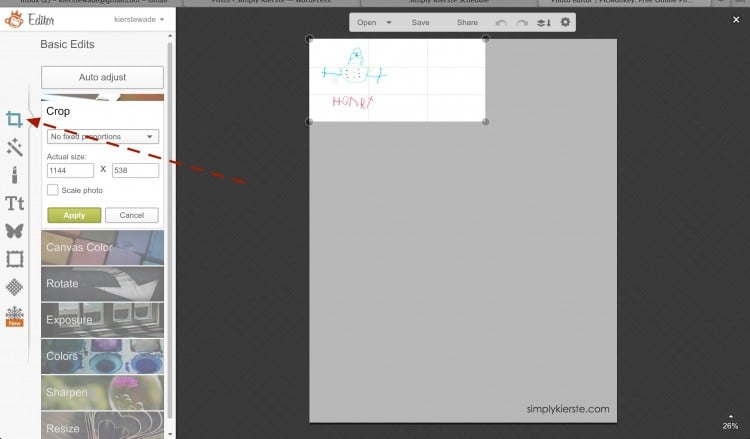
Select the “basic edits” icon in the left sidebar, and then “crop”. Crop your image to be a rectangle or square–whatever you want it to be!
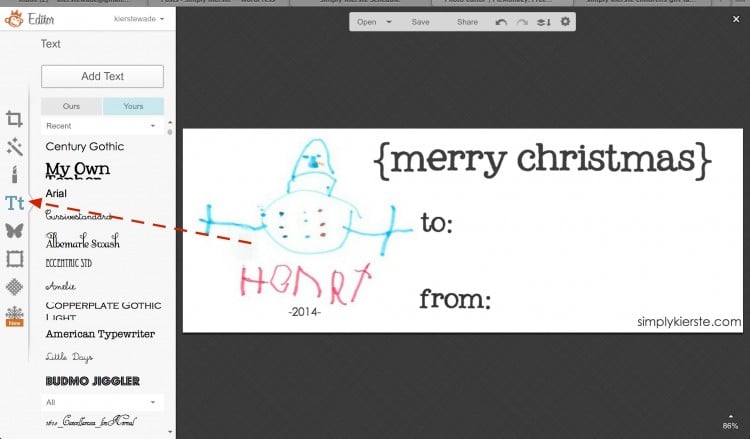
Add text to your tag! Click the “Tt” icon, which is for the text. You can change the size, color, and type of font. You will have access to their fonts, and your fonts–whatever are on your computer! One of my favorite features!
When your text is finished, SAVE the tag to your computer. Do this right away, because if you close out the browser, it’s gone–and you’ll have to do it all over again.
STEP 5:
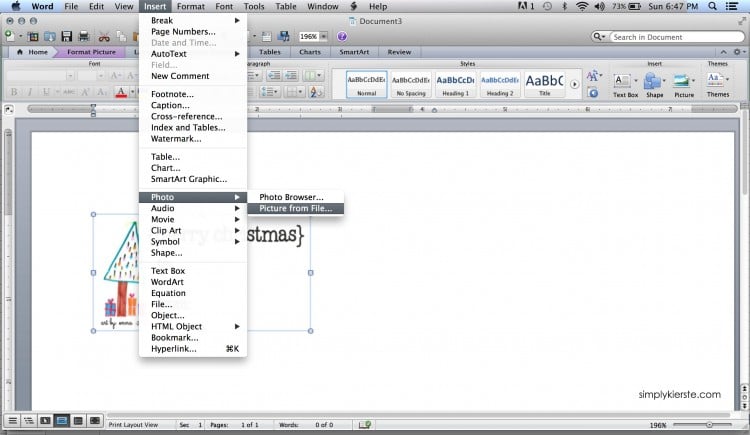
Insert your picture/tag into Word, and re-size it as necessary. Copy and paste the image and fill the whole page if you like! Or, you can insert all the tags (if you have more than one) onto one page–whatever works for our purposes.
Now you have your tags, and you’re ready to PRINT!
If you print on cardstock, cut them to size, distress the edges, and then mat onto coordinating cardstock. You can either punch a hole in the corner to add ribbon, or tape the label flat onto a package. If you print onto label, you can just stick your label on as is, or mat the label as indicated above.
Mason Jar Gift Set // Peppermint Striped Candlesticks // Snowman Soup // Paper Sack Advent // Chalkboard Christmas Gift Tags

******
Thanks Kierste! What an amazing idea. I love how personalized it makes each gift too! And, who doesn’t love kids artwork? So cute! Kierste has such adorable ideas on her blog as you can see from her post above.I’m so glad she could participate in my Happy Holidays series. You really are missing out if you don’t follow her over at Simply Kierste and






I love this idea. I am going to use it for our Christmas address labels. I usually use a Christmas clip art from the web, but this is so much more fun!!!
Thank you SO much! I can’t wait to get busy making these! So much better than store bought and a great way to showcase kiddos artwork! Thanks again!
What a lovely idea, would make the grandparents gifts super special!
http://craftymrsjones.com/
They are adorable! Children’s artwork is the best!
Oh my goodness, what a cute idea! I don’t have any kiddos of my own but I’m going to offer to do this for my mama friends!