DIY Decoupaged Frames. Decoupage wood picture frames with paper for a fun and personalized craft perfect for kids’ activities, birthday parties, or girls’ night in.
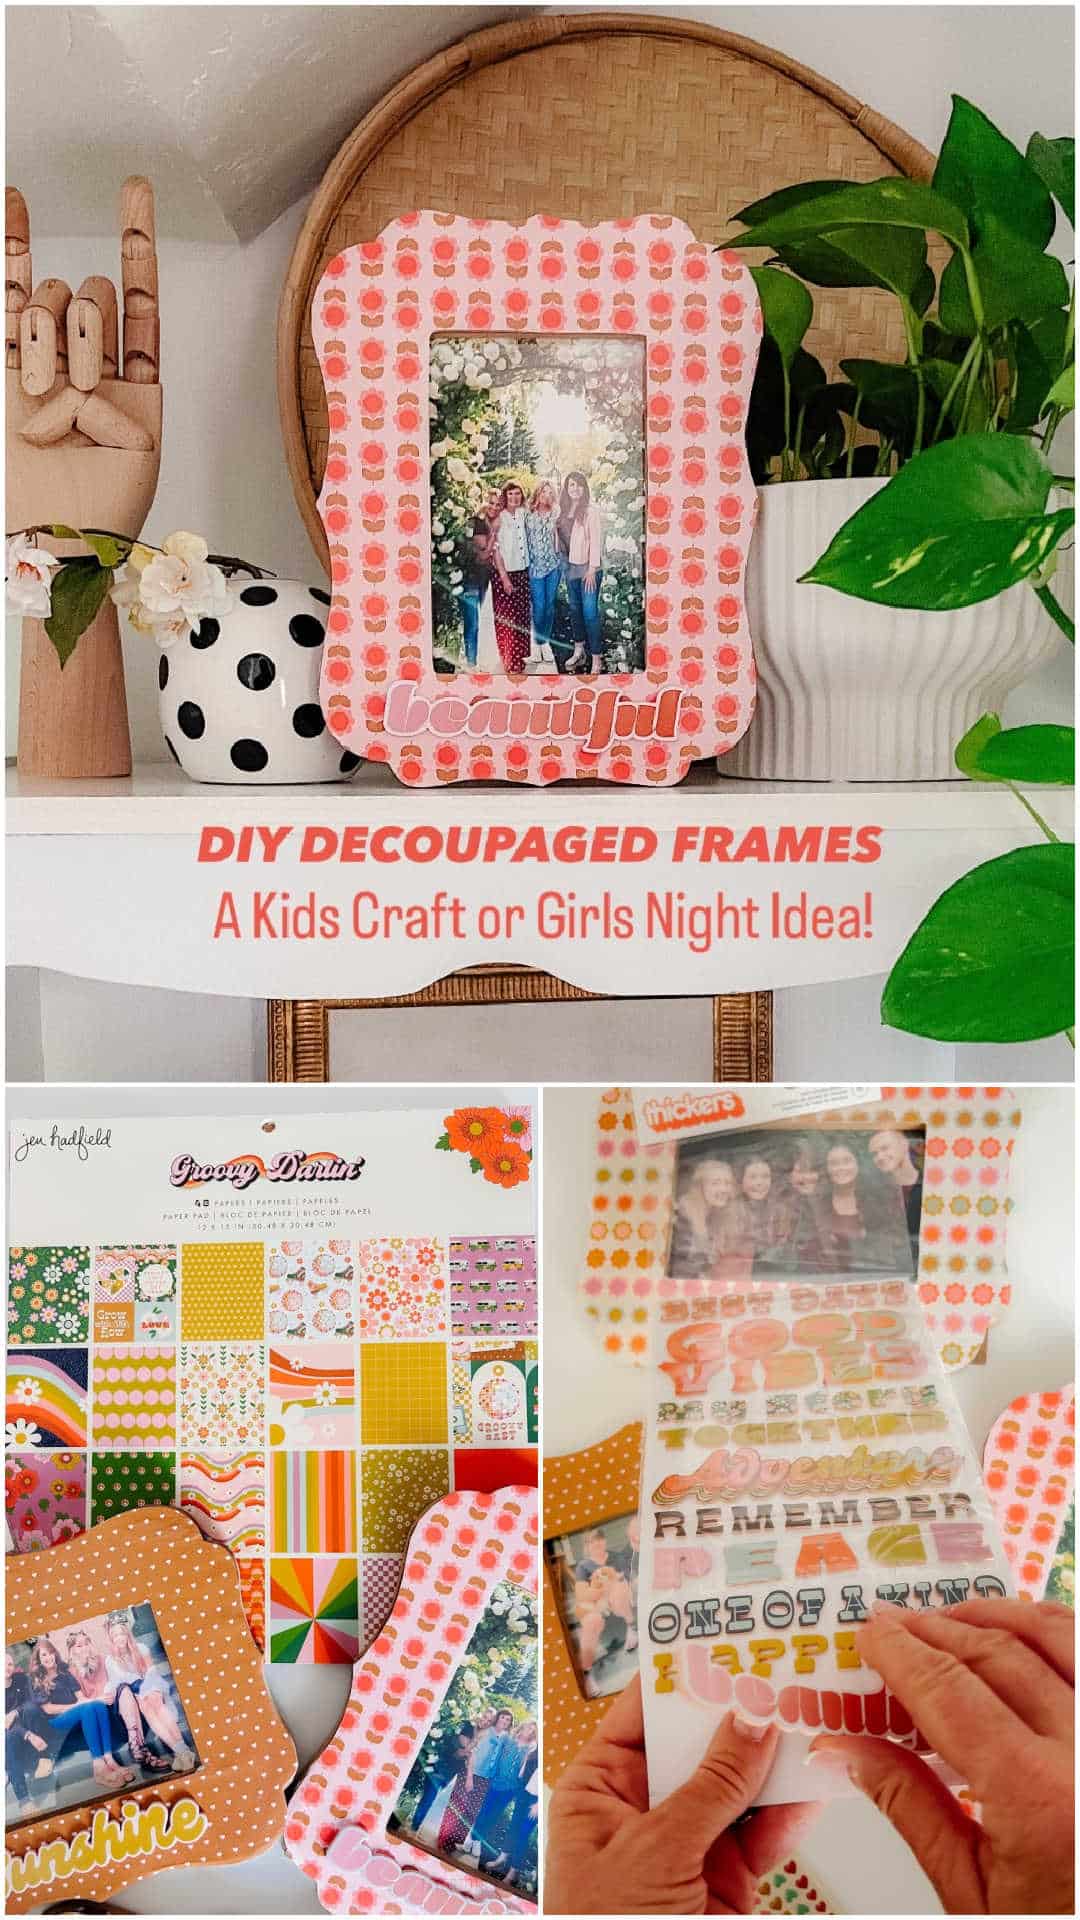
I’m thrilled to announce that my new American Crafts “Groovy Darlin'” paper line is shipping and now available in local craft stores and all JoAnn Stores nationwide! Each week on my Instagram page, @tatertotsandjello, I share creative ways to incorporate paper into your home decor. This week, I’m excited to show you how to decoupage wood picture frames. Whether you’re looking for a fun kids’ craft or a unique girls’ night project, these colorful frames are a perfect choice. Plus, I’ll share some essential tips and tricks to ensure your decoupage project turns out beautifully.
Supplies You’ll Need
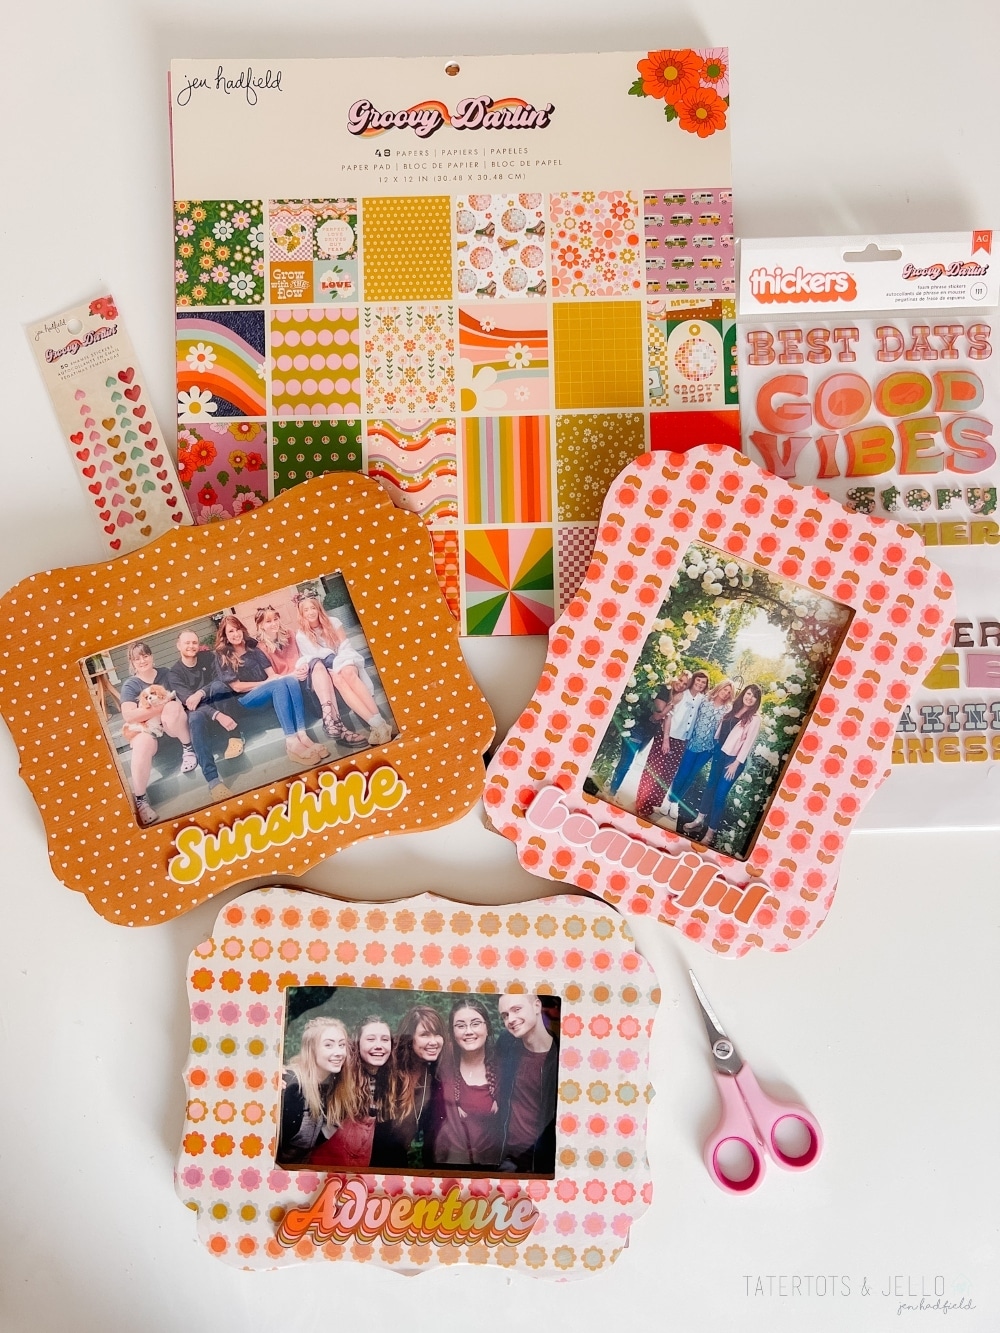
Before we get started, gather the following supplies:
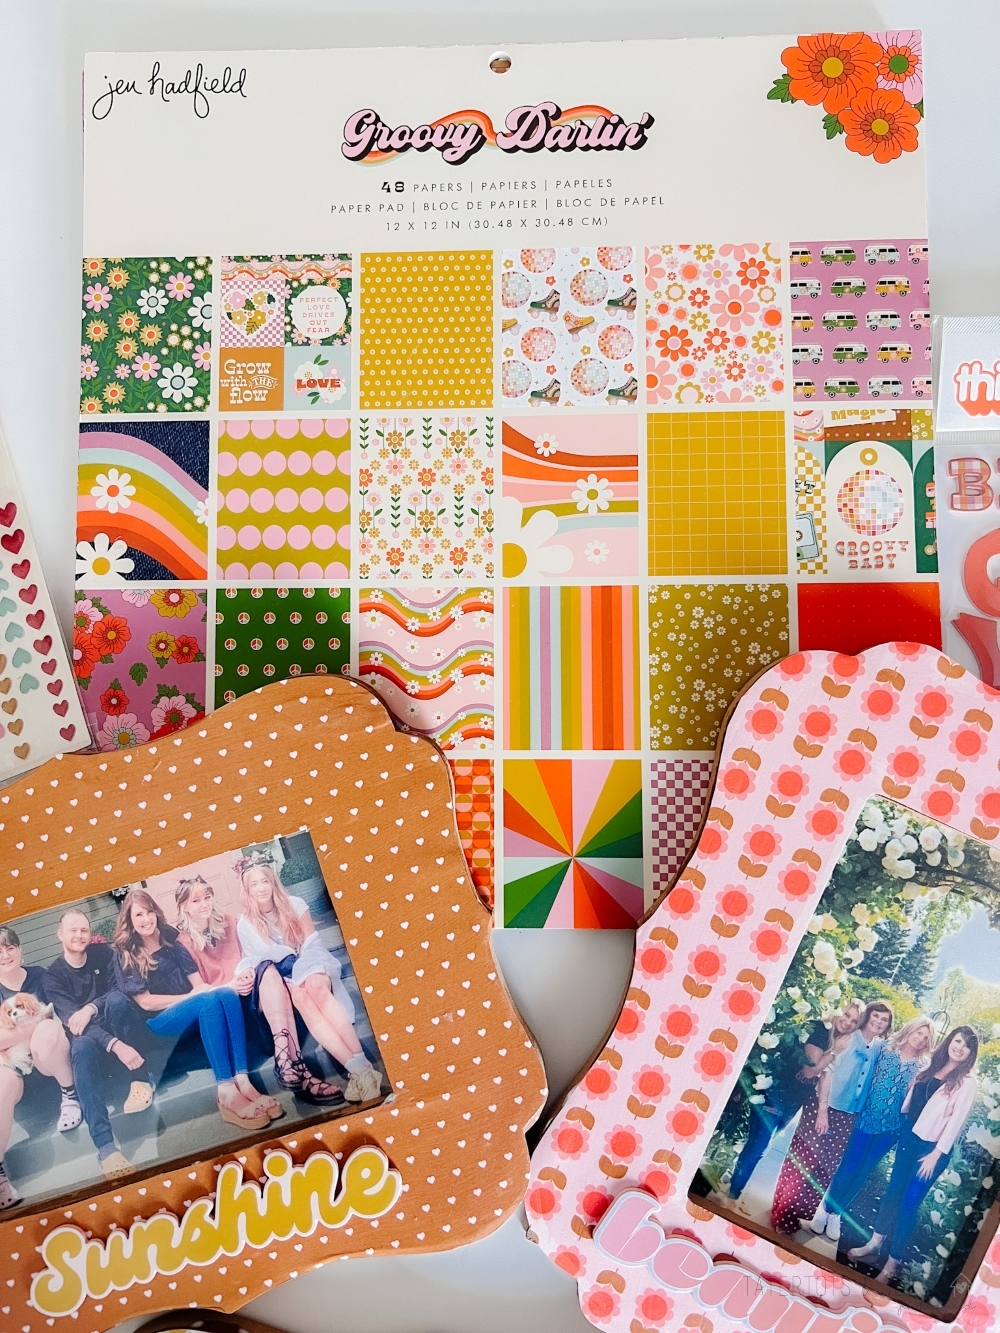
- Groovy Darlin’ paper and saying thickers
- Scallop frames
- Matte Mod Podge
- Paint Brush
- Pencil to trace frames
- Photos to put in the frames (I printed my photos on my printer with photo paper)
Preparing the Frames
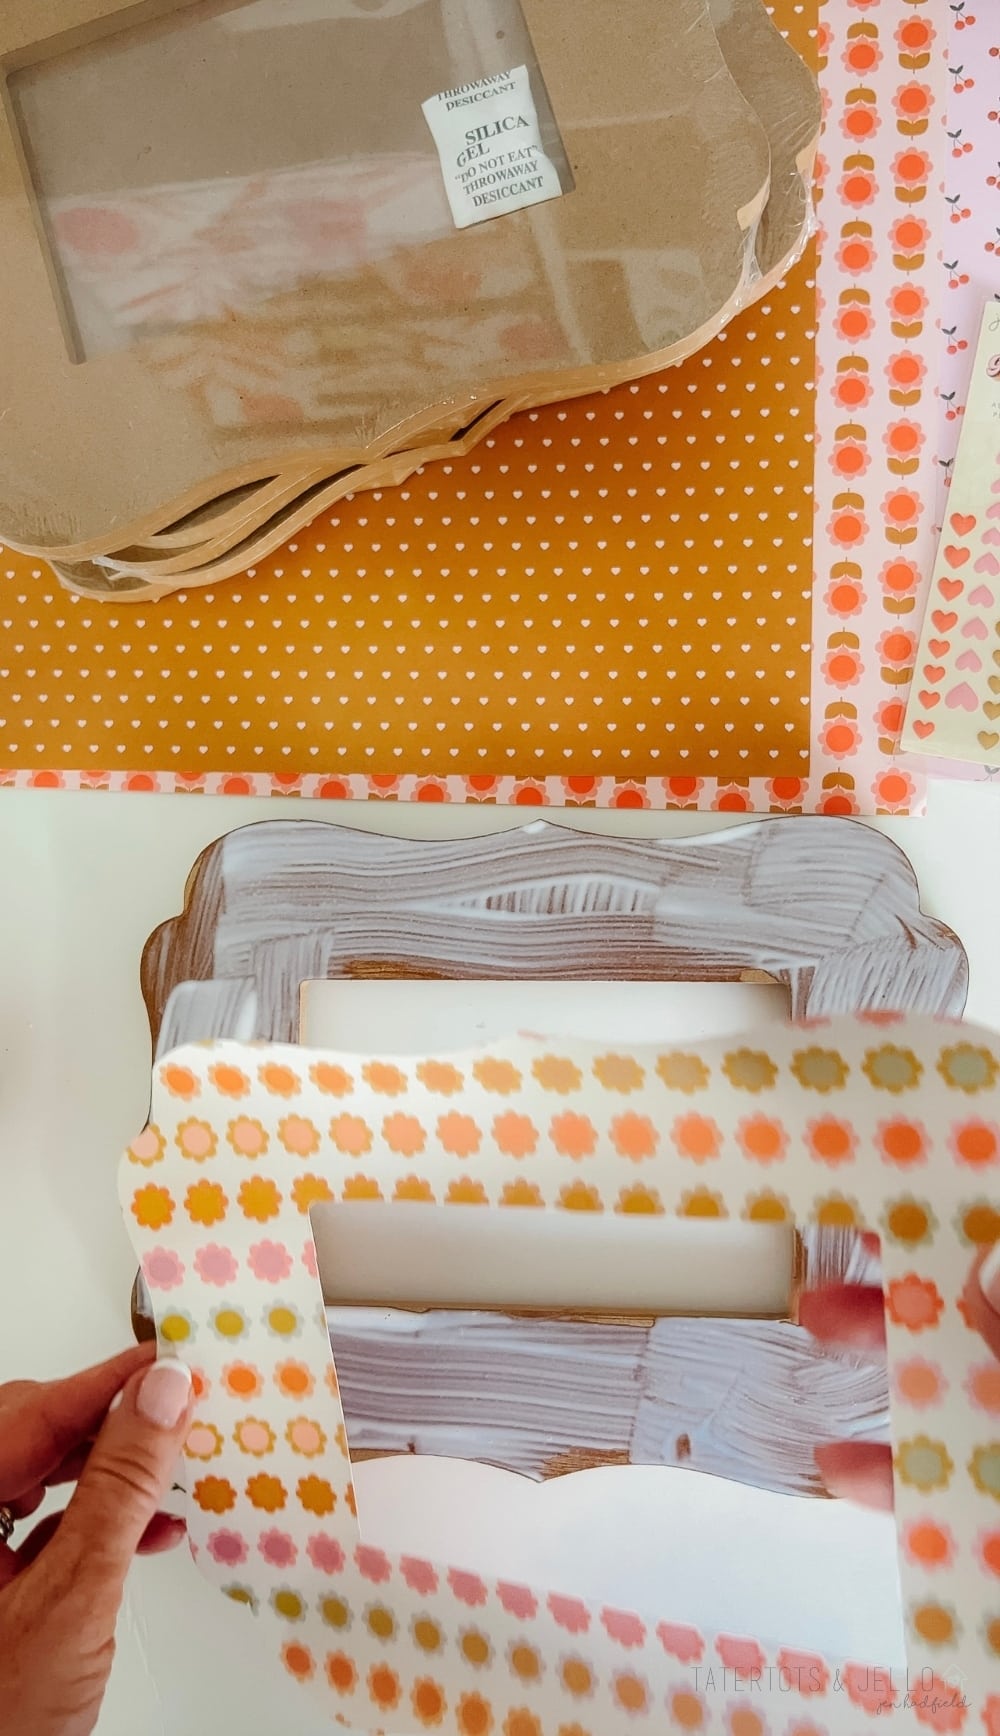
First, take the back and picture frame glass out of the frames. This step ensures that you can work with just the frame itself, making the process easier and cleaner.
Choosing and Tracing Your Paper
Next, pick out the Groovy Darlin’ paper you’d like to use for your frames. Flip the paper over and trace the frame onto the back with a pencil. This will be your guide for cutting out the paper. Make sure to trace accurately, so the paper fits the frame perfectly.
Cutting the Paper
Carefully cut out the traced outline using scissors or a craft knife. Take your time to ensure clean, precise cuts, especially around any detailed edges or scallops on the frame.
Applying Mod Podge to the Frame
To begin the decoupage process, add an even coat of Mod Podge over the entire front of the frame using a paintbrush. Make sure the layer is smooth and covers all areas where you’ll be applying the paper.
Applying Mod Podge to the Paper
Next, apply an even layer of Mod Podge to the back of the paper you just cut out. This step is crucial because it allows you to adjust the paper’s placement on the frame until it’s perfectly aligned.
Placing the Paper on the Frame
Lay the paper over the frame and line it up with the edges. Use a smoothing tool or a credit card to smooth the paper onto the frame, ensuring there are no air bubbles or wrinkles. This step might require a bit of patience, but it’s worth it for a professional-looking finish.
Sealing the Frame
Let the Mod Podge dry completely. Once it’s dry, add an even layer of Mod Podge over the top of the paper to seal the frame. This top coat not only protects the paper but also gives it a nice finish.
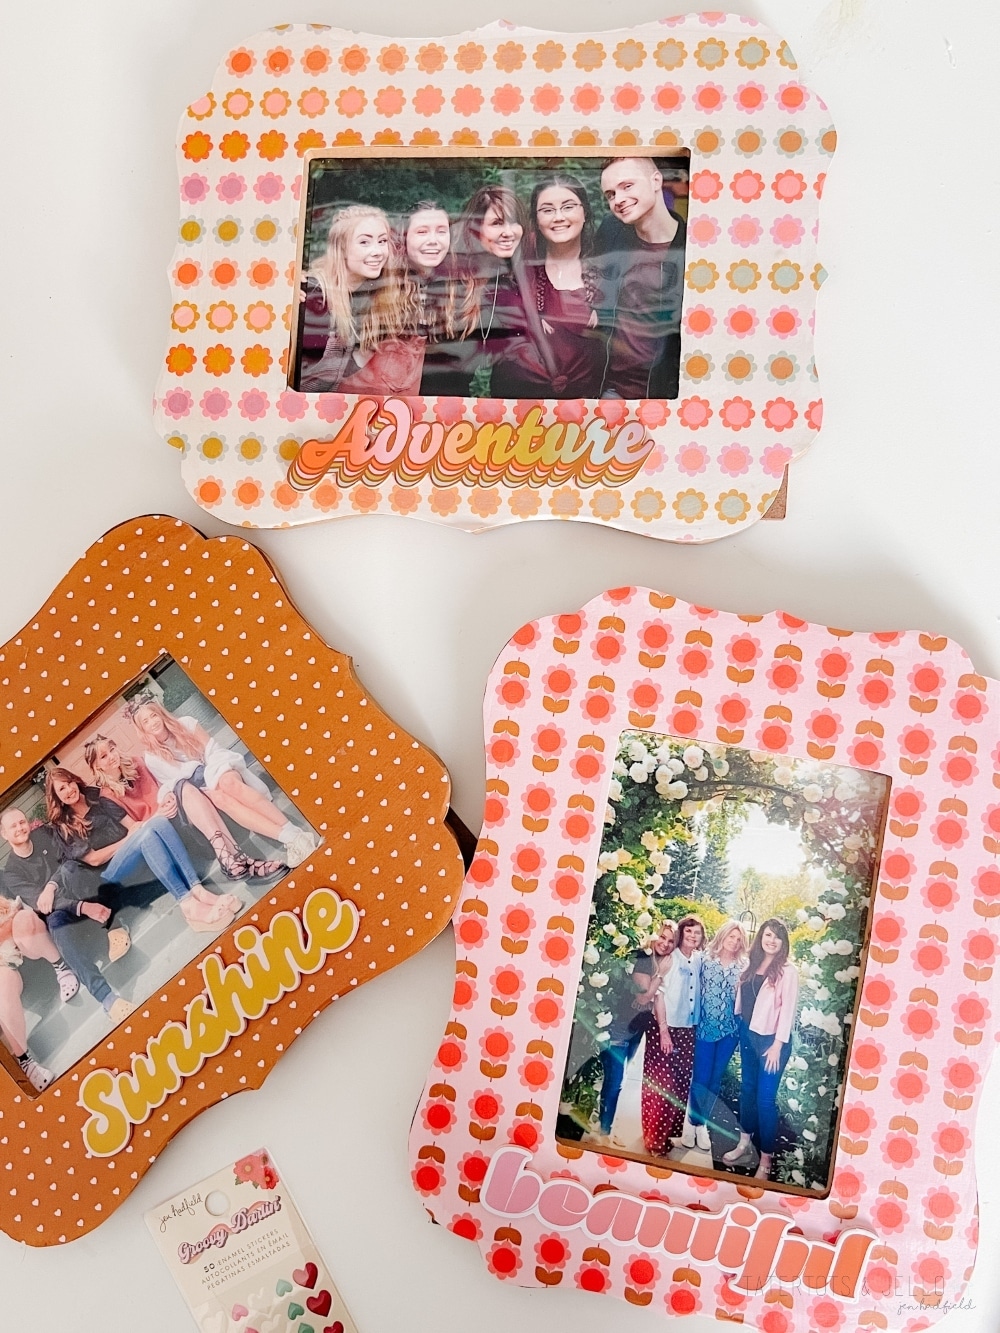
Adding Embellishments
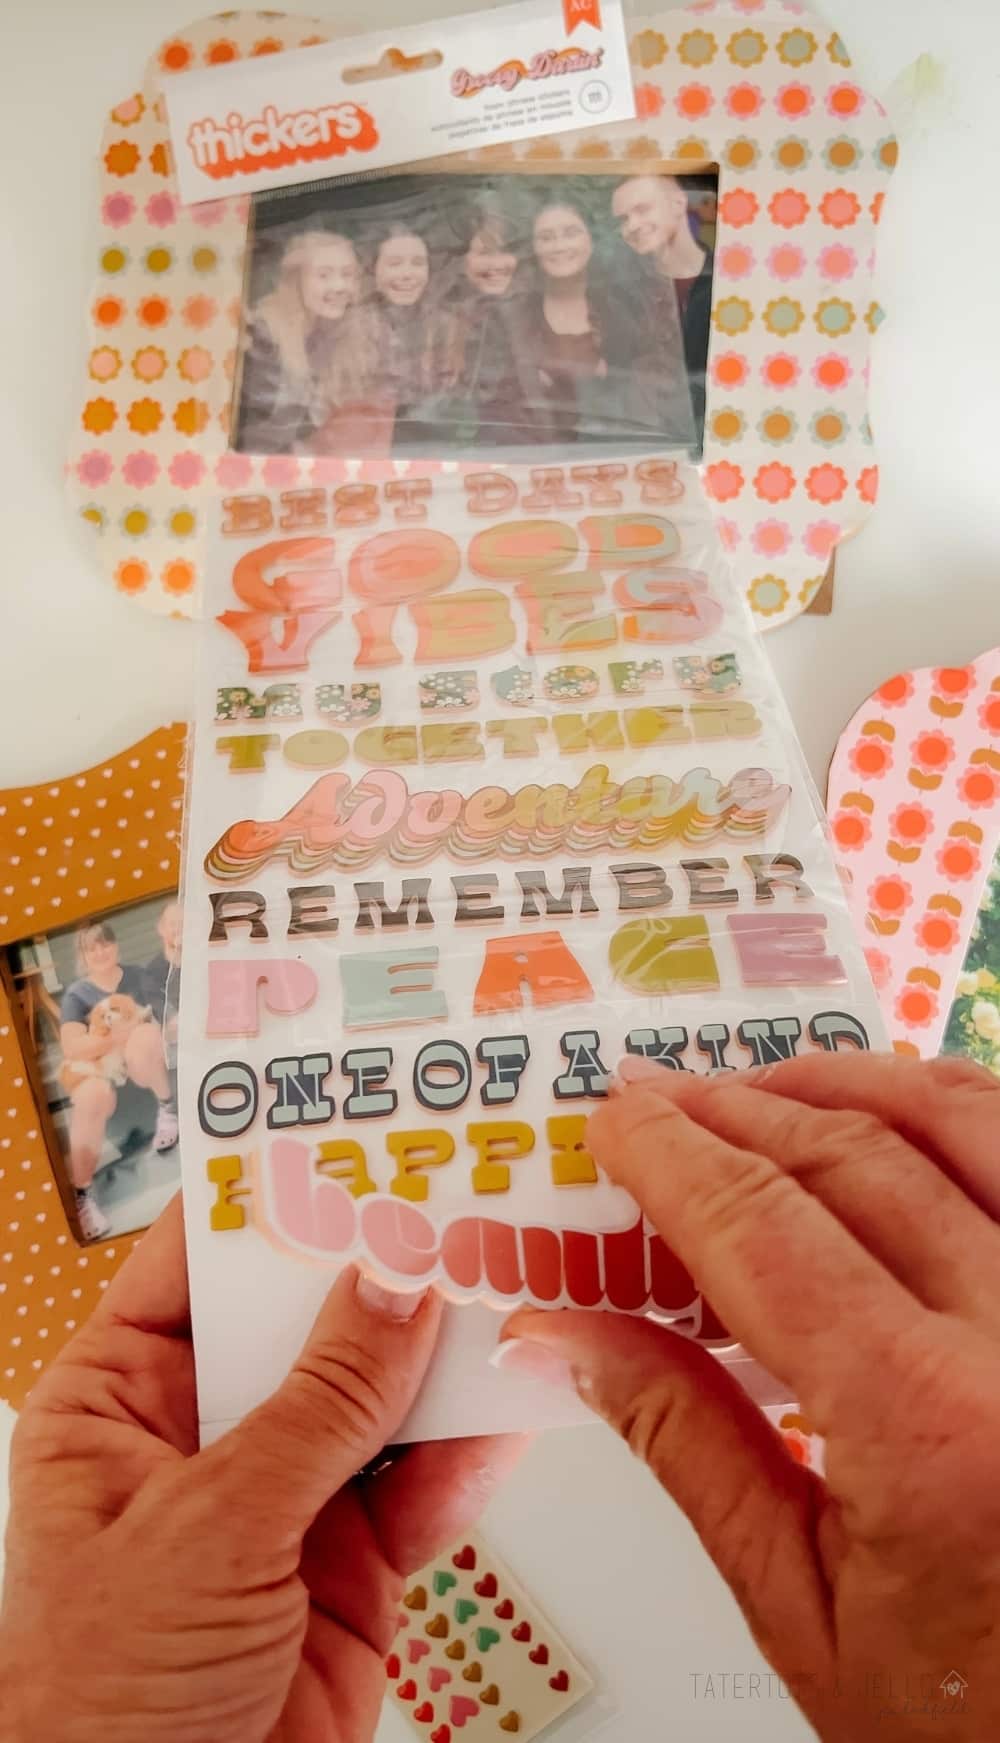
Once the top coat is dry, you can add any embellishments you like. Use saying thickers or any other decorations to give your frame a personalized touch. Enjoy your colorful, customized frames!
Decoupaging Tips and Tricks
To help you achieve the best results, here are some additional decoupaging tips and tricks:
- Double Layer of Mod Podge: Be sure to add Mod Podge to both the frame and the back of the paper. This allows the paper to be easily moved until the placement is perfect.
- Smooth Application: Use a smoothing tool or credit card to evenly adhere the paper to the frame. This helps prevent air bubbles and wrinkles.
- Secure Edges: Make sure to smooth the edges of the paper to the frame so that the paper doesn’t curl up. Secure edges ensure a neat and professional look.
- Complete Drying: Let the Mod Podge dry completely before adding another layer on top of the paper. If it’s not completely dry, the paper can curl up, and bubbles can form underneath.
Perfect for Parties and Gatherings
This DIY decoupage project is not just a great individual craft; it’s also an excellent idea for birthday parties, kids’ craft afternoons in the summer, or a girls’ night in with girlfriends. Imagine setting up a table with all the supplies, some charcuterie boards, and fun drinks. Everyone goes home with a cute party favor! Kids and teens will love decorating their frames with embellishments that resonate with them and their favorite colors. It’s a fantastic way to create lasting memories while making something beautiful and personalized.
Pin This Idea for Later!
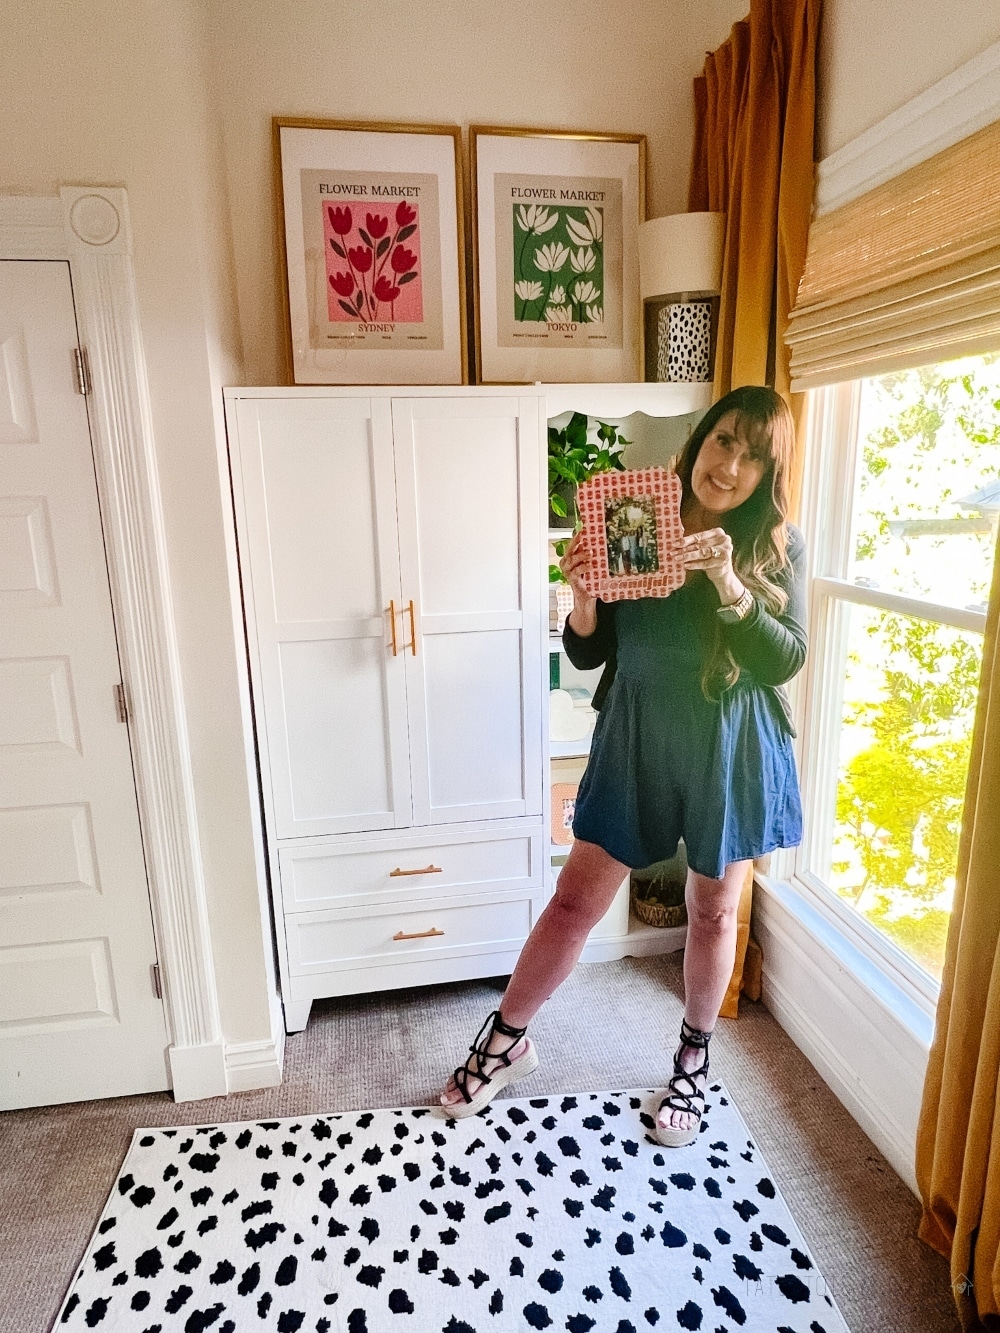
Decoupaging frames with the Groovy Darlin’ paper line is a fun and easy way to add a splash of color to your home decor. This project is perfect for kids’ crafts or a creative girls’ night in. With these tips and tricks, your frames will look stunning and professionally finished. Don’t forget to share your creations on Instagram and tag me, @tatertotsandjello. I can’t wait to see what you make! Happy crafting!
Groovy Darlin’ is Now in JoAnn Stores
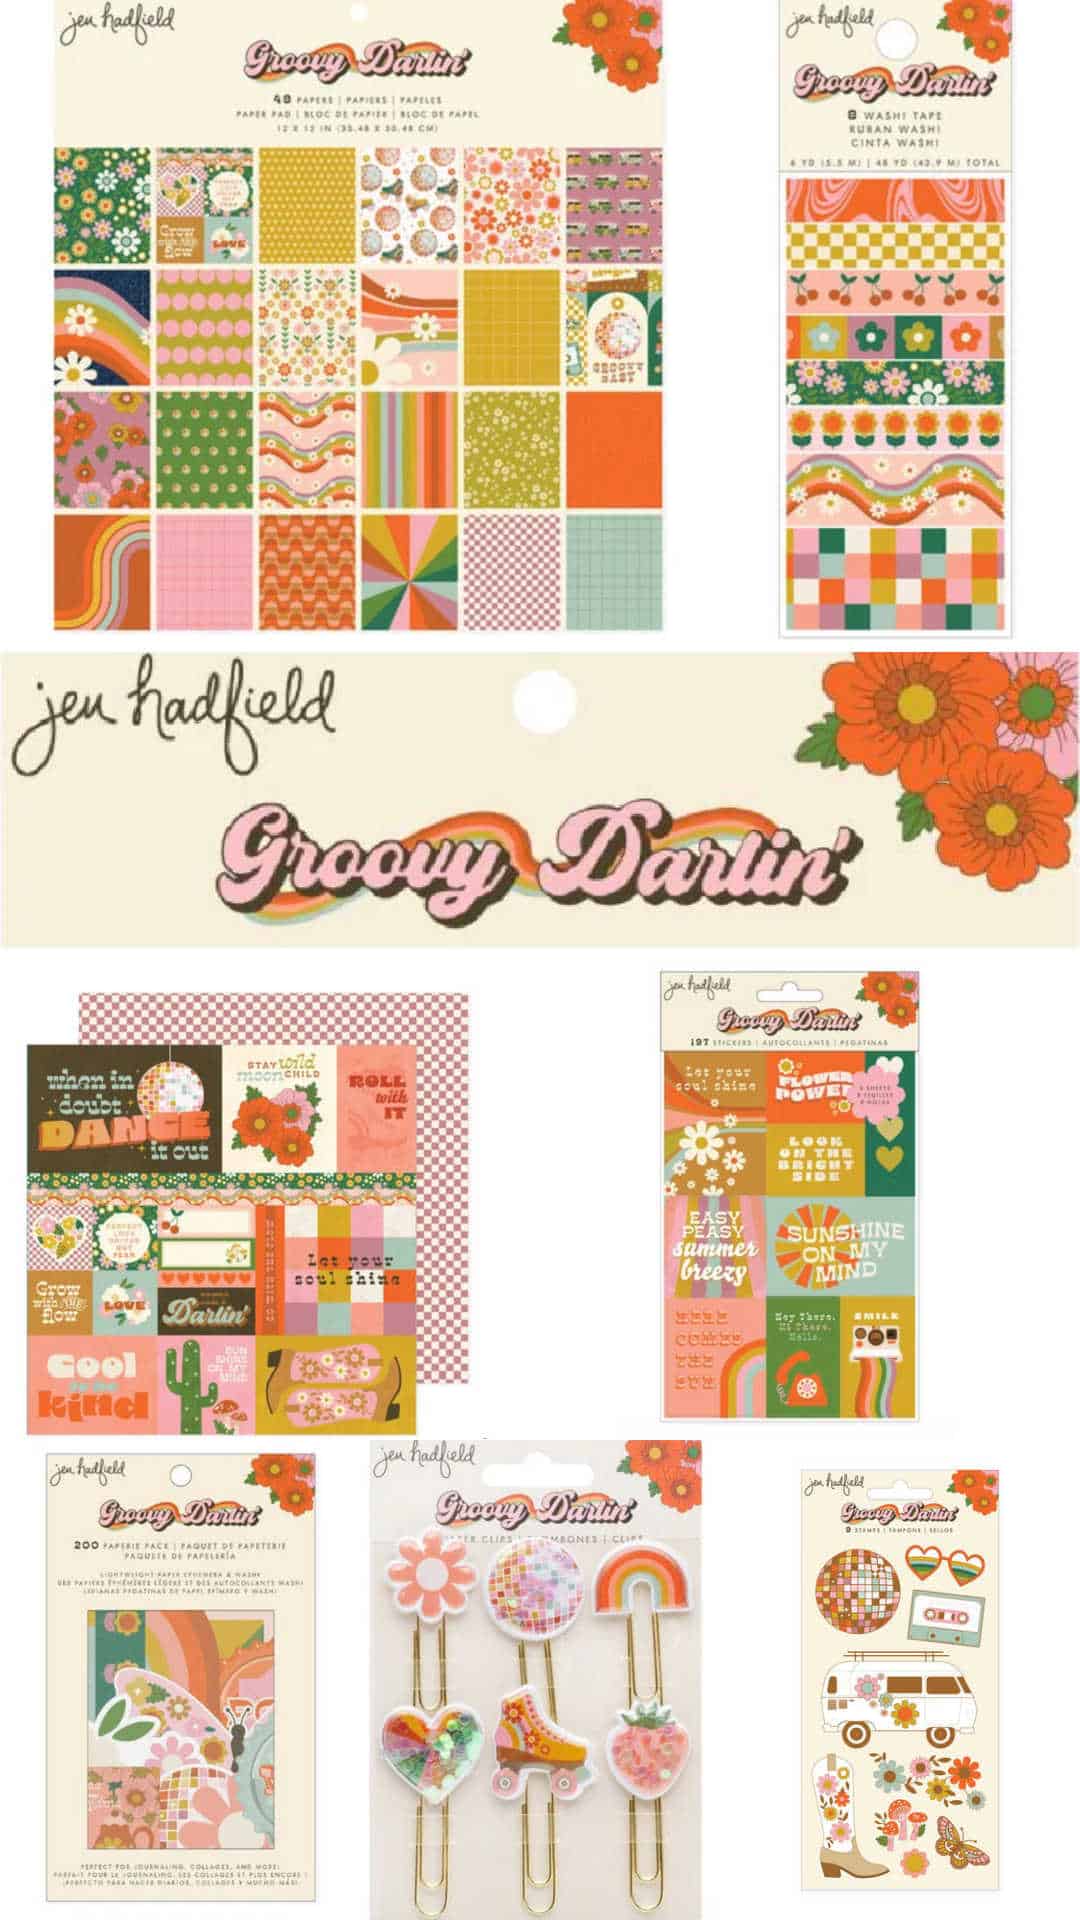
I am so thrilled to share that my Groovy Darlin’ line. is shipping!! You can find it at your local craft srore, online at scrapbook.com and in all JoAnn Stores!
More Paper Crafting Ideas
Here are a few more paper crafting ideas!
- DIY Decoupage Paper Bookmarks
- Paper Butterflies and Wreath
- Decoupaged Coasters
- How to Make Paper Party Medallions
- DIY Paper Wreath
- How to Make Paper Garlands
Have a Creative Day!
xoxo