Kids Craft: DIY Tassel Bookmarks. Encourage love of reading with your kids by making personalized DIY Tassel Bookmarks with your kids using colorful paper, stickers, and yarn.
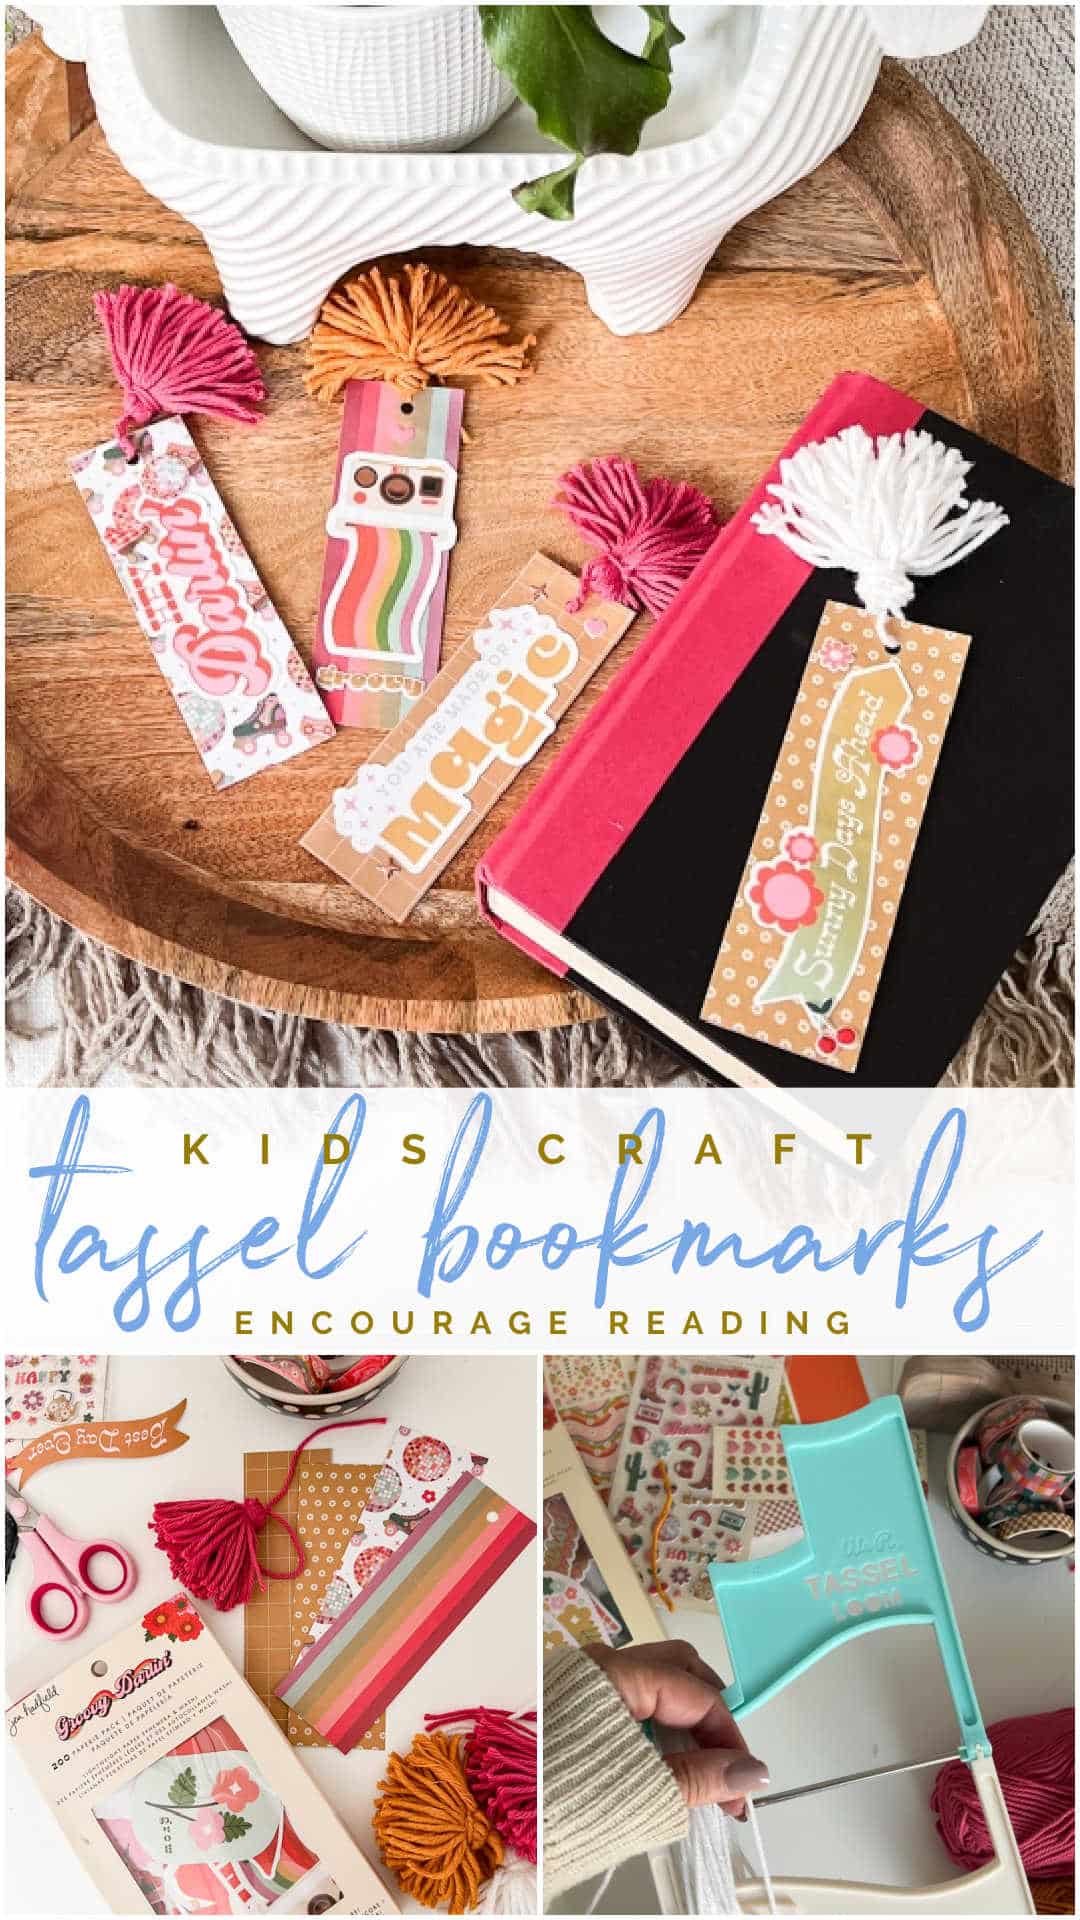
Kids Craft: DIY Tassel Bookmarks
Teaching my kids the love of reading was something that was very important to me as a mom. When my kids we re younger I created a reading tent (I’ll add the link at the bottom of the post). I gave them a certain number of minutes per day that they had to read in order to earn screen time. It became one of our FAVORITE summer traditions! And I am so happy to say that all of my kids are huge readers now! These DIY Tassel Bookmarks are not only adorable but also customizable, allowing kids to infuse their personality into their reading accessories. Let’s dive into the step-by-step process of creating these charming bookmarks.
Supplies Needed:
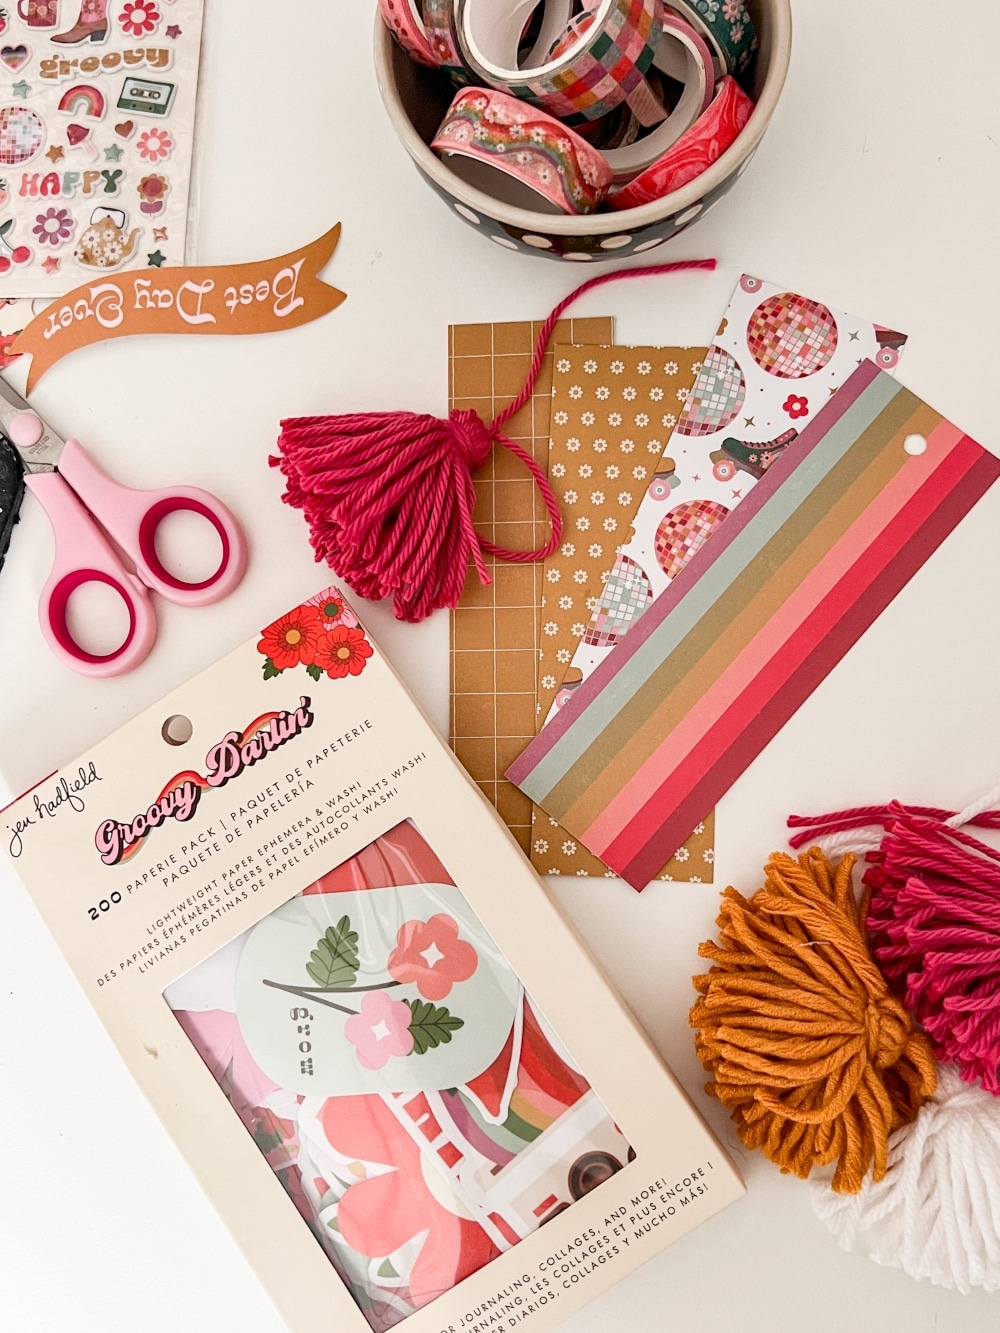
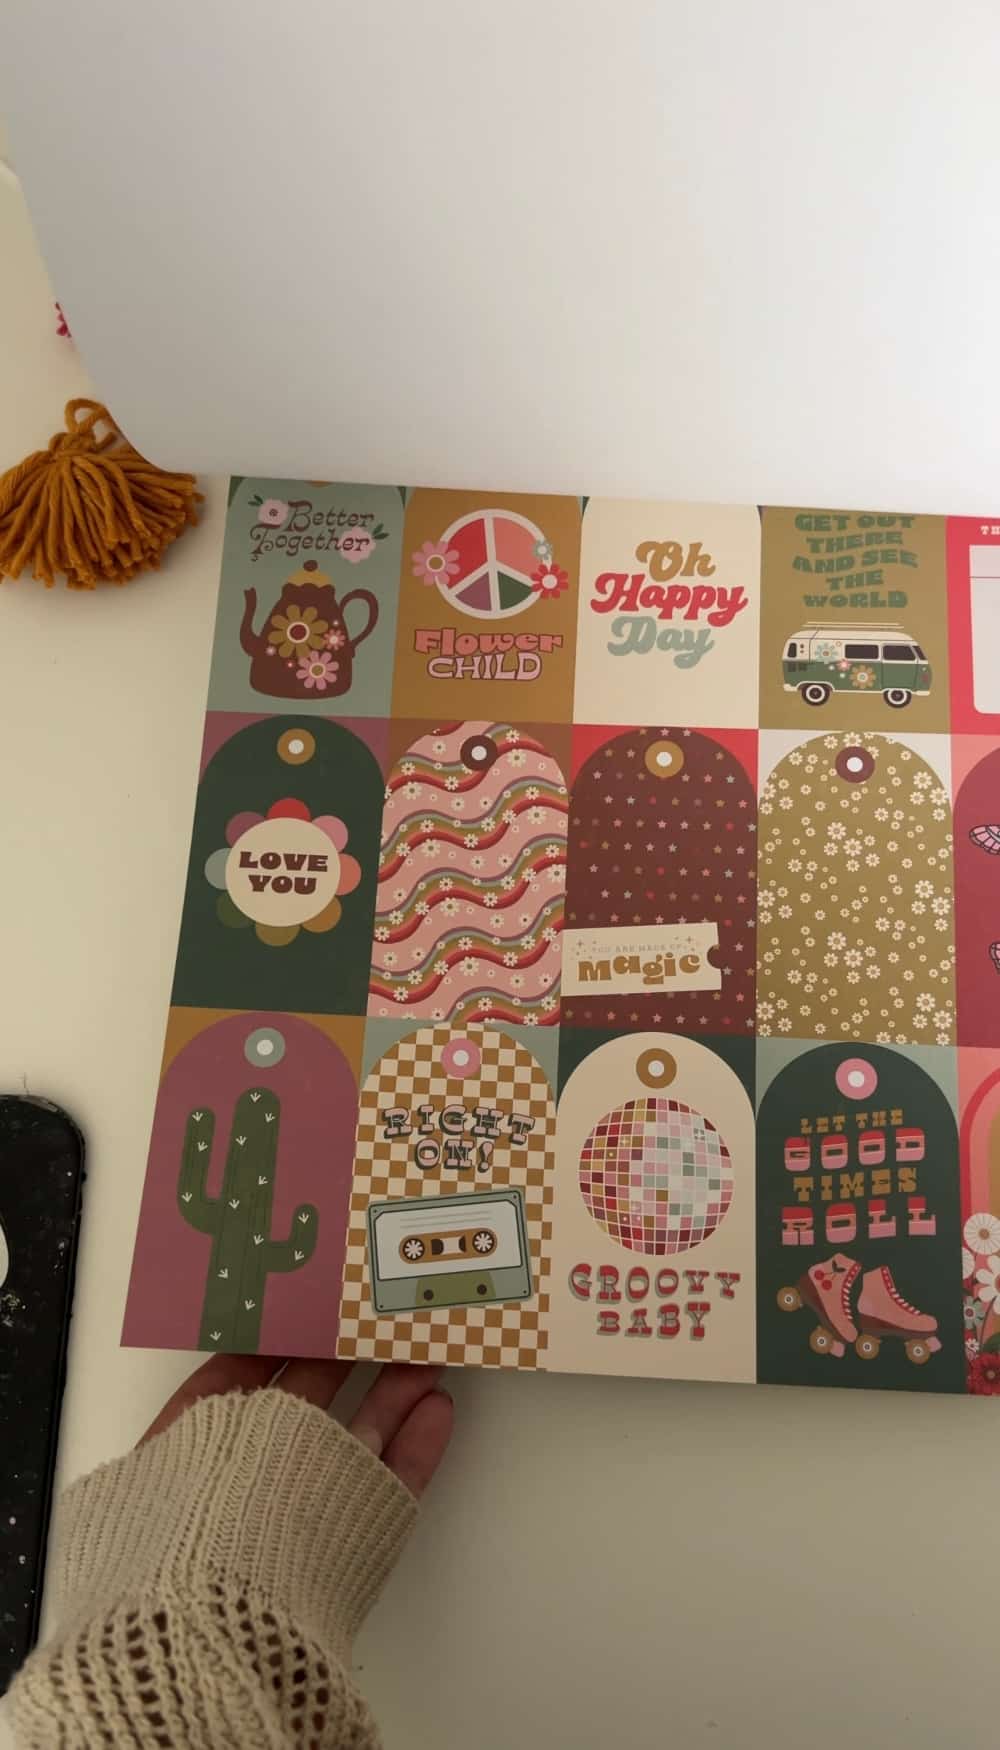
- Jen Hadfield Groovy Darlin’ paper and embellishments
- Paper trimmer
- Hole punch
- Mod Podge
- Yarn
- Tassel loom tool
Directions:
Making the Tassels
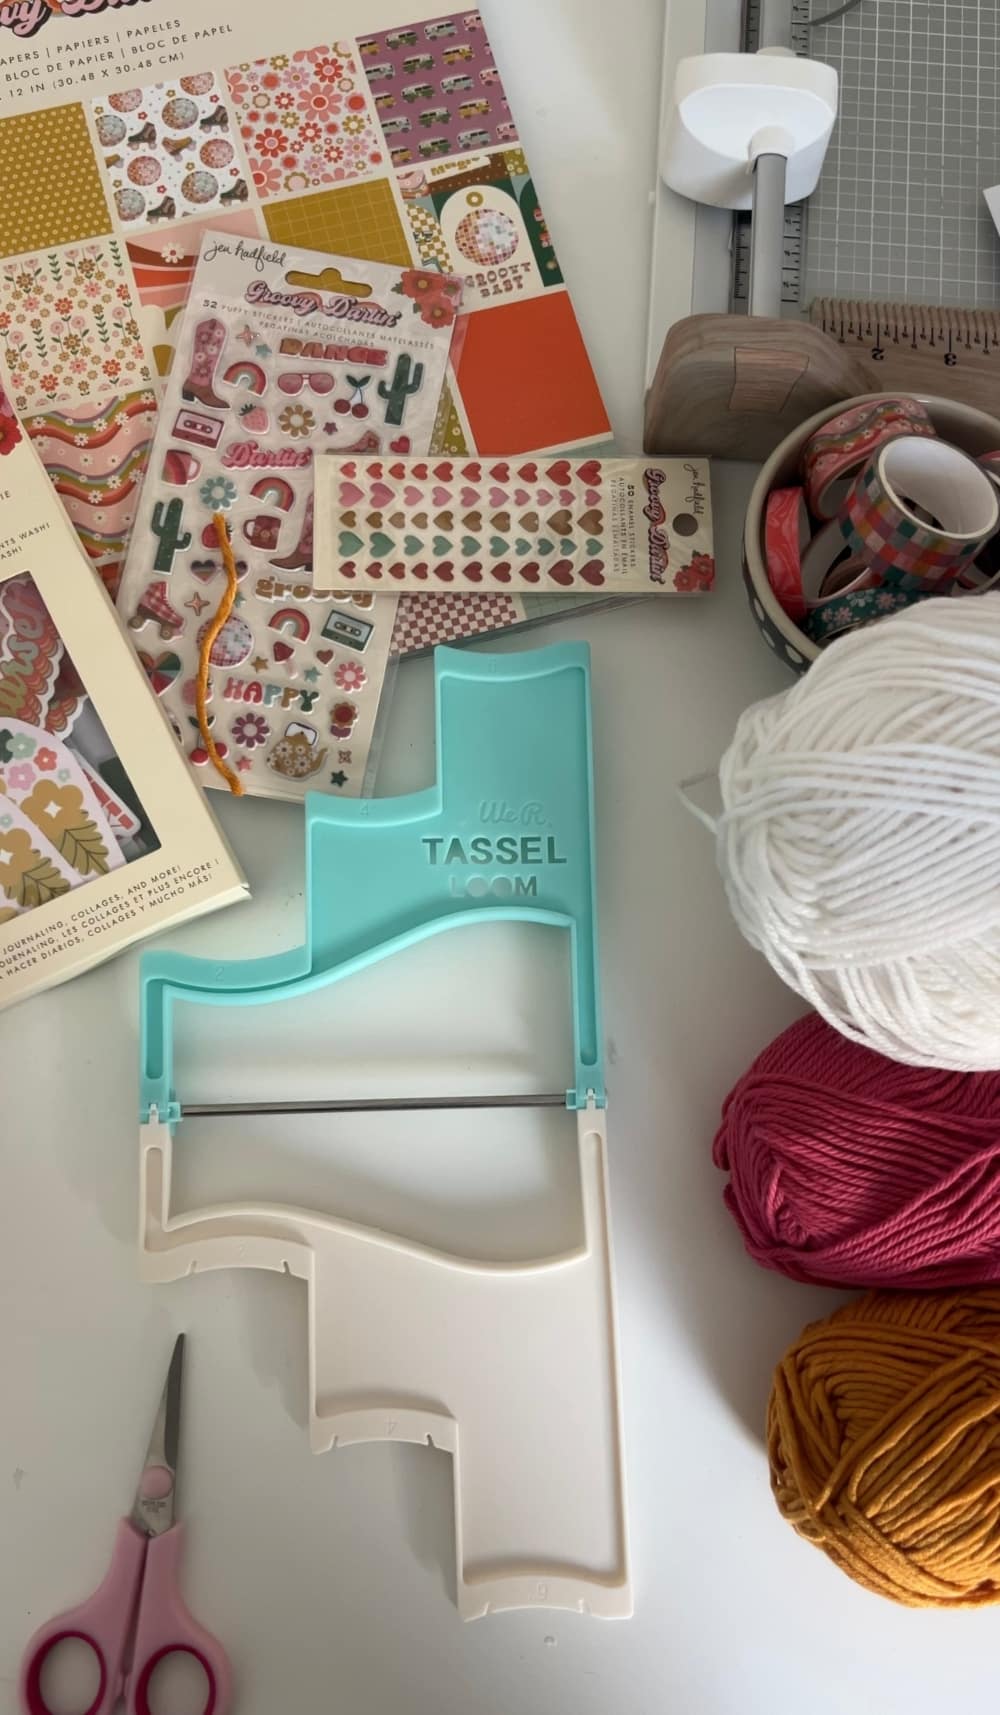
The W R Memory Makers Tassel Loom makes creating tassels so easy! You can make THREE different sizes of tassels for all kinds of projects! Here’s how to make the tassels:
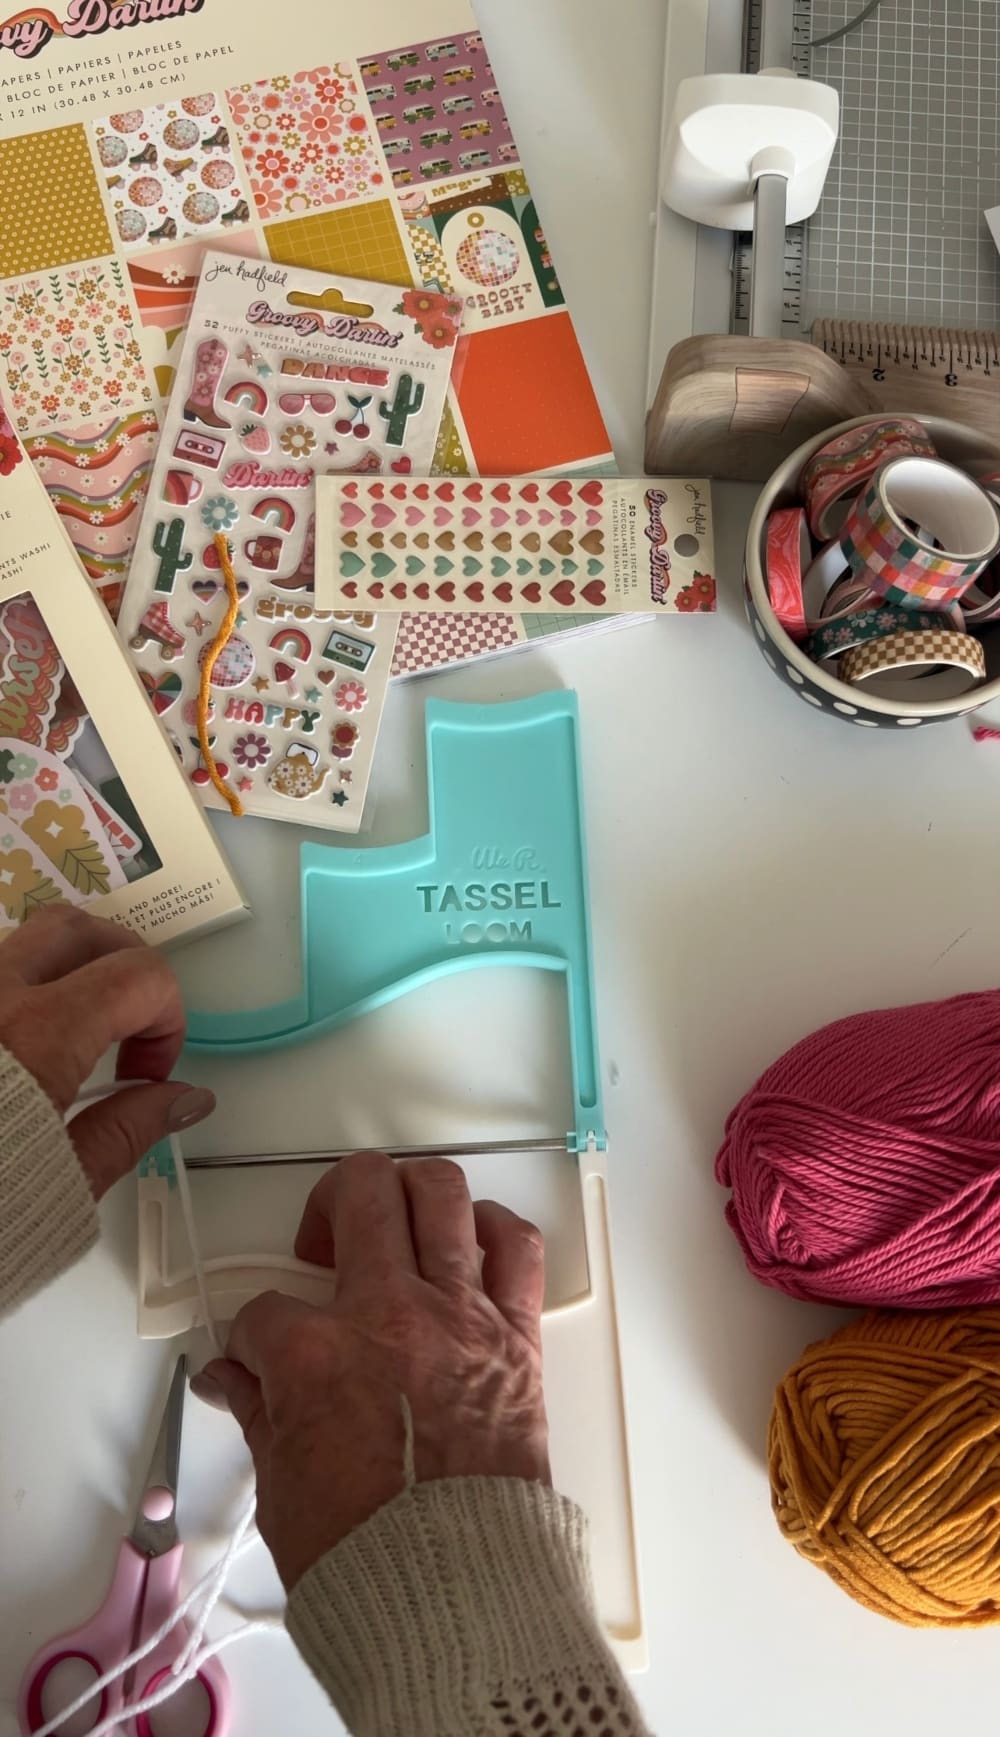
- Prepare the Tassel Loom: Begin by setting up your tassel loom. It’s an easy-to-use tool for making tassels of various sizes.
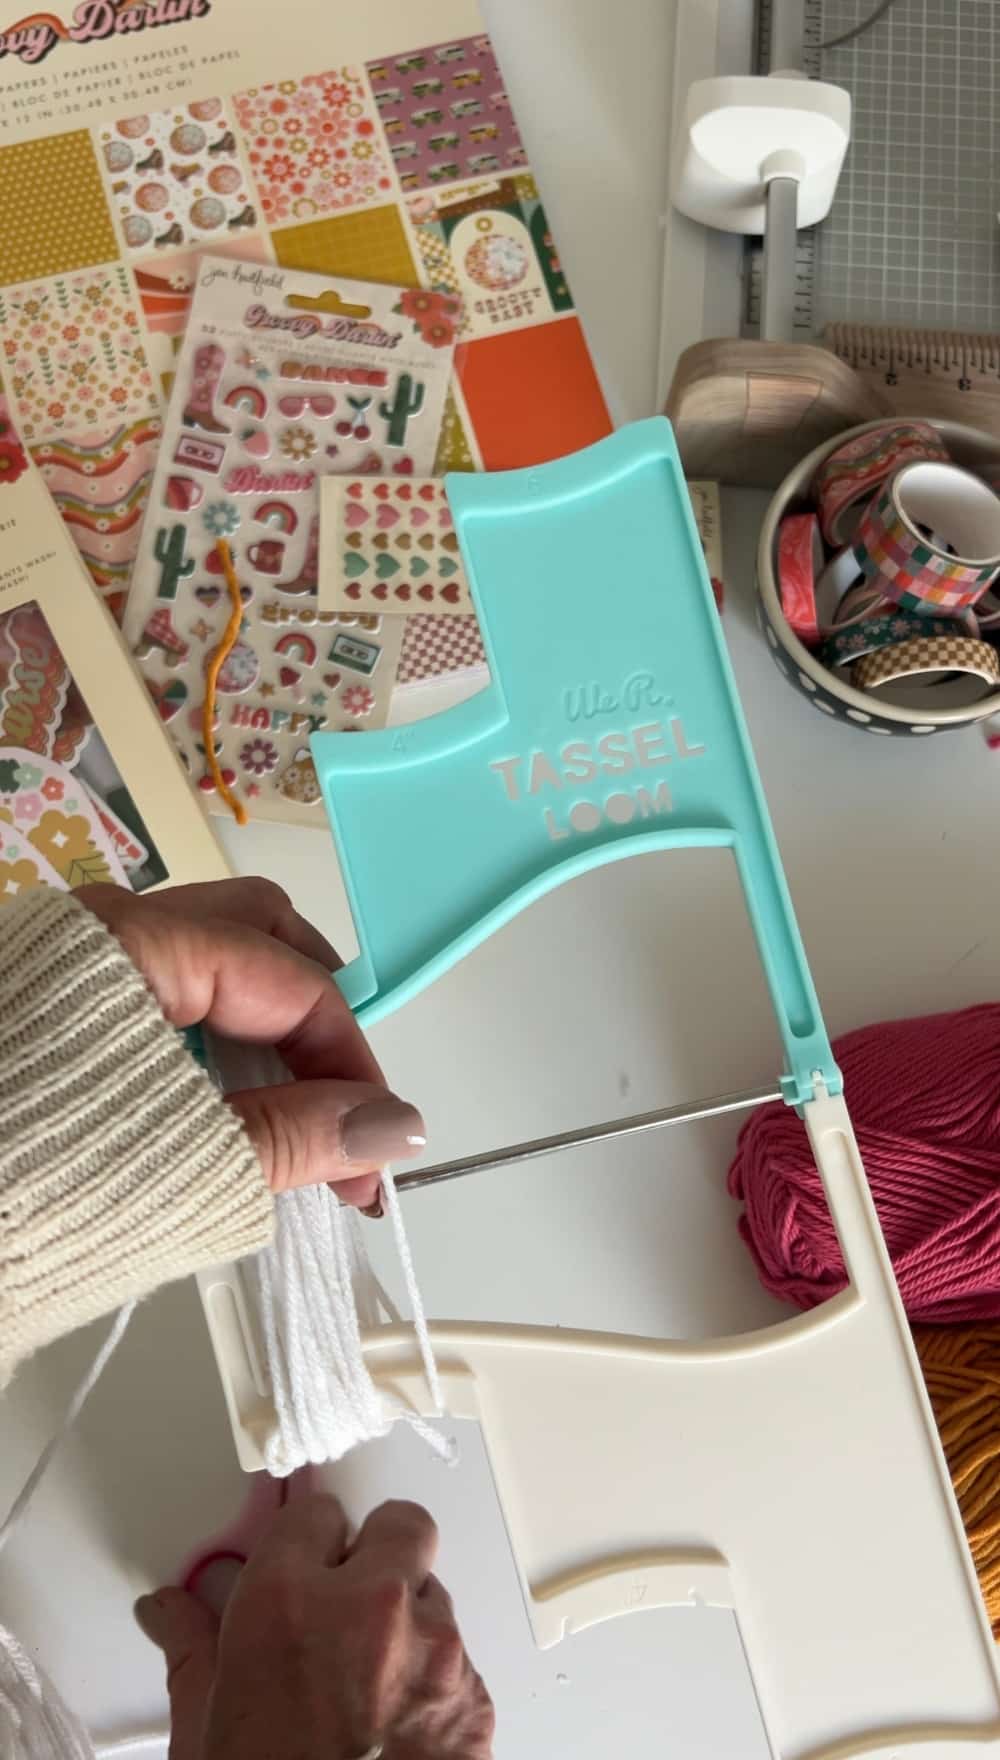
- Wrap the Yarn: Place the end of the yarn in the left notch of the tassel loom. Wrap the yarn around the loom several times, depending on the desired thickness of your tassel. Approximately 20 loops should suffice.
- Secure and Trim: Once you’ve wrapped the yarn, insert the other end through the right notch of the loom. Trim any excess yarn.
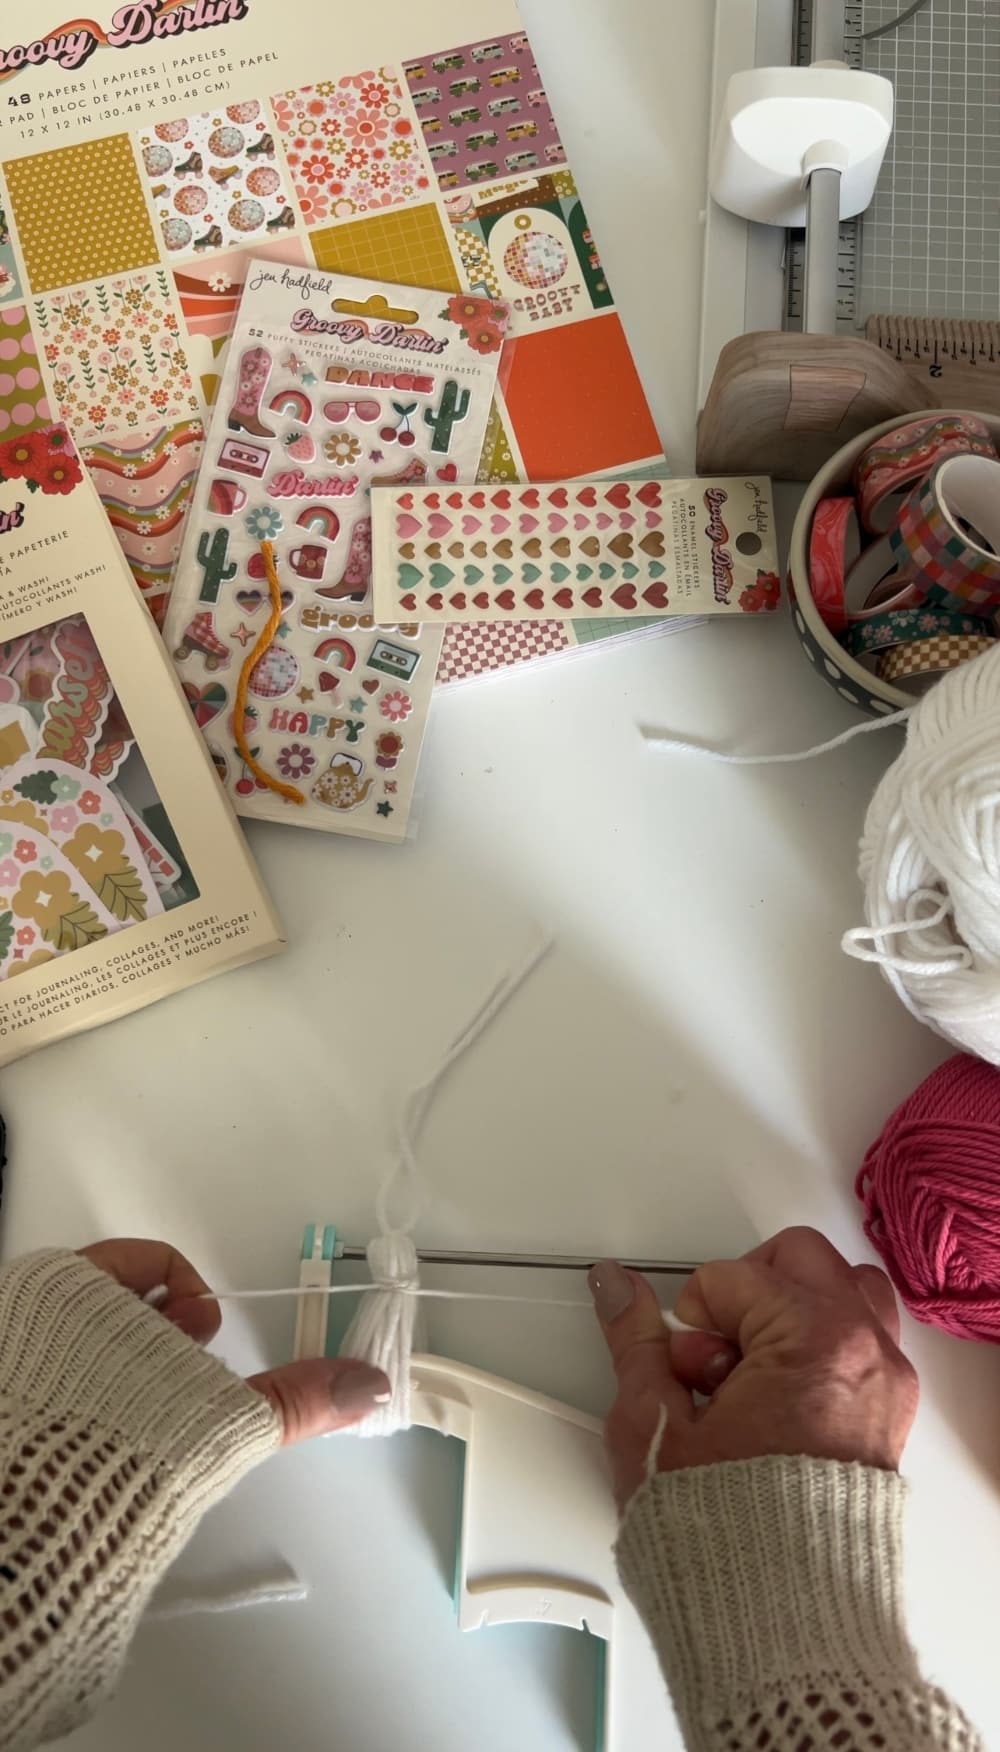
- Tie the Center: Take a 6-inch piece of string and wrap it around the center of the looped yarn, securing it with a knot. Fold the ends of the tassel loom in half.
- Trim the Tassel: Use scissors to cut along the indentation at the bottom of the loom, shaping the tassel.
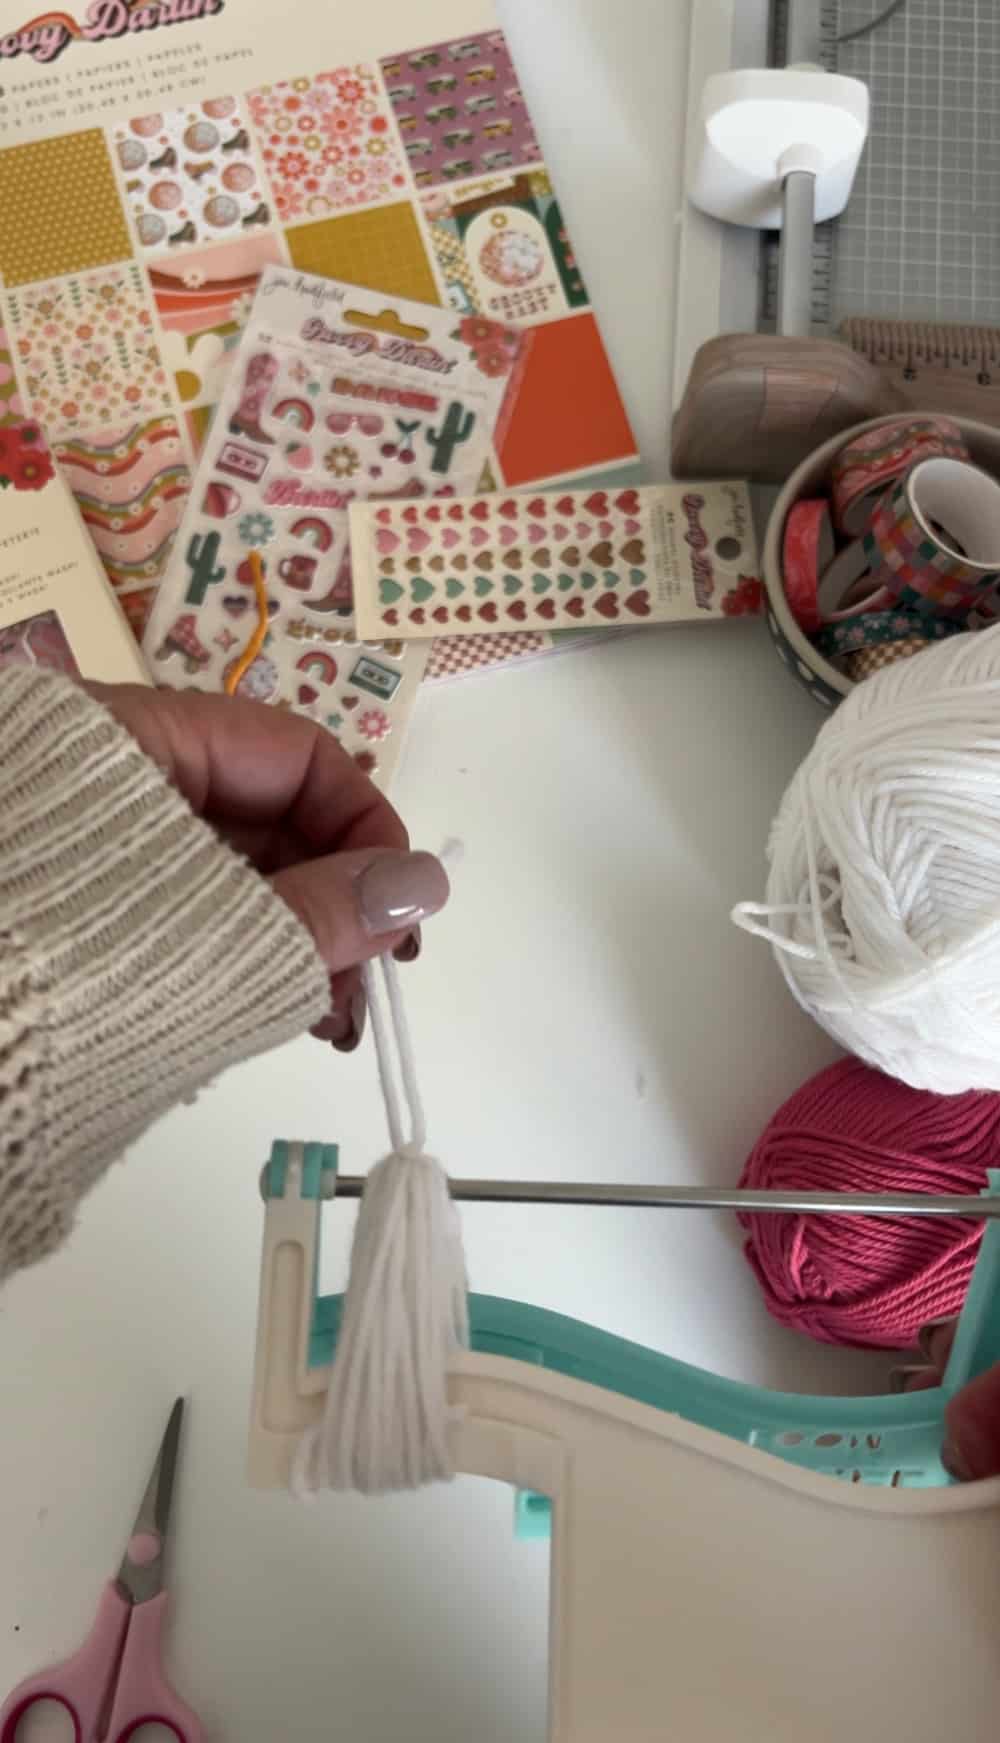
- Attach the Head: Take a 12-inch piece of yarn and wrap it around the head of the tassel. Tie it securely with a knot, leaving two longer strands from the knot for attaching the tassel to the bookmark. Trim any excess yarn.
Making the Bookmarks:
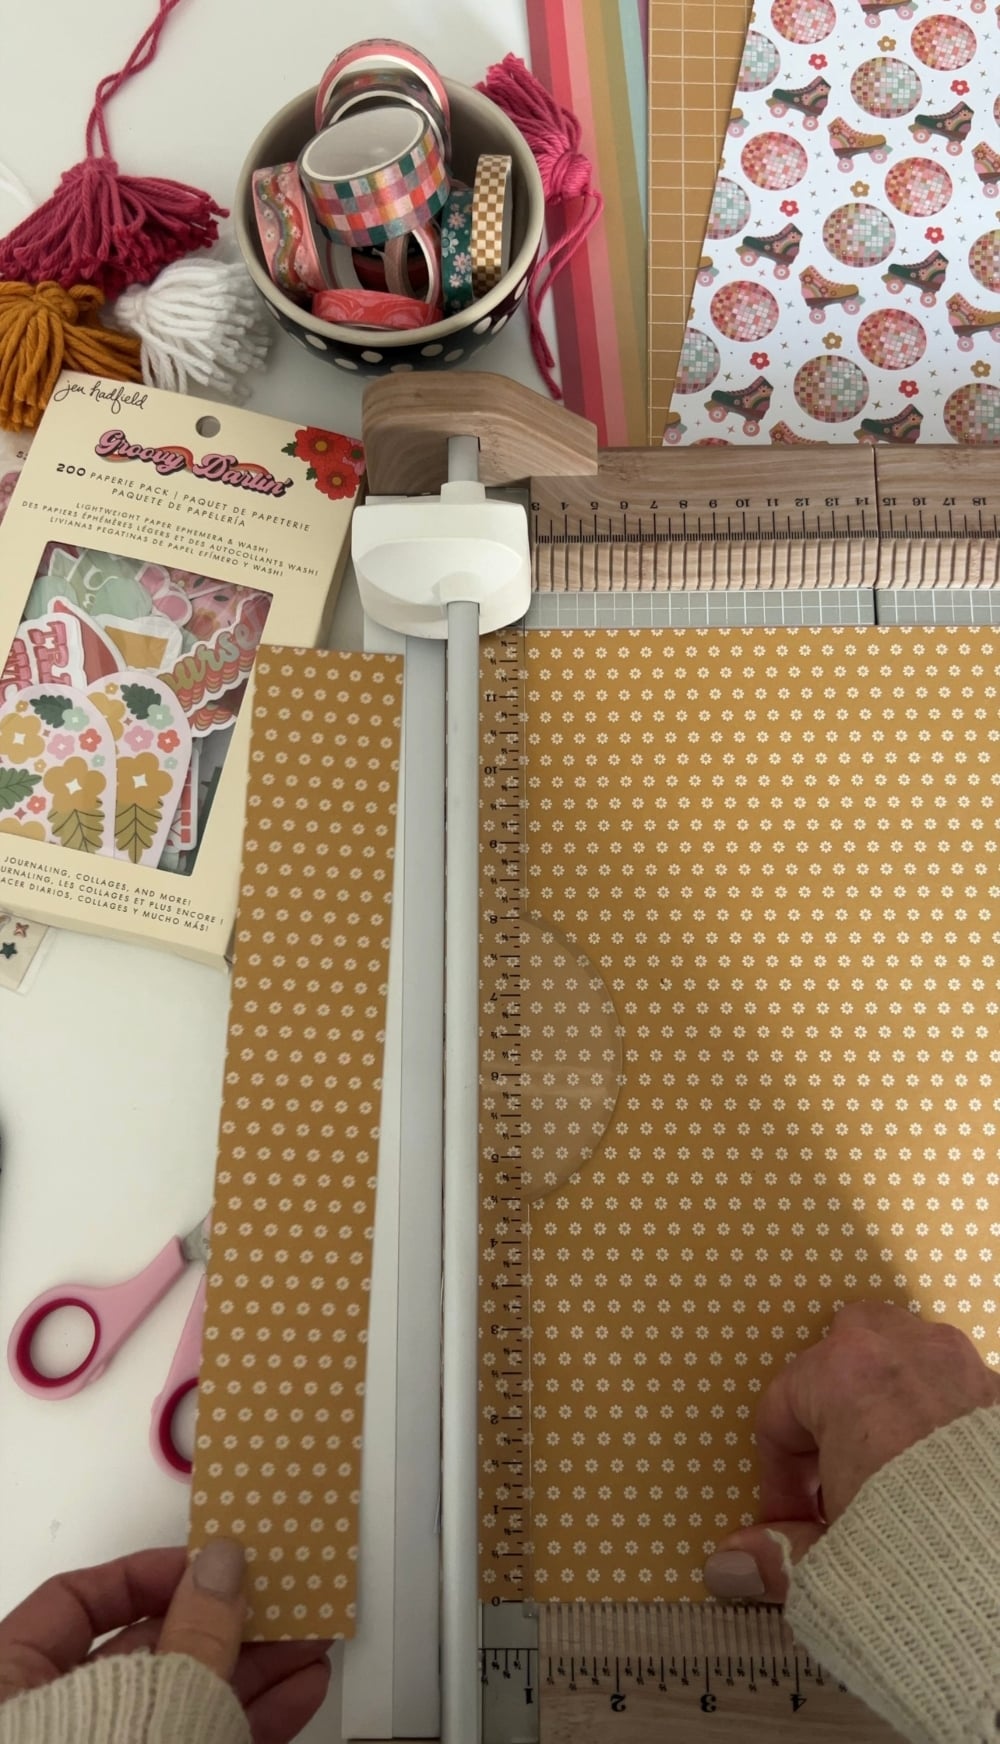
- Cut the Paper: Trim your chosen paper to a size of 6 inches in length and 2 inches in width. This will be the base of your bookmark.
- Apply Mod Podge: Apply a layer of Mod Podge to both the front and back of the bookmark. This will help seal the paper and give it a nice finish.
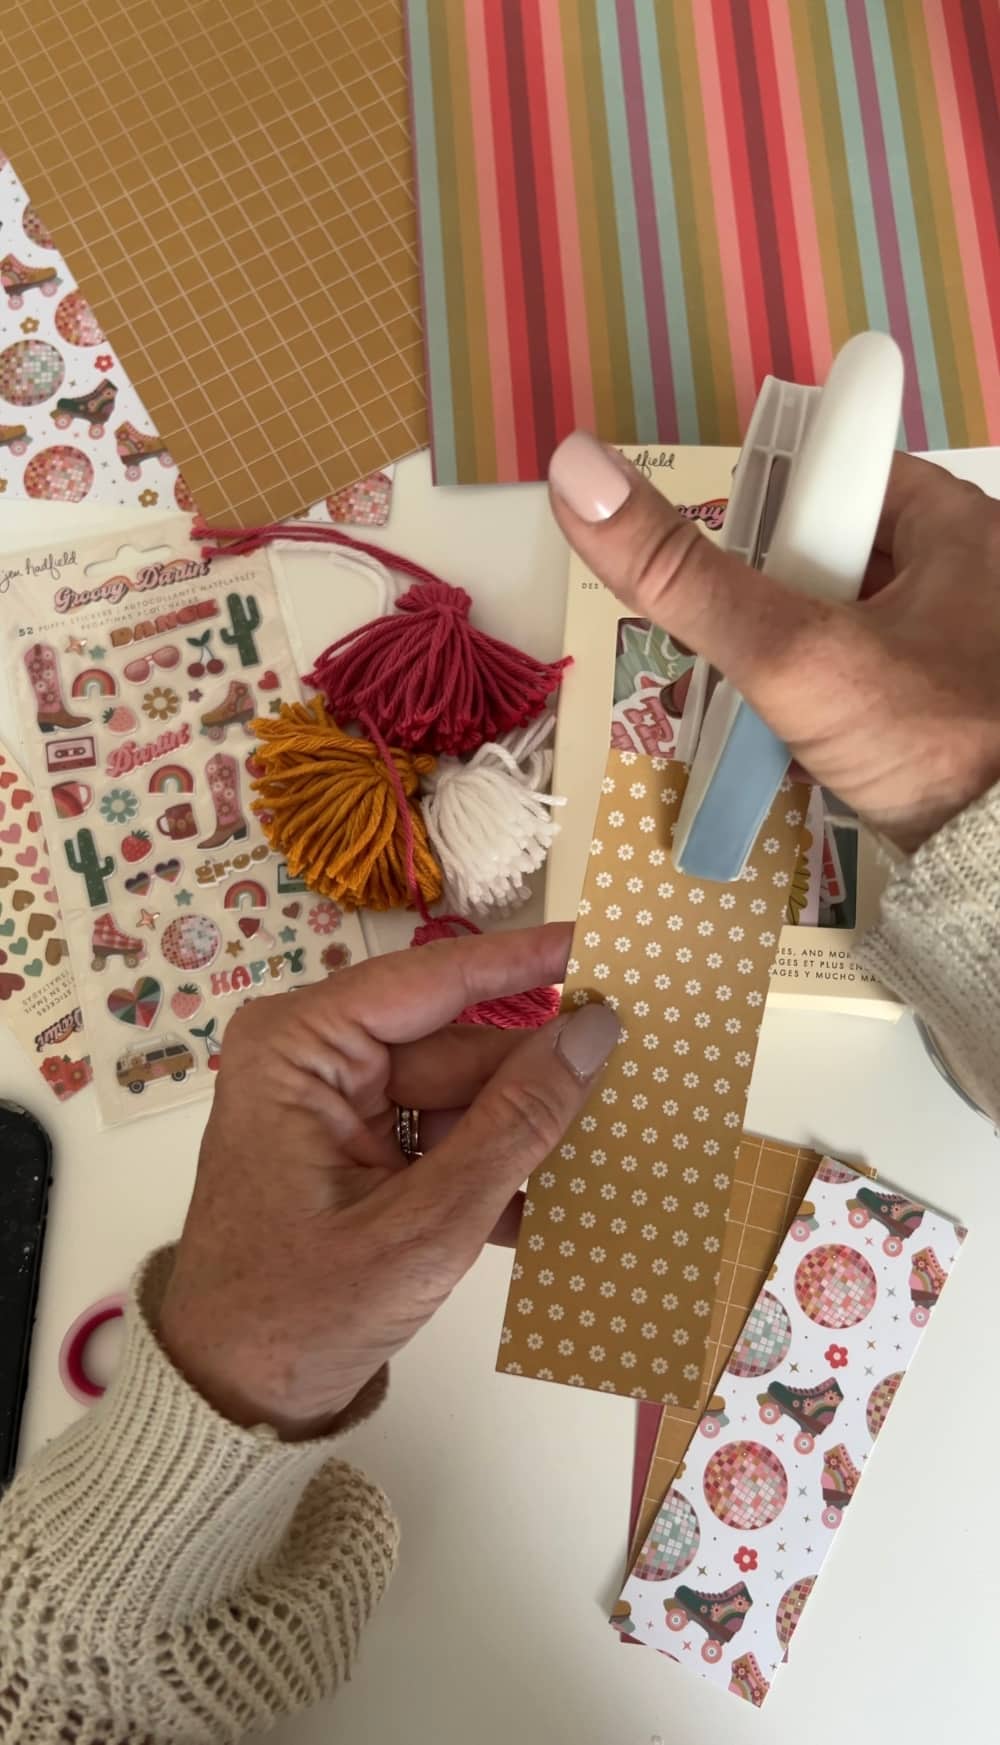
- Add Ephemera: Get creative with embellishments! Decorate your bookmark with ephemera, using Mod Podge to adhere them securely to the paper. Apply another layer of Mod Podge over the top to seal everything in place.
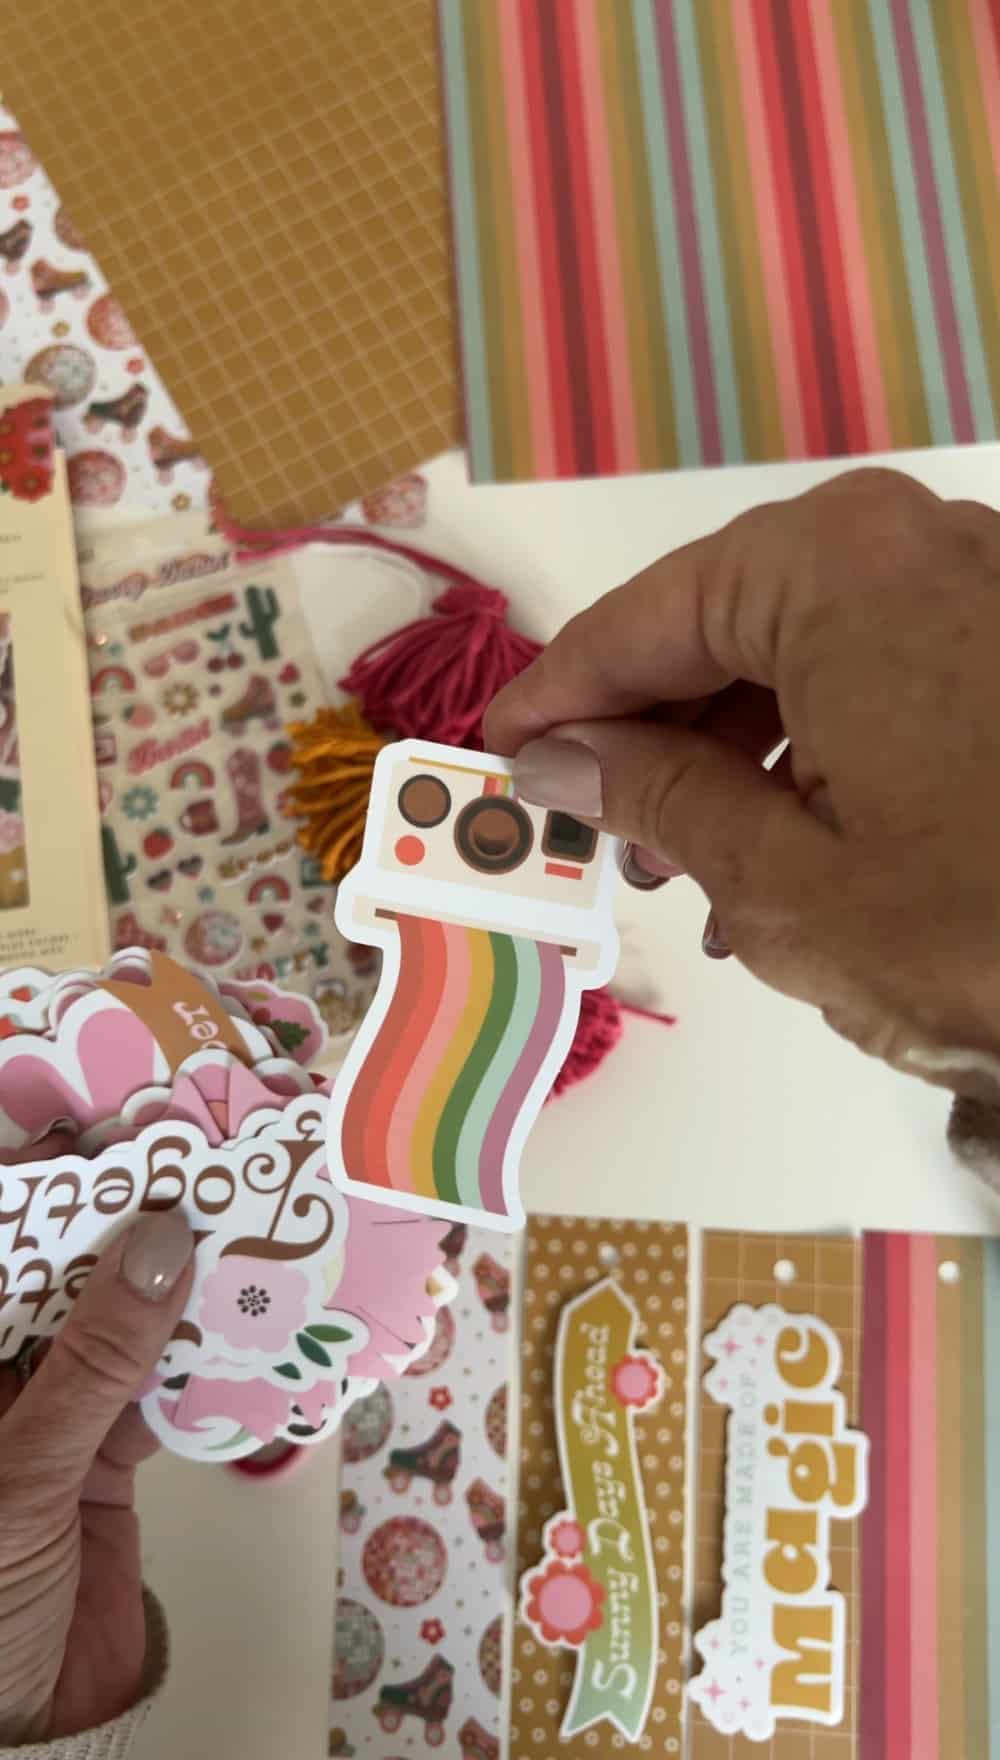
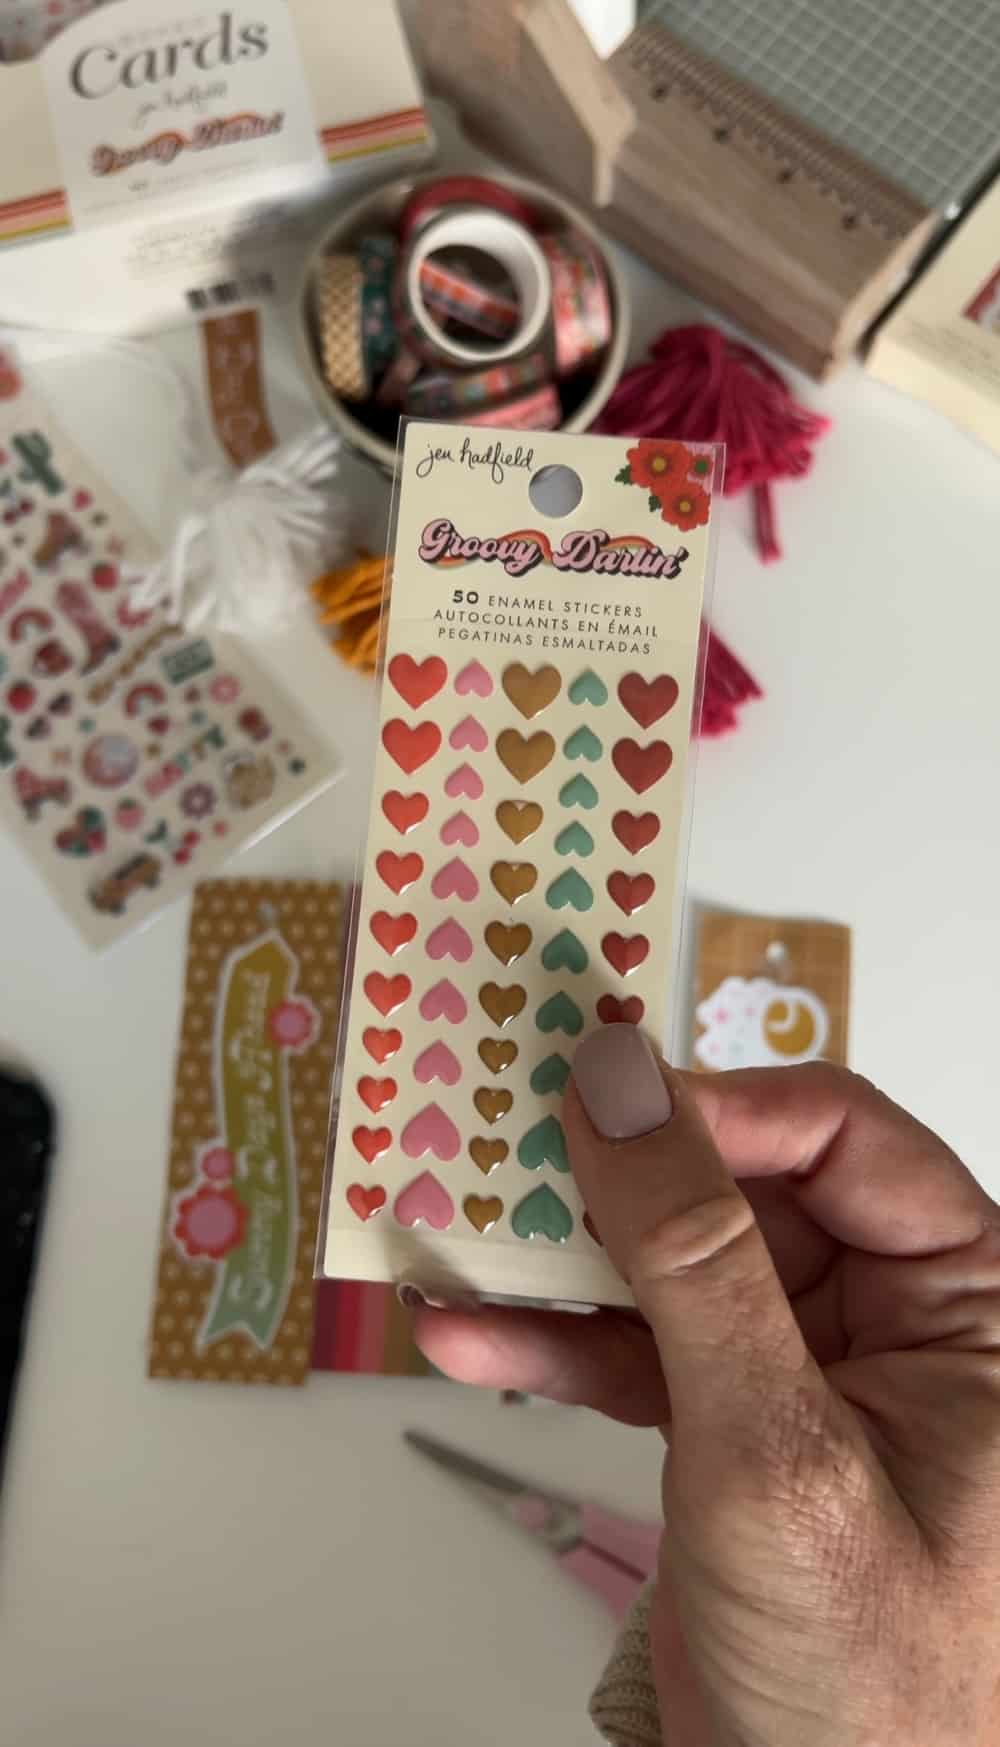
- Personalize with Stickers: Let your imagination run wild by adding stickers to your bookmark. Choose stickers that reflect your interests and personality.
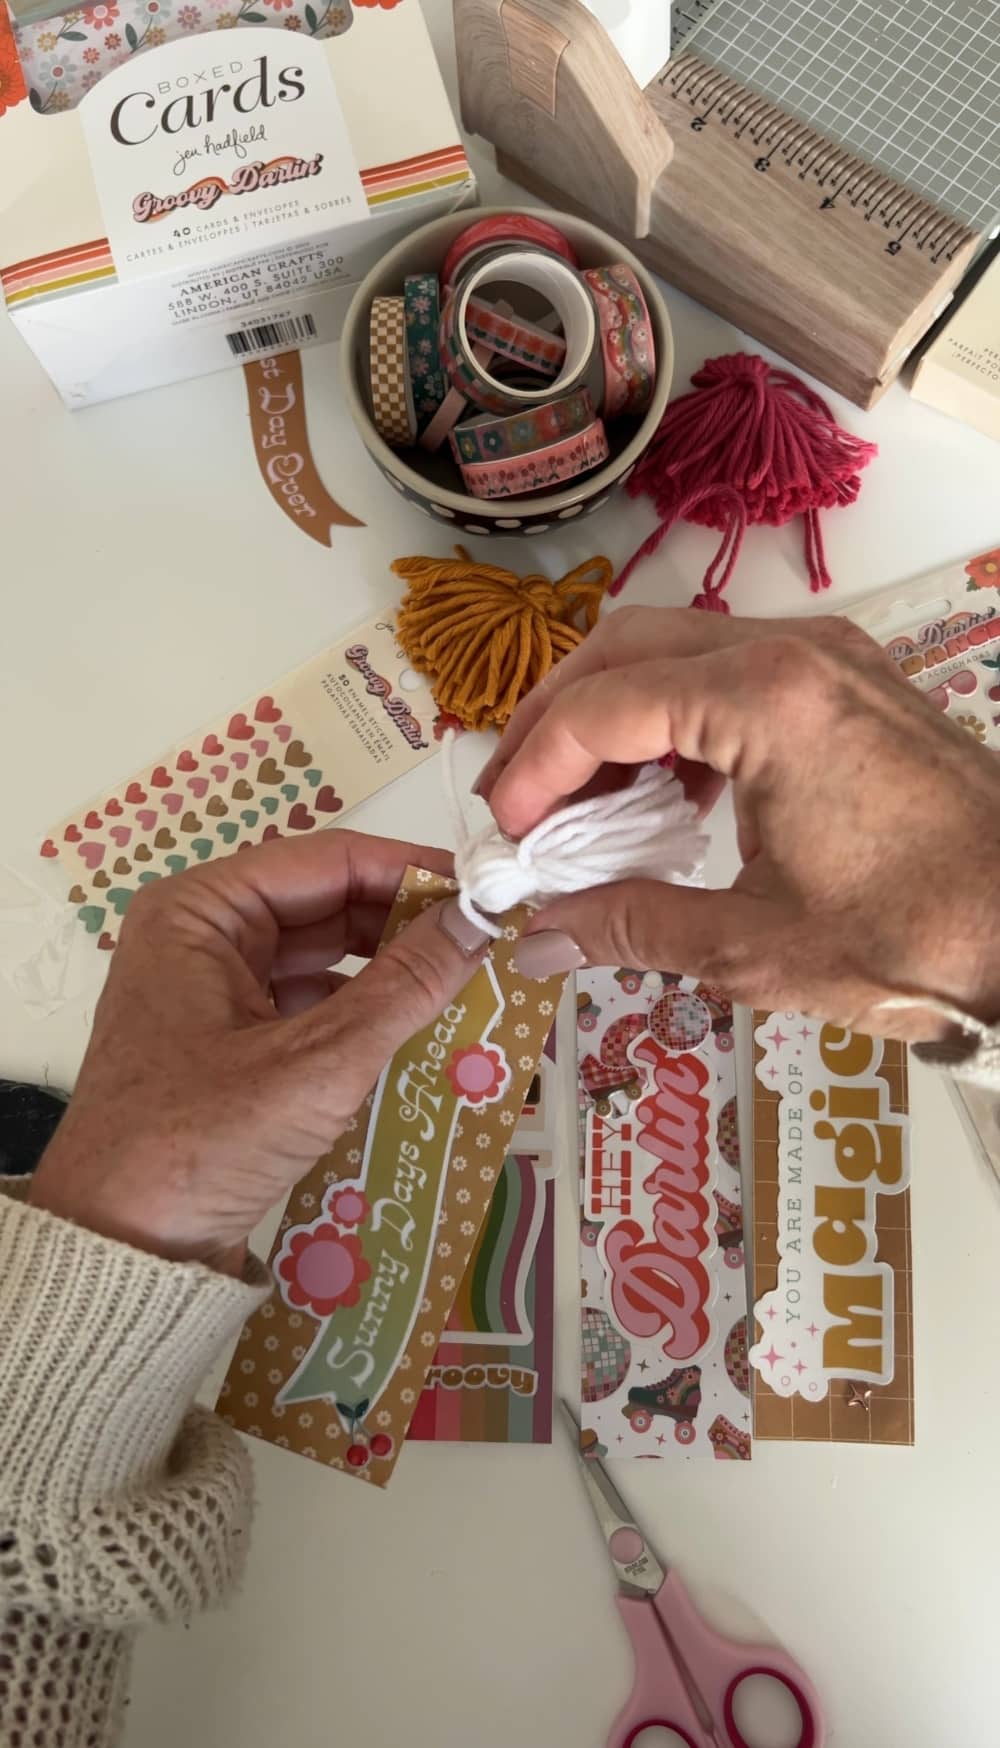
- Attach the Tassel: Using the longer strands of yarn from the tassel knot, tie the tassel to the top of the bookmark. Ensure it’s securely fastened.
- Final Touches: Trim any excess yarn from the tassel, and voila! Your adorable DIY Tassel Bookmark is ready to mark your place in your favorite book.
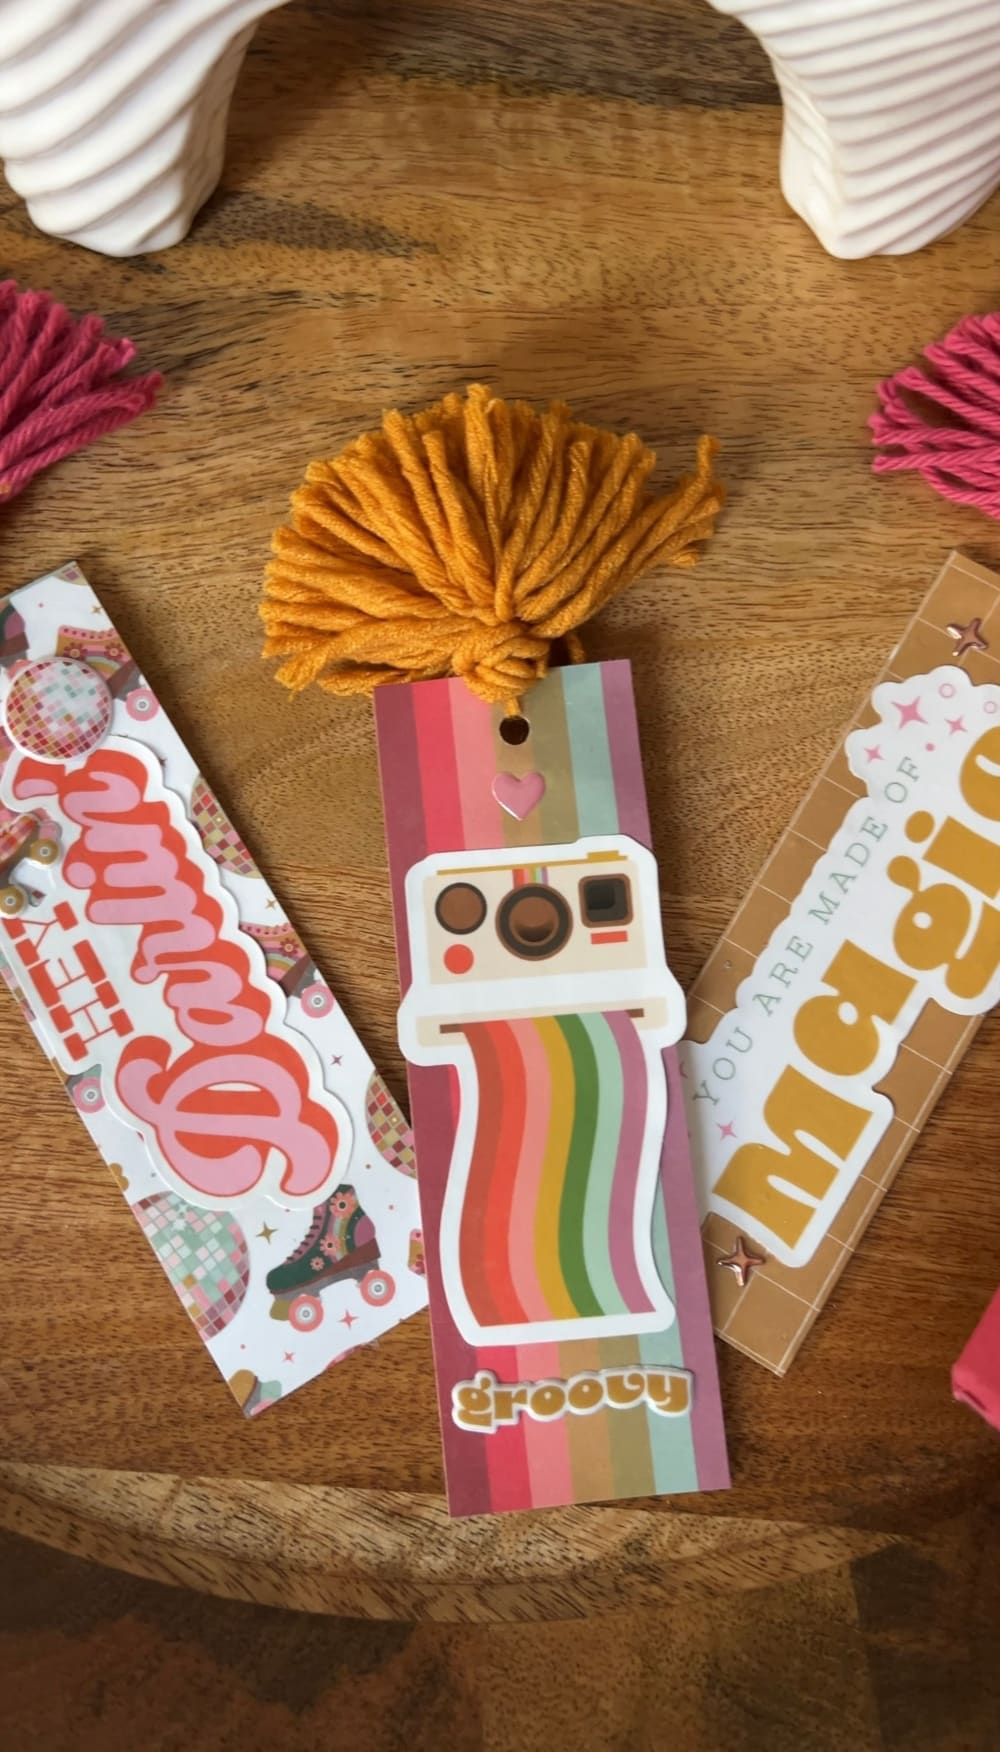
Encourage your kids to experiment with different papers, embellishments, and colors to create unique bookmarks that truly reflect their style. Happy reading and happy crafting! You can see a video of this Bookmark Craft on my Instagram Page!
More Summer Kids Crafts
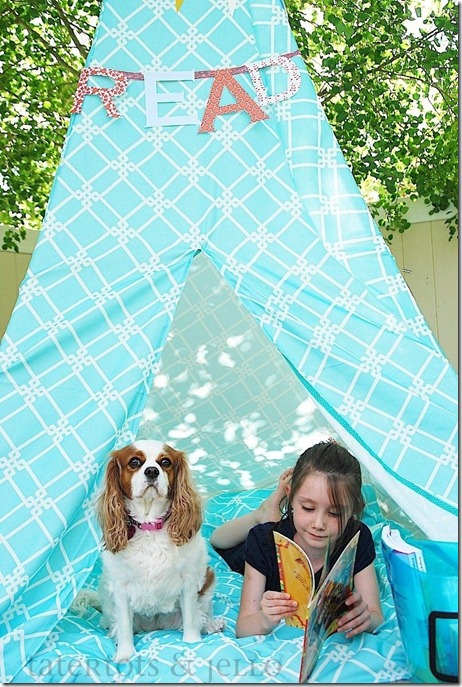
Make a Summer Reading Tent
Encourage your kids to read by making a fun place to read. Put a bin of books inside and encourage your kids to read for a certain amount of minutes each day. I did this and my kids all LOVE to read now!

Free Summertime Printable Kids Journal
Now that summer is here, my kids are constantly looking for things to do. We are going on some fun trips this summer, so I thought I’d kill 2 birds with one stone with this fun printable!
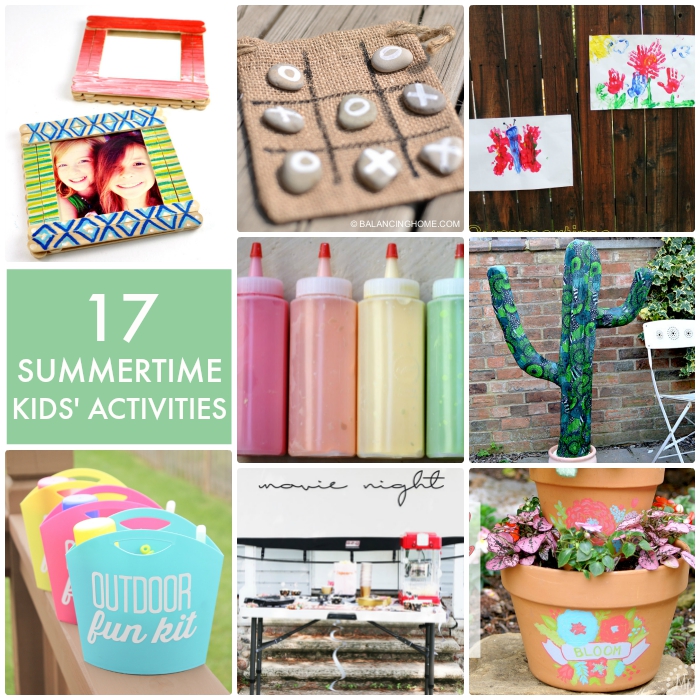
17 Summertime Kids Activities
Encourage your kids to get outside this summer with these summertime kids activities!
Have a Beautiful Day!
xoxo

