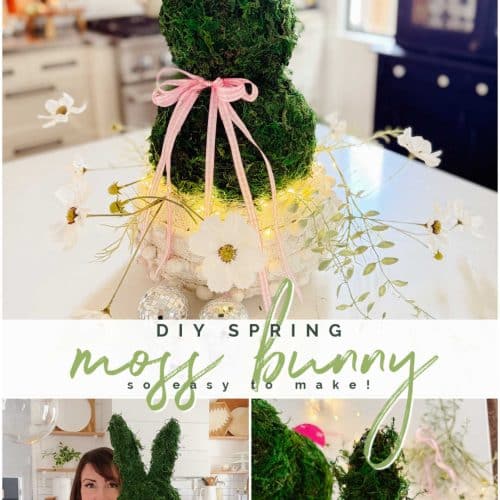
DIY Spring Topiary and Aged Pot. A topiary is the perfect addition to your spring decor. Put it on your kitchen counter, on your mantel or as a centerpiece on your dining room table. I also share how to make a aged pot to plant it in!
DIY Spring Topiary and Aged Pot
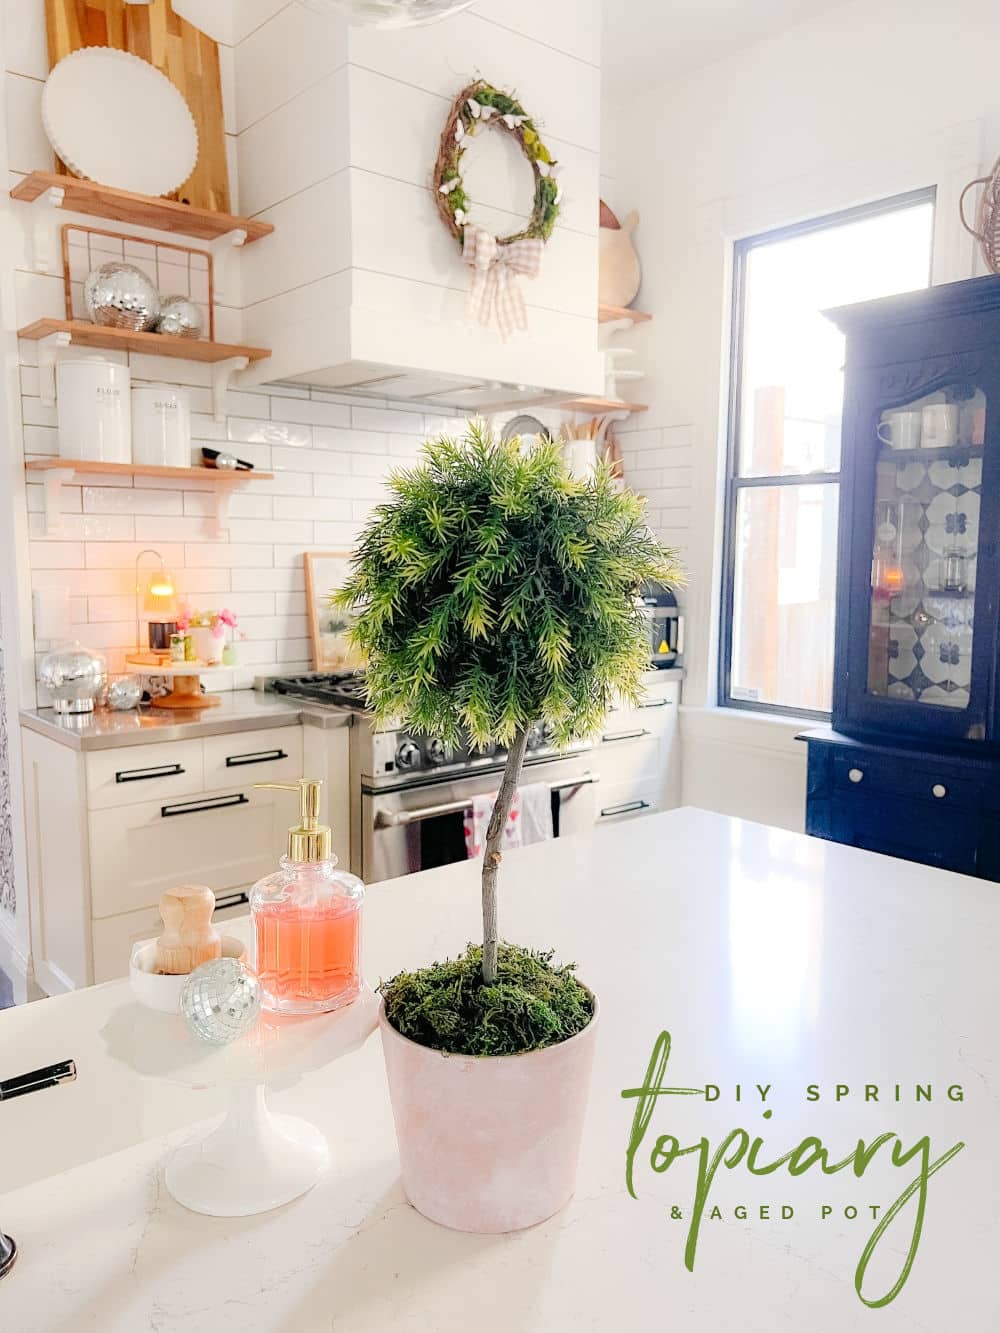
Spring is the season of renewal, and what better way to usher in its vibrant energy than by creating your own DIY spring topiary? Perfect for adorning your kitchen counter, mantel, or dining room table, this charming decoration is sure to infuse your living space with the essence of springtime. With just a few simple supplies and a bit of creativity, you can craft a beautiful topiary that will brighten up any room in your home.
SIX Blogger’s Best Spring Crafts
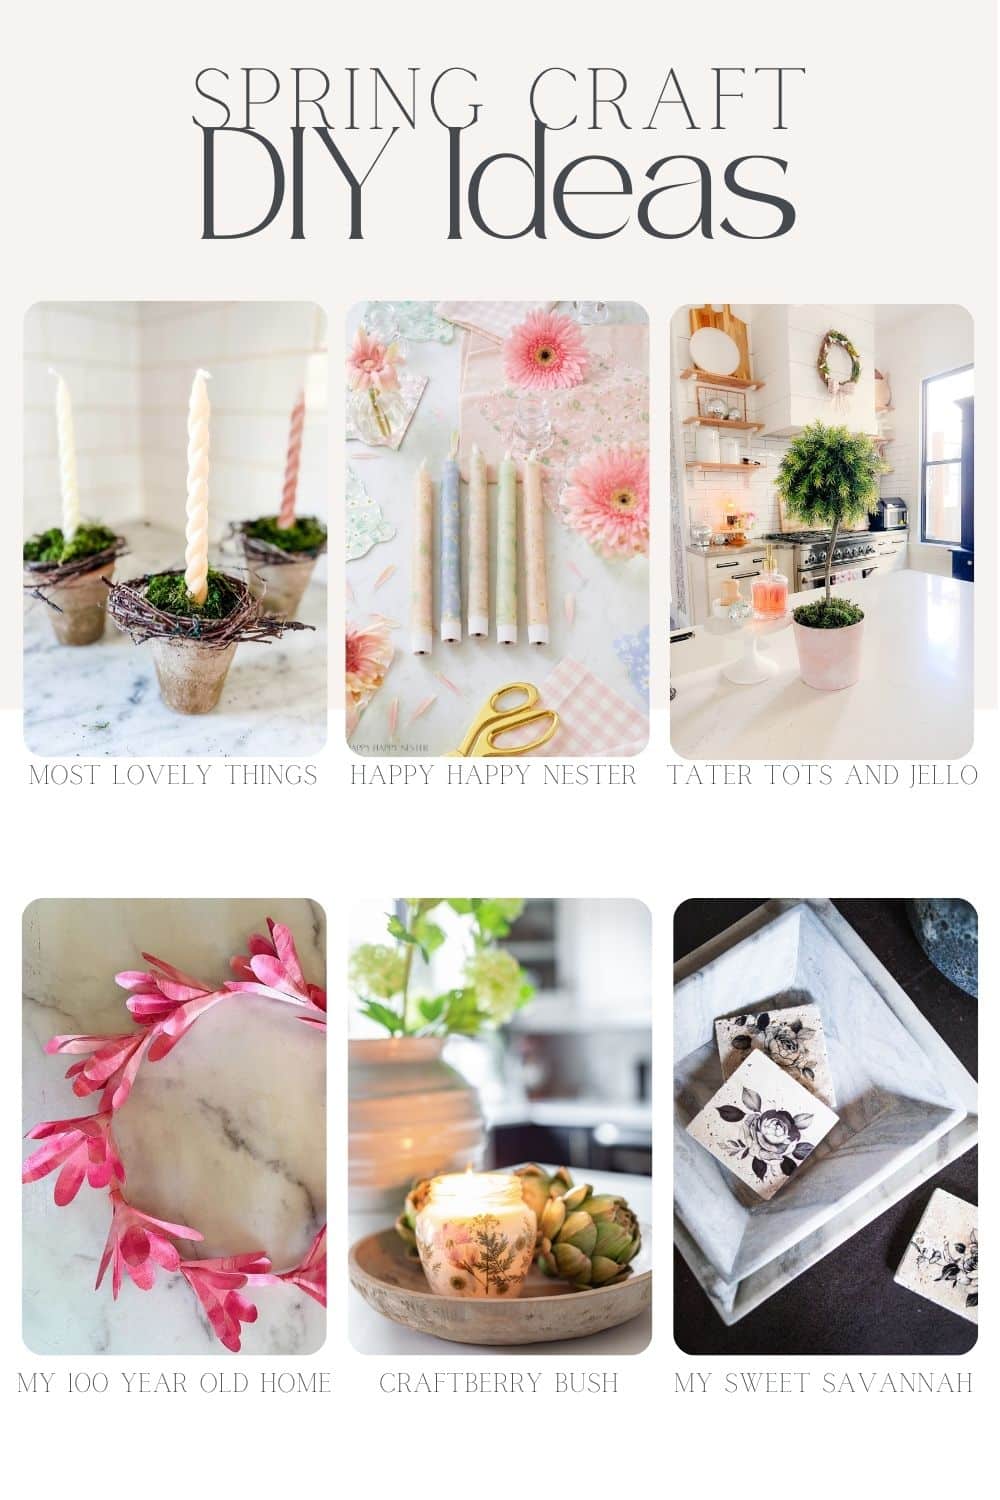
I am joining friends who are sharing these charming spring DIY craft ideas! Be sure to scroll to the bottom of the post and HOP over to grab the tutorials!
Topiary and Aged Pot Supplies:
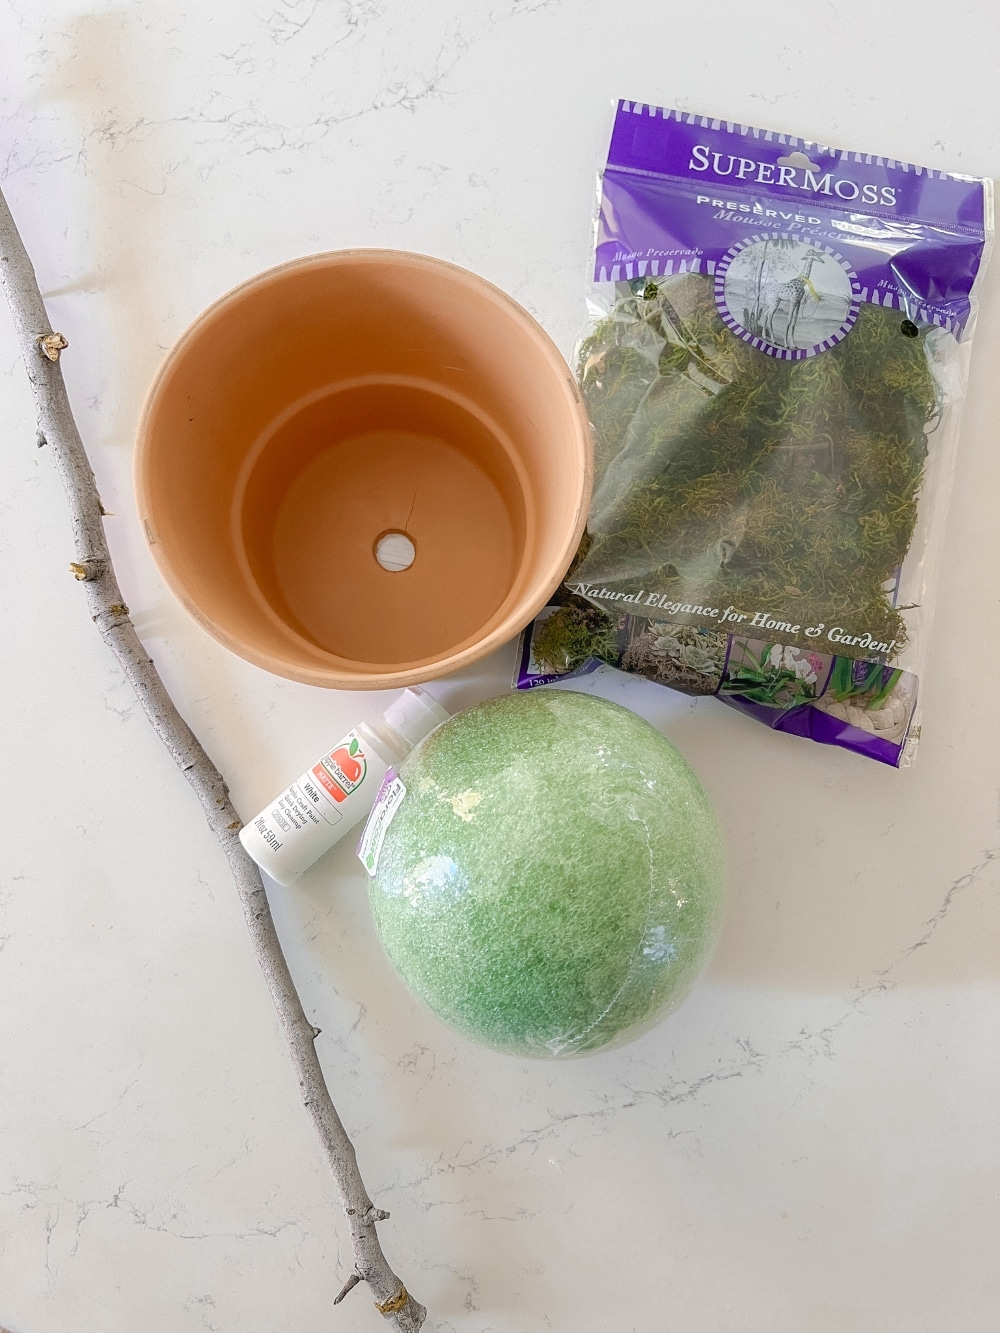
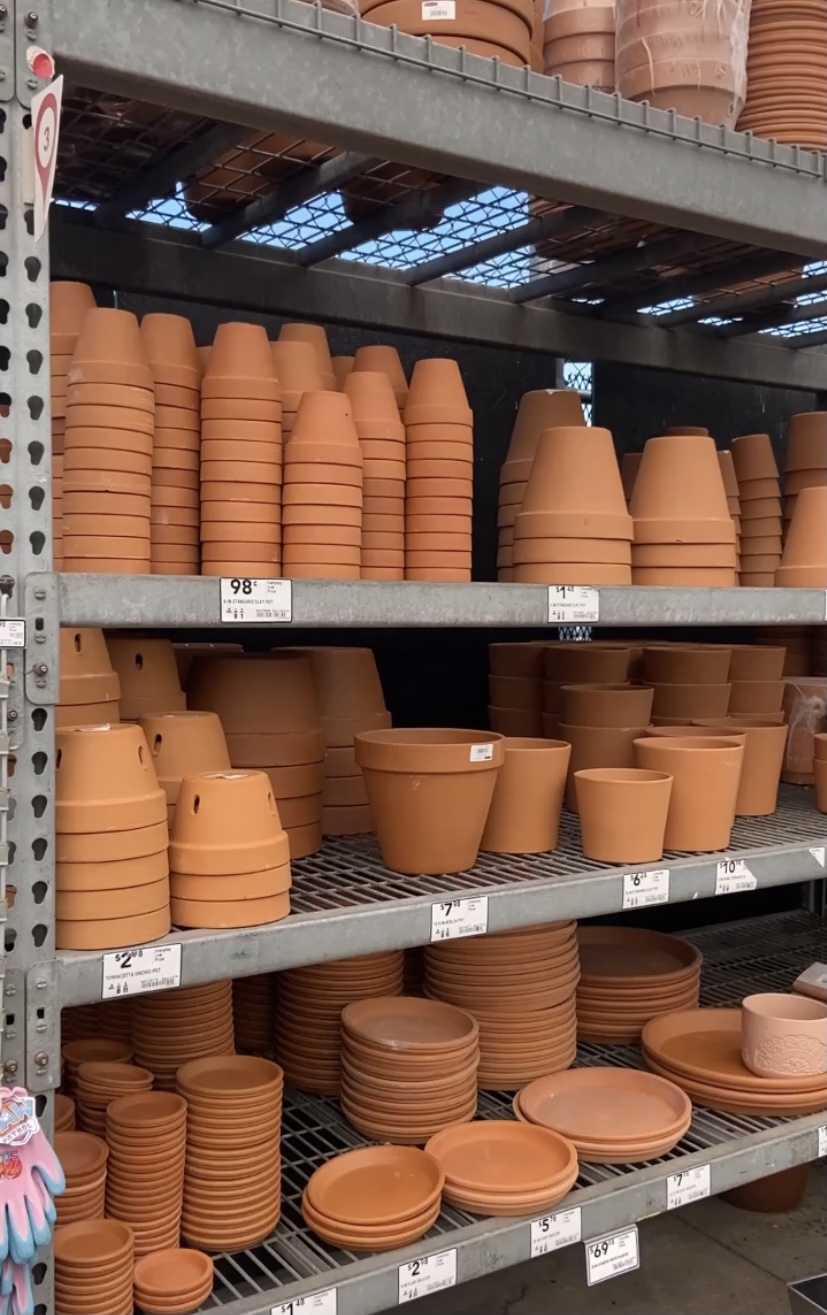
- Terra cotta pot
- White craft paint
- Green potting foam
- Branch from your yard
- Styrofoam ball
- Moss
- Branches from faux foliage (I found my branches at Hobby Lobby, but I have included similar ones here)
- Hot glue gun
Directions to Make a Spring Topiary and Aged Pot
1. Paint the Terra Cotta Pot:
Start by giving your terra cotta pot an aged look to add character to your topiary. Here’s a simple method to achieve this effect:
- Pour a small amount of white matte craft paint onto a paper plate.
- Use a small paintbrush to wet the pot with water.
- Dab a wet paper towel into the paint and rub it along the pot, allowing the original terra cotta color to show through.
- Repeat this process in sections until the entire pot is painted. The result should be a rustic, aged appearance that adds charm to your topiary.
2. Create the Topiary Base:
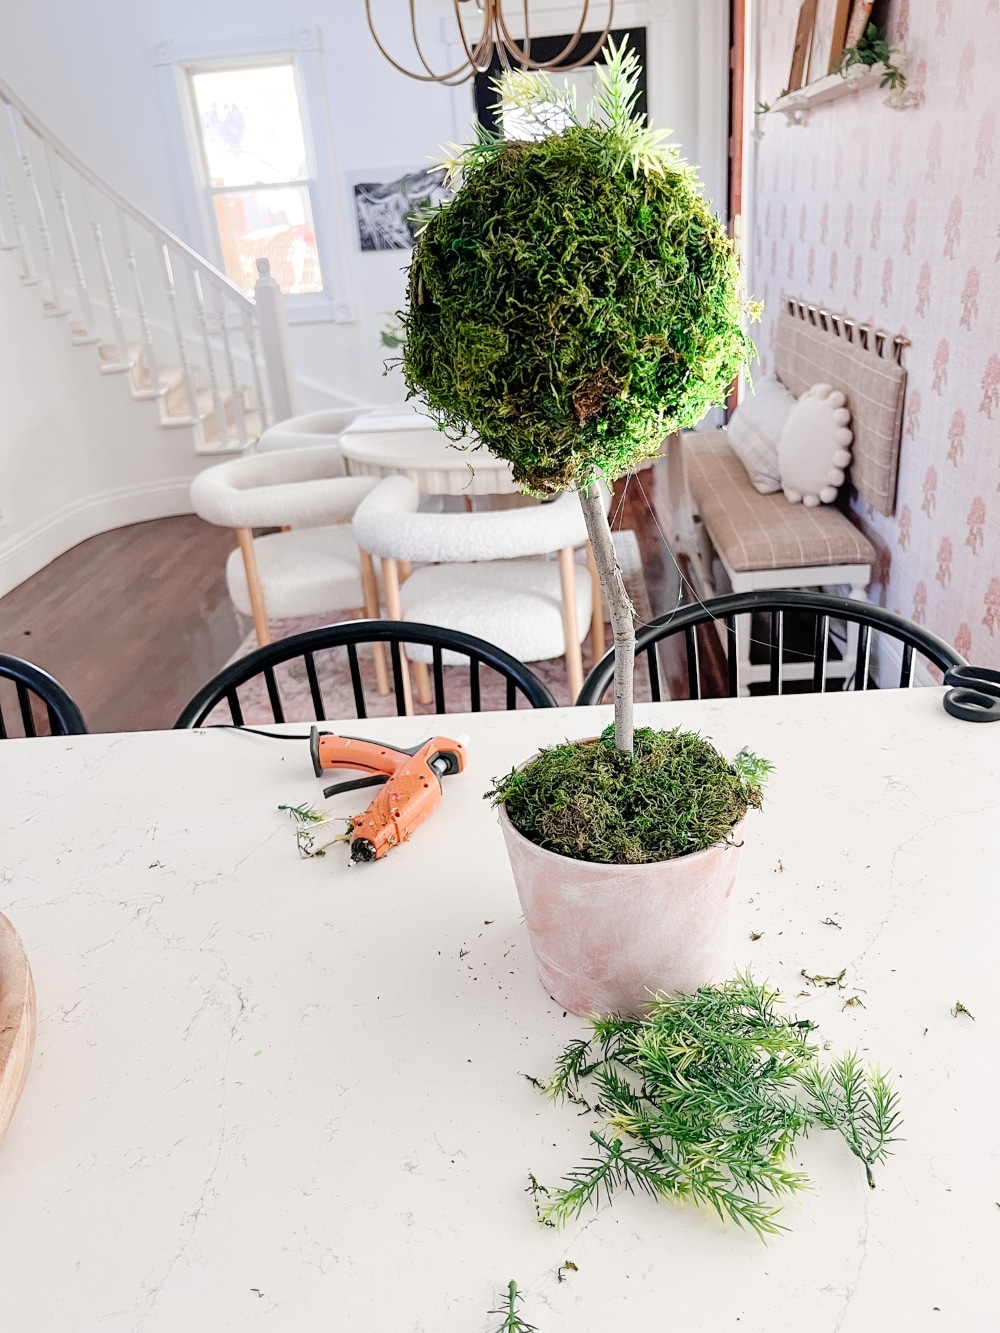
- Fill the terra cotta pot with green potting foam until it reaches the top, providing a sturdy base for your topiary.
- Cover the foam with moss, using hot glue to secure it in place and add a natural touch to the arrangement.
3. Construct the Topiary:
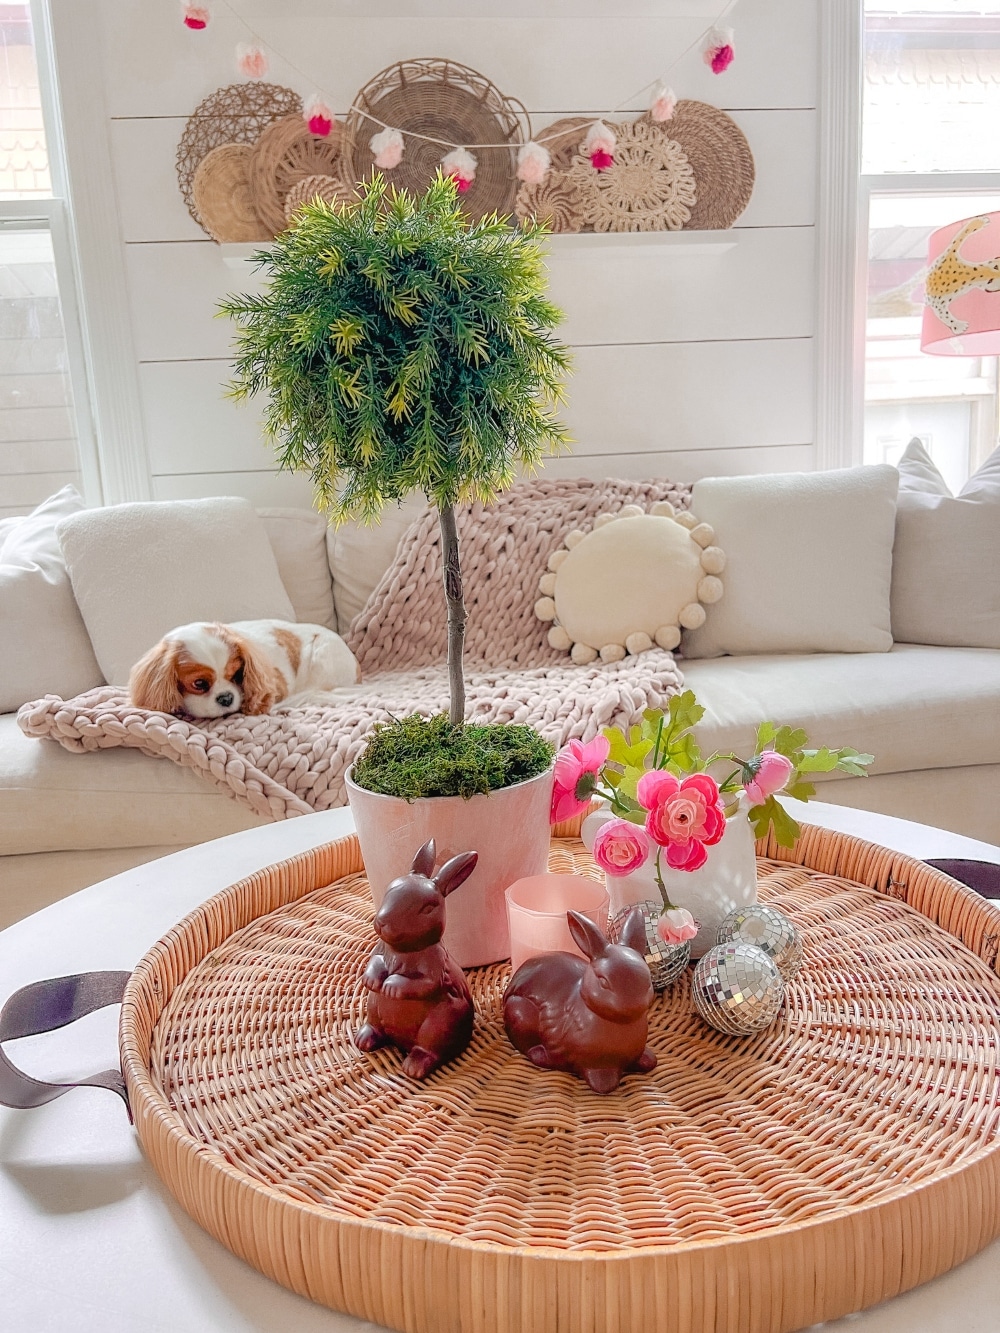
- Select a branch from your yard and trim it to your desired height for the topiary.
- Insert the trimmed branch into the center of the floral foam in the pot, ensuring it stands upright and securely.
- Place the styrofoam ball on top of the branch, creating the rounded shape of the topiary.
4. Add Texture and Greenery:
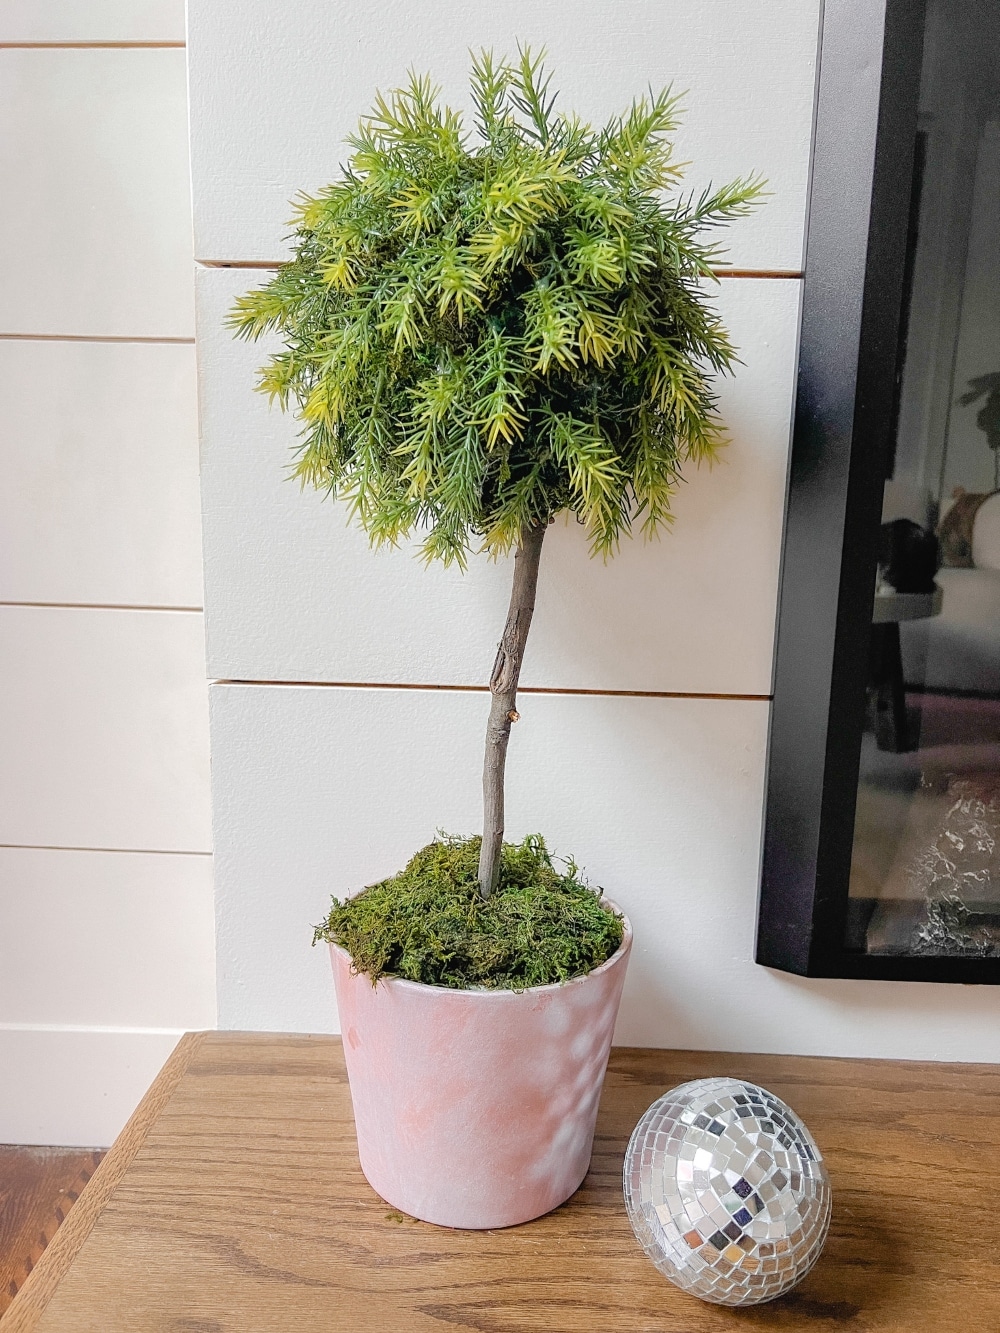
- Enhance the visual appeal of your topiary by adding texture and foliage. Trim the ends off green faux stems and press them into the floral foam around the styrofoam ball.
- Use hot glue to secure the faux foliage in place, ensuring it remains securely attached.
5. Final Touches:
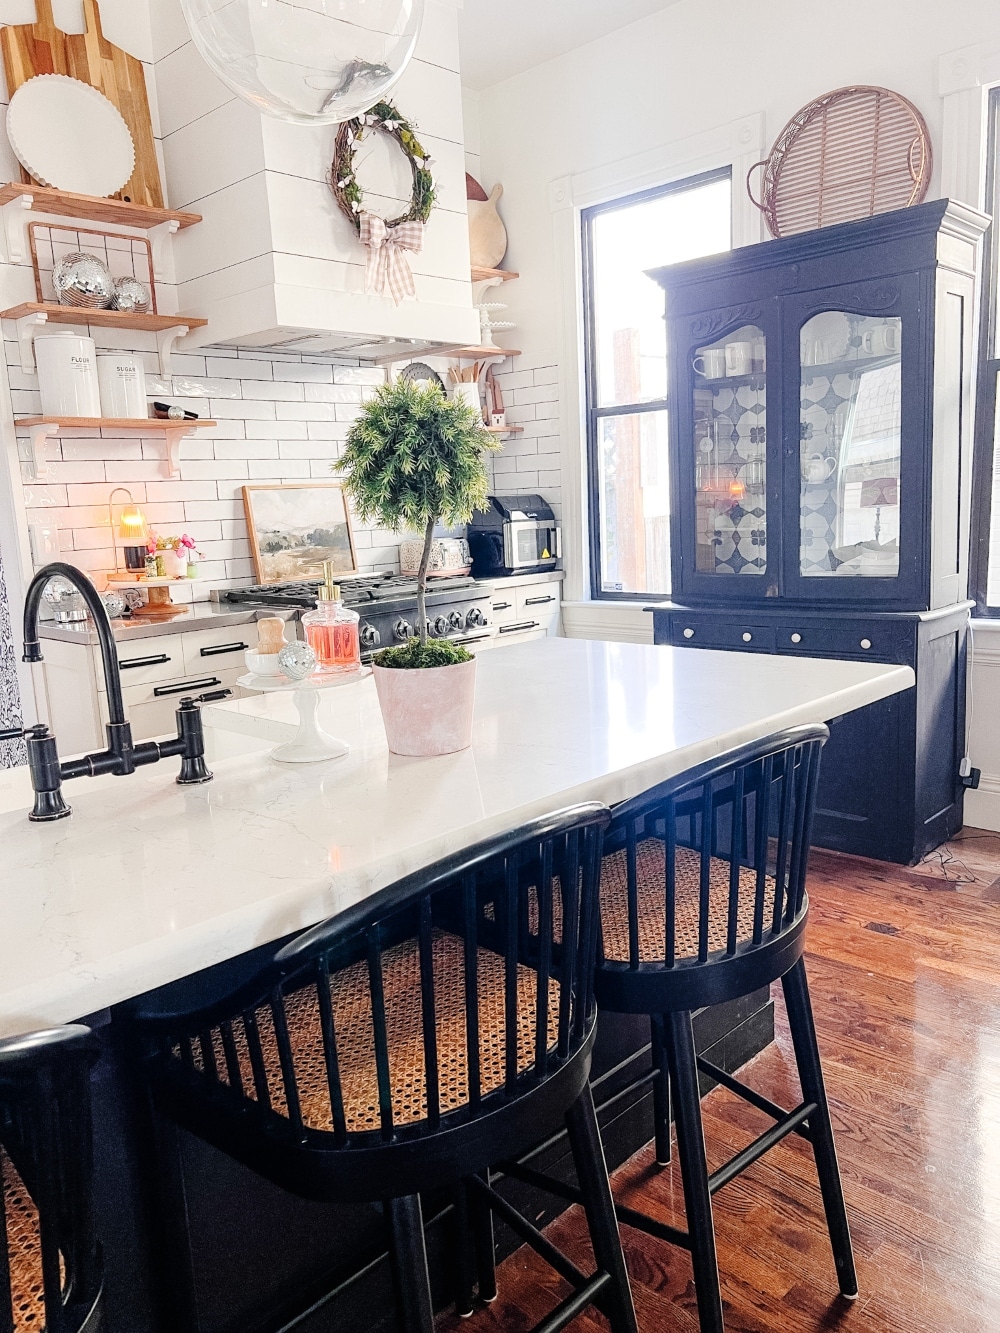
- Once you’re satisfied with the arrangement of the moss and foliage, place your completed topiary in its desired location.
- Admire your handiwork and enjoy the fresh spring vibes that emanate from your beautiful creation.
Tips for Topiary Personalization:
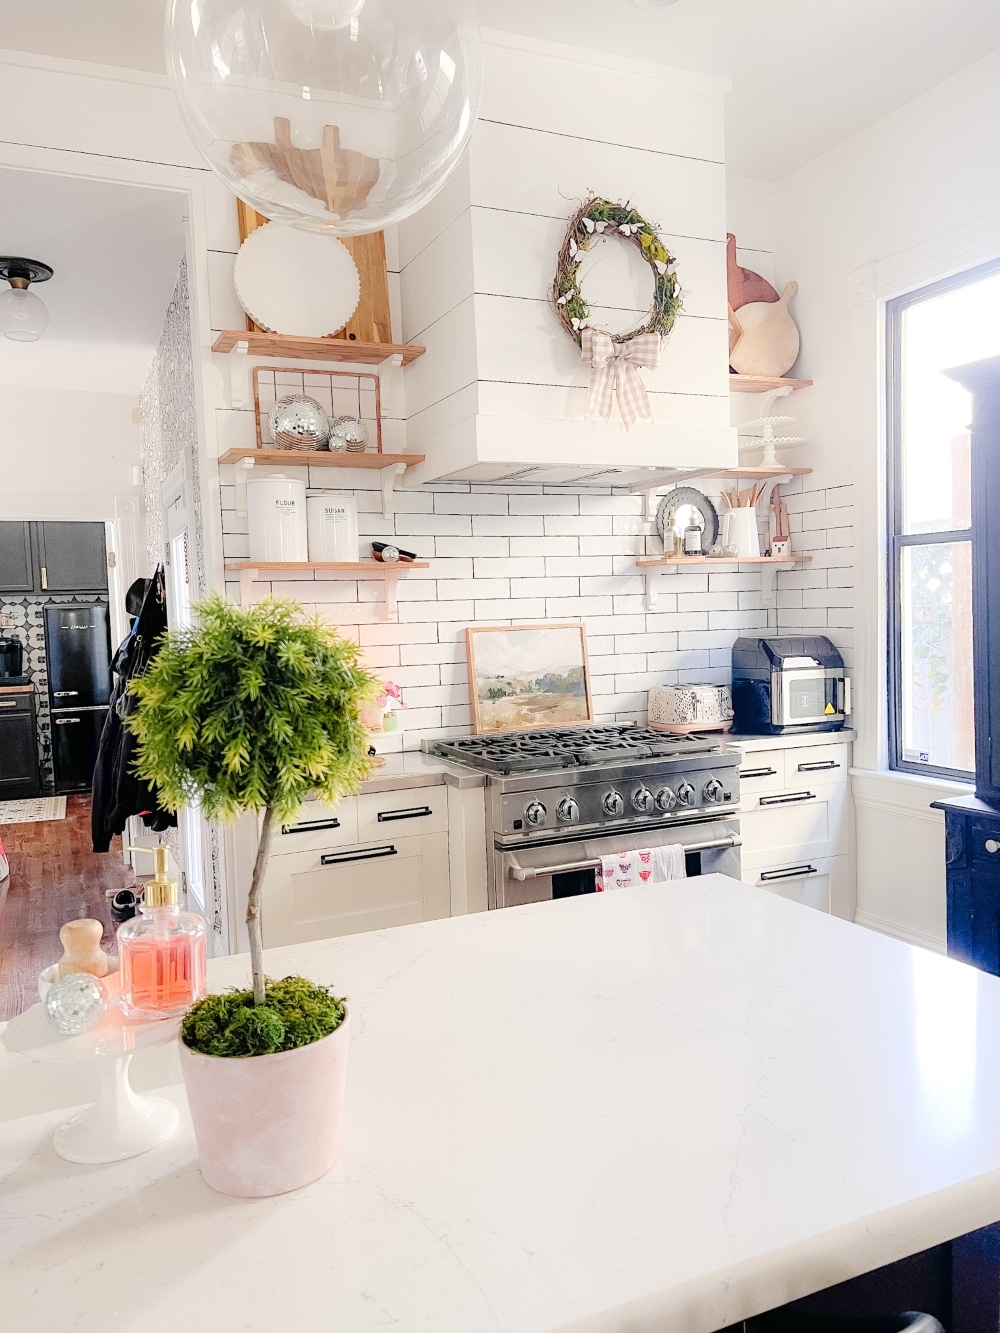
- Get creative with the design of your topiary by incorporating different types of faux foliage, such as flowers or herbs, to reflect your personal style and preferences.
- Experiment with varying heights and shapes for the topiary to create visual interest and dimension in your decor.
- Consider embellishing your topiary with additional decorative elements, such as ribbons, bows, or miniature ornaments, to customize it further.
- I made a set of three topiaries on a tray for my kitchen a few years ago.
Conclusion: Bringing the beauty of spring into your home is easy with this DIY spring topiary. By following these simple steps and unleashing your creativity, you can craft a stunning centerpiece that captures the essence of the season. Whether displayed on a kitchen counter, mantel, or dining room table, your homemade topiary is sure to inspire joy and admiration among all who behold it. So gather your supplies, let your imagination soar, and embrace the spirit of spring with this delightful project.
BLOGGER’S BEST SPRING CRAFT
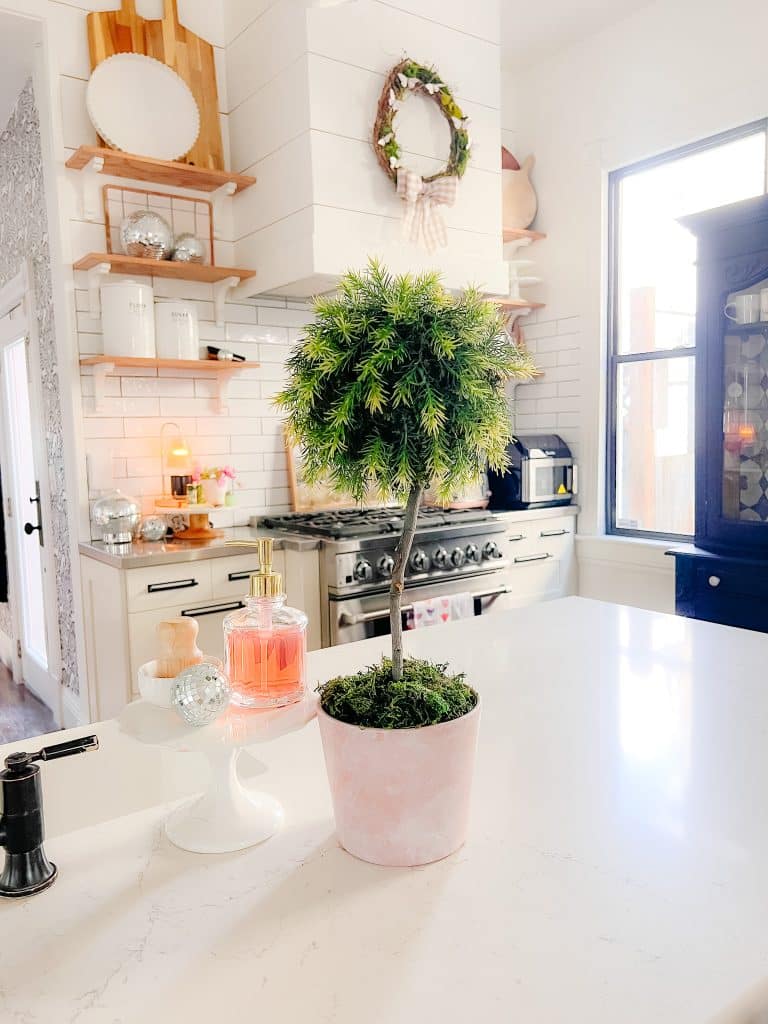
DIY Spring Topiary and Aged Pot | Tatertots and Jello
A topiary is the perfect addition to your spring decor. Put it on your kitchen counter, on your mantel or as a centerpiece on your dining room table. I also share how to make a aged pot to plant it in!
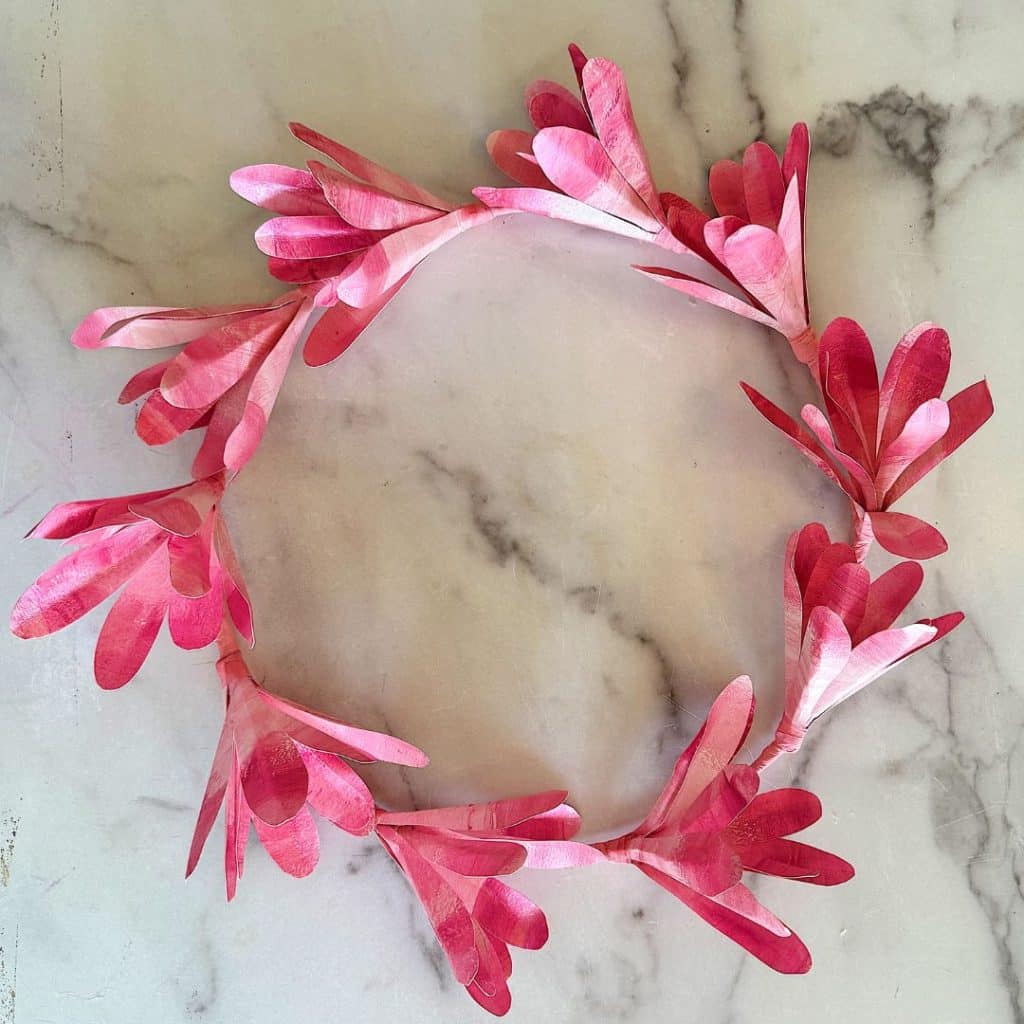
Pink Magnolia Tree Spring Wreath DIY | My 100 Year Old Home
I made this Pink Magnolia Tree Spring wreath as a budget-friendly alternative to the metal wreath from Terrain that inspired me. I made it out of paper instead of metal and cut all of the petals myself, so there is no reason why you can’t try to make this wreath, too!
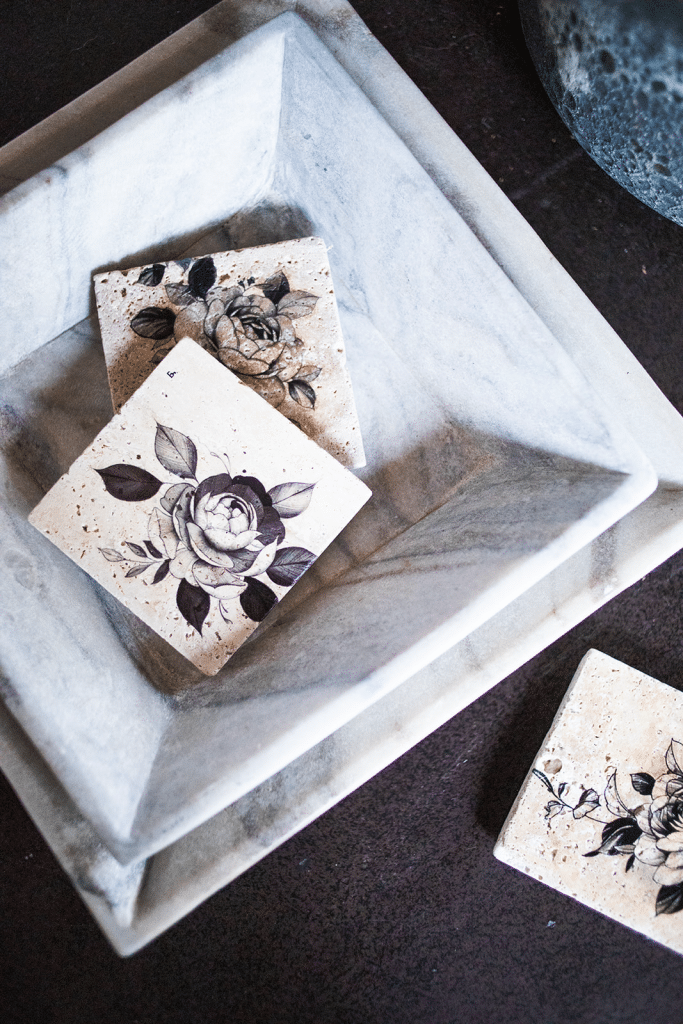
DIY Coasters Made From Temporary Tattoos | My Sweet Savannah
Temporary tattoos come in so many different styles. Choose the one that is right for you and add them to travertine tiles from the home improvement store to make chic coasters for you and your guests!
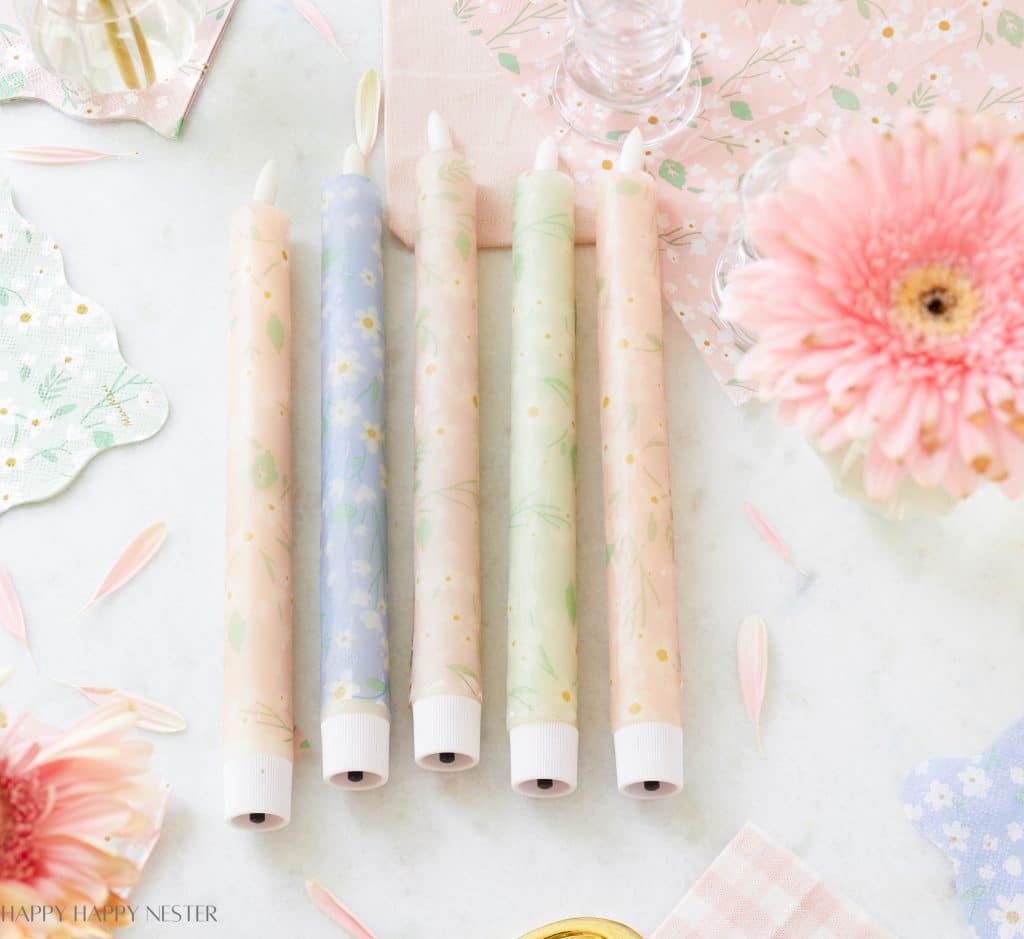
Decorating Candles (with Napkins) | Happy Happy Nester
Do you know what’s been on my to-do list forever? Decorating Candles with paper napkins! I’ve been eyeing those gorgeous designs I keep seeing on social media. So, I finally decided to try and create my faux tapered waxed candles!
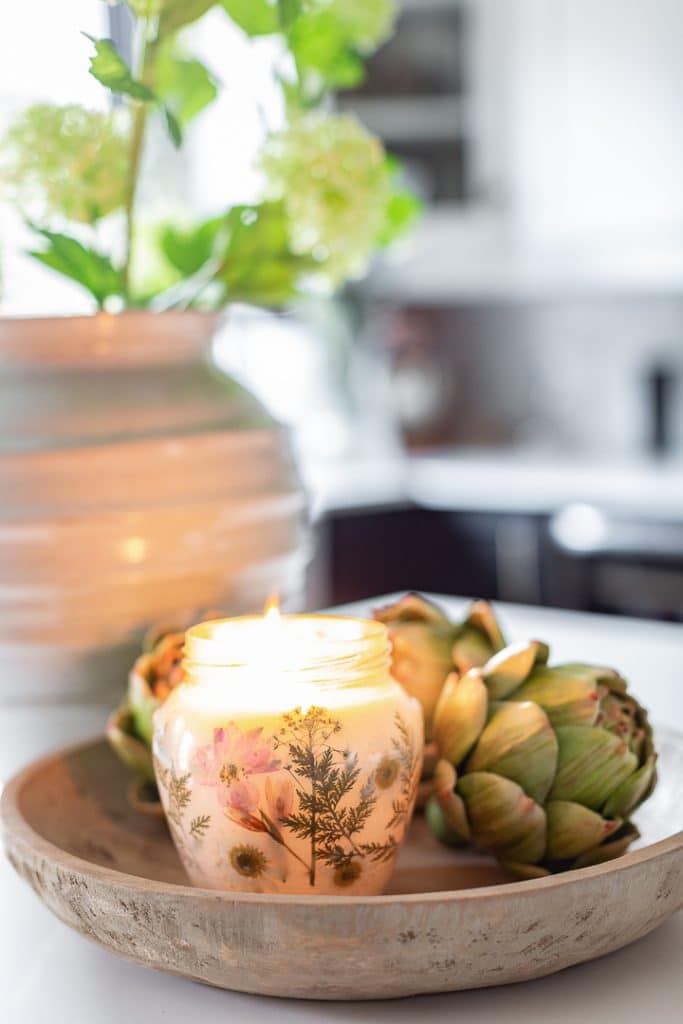
DIY Dried Flower Candle | Craftberry Bush
These Pressed flower candles are so pretty and easy to make. Perfect way to welcome spring.
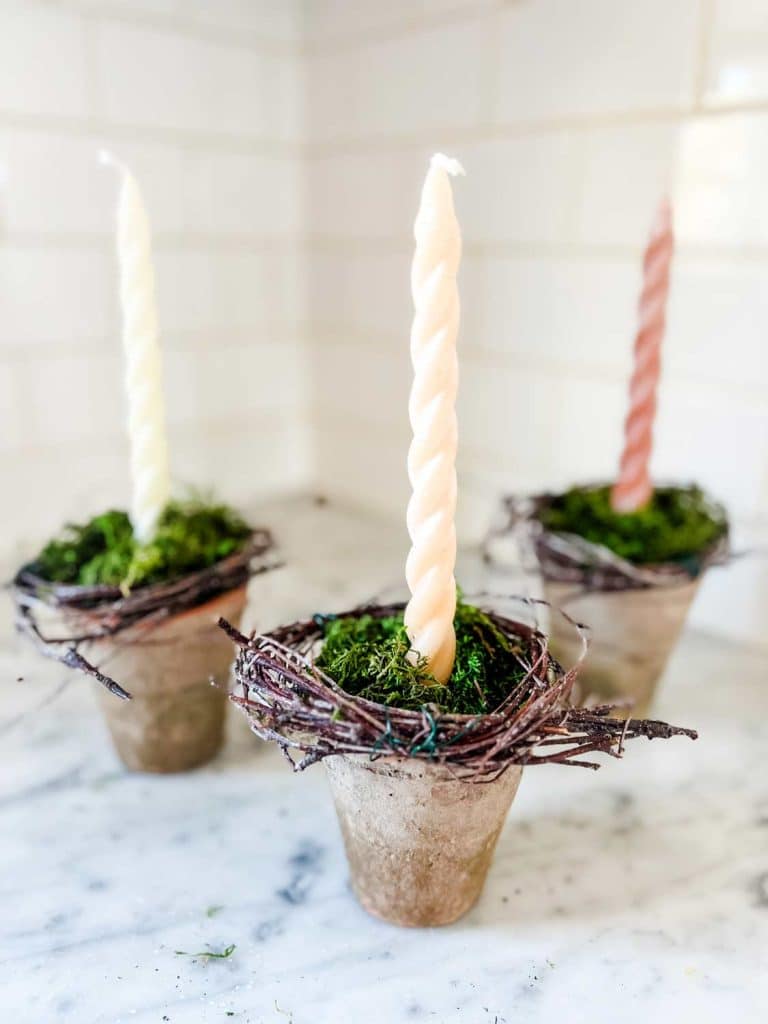
15-Minute Spring Centerpiece | Most Lovely Things
Looking for an easy spring centerpiece idea? I have just the thing!
Which project do you want to make first?
Let us know in the comments!
xoxo




Jen, this is so cute and perfect for spring!