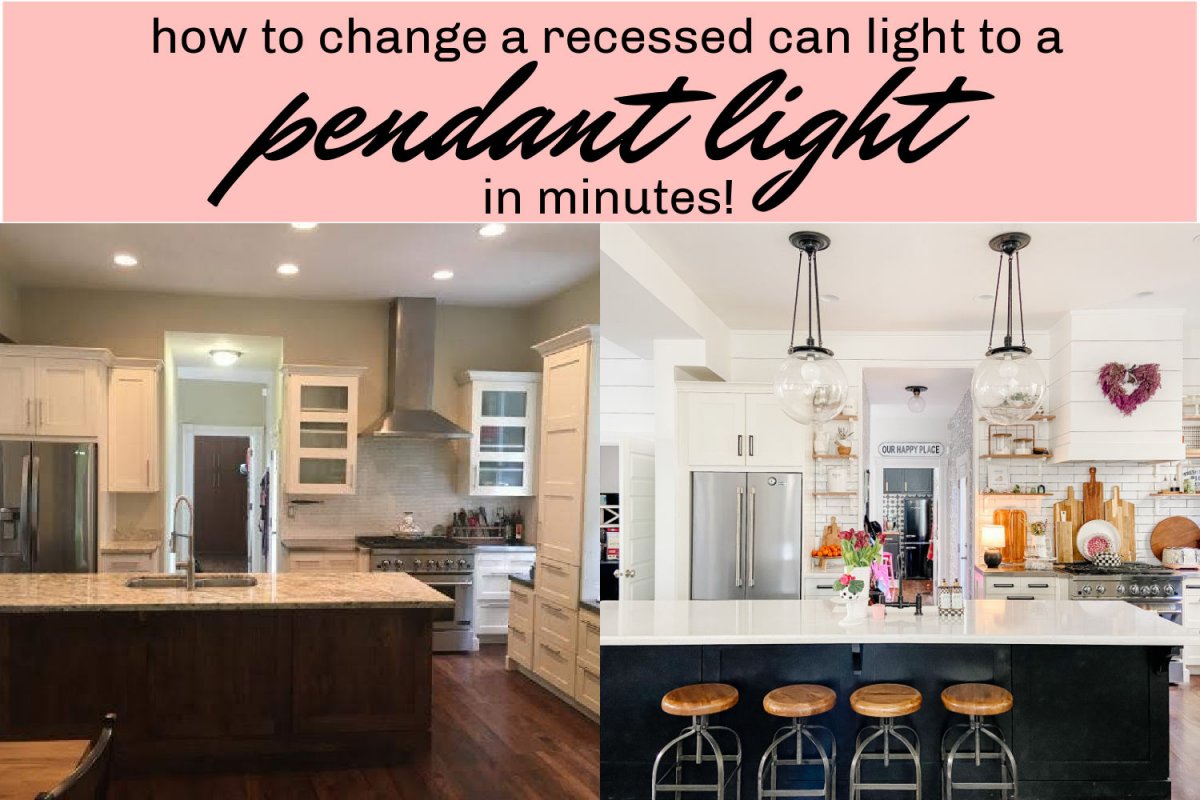
How to change a recessed can light into a pendant light with no remodeling. Switch out a can light for a beautiful pendant or chandelier light in just minutes with no remodeling!
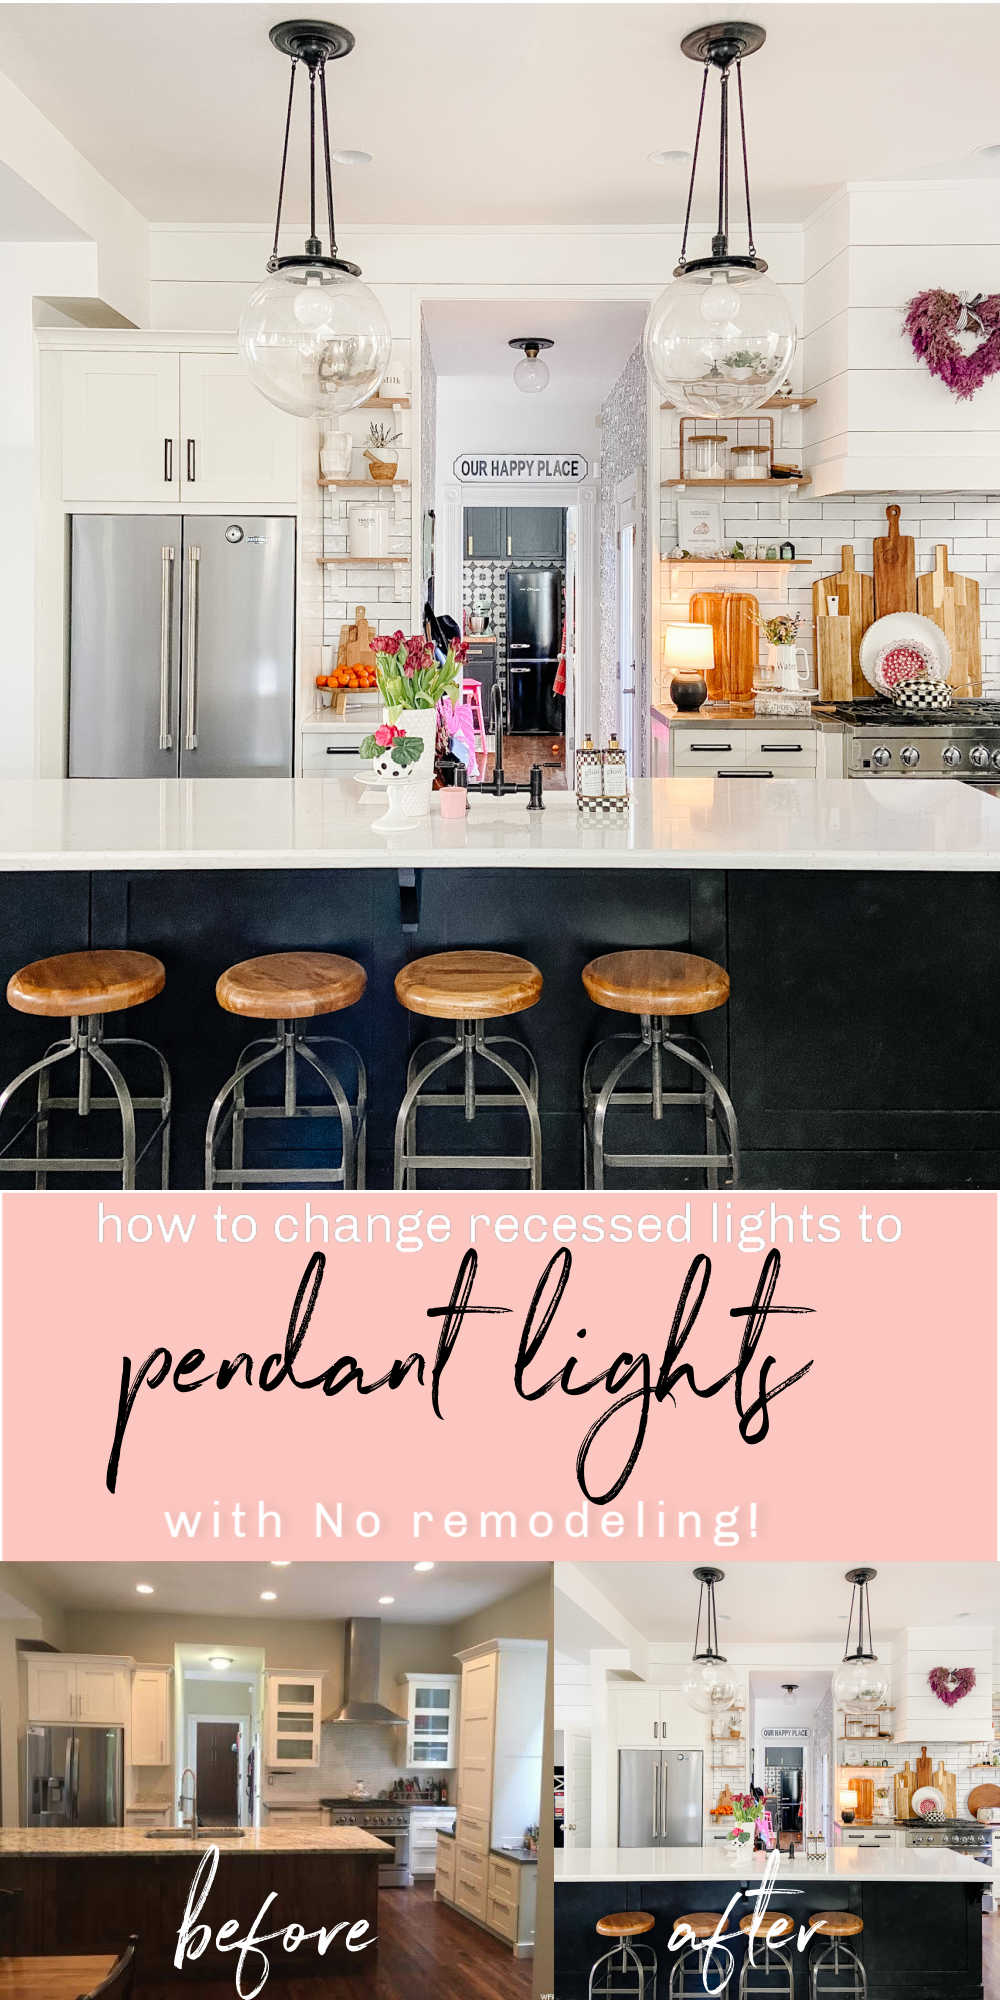
We moved into our 1891 avenues home about 5 months ago. From the start I knew I wanted to have hanging pendant lights over the kitchen island. I love the look of pendant lights. I believe lights are the jewelry of the home!!
Recessed Lights Can Be Changed to Pendant Lights
This post contains an affiliate link. Affiliate links cost nothing to you but allow us to bring you free content and run this site.
One of the things I love about our home is that there are a lot of recessed can lights in the kitchen. Our home will be 230 years old next year and I love that the kitchen has high ceilings and updated canned lights.
Determine What Type of Fixture You Want
One row of recessed lights is directly above the island and two of those lights are centered over the sink. I thought those lights would be the perfect placement for the new pendant lights.
Change Recessed Lights to Pendants or Chandeliers
I thought we would need to have an electrician come over and convert the lights to put pendant lights in. Then i found out about Westinghouse Recessed Light Converter Kit. It’s awesome because it make changing out a recessed light to a pendant light or chandelier fast and easy with NO remodeling.
Hang Light Fixtures Up to 50 Pounds
If you have a 6-inch or 4-inch the Westinghouse recessed light kit will work with your light. This light converter can also hold the weight of a chandelier that is less than 50 pounds. So not only can you hang a small pendant, you can hang a full-size chandelier! Before I took on this project, I read hundreds of reviews and was impressed that the kit has so much positive feedback.
Recessed Light Kit
Another thing I love about this converter kit is that it comes with a plain white medallion that can be used painted any color. I didn’t end up using the medallion because our light fixture wall hardware covered the existing hole in the ceiling but it can be used if needed.
Everything you Need to Complete the Project is Included in the Kit
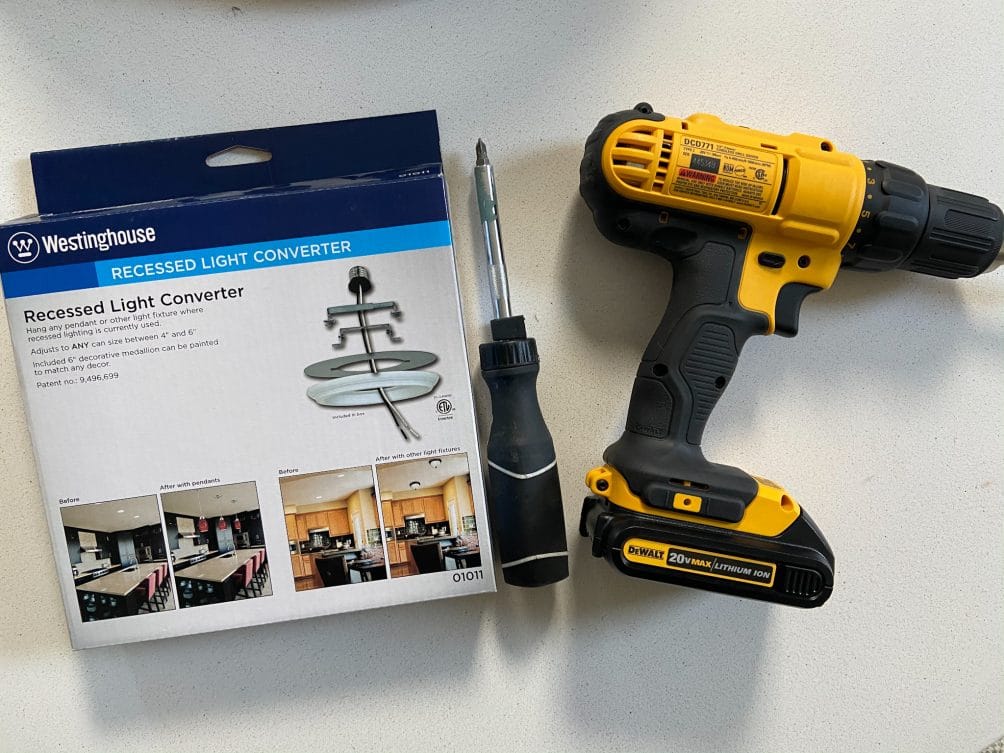
The only other supplies needed to complete this project are a drill and a screwdriver.
Self-piercing Screws

After reading the reviews, most of the feedback was that it was difficult to get the screws through the metal edges of the can housing. There are self-piercing screws that are included with the kit. We opted to use our own self-piercing screws and we had no problems getting the screws through the metal housing.
Self-Piercing Screws
No Need to Touch Existing Wires
We have a very old house and we have seen inside other light fixtures inside the ceiling that there are a lot of old wires in the ceiling. One of the things I liked about this kit converter is that you screw a socket pigtail into the existing can housing and that connection connects the old wiring to the kit. Then once you have the kit installed you use the new wiring to connect the kit to the new fixture.
Full Instructions
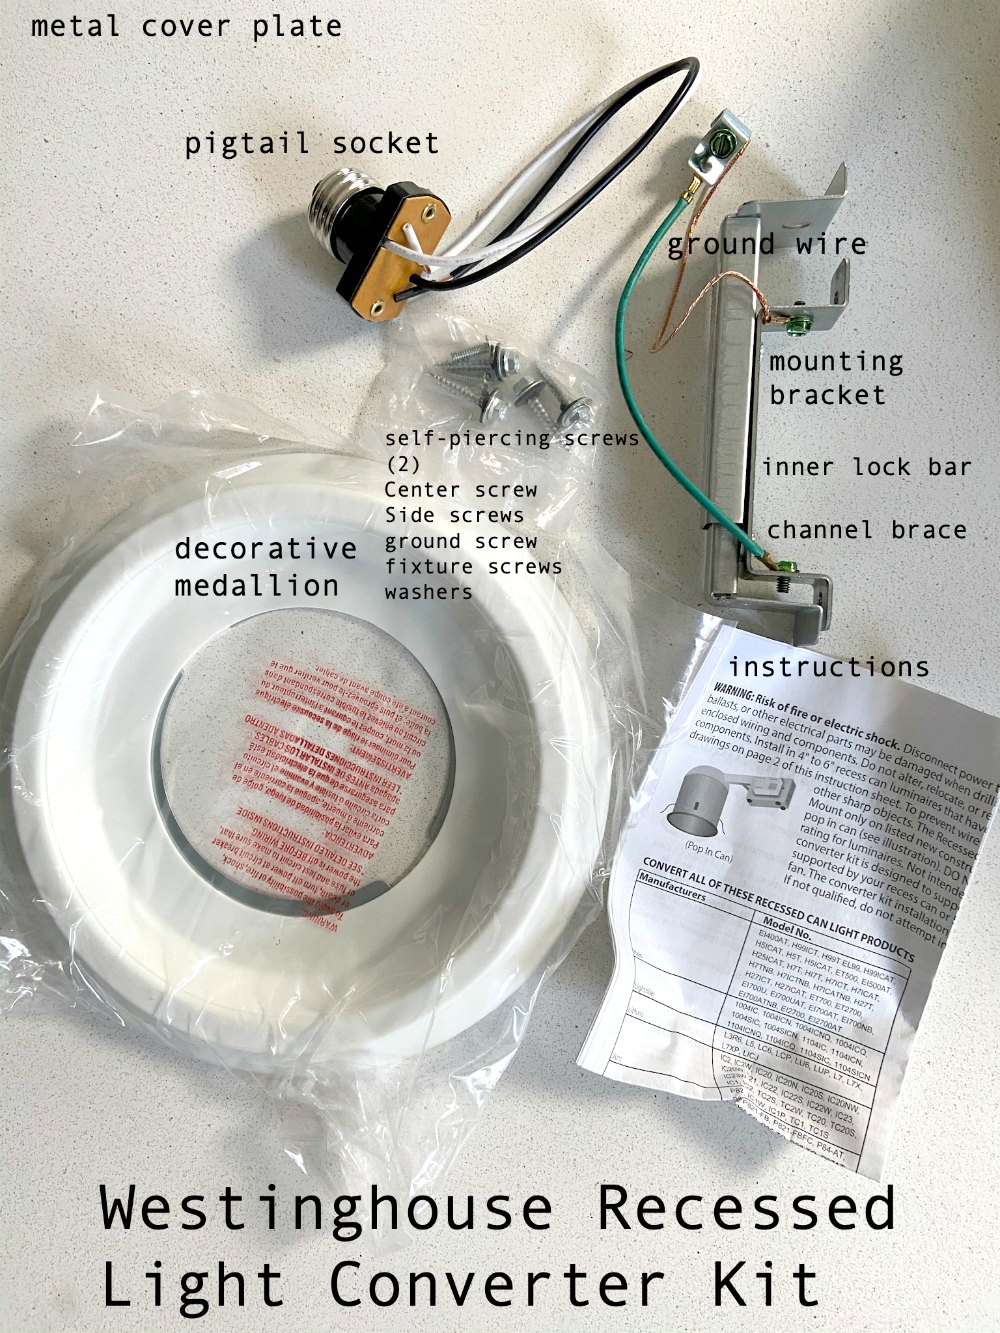
Westinghouse has the full instructions on their website, but I thought it would be helpful to show you pictures of the steps along with what we did to convert our recessed can lights into beautiful pendant lights!
How to Change a Recessed Can Light into a Pendant Light
Switch Circuit Breaker Off
The most important step is to switch the circuit breaker off. Also flip the light switch off just to be safe.
Take the Existing Can Light Out
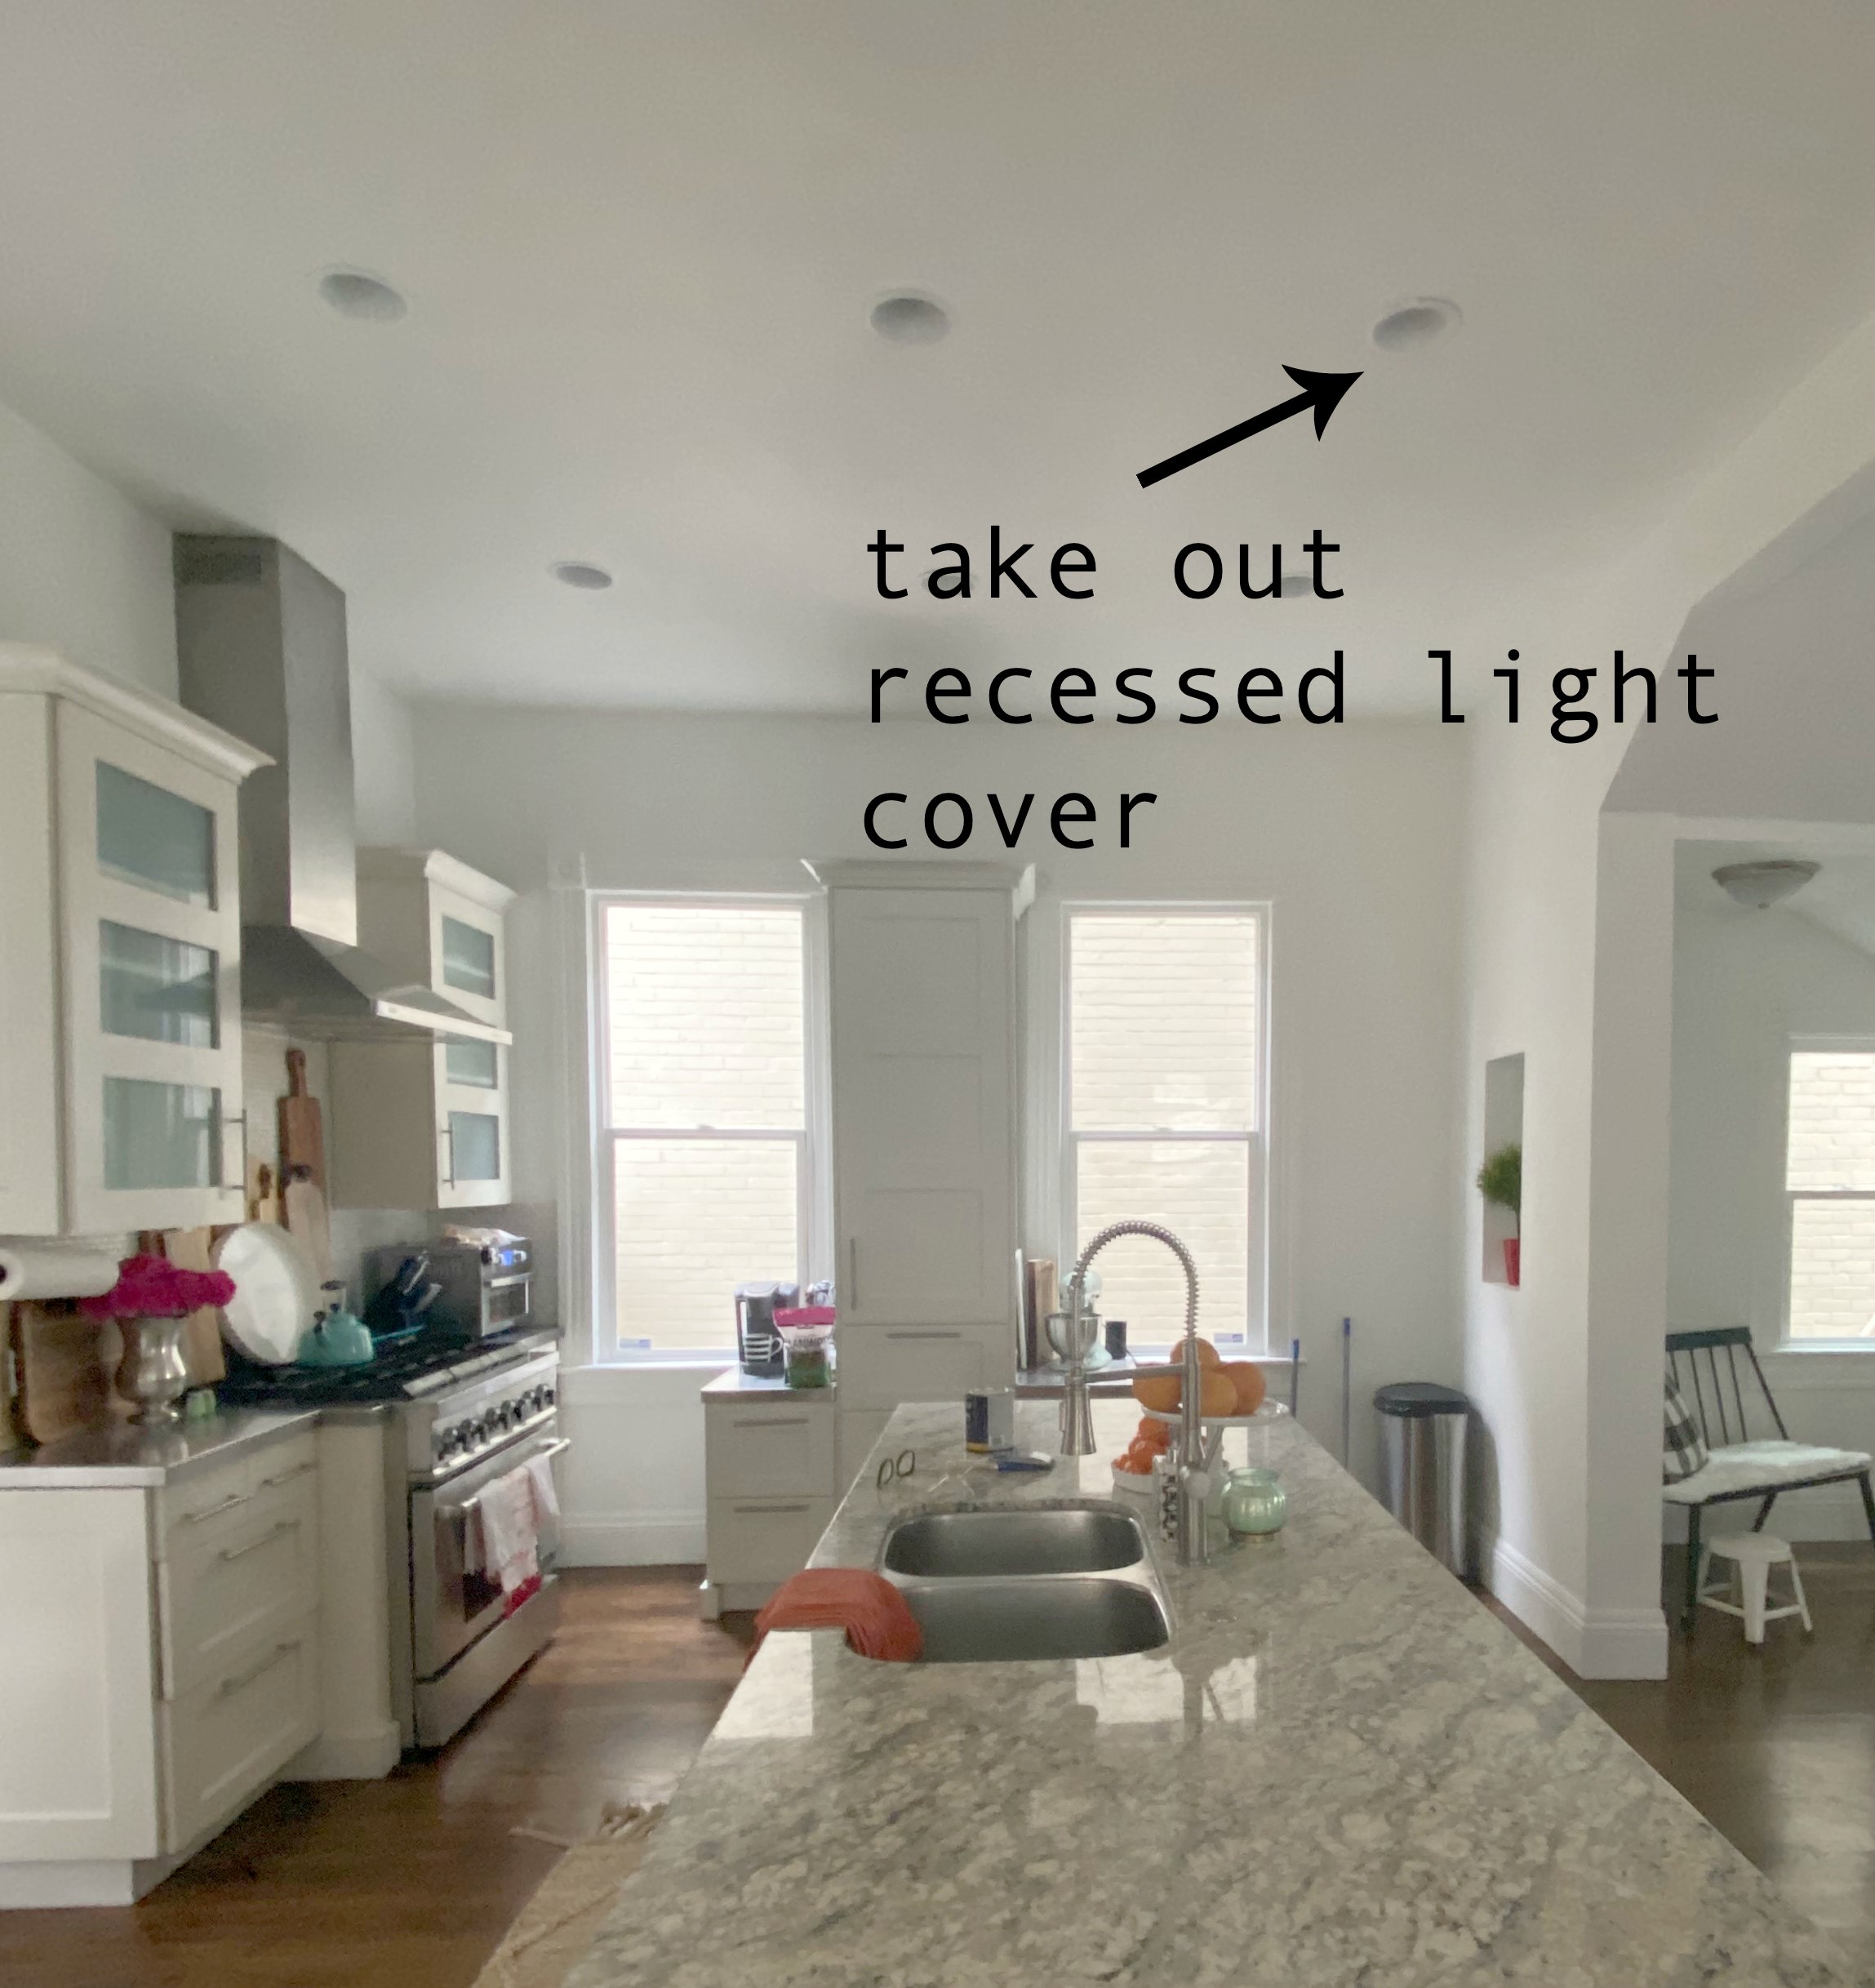
Pull the existing can light out of the ceiling, leaving the metal housing. The process of taking the light out will depend on the brand or type of recessed light that you have. We had to pull the light out a few inches and then push down on brackets behind the front of the fixture to get the fixture out of the ceiling.
Insert the Socket Pigtail

Screw the socket pigtail into the recessed can socket. No need to touch existing electrical wires.
Fit the Brace to the Recessed Light Opening
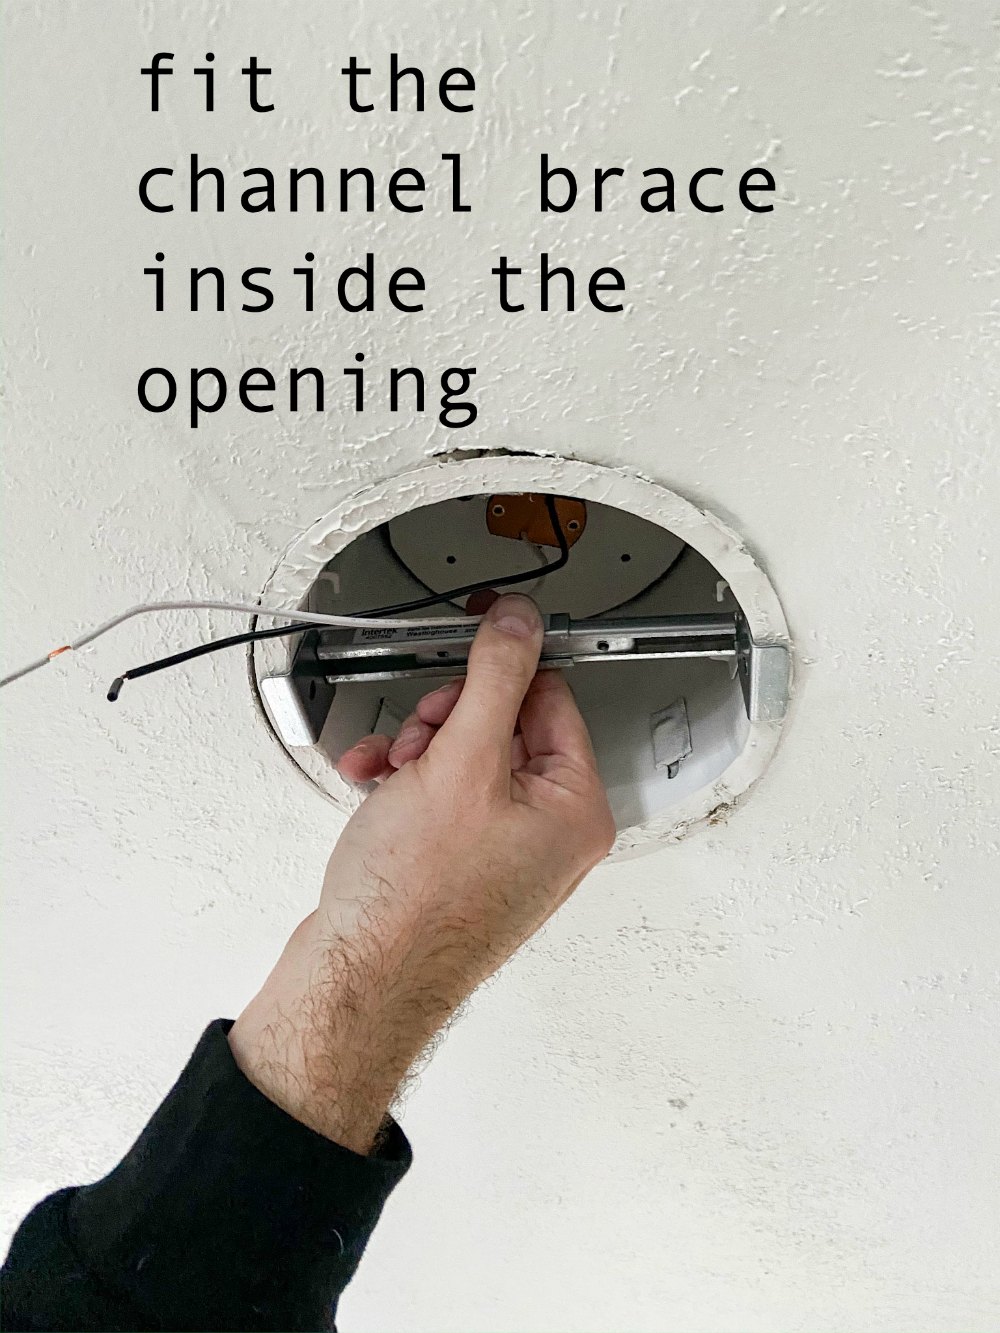
Take mounting bracket and remove the two 1/4″ long side screws. This will allow you to fit the bracket to the size of your can light’s width in the ceiling. Raise the brace into the can light opening. Adjust the brace to fit along each side of the opening.
Secure the Channel Brace to the Recessed Light Housing
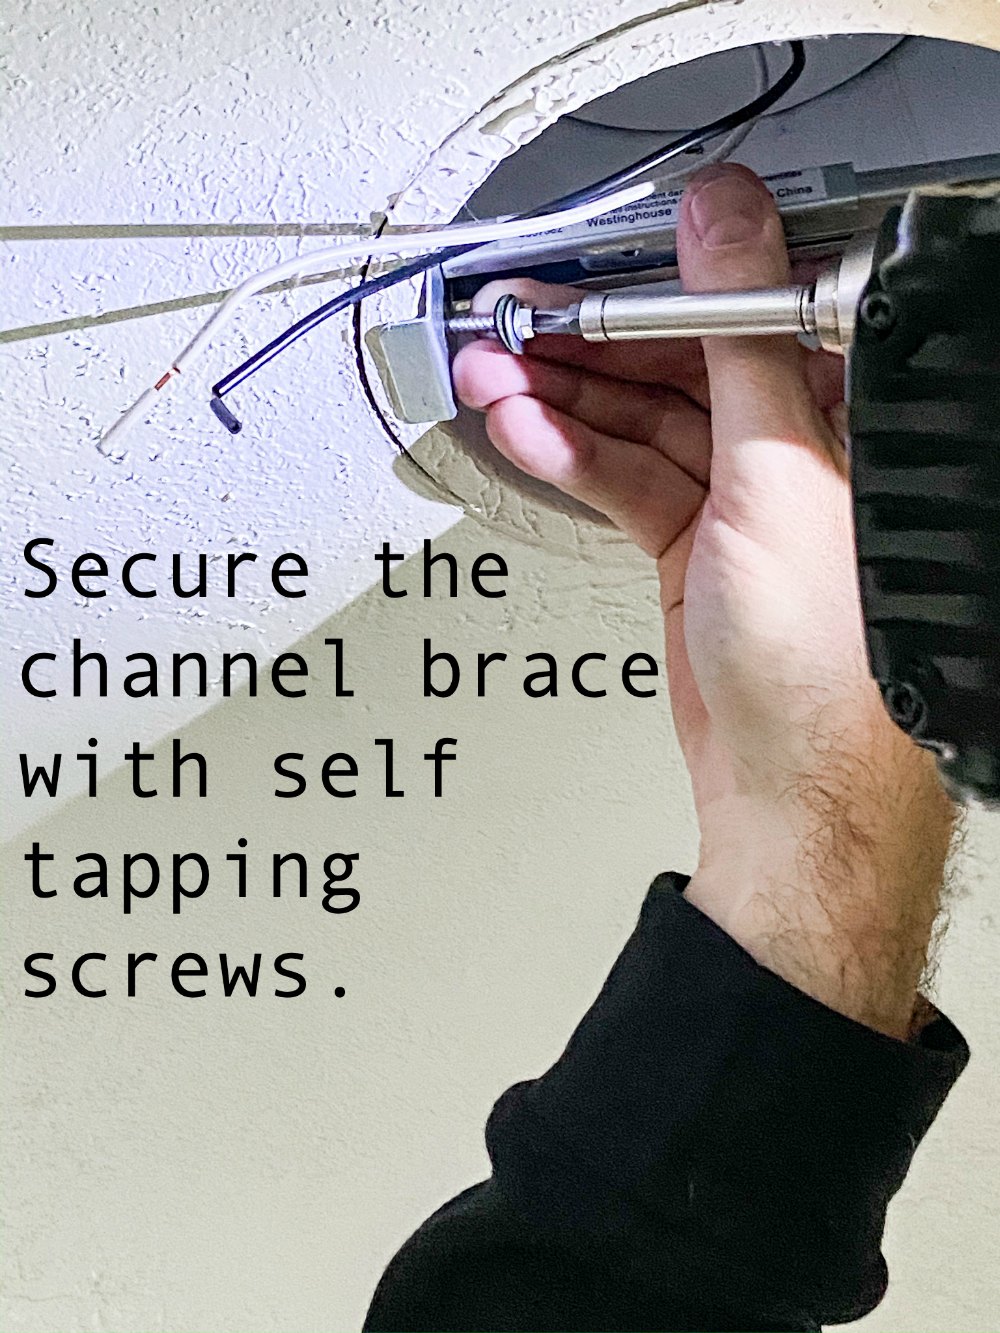
This is where the self-piercing screws come in. There are screws that come with the kit, but based on the reviews we bought our own screws. Screw the brace to the recessed light housing. One screw through the hole in each end of the brace, piercing through the metal of the metal recessed light housing.
Install Mounting Bracket
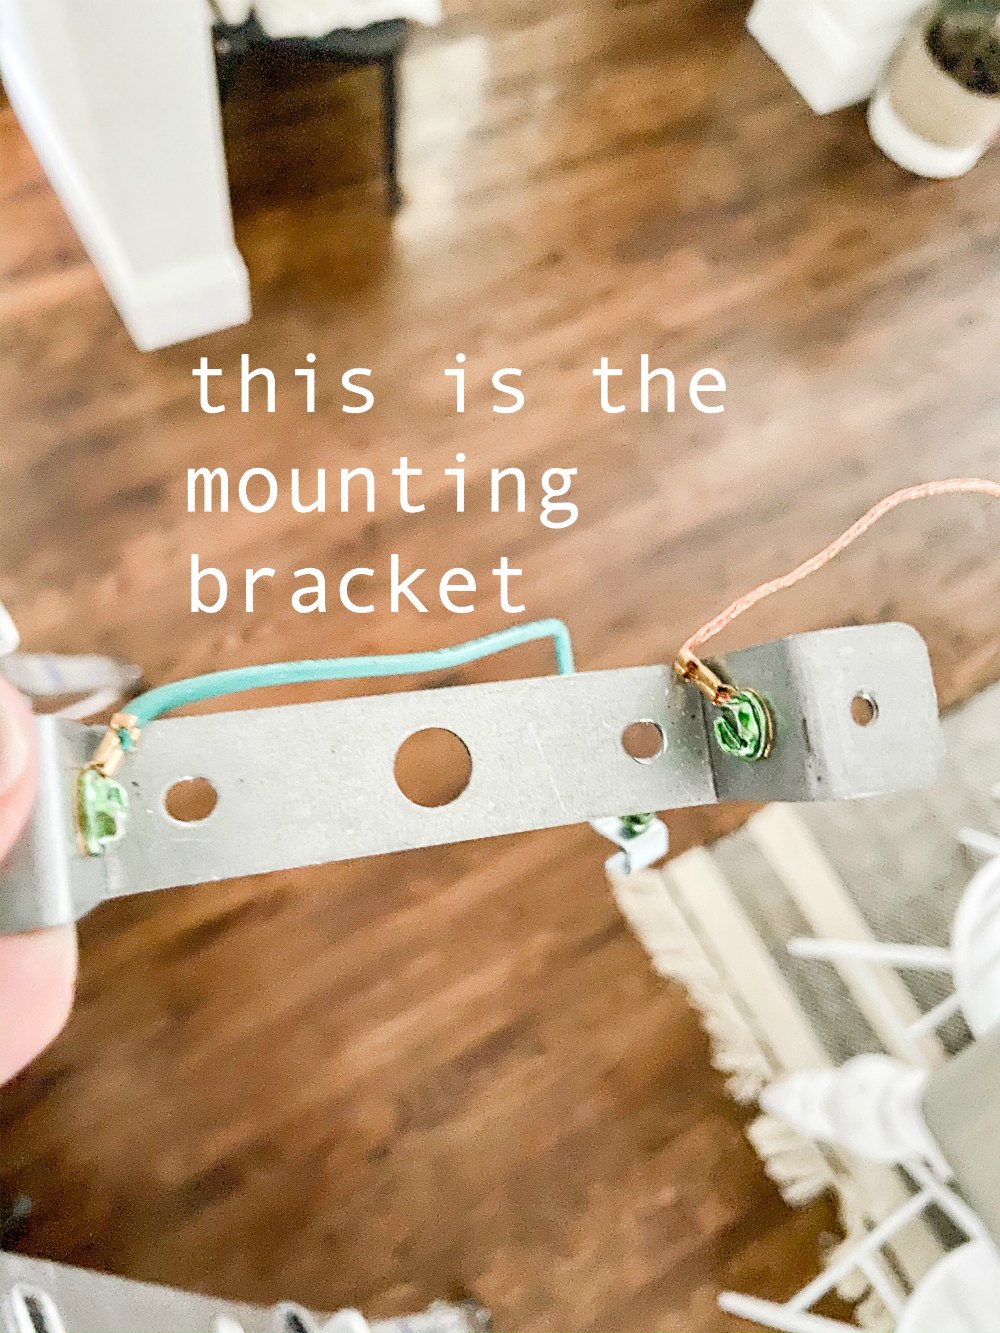
Now you install the mounting bracket on top of the brace. Use the two side screws to secure the mounting bracket to the brace. If you have a 5 or 6 inch can you also use a washer with the screw. If you have a 4 inch recessed light fixture, don’t use the washer.
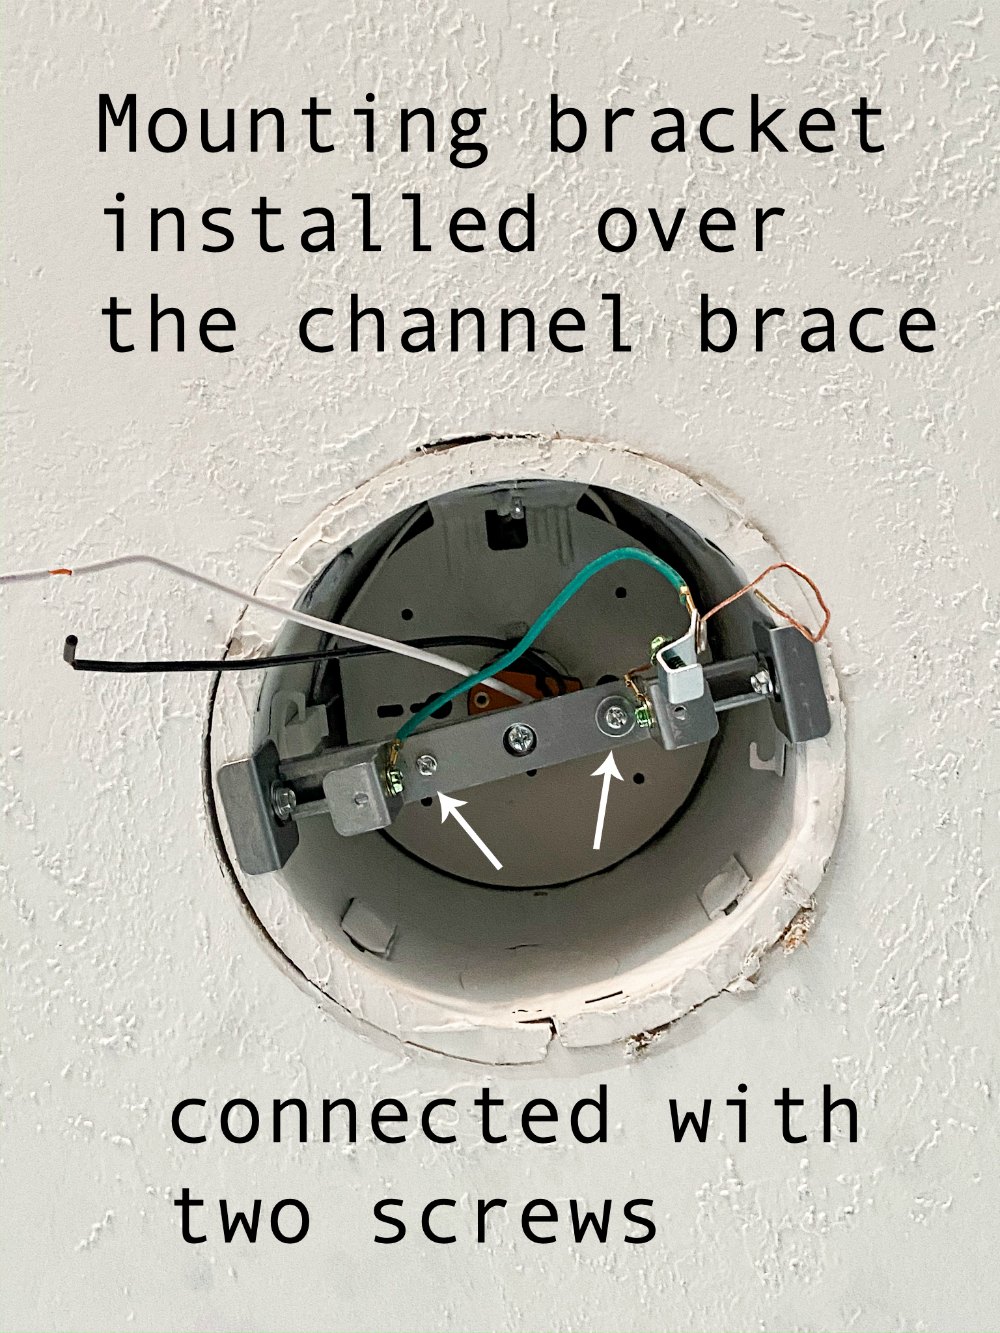
Connect the Ground Wire
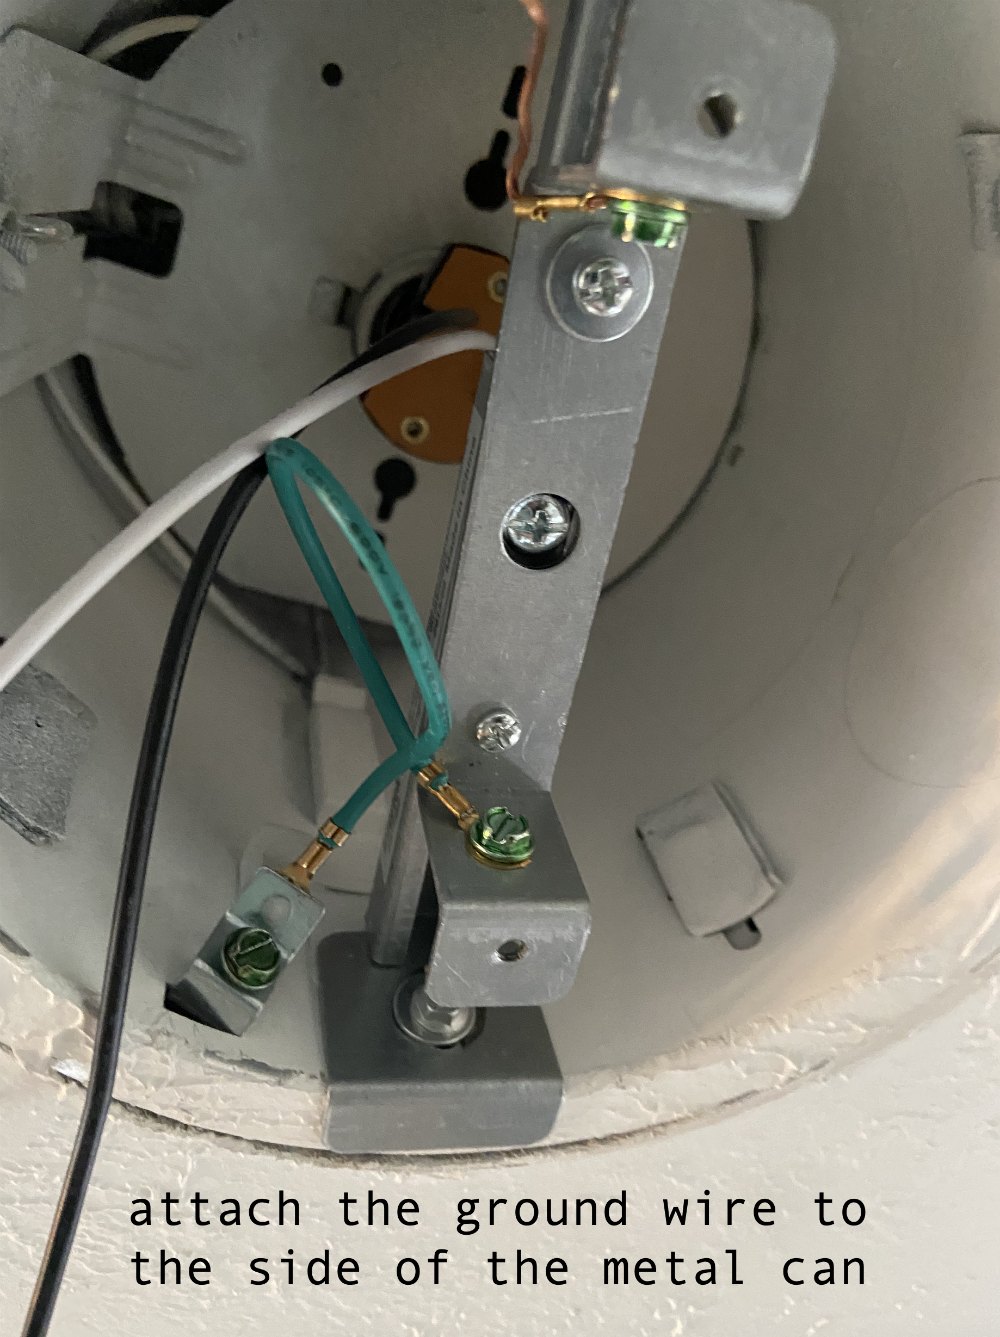
Connect the green ground wire with screw to the side of the recessed can using ground screw.
Install Cover Plate
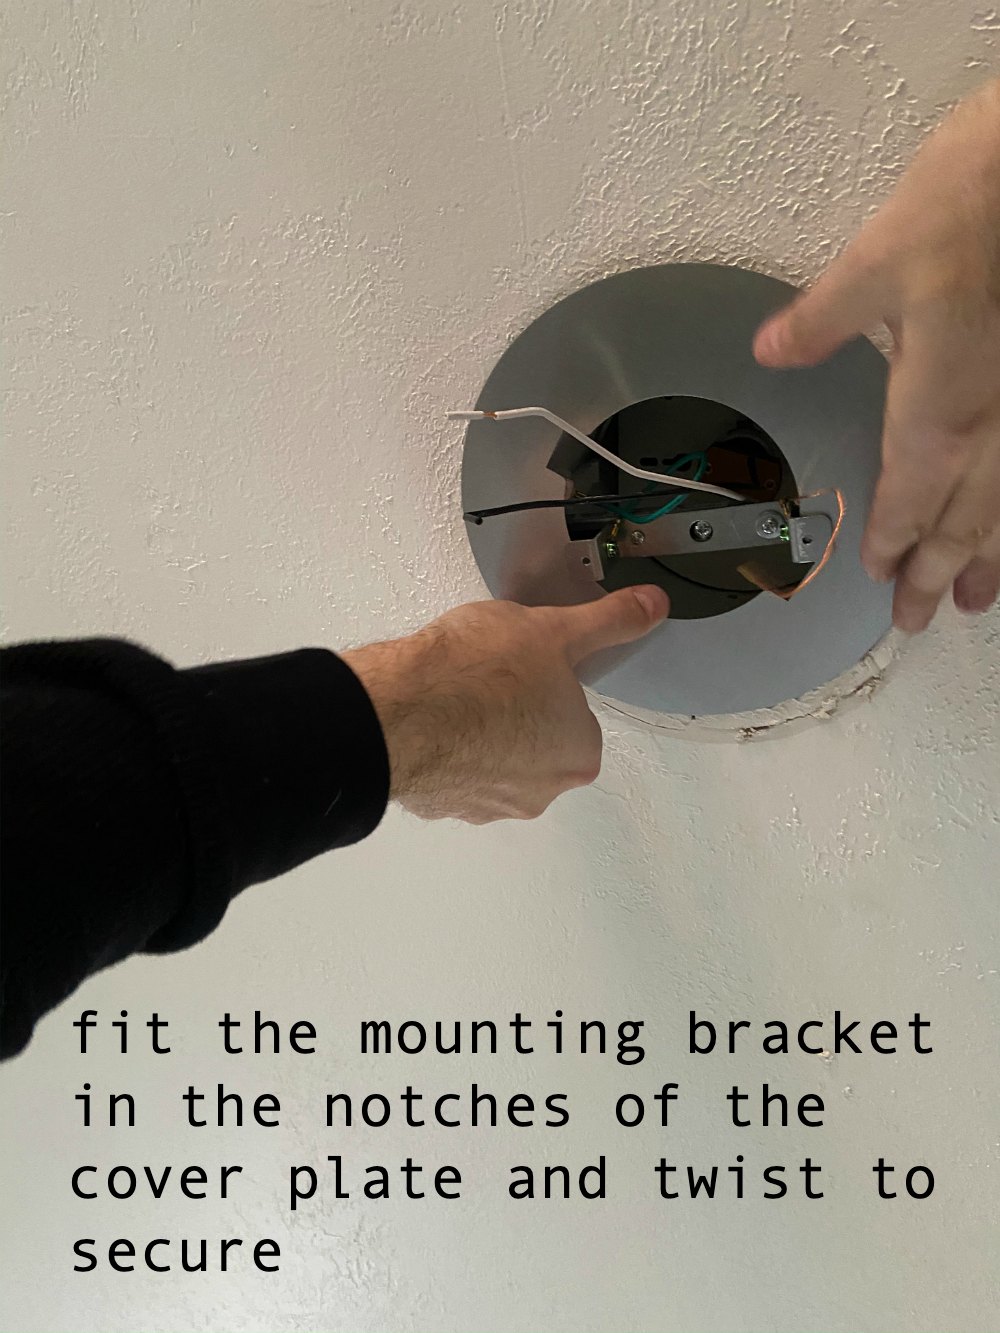
Place the cover plate over the can light opening and rotate it until it locks in place. Make sure the mounting bracket holds the metal cover plate in place. The mounting bracket has holes that go through to the channel brace and secures your fixture to the ceiling.
Attach Your Light

Now this part will differ for people, depending on what type of fixture you are installing. If you light has a mounting bar, this is the time to attach it. Two long mounting screws are included that you can also use to attach your light fixture.
Add Medallion
Optional. If you want to use the medallion, you put the medallion over the cover plate and pull pigtail wires through the opening. This medallion doesn’t attach to the ceiling. It will be held in place over the top of the new lighting fixture, which will hold it in place.
Wire the Kit to Your Light Fixture
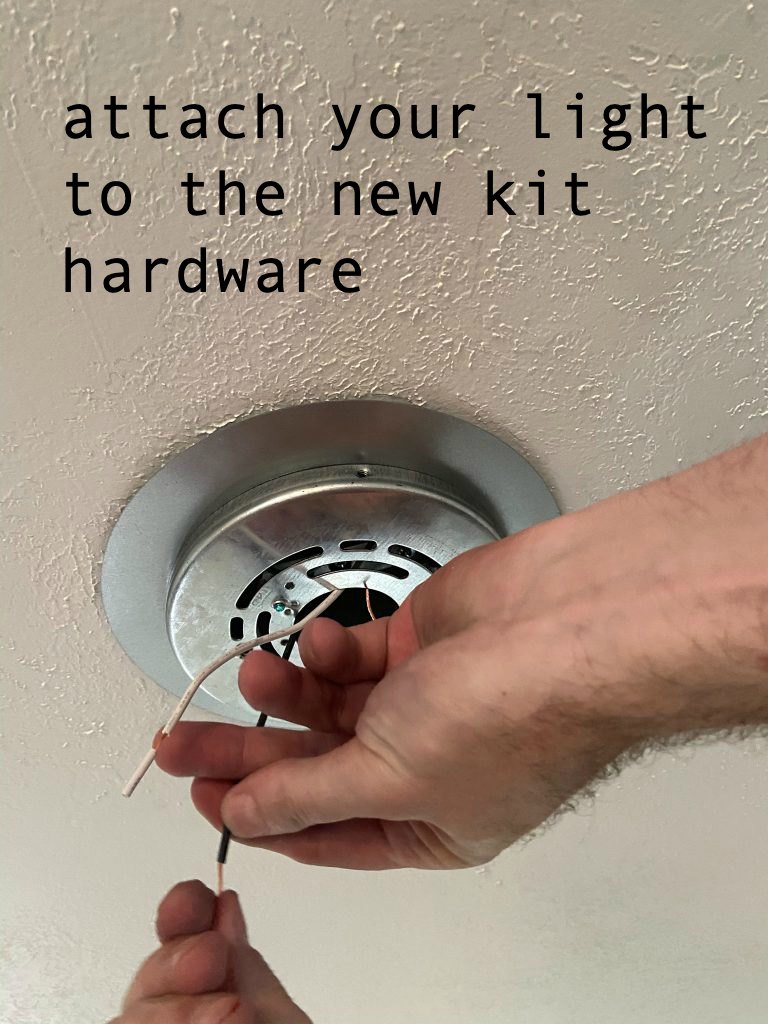
Connect the electrical connections of the socket pigtail to your new lighting fixture. Your fixture should come with twist-on wire connectors. If you aren’t familiar with installing ceiling fixtures, have a professional do this for you.
Hang up Your New Pendant Light or Chandelier

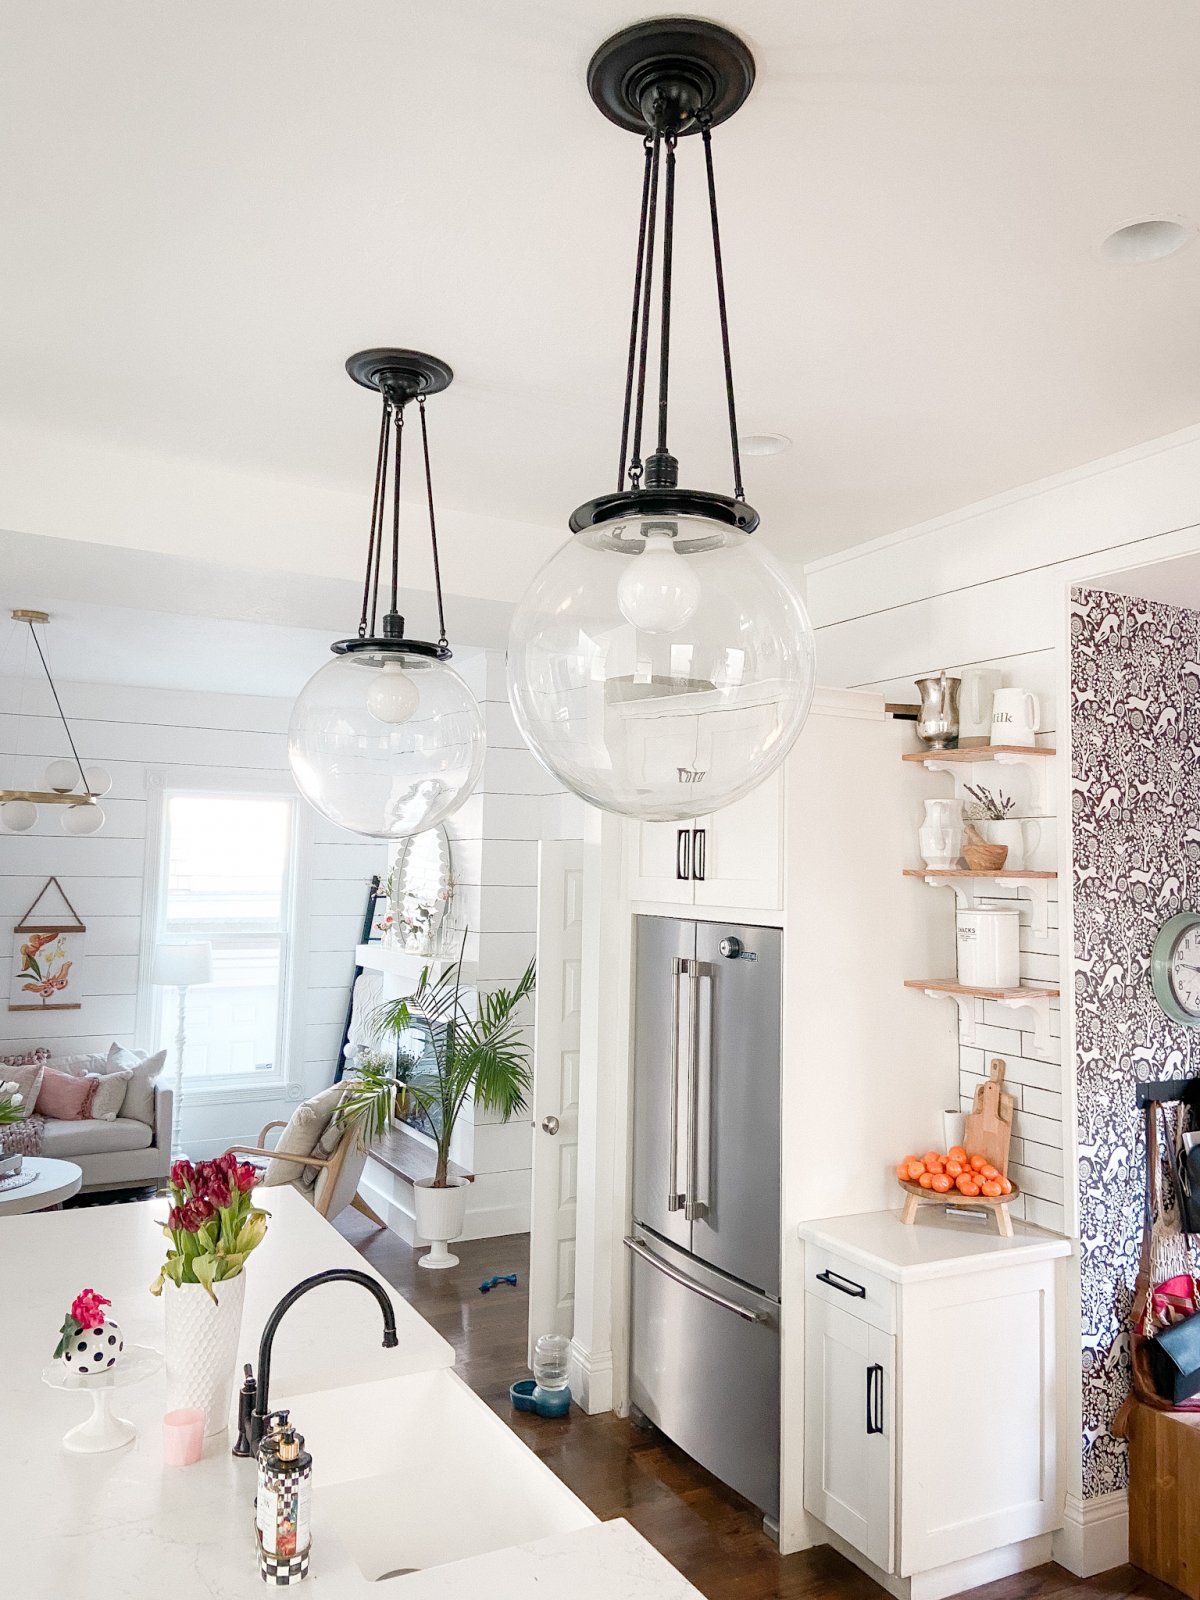
Use the instructions to install your new light onto the fixture, screwing the new light fixture mount into the Since this projects was posted we completed our kitchen remodel! During the remodel process we decided we needed bigger pendant lights so we bought these globe pendant lights. I think they are perfect for the scale of the room. We used the same Westinghouse converter kit that we used to hang the smaller lights to hang these giant pendant lights. They have been hanging up for about a year and we have had no problems! I did use medallions with these lights to cover the old recess openings and love the way the medallions look with the lights! Comment below if you have any questions – I would love to answer them!!
Follow Along With Our 1891 Remodel!

We are remodeling our beloved 1891 home. Follow along with our projects in real-time through @tatertotsandjello on Instagram!
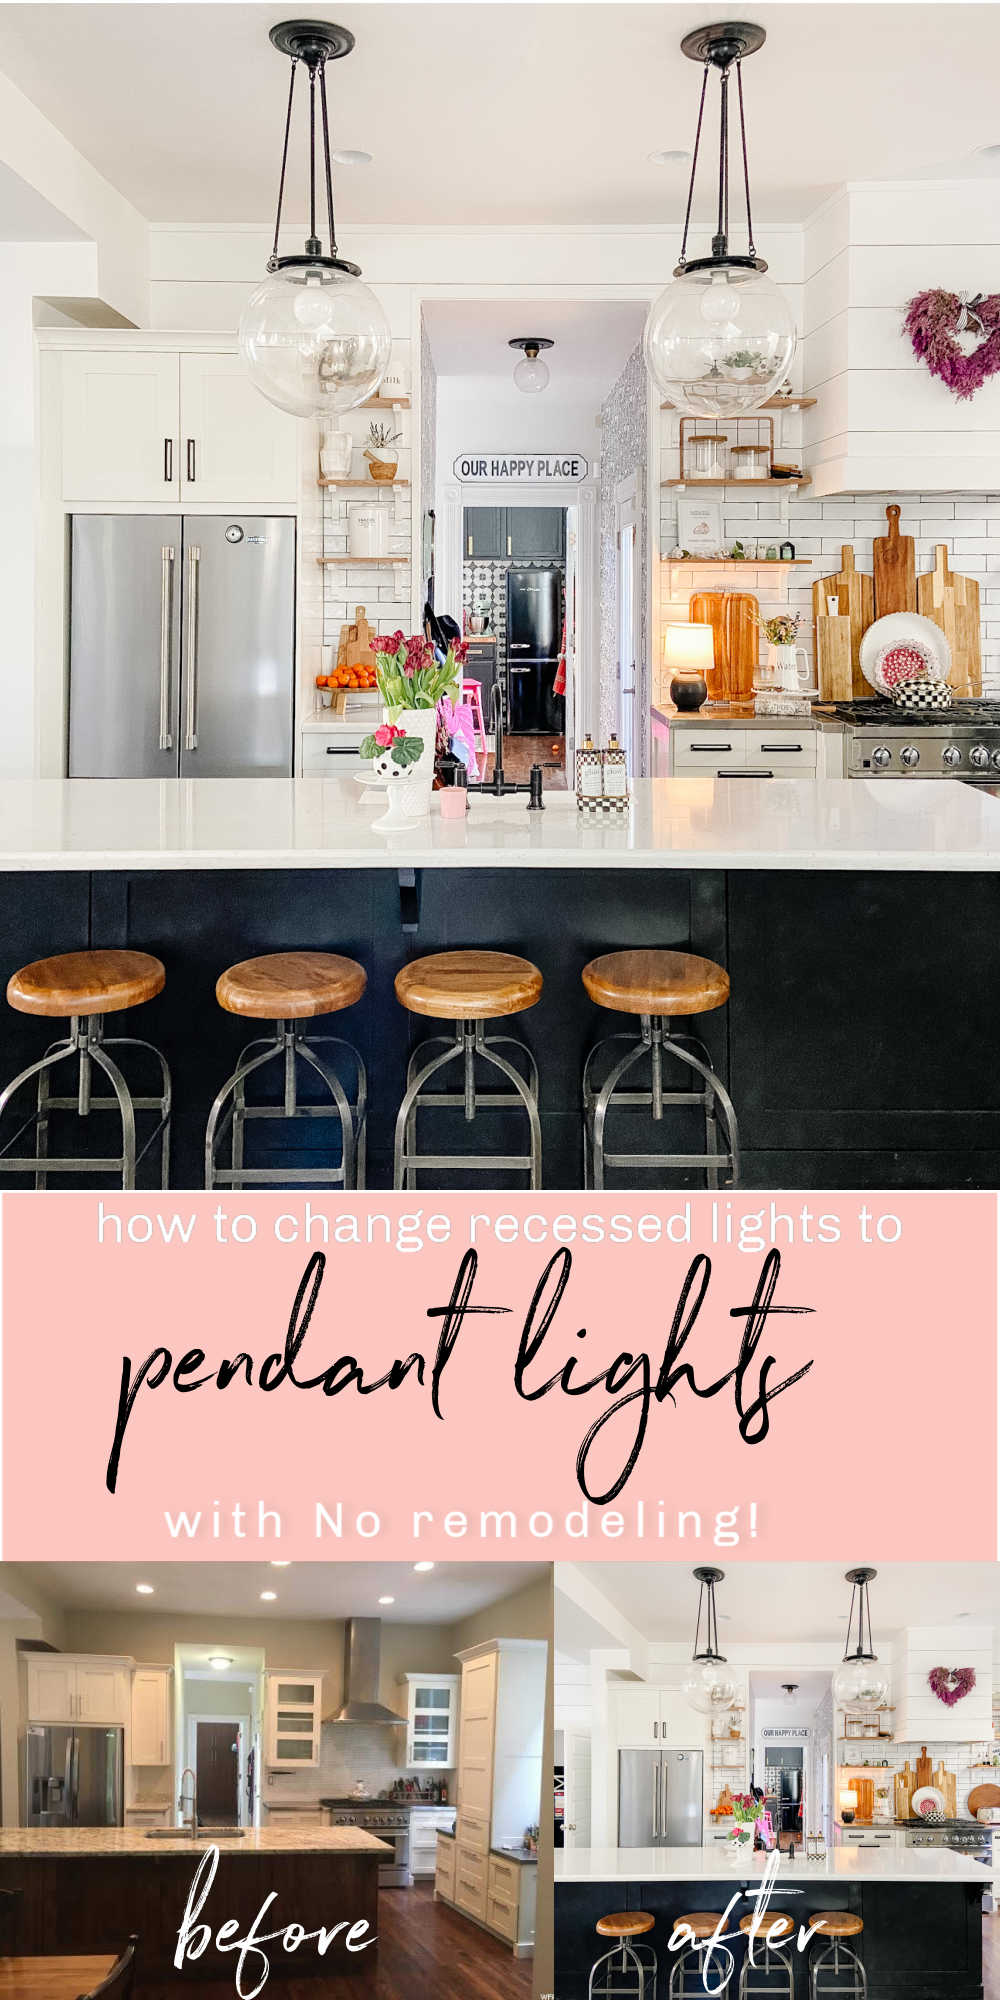
Pin How to Turn Recessed Lights into Pendant Lights for Later!
Here’s a pin with all of the steps. Pin it to do later!

Or this one!
Have a Beautiful Day!
xoxo


Hello! This is so beautiful and very helpful as we’re looking to do white cabinets/darker island similar to yours. I’m wondering if your cabinets on the other side of the island are white or if you painted them to be the same as the darker island? I’m having a hard time what would look better. Thanks for your tips!
Hello! Maybe I’m blind but can you tell me where you purchased the light fixtures with clear globes? They are amazing!! Happy to use a link you provide so you can get credit. Thank you!
Hi! Sure! The globe lights are the “Classic Hood Lights” from REjuvenation 🙂
Just check your blog post, Awesome content. LightAtelier offers LED pendant lights that allow the perfect touch of light for home decor.
Very creative, Loved the idea.
Thanks! It is one of my favorite projects!
xoxo
Just found your blog, you have a great content! Love it, house looks like house of my dreams
Thank you!!