Welcome to the Summer of Paper series – where we’ve invited fabulous guests to create projects using supplies from my Home + Made paper decor line.
- Scrapbook papers: Sweet Mint, Dotted Blossoms, Lovely Lace, and black polka dots from the Home + Made Pebbles paper pack
- Round gold stickers
- Gold metal label
- 8×10 picture frame
- Paper cutter or scissors
- Double sided tape or glue
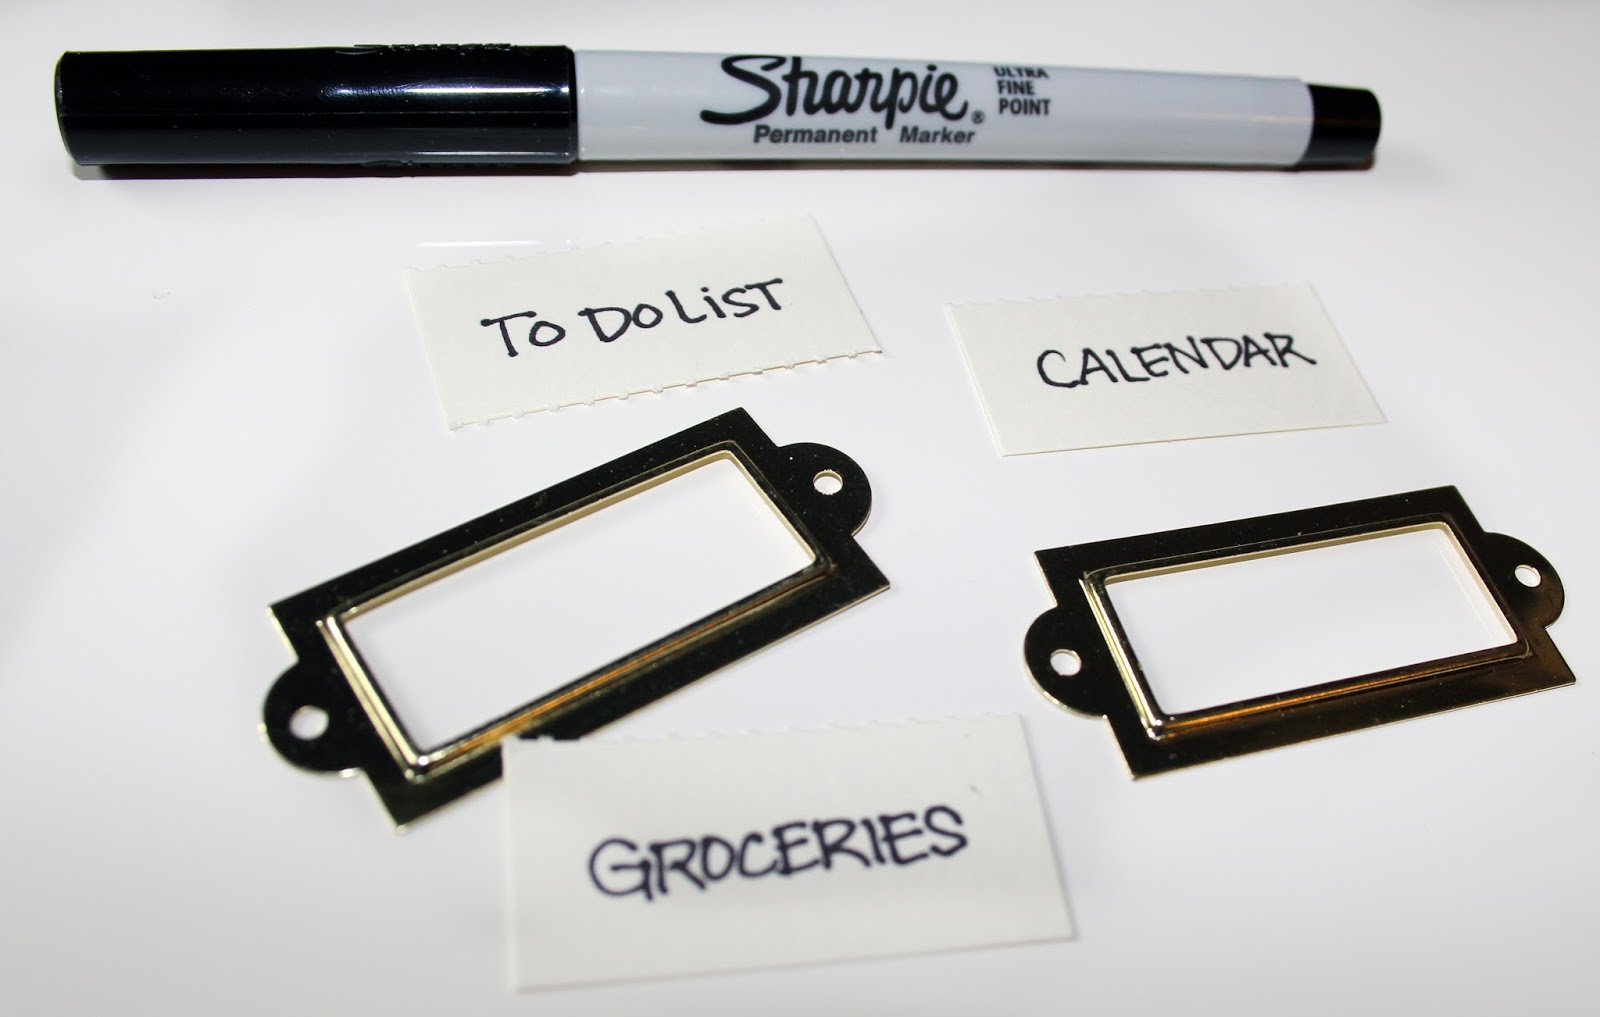
- Sharpie
- Screwdriver
- Dry erase marker
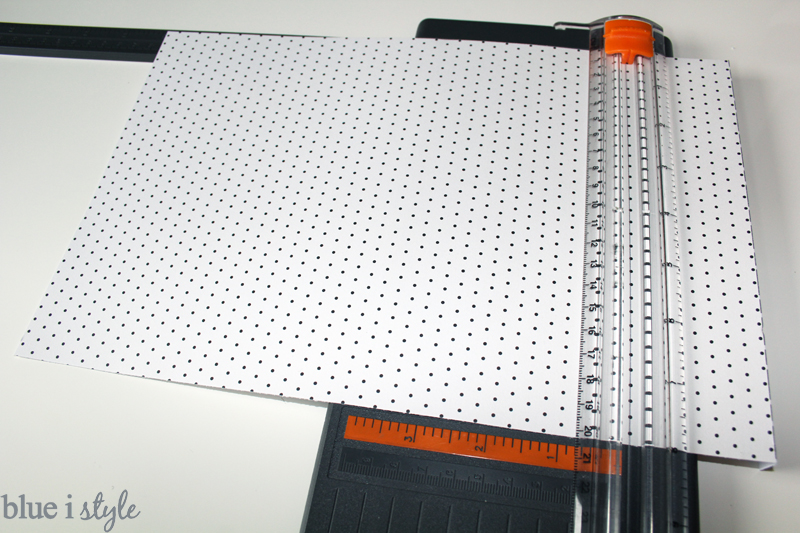
I used my paper cutter to cut the polka dot paper to fit inside the frame {though scissors would work just as well}.
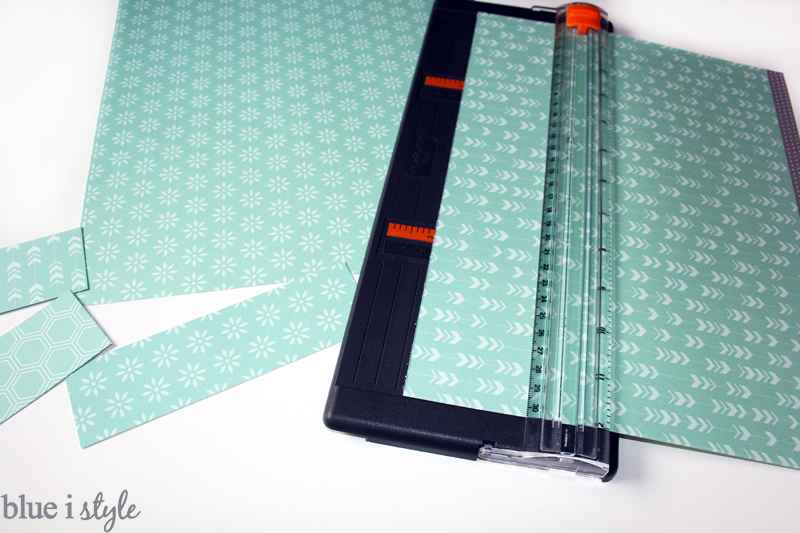
Then I cut 7 rectangles from a variety of double-sided aqua scrapbook papers from the Home + Made collection. I cut one 6.5″ x 1.75″ rectangle, and six 3″ x 1.75″ rectangles.
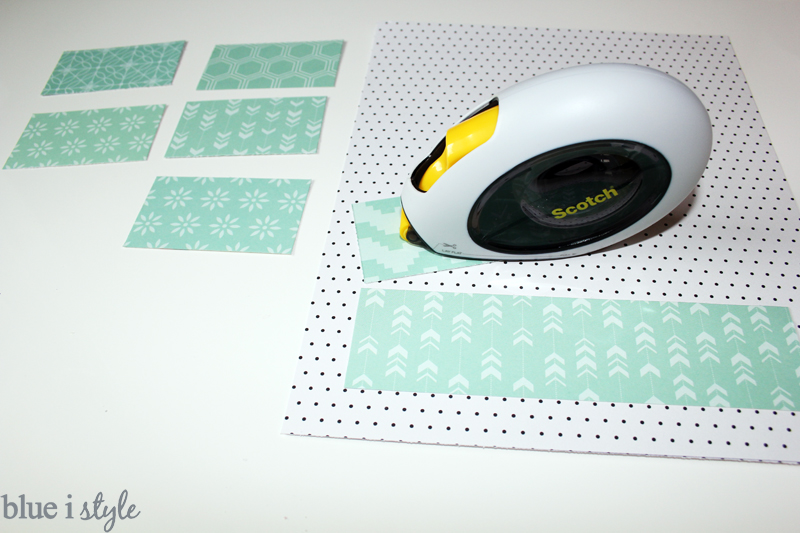
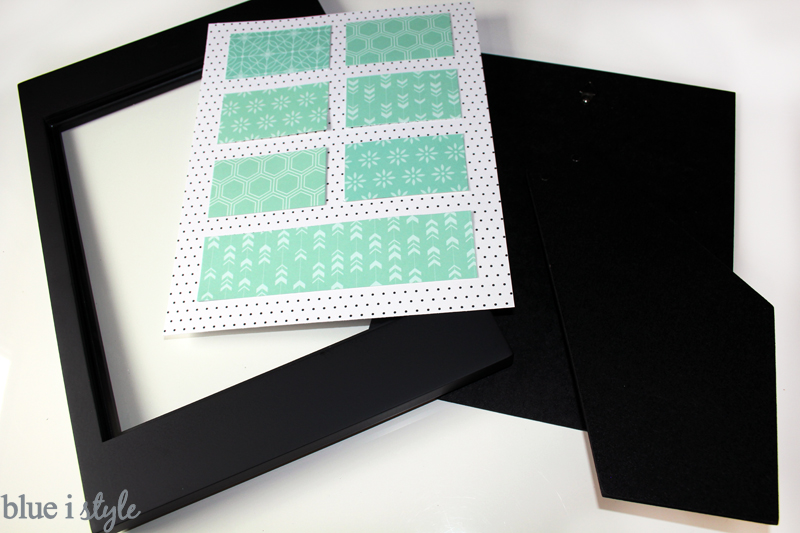
I placed the rectangles on the table next to the background paper to decide on the arrangement I liked best, then I applied two strips of double-sided tape to the back of each rectangle and stuck them to the background paper.
I placed the paper into the picture frame, behind the glass, and then replaced the back of the frame.
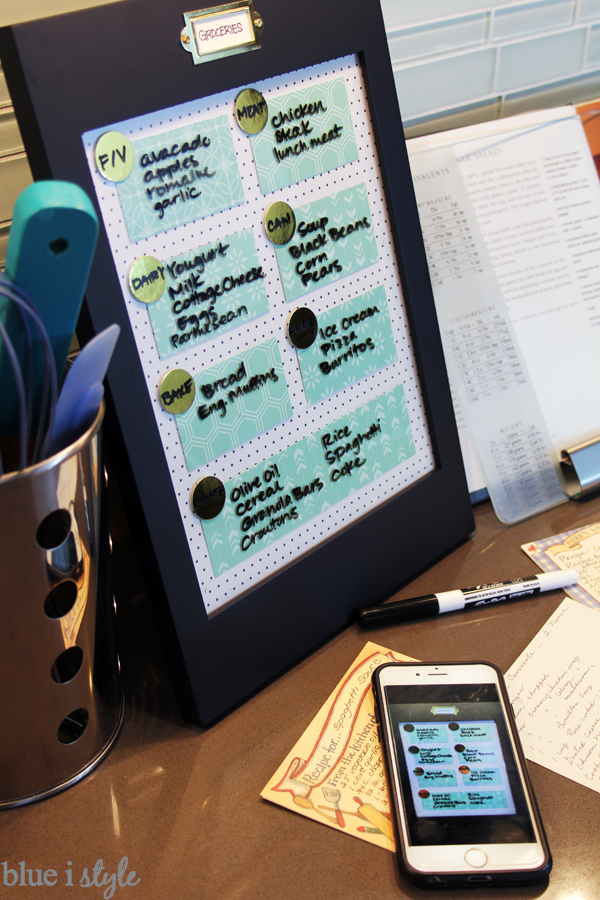
Glass works perfectly with dry erase markers, but I decided to test out the gold stickers to see if they might also work with a dry erase marker, and sure enough they do! So I stuck seven gold stickers to the glass, one at the top right corner of each rectangle {note that the paper is below the glass, and the stickers on top of the glass}.
Next, I opened a package of gold metal labels, and wrote on the included papers. I plan to use this dry erase memo board for making grocery lists, but it would also work well as a calendar or a to do list, so I went ahead and also wrote out labels for these potential future uses.
I then used a screw driver to attach the a metal label to the top center of the picture frame.
I really love the way this calendar looks sitting next to my countertop mail filing system, so I think a second dry erase memo board will be in my near future!


