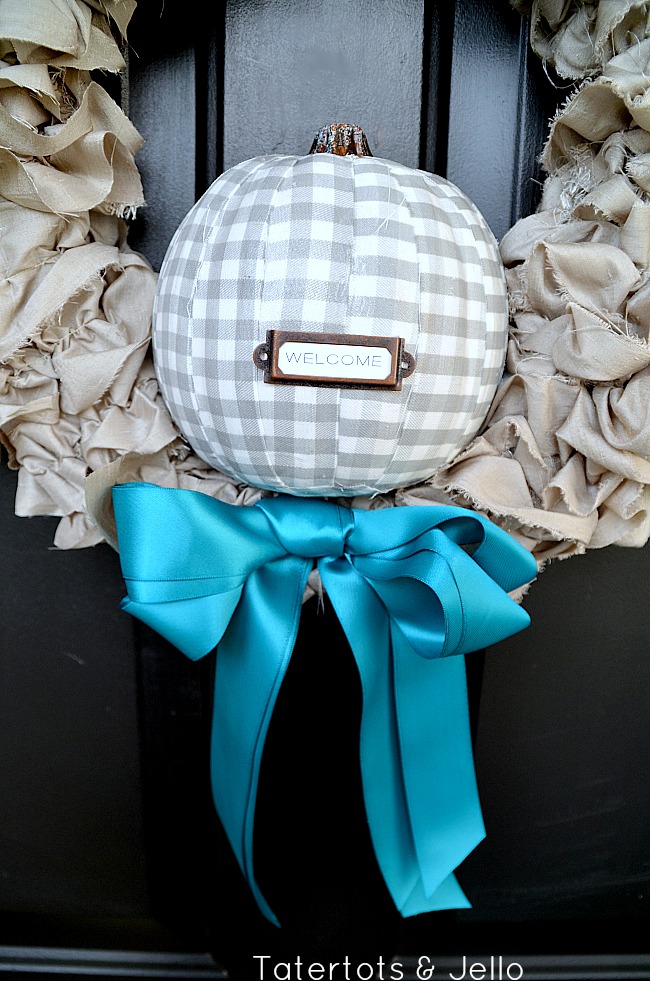
It’s September and I’m SO excited to decorate my home for Autumn with this Plaid Pumpkin Ruffle Wreath!
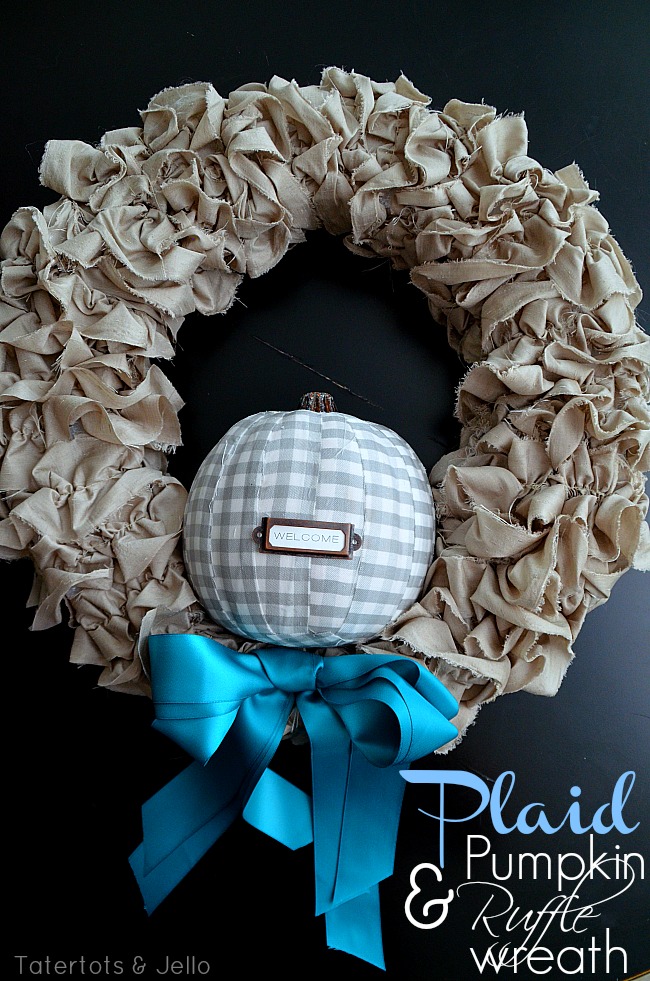
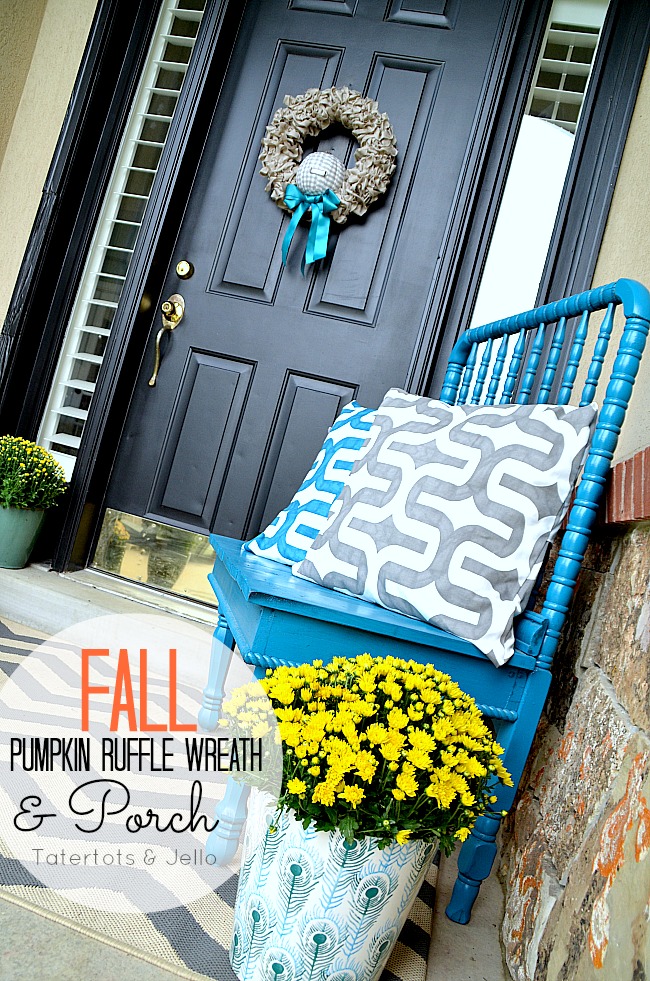
I have a “thing” for wreaths. I think I have made 4 in the past week. I just love them!! Here’s one that I made for my porch for Fall. Michaels Craft Stores send me three of their “carvable” pumpkins and their new hot tool and asked me to create something.
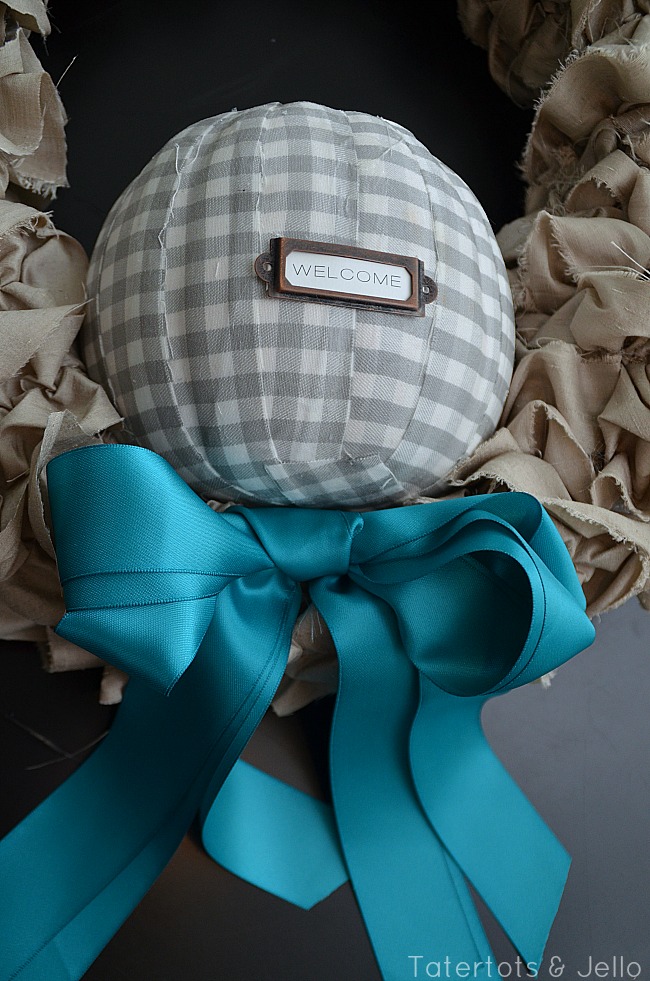
Have you ever tried one of the hot tools? It’s awesome for cutting styrofoam and wreath forms. I knew I wanted to make a wreath with a 3-d pumpkin. So I tried the hot tool. It was amazing. Instead of having to saw the pumpkin in half, the hot tool melts the material and cuts the pumpkin.
So easy!!
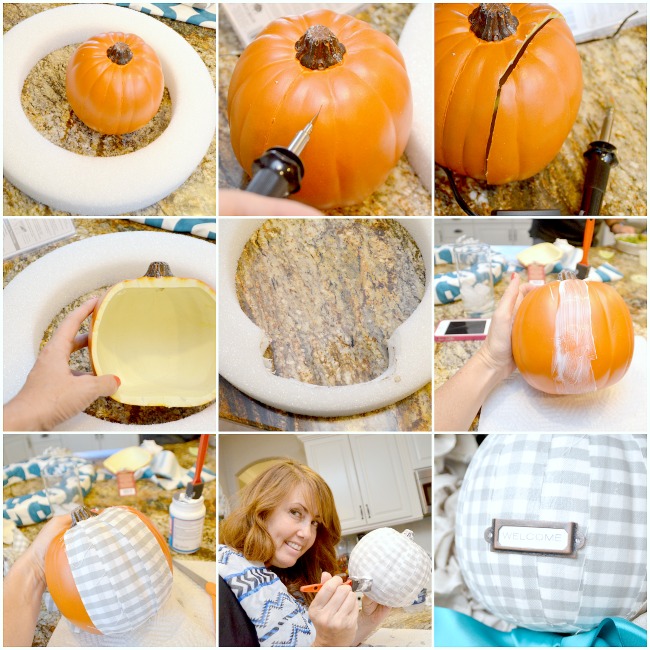
Here’s how to make this 3-d Pumpkin Ruffle Wreath:
- Cut a section out of the styofoam wreath form, to accomodate your pumpkin using the hot tool knife. I used a pen to trace the bottom of the pumpkin onto the wreath form and then I used the hot tool to cut out a section that wide.
- Then make ruffles. I took some left over fabric and created ruflles with my sewing machine. To make ruffles — just set your sewing machine to the highest tension and biggest stitch width. I cut 3 inch wide strips and sewed about 50 feet of fabric. I tore the fabric strips, so the are a little rough and uneven. I like the way they look.
- Then wrap the ruffled fabric around the wreath form, until the whole wreath form is wrapped.
- Cut the pumpkin in half with the hot knife.
- Take plaid fabric and cut 15 6-inch strips of 2-inch wide material.
- Decoupage the plaid fabric onto the pumpkin half with Mod Podge. Put a layer of Mod Podge on the pumpkin and then smooth a strip o fabric over the top of the Mod Podge.
- Once the whole pumpkin has been covered, put a layer of mod podge over the top of the pumpkin and smooth it down with your fingers.
- When the pumpkin has dried, fit the pumpkin into the notch cut out of the wreath form.
- The last thing to do is take some metal labels and print out the word “welcome” and put it inside the label. Then hot glue the metal label onto the wreath.
- Add some satin ribbon to the bottom of the pumpkin.
- Enjoy your FALL wreath!!
And Michaels also will carve a custom pumpkin for you – check it out at your local Michael’s floral department.
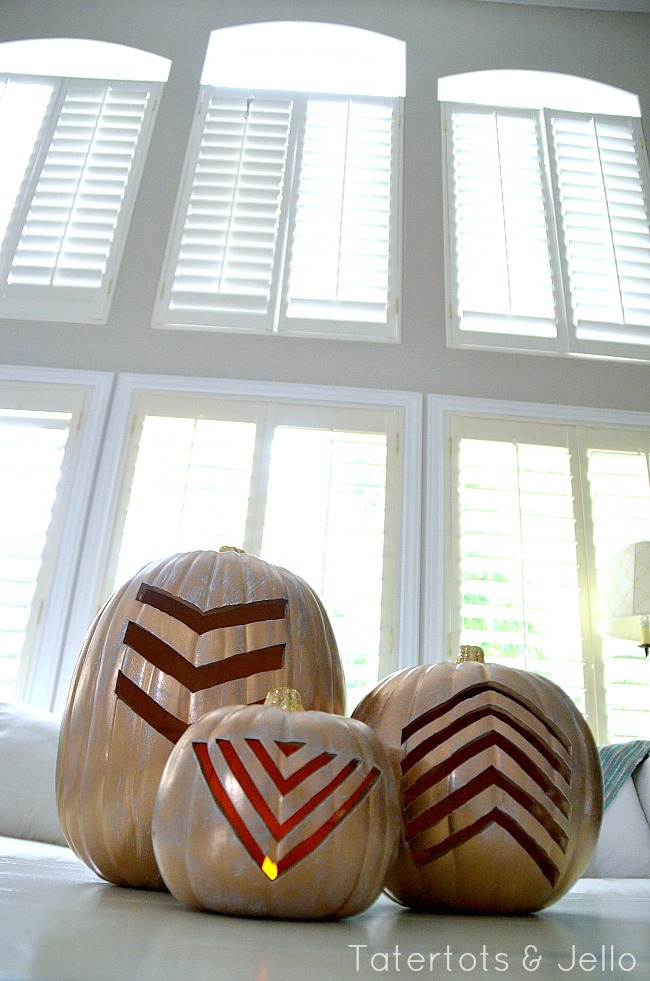
And, speaking of the hot tool – I also made three Tribal Halloween Pumpkins with the hot tool, a DecoArt stencil and gold paint.
I will be sharing the tutorial on these tomorrow!!
Have a Creative Day!!
xxo

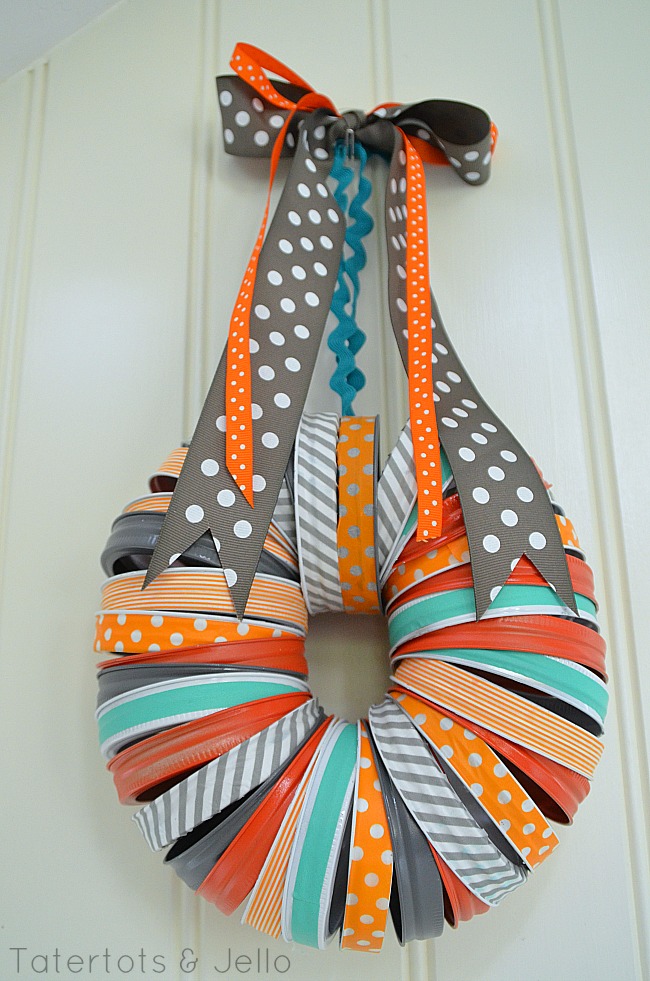
PS — I am sharing another fun wreath idea over at Eighteen25 for their September SPOOKtacular!

It’s a Colorful and Happy Washi Tape Wreath.
Come over and check it out!
Disclosure – Michaels provided the supplies and a gift card for this project. I only post about products or companies I love. For more information, see my disclosures.


Can I ask where found your adorable fabric that you covered the pumpkin with?
Should not watch a movie and post a question at the same time. ;o)
love the fabric wrapped pumpkin idea!
This is really great! I love that it’s totally unique and different than anything I’ve seen.
Love, love, love the wreath…isn’t that heated knife the best! Heading over to check out the jar lid wreath!
Omgosh this wreath is beyond adorable! I know mine won’t turn out like yours! Let us know if you’re taking orders! 🙂
We’re can I find the washi tape wreath you show at the end of this post…it’s awesome! I can’t find it anywhere!
Oh Jen- these are so cute. I too have been in full fall decorating mode. I think I made 3 or 4 different projects just yesterday. I can’t help myself. 🙂
Hope you are having a great holiday weekend!
I love this! I have to make a wreath this week, and I love the creativity put into this one!!
I LOVE this!!!! Fall is my favorite time of year and I LOVE decorating for it. This is so cute
Thanks Brianna!! I really love it too. Happy Fall!!
xoxo