Tatertots and Jello

COLORFUL HAPPY HOME -- Daily DIY, Decor, Craft and Recipe Tutorial

  • My Home
    • 1905 Cottage
    • Daybreak House
  • DIY
    • DIY Projects and Ideas
    • Organizing
    • Tutorials
    • Printables
  • Decor
    • Spring Projects
    • Summer Projects
    • Fall Projects
  • Crafts
    • Kids Crafts
    • Painting Projects
    • Paper Projects
    • Sewing
    • Wreaths
  • Holidays
    • Valentines Day
    • Easter
    • Halloween
    • Thanksgiving
    • Christmas
    • HAPPY Holidays Series!
  • Recipes

Explore

  • my home
  • diy
  • decor
  • crafts
  • holiday
  • printables
  • recipes

Connect

Home » christmas » HAPPY Holidays — DIY Photo Christmas Ornaments

christmas, decorating, diy, holiday, tutorial · November 26, 2012

HAPPY Holidays — DIY Photo Christmas Ornaments

Tatertots & Jello is a participant in the Amazon Services LLC Associates Program, an affiliate advertising program designed to provide a means for sites to earn advertising fees by advertising and linking to amazon.com.

Hello friends of Tatertots and Jello. I’m Melissa from No. 2 Pencil, and I am so excited to be here again, and to be contributing to Jen’s Happy Holidays series. There are so many great ideas and I’m thrilled to be a part of the fun. Today, I’m sharing a fun gift idea that everybody on your list will love, DIY Holiday Ornaments made from dollar store picture frames.

Here is what you will need to get started:

Supplies

Wallet size picture frames from the dollar store

Acrylic craft paint in your choice of colors

Mod Podge – Glossy Formula

Super fine glitter in colors coordinating to paint

Hot glue gun

Hot glue

Paint brush

Small container for mixing

Twine or ribbon

Step 1: Gather your supplies. Disassemble frames and set glass, cardboard insert, and frame back aside.

Step 2: Paint frame with two coats of craft paint. Let each coat dry.

Step 3: In a small container, mix Mod Podge and a generous amount of glitter together. Brush two coats of glitter mixture over frames, letting each coat dry.

Step 4. Once frames are dry, reassemble frames with picture inside. Hot glue twine or ribbon to the back of the picture frame. I also popped the easel piece off the back of the frame so it would not be too bulky hanging on the tree. For vertical pictures, insert picture upside down and glue the hanger to the bottom of the frame. This will keep the glass from sliding out of the frame.

This year, I’m planning on incorporating yellow on our Christmas tree, so I made these green, red and yellow frames to keep. I loved how they came out so much, I made a set for my sister too. She’s going to have a pink tree this year! I just grabbed these pictures off her Facebook page and had them printed on wallet size prints to surprise her.


These DIY Christmas Ornaments make a super cute, budget friendly personalized gift. They are so colorful and glittery, and mixing the glitter into the Mod Podge assures that the glitter stays on the frame and not on your floors.


If you like this project, I’d love for you to come and say hi. Over at No. 2 Pencil, I share creative ideas for crafts, DIY projects and cooking.


Those ornaments are so cool Melissa!! 
Thanks for the tutorial. 
No. 2 Pencil blog is my new blog crush. 
Here are some of Melissa’s great ideas: 
 
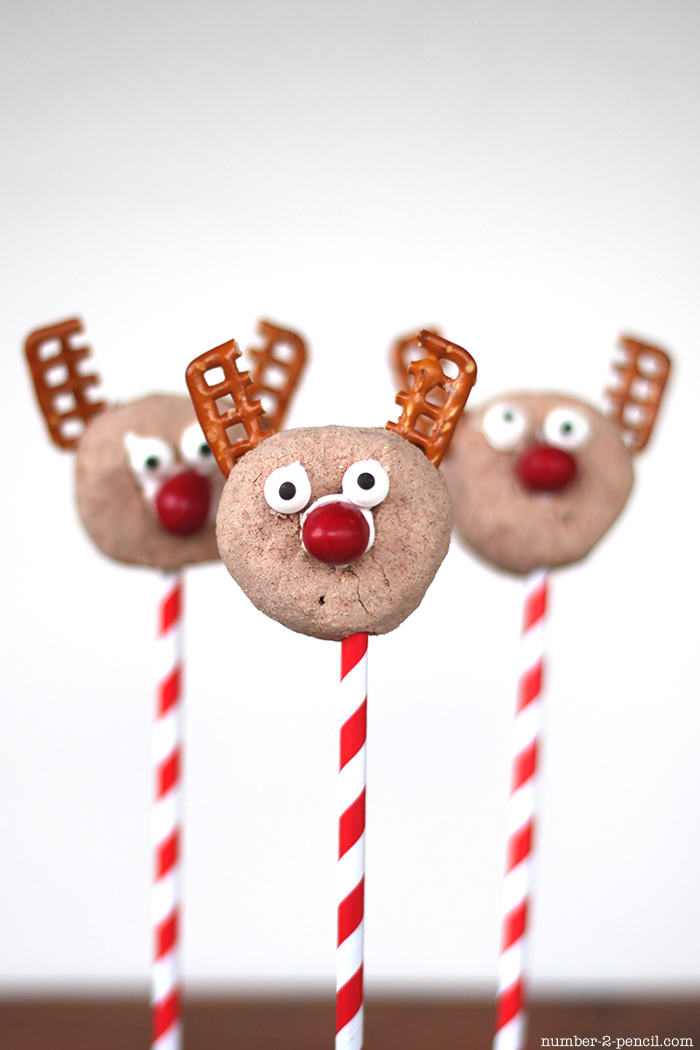
A great Holiday treat — Reinder Donette Pops
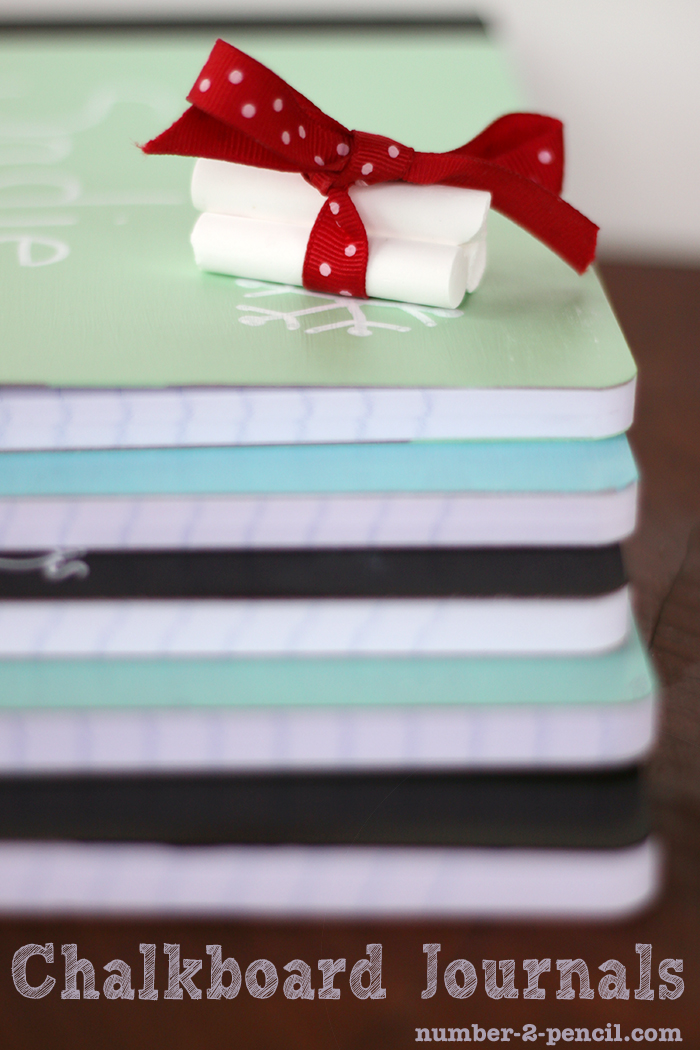
Such a fun gift idea — Chalkboard Journals
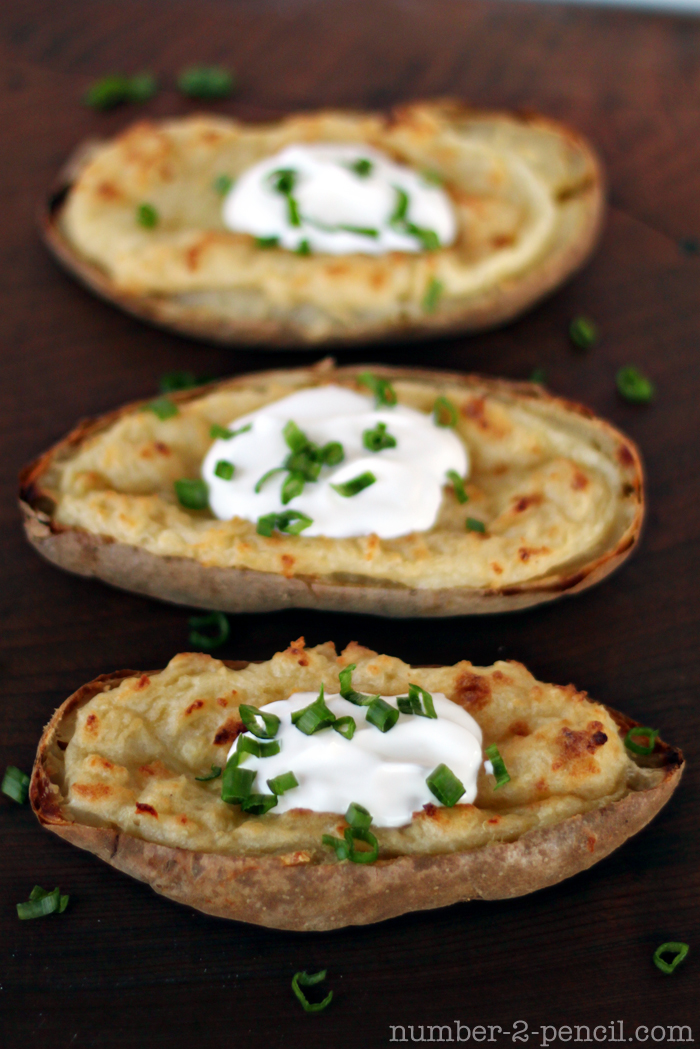
My family would love this — Twice Baked Potatoes Two Ways
There’s always something awesome going on at Number 2 Pencil with Melissa!! 
Have a HAPPY Day!! 
xoxo

Posted By: Jen · In: christmas, decorating, diy, holiday, tutorial

Great Ideas — 20 Amazing Holiday Ideas!!
HAPPY Holidays — DIY Winter Shadowbox Sign

You’ll Also Love

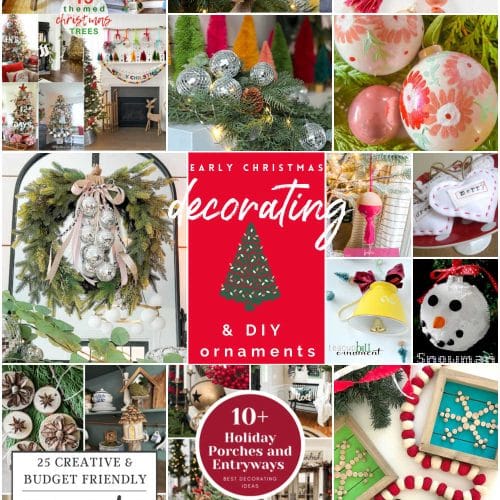
Embrace the Festive Spirit: Early Christmas Decorating Tips and DIY Ornaments
Easy Christmas Ideas
Anthropologie-Inspired Painted Bouquet Holiday Ornaments

Comments

  1. karlene says

    November 27, 2012 at 8:13 PM

    super duper cute!!!

  2. crazyforcrust says

    November 26, 2012 at 8:31 PM

    Such a great idea!!!

  3. Jen says

    November 26, 2012 at 11:27 AM

    Thanks for the fun idea Melissa!! I am so excited to make these with my girls. I think they would also be so cute to put on top of a Christmas package this year!!

    xoxox

    • Melissa says

      November 26, 2012 at 3:37 PM

      Thanks so much for having me Jen!

Hi! I'm Jen Hadfield. I'm a mom of 5 restoring an 1891 home in the heart of Salt Lake City. I love being creative and sharing simple ideas to make your life easier and more beautiful!

Receive the Latest Crafts, DIY, Recipes and More in your INBOX!

Follow us on Pinterest! It's awesome!

Top Posts & Pages

Copycat Panera Spinach and Artichoke Egg Soufflés - SO good!
Spruce up Your Outdoor Space with a DIY Recirculating Fountain! (tutorial)
A New Deck in Under 30 Minutes!
DIY Secret: How to Print on Post-It Notes (and Free Printable Template)
12 Must-Have Items to Pack on an Alaskan Cruise!
How to Change a Recessed Can Light into a Pendant Light with No Remodeling!


Popular Posts

  • Copycat Panera Spinach and Artichoke Egg Soufflés - SO good!
    Copycat Panera Spinach and Artichoke Egg Soufflés - SO good!
  • Spruce up Your Outdoor Space with a DIY Recirculating Fountain! (tutorial)
    Spruce up Your Outdoor Space with a DIY Recirculating Fountain! (tutorial)
  • A New Deck in Under 30 Minutes!
    A New Deck in Under 30 Minutes!
  • DIY Secret: How to Print on Post-It Notes (and Free Printable Template)
    DIY Secret: How to Print on Post-It Notes (and Free Printable Template)
  • 12 Must-Have Items to Pack on an Alaskan Cruise!
    12 Must-Have Items to Pack on an Alaskan Cruise!
  • How to Change a Recessed Can Light into a Pendant Light with No Remodeling!
    How to Change a Recessed Can Light into a Pendant Light with No Remodeling!
  • How to Clean a MOLDY Outdoor Rug
    How to Clean a MOLDY Outdoor Rug

As seen in


Amazon Affiliate

Tatertots & Jello is a participant in the Amazon Services LLC Associates Program, an affiliate advertising program designed to provide a means for sites to earn advertising fees by advertising and linking to amazon.com.
  • About Me
  • Advertising
  • Get Featured

Copyright © 2025 Tatertots and Jello · Privacy
This site is a place for positive discussion and ideas. Negative talk, comments that disparage others, and similar are not welcome and may be removed.