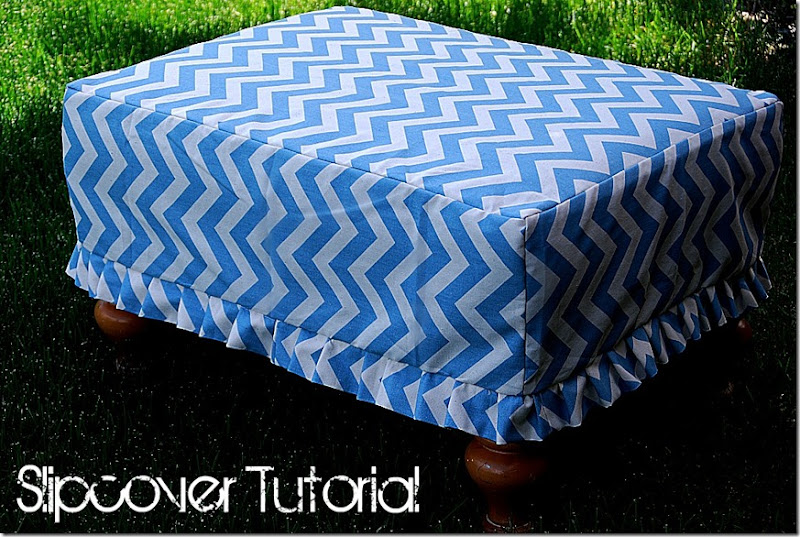
Fast and Easy Pleated Ottoman Slipcover!
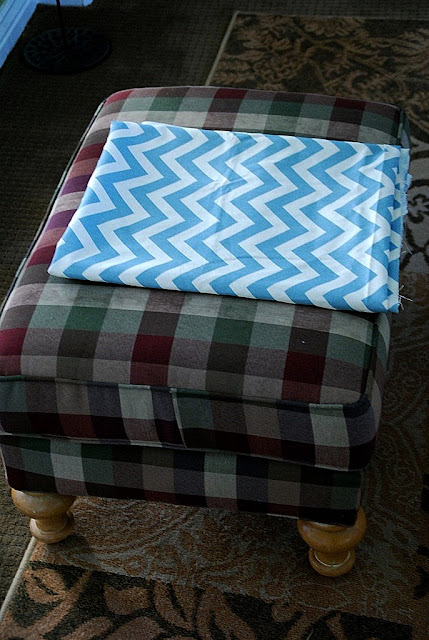
I recently ordered this pretty blue chevron materialfabric.com.
I love the color because it can go in almost any room in my house.

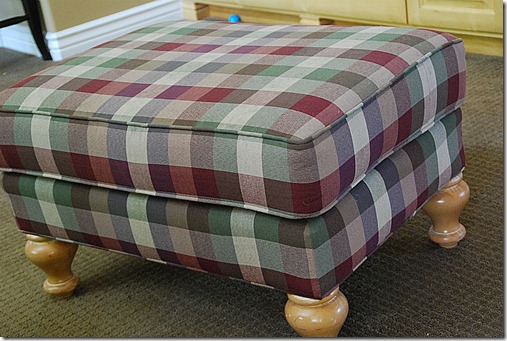
I bought this ottoman at a discount store about 15 years ago and for the past 5 years it’s been sitting in my basement, waiting for a makeover. So I decided to give it a little facelift with my new fabric.
I love the color because it can go in almost any room in my house.

I bought this ottoman at a discount store about 15 years ago and for the past 5 years it’s been sitting in my basement, waiting for a makeover. So I decided to give it a little facelift with my new fabric.
This was my first slipcover project, and I kind of made it up as I went along.
Here’s what I did:
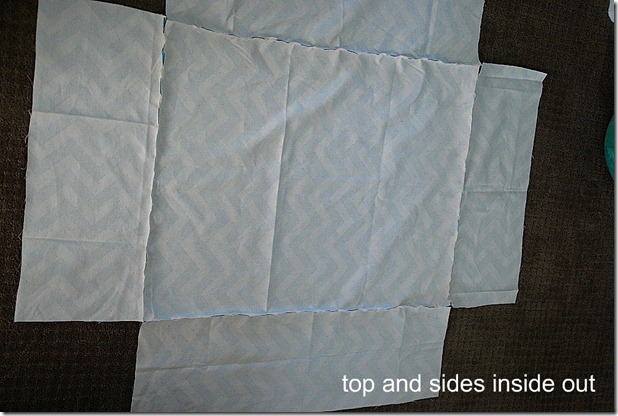
- The first thing I did was I measure the top of the ottoman and added 1 inch to the width and the height.
- Then I measured the width of the sides of the ottoman and left about 2 inches for the pleated ruffle.
- I drew the picture on a piece of paper with the measurements. I am a visual person and this is the best way I could figure this project out.
-
Then I cut out the top of the ottoman and all four sides.
-
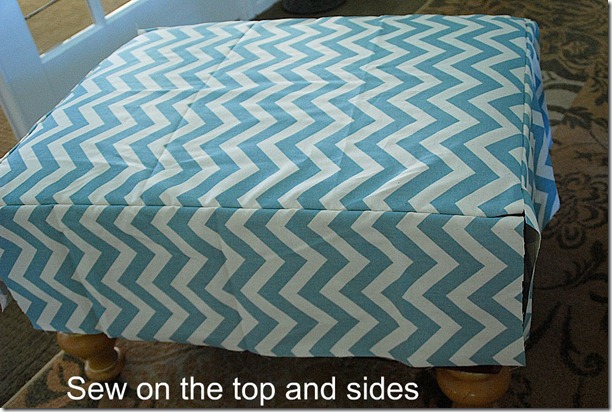
I sewed the sides of the ottoman onto the top of the ottoman cover.
-
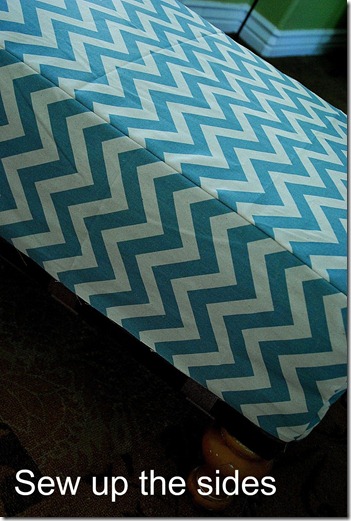
And then I sewed the sides up. I made the seam allowances as small as I could because I was afraid I wouldn’t have enough room to fit the cover over the ottoman.
- Luckily the cover turned out to be the perfect size once it was sewn.
-
Now I turned my attention to the pleated ruffle.
-
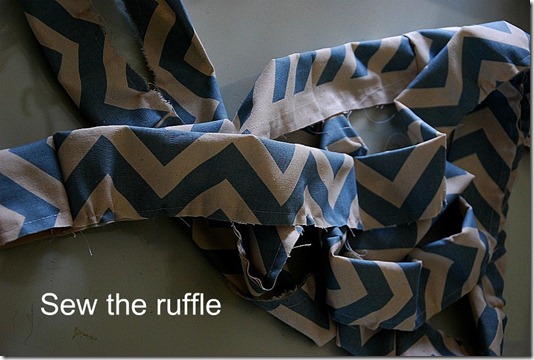
I measured the circumference of the ottoman and added 150% to the total. Then I measured 5 inches high and folded the material so that the ruffle was 2.5 inches high. I sewed the ruffle and then ironed it so it was flat.
-
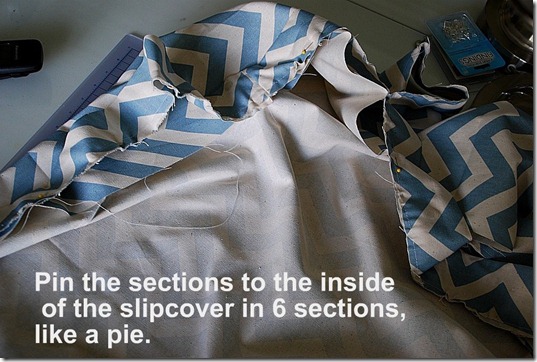
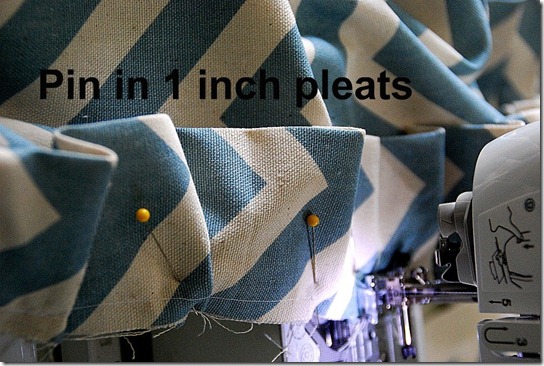
Now the next step is how you get the ruffles to be even. Take your huge circle of ruffle fabric and pin one section to one end of the ottoman cover. Then take the opposite side of the ruffle material and pin it to the opposite side of the ottoman cover. Do this on all four corners. Then do it again in between each section — so you have eight sections pinned.
Now you have an even amount of material in between each section so when you make your pleats, all of the pleats and the number of pleats should be the same. Now take the ruffle fabric and make 1 inch pleats every inch or so. And this part of the slipcover is tedious, but so worth it once you are done!
-
Once the ruffle was pinned, I sewed it onto the inside of the slipcover.
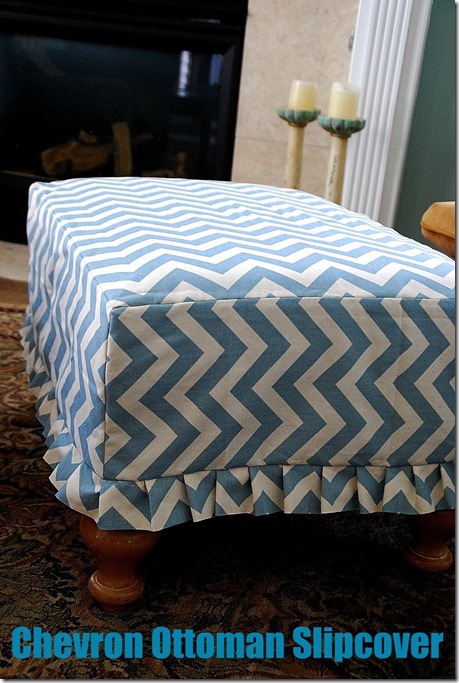
And then I was done!! I just love my new slipcover. It totally transforms the look of the ottoman – totally updating it!!
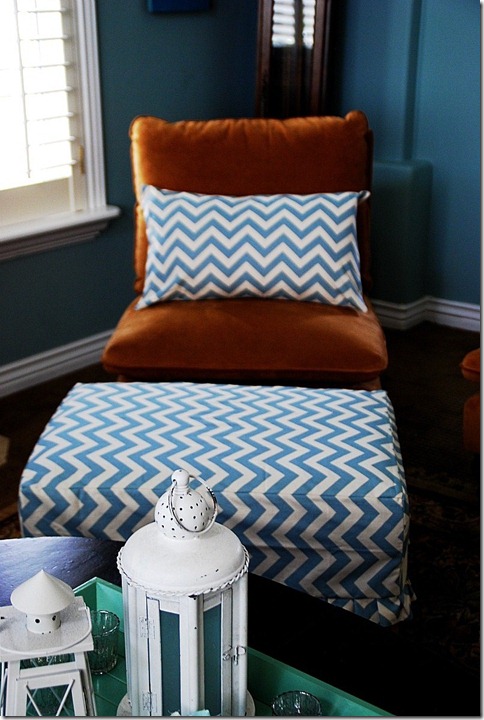
And, just for fun – I made a couple of matching pillow covers.
They look so good in my living room. And, they would also fit in perfectly in my bedroom too!!
They look so good in my living room. And, they would also fit in perfectly in my bedroom too!!
xoxoxPS — We made it home this morning. 22 hours on planes and in airports and we’re home sweet home!!
Have a Happy Day!!
PS — I am linking up to these fun parties – check them out!







Just what I’ve been looking for! I bought two La-Z-Boy ottomen (?) from the local Goodwill for $5 each. They were in perfect condition except for the horribly stained fabric. I tore the first one apart to recover exactly as it was. It’s still sitting in my sewing room…I have to put it back together so I will tackle it, but the other one is going to get just a slipcover now! Thanks.
Hi I Really Like your great tutorials!!!
I Link to you on my Blog,
http://paneamoreecreativita.it/blog/2011/07/raccolta-di-progetti-di-cucito-creativo-per-lestate
Thanks for sharing 🙂
The fabric and the pleats are awesome!!!
I love the recover….especially with the ruffle!!! So sweet!
Gorgeous! Of course it is Chevron:-) Love it!!
and you said, you could only sew basic stuff! this turned out wonderful! i would of been a nervous wreck. i love the ruffle. it looks like you. bright happy & full of color!
so glad you're back. hope you all had a great time!
xoxo
kellie
I recently bought a large chair that I slicovered and wasn't sure what to do with the ottoman that came with it. I was leaning towards making a fun cover for it and this is giving me the courage to go for it. Thanks! It looks great!
This is PERFECT. I was just getting ready to take our ottoman to Goodwill. Question though– about how many yards of fabric did you buy?? I'm new at this…hopefully I made the right measurements. Let me know when you get a chance please 🙂
Super cute ottoman! I had done the same w/ours years ago until we bought our new Pottery Barn furniture! Now w/this ottoman along w/couch, big chair & love seat… I want to add some punches of colors w/pillows! Now to decide on colors! =)
That's so cute and is a great way to change up the colors and protect your ottoman from getting dirty as well. This sure doesn't look easy to do!
love it! i am in love with chevron too 😉
xo
dana
thewonderforest.com
Shut the front door!!!!!!!!! I love it! I have an enormously hideous ottoman in my furniture graveyard of a basement! I'm going to give it a shot! Thank you for the great tutorial! (I am also a visual gal, so it was sooo helpful!)
kerry at housetalkn.blogspot.com
Very cute! Nice tutorial!
Beautiful job Jen! That was amazing!
WOW! I HAD to pin that to pinterest! =)
This is awesome! I have an ottoman and matching chair which need slipcovers. They're still in awesome condition but won't be for long cuz the cats have taken them over 🙂 I was glad to see yours and see how you did it.
ADORABLE!
Pinning this tutorial!
LOVE it!
Gotta catch up on where you've been!
We just got home to!
I miss TOFINO!
Hugs from Bainbridge Jen!
xo
Glad you made it home safely! Great tutorial!!
I love the fabric and the ruffles:) I'm glad you made it home safely!
So cute…what a transformation! You inspire me to work on my sewing skilss;) Welcome back, I hope you had a nice trip!
So cute! You're making me somewhat obsessed with the chevron pattern!! 🙂
That looks awesome!
Your timing couldn't be more perfect! I have the same exact ottoman (different fabric) that just got a major tear in it. We love it so much and didn't want to get rid of it–now, I'll just cover it up!!! Thanks!
Great job! This reminds me… I have an old tattered ottoman that I recovered in white a few years ago that my son recently decided to draw on. I need to get moving and re-recover that ottoman 🙂
The ottoman looks amazing! Thanks for sharing!
Looks Great!
Love this makeover! Love the chevron fabric, and the pleats are the perfect touch! Thanks for sharing.
Jen, it looks amazing!!! I think I could figure out the slip cover part, but the ruffles and pleats are beyond my skillset right now. I think they add the perfect touch though.
Glad you made it home safely!
So good to have you back! LOVE the slipcover… so darn cute!