Tatertots and Jello

COLORFUL HAPPY HOME -- Daily DIY, Decor, Craft and Recipe Tutorial

  • My Home
    • 1905 Cottage
    • Daybreak House
  • DIY
    • DIY Projects and Ideas
    • Organizing
    • Tutorials
    • Printables
  • Decor
    • Spring Projects
    • Summer Projects
    • Fall Projects
  • Crafts
    • Kids Crafts
    • Painting Projects
    • Paper Projects
    • Sewing
    • Wreaths
  • Holidays
    • Valentines Day
    • Easter
    • Halloween
    • Thanksgiving
    • Christmas
    • HAPPY Holidays Series!
  • Recipes

Explore

  • my home
  • diy
  • decor
  • crafts
  • holiday
  • printables
  • recipes

Connect

Home » spring project » Spring Project — make Nest Placecards {Letterpress Tutorial}

spring project, tutorial · April 19, 2011

Spring Project — make Nest Placecards {Letterpress Tutorial}

Tatertots & Jello is a participant in the Amazon Services LLC Associates Program, an affiliate advertising program designed to provide a means for sites to earn advertising fees by advertising and linking to amazon.com.
I am having such a great time experimenting with my Epic Six Letterpress system that LifeStyle Crafts sent me.
There are so many ideas that I have swimming around in my head! 
I had never tried making anything with a Letterpress before, so I asked LifeStyle Crafts if I could come up to their offices for a demo since they are pretty to close to me.
Check out their warehouse, my heart had palpitations thinking of all of the awesome die cuts sitting down there – ha!
It was super informative to get all of the inside tips on letterpressing.

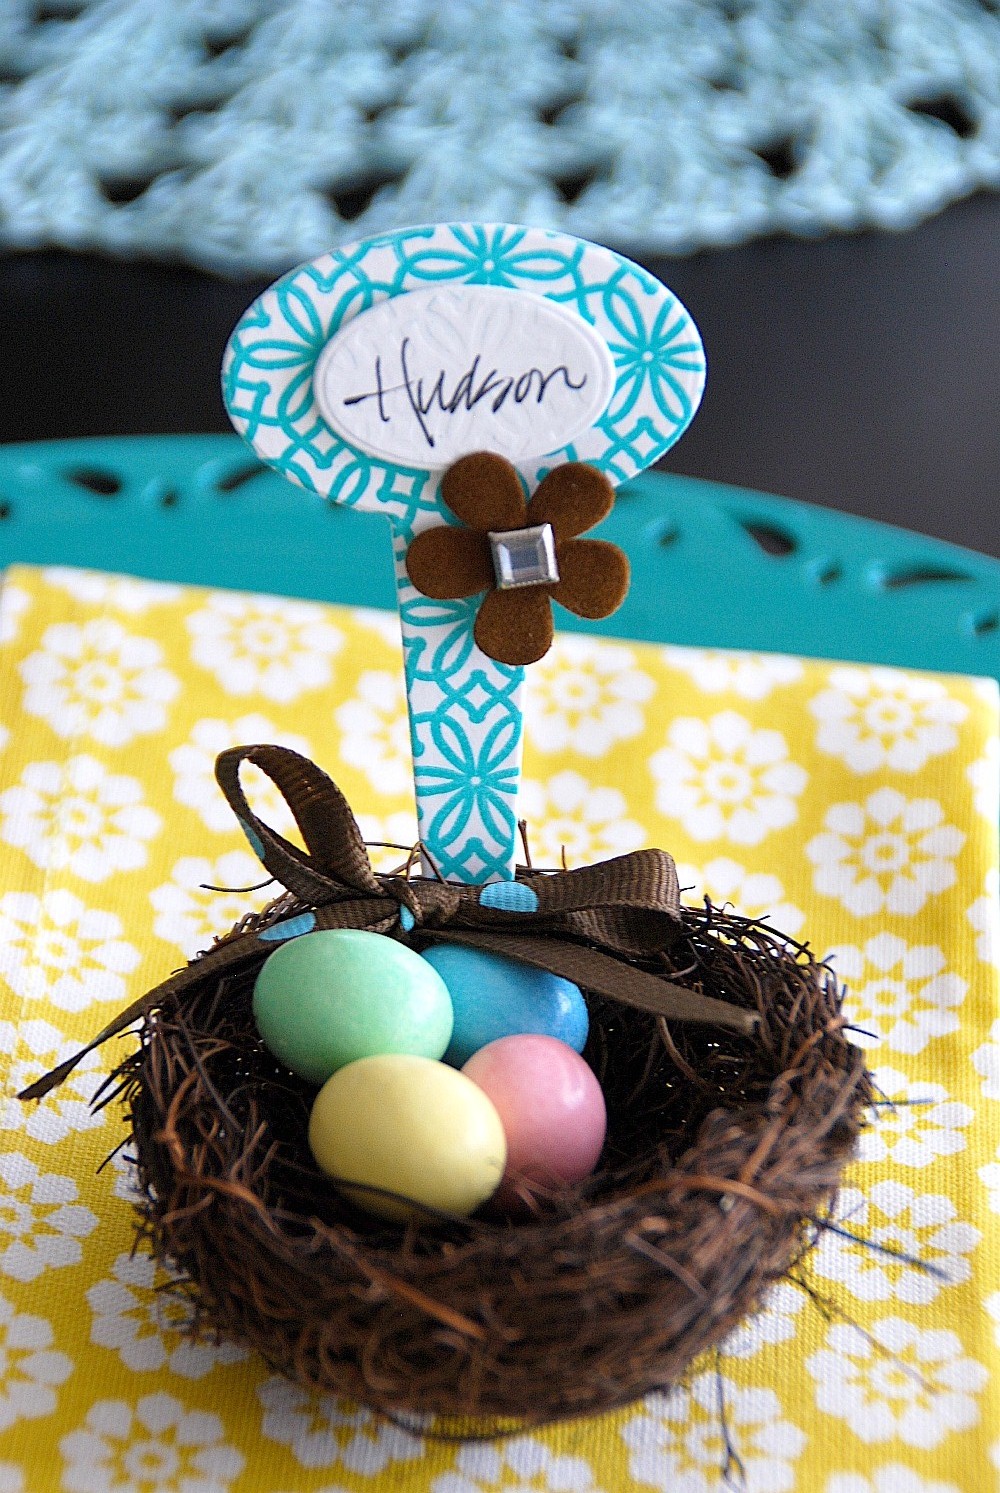
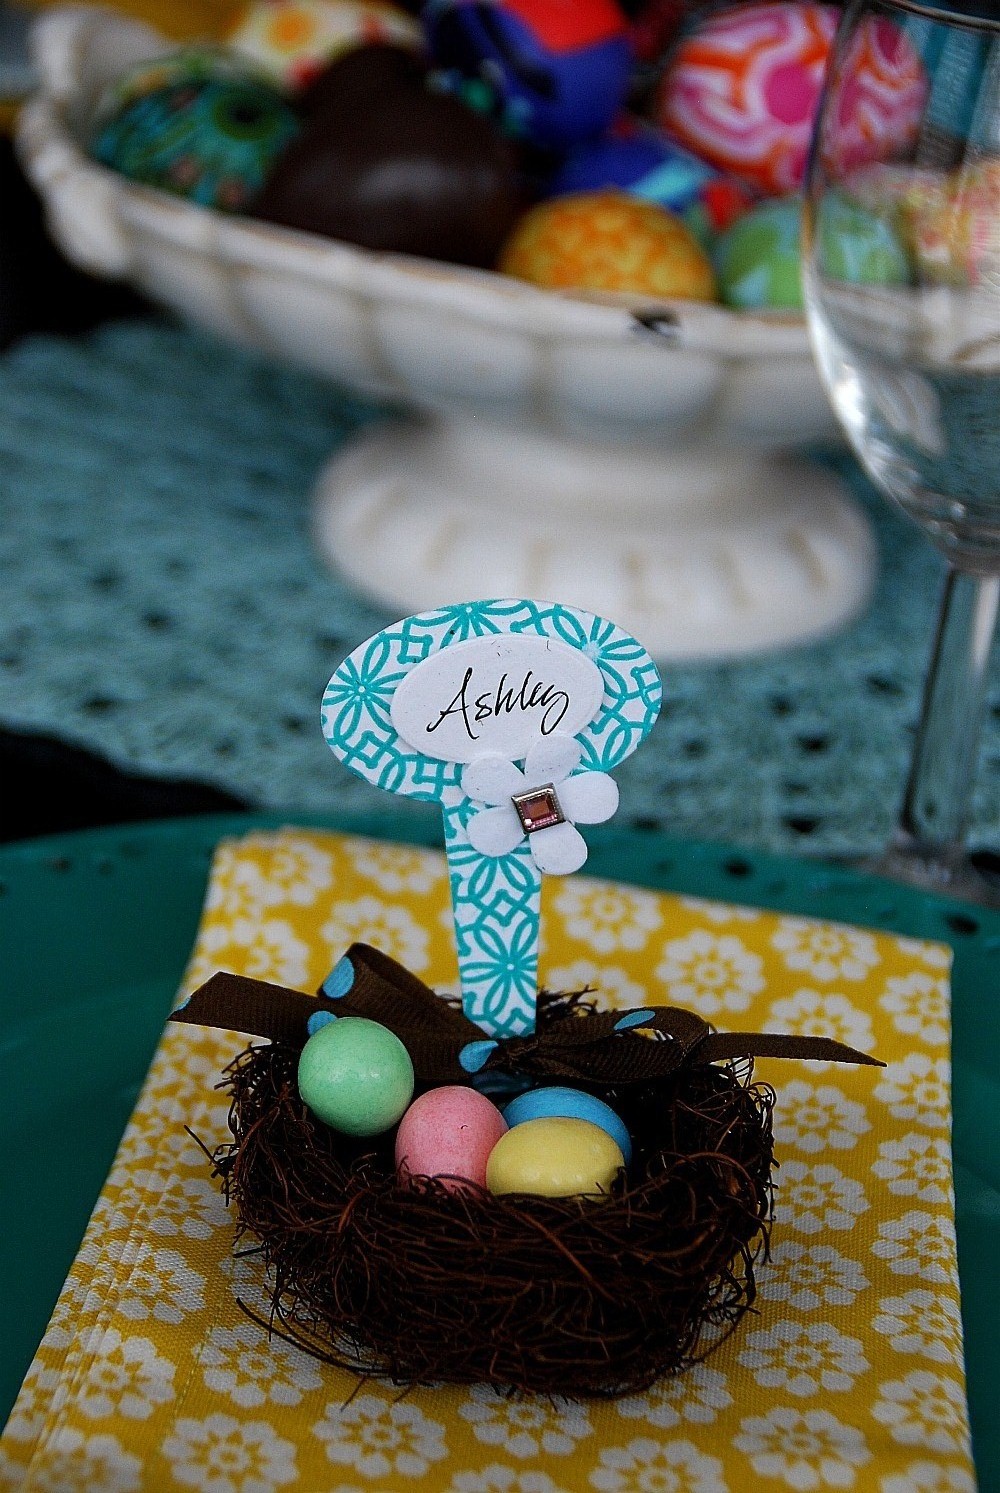
After the demo, I was all fired up to make something. So I came up with this Spring Placecard idea. I used this die cut with picks of all sorts of sizes. I think they are so cute!!

Another thing I love about the Epic System is that you can do all sorts of projects with it. AND, you can combine different things for your projects. 
For the Spring Placecards I used the Epic System inthree different ways:
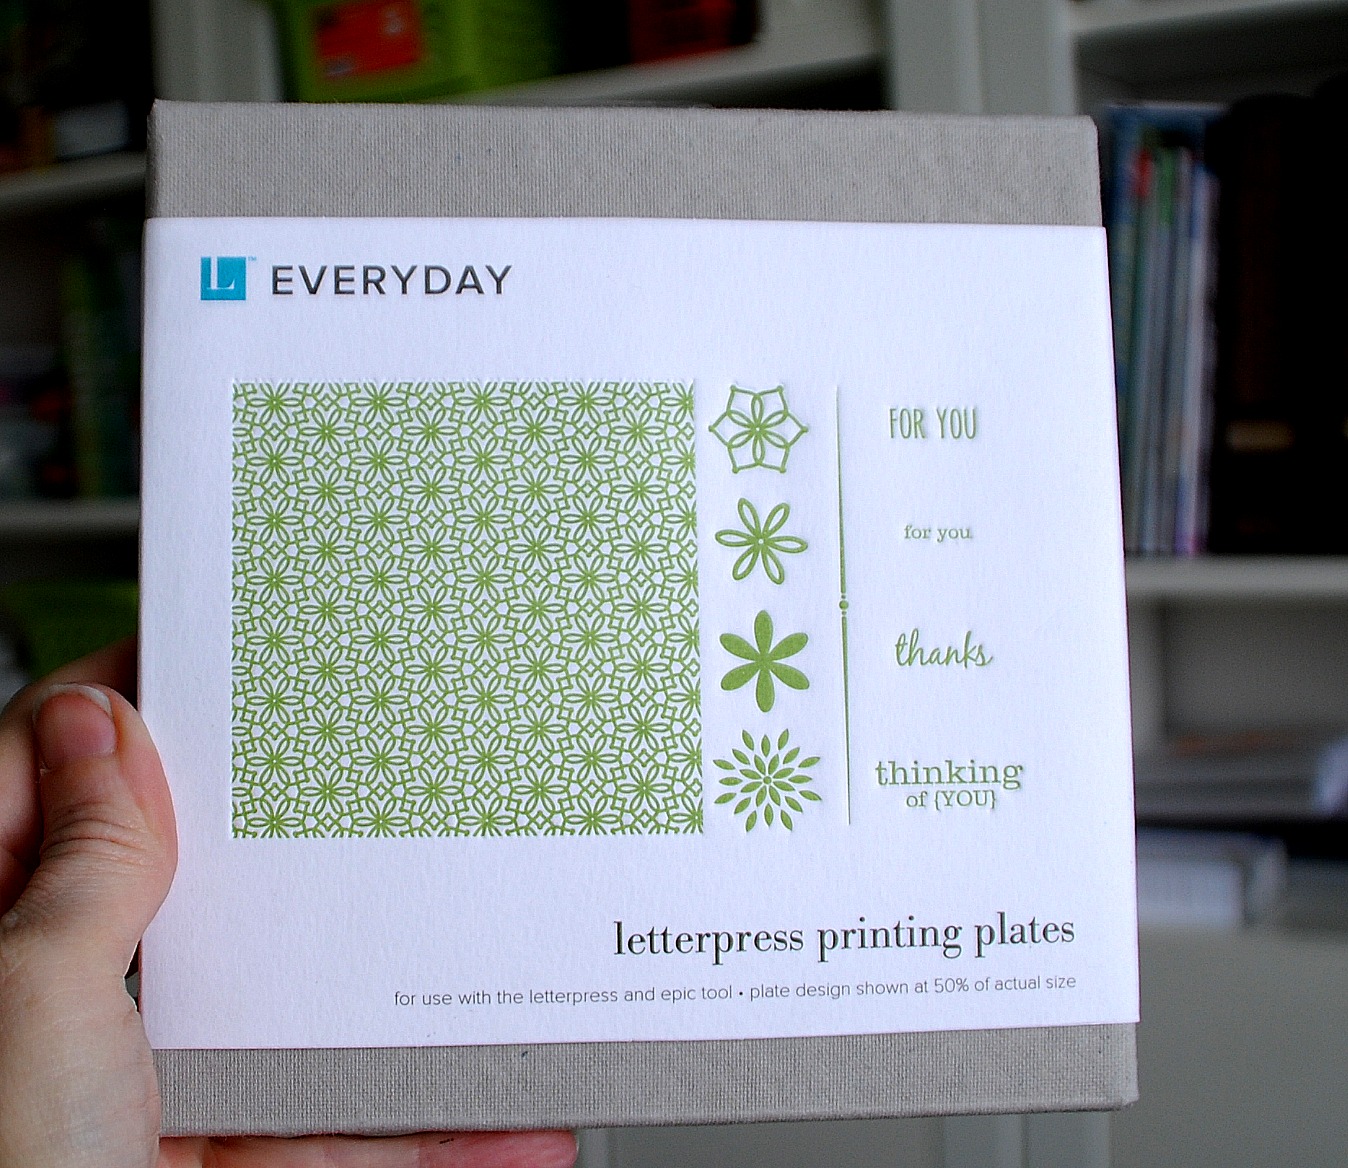
  • I used the letterpress for the design
  • I used the plain plate to EMBOSS the paper
  • and I used the die cut system to cut out the picks. 

And, you can also cut out fabric with your Epic die cuts. 
{more on that coming up soon…}
So fun!!!
These placecards are super easy to make.
So if you have about 1/2 hour, you can whip these out and impress your guests. Or, they would be really cute in cupcakes too!!
The first thing I did was letterpress the design onto the paper.
Letterpress paper is a lot thicker than normal paper. And the letterpress inks and embosses at the same time. So you get that awesome indentation of the design on the paper. 
I love that!
Now, there are a few steps to this letterpressing process:

1. The first is that there are some adhesive sheets that come inside of each letterpress plate. They are the exact size of the plate, but you can cut them down if you have a smaller plate you want to use.

2. Once you peel that off and apply it to the plate, you can peel the other side off and attach the plate to the underside of the letterpress grid plates. I love the grids, because they help you line up the plates exactly with the paper underneath.

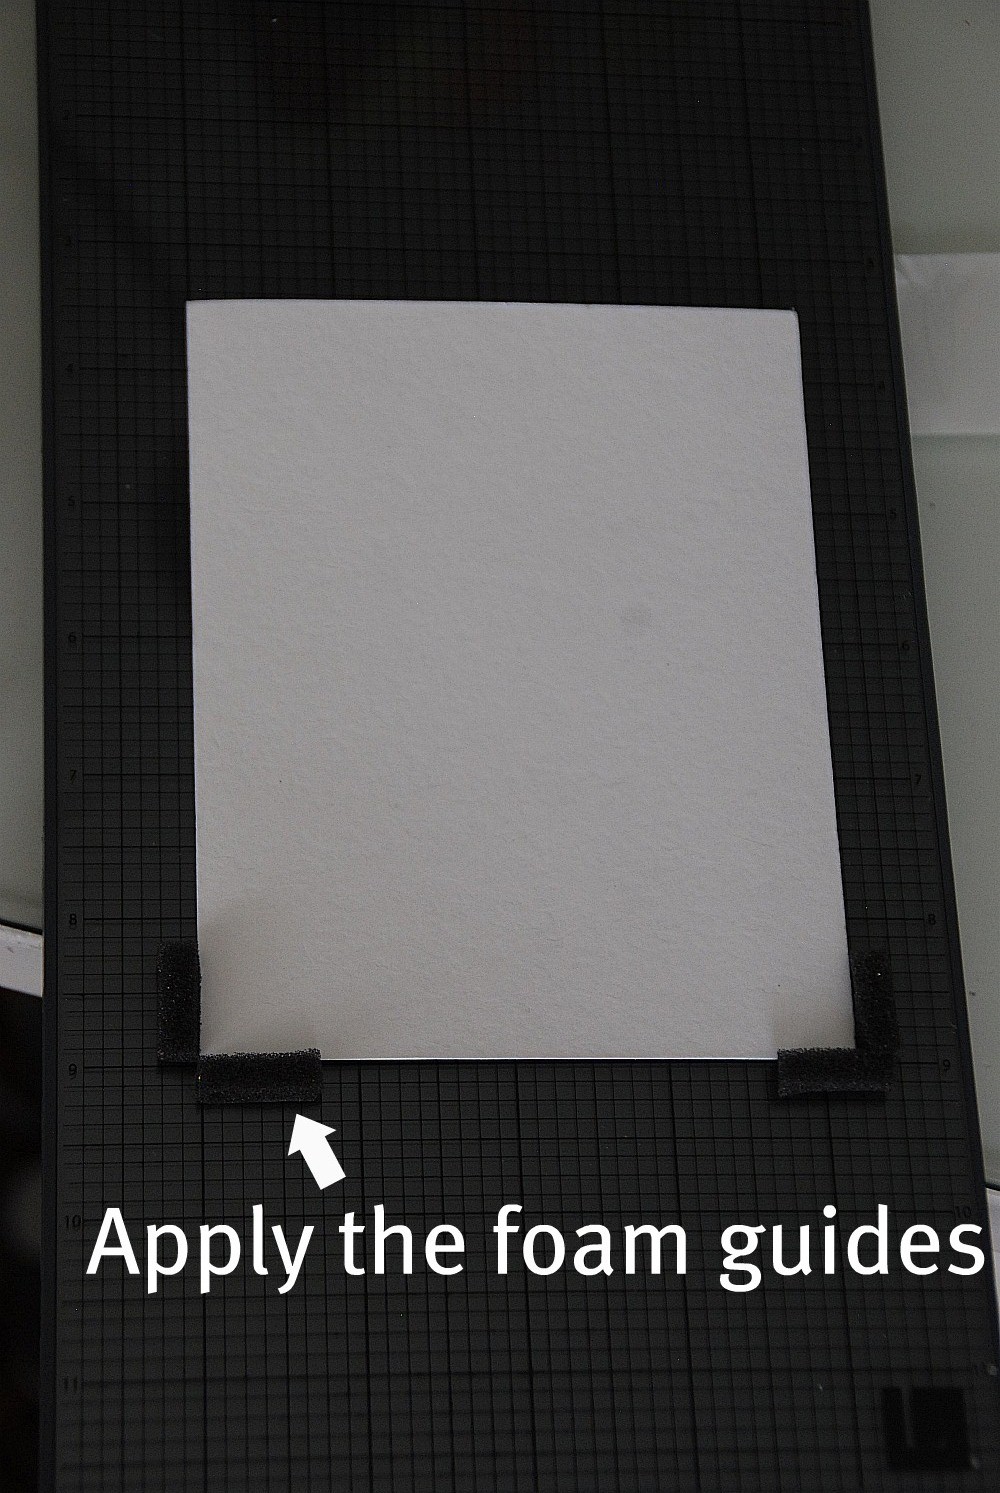
3. There are also some foam strips you can attach to the bottom of the grid plates to position your paper exactly where you want it to be in relation to the upper decorative plate. So clever!!

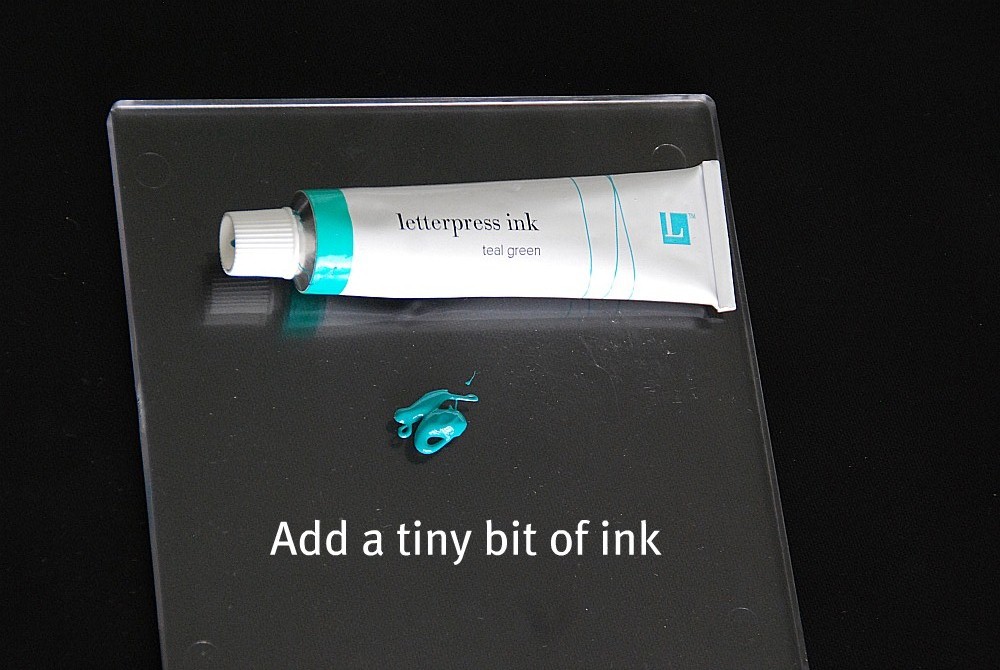
4. Then you take a SMALL amount of ink and roll it out on the clear square with a special brayer. And, I also found out that you can leave the ink out for a few days. It won’t dry out. So if you have another project to do, you can do it without worrying that the ink will dry out.

5. The letterpress also comes with some special wipes that make cleaning the plates and rolling suqare a breeze.

6. Once you have the plate attached and the foam guides in place for your paper, you roll ink on the decorative plate. Roll the brayer over the plate a few times to make sure the ink is evenly applied.

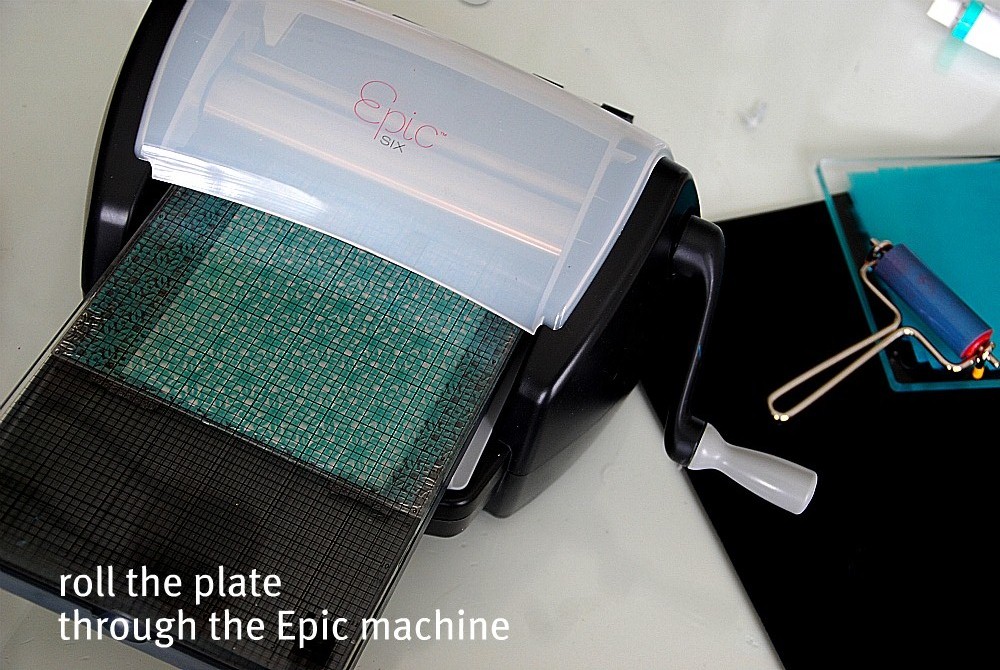
7. Then you put your paper in and shut the lid on the grid plates. And then you run it through the Epic machine. I rolled it through once, and then reversed so that the plate went back through a second time.

And now you have a beautiful, letterpressed paper. For the placecards, I then used my pick die cut and cut out the shapes. To do this, there is another plate that is made for the die cutting. And a mat that does on top of the die cut plate. Then you just roll that plate through the machine.

The next step in making the placecards was cutting out some little ovals to write people’s name on. I used a small oval die cut to cut these out. But first, I ran the plain letterpress paper through the Epic machine WITHOUT any ink. This was to emboss the paper. And I love it!!

So if you needed a card really quickly, it would be so easy to emboss a piece of paper and then add a decorative ribbon and you would have a gorgeous card!!

Then I wrote {I really had my husband do this because he has beautiful handwriting} each person’s name on the ovals and then attached them to the picks with a dimensional sticker. The last thing I did was I attached a little velvet flower with a rhinestone brad to each of the placecards.


Then I put the picks through a little nest, added some ribbon and some chocolate eggs. And I had a festive placesetting for a Spring Party!!!
I also have this fun Pennant die cut. 
I can’t wait to make some pennants of all different sizes!!!
And I was so impressed with all of the different dies that you can make some things with.
Here are some other dies and plates that I love —
So fun!!
Don’t forget to enter to win an Epic Six Combo System {$169}. And, you can get an extra 20% off ANYTHING at the Lifestyle Craft website, including the Epic Six machines by entering TATERTOTS at checkout {good through the end of April}.
xoxo
PS — Check out this sweet Spring Paper Bag Bunting  from my friend Becca at Blue Cricket Design. I love this!!

Posted By: Jen · In: spring project, tutorial

Giveaway Monday — Epic Six Letterpress System {$169 value}!!
Getting Creative at Creative Estates — Spring Bunting Canvas!!

You’ll Also Love

Thrifted Bundt Pan to Patio Planter!
DIY Spring Flower Lanterns
7 Spring Front Porch Ideas

Comments

  1. Michelle says

    April 24, 2011 at 6:45 AM

    I could EASILY get addicted to a tool like that!! So cute, love the whole color scheme of the tables too!

  2. bridget {bake at 350} says

    April 21, 2011 at 9:59 PM

    Really cute little placecards for Easter/spring! This looks like so much fun…I think it could become an addiction!

  3. PeaceLoveApplesauce says

    April 21, 2011 at 9:55 PM

    Fantastic– I lovelovelove it all!! You are so creative!

  4. Bellenza Wedding Bistro says

    April 20, 2011 at 12:58 AM

    So sweet of you to share such a detailed post! Love all the texture you can get out of using letterpress. Makes everything look extra special!

  5. Allison says

    April 19, 2011 at 7:15 PM

    Hi…could you let us know about those darling eggs in the centerpiece??? They are so pretty!!

    Allison

  6. Lei says

    April 19, 2011 at 3:09 PM

    Super sweet cards, but I am also loving how the turquoise and yellow POP aganst your black table! I'm really digging the turquoise/avocado green/yellow combination this time of year in my home, too. 🙂

  7. Nancy says

    April 19, 2011 at 3:00 PM

    That is so cool, I missed Cami's demo because the class was full. I might need to look into one of those…I bought a Silhouette and am hoping I can figure out how to use that on my own.

  8. Mama Zen says

    April 19, 2011 at 1:31 PM

    Those are adorable!

  9. Amanda @ Serenity Now says

    April 19, 2011 at 1:19 PM

    Well, first of all, I think it is too cool that you got to go down to headquarters and have a special tutorial. Miss VIP! 😉 But I bet it was really helpful. I had no idea it could do so many things!! I am very, very impressed. The placecards turned out beautifully. 🙂

  10. Patti says

    April 19, 2011 at 11:18 AM

    LOVE these… will be a Saturday project for a lovely Easter Sunday Dinner… THANK YOU FOR SHARING!!!

  11. Jenn Erickson says

    April 19, 2011 at 7:57 AM

    Jen, I love the way you used the letterpress feature and the die-cut feature to create one very beautiful and unique placecard project! Those Epic Letterpress machines are definitely the most nifty craft tools to hit the market in a long while!

    Jenn/Rook No. 17

Hi! I'm Jen Hadfield. I'm a mom of 5 restoring an 1891 home in the heart of Salt Lake City. I love being creative and sharing simple ideas to make your life easier and more beautiful!

Receive the Latest Crafts, DIY, Recipes and More in your INBOX!

Follow us on Pinterest! It's awesome!

Top Posts & Pages

Spruce up Your Outdoor Space with a DIY Recirculating Fountain! (tutorial)
Copycat Panera Spinach and Artichoke Egg Soufflés - SO good!
12 Must-Have Items to Pack on an Alaskan Cruise!
A New Deck in Under 30 Minutes!
DIY Secret: How to Print on Post-It Notes (and Free Printable Template)
DIY Fountains to Make Your Yard Amazing!


Popular Posts

  • Spruce up Your Outdoor Space with a DIY Recirculating Fountain! (tutorial)
    Spruce up Your Outdoor Space with a DIY Recirculating Fountain! (tutorial)
  • Copycat Panera Spinach and Artichoke Egg Soufflés - SO good!
    Copycat Panera Spinach and Artichoke Egg Soufflés - SO good!
  • 12 Must-Have Items to Pack on an Alaskan Cruise!
    12 Must-Have Items to Pack on an Alaskan Cruise!
  • A New Deck in Under 30 Minutes!
    A New Deck in Under 30 Minutes!
  • DIY Secret: How to Print on Post-It Notes (and Free Printable Template)
    DIY Secret: How to Print on Post-It Notes (and Free Printable Template)
  • DIY Fountains to Make Your Yard Amazing!
    DIY Fountains to Make Your Yard Amazing!
  • How to Change a Recessed Can Light into a Pendant Light with No Remodeling!
    How to Change a Recessed Can Light into a Pendant Light with No Remodeling!

As seen in


Amazon Affiliate

Tatertots & Jello is a participant in the Amazon Services LLC Associates Program, an affiliate advertising program designed to provide a means for sites to earn advertising fees by advertising and linking to amazon.com.
  • About Me
  • Advertising
  • Get Featured

Copyright © 2025 Tatertots and Jello · Privacy
This site is a place for positive discussion and ideas. Negative talk, comments that disparage others, and similar are not welcome and may be removed.