Hey Guys! It’s Janel from NellieBellie– and I’m so excited to be hanging out at Tattertots & Jello today!
Before we start this tutorial for a No-Sew Fringe Clutch, I want to clarify that you aren’t making the clutch, itself. Rather you are taking a dull and sad clutch and adding fringe to it.
 Plain clutches are quite easy to find at thrift stores and are very inexpensive probably because they are dull and sad clutches, eh. But when we finish them they are original and beautiful pieces that you will be complimented on again and again (believe me, I get complimented all the time!).


The clutch I used for this is basic white that I found at the local vintage shop in a bin FULL of clutches and wallets. The suede is from a large craft store, as well as the E6000. Feel free to use leather if you like, but DO NOT skip using the strong adhesive. Any super strong adhesive similar to E6000 will do but is absolutely essential to making this bag something you can use daily. I am not about creating pretty things that can’t be used. This is meant to be pretty AND practical!
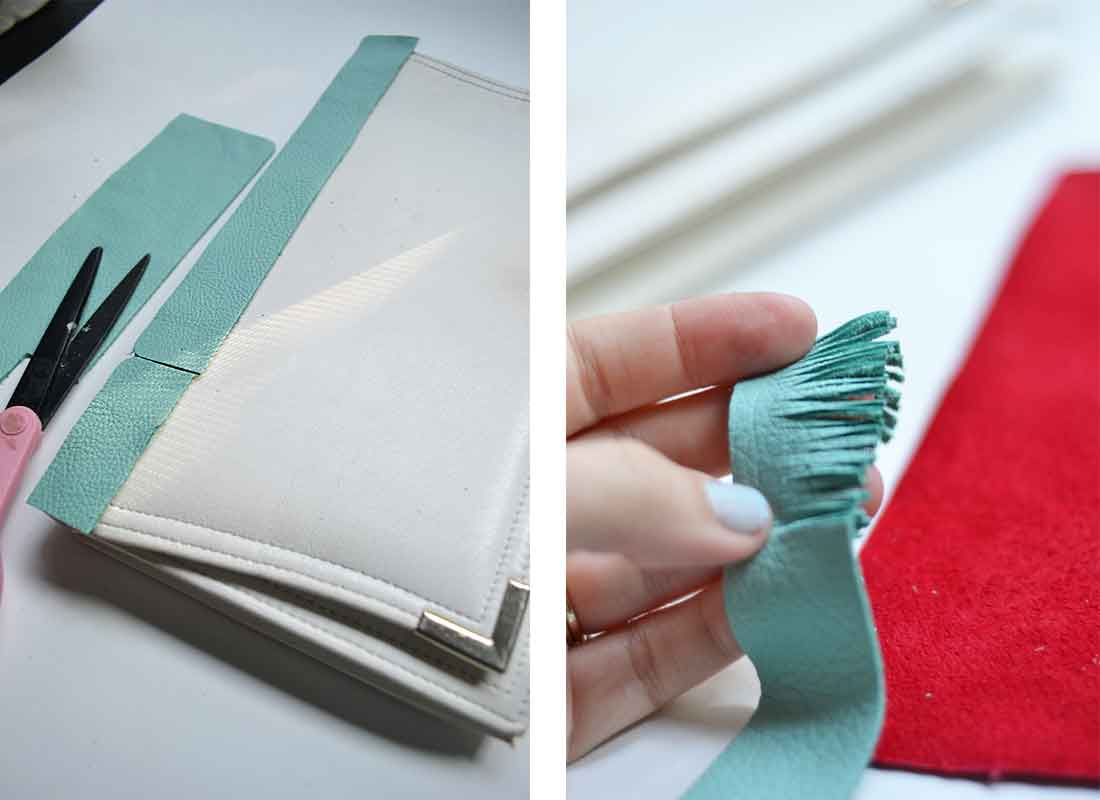
Gathering the supplies truly is the hardest part of this whole project. Putting the pieces together is a bit time-consuming but not hard, at all. Simply decide how long and how wide you want your fringe to be and cut your material accordingly. Because the material can often be a bit expensive, take your time figuring out what you want to do. Measure twice, cut once.
Remember that you will need a wee bit of fabric at the very top of the fringe that is NOT cut and is used to glue your fringe on to your bag. Do NOT cut that part.
After you have measured your fabric and decided if you want your fringe to go all the way across your bag, or across the sides, or hey… you want little bits of fringe all over it is time to cut tiny little strips into the bottom of the fabric. This creates the fringe. And yes, it is a bit time-consuming. Grab Netflix and settle in for a bit. It’s not difficult, just takes a while.

After you have created your strip of fringe you simply use that strong adhesive to carefully glue it in place. And repeat the process as many times as you wish, in as many colors as you wish, for as many bags as you wish.
If you have to piece two pieces of material together to make one piece be sure to glue the seams well so they don’t catch and pull apart.
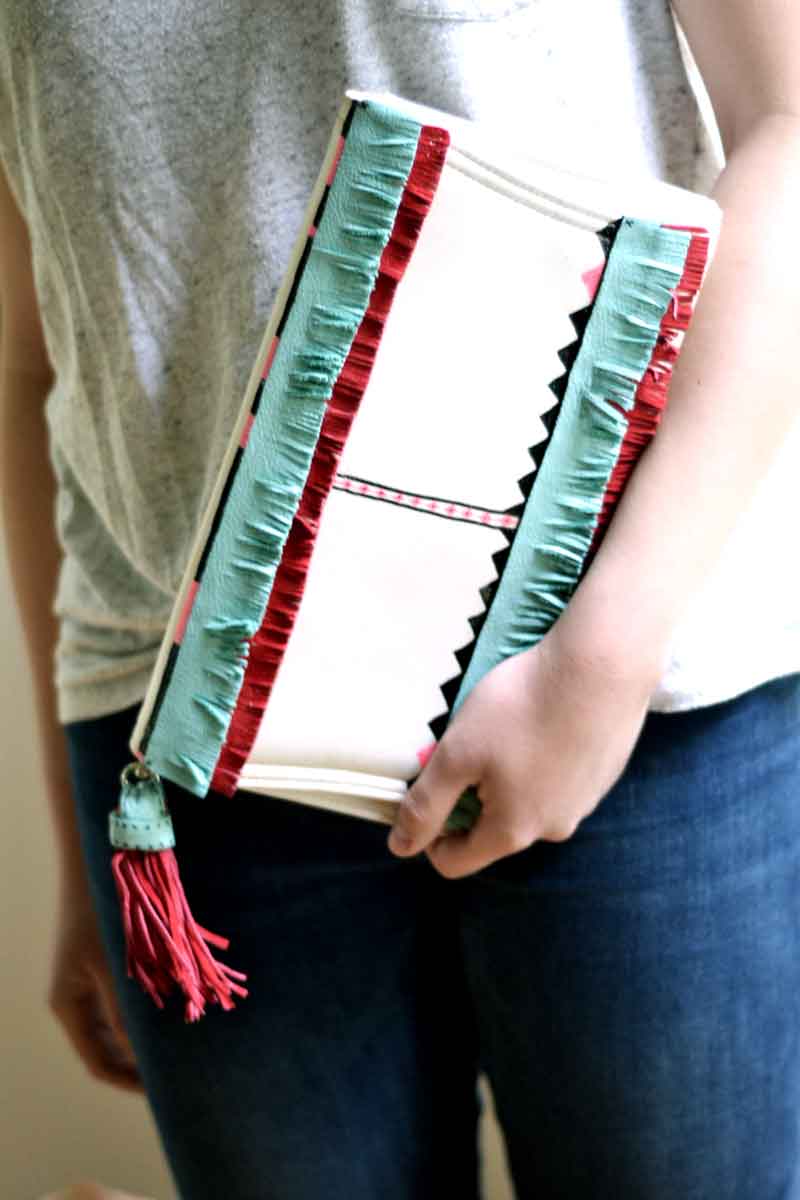
I haven’t given you step by step directions for creating my specific bag because I don’t want you to. I want you to make one that YOU have designed. I will, however, tell you that my bag uses Sharpie fabric pens to create that graphic design. And I created a tassel by wrapping a strip of fabric around a giant bundle of strips of fabric. But there is a great tutorial for making tassle’s here on Tatertots and Jello that would be great! You can find that HERE.
Some ideas for creating your own design:
- covering the entire front of the bag in fringe
- running fringe along only the side and hanging suuuper long fringe from the corners
- adding a strip of extra long fringe only at the bottom of the bag
- using all one color fringe EXCEPT one single strip of a different color-cool!
- making shapes into fringe
- trying different fabrics (what about denim?)
- bedazzling the fringe!
- using long fringe and then adding beads to the end of it (simply knot them on)
Use your imagination and you’ll create something amazing! I want you to also think about where else you can use this idea. Maybe a headband, bracelet, or laptop bag? And of course a full handbag is always a great place!
****
Thanks Janel! What a great idea! I bet my girls would love this too! Janel has great ideas on her blog, Nellie Bellie. Here are a few I think you’ll love:
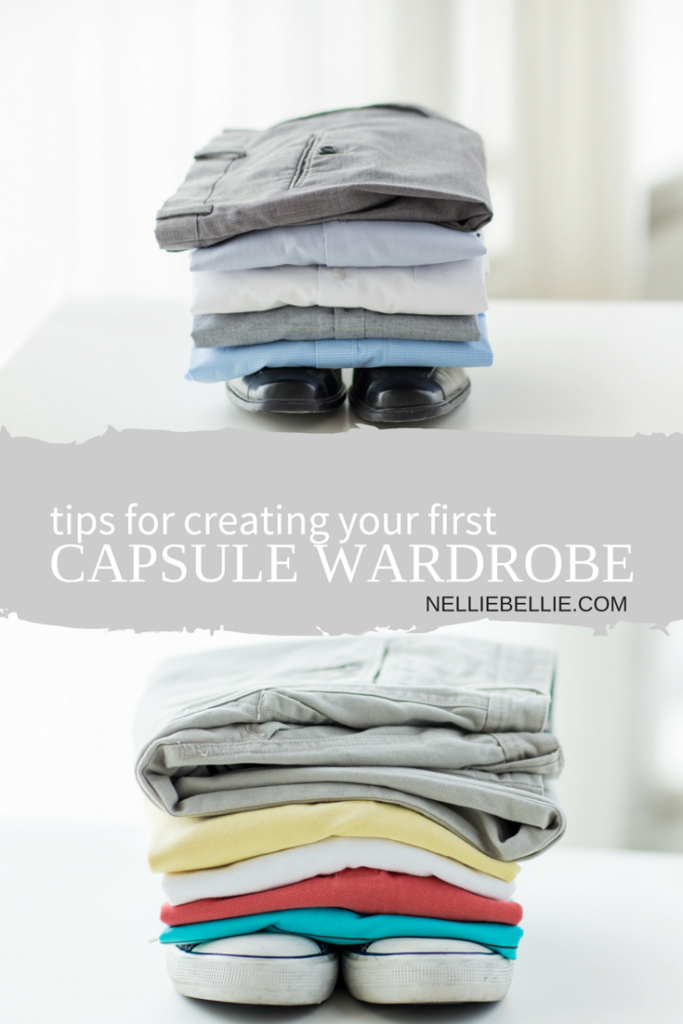
She has great Tips for Creating Your First Capsule Wardrobe!
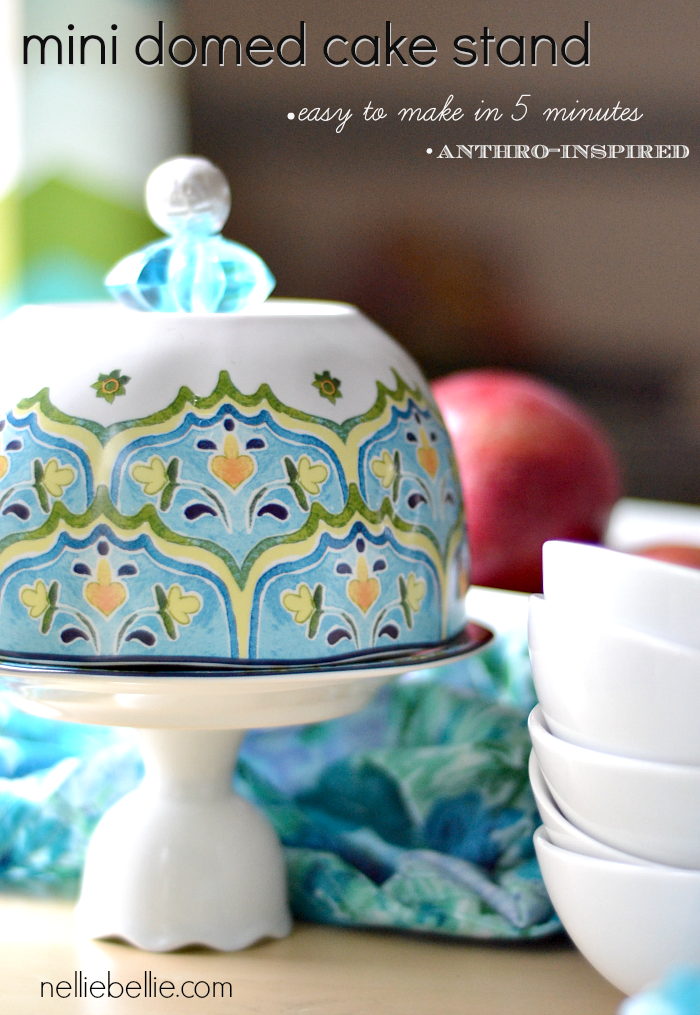
And she has this adorable idea for a Mini-Domed Cupcake Stand! SO cute!
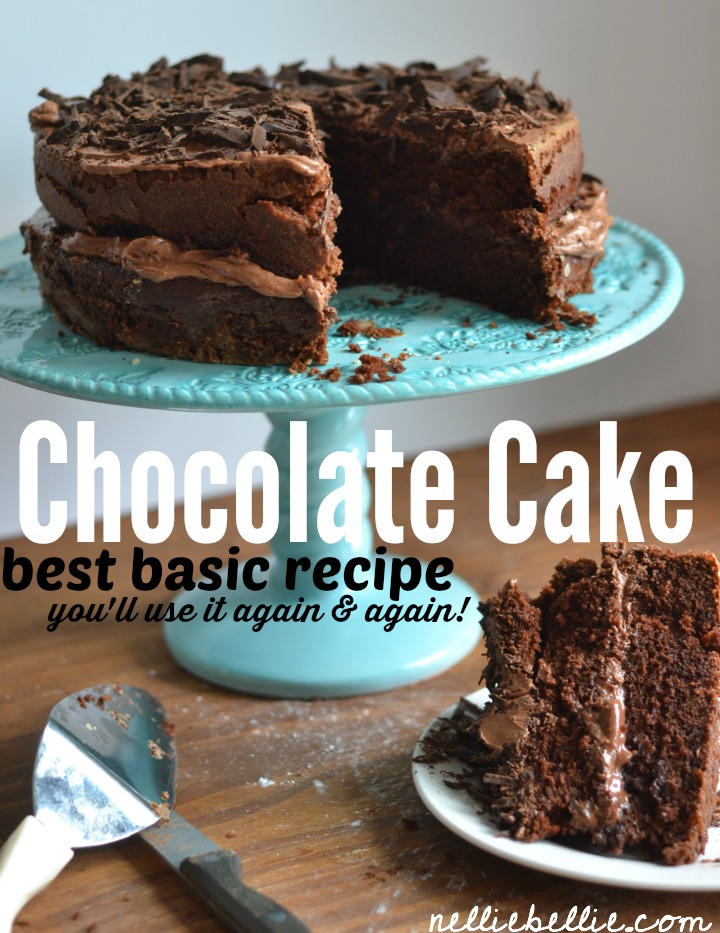
And her recipes look amazing! I’m excited to try this Chocolate Cake Recipe from Scratch!
Visit NellieBellie and


