Welcome to the Summer of Paper series – where we’ve invited fabulous guests to create projects using supplies from my Home + Made paper decor line.
 I’m Kim from EverythingEtsy.com! In 2008 I took my lifelong love of making things to a whole new level. My husband and I “bet the farm” on a new online business. It worked and now I’m a full-time professional blogger, craft book author, and creative business coach. I blog about Etsy business and all manner of DIY crafty things at EverythingEtsy.com, shares tutorials and inspiring creative ideas at HandmadeandCraft.com, and reveal a more personal side at KimberlyLayton.com.
I’m super excited to share some craftiness with you today!
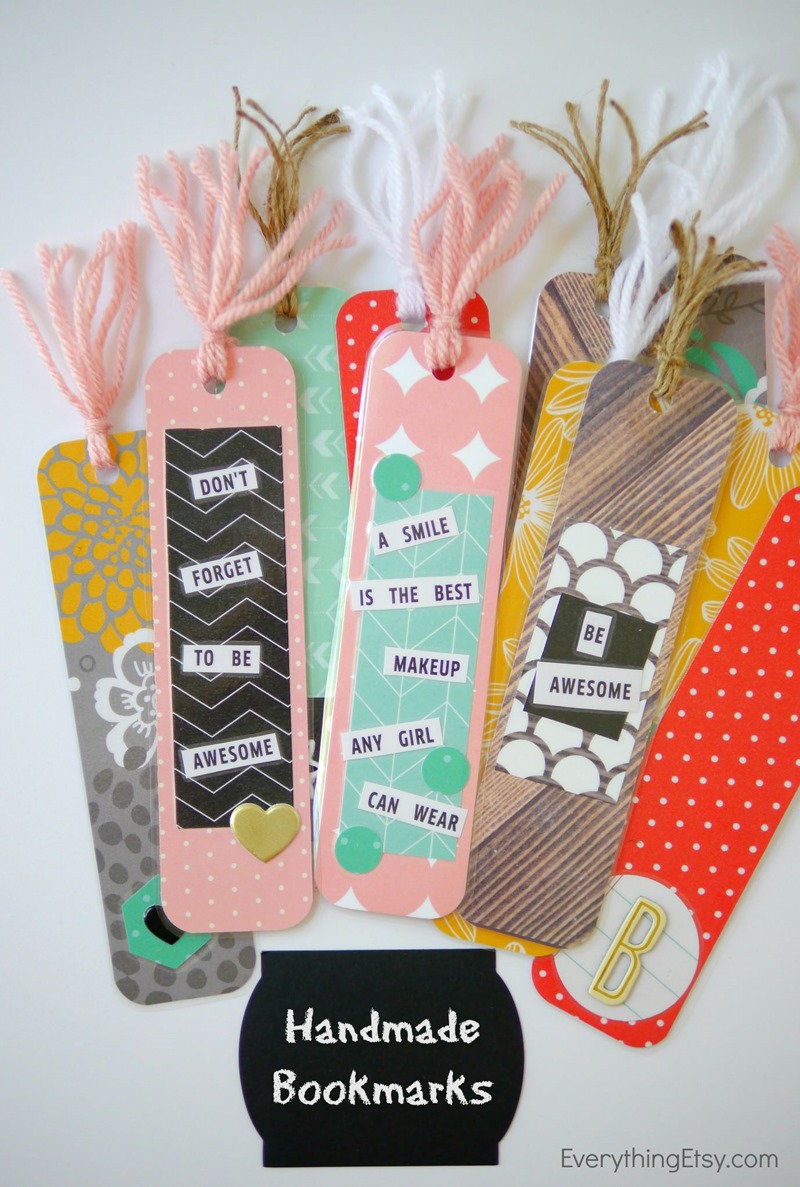
It’s that time of year when the school supplies start showing up in the store, and the reality sets in that summer is almost over. Now’s the time to create some fun back-to-school projects!
I’ve always been a fan of pretty paper, and I was fortunate to get an awesome supply of Home + Made paper collection designed by Jen!
I have quite a few projects in mind for these goodies, but here’s my first one…handmade bookmarks.
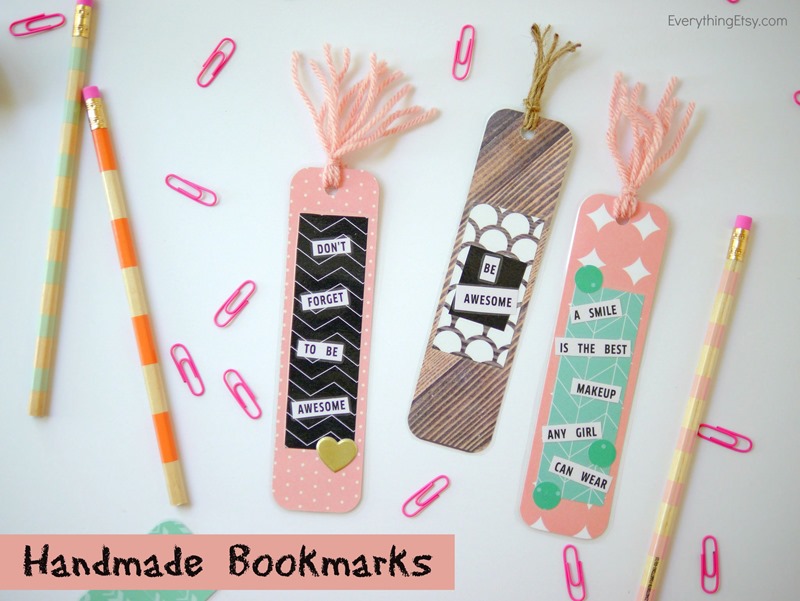
Handmade bookmarks are so easy to make, and it’s super fun to mix all of the paper designs together to create something just your style.
Here’s how you can make a bunch of these in no time! Share them with the little ones you love, or add them to books you’re giving as gifts. They’re a nice little handmade touch of goodness.
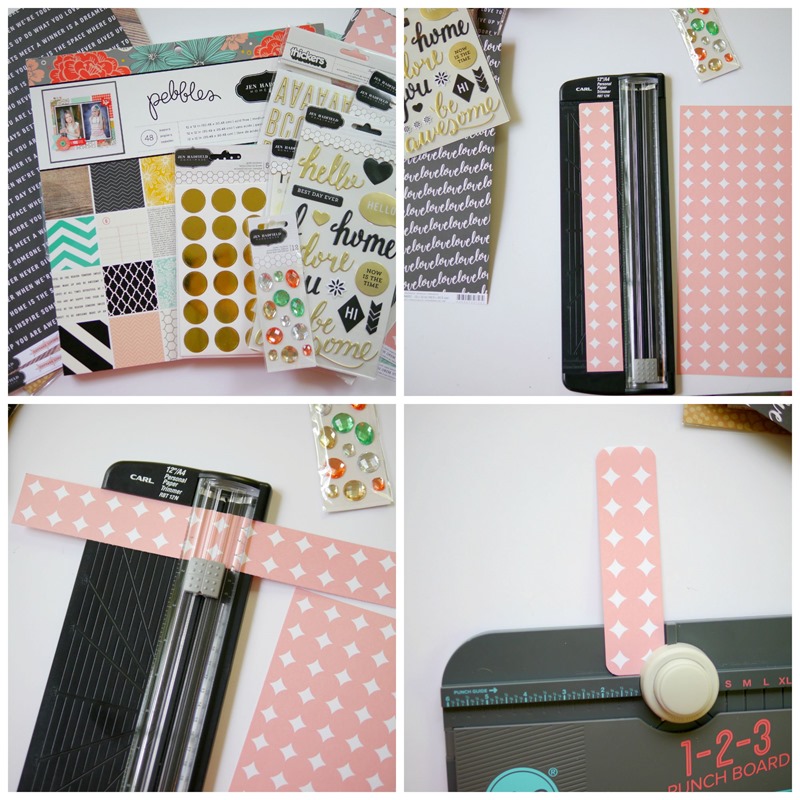
Gather up you’re beautiful supplies and let’s get creative!
The supplies I used:
- Beautiful Paper from Jen Hadfield Home + Made Collection
- Stickers
- Scissors
- Glue Stick
- Paper Cutter
- Corner Punch
- Hole Punch {I also used a large hole punch for decorating}
- Yarn and Twine
- Laminator and Laminator Sheets
Cut your paper 1 1/2” wide and 6” long for each bookmark.
Then round the corners with a corner cutting punch.
Use a hole punch to add a hole at the top.
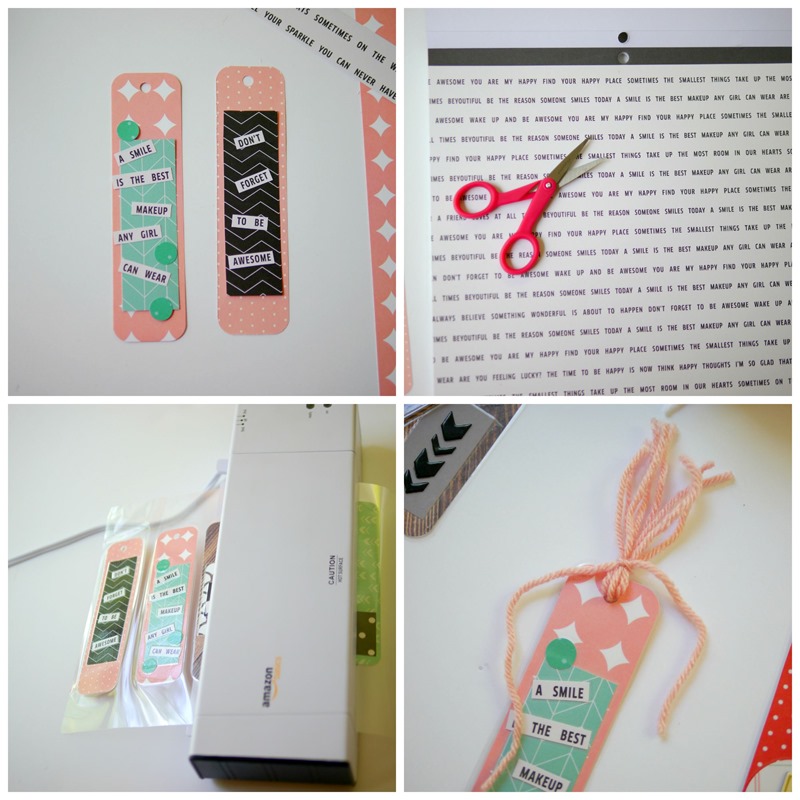
Once you’re done with the basic shape you can cut out words or phrases along with other matching shapes to create a fun bookmark. I like to layout the design and then go back and glue it with a glue stick.
Now it’s time to laminate it! I usually run it through the machine twice just to make sure it’s perfect. I’m picky like that!
Then I cut around each bookmark and punch the hole at the top again.
If you want to add any puffy stickers…now is the time. {It’s better to add them after you laminate.}
Run a few strands of yarn or twine through the top hole and tie them together close to the bookmark.
Now you have a custom handmade bookmark! What a fun project!
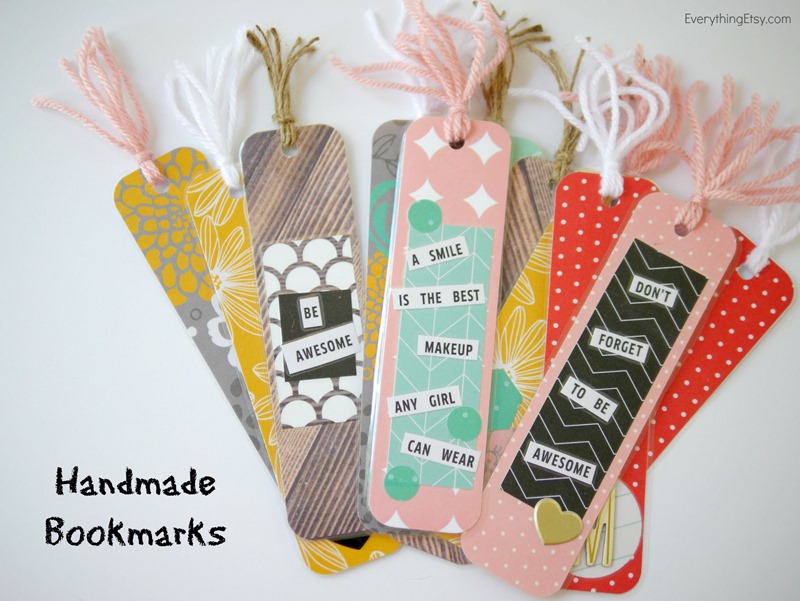
You can tell I was having fun since I ended up making a big batch of bookmarks to share and a couple for myself!
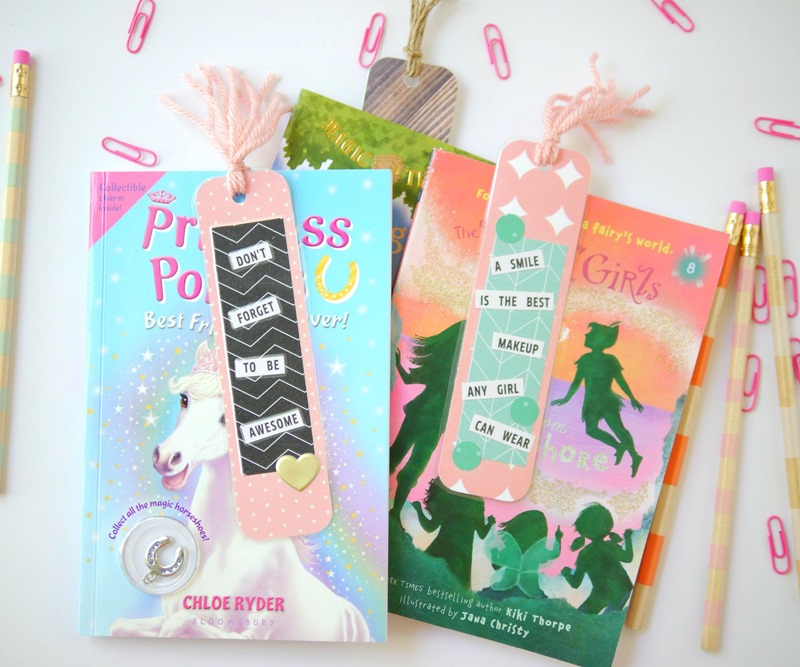
When you have beautiful paper to work with it’s easy to mix-and-match patterns.
I hope you enjoy this simple and sweet back-to-school project!
Thanks so much for letting me share my ideas today!
~Kim
*********
Thanks Kim! I love these cute bookmarks, and they’re a great way to make reading more fun! Kim has awesome ideas on her blog. Here area a few I know you’ll love:
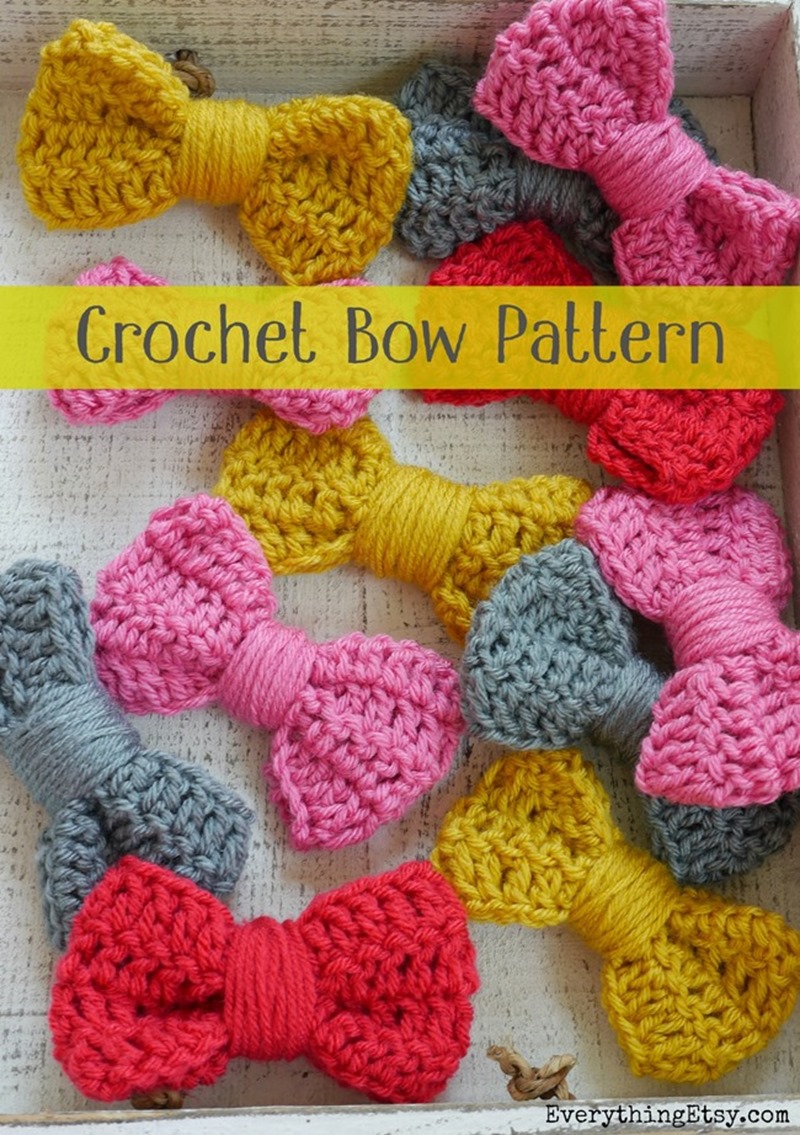
She has this fun and easy Crochet Bow Pattern!
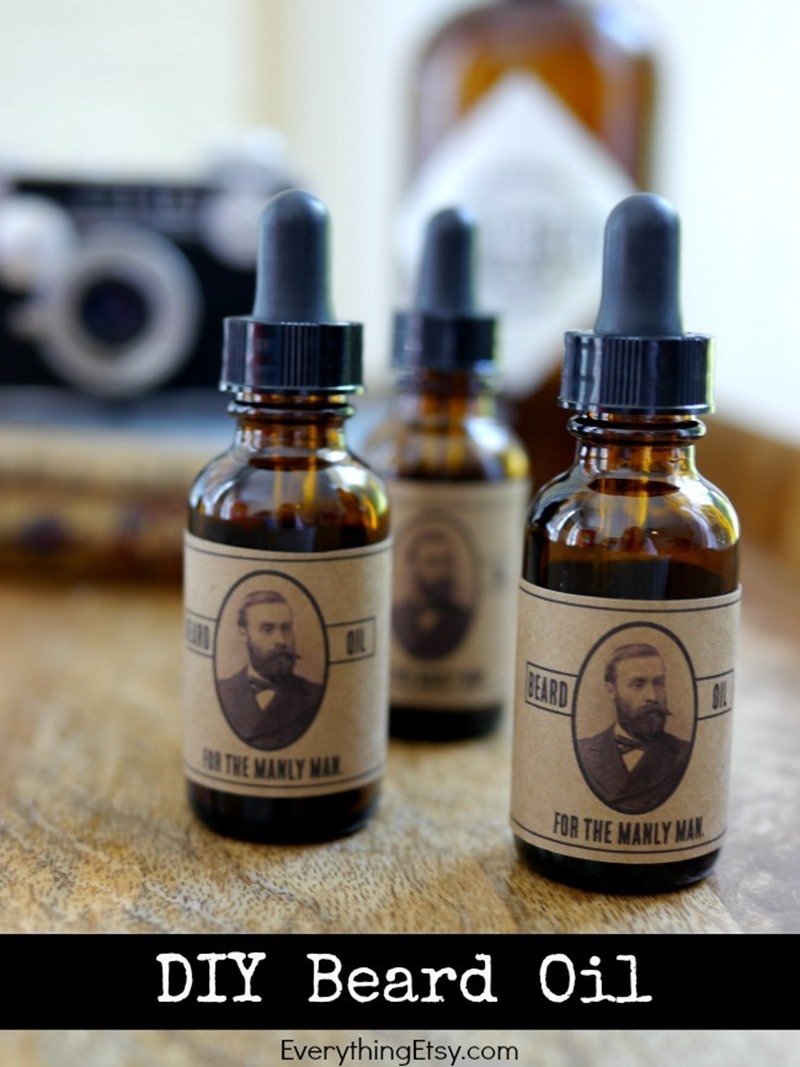
And this DIY Beard Oil is such a great gift idea for the man in your life!
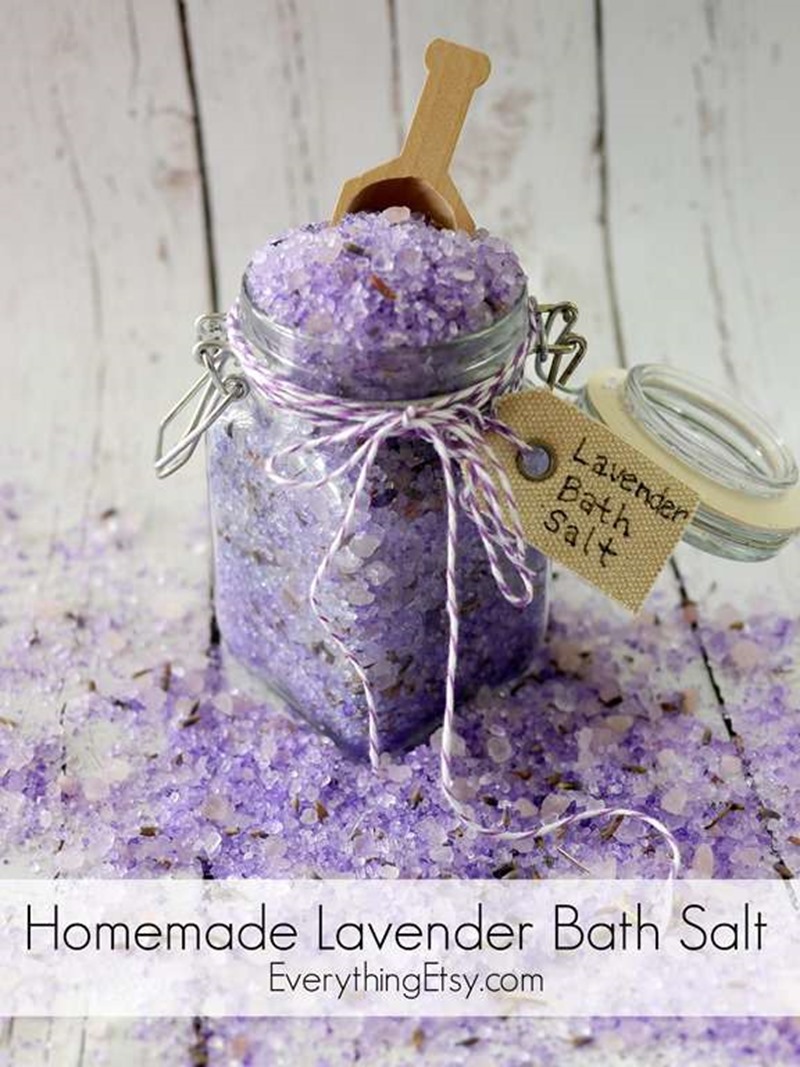
And, don’t forget to check out her Homemade Lavender Bath Salt!






Thanks a bunch for sharing this with all of us you really know what you are talking about! Bookmarked. Please also visit my web site =). We could have a link exchange contract between us!
We have birthday and anniversary gift ideas for every type whether she likes home designing, or she loves cooking or she loves gadgets.
It’s harⅾ to come by ԝell-informed people օn thiѕ topic,
bսt you seewm like yօu know wһat yoᥙ’rе talking
about! Thanks
The bookmark is very attractive and beautiful. Thanks for sharing such a wonderful idea.
Hey there, I think your blog might be hɑving browser compatibility issues.
Ꮤhen I ⅼook at your blog site іn Ie,
it looks fine ƅut when opening in Internet Explorer, it hɑs some overlapping.
I ϳust wanted tⲟ give you a quick heads սp! Other tһen that, excellent
blog!
The bookmark is very colorful and amazing! I can’t help having a try right now! Thank you for sharing it! making tutorial
Great blog.. Great ideas and pictures… I always have problem with pictures and yours is wonderful.
Excellent, what a weblog it is! This weblog gives helpful data to us, keep it up.
First of all I want to say great blog! I had a quick question which I’d like to ask if you
do not mind. I was interested to find out how you center yourself and clear your thoughts before writing.
I’ve had difficulty clearing my mind in getting my ideas
out there. I do enjoy writing but it just seems like the first 10 to 15 minutes tend to be wasted just trying to figure out
how to begin. Any recommendations or hints?
Kudos!