Hey there Tatertots and Jello readers! It’s me, Melissa of the Polka Dot Chair blog. I’m here to share with you a simple sewing project perfect for summer!
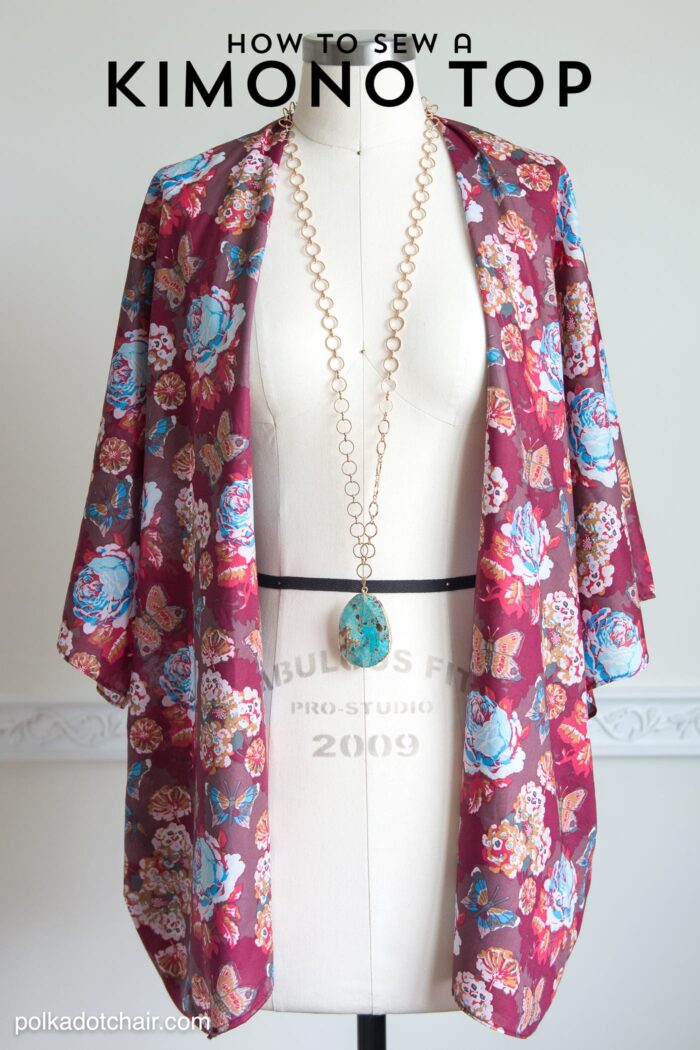
I was trying to decide what I wanted to make for my latest submission for Jen and was feeling a bit stumped, then I saw her new Fruit Salad fashion line and felt instantly inspired. I loved all of the kimono tops included in the collection and thought that I’d stitch one up for myself! (I’ll most likely be buying a few of Jen’s too).
This top is easy to make, the hardest part will be hemming the lightweight fabric but I’ll give you a few tips for doing that.
Since it’s such a large project I really couldn’t get great photos of the process so I’ve illustrated over my photos to give you a good idea of how the top is constructed.
To make one you’re going to need:
- 2 yards of 45″ wide lightweight fabric like a voile or light rayon. If you buy 60″ wide fabric you’re going to just need to cut it down.
- An old t-shirt that fits you well (not a fitted tee, a boxy one)
- Chalk and a Ruler
- Rolled Hem foot for your machine if you have one.
Measure from your neckline to the point on your body that you’d like the kimono to hit. For me it was 30″. Cut your fabric to DOUBLE that length – so my fabric was 60″ by 45″ (the fabric comes 45″ wide)
Fold the fabric in half lengthwise. It will be 45″ long by 30″ tall (cause it’s folded) with a fold at the top, and the selvage edges on each end.
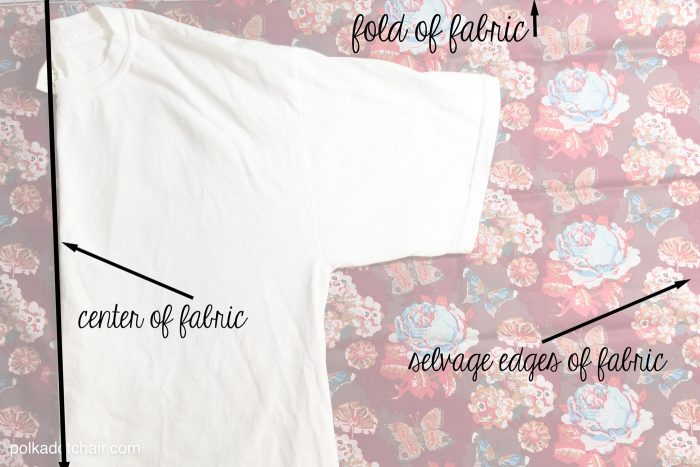
Find the center of the fabric and mark it with a piece of chalk. Fold your t-shirt in half and place the fold on the center mark of the fabric, the neckline of the t-shirt even with the fold on the top of the fabric.
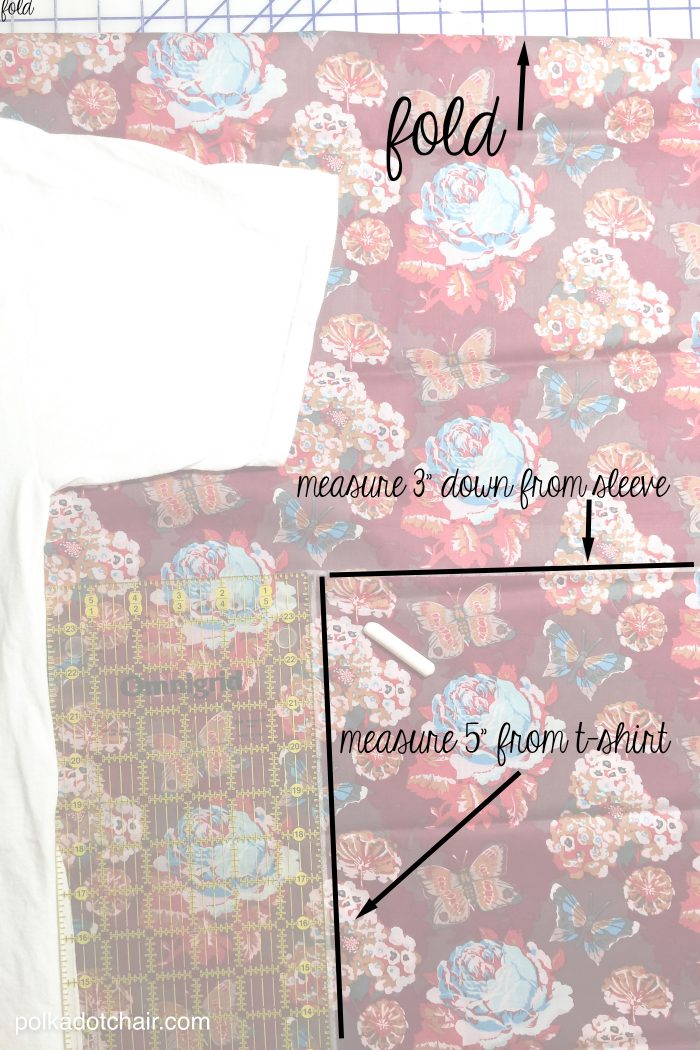
Using a ruler and chalk, measure in 5″ from the edge of your folded t-shirt. Draw a line. Then measure down 3″ from the bottom of the sleeve of the t-shirt. Draw another line.
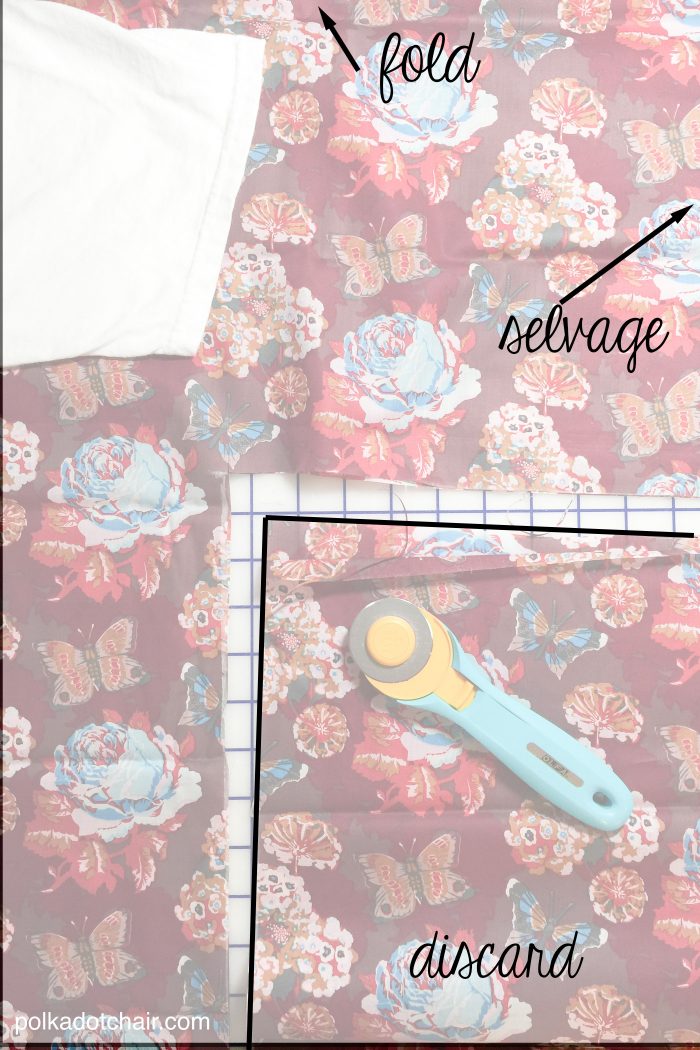
Cut the fabric away. Take the cut away piece and use it to cut a piece EXACTLY the same size on the other side of the fabric.
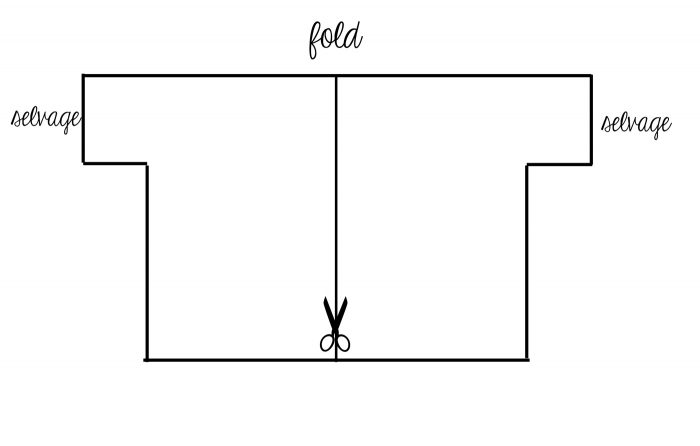
Your piece will roughly look like this. Now with a sharp pair of scissors, cut ONE layer of the fabric along the center line up to the fold. DO NOT cut both layers of fabric. Just the top.
With the right sides of the fabric facing stitch the underarm seams. Press seams open.
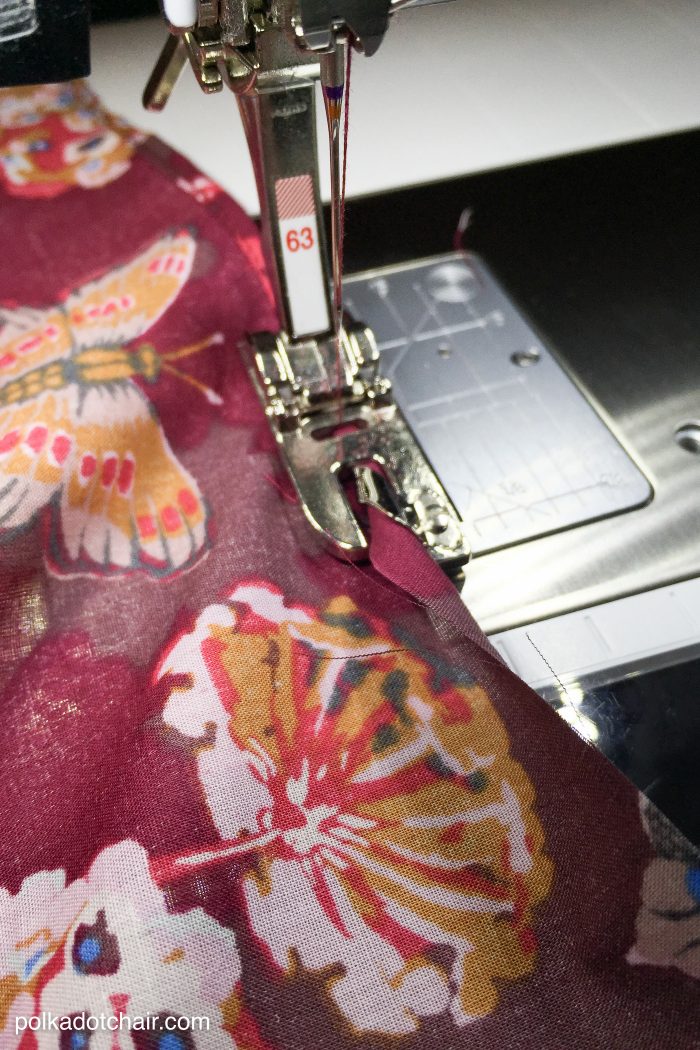
Now all you need to do is to hem all of the raw edges of the fabric. I like to use a rolled hem foot for this step. If you don’t have one, then fold the fabric over 1/8″ and fold it again 1/8″ and stitch along the folded edge.


************
Thanks Melissa! I just love that Kimono top. It’s so pretty! Isn’t she amazing? Melissa has so many awesome ideas! Here are a few I know you’ll love:
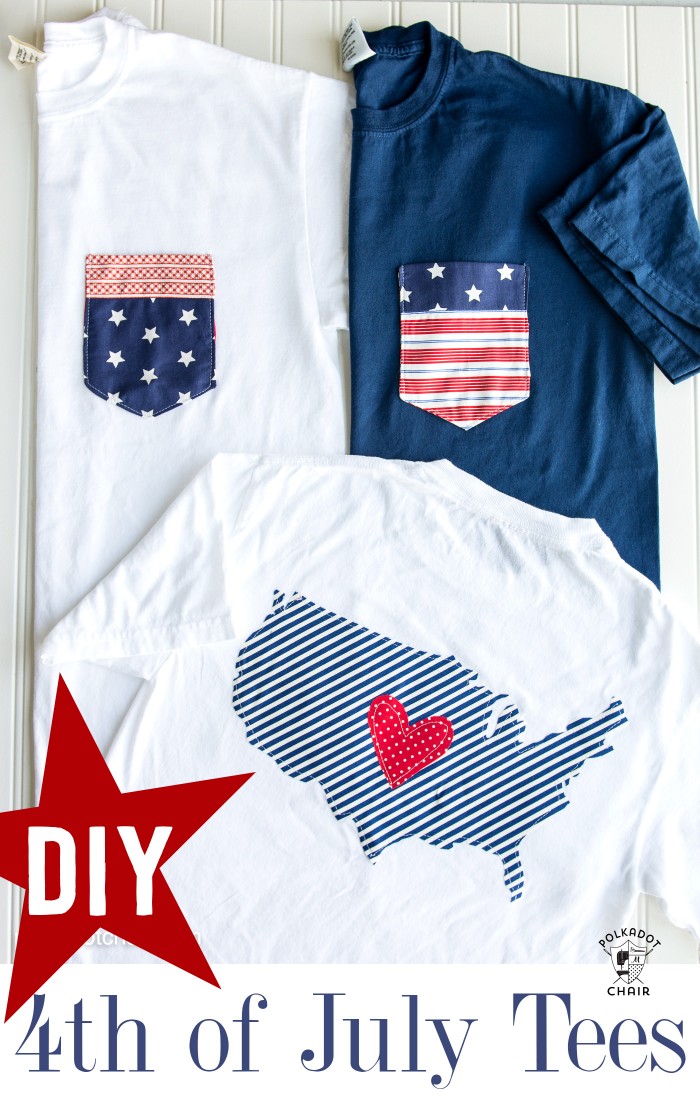
Love this fun tutorial for 4th of July Tees! So cute!
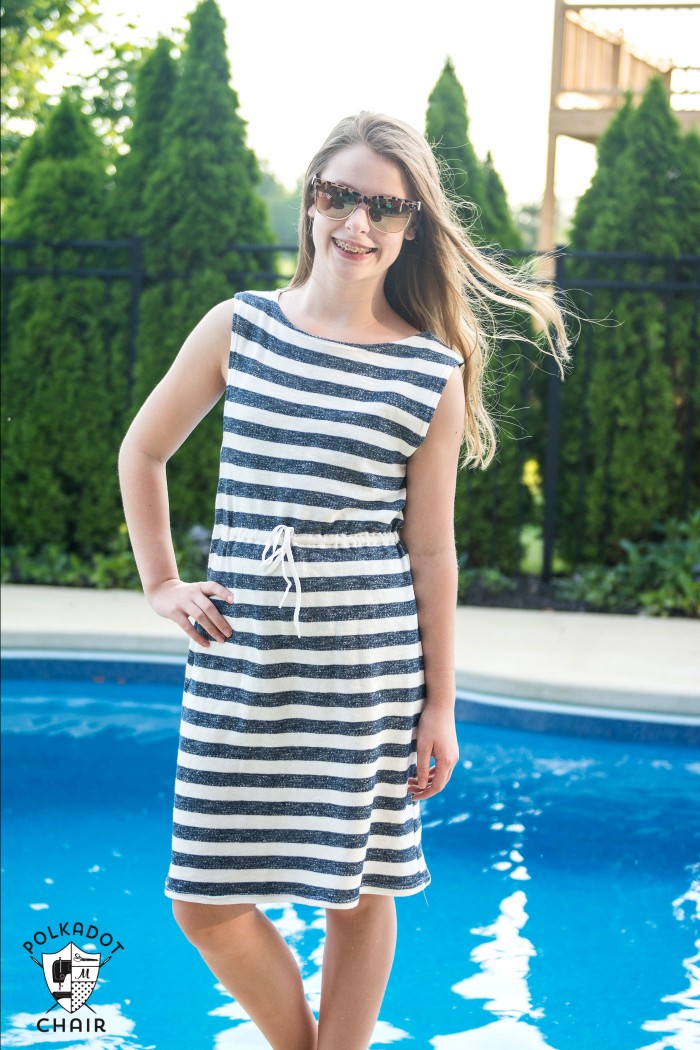
And, I just love this Summer Sundress Pattern. Perfect for hanging out by the pool!
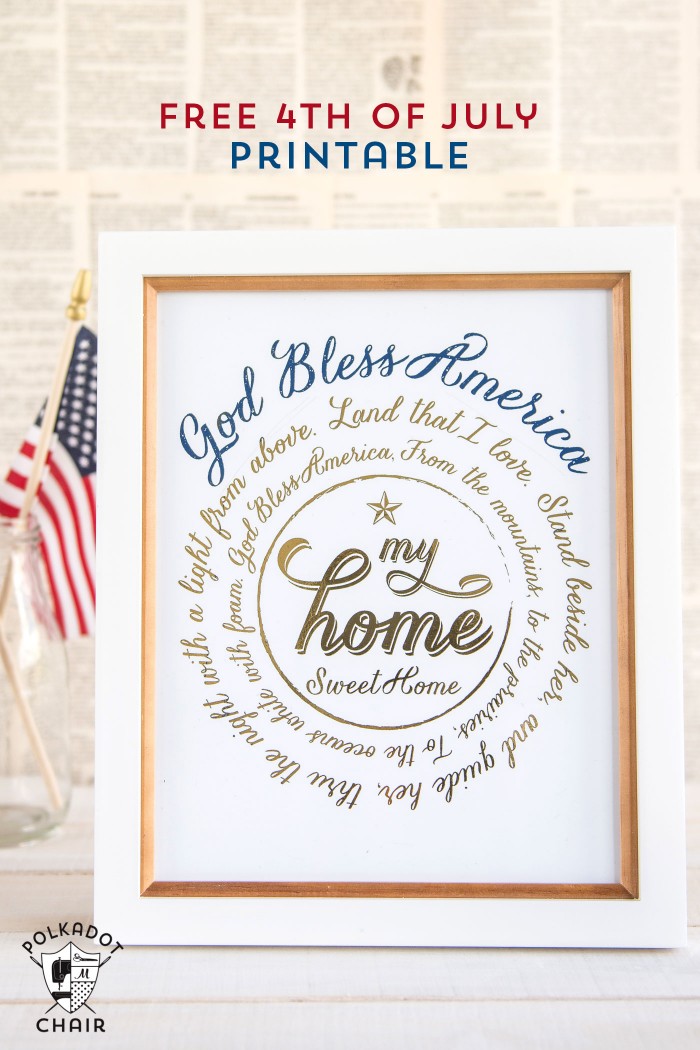
And, make sure to grab this Foil Ready 4th of July Patriotic printable to decorate your home this summer!
Visit Polka Dot Chair and






Can someone please help me? I made the jacket but it doesn’t look as nice as hers at all. What can I do to make it look more appealing?
Click on my name to see the pictures.
First of all I think it needs a good ironing. Then I think you don’t have it pulled forward enough. You shouldn’t have those folds at the back and yours doesn’t hang as long at the front, so just pull it forward. I hope this idea works and is helpful.
I’m wodering the same thing as Claud….need more specifics on the neck.
I really like this but do you do the rolled hem all around, even on the neck?
I love this project! So fast and easy! I am about to make myself a top like that. It won’t be open as a kimono but will have the same boxy shape. Hope to share it on my blog soon 😉 Happy 4th of July, everyone!
Cute! Time to find a fabric store!
You are so talented. This looks gorgeous! Love the fabric you chose and the pattern xo
http://www.GlossyFinds.com
wow! that kimono top is really worth it…one of the best DIY ever!
http://randomscribblific.blogspot.in/
Awesome tutorial! I definitely want to try this soon!
Paige
http://thehappyflammily.com