Tatertots and Jello

COLORFUL HAPPY HOME -- Daily DIY, Decor, Craft and Recipe Tutorial

  • My Home
    • 1905 Cottage
    • Daybreak House
  • DIY
    • DIY Projects and Ideas
    • Organizing
    • Tutorials
    • Printables
  • Decor
    • Spring Projects
    • Summer Projects
    • Fall Projects
  • Crafts
    • Kids Crafts
    • Painting Projects
    • Paper Projects
    • Sewing
    • Wreaths
  • Holidays
    • Valentines Day
    • Easter
    • Halloween
    • Thanksgiving
    • Christmas
    • HAPPY Holidays Series!
  • Recipes

Explore

  • my home
  • diy
  • decor
  • crafts
  • holiday
  • printables
  • recipes

Connect

Home » diy » DIY Hanging Frames Tutorial!

diy, family, photography, tutorial · March 26, 2013

DIY Hanging Frames Tutorial!

Tatertots & Jello is a participant in the Amazon Services LLC Associates Program, an affiliate advertising program designed to provide a means for sites to earn advertising fees by advertising and linking to amazon.com.


Hey there! It’s Jess and Monica from East Coast Creative and we have another super simple way to dress up your walls on the cheap!


I’m in the middle of re-doing our kid’s bathroom and for five years there hasn’t been one single piece of wall decor in that room. Now, I’m one step closer to well-dressed walls with these hanging frames!

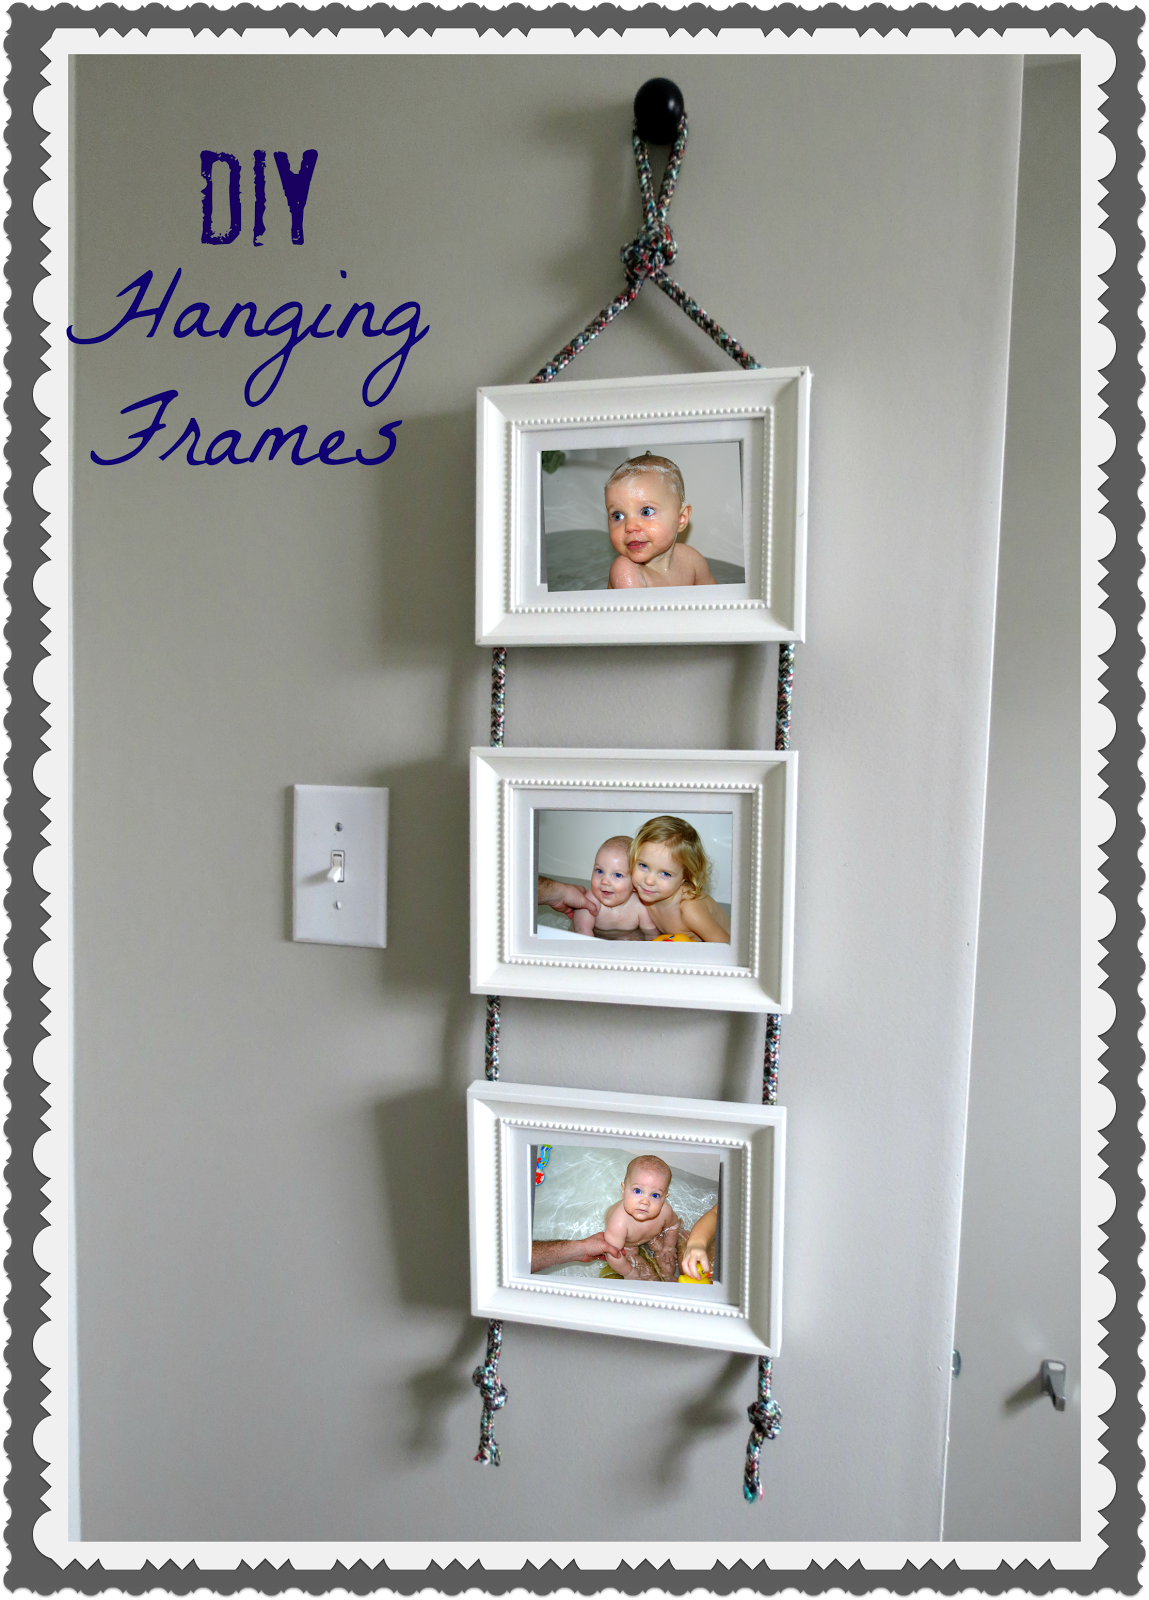
Isn’t that cute? I went to a World Market for the very first time while vacationing in Hilton Head, SC (we don’t have one near us- boooooo) and immediately noticed these hanging frames , but they were  $49.99!! I knew that with just a few cheap frames from Ikea, I could recreate this look for less!
…
Here’s what you’ll need to make your own:
– Plain frames (I got mine for 3.99 each at Ikea)
– Braided rope
– Staple gun (optional)
– Hot glue gun
– Level
– Measuring tape
Step 1: Pull the arm off of your frame, if they have them, so that the frames lay flush against the wall.
Step 2: Roughly estimate how long you want the rope to be by placing the frames the same distance apart (mine are 3 inches apart) and looping the rope up and over the top and down the sides. Cut the rope. Don’t worry about being exact here, you just want to make sure you have more than you’ll need.
I found this awesome multi-colored rope at the Dollar Tree and am in love. For only a few bucks, I have more than I need so I can use it in lots of different ways!
Step 3: Place a knot a few inches down from the top so that you can easily hang your frames when you’re ready. I also think this adds a fun detail to the frames!
Step 4: Lay your frame upside down on a flat surface and line it up with a straight edge. I used the edge of my countertops as my guide. This ensures that the frame will be level when you hang it up. Using your hot glue gun, dab some glue to the upper corner of your frames and hold it in place. Do this on both sides. Then run a line of glue down the sides of the frame, pulling the rope tight as you go.
Step 5: Line the next frame up and masure your desired distance (my frames are 3 inches apart)  and hot glue in the same places as above. This part gets tricky, so try to keep a steady hand! But the nice thing is that if you mess up, you can just pull the rope off and do it again! (Not that that happened to me or anything:) Repeat with the remaining frame.
Step 6 (optional): Use your staple gun to shoot a few staples in the corner to secure the rope.
Step 7: Fill your frame with cute pics and hang it up! I used a large knob I had to hang the frame- I love the way it looks!


That’s it! For under $10, I created a fun piece of wall decor for my kid’s bathroom! Can’t beat that. 🙂
We’re also in the final week of Creating with the Stars. The projects are out of this world and we’d love for you to come check out the amazing talent we’ve been fortunate enough to showcase these last few weeks!
Thanks again for having us, Jen!


jess&Monica


What a  an awesome project!!

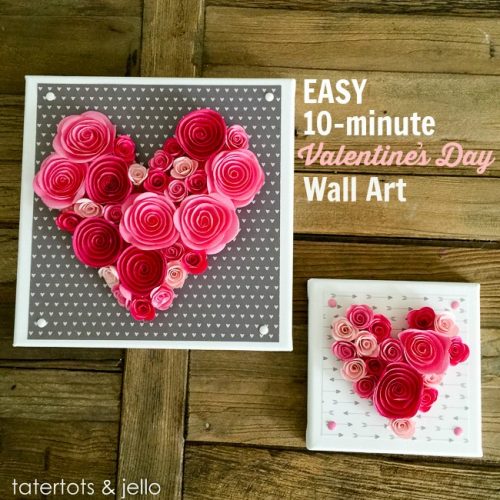
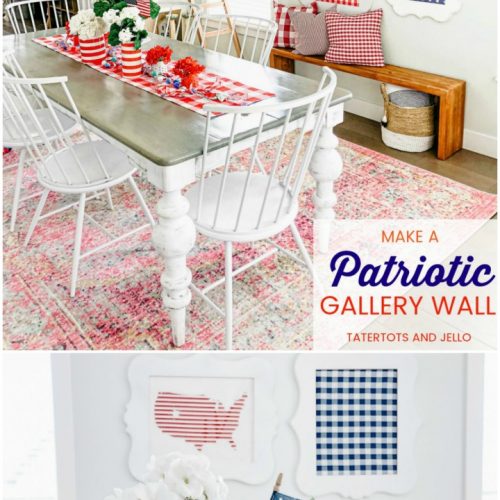
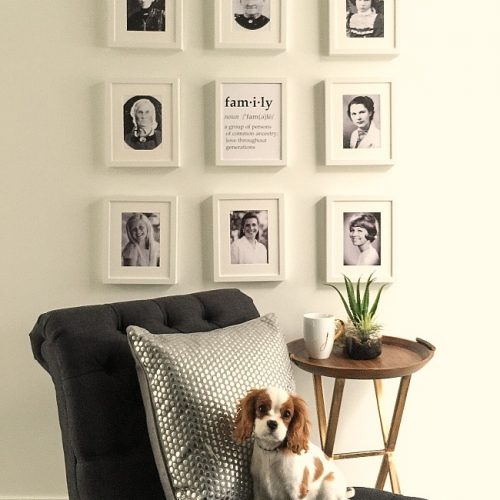
Here are some other fabulous ideas from East Coast Creative:

Ikea Lack Ottoman Makeover 

And in case you missed it, Creating With The Stars is going full-blast. With AMAZING projects like this light from Sarah M. Dorsey Designs

Creating With The Stars


Be sure to check out East Coast Creative — you will be amazed!! 


Have a Creative Day! 


xoxo

Posted By: Jen · In: diy, family, photography, tutorial

How to Stencil on Fabric and a Royal Design Studio Stencil Giveaway!
DIY Chalkboard Menu and Chalkboard Tags!

You’ll Also Love

17 Farmhouse and Cottage Valentine's Day ideas. Fast and beautiful ways to bring the spirit of Valentine's Day into your home.Easy 10-Minute Valentine’s Day Wall Art [and free templates!]
Fourth of July red white and blue gallery wall DIY. Show off red white and blue fabrics in thrifted frames to create a festive statement wall in any room in your home!Fourth of July Red White and Blue Gallery Wall DIY
family generation gallery wall and printableFamily Generations Gallery Wall and printables!

Comments

  1. Carla says

    April 3, 2013 at 11:18 AM

    What a cute idea! Love it

  2. Kayla says

    March 27, 2013 at 11:54 AM

    Oh my gosh! That is so cute! And looks easy enough! : )

    Kayla
    http://www.lovelucygirl.com

  3. Kate says

    March 27, 2013 at 5:11 AM

    I love this idea! Hanging frames with all of the measuring, the level, multiple nails, etc that comes with it is not my favorite thing. I’m going to have to try this one!

Hi! I'm Jen Hadfield. I'm a mom of 5 restoring an 1891 home in the heart of Salt Lake City. I love being creative and sharing simple ideas to make your life easier and more beautiful!

Receive the Latest Crafts, DIY, Recipes and More in your INBOX!

Follow us on Pinterest! It's awesome!

Top Posts & Pages

Copycat Panera Spinach and Artichoke Egg Soufflés - SO good!
Spruce up Your Outdoor Space with a DIY Recirculating Fountain! (tutorial)
A New Deck in Under 30 Minutes!
12 Must-Have Items to Pack on an Alaskan Cruise!
How to Change a Recessed Can Light into a Pendant Light with No Remodeling!
DIY Fountains to Make Your Yard Amazing!


Popular Posts

  • Copycat Panera Spinach and Artichoke Egg Soufflés - SO good!
    Copycat Panera Spinach and Artichoke Egg Soufflés - SO good!
  • Spruce up Your Outdoor Space with a DIY Recirculating Fountain! (tutorial)
    Spruce up Your Outdoor Space with a DIY Recirculating Fountain! (tutorial)
  • A New Deck in Under 30 Minutes!
    A New Deck in Under 30 Minutes!
  • 12 Must-Have Items to Pack on an Alaskan Cruise!
    12 Must-Have Items to Pack on an Alaskan Cruise!
  • How to Change a Recessed Can Light into a Pendant Light with No Remodeling!
    How to Change a Recessed Can Light into a Pendant Light with No Remodeling!
  • DIY Fountains to Make Your Yard Amazing!
    DIY Fountains to Make Your Yard Amazing!
  • The BEST Fresh Strawberry Cream Cheese Cake Recipe!
    The BEST Fresh Strawberry Cream Cheese Cake Recipe!

As seen in


Amazon Affiliate

Tatertots & Jello is a participant in the Amazon Services LLC Associates Program, an affiliate advertising program designed to provide a means for sites to earn advertising fees by advertising and linking to amazon.com.
  • About Me
  • Advertising
  • Get Featured

Copyright © 2025 Tatertots and Jello · Privacy
This site is a place for positive discussion and ideas. Negative talk, comments that disparage others, and similar are not welcome and may be removed.