

Happy Wednesday everyone!

I’m Anna from Ask Anna — and I am so excited to be here with you today and you’re going to be shocked because I’m not sharing a cleaning tip with you, I’m actually going to share a sewing craft!!! I will happily admit that I am not very crafty, which is why I have a cleaning and organizing blog, not a craft blog. However when I see a good idea I can usually do a pretty good job replicating it {so I’m not a total lost cause}. Last fall I was at a local vintage trade show when I spotted some fabulous pillows; I wanted to purchase them but the owner said they were her display pillows. However she was happy to tell me where she had bought the fabric and how to make them.

The best part about these pillow slipcovers is that they are super easy!
Honestly all you need to know is how to cut and sew a straight line, easy!!!
Here’s what you’ll need:
2 types of fabric, one for the front & one for the back
Ribbon
Scissors
Sewing Machine
To make this project cheap I used the pillows that I already had for my couches, I just took the covers off of them.

Next I laid out my new fabric and then laid the old slipcover on top of it to measure how much fabric I would need. I left about 1″ of extra fabric on all the sides to allow for the hem.

Then I pinned and sewed the hem on the just the sides of the pillow covers.

After sewing each of the side materials {separately, not together} I turned the material wrong sides out and sewed the front and back materials together but only on the top and bottom of the covers. I left the sides open so that I could sew on the ribbon.
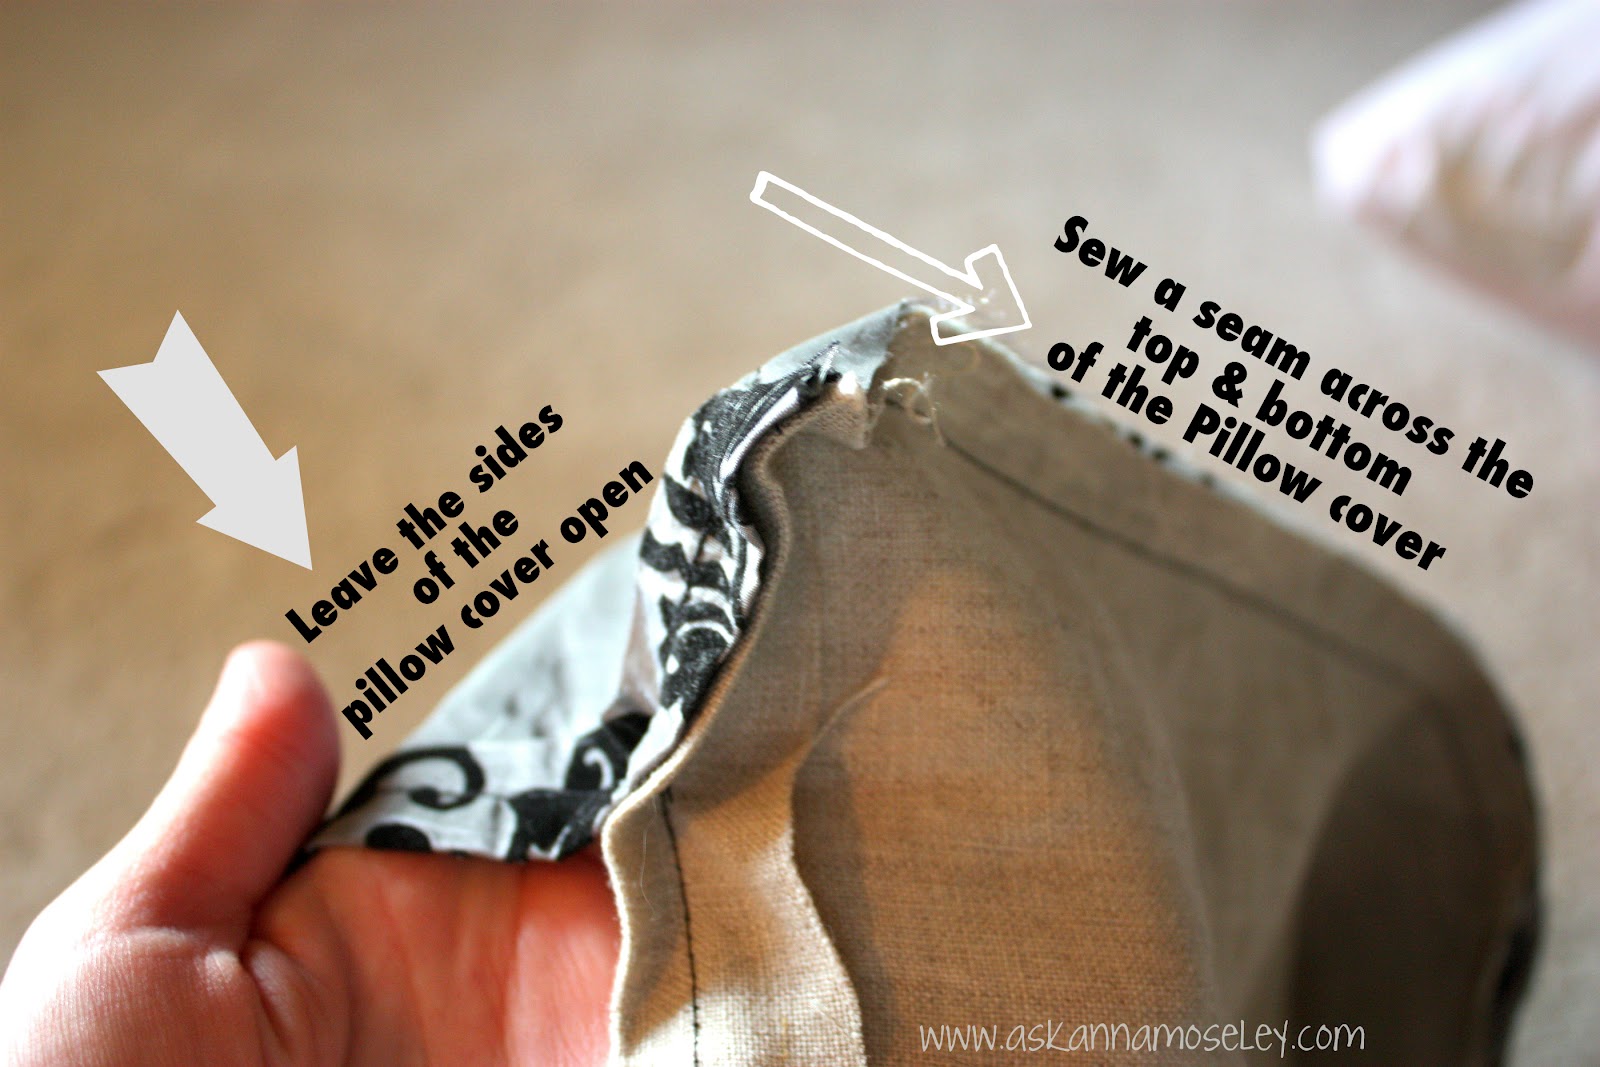
After the top and bottom of the cover was sewn together I sewed a piece of ribbon on each side of the cover, directly in the middle. The ribbon is what will be used to “close” the pillow cover on each side.
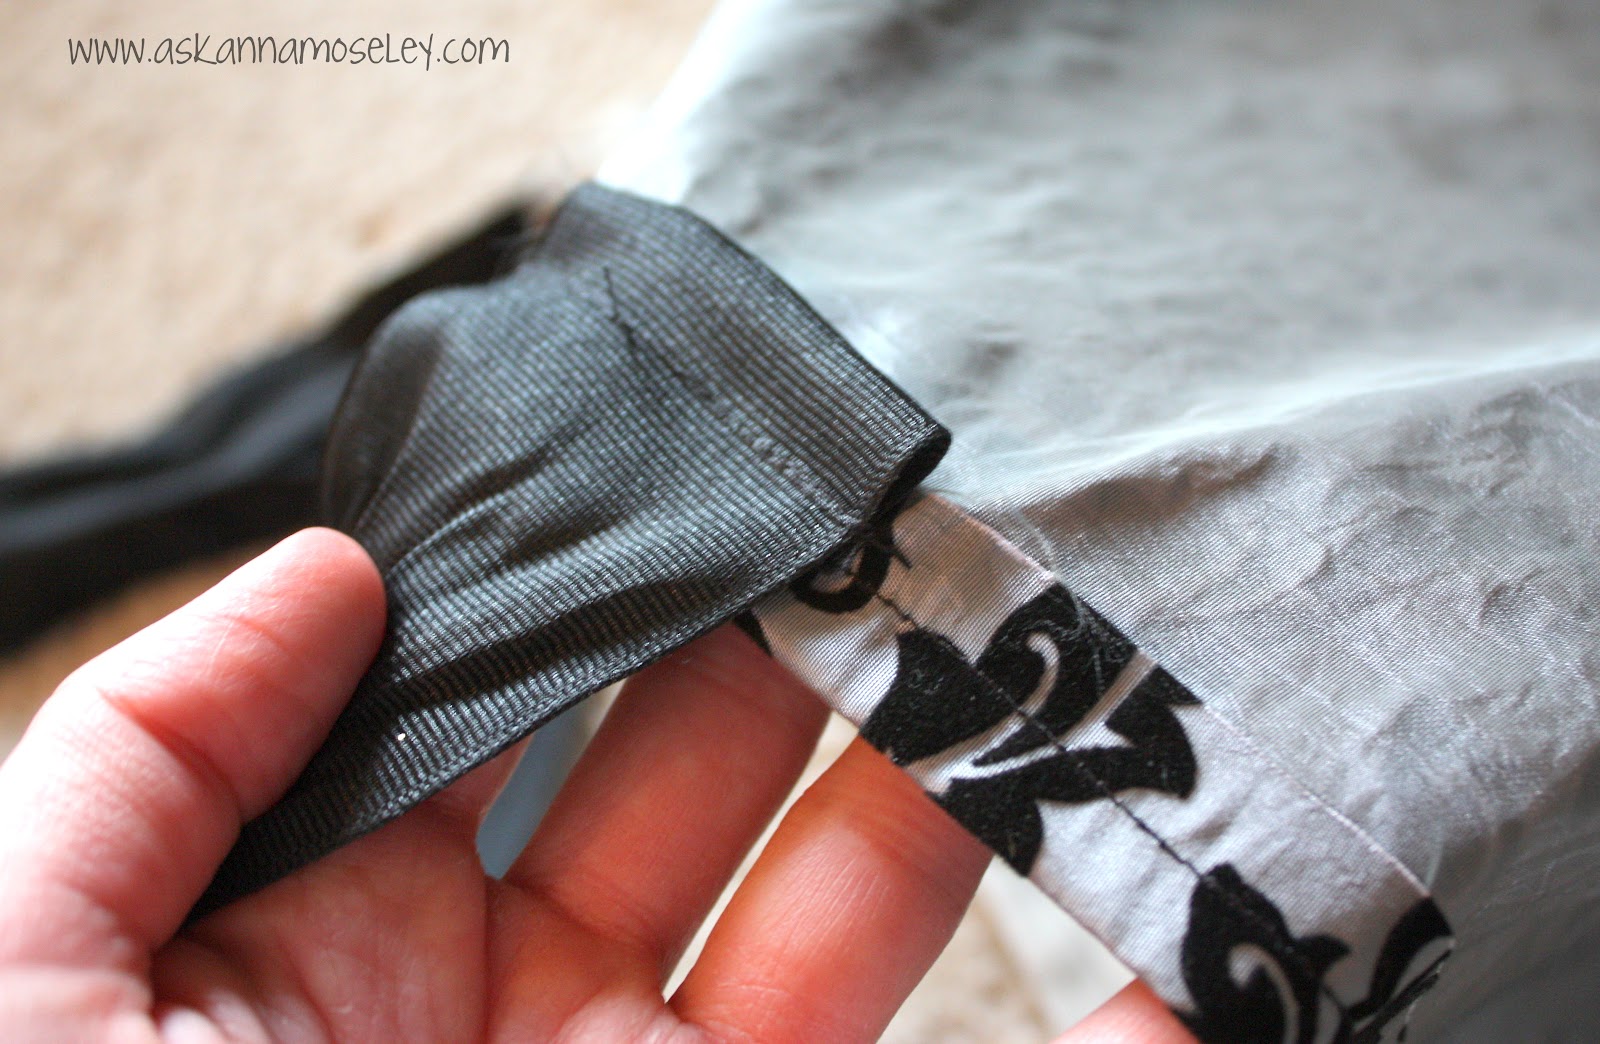
After the ribbon has been sewn on I burned the ends of it so that it wouldn’t fray,
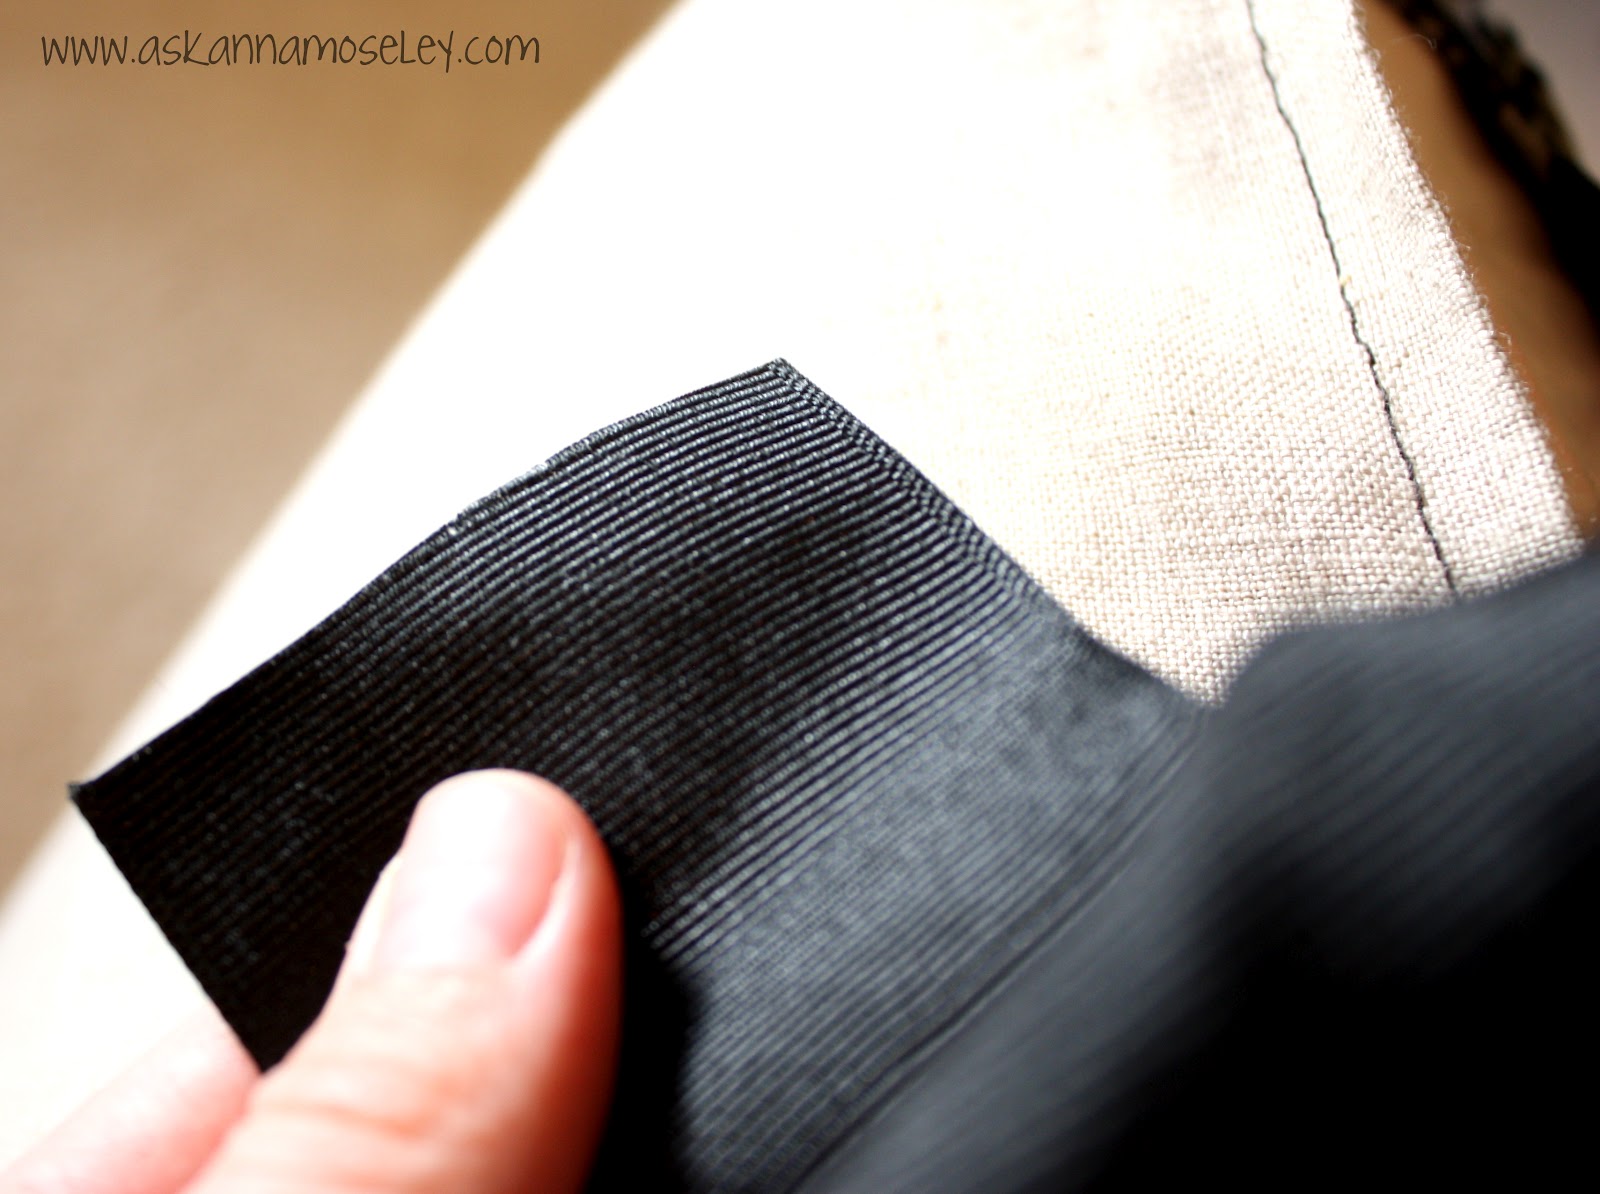
and then turned the cover right side out.

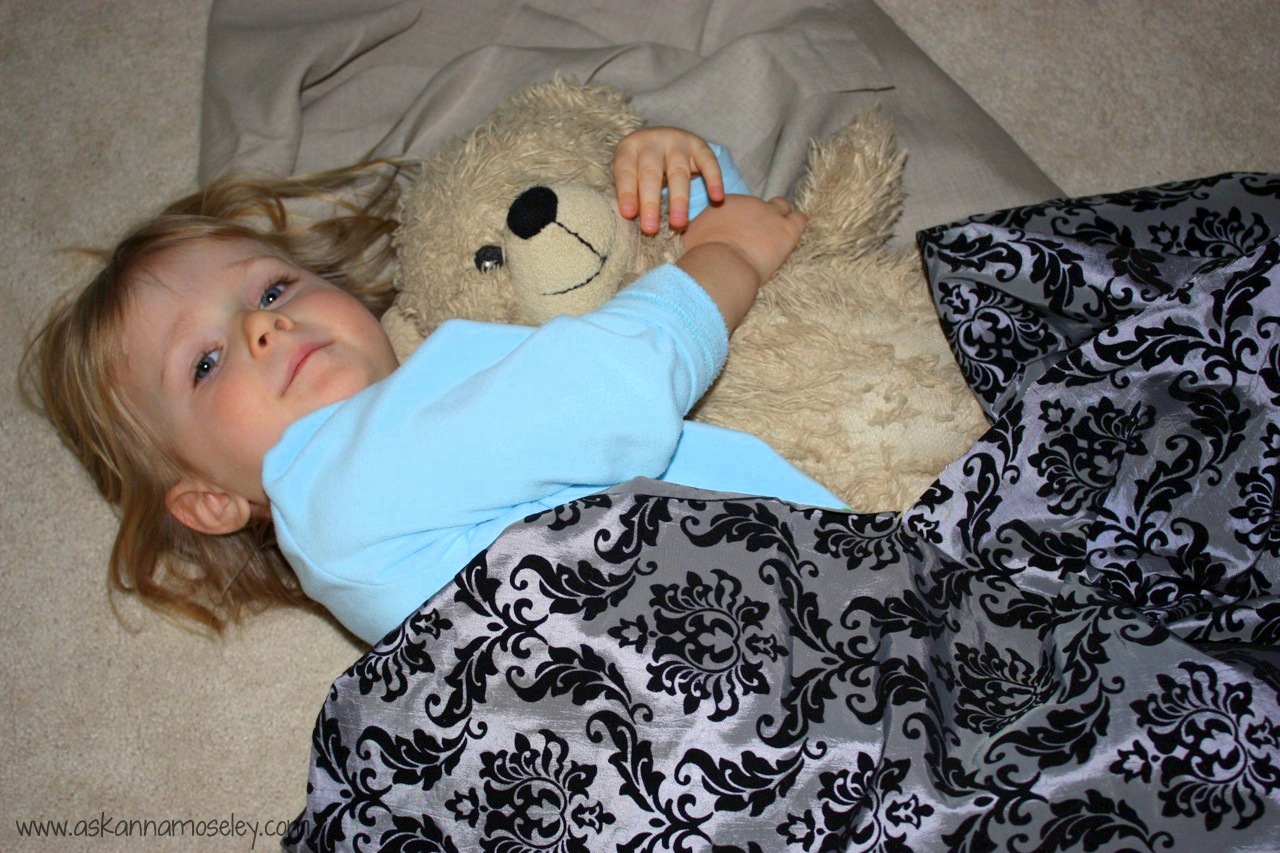
This is what my daughter, and her Teddy, were doing while I was sewing, I had to share because it’s too cute.
After the ribbons were sewn on I slipped the pillows into the new covers and tied them into bows. I love my new pillow covers!

My favorite part about these pillow covers is that they are super easy and inexpensive to make! Everyone loves them and every time I have guests over they compliment my pillows and ask me where I bought them. It’s so fun getting to say, “oh, I made them!”.
I love the bows on each side of the pillows, so pretty.

I think they fit my new couch perfectly!

Thank you so much for letting me hang out here with you today! I always have a fun time visiting here at Tatertots & Jello!


 {How to keep hardwood floors clean in between cleanings}
 {Be sure to check out Anna’s Kitchen Transformation — it’s amazing}


Right away I am ready to do my breakfast, once having my breakfast coming yet again to read more news.
When some one searches for his necessary thing, thus he/she wants to be available that in detail, so that thing is maintained over
here.
Hello! Someone in my Facebook group shared this site
with us so I came to give it a look. I’m definitely loving
the information. I’m bookmarking and will be tweeting this
to my followers! Terrific blog and great design.
I am brand new to sewing, and I think that I am going to make this one of my first projects! One question–how do I “burn out” the ends of the ribbon? Yes, I am a newbie!! 🙂
Great project idea! Lovely pillows!!
Claire
So cute and fun!
Unfortunately, my kitty would see those bows as toys and they’d be constantly untied, and eventually shredded! Maybe an option for the guest room if we keep the door closed 😉 haha
That’s a bummer! For the guest room would be nice though. 🙂
Anna
Anna – What a great project and so lovely to have in your living room! Thanks for sharing!
Thank you Ann!
Anna
http://www.askannamoseley.com
i am making these for sure!! what a great idea
Awesome! Have fun. 🙂
Anna
http://www.askannamoseley.com
I just recently got a sewing machine, and have been making pillow covers like crazy, this looks easy and adorable, can’t wait to try it out. Thanks for sharing Anna!
Awesome! And you are SO welcome!! 🙂
Anna
http://www.askannamoseley.com
Adore these! So simple and easy to switch out!
Thank you Jessica! 🙂
Anna
Thank you Jen for sharing this and Anna for the wonderful tutorial! The bows are so delightful and as soon as I can learn how to sew, this is on my to do list!
Evani
Awesome! This would actually be a really easy first sewing project because they’re so simple. Good luck! 🙂
Anna
Super duper cute, and crazy easy! I need new pillow covers desperatly!
Yay! Sounds like this was the perfect tutorial for you then. 🙂 Have fun!
Anna
Those are pretty dang cute! Love the chic bows. They look so girly and it really adds charm =)
Thank you Shannon! I love the bows too, they’re my favorite part. 🙂
Anna
http://[email protected]
Great tutorial. Love the fabric and the pretty bow. Very pretty.
Cynthia
Thank you Cynthia! 🙂
Anna
http://[email protected]
Those are so pretty, Anna! I have pillows in my bedroom that I was going to recover, but since I still like them {maybe as a Winter option}, I think I am going to try your tutorial. This way I can untie the ribbon and slip the pillows out to use in their original state. Great idea!
Awesome! That’s what I love about these slip covers, they are so easy and inexpensive that you can change them out as much as you want. 🙂
Anna
http://[email protected]
Anna,
Thanks for the tutorial. It looks like a project I could make (and finish). Where did you get the fabric? Is it velvety on the black?
Thanks again,
Amy
Haha, I love it. 🙂 I bought the fabric at JoAnn’s Fabric. The original pillow covers I saw were burlap on the back but I didn’t want burlap on my new couch. Yes the black part is velvety, I love it, I think it adds just the right touch to the pillows!
Anna
http://[email protected]
Thank you for always being such an awesome hostess Jen! 🙂
Anna
http://www.askannamoseley.com
Thanks for the awesome idea and tutorial Anna. I love those pillow slipcovers.
xoxxoxoxo