Hi, I’m Terra from mama says sew.
I’m really excited to be here today. When Jen asked me to share the tutorial for this lamp with her readers, I said “Of course!” The lamp shade is, after all, her amazing idea.

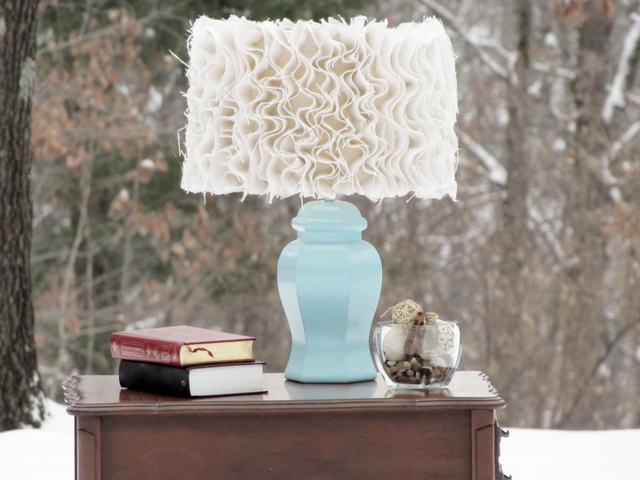
This is what I’m going to show you how to make today. Jen showed me a picture of a lampshade from Anthropologie, and after thinking about it for almost a day, I came up with a way to recreate it using burlap.
This was the inspiration:

In case you don’t already have a lamp base, head out to the thrift store and grab one. All you need is a can of spray paint to transform it into something fabulous. I used Krylon blue ocean breeze gloss.

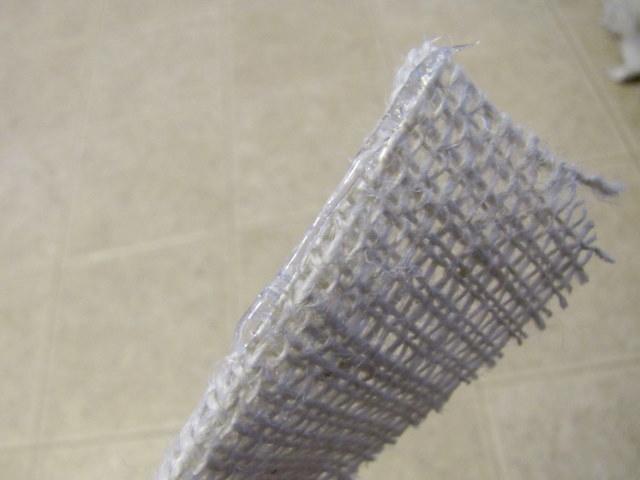
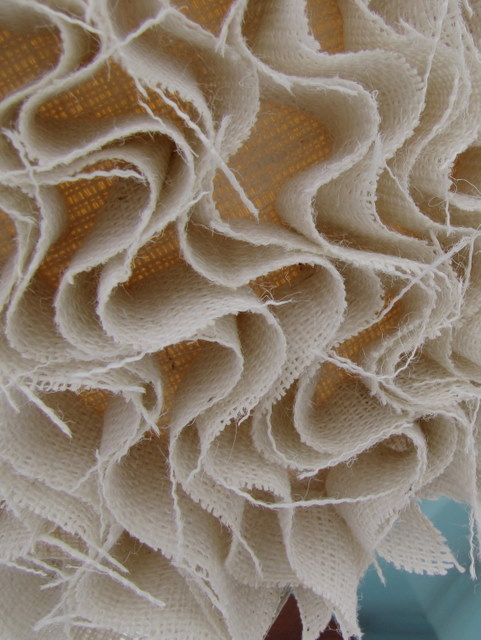
Now on to the lampshade. All you need is the shade, some burlap, and a glue gun. I used about 1 1/2 yards of burlap and probably 10 or so gluesticks, but what you use will depend on how big your lampshade is and how “ruffly” you want your shade.
First, cover the shade in a layer of burlap. I cut a piece big enough to go all the way around the shade and fold over about an inch to the inside on the top and bottom. I didn’t want glue leaking through the burlap on the outside, so I only glued on the inside along the top and bottom of the lamp shade. Pull the burlap taut as you go.

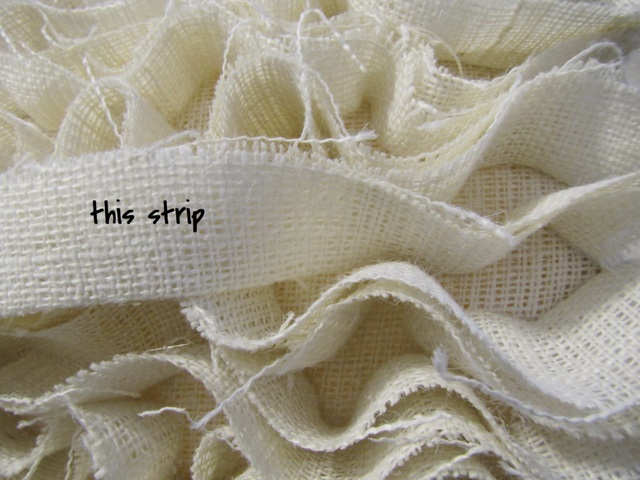
Now you need to cut the rest of your burlap in strips. Cut them double the width you want your ruffles to be, and about 1.5 times as long as your shade is tall. Fold them in half and press.

Now you’re ready to glue the ruffles to the shade. Put several inches of glue on the fold of your burlap and glue it onto the lamp in a squiggly line.
This is the strip I’m gluing right now. It’s straight where I haven’t yet glued it, and bent where it has already been glued to the shade.
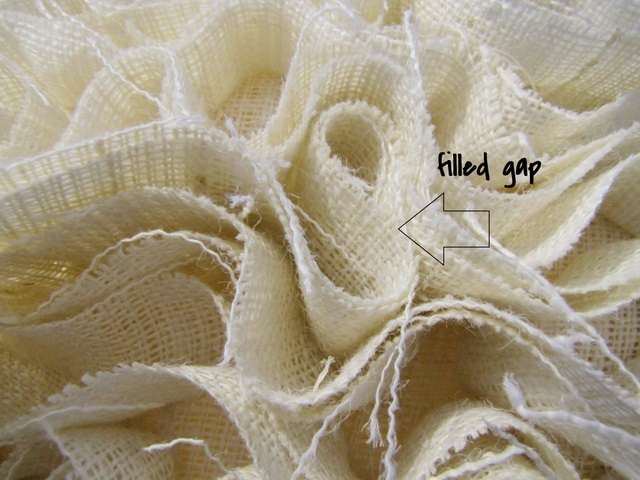
As you go, don’t make the burlap ruffle all the same way to add interest. You’ll end up with gaps, which you can fill as shown below:
The arrow is pointing to the gap.

And now the gap has been filled with a ruffle of burlap.
Here’s a close-up of the finished shade.
Now your lampshade has gone from blah to beautiful!

Thanks for having me, Jen!
And thanks for the fabulous idea!

Thanks Terra!!
I adore that lamp!!
Terra and I were partners for Crafting With The Stars.
She is so talented and I am thrilled to spotlight her!

{aren’t these Ruffle Flower Leggings incredible?}
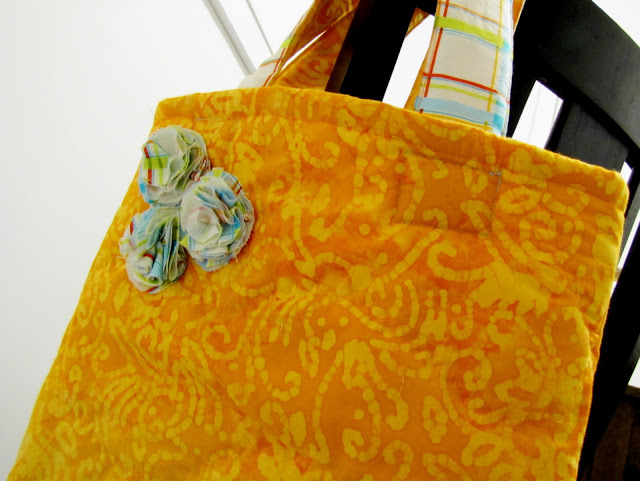
{I love this Quilted Tote}
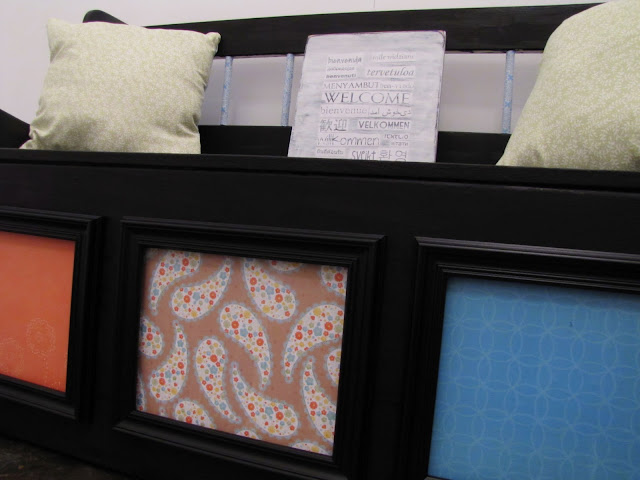
{You must check out her Decoupaged Bench!}
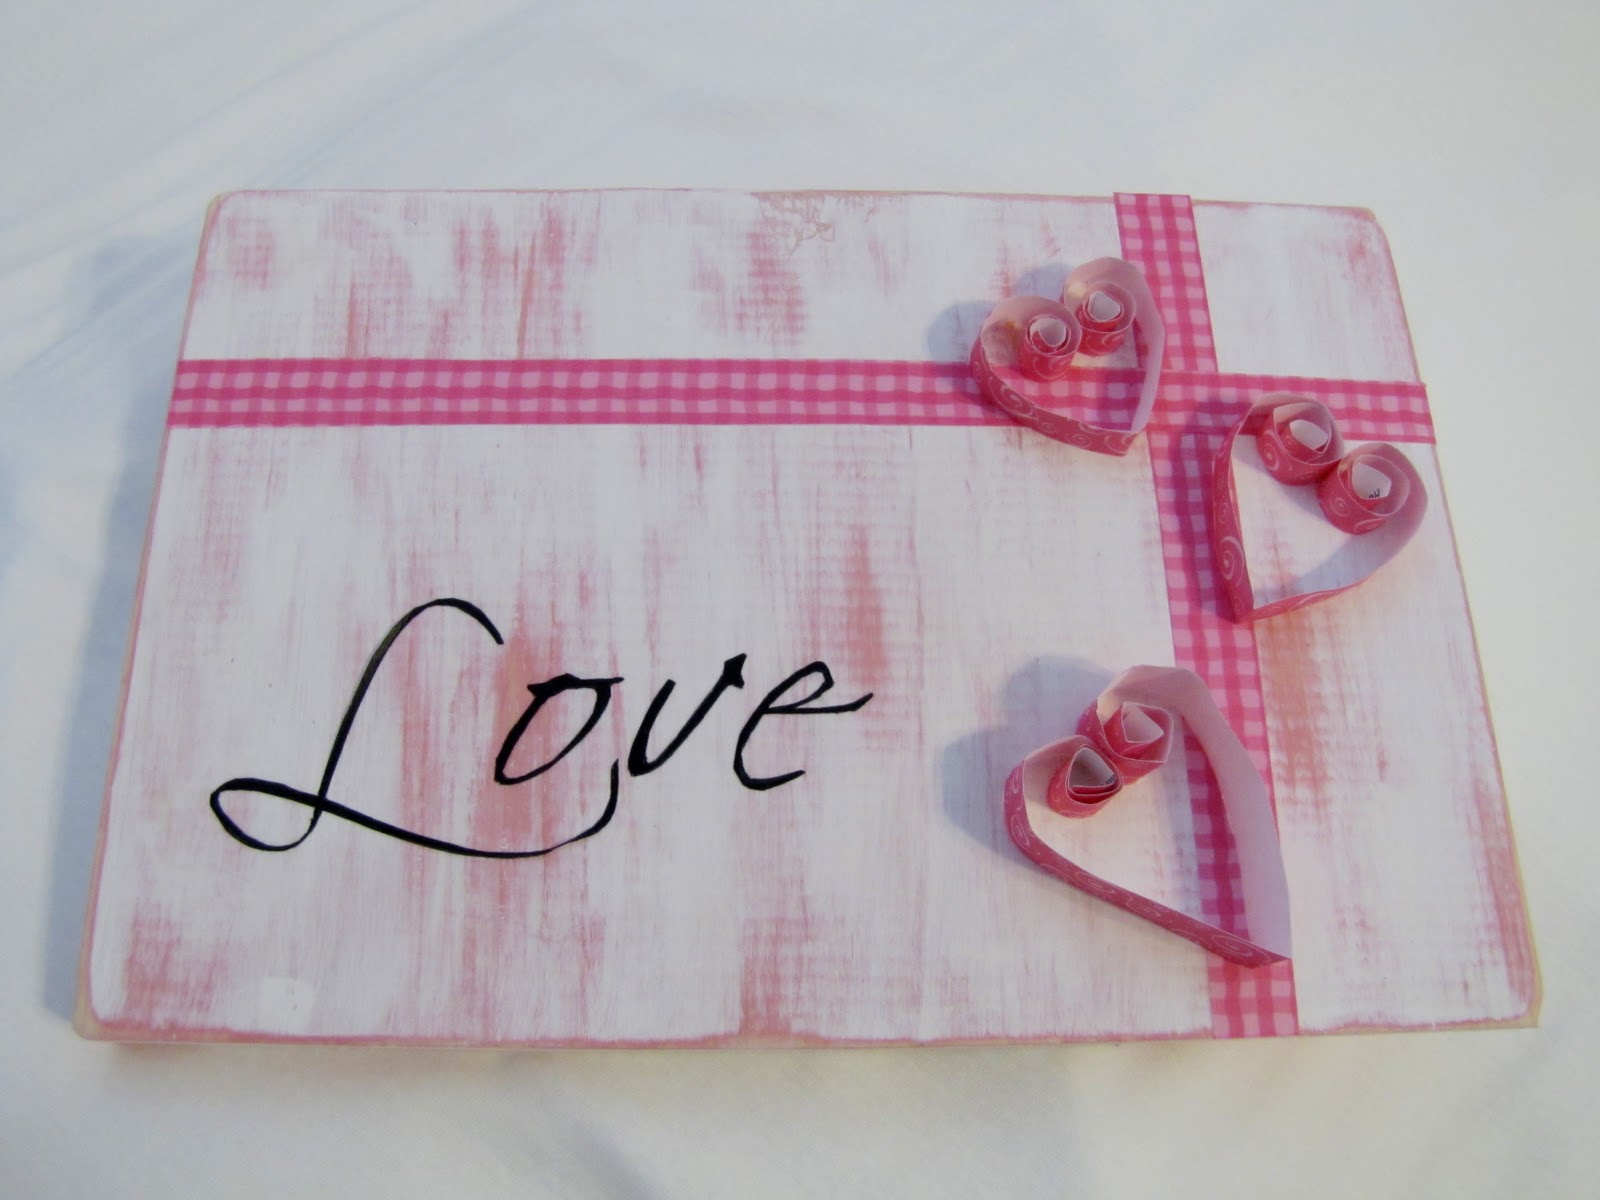
{Sweet Valentine’s Board}
Be sure to visit Terra at mama says sew!!!

And speaking of Crafting with The Stars, be sure to go over and vote for your favorite today!!
xoxo
PS — a really fun giveaway is coming up this afternoon! And a few winners 🙂


great tips! just love what i have seen so far! def be back for more great reads!
leila hale from Adora Bows
I came across this Burlap Lamp on Pinterest, and I just fell in love with it! What a fabulous idea! It didn’t take me long to scour some thrift stores looking for the perfect lamp base. I found one that I didn’t even have to spray paint! I loved it so much, I featured it on my blog. Please let me know if you have any issues with that! Thanks again!
What a pretty lampshade! I featured it here:
http://sewprettysewfree.blogspot.com/2013/03/ruffled-lampshade-tutorial.html
I am SOOOO doing this thxxxx !!!
Hi I’m totally in love with this project and I actually have the exact same old lamp, which I just painted with that exact Krylon spray. I’m excited to get started on the shade now; I do have one question about the strips though. You said to “cut them double the width you want your ruffles to be,” but what is the width of the ones you did here?
cute…cute…cute!!! I have been looking for ideas to freshen up my lamps? Thx for sharing : )
I decided to give this a try with an old pleated lampshade and found some old fabric in my scraps box. Took me a little over 4 hours, but it was totally worth it and I cannot wait to put the new lamp in my apartment next year!
I just tried this on a cheap little desk lamp I had in the garage and it made it look like a million bucks! I was all set to purchase a new $50 lamp for my new desk, and this was nearly free ($2 for the burlap). My only problem was making the lines of burlap squiggly enough – I had to pull them off and redo them many times. It was a fun evening project and I LOVE how cute it looks! I might be painting the base, but for now I like it with the dark wood. Great tutorial!
Love your ideas. Keep them coming!
Love the lamp shade!!! I made one like it and it turn out great….instead of using burlap, I use some of my drop cloth that I had left over from reupholster my chairs it work great!!
Love this lampshade! I am in the process of re-decorating my second bedroom & have to make one. I'm thinking you could do this with any fabric that was fairly stiff. Thanks so much.
I saw this and couldn't get it out of my mind. I totally did this and it turned out fabulous! Thanks!
Stephanie from
http://thepowers-thatbe.blogspot.com/2011/03/you-light-up-my-life-lamp-makeover.html
I'm so so sooo doing thins!!… cant wait to start!
What did we all do before we (re)discovered burlap? Love this!
Since the lamp was made using a hot glue gun, will the glue melt when the lamp is turned on? Such a good looking lamp!
Does the burlap leave little stings all over? It is gorgeous and I want to make one right now – but am wondering if there is another fabric that won't leave strings around? Or maybe it isn't an issue? 🙂 THanks.
What a timely tutorial! I am in the process of revamping a hobnail milk glass lamp and was looking for a way to add texture to a lamp shade. I think the burlap is a great idea!
Oh my. SO CUTE!!!
I can't wait to do this! It will look lovely in my living room. A neighbor just gave me a lamp base – and it needs a shade!! Thanks for the tutorial.
Jen. This is the cutest! I have found some neat uses for burlap from your blog. I have one question about the burlap. It looks white or cream colored? I was wondering if it was lightened with dye, bleach or whether it came that way. Thanks and keep up all the inspirations!
Super cute I want to try to make one of these very soon.
Wow! I love it! Thanks for breaking it down and making it doable! I am going to try that with the boring lamp in my bedroom!
wow, that is absolutely beautiful! love the color!
Wonderful tutorial… I will be adding a little spruce to my lamp shade soon!
I have burlap!!! I have an old shade!!! I'll be right back!!!!
🙂
ooohhhh i love that…i really need to get some burlap!really!
This is definitely something I might try to make when we get moved…IF our house will ever sell! Really, really nice!
Whoa – love that!
O my goodness! I freaked out when I got through reading thing! I just bought that EXACT paint color AND I just bought some burlap! I am SOOOOOOO doing this!
i thought the first picture was the pottery barn lampshade! so beautiful! 🙂 i love it – great job!
You've been selected!!! For the Versatile Blogger Award! Please pass on and enjoy! See my Blog for information… Thanks Erin DeSanti
LOVE! I want to one for my new sewing room!!! Thanks for the inspiration!
Awesome lamp shade! I have a small lamp that nees something fun added to it too:) Thanks for sharing!
Love the lampshade! Such a do-able project with a huge impact. Thanks for sharing this!
Thanks for spotlighting me Jen! And thanks so much for all your help with CWTS!
I am incredibly inspired! Love it!
This is awesome! Thanks for the tutorial. I bet this will make the rounds in blogland. What a great idea!
SO pretty. I love how unique and eye-catching that shade is! Also, I'm guessing it's WAY more affordable than the anthro version. =)
Nothing better than ruffles. Paired with the blue ocean breeze lamp base…AMAZING! Love it! :o)
What awesome talent! I especially love the color of the lamp base. Yummy!
Happy Tuesday! 🙂
so gorgeous! love the lamp shade so much!
I saw the lamp shade project before and LOVE LOVE LOVE it.
Very talented indeed!
very cute idea…thanks for sharing!
blessings,
alison
stuff and nonsense
So awesome!!!!! Wow Wow. Great Job. I love the color
http://www.couturiermommy.com/
I have been waiting for this one!! Amazing!! Thanks for sharing!
That looks great! I like the lighter color of the burlap Terra did as opposed to the darker one from Anthropologie. Great color for the lamp base, too! Such a popular color in lamps that I've been seeing in the stores; and you've done it at a fraction of the cost!
I love that too – especially the blue color of the lamp! I'm thinking I will have to make one o these sooon!
LOVE LOVE LOVE IT!!! RUNNING TO STORE 2MORROW 😉
There's just something about ruffles that makes this girl smile! Beautiful lamp…and I love that the base is thrifted and spray-painted. I see a new lamp shade in my future!
Cheers!
Theresa
wow~ i love that lampshade!
i love her color choice far better than the inspiration pic.
how fun to have in any room!
😉
kellie