
Hi – I’m Lisa from This Mabey Heaven!
I love trying new things and writing about my crafting and mothering experiences.
I love trying new things and writing about my crafting and mothering experiences.

I’d love to share an easy clothing refashion with you today.
Take an old pair of pants and turn it into a sleek, stylish, comfortable skirt!!
Take an old pair of pants and turn it into a sleek, stylish, comfortable skirt!!

The Panelist Skirt has the sleek look of a tailored skirt, but is extra comfy because of the inside panel. When you’re standing still, it looks like a slim pencil skirt. But when walking or sitting, you see this is no ordinary skirt. I love the split look when sitting and the fact that it doesn’t crawl up when you sit down like a fitted skirt would. And the panel goes far enough around that you don’t have to worry about being modest–you’re covered even if a small child squirms in your lap.
And then there’s walking or even running (i.e. after small children). Once again, you’re covered and there’s no worries about having to take small steps.
Let’s get started.
I started by ripping out all the inside leg seams and up the front and back seams (just below the zipper in the front and a couple inches from the waistband in the back) from a pair of pants that still fits somewhat. I like my skirts to sit low on my hips, so it’s okay if they’re a size or two bigger than I normally wear.
Next, decide how long you want your skirt and mark it (remember that you’ll need enough length to also create a panel of almost equal length, so keep this in mind). Now cut off both legs to the same length. Set the cut-off legs aside for the moment.

With the skirt turned inside out, pin the back of the skirt how you’d like it to fit, ignoring the curved pieces that would normally go between your legs (this is the trickiest part, I promise). Run a basting stitch along the newly created back, and try it on.

If you have puckers or don’t like it, the basting is easy to take out and try again. (I ended up letting my seam out a little after taking the photo–I didn’t want it to be that clingy.)

If you like the fit, you’re ready to sew the seam, following your basting stitches. Cut off the excess fabric, and zigzag the edges so they don’t fray.
On to the front. I wanted to show off the panel, so I folded back the front inseams about 2-3 inches on both sides starting right below the zipper. I pinned these in place, and cut away the excess fabric. Then iron the sides down 1/4″ and then another 1/4″ so the raw edges aren’t showing, and sew down both sides.

Now for the panel. Take one of your cut-off pant legs, and hem all the way around it. You should be able to use the original hem on the bottom, which is nice. Now all you have to do is create two buttonholes–one on each of the top corners of your panel.
Sew buttons to the inside waistband of your skirt to correspond with the width of your panel.
Hem your skirt, and you’re ready to wear it! You could also create an additional (or reversible) panel to change things up. The panel is completely separate, so there’s really no limit to what you can do!

Thanks Lisa!!
What a great clothing refashion idea!
Lisa’s blog is so happy and upbeat.
Here are a few of my favorite projects she has created:
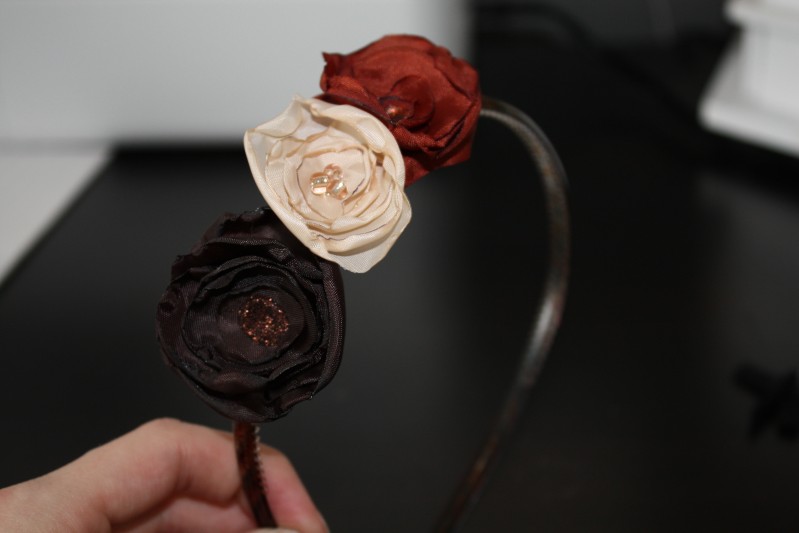
{So clever – she figured out a way to make interchangeable flower headbands}

{Oil Cloth Bibs – so stylish and practical}

{She Spray Painted her shoes!}

Be sure to head over to This Mabey Heaven and check out Lisa’s cute blog.
xoxo
PS — I spent all last night going through the YOUR favorite projects of 2011. I am so impressed with all of the wonderful projects. I am still trying to narrow them down — but I will be announcing my favorites later today and announcing who won the custom brooch!

PPS — It’s Friday and time for the Weekend Wrap Up Party!!!
I am so excited to feature YOU.
Come link up your projects tonight at 6 pm {MST}
there’s a fun giveaway too! See you then 🙂
I am so excited to feature YOU.
Come link up your projects tonight at 6 pm {MST}
there’s a fun giveaway too! See you then 🙂


This could be a great way to get myself a few cute skirts out of the maternity pants I bought last pregnancy that shrunk and bit and are just too tight in the legs. Thanks for sharing!
Love this fantastic idea! Now I just wish I had some pants to tear up…
Hey Jenn! I hope you had a fabulous New Years!
I love that red skirt!
Oooh! I've got several pairs of pants that have shrunk to be too short that would love to become a fun little skirt! 🙂 Great post!
I turned an old pair of pants into pillows once…true story.
I'm lucky enough to get to craft with Lisa in person, and she's really as talented as she seems! Good job girlie!
So cute! I still haven't braved sewing for myself yet…I'll stick to sewing for my boys. It seems easy to sew on a smaller scale:)
Absolutely ADORE this idea for recycling those BELOVED Jeans and Slacks! I'm definitely going to try this project on for size! Thanks so much for sharing it! I love people who don't keep GREAT IDEAS to themselves! You're the Best!