
My Quatrefoil obsession continues.

I decided to try to make a quatrefoil wreath to hang in front of my house. Here’s what I did:
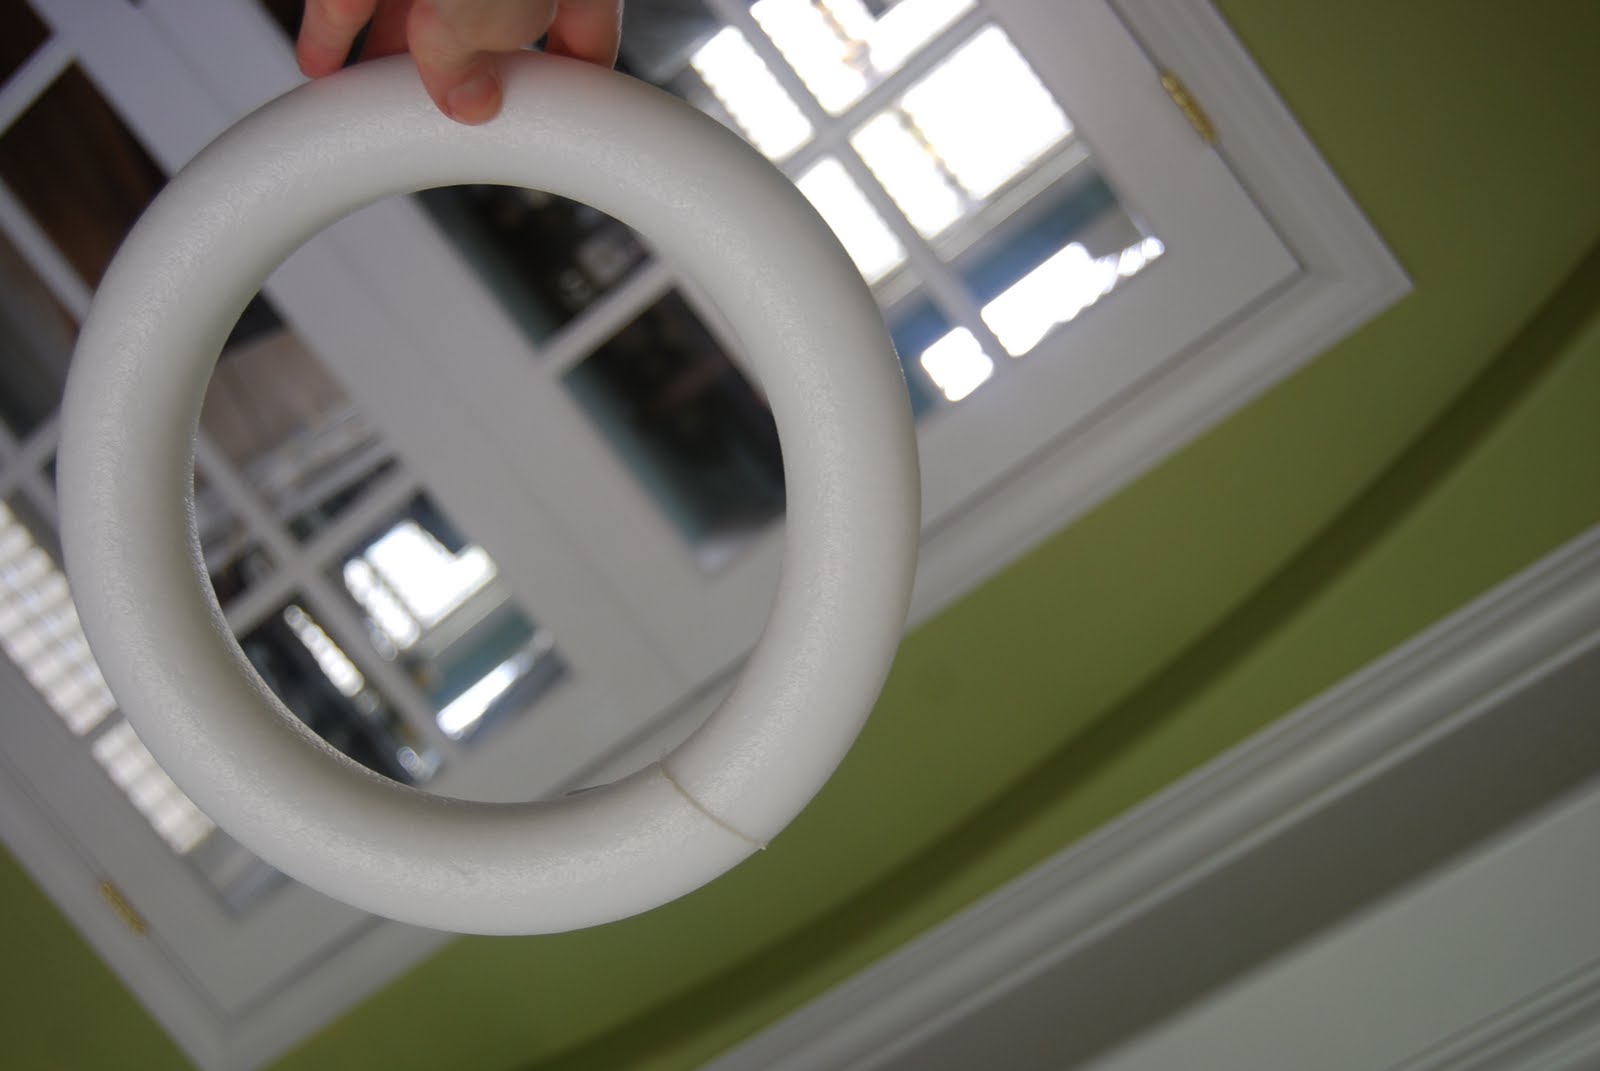
1. I took two small foam wreaths and cut it each in half with scissors.

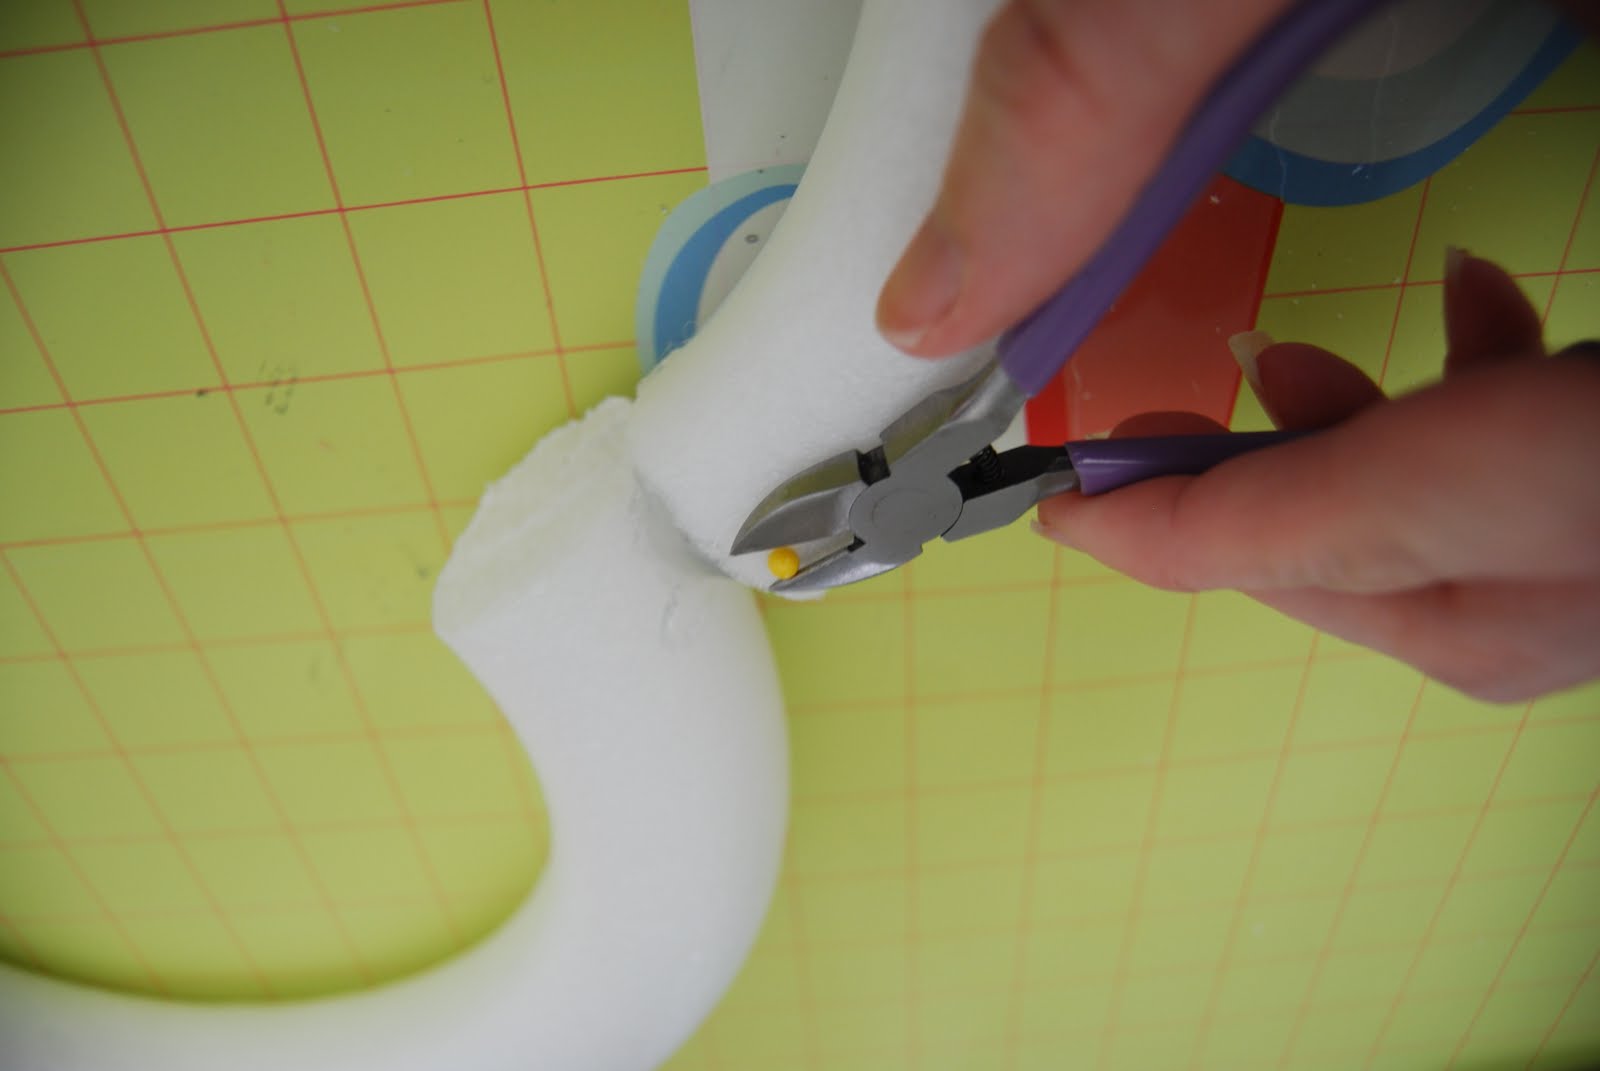
2. Then I laid the pieces on my works surface and lined up the edges so it was even. I trimmed a couple of the sides so they would line up correctly.
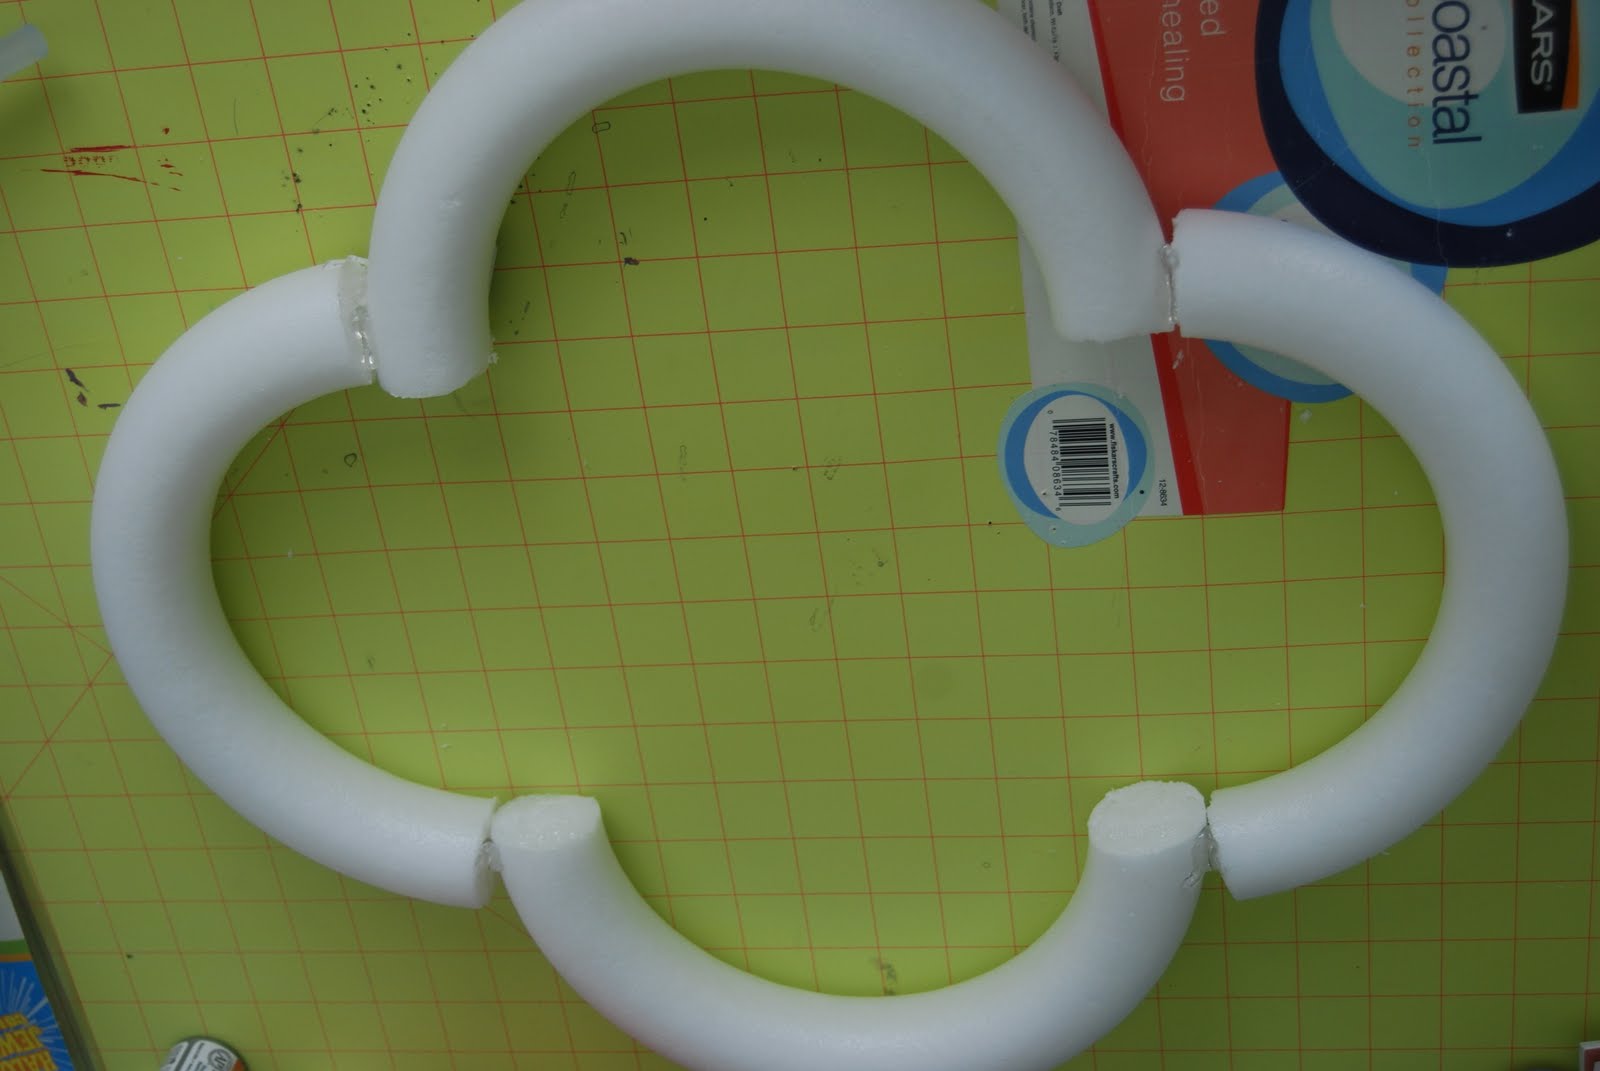
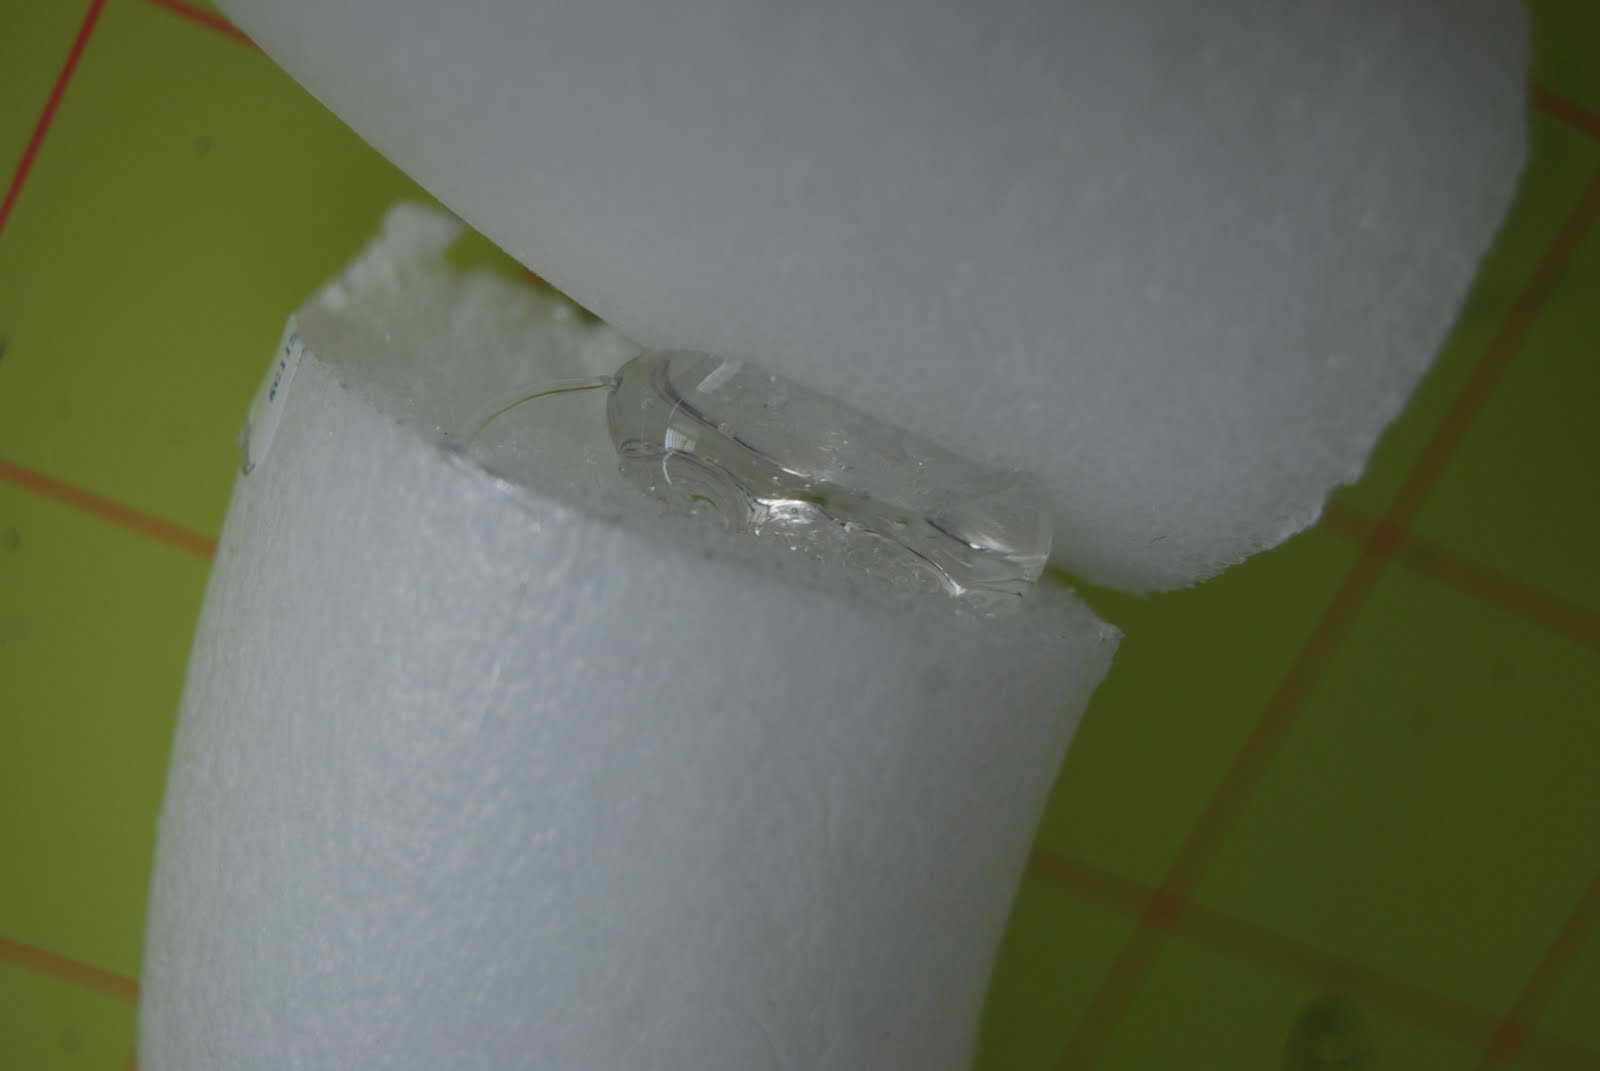
3. I pinned the wreath edges together so the wreath would maintain it’s shape and so the edges would be tight.
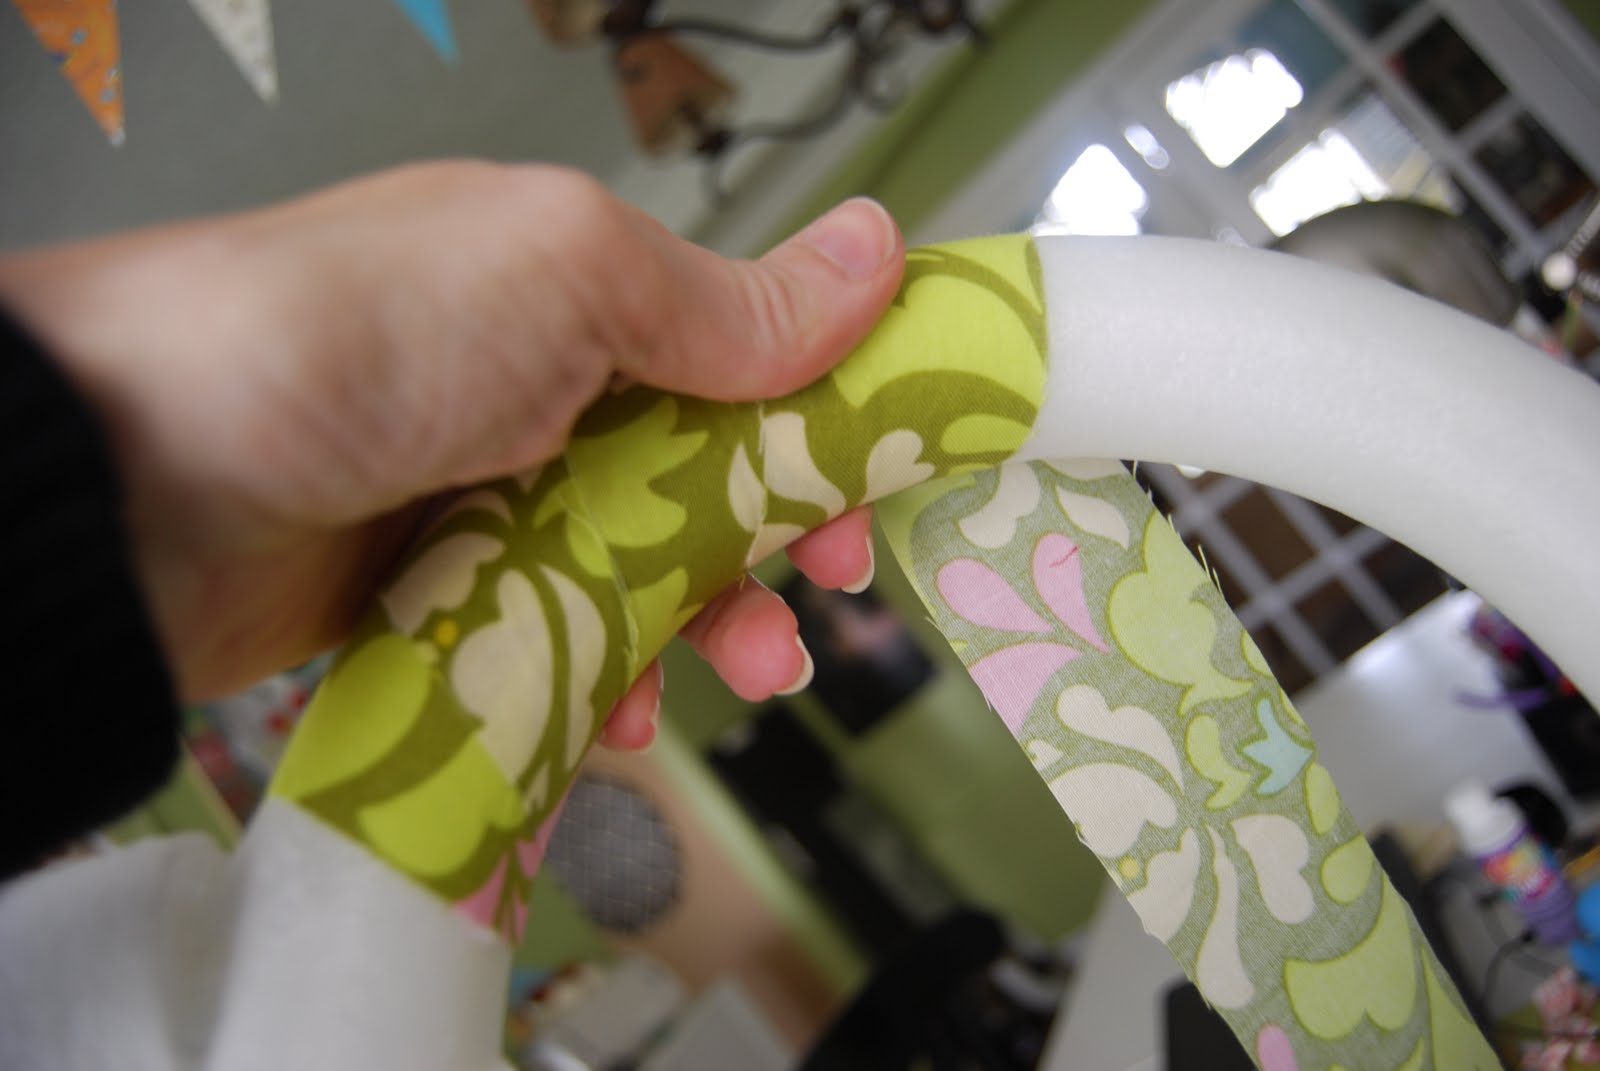
4. Then I hot glued the edges together.
5. When the glue was cool, I wrapped the wreath in fabric. I cut a 2 inch section of fabric about 4 feet long. I wrapped it tightly all the way around the wreath and hot glued the ends down.
6. I added some ric rac and coordianting fabric to another strip of the fabric and added that at the top to hang the wreath.

7. I decided that it needed something else, so when I was at the craft store, I spied this plastic plate. I took it home and printed off a vinyl “H” on my Cricut and applied it to the plate.

8. I drilled a hole at the top of the plate. Added some ribbon and attached it to the bottom of the ribbon at the top of the wreath.

And speaking of my favorite things, the Martha Stewart-inspired challenge is going on right now over at The CSI Project! Come link up your projects — the Martha Stewart Crafts Departmentare the guest judge this week. You can link up past projects too!

I’m linking this up to these fun parties:


Have a wonderful day!


Love your blog and this project featuring quatrefoil (one of my favorite patterns!) so I featured your project in my roundup of crafty quatrefoil projects here. Feel free to check it out and hope you like it!
-Mel the Crafty Scientist
Thank you for your inspiration! You tutorial was really well done and easy to follow. Here is my interpretation of your wreath…
http://www.facebook.com/photo.php?fbid=4212986807044&set=a.4060474754338.2169178.1356249551&type=1&relevant_count=1
Happy Crafting!
Michelle 🙂
So Want to try this.
You are brilliant. Seriously! This looks perfect!
Totally love it! Thanks so much for linking up. 🙂
In a word, AWESOME. Love the shape, fabric, everything. Thanks for linking to Craftastic Monday:)
You are sooo talented girl! I always love all your creations! I had no idea that was a plate in the center…love it! 🙂
~Kim
Would love it if you would join me for my 2nd linky party going on right now!!
http://lifeinmypjs.blogspot.com/2010/06/pajama-party-2.html
~Ela
Thanks for helping us have a great Tuesday at Anything Related! ~Bridgette
Awesome idea! I love this for summer, sometimes it is hard to find something to put up after 4th of July. Please link up to Sister Sister if you have a chance.
Thanks,
Amanda
http://blog.kuzakscloset.com/2010/06/sister-sister-put-stamp-on-it.html
That is so clever!
Thanks for linking up to the Mad Skills party!
I need to make this immediately! LOVE!
Erin 🙂
I don't know what happened…I just got an email saying that you didn't get this, but I sent it yesterday right after I read your email:
OH MY GOODNESS! You are just too precious! Another reason why you are just my most favorite crafty blogger!
Would you mind buying me 3?
Will $20 do? Do you have a paypal address that I can send it to?
Thank you just so, so much!
Kirby
I've had a few people ask me where I found the plate for my Quatrefoil Wreath Project. I found it at a craft store in Utah called Robert's crafts. If you don't have one near you, I am willing to go buy some and send them out. Send me an email to [email protected] if you would like me to do that. I think they were $2 each.
XOXO
jen
Okay…I MUST ask:
Where did you find that plate?
I have been all over the craft stores in my town!!
Thanks in advance!
Love it! Great colours, wonderful use of that green plate. Very Creative!
You have a way of making everything seem so simple. If I were to take a picture during the "pinning and gluing" stage…there would be blood and icking glue all over my hands:) This was very clever and something that even I could do!
Very cool! And I love your colors! Thanks for sharing!
Hey…I thought of you and your burlap projects…I don't know if you saw this but thought you would like it…hugs from me
http://craftysisters-nc.blogspot.com/2010/04/lavender-bunch.html
I love your quatrefoil obsession! and I love the wreath, and I love that I never knew that word until I knew you. 😉
That is so cool and just in time for summer! I've been looking into fun little ways to spruce up my outdoor space on the cheap. I definitely wanna give this a try so I can hang it by my patio. Very cool post dude 🙂
Okay, I don't usually leave comments when someone has already gotten over 40, cause, well, cause I wouldn't want to give anyone the BIG head or anything, but you are truly inspiring, and I am in awe, total and complete awe. That wreath is fan forever tastic, and you are the BOMB!!!
By far one of your best projects yet! So beautiful!!! Thanks so much for including the tutorial. I'm inspired!
Love this. Possibly my favorite wreath tutorial ever. So original!
What a wonderful idea! I was just thinking I need a new wreath. This is so much more exciting than a circle.
Love this, Jenn! Perf for indoor or outdoor… I'm going to have to hit up a friend for vinyl. Where did you find the cute plate in the middle? I love the shape.
OMG! I love this!! I might have to snag the idea! It's sooo fun and Springy!!
I don't know what the origin of the Quatrefoil is but this wreath makes me think Irish. My husband is Irish and would love this. We'll see what I can do.
You made this look so easy I think I could even make one of these.
Great project. I love the big H in the middle. Again you amaze me!
I'M GONNA MAKE ONE!!!
So great proyect! Thanks for sharing.
Hugs
Charo
Very cute!
This is so great! Seriously creative. 😉 I think I need my own. I even have that fabric. . . Thanks for the great tutorial!
WHAT?! I would have never guessed those were the materials used to make that. You're crafty, girl! It turned out beautifully.
This is the most fabulous wreath in the whole universe!
So super cute! I love the quatrefoil shape, and the fabric is lovely!! 🙂 Very fun & unique!
Blessings,
Stacey
That is awesome! I love that you took two plain round wreath forms and turned them into such a unique wreath! I love the fabric you used too!
Brilliant idea!!
I love how this turned out! Aren't you clever to figure out how to make it happen. 🙂
ah what a good idea! I am in phi mu so the quatrefoil is actually one of our symbols. It looks adorable!
Beautiful Jen!! Just one thing, my last name starts with an E not an H! 🙂 Looks great! I love your ideas!
Michelle
Beautiful wreath! I love that all of your projects are so unique.
You need to hire a team of elves who can mass produce all this stuff you make so I can buy them since I don't have time to make it all myself. No problem, right? Great. I'll take 2 🙂
I love the wreath. The plate in the middle totally sets it off. Thanks for sharing!!
Jen this is really amazing!! I love it and I so love the fabric and that plate is awesome!! I am so into the green right now and love it!! I would have never thought to cut up the foam and make it into another shape like that. Totally Awesome!
Gorgeous Jen! Simply Love!! ~ Stephanie Lynn
That is too cool Jen. I love it. The plate was perfect too.
this is going into my wedding idea file! Love it!
Kim @ http://frostmeblog.blogspot.com
party inspiration
Adorable!
I love it, of course I love everything you do!
Have a beautiful day!
shut up! LOVE THIS! and the plate??/ couldn't have been more perfect!
I love it! Thanks for giving the step-by-step too!! So cute!
Brilliant! I love the bright colors and of course, the shape. I'm going to try my first project w/ your stencil soon!
i MUST make one of these!!!! can you buy long strips of cloth?
OH SO COOL!!!!!!!!
Oh' Jen this is so dang cute. You crack me up, when you get on an obsession… there is no stopping you. LOVE THIS. That plate is the perfect addition to it. WAY TO GO! come visit my craft blog sometime. Hugs, loves, jENN
I love it! Great tuturial too!
I still think you should show us your home! I love the little glimpses I've seen. Hope you are having a good week. Are your kids out of school yet?
That is so darn cute!
This is super cute! def. will have to make one!!
That is simply beautiful! Instant favorite!
Maybe one of my favorites yet! Gorgeous.