I may have a slight obsession with pillows!
I love making them. I love changing them up in my home. They are such an easy and inexpensive way to change the look of a room or decorate for different Holidays.
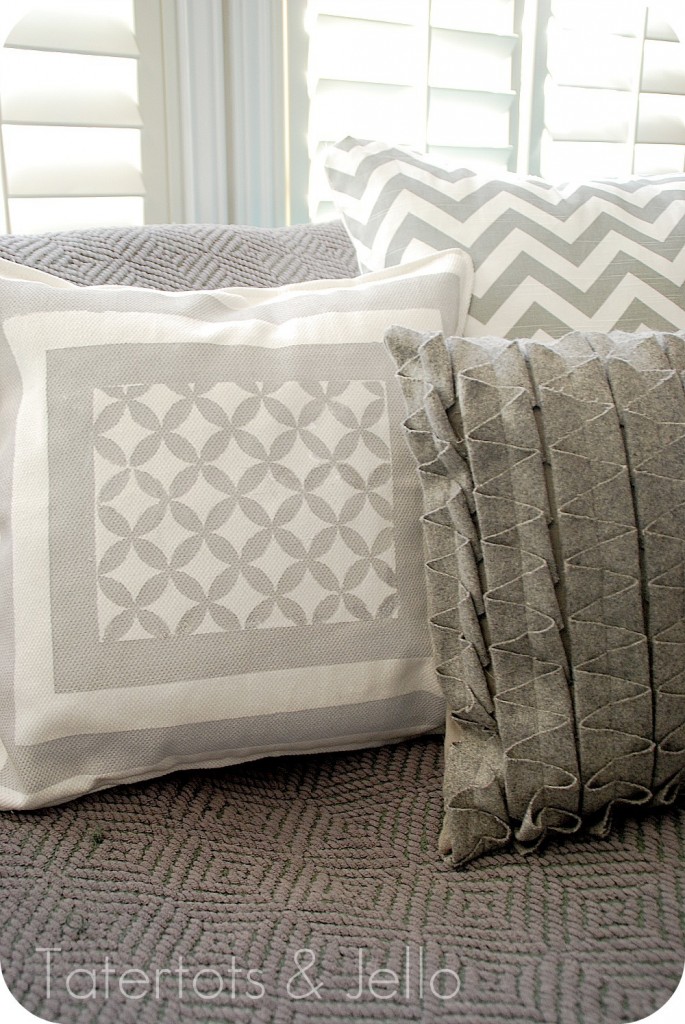
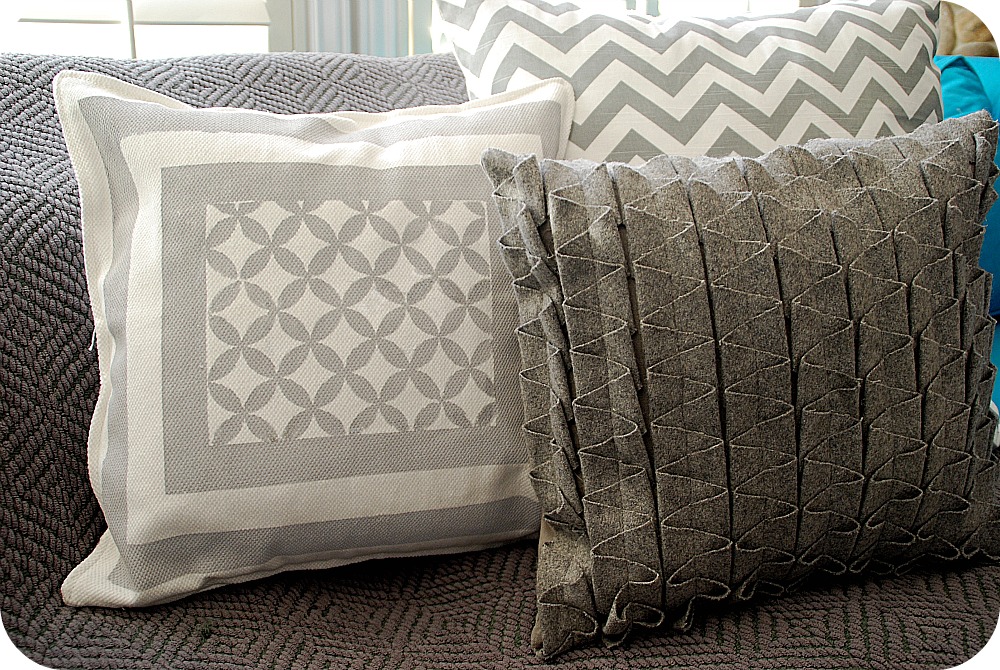
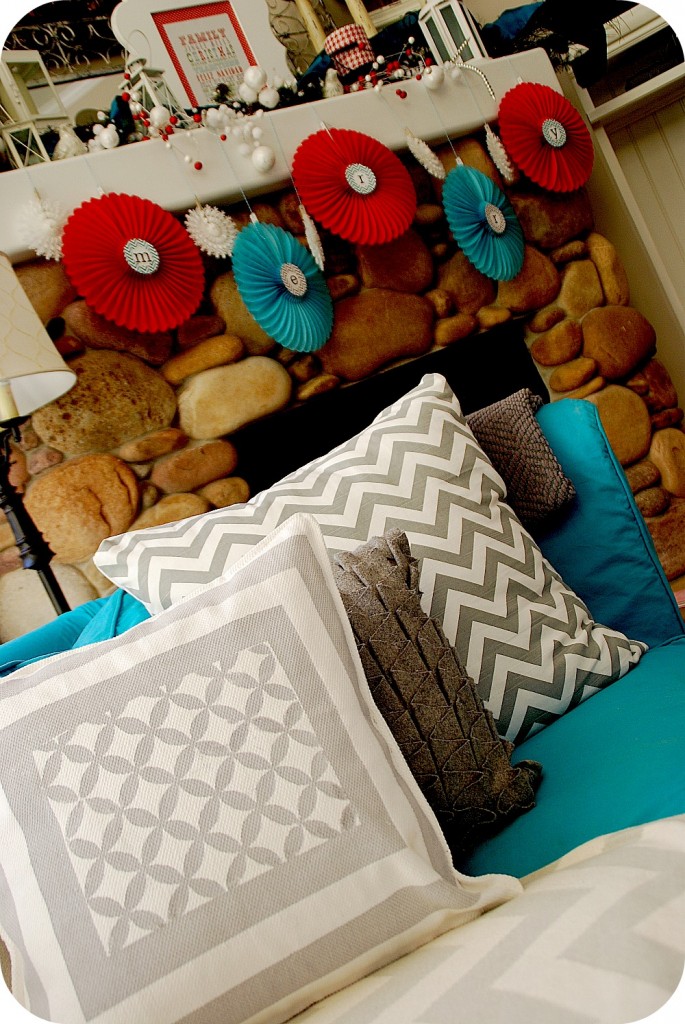
I have been moving my family room into a turquoise and grey color scheme. So when I was sent Plaids Simply Screen system — I was excited to make a pillow that fit into my new color decor!
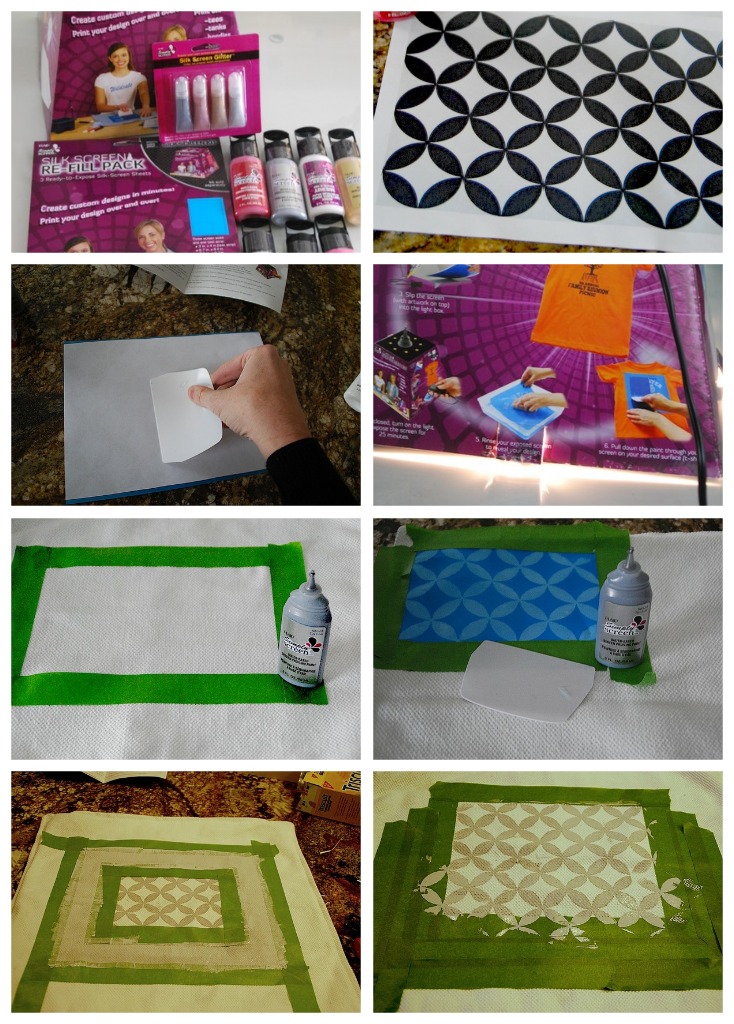
I have to say — I think this new Plaid Simply Screen kit is such a cool idea! Here’s how it works:
- You design your image on your computer and then print it out on your printer.
- Then you match the design to one of the Simply Screen Print paper — matching the “sticky” side of the Screen Print paper to the front of the printer design.
- Make sure you use the enclosed squeegee to adhere the printer paper to the Screen Print paper. And tape the two sheets together.
- Then you put the image into the Screen Print Light Box. Make sure the image is at the top. Time it and take it out when the timer goes off. (I also heard that the image sets better if you put a piece of glass over the top).
- Once it’s done. put it into the enclosed tray filled with hot water. They say luke-warm water, I found that hot water worked better. I let it soak for awhile.
- Then you scrub it with the sponge. Don’t scrub too hard, or parts of the image can come off that aren’t meant to come off.
- The first layer will reveal a light blue layer, but you need to scrub deeper to a white layer. There will still be a thin screen on the sheet.
- Once you get the stencil scrubbed, let it dry.Then put it where you want to the design to be and tape it in place.
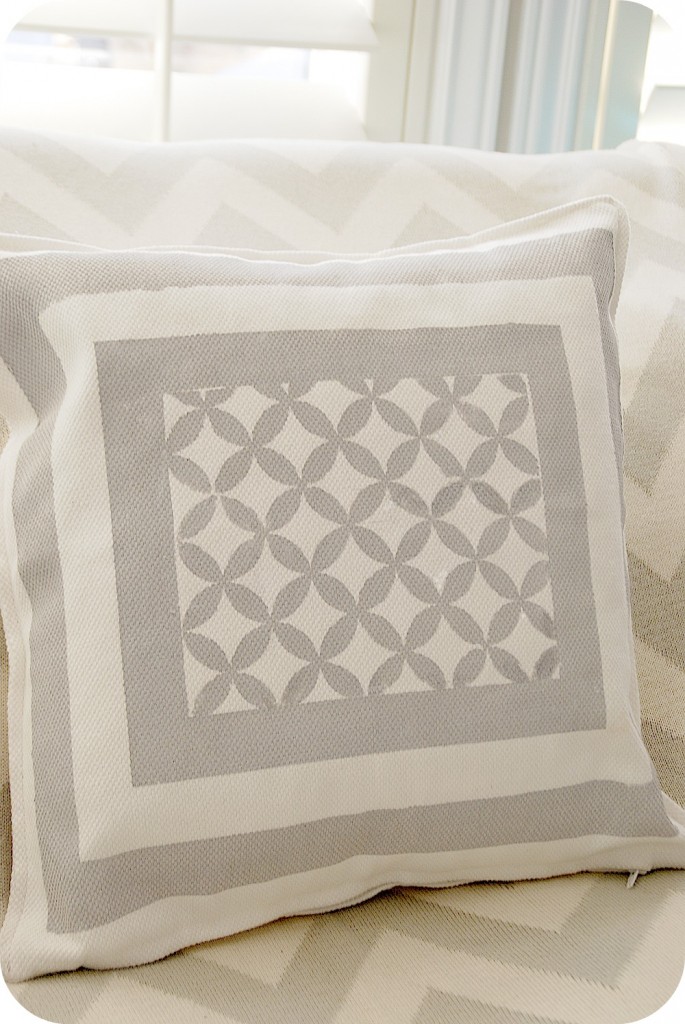
- I added a frame around the design with painter’s tape. I just measured, taped it in place and filled in the space with fabric paint.
- I love the Simply Screen fabric paint. Put it in a paper plate and use the squeegee to apply the paint to your surface.
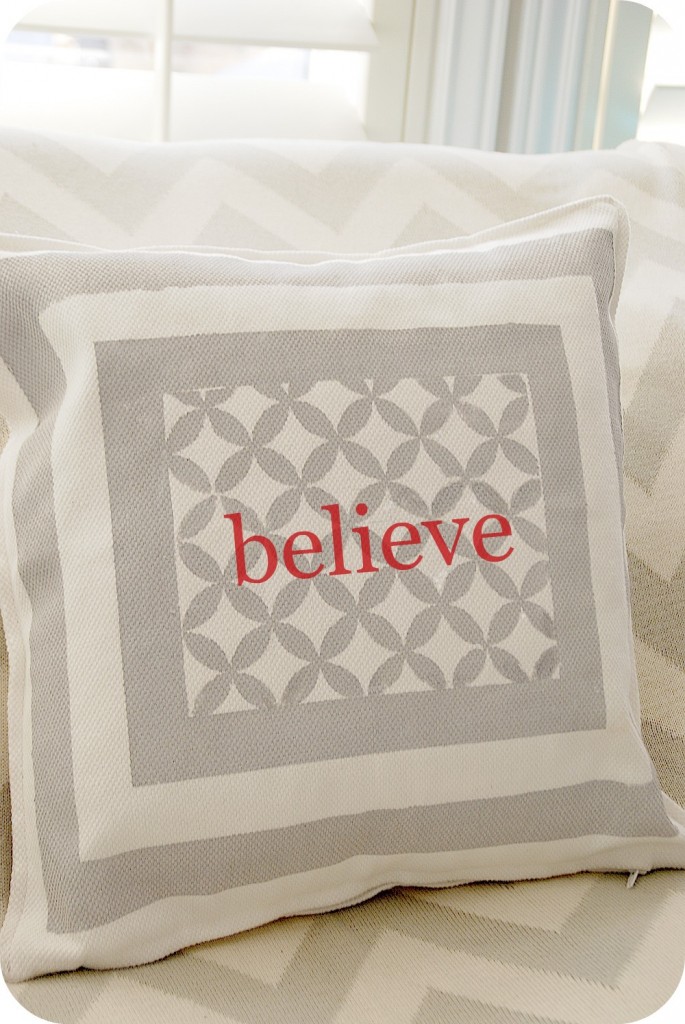
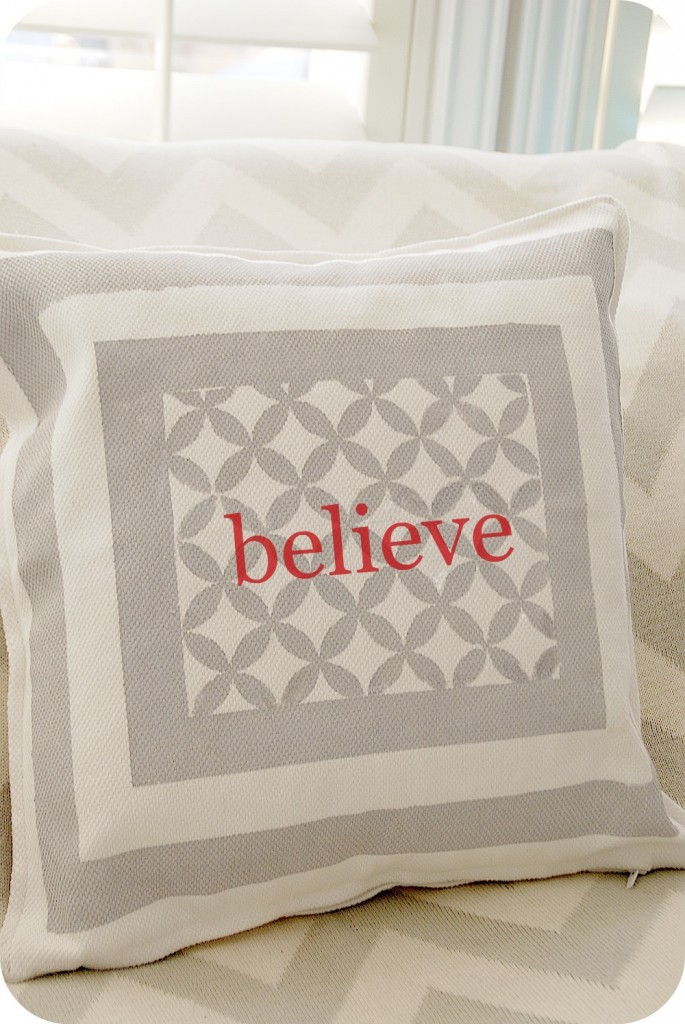
I originally meant to add a word to the middle of my design. I was going to add — Believe, but decided that I liked it with just the design — that way I can leave it out all year!
Simply Screen is a self contained screen printing kit that contains everything you need to make screen prints that you can use over and over again. The Simply Screen Kit retails for $39.99 and is sold only at Hobby Lobby.
Now I have a chic pillow to keep out all year!!
You can find out more about Simply Screen at Plaid.
I also made a fun gift for my husband with the Simply Screen kit — you can see if over at Kojo Design!!
xoxo
What are YOU working on this week?
PS — I hope you can join me tomorrow night — December 7th @9-9:30 pm EST for a FUN twitter chat and linky party — where we share will talk about messy moments and craft fails and surviving the holidays.
There will be gift baskets, $100 Target Gift Card and a $25 VISA gift card given out at the twitter party AND another $100 Target gift card, a $25 VISA gift card given away at the the linky party!!
I think it will be a great time to connect, share great ideas and funny messy moments. I hope you will join in!!
You can find out more about the Clorox Messy Moments contest here or on the Clorox Facebook page.
I hope someone I know wins!!!




Love your blog and this project featuring quatrefoil (one of my favorite patterns!) so I featured your project (too!) in my roundup here.
-Mel the Crafty Scientist
You are a bit obsessed with pillows. I see several on the site. Good design, it would be nice to add “believe” for Christmas but then you gotta pack it away.
Jen, you knock it out of the park every time. You better hide this pillow before I come over next week or it may just go missing!
LOVE the pillow- amazing!!! What a great decor piece!
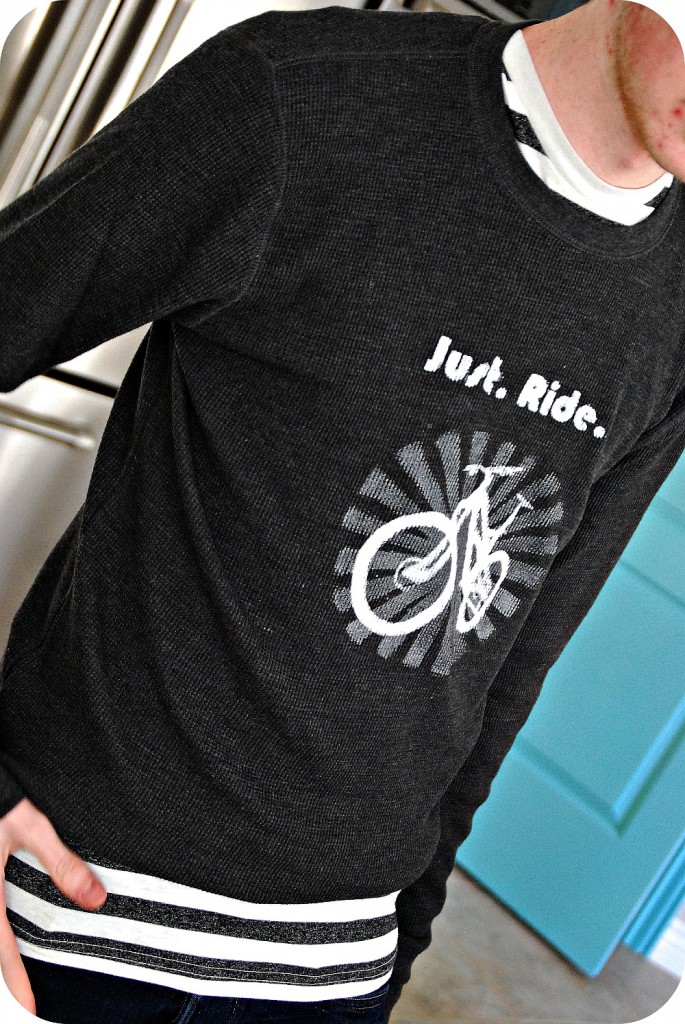
Where did you find the just. Ride image? My husband would love it. You are amazing!
I love this Jen… So cute!
~Whitney
Thanks so much Whitney. I appreciate your comment. I hope things are going great for you!!
xoxox
Jen
Your pillow turned out cute. It did sound a bit tricky though. Miss you
Jen your pillow is amazing I love the design. Thank you for the tutorial!
Our Friend Vicki from French Essence has offered her duo of amazing books to 2 winners!
We are on our 5th day of Holiday Giveaways with 4 events being open! So come and enter!
Tis the season!
xoxo
Karena
Art by Karena
Do you think it would work on wood?
Hi sarah!
Yes, I am sure it would work on wood! My friend Heather from Dollar Store Crafts made some cards with it and they turned out great.
xoxox
Jen
Love the design you made! Do you sew your own pillow covers for projects like this or do you have a stash of cheap ones that you keep on hand for projects?
Hi Katie!!
I bought a bunch of cheap white pillow covers from Ikea. They were $4.99 and have a zipper — so I thought they were a good deal 🙂 But of course it’s always cheaper to make your own, although not much cheaper than that LOL!!
xoxox
Jen
This turned out so lovely, Jen!
Thanks so much! I am a little obsessed with grey. It’s so pretty and neutral 🙂
Thanks for your comment!!
xoxo
Jen
I like your grey. It turned out nice and crisp.
Love, love, love these pillows! I’ve been in the market for a home screen-printing machine. I’m going to check this one out. Thanks for the inspiration!
It’s a really neat system. Also once you make the stencil, you can reuse it again dozens of times. Be sure to put a piece of glass on top of the image. It will hold the pieces together and it gives the design a very fine detail.
xoxo
Jen
Jen it turned out BEAUTIFUL!!! LOVE IT!
Thanks Kim!! It was fun to make!!
I appreciate your comment. I hope you are having a wonderful day!!!
xoxoxoxxo
Jen