Paper Butterfly Wreath and Free Butterfly Template
Paper Butterfly Wreath and Free Butterfly Template. Create a vibrant summer wreath adorned with paper butterflies, adding a touch of whimsy and handmade charm to your home decor.
Paper Butterfly Wreath and Free Butterfly Template
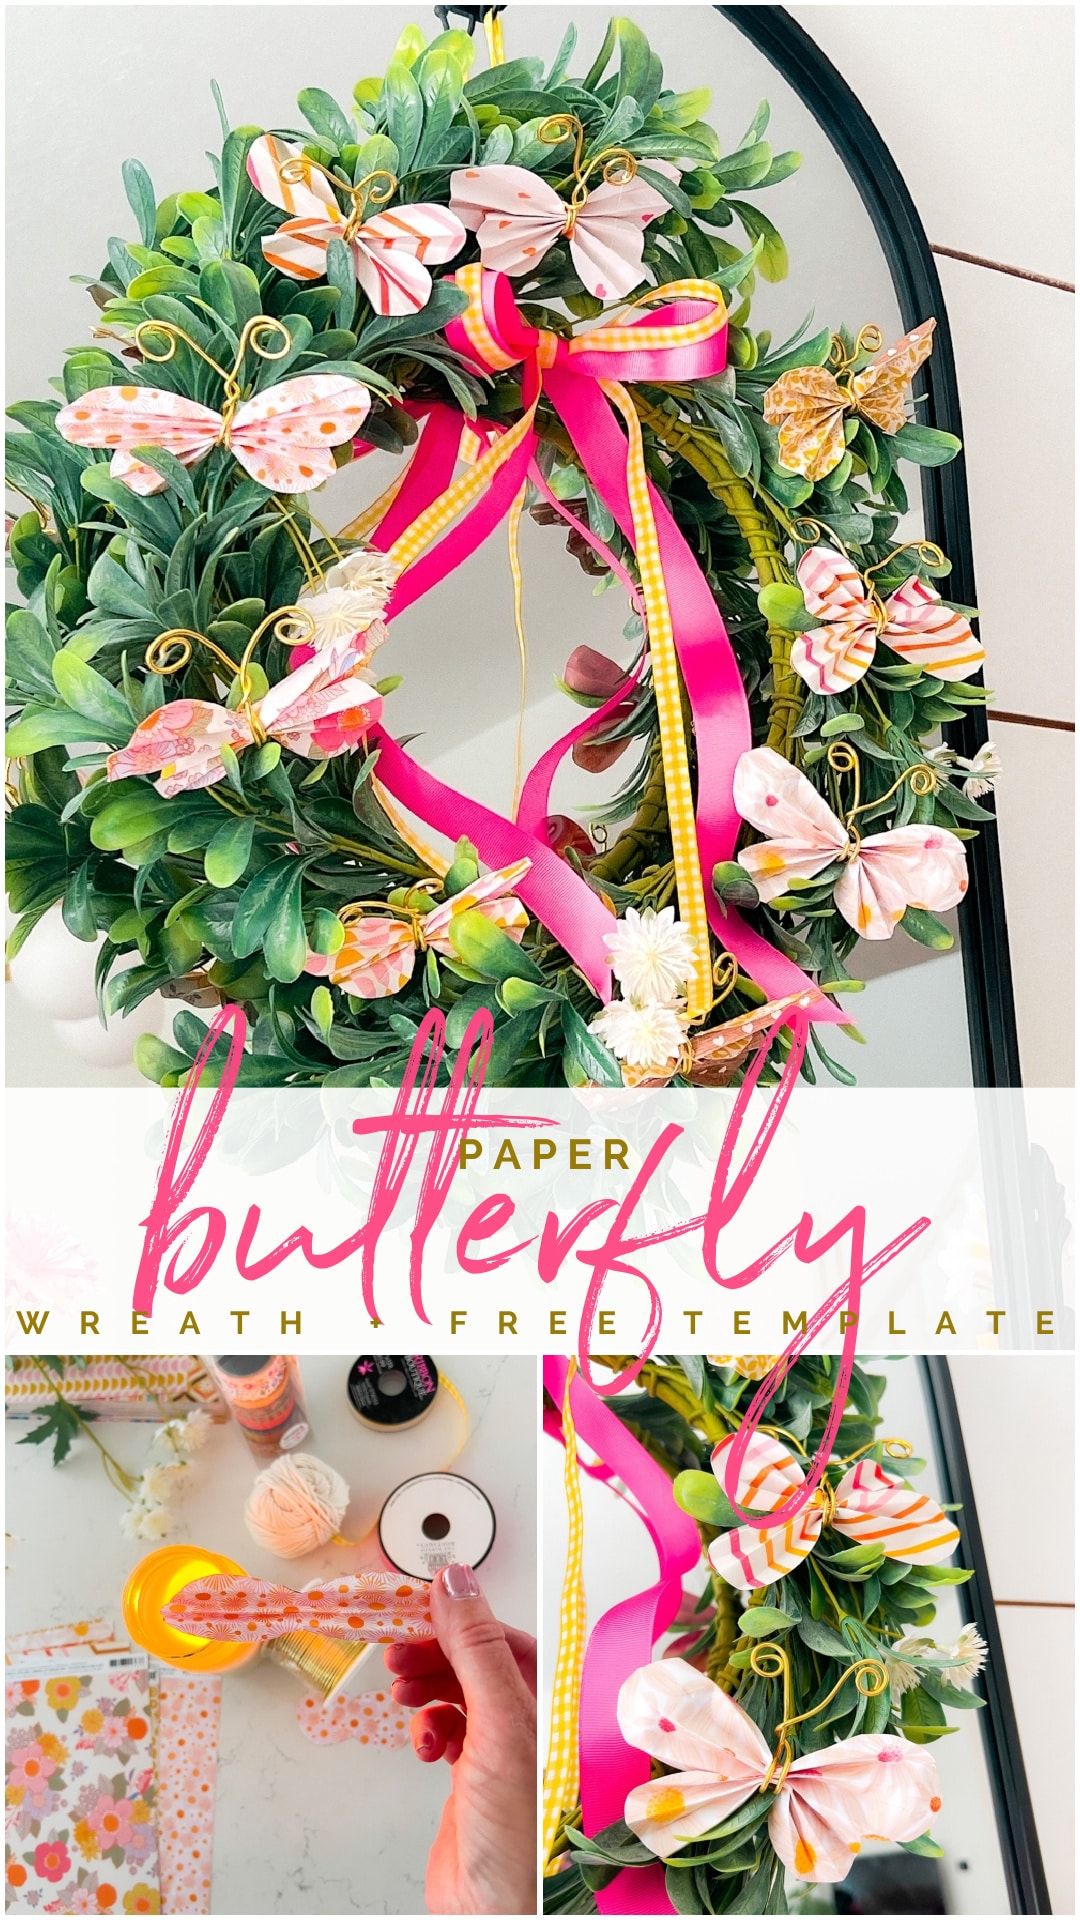
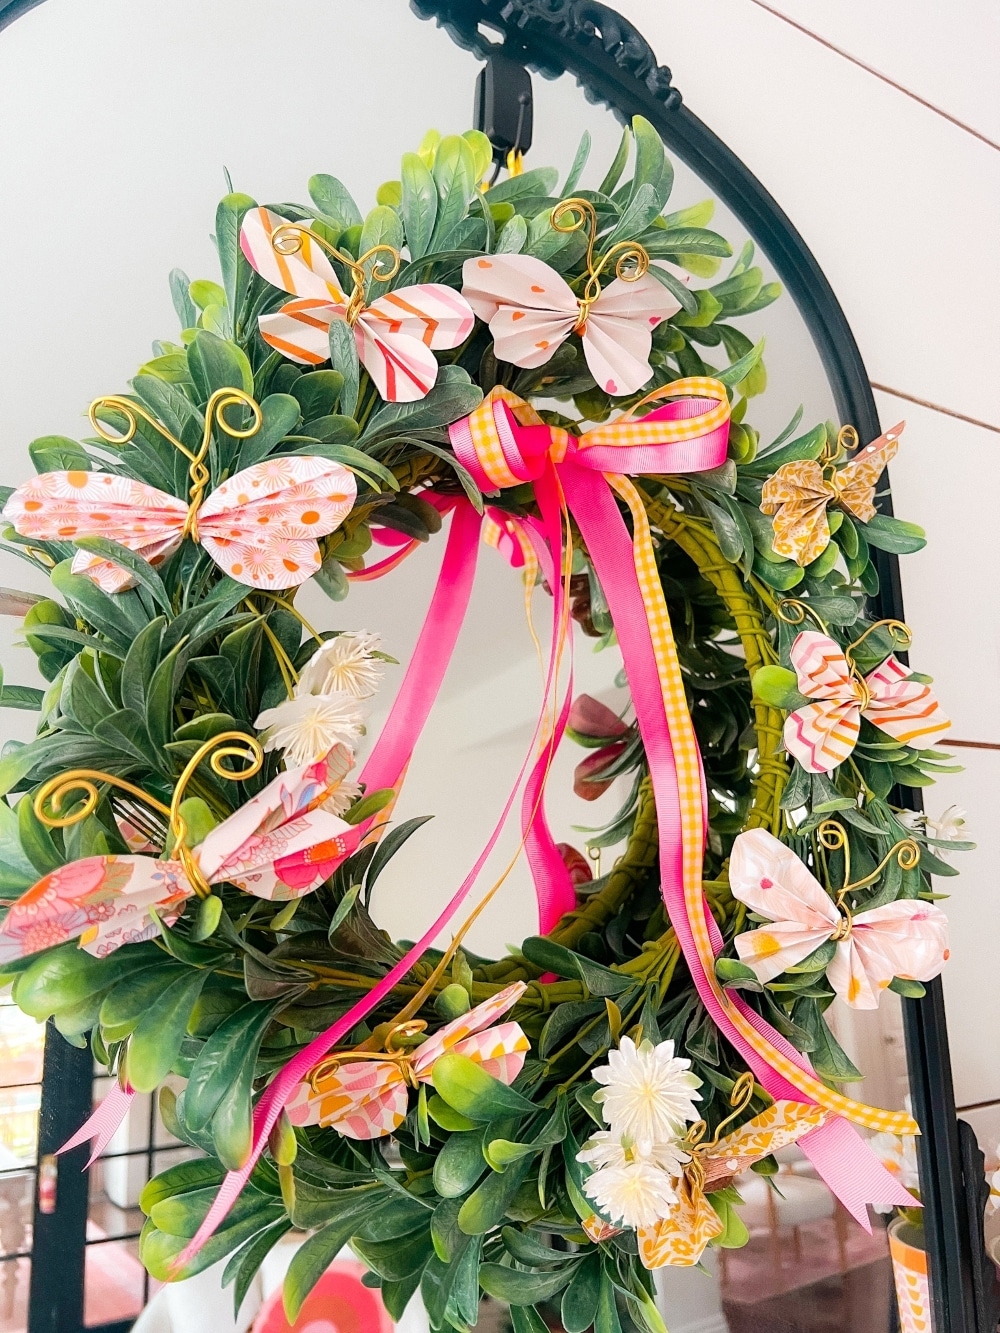
I love paper crafting! One of my favorite things about Summer are the beautiful butterflies. So I thought it would be fun to make some paper butterflies for a wreath. I am using my Jen Hadfield Flower Child line of papers, available at various craft stores including scrapbook.com and JoAnn Stores. We’ll be using these whimsical papers to create a stunning Paper Butterfly Summer Wreath that will add a touch of whimsy to any space.
Paper Butterfly Wreath Supplies:
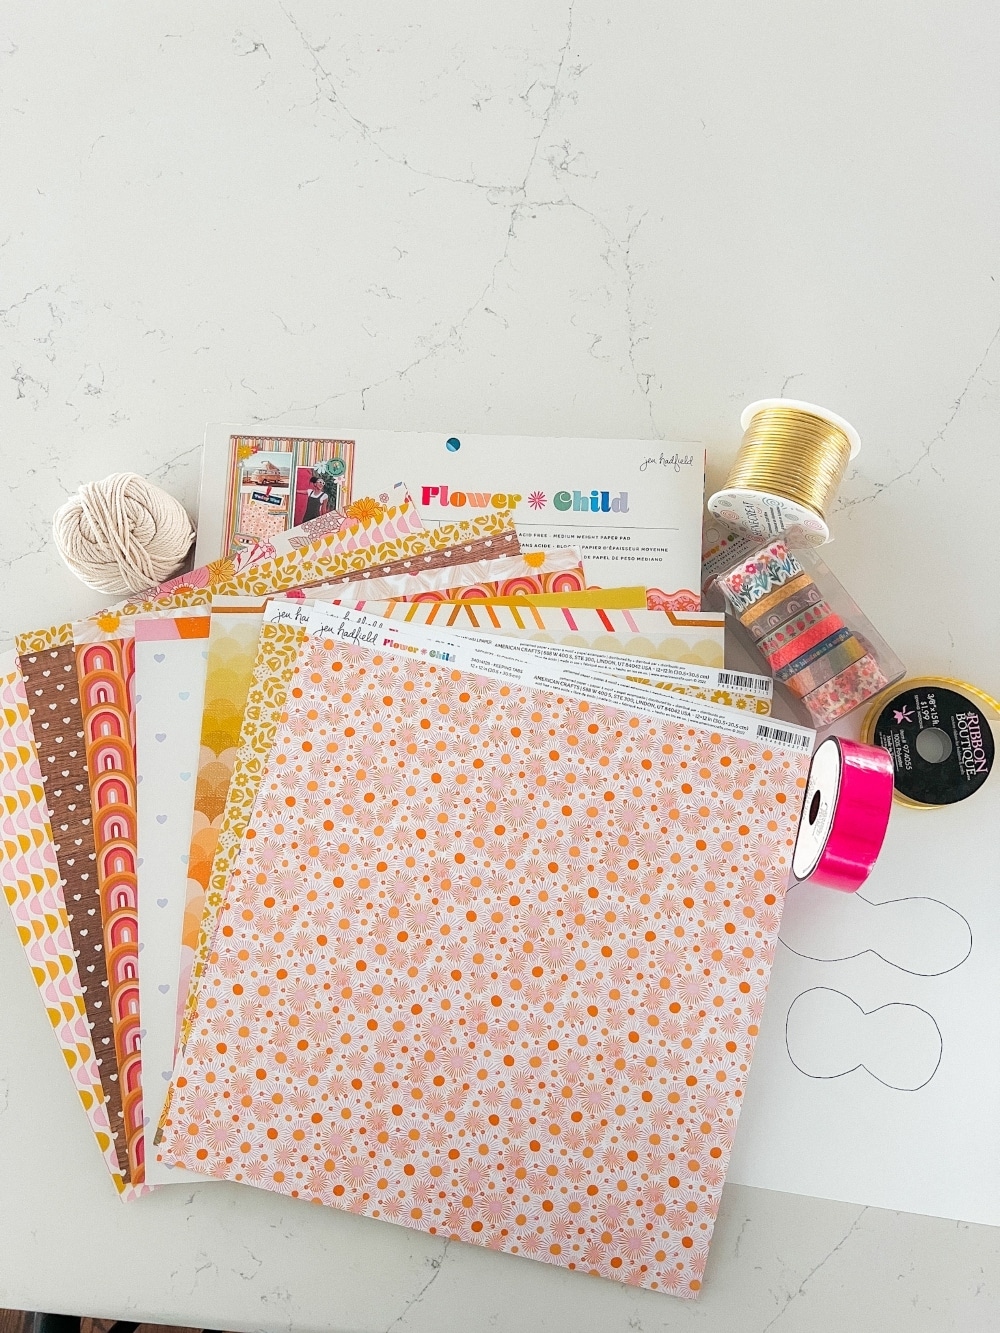
- Faux boxwood wreath
- Ribbon (opt for a wider pink ribbon and a thinner yellow plaid ribbon for a playful contrast)
- Paper (select six different designs from the Flower Child Collection for variety)
- Gold wire
- Hot glue gun
How to Make Paper Butterflies:
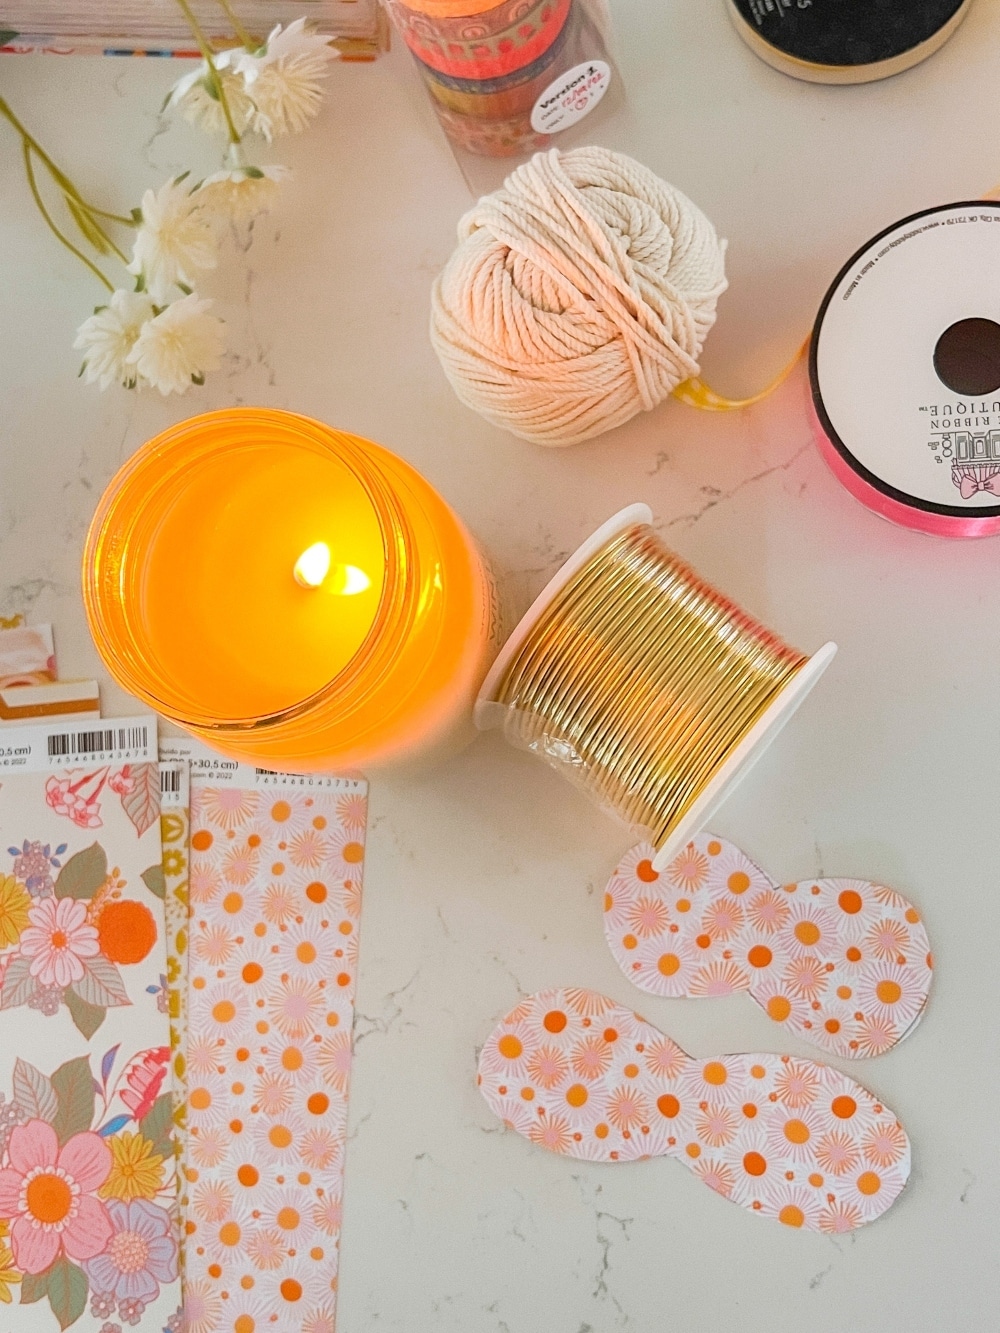
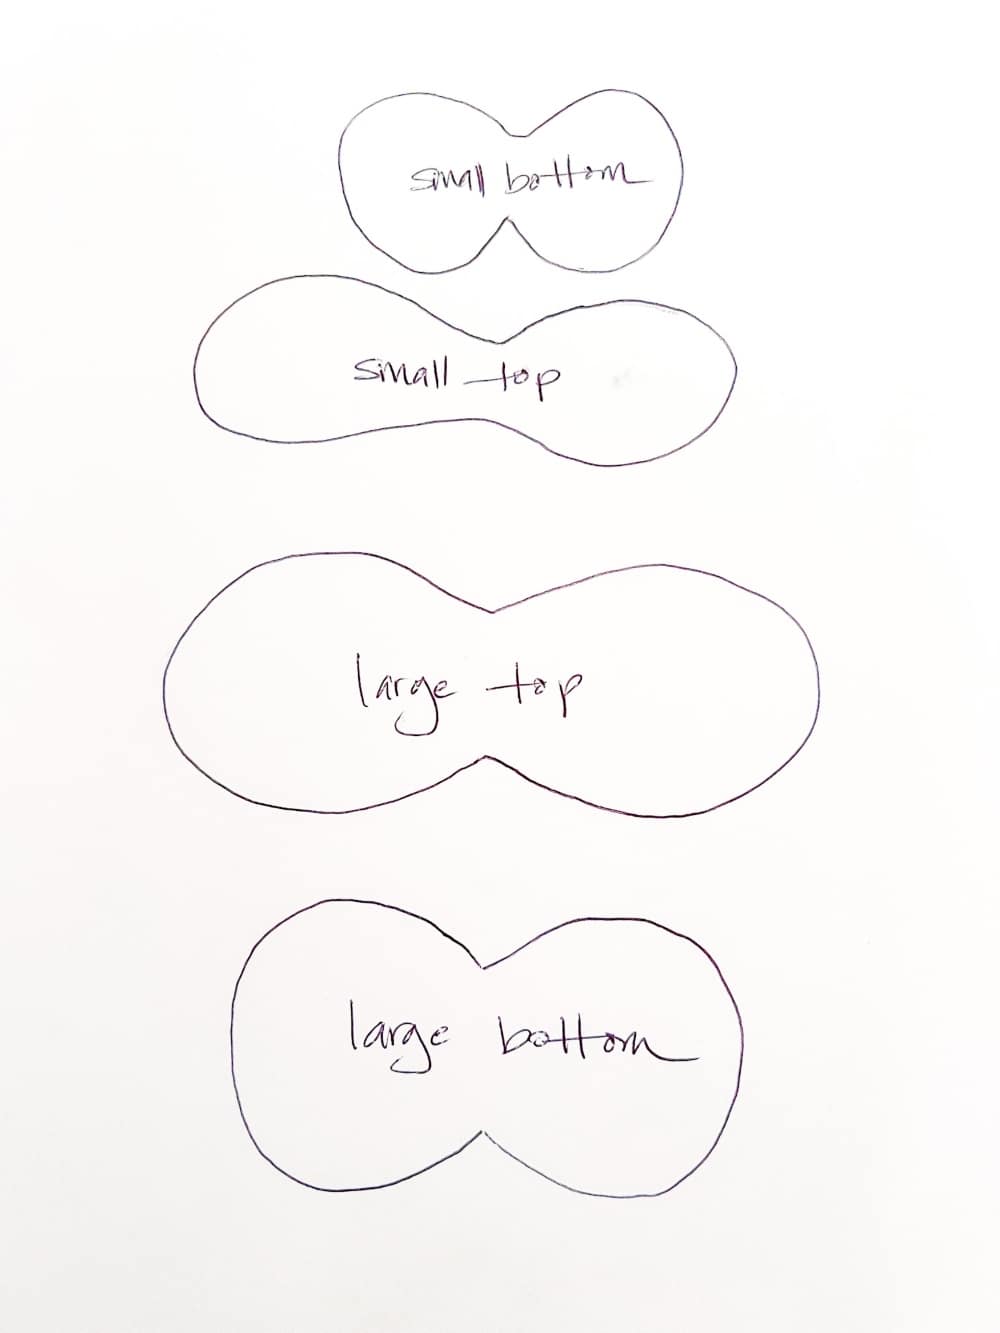
- Print the Template: Begin by printing off the butterfly wings template from the provided resource. This template offers two sizes of butterfly wings, allowing for versatility in your wreath design.
- Cut Out Butterfly Wings: Using the template, carefully cut out the butterfly wings from your chosen Flower Child papers. Remember, you’ll need both sizes of wings for each butterfly. Note that the bottom of the butterfly is narrower than the top.
- Prepare Gold Wire: Cut a 12-inch piece of gold wire for each butterfly.
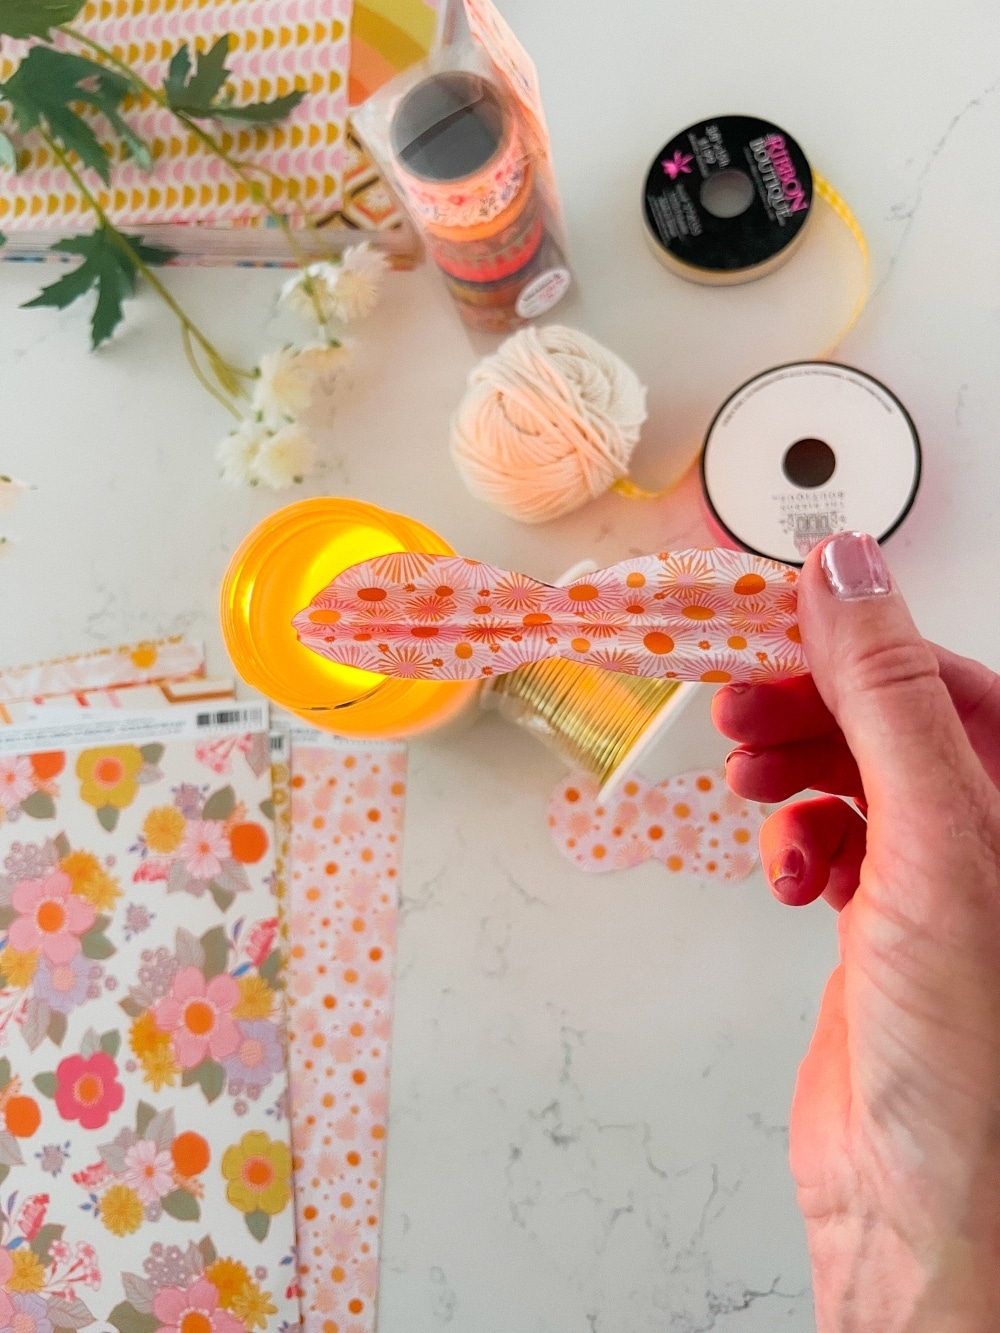
- Fold Butterfly Wings: Gently fold the wings along the indicated lines for both the larger and smaller sets.
- Assemble Butterflies: Loosely fold the gold wire in half and slip the butterfly wings inside the loop, ensuring that the wider, thinner wings are positioned on top and the thicker, less-wide wings are at the bottom. Pinch the wings together with your fingers and wrap the gold wire around them, securing them in place. Twist the ends of the wire to create antennae, then fashion them into spirals for a whimsical touch. Trim any excess wire using heavy-duty scissors or wire cutters.
- Once the butterfly is done, lay it flat and use your fingers to push the folds so that the wings open up and pull the top wings to the top and the bottom wings to the bottom to separate the top from the bottom.
- Create Multiple Butterflies: Repeat the process with all six different paper prints to create six large butterflies. Additionally, use the smaller set of wings to craft three smaller butterflies. Feel free to adjust the number and sizes of butterflies based on your preference.
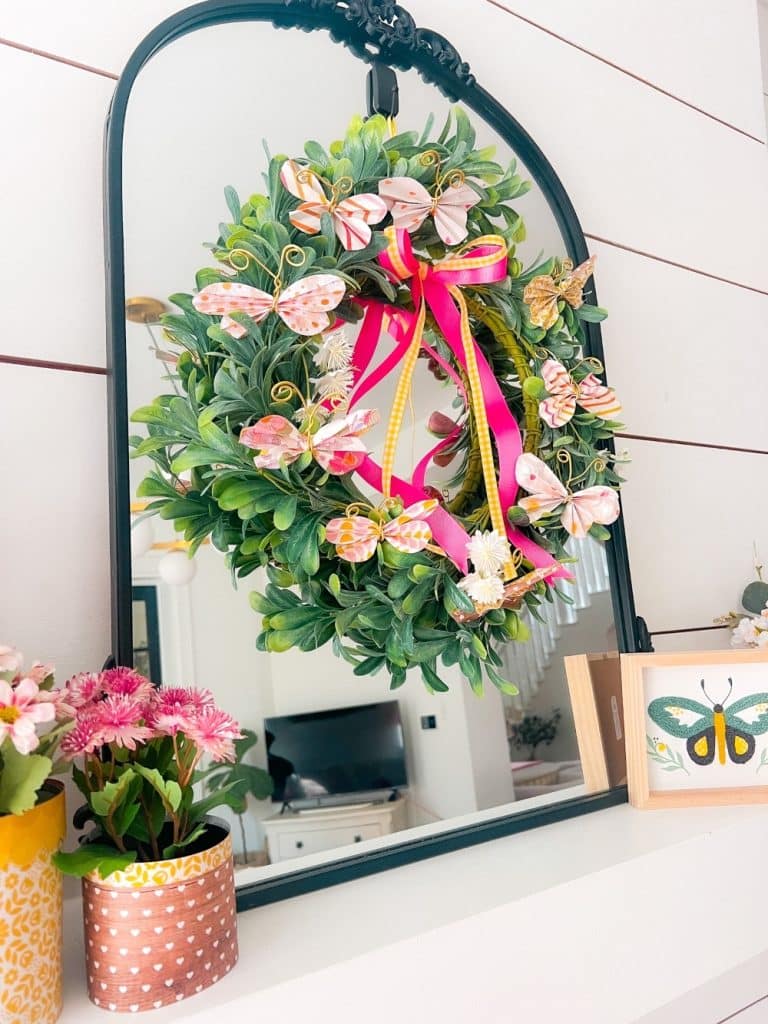
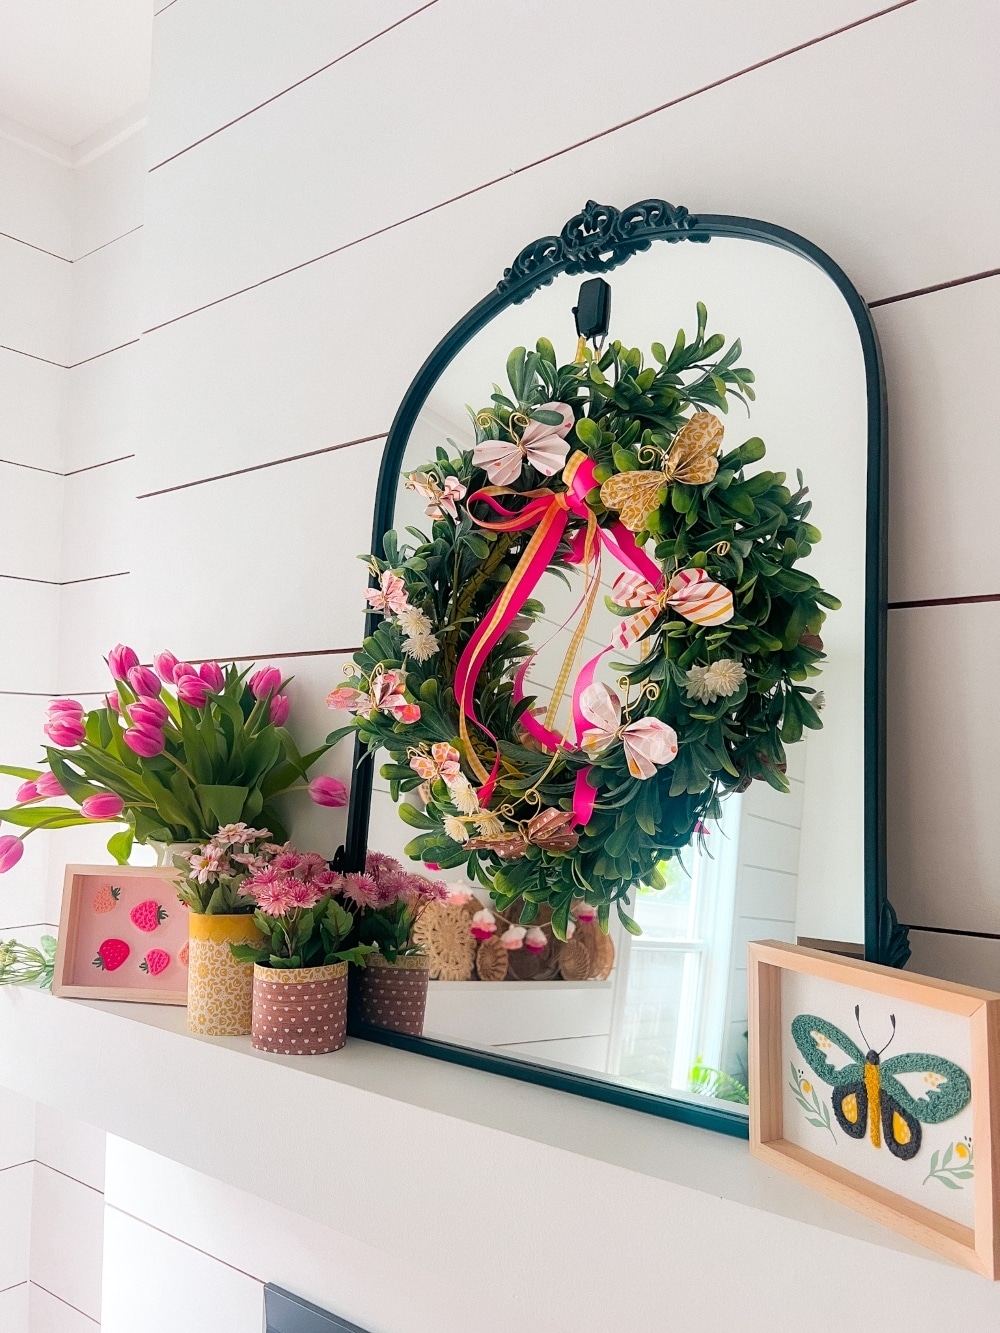
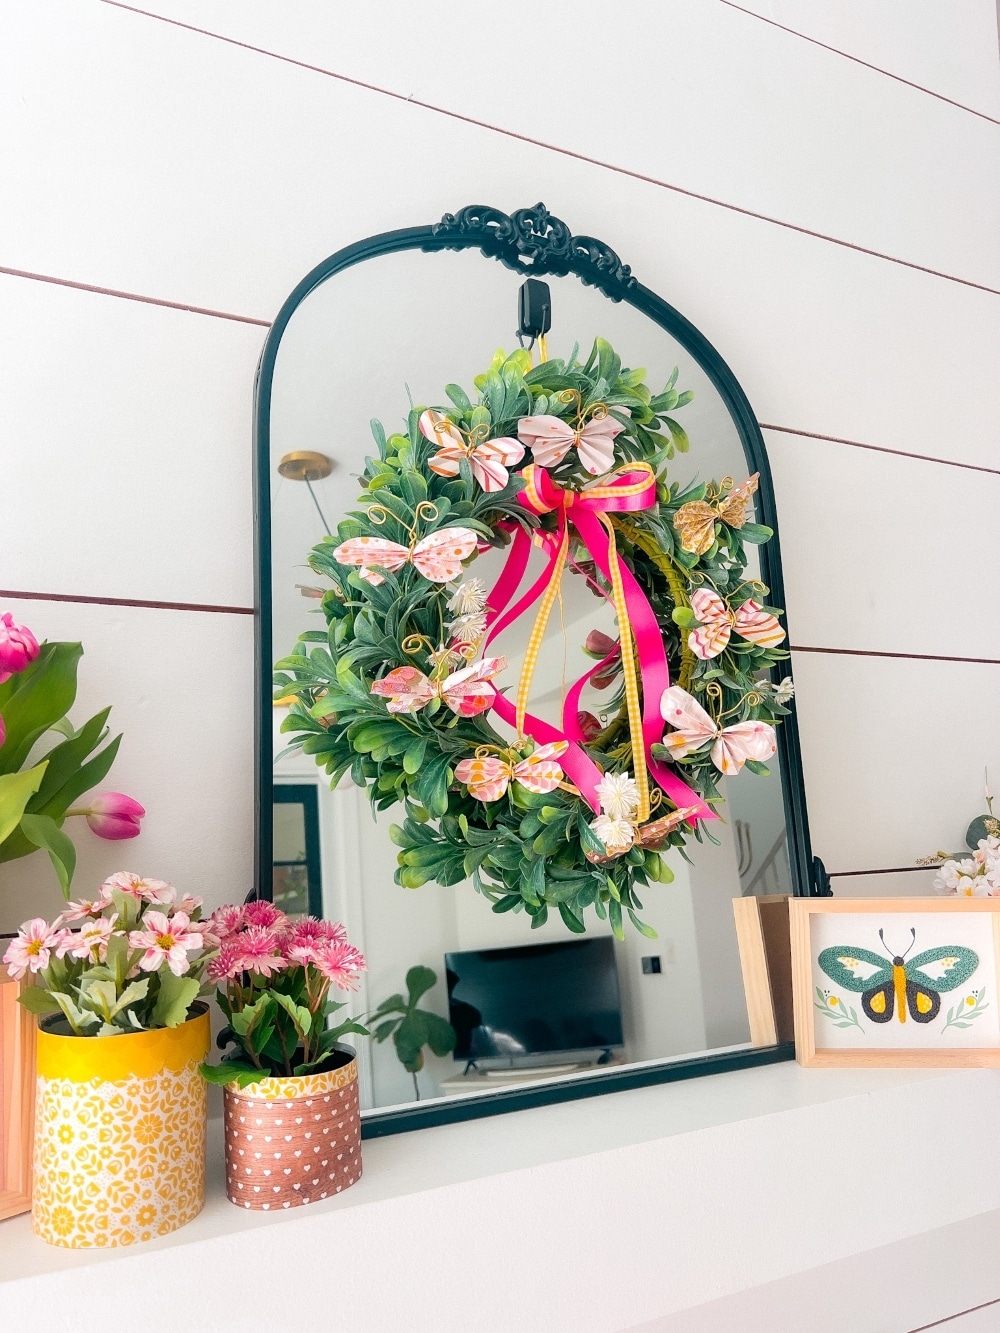
- Attach Butterflies to Wreath: Once all your butterflies are assembled, arrange them on your faux boxwood wreath in a pleasing configuration. Once satisfied with the placement, use a hot glue gun to firmly attach them to the wreath.
- Add Ribbon Bow: Cut two pieces of ribbon, approximately 30 inches in length each. Tie them into a bow and secure the bow to the top of the wreath using hot glue.
- Admire Your Creation: Step back and admire your Paper Butterfly Summer Wreath, showcasing the beauty of Jen Hadfield’s Flower Child papers. Hang it on your front door, above a mantel, or anywhere that needs a touch of summer cheer.
Free Butterfly Template – Two Sizes!
Here’s the free template! Just click on the link above!
Other Ways to Use Paper Butterflies
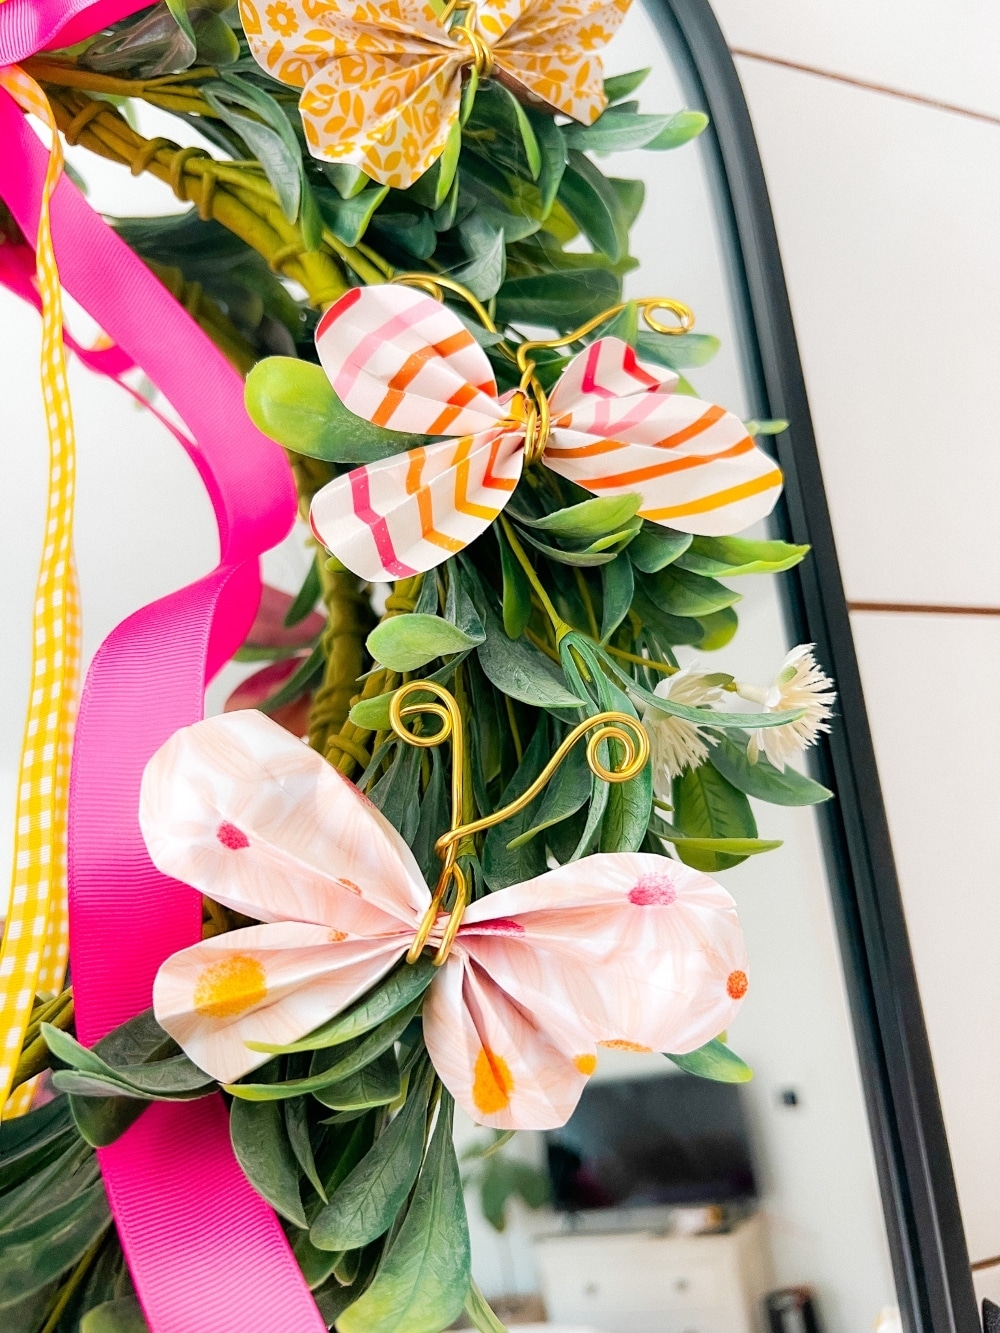
I added these delightful butterflies to my wreath, but there are other ways you can use these paper butterflies!
- Add a small dowel to the butterflies and put them in a vase with flowers
- Punch holes at the top of the butterfly wings on both sides and tie the butterflies together to make a whimsical summer butterfly garland.
- Use small pins and pin the butterflies to a wall or over a fireplace to make the butterflies look like they are flying!
How to Print off the Butterfly Templates
It’s super easy to print off the template. Simply right-click on the butterfly template link. Then open it in a new tab. Right-click on the image again and select “print”.
Use Excess Paper to Create Paper Vases
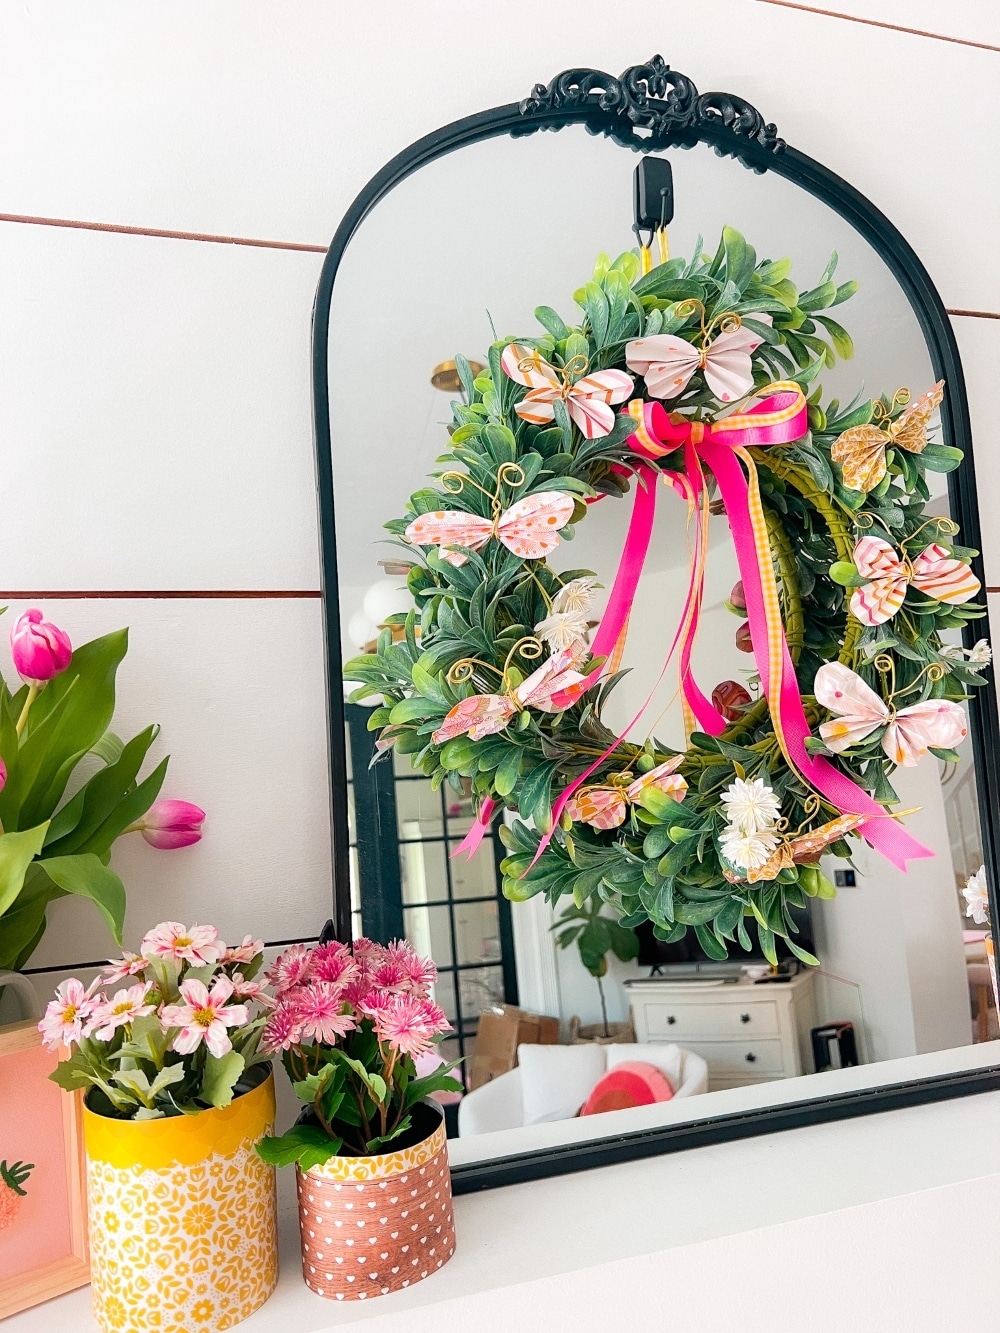
I used the left-over paper to wrap around tin cans and create paper vases that match the wreath. So easy. Just measure the height of each can, then trim paper to fit and wrap it around the can, securing it at the back with either hot glue or tape. So easy!!
Make it Monday Tradition:
Join me every Monday for a new “Make it Monday” paper project, where we’ll explore exciting paper crafting ideas and unleash our creativity together. Follow along on this crafting journey as we infuse our homes with handmade charm and seasonal joy.
Crafting with paper is not only a delightful hobby but also a therapeutic and rewarding experience. Let’s embrace the beauty of handmade creations and infuse our surroundings with warmth and creativity. Until next time, happy crafting!
Don’t forget to visit the Jen Hadfield Flower Child line to explore more delightful paper designs for your future crafting endeavors. Happy crafting!
More Paper Projects
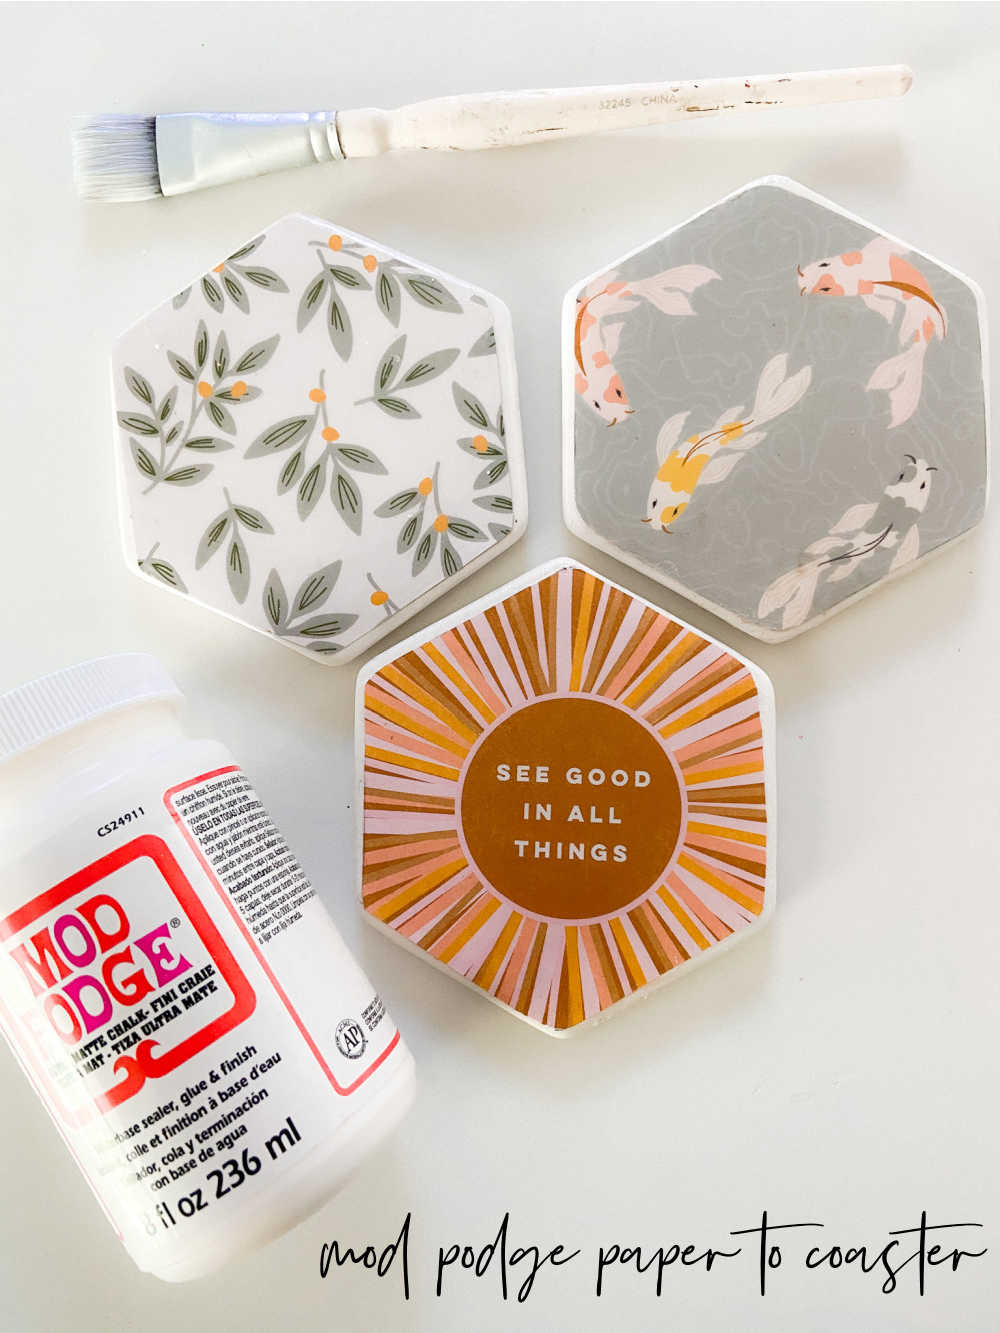
I have a whole “Paper Crafting” section of my blog with hundreds of paper-crafting ideas. Be sure to check it out in my — Paper Crafting Archives!
Have a Creative Day!
xoxo

