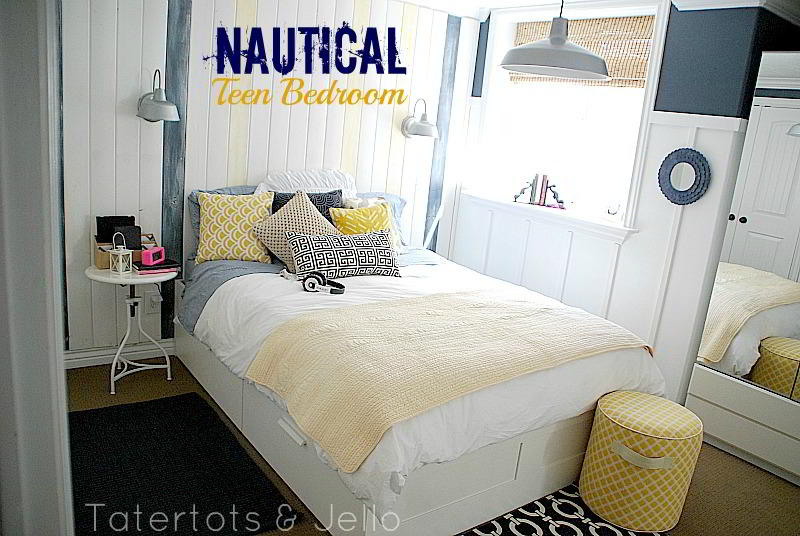
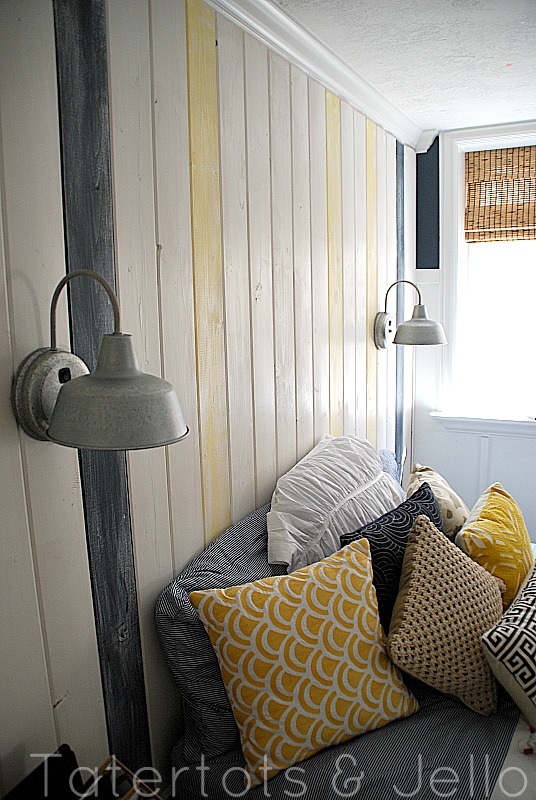
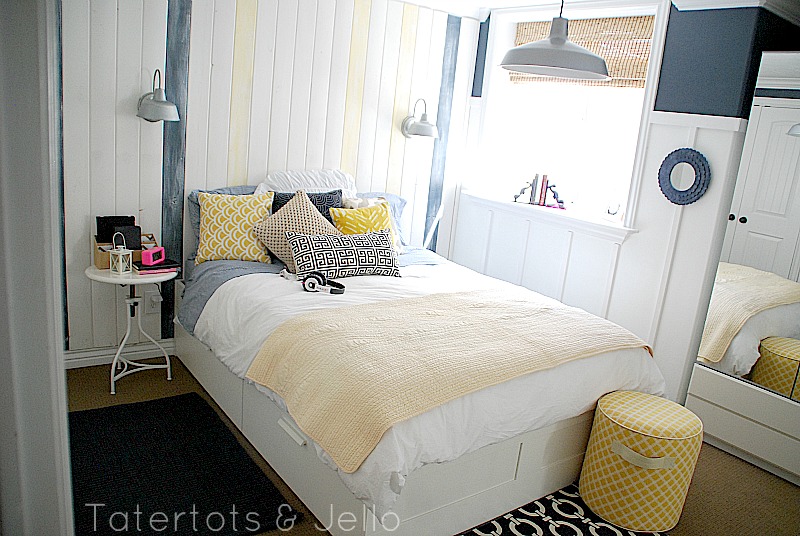
In my daughter’s new Nautical Teen Room,
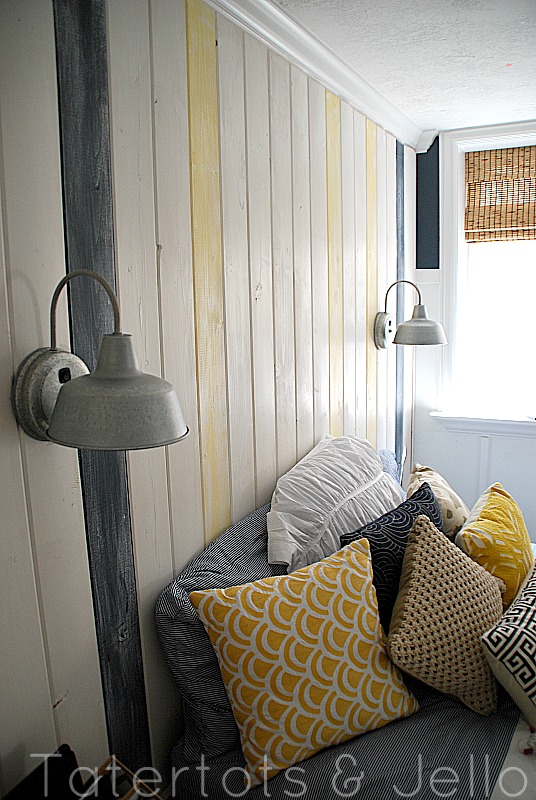
I used cool outdoor galvanized wall lamps from Lowes:
They were super inexpensive and beachy.
But wait — those lights I bought are outdoor lights with no switches.
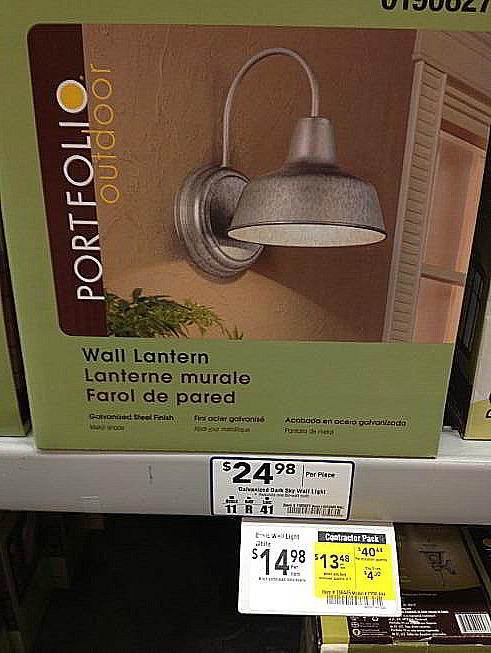
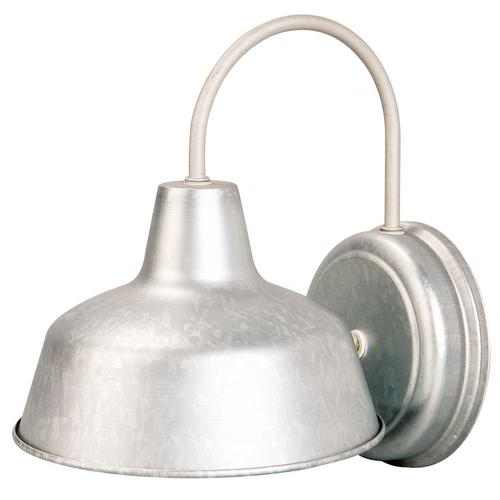
They’re the “Portfolio Galvanized Steel Outdoor Wall Lamps” from Lowe’s.
(this and other hardware pictures from Lowe’s … with links in text to the actual product descriptions)
So, how did they get switches? I’ll show you how I did it. It’s easier than it looks.
But before you get started, this is very important:
You should consult a licensed electrician before you undertake any electrical work, and you should make sure that any electrical work is done in accordance with local buildng/electrical codes. Tatertotsandjello.com makes no warranties or guarantees.
Enough of that legal stuff. Let me show you how we did it.
You’ll need an electric drill with a Forstner bit — the one I used was about 1 1/2 inches, but you can use whatever size accommodates the cords you want to fish through there.
I used a nice set of Forstner bits I bought at Lowe’s — In fact, they’ve come in handy for several recent projects.
(If you’re used to using a spade bit on your drill, you’ll like these much better. A spade bit looks like this
and is harder to use and makes more irregular holes.)
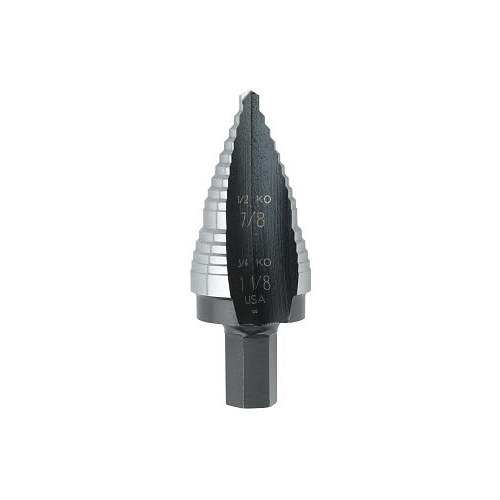
Update (27 April 2012): I thought of something else I should add about drill bits. I used the Forstner bit because it was what I had handy and I was working late.
What I need to get is a nice step bit made to drill metal, like this one:
(back to the parts list:)
You’ll also need a few parts from Radio Shack (or somewhere like that):
A “rocker” switch for each lamp
Some wire, the same kind you’d use inside a lamp. The folks at Radio Shack or Lowe’s or Home Depot can help if you don’t have any left over from other lamps.
And you can also use quick disconnects or heatshrink tubing to connect the wire to the new switch.
You will also probably need an “old work” ceiling light mount box to mount the box on the wall.
Grab some extra Romex wire if you’re going to wire this in the wall like we did — or just consult a qualified electrician.
Here’s what I did:
1. Mark the center of a hole in the base of the light fixture – in my case I marked it at least 1/2-3/4 inch above the part where the lamp part comes out of the base. You’ll be using this as the center mark for the switch hole, so try to center it both horizontally and vertically.
- If you have a hard time reaching that spot, you can loosen the nut holding the lamp onto the base and swing the lamp part out of the way. If you like, you can not just mark the center with a Sharpie, but also use a nail and hammer to make a small hole or indentation in that center place — it will make your drilling easier. Make sure there are no wires on the back of the lamp, and if there’s a mounting piece on there you’ll need to remove it for now.
2. Get your handy drill and Forstner bit. I used a bit that matched the size of the switch — but it was a bit tight (see below).
- I recommend eye protection here — grab a pair of safety glasses (they’re sexy!) while you’re getting your other supplies. Place the sharp center piece of the drill bit on the mark or small hole you made before, and patiently drill. The galvanized metal should be thin enough that with some pressure you will fairly quickly break through. Make sure the hole is smooth: if you have a metal file you can use that to file the edges.
3. Push the switch through the lamp base. In my case the fit was a bit tight, so I beat it into submission with a soft mallet. I don’t recommend this, but at least I know the switch won’t fall out.
4. Now comes the tricky part.
**Here’s your basic wiring lesson: the black wire is always the “hot” lead, so we’re going to work only with that one. the white wire will be connected to the electrical line with no modifications.
*if you don’t like this approach you can also put in an inline switch and just plug the plug into the wall, which is about a billion times (estimated) more straightforward.
- I took the black wire out of the back of the lamp, cut it to a better length, and then used the connectors (the female part) to connect it directly to the back of the switch. It doesn’t matter which of the two connectors I use for either wire. (Note that my picture has three connectors because my Radio Shack was out of the kind I’m telling you to use. My switches had a third connector for a little LED light that I didn’t want to use but, again, it was the only switch they had two of.) If you want to be really sure it’s a good connection you can use a bit of solder (that’s what I did) and some heat shrink tubing to close up nice and tight.
- Now take your extra piece of black wire and do the same thing to the other lead on the back of the switch — leaving the other end free, just like the regular black wire coming from a light fixture. Solder or heat shrink as needed.
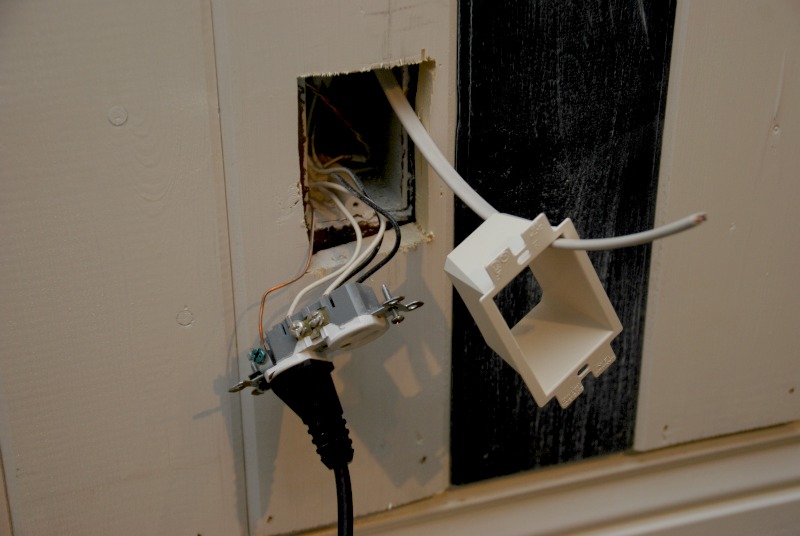
5. Use your DIY skills to put this in an existing wall light mount or, as I did, you might want to turn off the breaker, get inside the plug at the bottom of the wall, and make a hole in the top back of the wiring box. I marked the wall where I wanted the lights to end up and cut the drywall to fit the old work box. I then used a cable snake to pull the Romex wire from the plug box to the light box hole. I pulled the Romex through a hole in the back of the old work box and then attached the old work box to the wall.
6. Follow your standard instructions in the light package for wiring the lamp to the wall mount — you’ll need wire nuts, etc. You’ll also wrap up the connection in the wall plug box by connecting the new wires to the light in with the old wires.
7. slip a bulb into the lamp … and enjoy your new light!
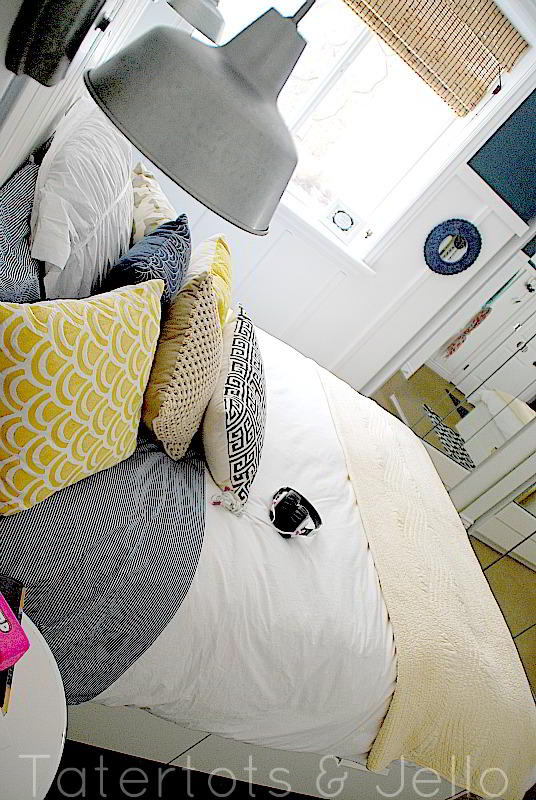
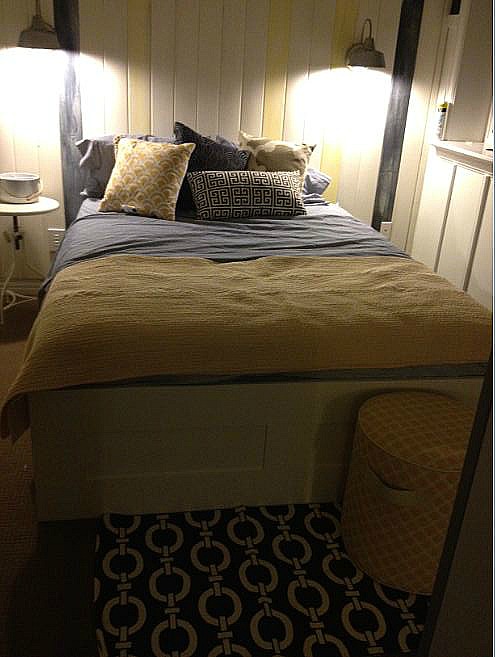
Hayley loves her bedside lamps already!
And for more information, check out the original Nautical Teen Room post.
Thanks Lowe’s for the gift card to purchase the DIY supplies for this room! And you can sign up to get a FREE Lowe’s Creative Ideas Magazine:
And, don’t miss out on winning a $100 Lowe’s gift card to work on YOUR projects!
Have a BEAUTIFUL Day!!
xxo
PS — a tutorial on how to make the Rustic beach-Inspired Board Wall is coming up soon!!
![885911094702xl[1]](https://tatertotsandjello.com/wp-content/uploads/2012/04/885911094702xl1-300x300.jpg)
![000346433982xl[1]](https://tatertotsandjello.com/wp-content/uploads/2012/04/000346433982xl1-150x150.jpg)
![pRS1C-2160432w345[1]](https://tatertotsandjello.com/wp-content/uploads/2012/04/pRS1C-2160432w3451-300x204.jpg)
![034481152330xl[1]](https://tatertotsandjello.com/wp-content/uploads/2012/04/034481152330xl1-150x150.jpg)




Wow this is great Jen! I was googling to find these wall lamps for cheaper than Barn Electric and stumbled across your post. I love the idea for the toggle switch. Mine will be mounted up high, so I’ll have to add a wall switch instead, but love how your’s look.
LOVE a million times over! Fabulous idea and I love a good DIY project…too bad I’m way too scared to play with electrical wires though. 🙁 Might have to do the first parts myself and then call an electrician to play with the wall wires. Thanks so much for your tutorial!
Hello – I got the exact same lights for a bedroom at the beach! I was wondering 2 things: a.) How high up are the lights off the floor? and b.) how far apart are the lights. the lights we have are going in a room with a full size bed. We were thinking 5 feet up off the floor but I don’t want them too high…
Thanks so much for this posting. It’s great.
Installed. We did them 5′ off the floor. they are perfect.
Thank you so much for such great detailed directions complete with pictures. I have two modern, (think cheap hotel) hard wired lights that have pull chains thanks to a previous owner. They are flanking a beautiful stone fireplace. Since the wall is stone, changing the lights and adding a switch seemed too risky. I’ve looked at those switches in Home Depot but never got a satisfactory answer as to how they were best installed. I now feel perfectly confident that I can find beautiful rustic wall sconces and will follow your directions to give them a switch. Thanks again!
Wow… just WOW. This is so packed with great information… I am so impressed!
Such a great idea! The lights look really well in the new room! Now if only I had a hubby a littttle more skilled in electric hehe 🙂
They look so good! We did the exact same thing in our Airstream. I found a cute jar light fixtures that is for outside porches and Jason added a switch. I had no idea how he did it though because he is the one in charge of electrical stuff at our house:)
Hi, Jen.
Loved your tutorial on Skip to My Lou today. Can you tell me where you purchased the lidded cups for the teacher gifts? FABULOUS! I am a teacher and will be making them for my assistants and classroom “grandmother”…IF I can find the cups!
Thanks so much!
Sally in California
You are too smart girl! Love those lights and that was super cool how you added the switch!!
Ok…so I love your tutorials and this one looks really good. But, as soon as you started explaining how to do it, my head exploded. Seriously, I can’t even focus to read the tutorial to the end, because it’s just so complicated in my mind, even though your tutorial is very comprehensive. This is what I like about your blog – you don’t limit yourself by barriers. I wouldn’t even have though of the possibility of these being indoor lights. I would’ve looked and said: Oh…well these are outdoor lights; there’s nothing I can do. So thank you – this is encouraging me to do projects I thought I couldn’t do.
I know it sounds complicated. But once you get the supplies it’s totally possible. Thanks for the sweet compliment!! I am loving how my world is expanding as I learn more DIY skills and tools. It’s so fun. And I love sharing it with people. Thanks for reading and taking the time to leave a comment. It means so much to me.
xoxo
the lamps are perfect for the room Jen! Great job thinking outside of the box, as always!
Thanks so much Mindy!! I love those lamps and I love that they are so affordable. I was looking to special order some and they were over $100 each, so using these was perfect and fit in my budget 🙂
Thanks for taking the time to leave me a comment. Have a wonderful day!
xoxoxo
I think you’re a little bit of a whiz! Those lamps are pretty cool, but you’ve made them even more fabulous indoors. 🙂 Great tutorial!
Amanda —
You are so wonderful. I appreciate your comments and your positive encouragement so much. Thanks for taking the time to leave me a comment. I adore you.
I hope you are having a fabulous day!
xoxoxo
This is amazing! Thanks so much, I’m so glad you posted it. I’m no stranger to wiring and electricity and I still wouldn’t have thought of it!
Thanks so much Rebecca!! It was so fun to have an idea and see it happen and work lol!! I love it when that happens!!
xoxoxo
You lost me at “Drill bits” BUT this is fantastic! Love the room and what you did to the lights! Very impressed with you skills!!
Thanks Terrie!! It is fun to expand my DIY skills and make something in my home that is beautiful and that I created. So satisfying!!
Thanks for taking the time to leave me a comment. I appreciate it so much. I hope you are having a wonderful day!
xoxox