Make Personalized Covered Button Jewelry !
I think a handmade gift is so much more personal and special than something picked up at a store.
Here’s a handmade gift idea that is simple, easy and inexpensive to make, yet shows that you care.
And the best part – anyone can make these.
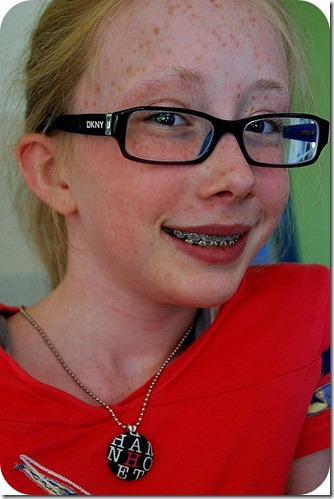
{Ella, my 6 year old, made some}
{Ella, my 6 year old, made some}
Personalized Covered Button Necklaces
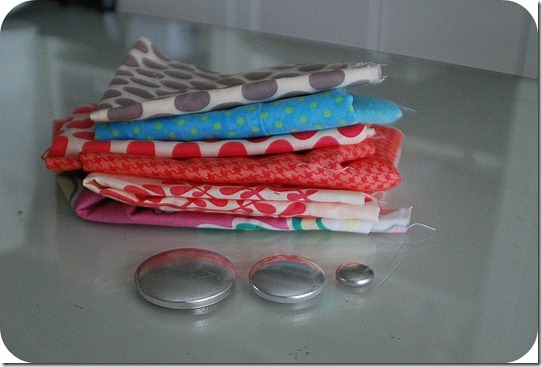
I know I have an addiction to pretty fabric. I just can’t get enough of it. When I order it sometimes it sits there for weeks because I can’t bring myself to cut it. And I never want to throw away scraps of beautiful fabric. This project is perfect for those precious fabric scraps. All it takes is a few inches of fabric, a covered button kit, a shank and some E9000, Mod Podge and Dimensional Magic (optional) plus about 10 minutes of your time!
Here’s a little Covered Button Tutorial – in case you’ve never made these before:
1. Pick out the covered button size you want to make.
2. Cut a circle about 1 inch larger than the metal button.
3. Put the fabric on top of the flexible plastic mold, right side down.
4. Press the top of the button cover onto the fabric and into the flexible plastic mold.
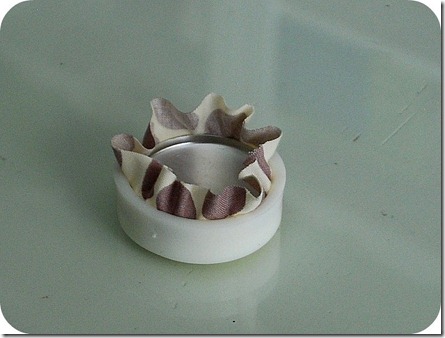
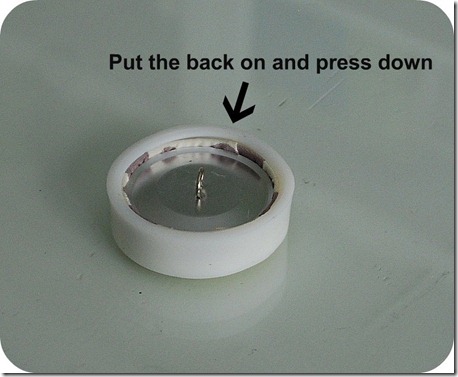
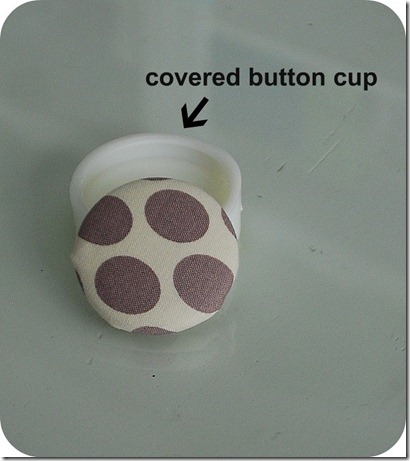
5. the fabric will bunch up at the top once you press down. Fold the excess fabric into the center of the button and press the back of the button onto the button and press down until it snaps in place.
That’s it!
Now, to make it into a pendant – pull off the metal ring with pliers. Then put a dot of E9000 on the back of the button and press a jewelry shank onto it. Let dry.
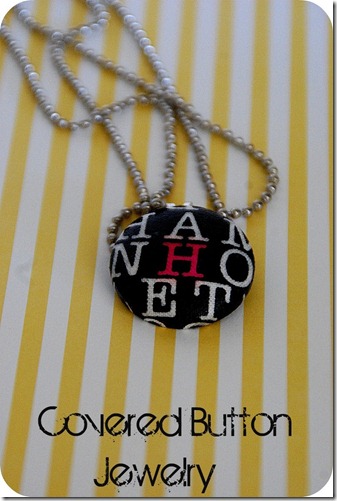
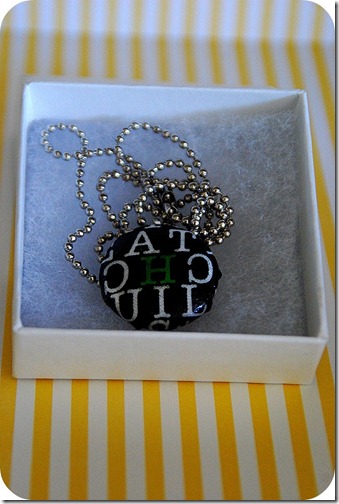
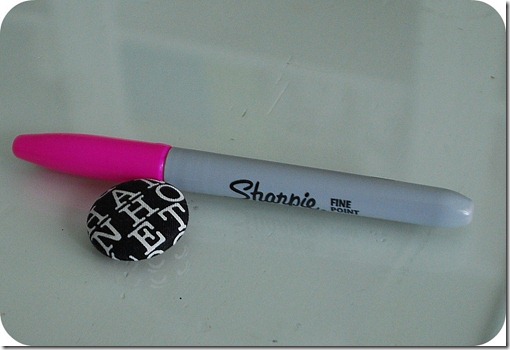
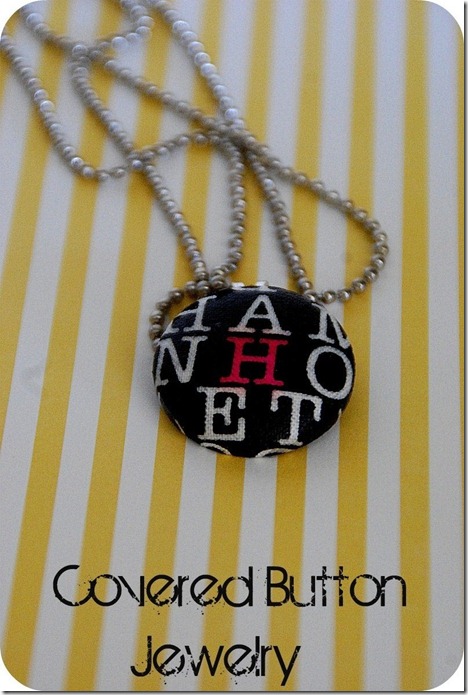
To make the personalized pendant, I found some alphabet fabric and then cut out a circle with the desired letter in the middle. I made the covered button and then covered the button with a layer of Mod Podge. Once that was dry, I filled in the letter with a colored Sharpie (permanent marker). Be sure to add the Mod Podge, or the Sharpie will bleed into the fabric. After that is done, I added a layer of Dimensional Magic over the top to seal it. But this is optional.
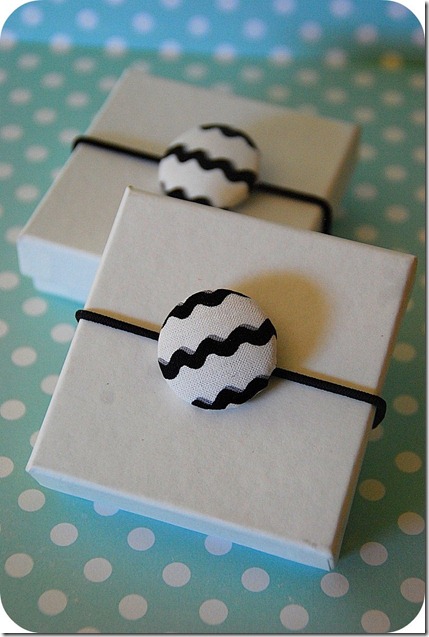
And I saw a fun idea in Martha Stewart. To package up this project, I made some covered buttons, and then threaded an elastic band through the back. Then you can wrap the rubber band around the gift box with the button on the top. It makes a cute alternative bow, PLUS the gift receiver gets a cute covered button pony tail holder to use too!! So fun!!
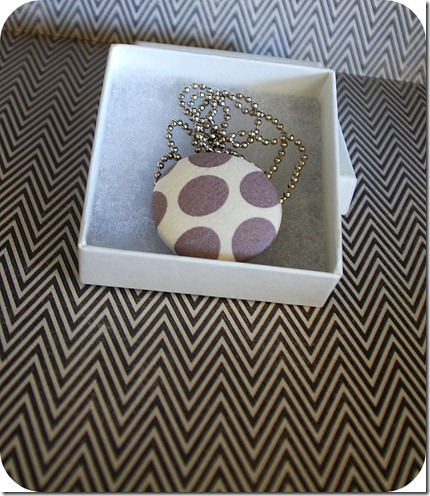
And of course, you can make plain Covered Button Necklaces too!
Share your creativity and win in a 300-page copy of Home Made Simple!!
Share your favorite handmade creation!
Three Ways for Readers to Enter & Win
Each entry requires a separate comment:
1. Tell us about your favorite handmade creation. Attach a photo if you have one!
2. Join Home Made Simple Marketplace on Facebook, explore the fabulous finds and handmade items, then come back to share your favorites.
3. Have handmade items or fabulous finds to sell? Post them for sale with Home Made Simple Marketplace via Oodle and tell us about it.
The time is now to sell, shop &idea swap in the Home Made Simple Marketplace via Oodle!








Oh God,Its really great teach for me.I will also make this button.thanks you so much for share.
Regards
Silver Gemstone Jewelry
These are beautiful! I love how you used the sharpie to accent with bright pink 🙂
Rachel
http://linesacrossmyface.blogspot.com
I joined the Home Made Simple Marketplace on Facebook: Michelle Hudak
shel704 at aol dot com
I'm busy making mouse-pin cushions out of scrap fabric…everybody's getting one for Christmas this year.
shel704 at aol dot com
I would really love to sponsor a give away. I just sent you a third email, I think maybe I am ending up in spam since I haven't heard back. My email is [email protected] and my etsy is
http://www.etsy.com/shop/Mindiemay
Hope to hear from you, love your site! Feel free to contact me on my Etsy or via email or even at my blog http://www.bacontimewiththehungryhypo.blogspot.com/
Great idea for a necklace! Love your little models – the necklaces look so cute on them. The brown dotted one is soooo pretty!
I love covered buttons, but I never ever thought to use them for necklaces! This is such a smart and cute gift!
Hi! I love this project. I don't mean to be dense but how do you get the elastic band through the back of the button? Do you have to cut the band and re-tie it? I have loved covered buttons forever and use them whenever I can…thanks for sharing!
I love this idea and it makes me feel better that someone else doesn't like to cut their pretty fabric when they get it! I have the cutest collection called "Sugar and Spice" that's turquoise and red and it's gorgeous. I finally broke down and made skirts, baby blankets with matching baby toys and burp cloths out of it. I'm so glad I did it but I have to say it sat there for a while before I dug in! Now it's time to make matching necklaces for my six year old's skirt! Thanks for the idea!
Those are great gifts for girls! Love them.
Easy and stylish. Thanks for sharing.
I am hosting my first Link-up party – Tea Time Thursdays. Would be glad to see you there 🙂
http://tanyaanurag.blogspot.com/2011/08/celebrating-one-party-time.html
I just made a button necklace yesterday and I love it! My favorite handmade item is my ribbon wreath. I've made 3 and love them all!
The buttons look so cute! My (current) favorite homemade item is the curtain I made for the window above our kitchen sink.
My favorite handmade items are my sock monkey and owl collections – fun!
Those covered button necklaces are so cute! Will have to look out for some covered button kits and try to make some myself!
The most recent thing I made was a fun melty crayon art piece on canvas. It turned out so cute! Great giveaway =)
I am on the home made simple marketplace on FB. Thanks for the giveaway!
I have a new favorite creation every few weeks, that's what keeps me crafty! My current favorite is my car seat cover. You can see pictures at http://monzarts.blogspot.com/2011/08/car-seat-cover.html
I like Homemade Simple on FB and my favorite item in the shop was the Big Bloom Necklace!
I tried commenting using the source above, but it wouldn't let me…so here is my entry. 🙂 I would LOVE to win this book…I am a huge fan of Homemade Simple. My favorite handmade item was the Ornament Silhouette Shirt I made for my daughter last year. It was so cool to see her wearing something I made myself. 🙂
Here's the link to my Ornament Silhouette T-Shirt:
http://serenitynow4amanda.blogspot.com/2010/11/ornament-silhouette-t-shirt.html
My most recent creative project was a strip quilt top. It was my first quilt top so I'm excited to see how the whole thing will turn out. BTW, cute idea with the buttons.
To see photos: http://allison-itsmylife.blogspot.com/2011/07/top-finished.html
My favorite homemade creations are baby clothes for my friends. There is nothing cuter than a baby in an adorable outfit, especially if you know it was made with love!
my favorite homemade item is the pinwheel dress I made as a gift for a friend's daughter!
I'm on a simple homemade on facebook
I think my favorite handmade creation is a socktopus I made for my cousin. It is one of the first projects I attempted and it came out just how I imagined even though I didn't have a pattern. I also like it because I haven't really seen anything like it so I know he has a one of a kind gift. Here's a link to a post about the little guy: http://endures-all-things.blogspot.com/2011/01/socktopus.html
wow- you make it look so easy! darling necklaces!