Create a focal Shiplap wall in your home from start to finish in less than 2 hours. This is an inexpensive project you can finish in FOUR easy steps.
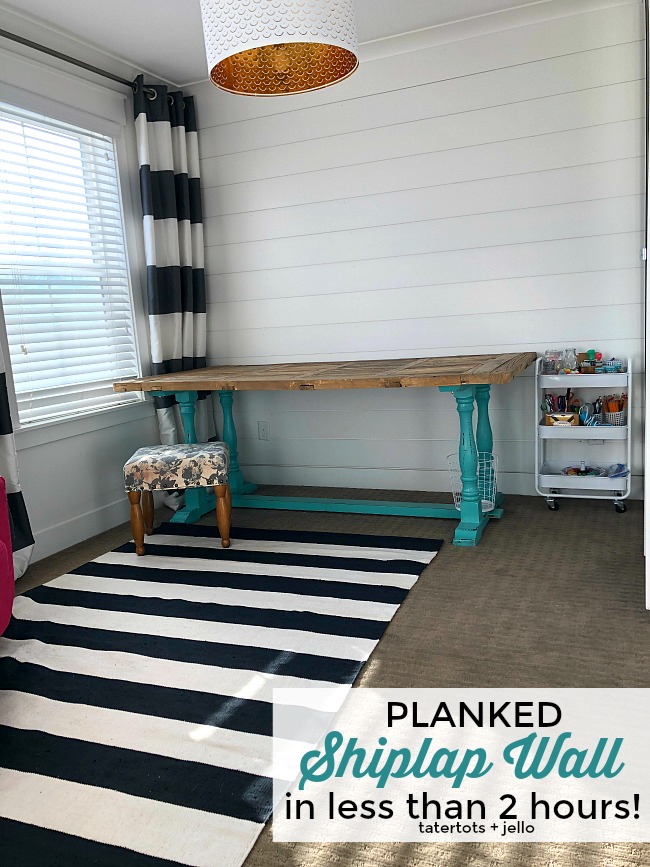
How to Plank Shiplap Walls In Under 2 Hours
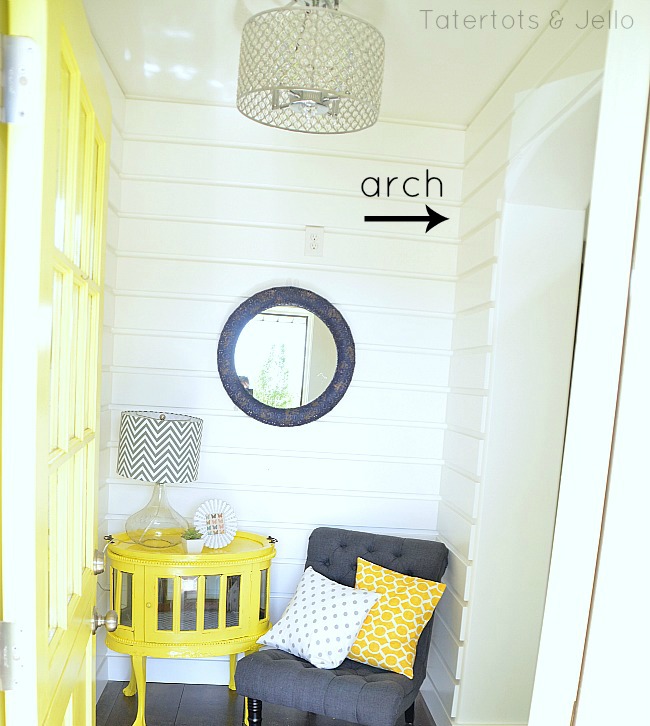
I love the look of clean shiplap. We put a modern version of it in the #1905Cottage’s entryway. It made me smile every single time I walked into the my home. And I probably would plank every single room in my home if I could. The truth is that creating that wall took a lot of time and effort. You can find that tutorial here – How to Create Modern Planked Walls.
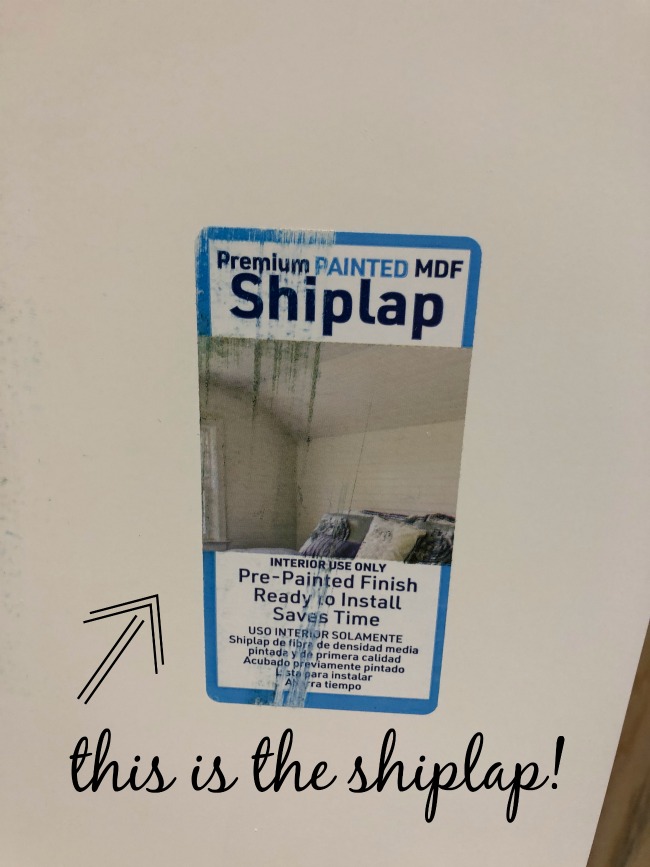
So when I was thinking of options for the main wall in my new craft room I debated between wallpaper and some sort of shiplap planking. Over the weekend I got really inspired to work on that wall and so I headed over to the hardware store and discovered the pre-finished planks at Lowes.
THEY ARE ALREADY PAINTED!!
What??
I bought the supplies in a little over an hour we had a new focal wall. I LOVE IT!
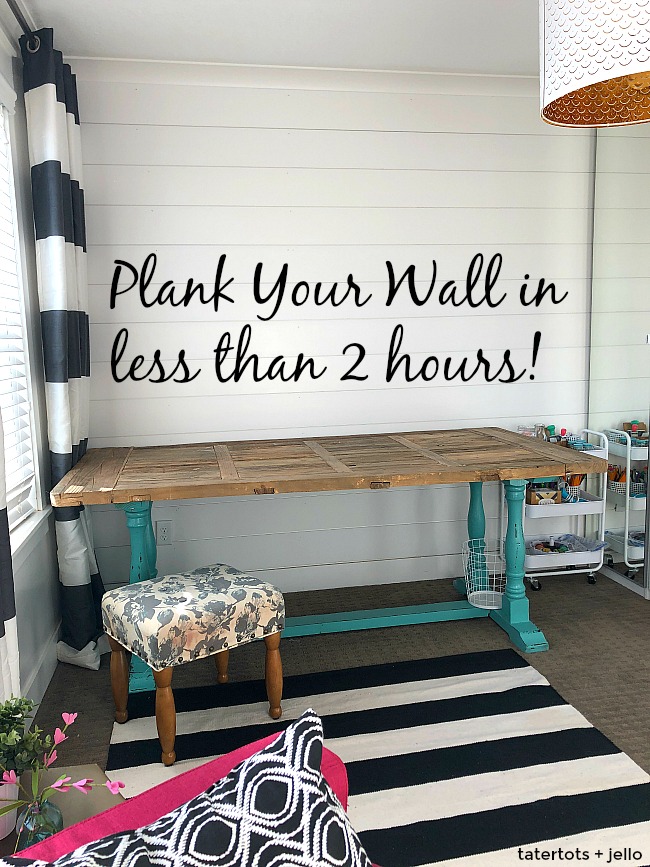
Here’s how to plank a focal wall in UNDER 2 hours.
I would say an hour, because I truly think you could do this project in ONE hour, but I didn’t want to stress anyone out. So I have said two hours, but I think you can get this done in 1 hour if you have all of the supplies on hand and you are prepared.
TWO things make this project about to be done in less than 2 hours:
- Get your boards cut at the hardware store. They will do it for free. You need to figure out how long you need your boards before you go. My wall was 10.5 feet wide so I just had them cut off 18 inches from each board. But if your wall is longer than 12 feet you will need to have two boards on each wall. So figure that out. It will save you SO much time to have the boards cut at the hardware store. And they love doing it!!
- These shiplap boards are pre-painted which saves you so much time! NO PAINTING!!!

SUPPLIES:
Planks (these are 7.25 in height and 12 feet in length)
Nail Gun and Nails (or hammer and nails)
Liquid Nails
White Caulk
Outlet Extenders
Nail setter
Jigsaw (this is the handiest tool)
Get prepared.
Measure your wall and go to the hardware store and get your supplies. This time is not calculated in the time estimate LOL.
Measure how many planks you will need and get them cut at the hardware store!!! No really – the hardware store will cut your boards and you will have NO cutting at home (unless you need to cut around your outlets). Seriously, this will save you TONS of time!!!!
1. Add Liquid Nails to the back of each of your planks.
Put the planks on your wall one at a time. We started at the top right corner of the room and butted the planks against the molding at the top. If you don’t have molding, butt them against the ceiling.
2. Nail the planks to your wall.
Find the studs in your walls and nail in at least three studs across the plank.
3. Cut around your outlets.
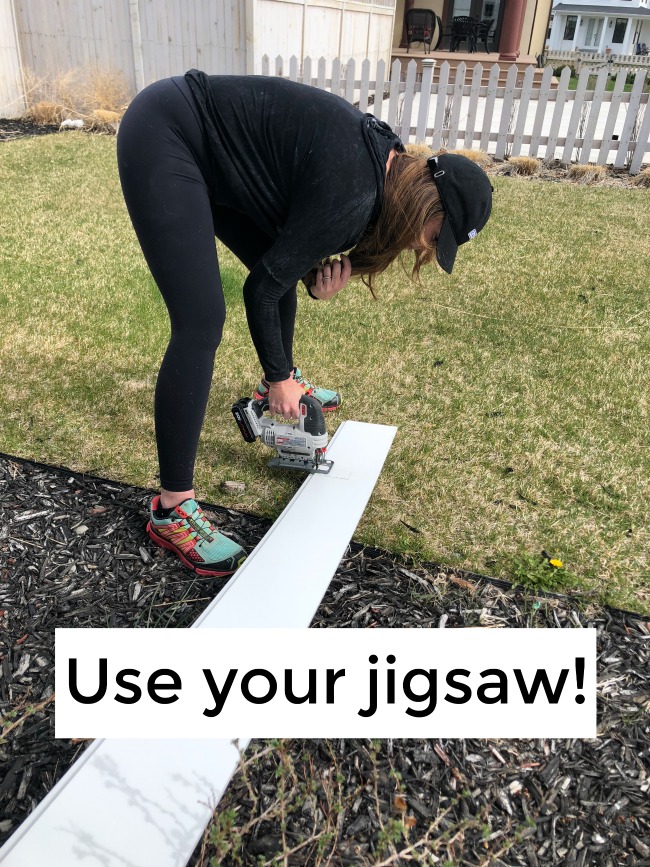
We used a jigsaw to cut small rectangles out of the wood in the planks that went over outlets. Make the holes big enough that the electrical outlets can be pulled outside of the hole because you will need to pull them out so they are flush with the new planks. Use outlet extenders to fit under the outlets to make them sit farther out from the wall and flush with your planks.
4. Caulk around the edges of the planks and fill in the nail holes.
Run a strip of caulk around the corner of the room to created a smoother look. I used white caulk to fill in the nail holes. If your nails are flush with the planking or sticking out from the planking, use a nail setter to recess them into the planking so that you can put a tiny bit of caulk on top of them to cover them up. I put a dab of caulk on my finger and then smoothed it into the hole and used a wet paper towel to smooth any excess caulk off of the planks. I didn’t want to paint. The finish on these planks is perfect without paint strokes because they are pre-painted and I love that smooth look so I didn’t want to paint at all over that finish.
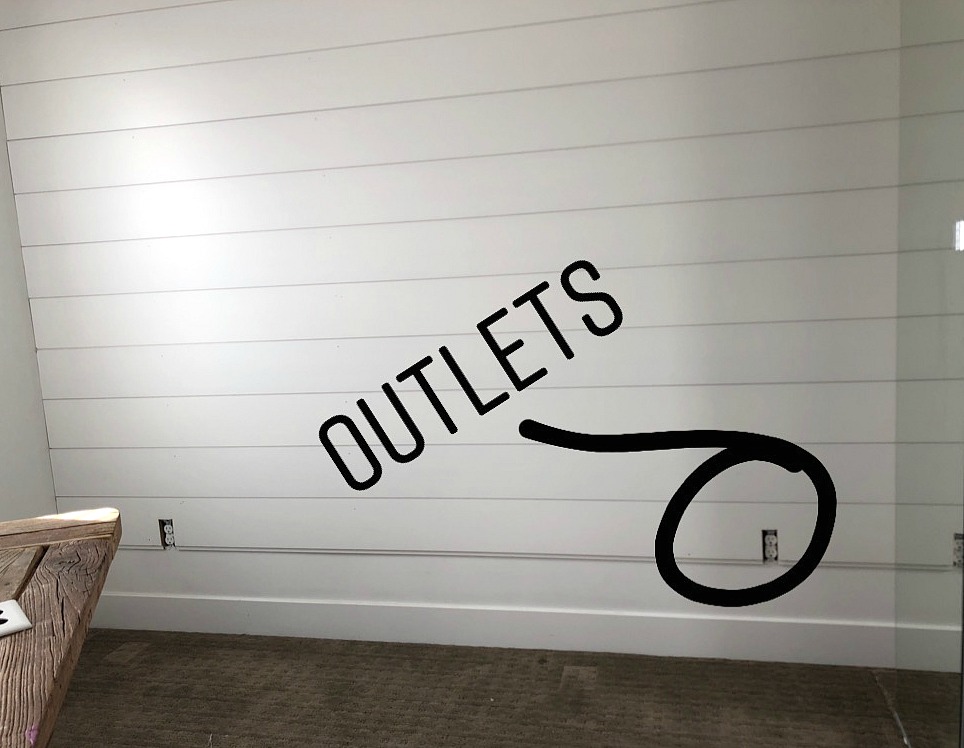
If you do have outlets and you are freaked out about how to cut holes for those in the planks, don’t worry. I use a really handy Ryobi Jigsaw and it is SO easy to use! There is a guide and all you have to do is mark where you want to cut out and just follow those lines with your jigsaw guide and it works! If I can do it, YOU can!!
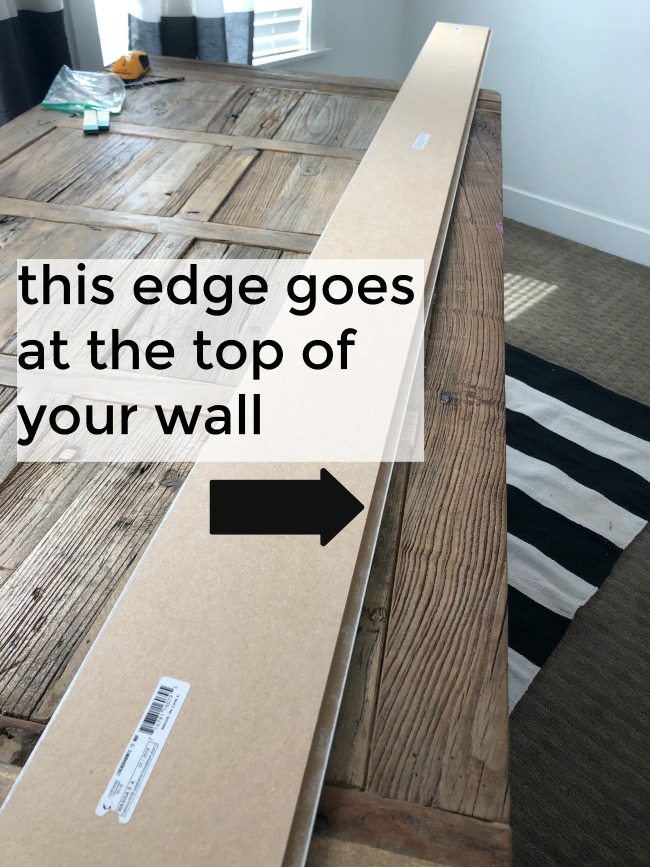
A little about these planks from Lowes. They are like traditional shiplap. there is a groove under the top and at recessed into the bottom. All you have to do is put the first plank at the top of your wall with the smooth side up (the groove is under the smooth top) and then put the next plank under and it fits right into that recessed groove. This makes it SO easy. Instead of having to use spacers, you just fit those two planks together and they fit and are designed so that there is a gap between the two planks which is consistent every single time and takes all of the guess work out of this project.

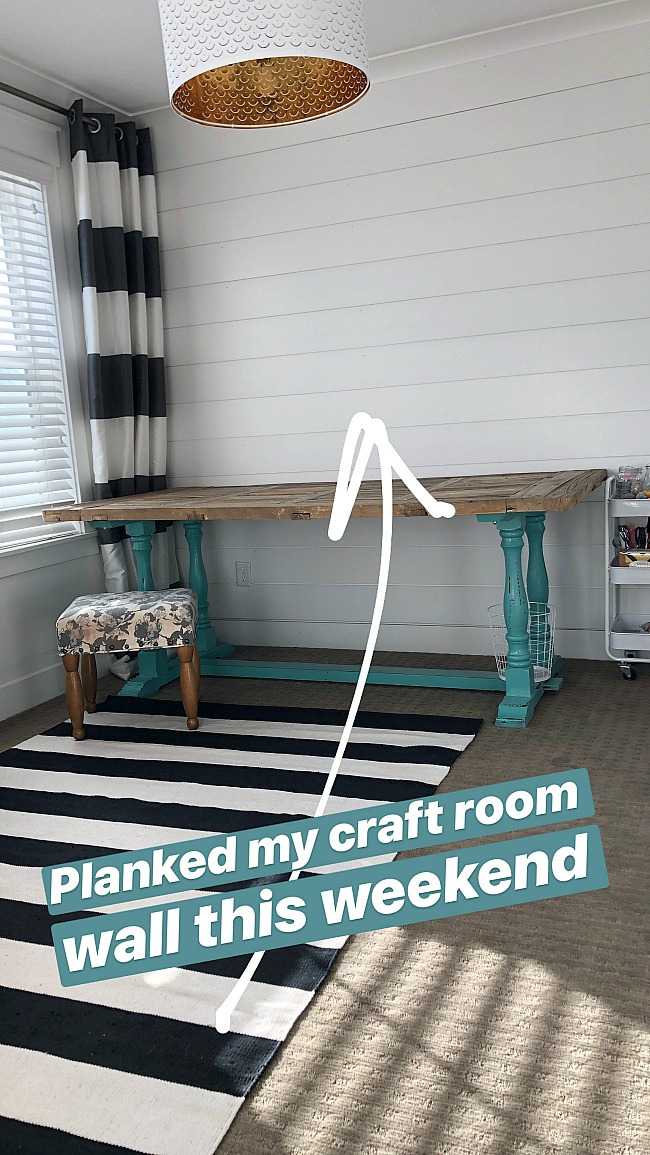
The fact that these planks are pre-painted makes all of the difference to me. I LOVE the look of smooth planks. And you can get this look if you have a paint gun, but to be able to buy the planks already painted makes everything SO easy and makes this project doable in an afternoon. I made this wall for about $150 which I think is a good value and I think it will help in resale value since it’s a neutral project that most people will like.
And if you want to watch all of the behind-the-scenes bloopers and fails as I do projects – come connect with my on @tatertotsandjello Instagram! I share these things and little snippets of things I love and think are cool on my stories!
Have a Beautiful Day!
xoxo

I hope you enjoyed this tutorial. This post has an affiliate link. Affiliate links add no cost to you and help us bring you free content.




Great look. two questions: Did you use a finish nailer? And how did you match the pre painted wood for nail holes?
Hi Holly!
That was the tricky part. I used white paint in a satin finish and dabbed a little bit on my finger and covered the hole. Then went over it gently with a damp piece of paper towel. Honestly I think it might have been easier to just do a quick coat of paint over the whole thing once you are done 🙂
How do you match the paint with the caulk color so the nail holes don’t show? Whenever I fill nail holes, I have to apply another coat of paint.
Hi Joan!
I fill the hole with paintable caulk by dabbing a tiny amount on my finger and then filling the hole. Then once it’s dry, I go back and put a dab of the paint color on my finger and swipe paint over the caulk to cover it up 🙂
Love this project and am planning to do this in my dining room. Would you have to paint the wall behind the shiplap white or does the overlap cover the wall? I’m trying to save myself some work!
Hi Lisa!
No you don’t have to paint the wall behind the planking because the wall doesn’t show through at all. The planking is designed to have a gap but the piece below covers up the gap underneath.
xoxo
Love, love, Love!! I can think of 6 walls in my house that I want to do this too!! Did you have to cut the bottom piece down, width-wise, to make it fit just right? That is the part that worries me, I will totally screw it up. :).
Thanks Crystal! I hope you try it!
xoxo
Hi Jen,
So I was inspired by your room and went and bought these planks to do a room in our basement. My hubby did a fabulous job. The only thing I didn’t like was the dang stickers on the front of the planks!! They were such little boogers to get off and they left a sticky residue. How did you remove yours and the residue?
Oh I know!! Those stickers drove me crazy! I just pulled them off very carefully and I got them off. I think goo be gone would work to get the residue off! Send me a picture of your basement. I would love to see it! [email protected]
xoxo
If our wall is wider than the 12 feet then how do you manage the seams? Do you stagger them in a pattern? Or, start the next row with the remaining piece of wood that was cut off the end of the row above?
Hi Rebecca! My wall was less than 12 feet, but if it was longer, I would stagger them and match the seams up every other row, kind of like you do with subway tile.
xoxo
Jen,
Great post! May have to do this in the small bathroom at my house. Where did you get the table for your room. Are you going to cover the top with glass?
Maureen
This looks so great! I’m happy to see that Lowe’s here in UT is carrying this. However, I’m not seeing it on the website. The picture helps, but doyou have an item number?
Let me look. I will update you. And yes they had tons of it in Utah. It’s in the lumber department by the molding.
xoxo
Ohhh! Thanks for sharing this. I want to do this in my sons room and I am just beyond thrilled that they sell them already painted! This is def. going on my summer project list!
Carrie
curlycraftymom.com
Yay Carrie!
You will have to do it! It is SO much easier having them already painted in such a clean finish. It is really easy!
xoxo
You will have to send me a picture when you have it done. I would love to see!
xoxo
Would it still work if you skipped the liquid nails? I don’t want to damage the drywall underneath the planks.
Hi Shelley!
Yes it will. You will just have to use more nails. Just nail the planks into each of the studs on the wall.
xoxo
Thank you for sharing my idea!
xoxo