Hello Tatertots & Jell-o friends! I’m so thrilled to be here today to share my quick and easy Holiday project!
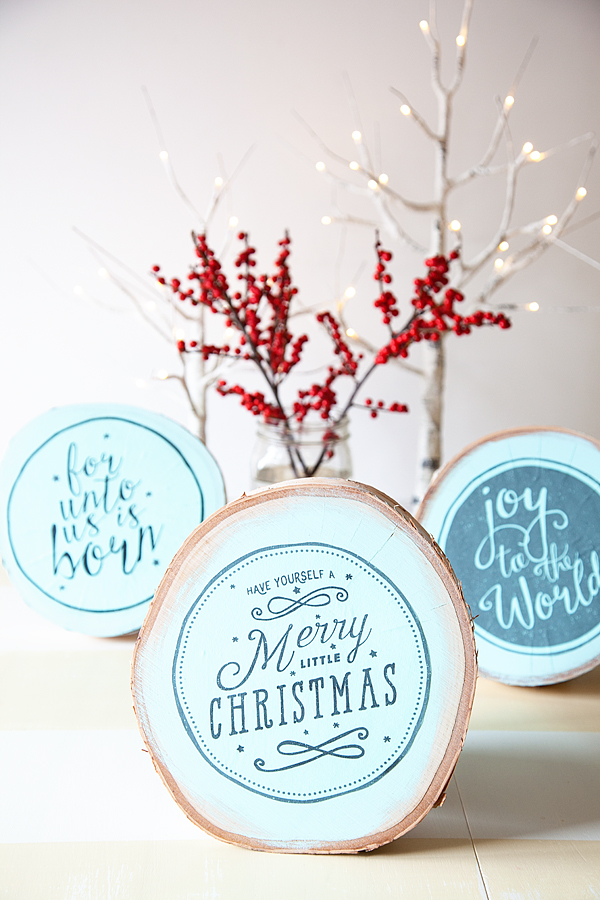
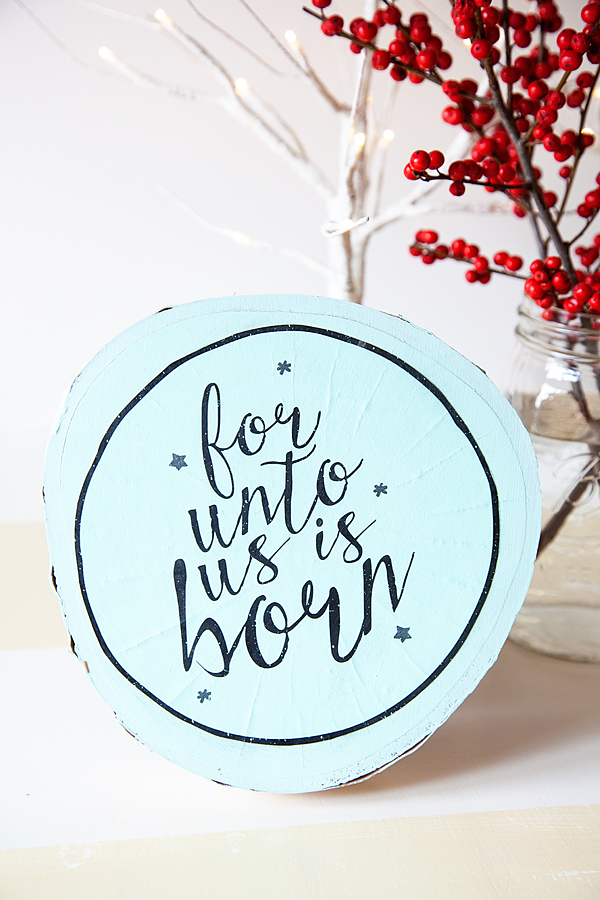
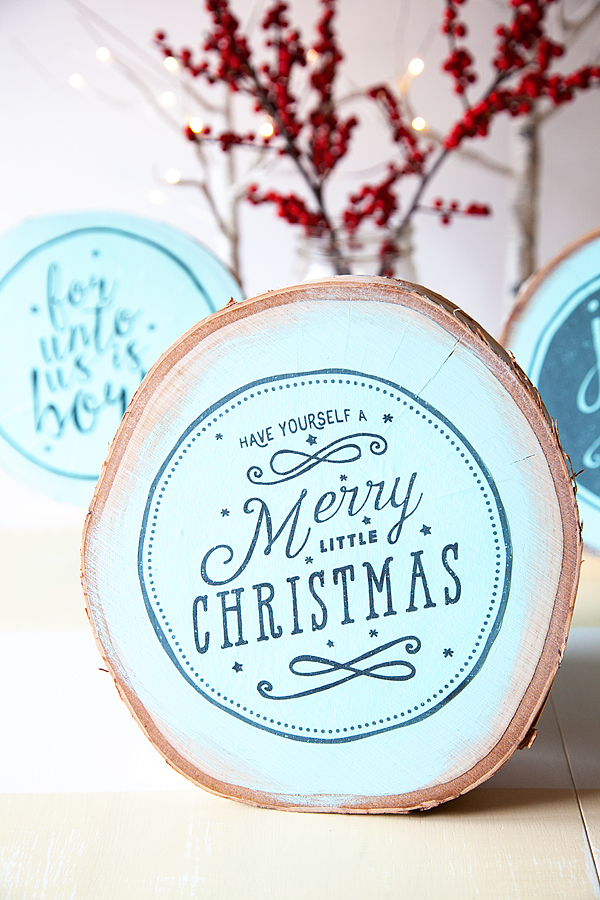
I adore handmade gifts and this one is soooo easy and yet… It looks like it’s a labor intensive hand painted sign.
The secret… it’s NOT!!
Let me show you how…
Supplies
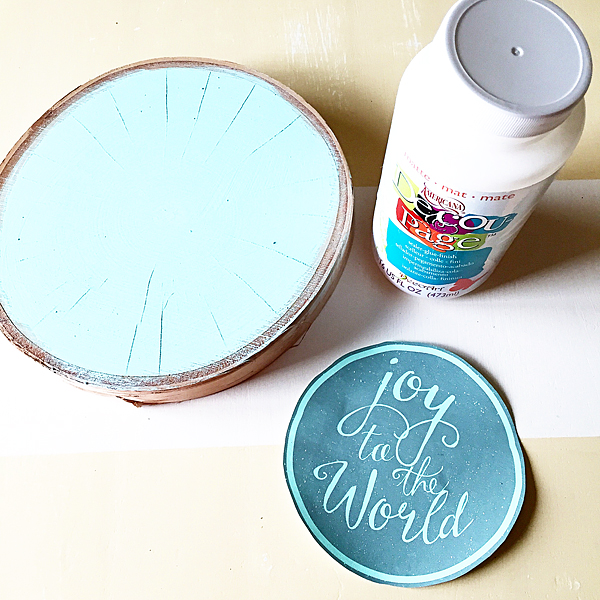
- Some type of surface to “paint” – I used some wood cuttings that I bought at the local craft store. You really can use anything that has a flat surface. I typically use this method of graphic transfer on furniture even.
- Ink Jet Printer
- Printer Paper
- scissors
- Chalk Paint – I prefer BB Frösch Chalk Paint Power mixed with my favorite Flat Latex Paint Color.
- Small Chalk Paint Brush
- Printable Graphics – You can download my graphics HERE
- Mod Podge or Decoupage
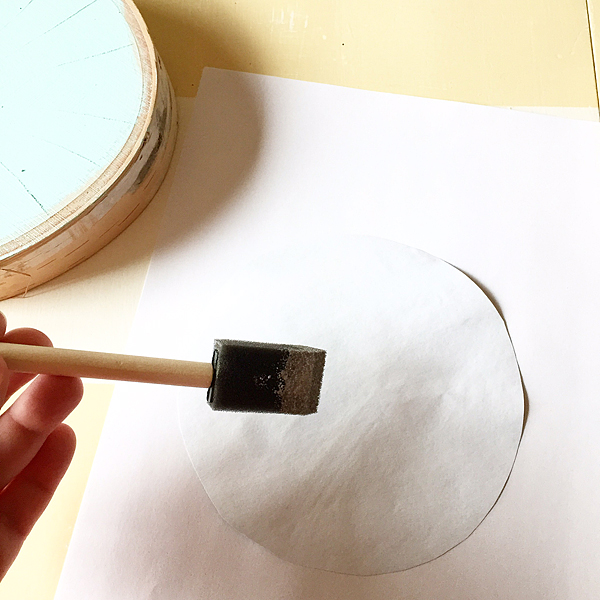
- Small sponge brush
- BB Frösch Premium Finishing Wax
- Small wax brush

Faux Hand Painting Directions
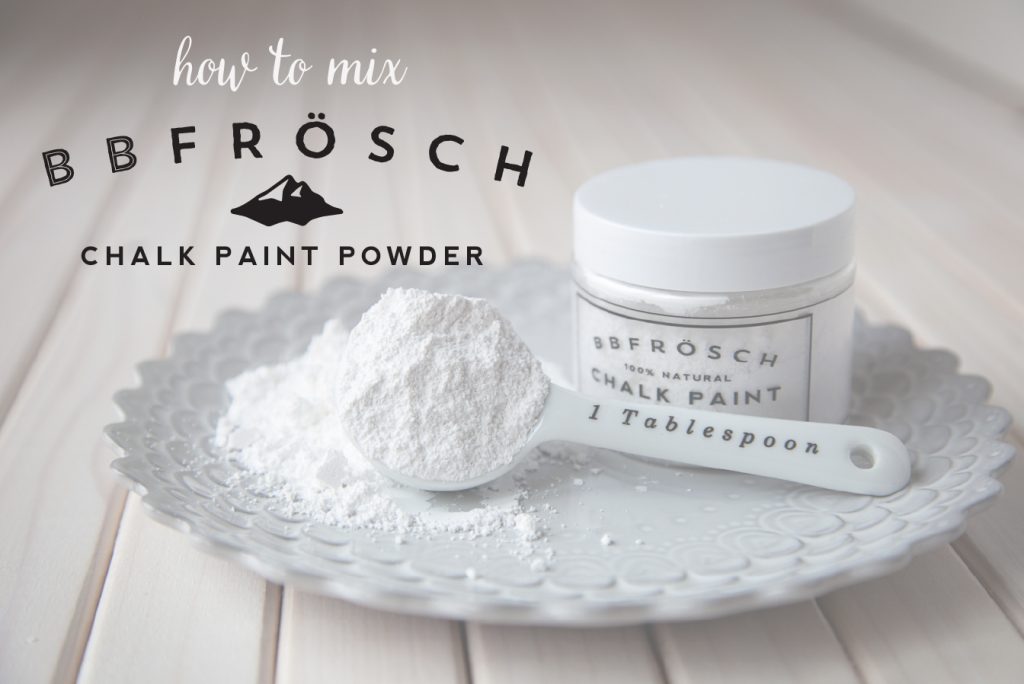
The first step for your Faux Hand Painted Sign… If you are using BB Frösch Chalk Paint Powder, you’ll need to mix up your paint. Click here to see how easy it is to mix.
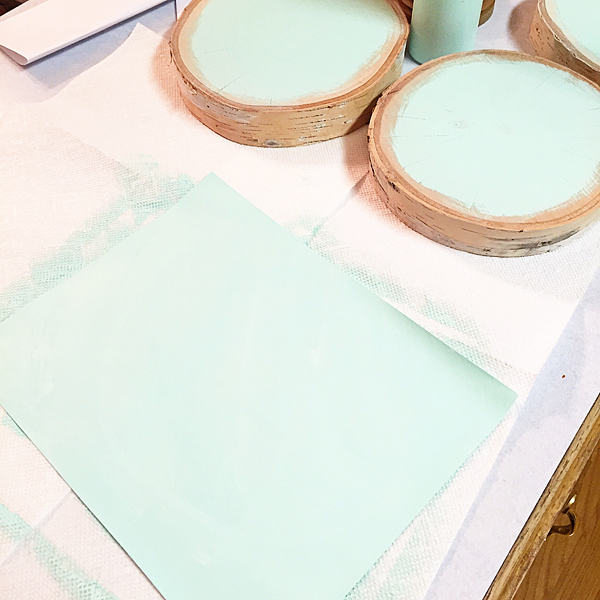
Once your paint is mixed, paint the surface that you are going to “hand paint.” Then, you’ll need to lay out your printer paper on some paper towels and paint your paper… Yep, you heard me right… PAINT YOUR PAPER with the same color that you painted your surface with. Let both items fully dry. This should take roughly 15-20 minutes. BB Frösch Chalk Paint dries fast.
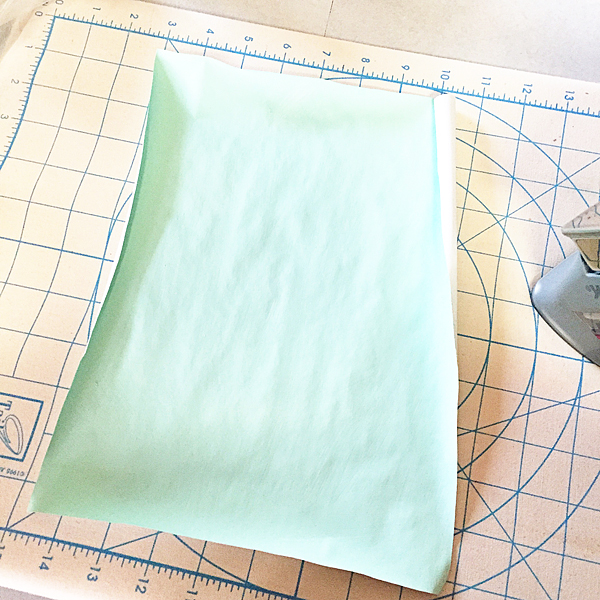
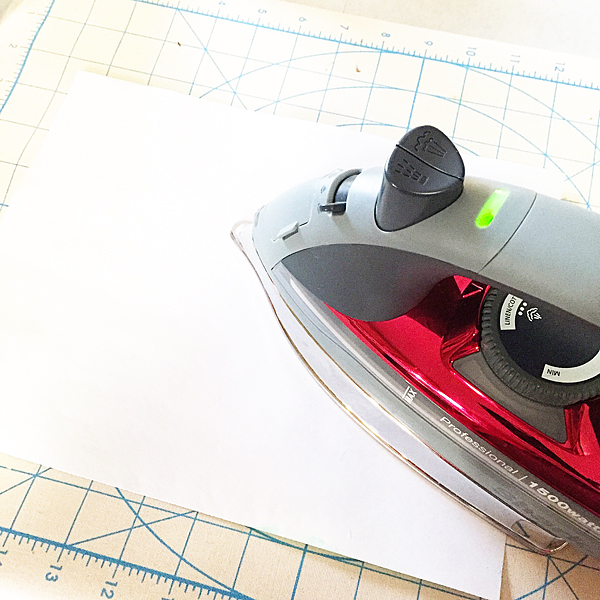
Once your paper is completely dry, it will have curled in on it’s self a bit. No worries… All you need to do is iron it.
Turn the paper over and iron the paper until it is completely flat.
Now you are ready to print on your painted paper. Download my graphics if you would like, or create some of your own.
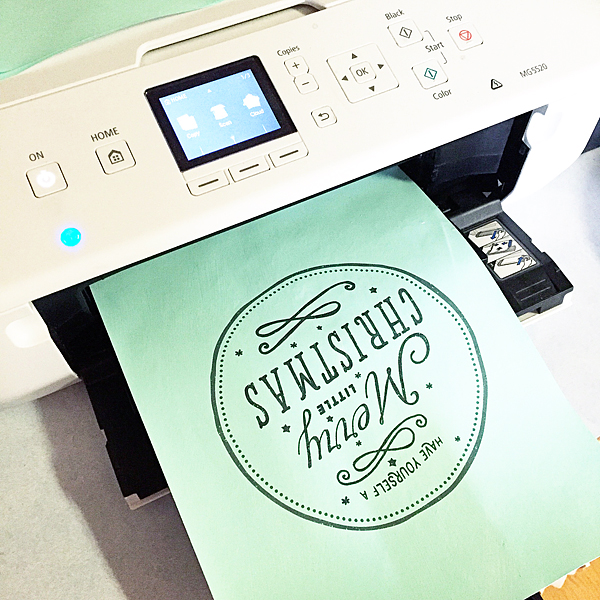
Place your paper in your paper tray of your printer. You may need to figure out the best way to place it so that it will print on the right side. Then print your graphic.
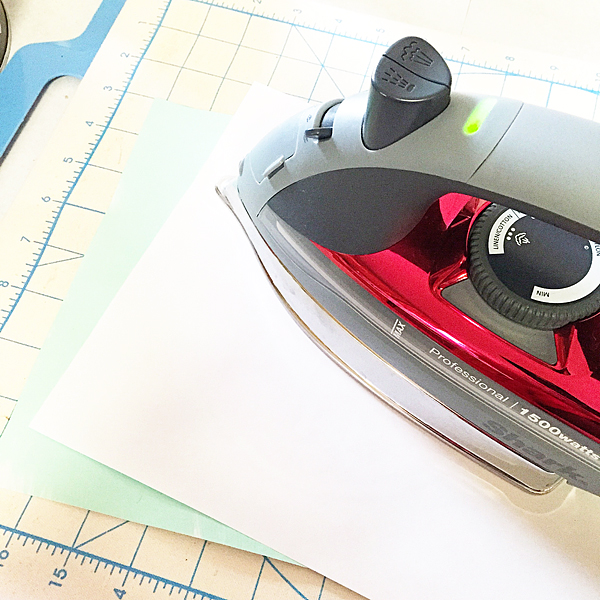
It prints beautifully! Now… Don’t touch the ink at this point, it will smear. You need to set your ink. I have tried several methods of fully setting the ink. I have sprayed it with hair spray… Works great. For this project I heat set the ink. I placed a piece of paper over the top of the graphic and pressed it again with my iron.
I also let the paper set for a few hours or overnight, just to make sure you won’t have smearing issues.
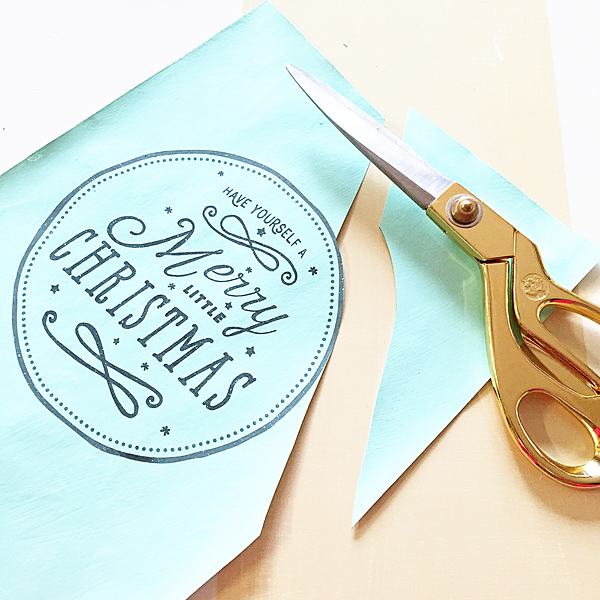
Once the paper was ready, I carefully cut out the image.
This is where it gets super fun!
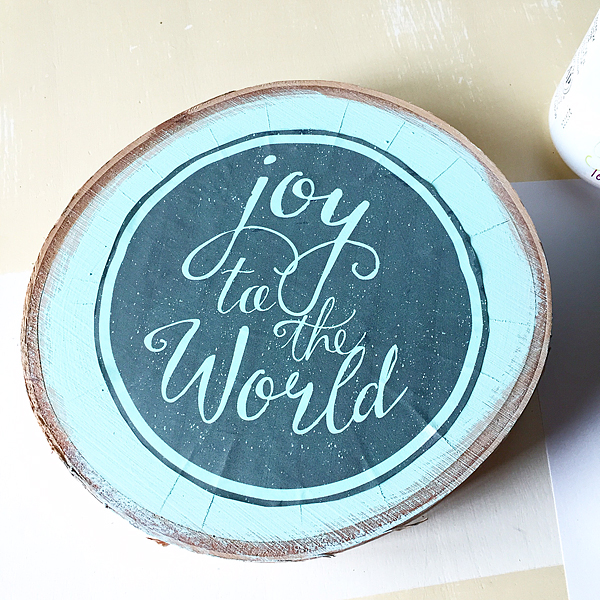
Brush some Decoupage on the BACK of your graphic. BACK ONLY.
Then place your graphic onto the painted surface. In this case the wood cutting.
Carefully smooth out the image and let dry. The cool thing is that the image will take on the characteristics of the surface. For example, the wood has all kinds of ridges and such. The graphic doesn’t hide any of that character.
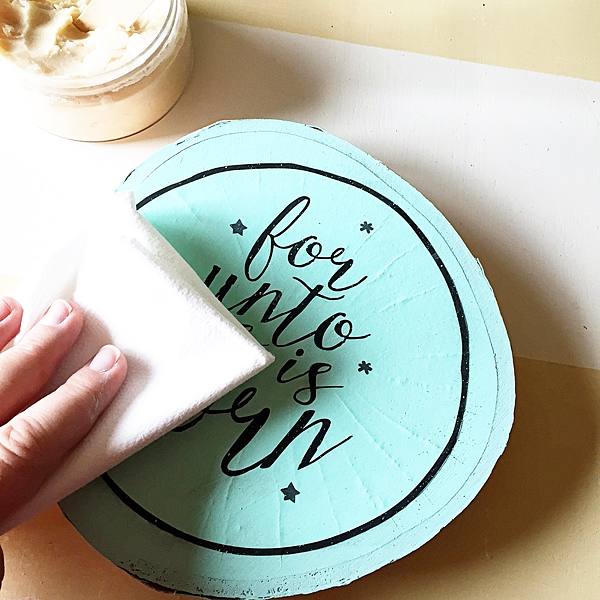
Once the Decoupage is totally dry, you will want to seal your piece so it will be protected. This is super easy with BB Frösch Premium Finishing Wax.
Using a wooden stick, “butter” your brush with the wax. Brush back and forth over the surface of your piece making sure the entire surface is covered.
Using a lint free paper towel, wipe off any excess wax. Let sit for 15 minutes and then buff to your desired sheen.
Voilà, you’re finished. It’s amazing how the paper just blends right in. You would never know that this wasn’t hand painted.
Isn’t it fun?! You’re friends are going to LOVE these simple, heartfelt, handmade gifts and you’re going to look like a ROCKSTAR!
Don’t worry, I won’t tell your secret!!
***********
Thanks Heather! Those signs are beautiful, and they do look like a hand painted sign! Such a pretty accent to your holiday decor. Heather has amazing ideas on her blog. Here are a few I think you’ll love:
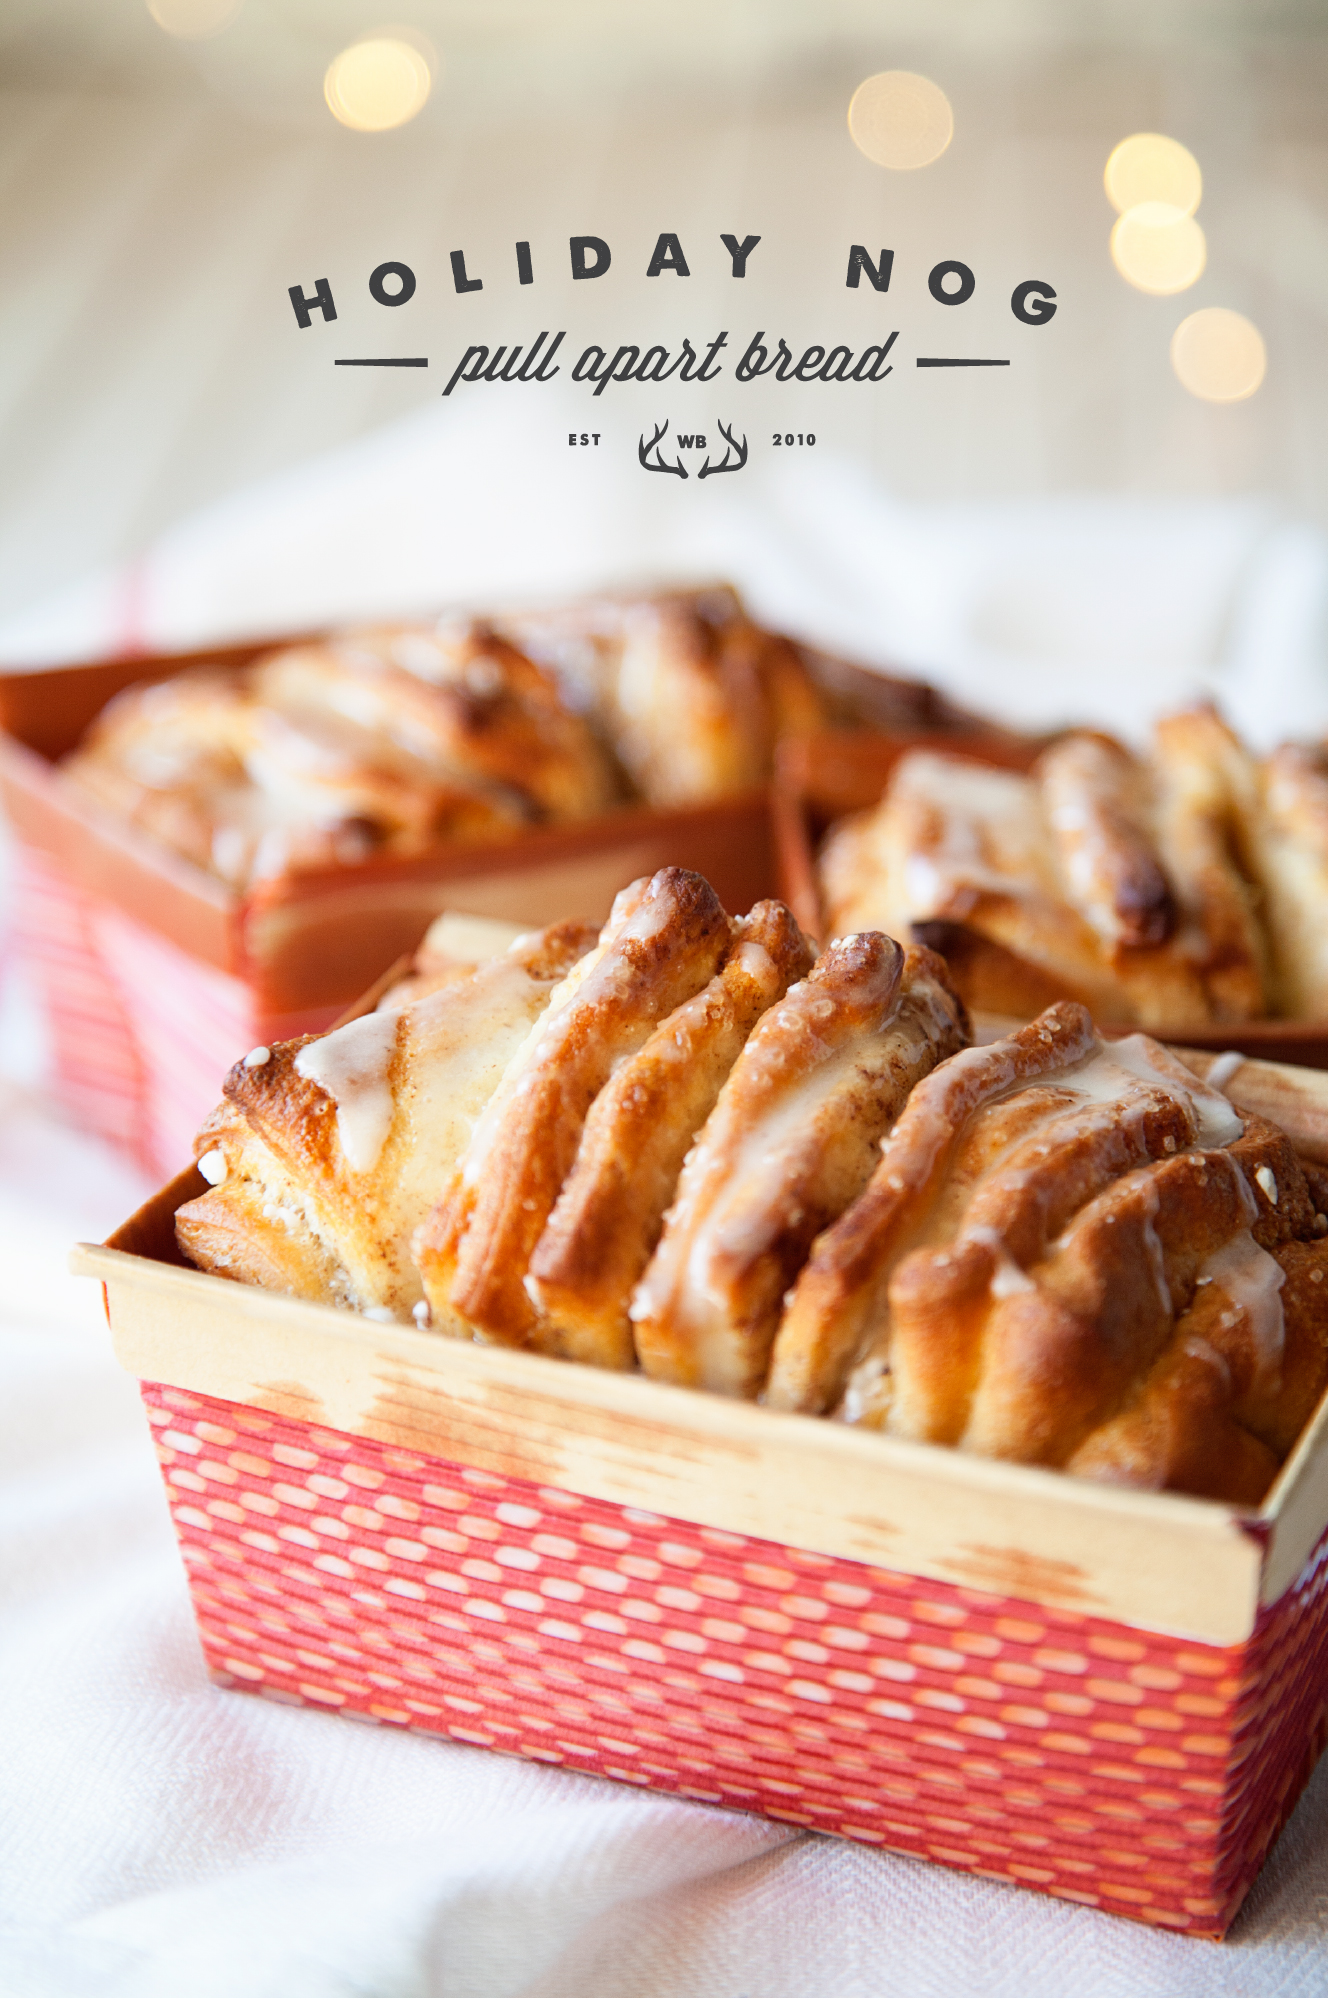
Heather has amazing recipes on her blog. This Holiday Nog Pull Apart Bread looks amazing!
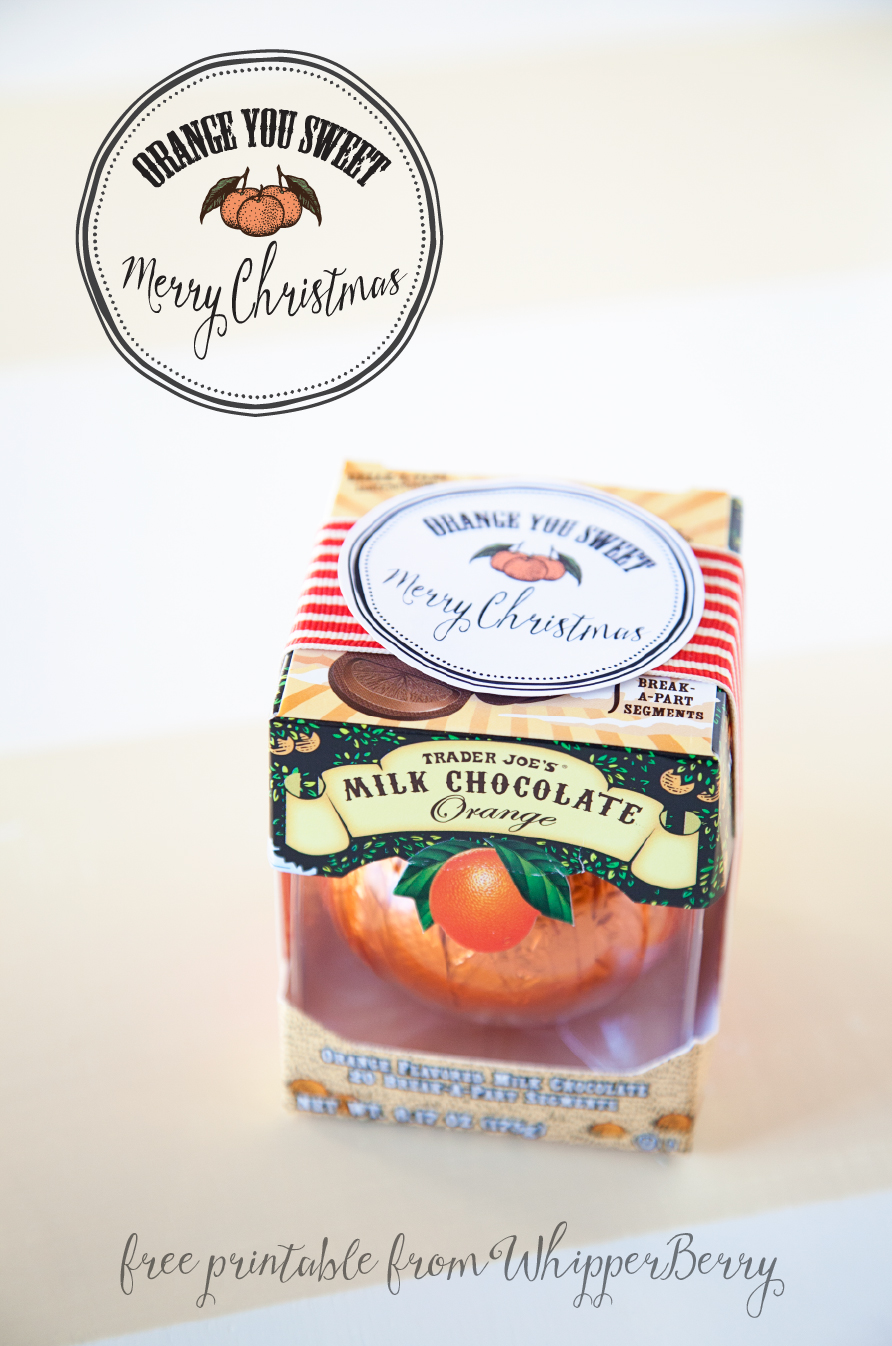
And, she always has darling printables, too. Use her Orange You Sweet Printable for an easy neighbor gift idea!
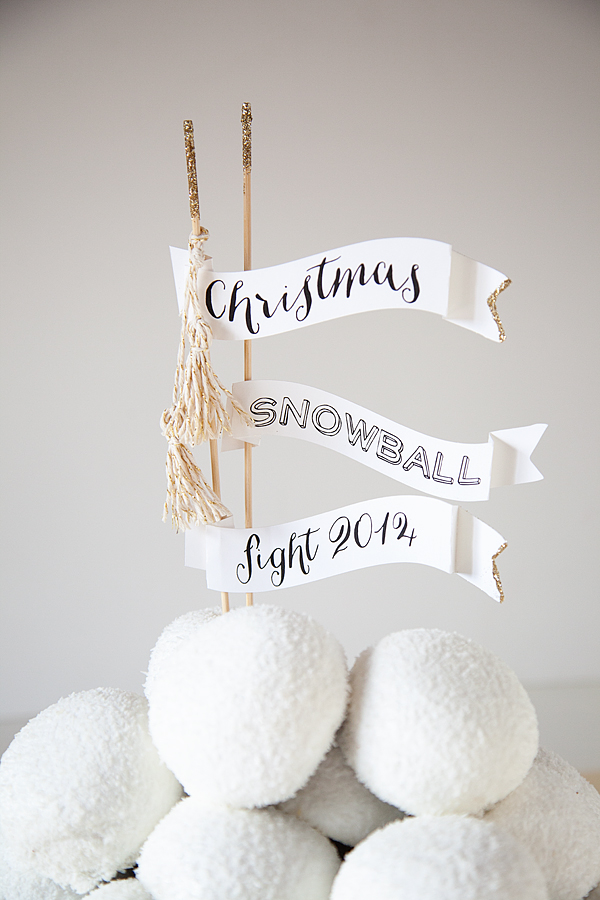
And, her idea for a fun Edible Christmas Snowball Fight Centerpiece is so fun! That’s a tradition your kids will love!
Visit Whipperberry and






LOVE this idea, heather. i can’t wait to try it on a few things. 🙂
this is a great solution! A few years back I tried to do a DIY on painting your own placards just like those, but got feedback that the hand-lettering was too difficult. Wonderful fix, thanks for sharing!