Tatertots and Jello

COLORFUL HAPPY HOME -- Daily DIY, Decor, Craft and Recipe Tutorial

  • My Home
    • 1905 Cottage
    • Daybreak House
  • DIY
    • DIY Projects and Ideas
    • Organizing
    • Tutorials
    • Printables
  • Decor
    • Spring Projects
    • Summer Projects
    • Fall Projects
  • Crafts
    • Kids Crafts
    • Painting Projects
    • Paper Projects
    • Sewing
    • Wreaths
  • Holidays
    • Valentines Day
    • Easter
    • Halloween
    • Thanksgiving
    • Christmas
    • HAPPY Holidays Series!
  • Recipes

Explore

  • my home
  • diy
  • decor
  • crafts
  • holiday
  • printables
  • recipes

Connect

Home » christmas » Happy Holidays: DIY Gold Foil Letter to Santa

christmas, diy, guest tutorials, HAPPY Holidays, holiday, kids, kids crafts · December 17, 2015

Happy Holidays: DIY Gold Foil Letter to Santa

Tatertots & Jello is a participant in the Amazon Services LLC Associates Program, an affiliate advertising program designed to provide a means for sites to earn advertising fees by advertising and linking to amazon.com.

Hi there, it’s Laura from Make Life Lovely, and I’m thrilled to be invited as part of Jen’s Happy Holidays Series!

Today I’m sharing a great way to memorialize those letters that your kids write to Santa Claus every year and make them into keepsakes that you’ll treasure for years to come.

DIY gold foil letter to Santa

My kids write letters to Santa every year, but this year I was trying to figure out a simple way to display their letters and make them extra special. I tried gold foiling them, and I LOVE how they turned out! I plan on foiling my kids letters every year now and framing my favorites as Christmas decorations for the holidays.

happy-holidays-2015-300

Gold foil letters to Santa are so easy to make, but you will need a Minc machine to apply the foil. I love my machine, and it was worth every penny for me to buy mine!

DIY GOLD FOIL LETTER TO SANTA

Supplies:

  • White paper
  • Black Sharpie
  • Minc Foil Applicator Machine
  • Gold foil (or any other colored foil made for the Minc)

Writing the letter to Santa

Step 1. Have your child, grandchild, etc. write a letter to Santa with a Sharpie on a white piece of paper. You can have them write a practice letter first if you’d like to help them with spelling errors, etc., or you can just have them go for it.

The Sharpie or other black marker is important because you want the letters to be thick enough to take the gold foil, and for there to be enough contrast between the paper and the writing. Make sure your kids leave a blank border around the edges.

Step 2. You’ll need to have a copy of the letter printed with toner, so you have two choices. You can either scan the letter yourself and print it out on a laser printer (must be laser, not inkjet), or take the letter to the copy store (Staples, Office Depot, etc.) and have them make a copy with toner or print it out with a laser printer. I took mine to the copy shop and had them print mine out with more contrast, so the letters would take better to being foiled.

Cut the foil to fit the paper

Step 3. Cut a piece of gold (or other colored) foil to cover the letter. You want to make sure that the foil entirely covers any toner on the paper. Place the letter inside a carrier sheet (comes with the machine) with the foil on top, shiny side up, so that the carrier sheet seam is at the top.

Gold foil letter to Santa using the Minc machine

Step 4. To run the foil through the machine, place the closed carrier sheet into the opening in the Minc machine. The machine will slowly pull the sheet through and heat the foil to your project.

How to use the Minc machine

Step 5. Once the sheet has come out the back-end of the machine all the way, open up the carrier sheet, then slowly peel off the foil. This is my favorite part!

Gold foil letters to Santa

Now you get to ooh and ah over your lovely gold foiled letter to Santa that you’ll want to proudly display in your home, or keep in a special book of your kids art work (this is the method I use for storing my kids art work).

Red foil letter to Santa

We also tried red foil, which worked great too!

Gold Foil Letters to Santa Keepsake

My kids are in awe of their special letters, and I can’t wait to have them create one every year. I know that they’ll be a treasure for us to look back on each year.

Happy holidays!

signature

**********

Thanks Laura! What a darling idea, and I know your whole family will appreciate them for a long time to come!

Laura has amazing ideas on her blog. Here area a few I know you’ll love:

Chocolate+No+Bake+Cookies+2+by+Make+Life+Lovely

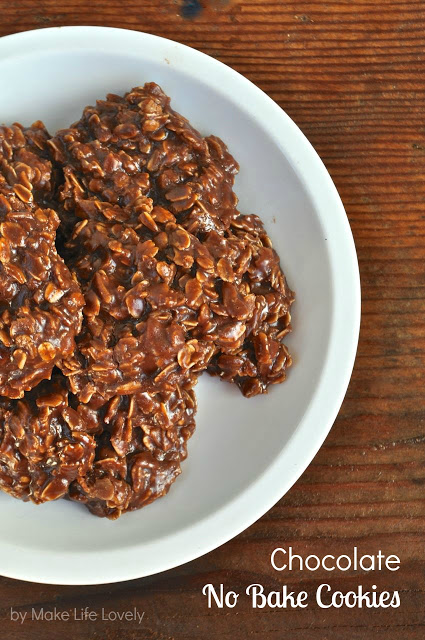
She’s got this recipe for Chocolate No Bake Cookies that sound so yummy!

Silica+Gel+Packets+Make+Life+Lovely

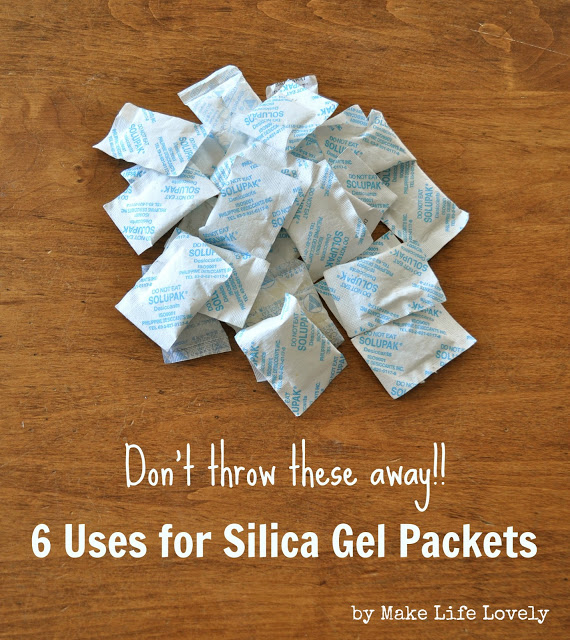
She has great practical tips too like 6 Uses for Silica Gel Packets!

Dark-Chocolate-Peppermint-Fudge-Recipe-2

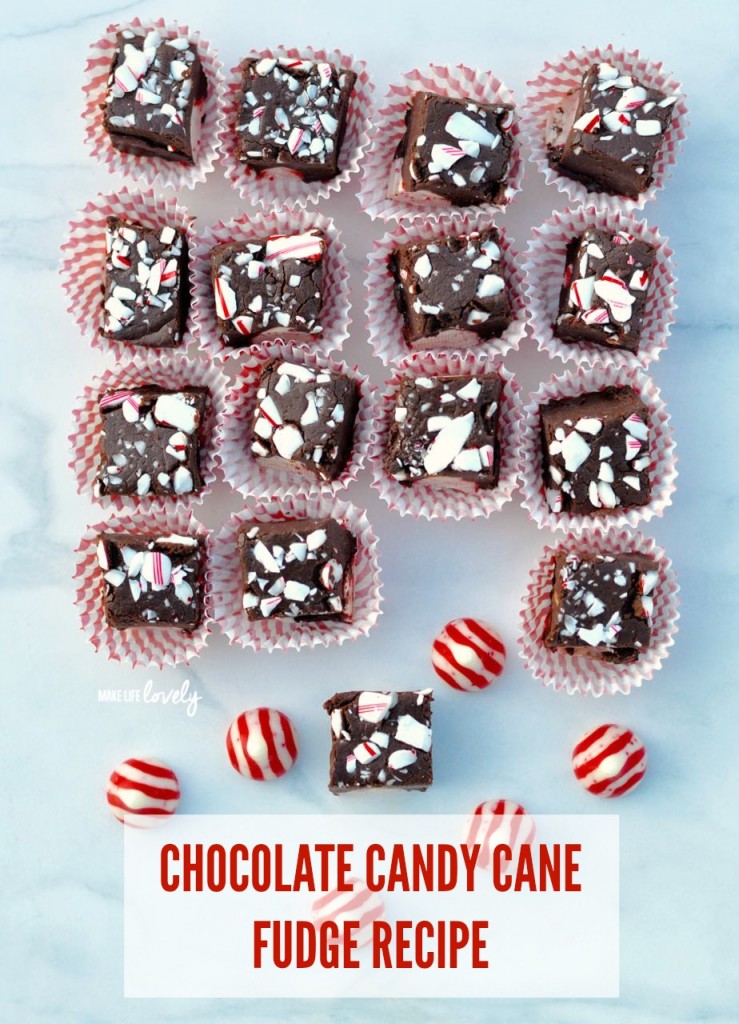
She also has this Chocolate Candy Cane Fudge Recipe I can’t wait to try!

Make sure you visit Make Life Lovely and

pinterest.32x32.icon.circle
Follow Make Life Lovely on Pinterest
instagram.32x32.icon.square
Follow Make Life Lovely on Instagram
facebook.32x32.icon.circle
Follow Make Life Lovely on Facebook
twitter.32x32.icon.circle
Follow Make Life Lovely on Twitter
happy-holidays-2015-300
Follow the HAPPY Holidays Event at Tatertots & Jello
all through the holidays with awesome tutorials, recipes, decorating ideas and more from some amazing blogs!
xoxo
jen signature

Posted By: Jen · In: christmas, diy, guest tutorials, HAPPY Holidays, holiday, kids, kids crafts

Ella’s Room at the #1905Cottage and Smart Bedding!
Happy Holidays: Easy DIY Hand Painted Serving Tray

You’ll Also Love

DIY Halloween Bat Mantel Ideas
make a dog playhouse out of a box. all the instructionsMake an Adorable DIY Dog Playhouse Out of a Box!
Make a DIY Marble Kitchen Pedestal

Comments

  1. army fraternity partnership says

    December 17, 2015 at 5:10 PM

    In their last meeting on September 7, new members who were not sworn in at the Association meeting in May wesre introduced to current members.

Hi! I'm Jen Hadfield. I'm a mom of 5 restoring an 1891 home in the heart of Salt Lake City. I love being creative and sharing simple ideas to make your life easier and more beautiful!

Receive the Latest Crafts, DIY, Recipes and More in your INBOX!

Follow us on Pinterest! It's awesome!

Top Posts & Pages

Spruce up Your Outdoor Space with a DIY Recirculating Fountain! (tutorial)
A New Deck in Under 30 Minutes!
DIY Secret: How to Print on Post-It Notes (and Free Printable Template)
12 Must-Have Items to Pack on an Alaskan Cruise!
Copycat Panera Spinach and Artichoke Egg Soufflés - SO good!
Mother's Day Cup Holder Gift Basket


Popular Posts

  • Spruce up Your Outdoor Space with a DIY Recirculating Fountain! (tutorial)
    Spruce up Your Outdoor Space with a DIY Recirculating Fountain! (tutorial)
  • A New Deck in Under 30 Minutes!
    A New Deck in Under 30 Minutes!
  • DIY Secret: How to Print on Post-It Notes (and Free Printable Template)
    DIY Secret: How to Print on Post-It Notes (and Free Printable Template)
  • 12 Must-Have Items to Pack on an Alaskan Cruise!
    12 Must-Have Items to Pack on an Alaskan Cruise!
  • Copycat Panera Spinach and Artichoke Egg Soufflés - SO good!
    Copycat Panera Spinach and Artichoke Egg Soufflés - SO good!
  • Mother's Day Cup Holder Gift Basket
    Mother's Day Cup Holder Gift Basket
  • How to Change a Recessed Can Light into a Pendant Light with No Remodeling!
    How to Change a Recessed Can Light into a Pendant Light with No Remodeling!

As seen in


Amazon Affiliate

Tatertots & Jello is a participant in the Amazon Services LLC Associates Program, an affiliate advertising program designed to provide a means for sites to earn advertising fees by advertising and linking to amazon.com.
  • About Me
  • Advertising
  • Get Featured

Copyright © 2025 Tatertots and Jello · Privacy
This site is a place for positive discussion and ideas. Negative talk, comments that disparage others, and similar are not welcome and may be removed.